Introduction
Are you a racing enthusiast looking to enhance your gaming experience on the Xbox One? Building your own DIY racing wheel can be an exciting and rewarding project that brings a new level of realism to your favorite racing games. With a few basic tools and some creativity, you can transform a standard Xbox One controller into a fully functional racing wheel, complete with pedals and force feedback. In this guide, we'll walk you through the step-by-step process of creating your own custom racing wheel setup that will take your gaming to the next level.
Whether you're a seasoned DIY enthusiast or just looking for a fun weekend project, building a racing wheel for your Xbox One can be a fulfilling and budget-friendly endeavor. By repurposing a standard controller and integrating it with a steering wheel and pedals, you can enjoy a more immersive and authentic racing experience without breaking the bank. So, roll up your sleeves, gather your tools, and get ready to embark on this exciting journey to create your very own DIY racing wheel for the Xbox One.
Materials Needed
Before diving into the construction of your DIY racing wheel for the Xbox One, it’s essential to gather all the necessary materials and tools. Here’s a comprehensive list of the items you’ll need to bring your project to life:
- Xbox One controller
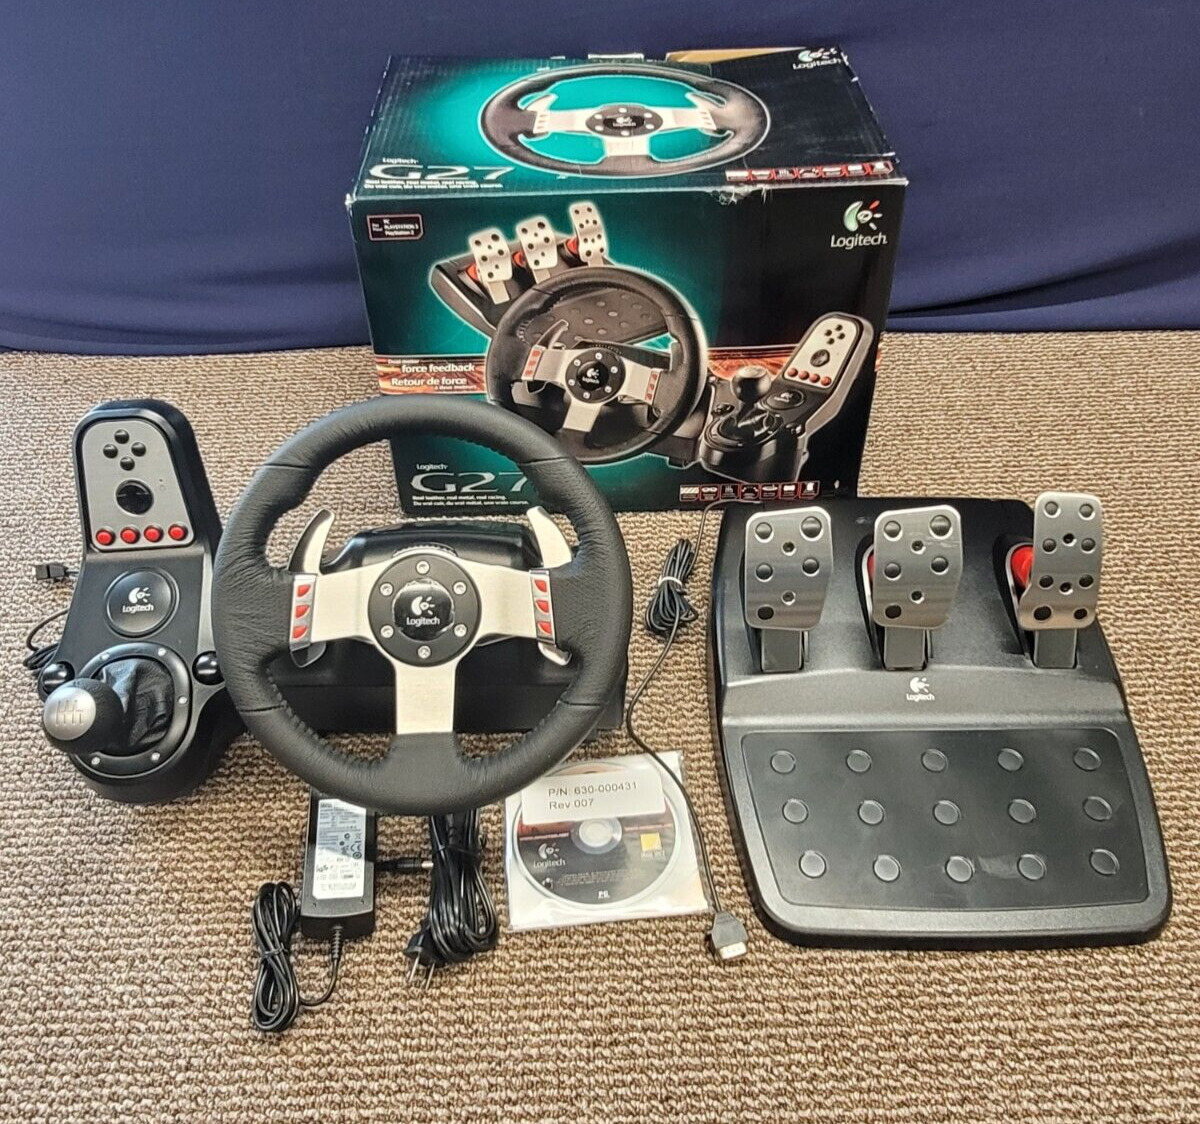
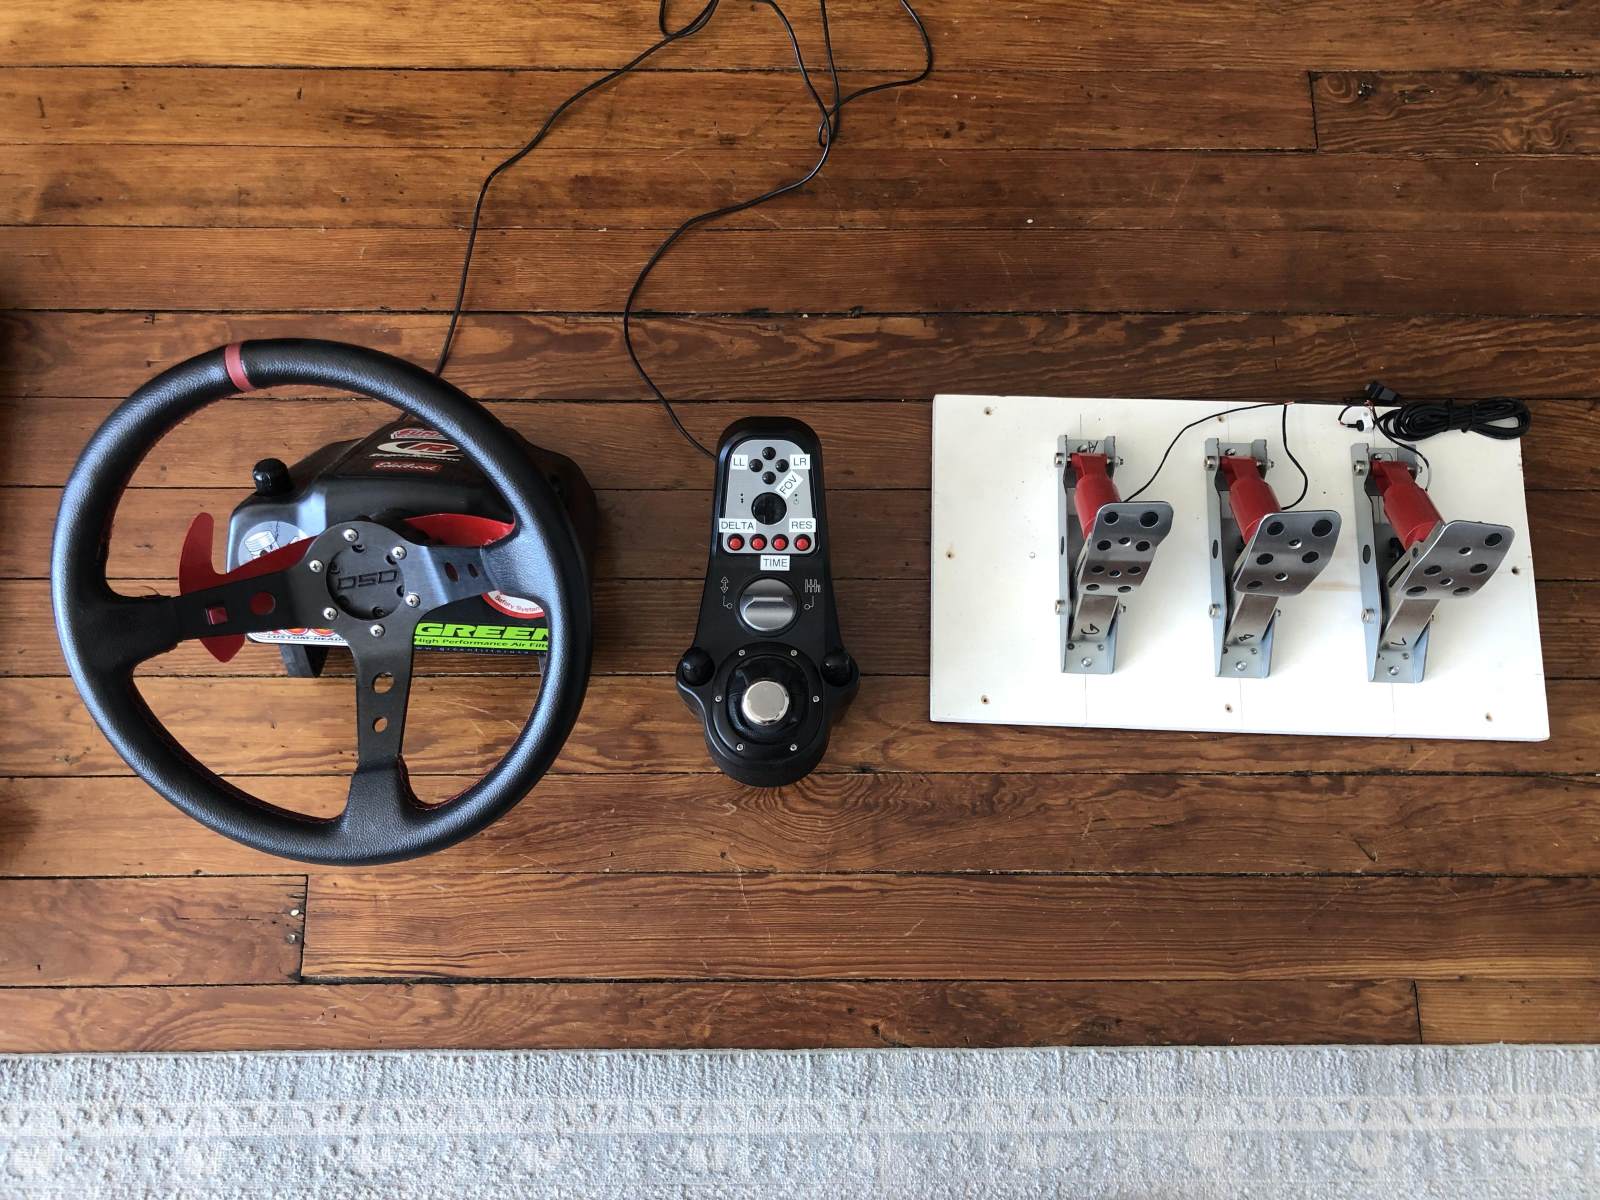
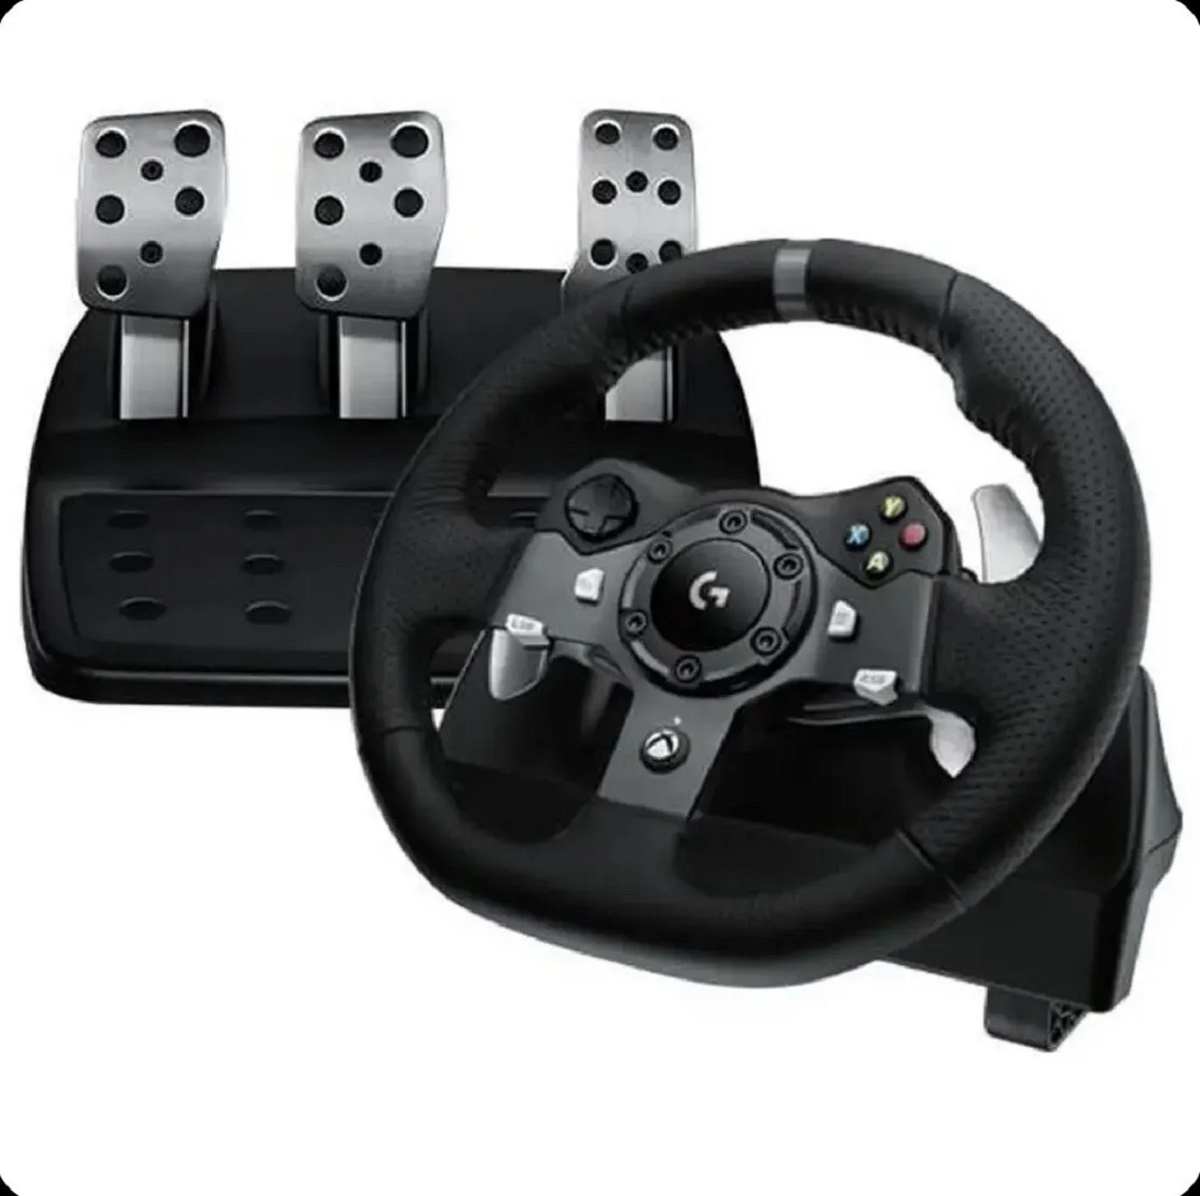
- Steering wheel with mounting bracket
- USB cable
- Wire stripper and cutter
- Soldering iron and solder
- Electrical tape
- Drill and drill bits
- Mounting hardware (screws, nuts, bolts)
- Wood or metal for creating a mounting platform
- Pedal set (optional for a more realistic experience)
- Force feedback motor (optional for enhanced realism)
- Basic hand tools (screwdriver, wrench, pliers)
- Electronics testing equipment (multimeter)
- Computer with internet access for firmware updates
These materials will serve as the building blocks for your custom racing wheel, allowing you to seamlessly integrate a steering wheel and pedals with the Xbox One controller. With these items in hand, you’ll be well-equipped to embark on the exciting journey of creating your personalized gaming accessory. Now that you’ve gathered your materials, it’s time to jump into the step-by-step process of assembling your DIY racing wheel for the Xbox One.
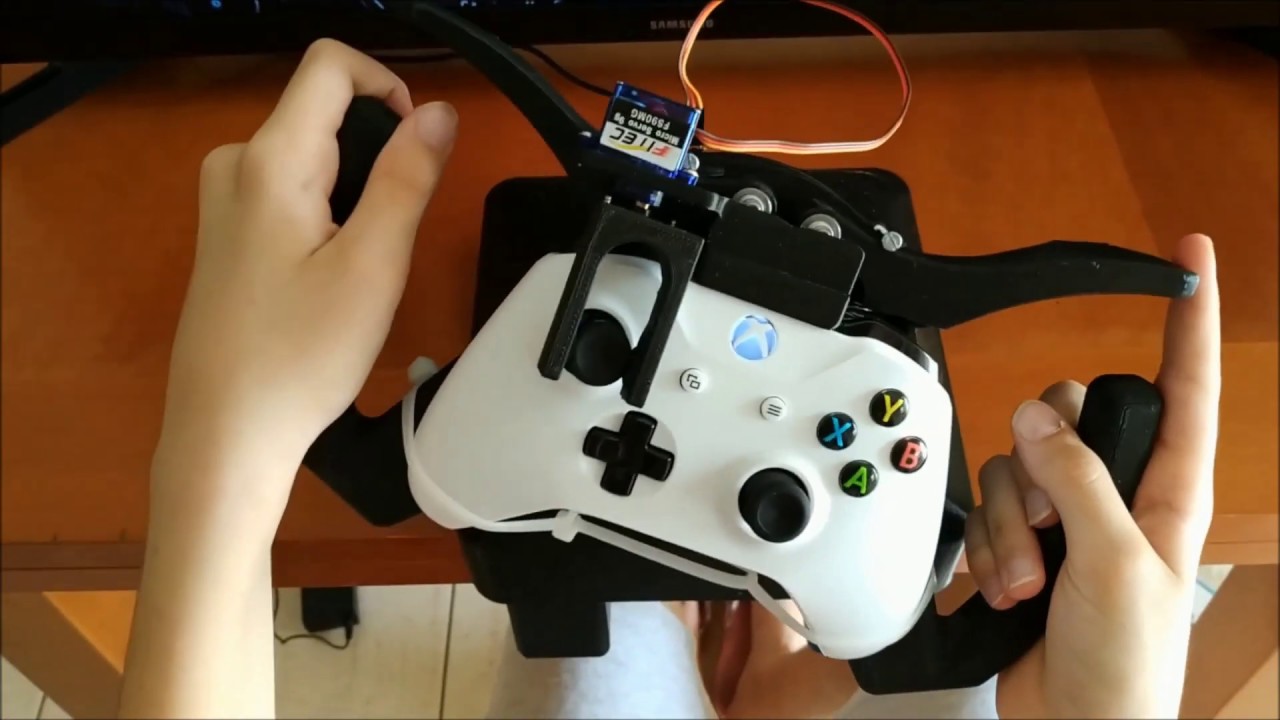
Step 1: Disassembling the Controller
The first step in creating your DIY racing wheel for the Xbox One involves disassembling the standard controller to prepare it for integration with the steering wheel and pedals. Here’s a detailed guide to help you through this process:
- Prepare Your Workspace: Find a well-lit and spacious area to work in, ensuring that you have all the necessary tools and materials within reach.
- Remove the Battery: If your controller has a removable battery pack, take it out to prevent any accidental power supply during the disassembly process.
- Unscrew the Casing: Using a suitable screwdriver, carefully remove the screws securing the controller’s casing. Keep the screws in a safe place for reassembly later.
- Separate the Casing: Gently pry open the controller’s casing, taking care not to damage any internal components or cables. You should now have access to the internal circuitry of the controller.
- Disconnect the Internal Components: Identify and disconnect the buttons, triggers, and other internal components from the main circuit board. Take note of their original placement to facilitate reassembly.
- Set Aside the Casing and Components: Keep the controller’s casing and internal components in a safe and clean area, as they will be reassembled later in the project.
By carefully disassembling the Xbox One controller, you’ve completed the crucial first step in the process of creating your DIY racing wheel. With the controller’s internal components exposed, you’re now ready to move on to the next phase: integrating the steering wheel and preparing the electronics for connection. This exciting project is well underway, and the transformation of your standard controller into a fully functional racing wheel is just beginning.
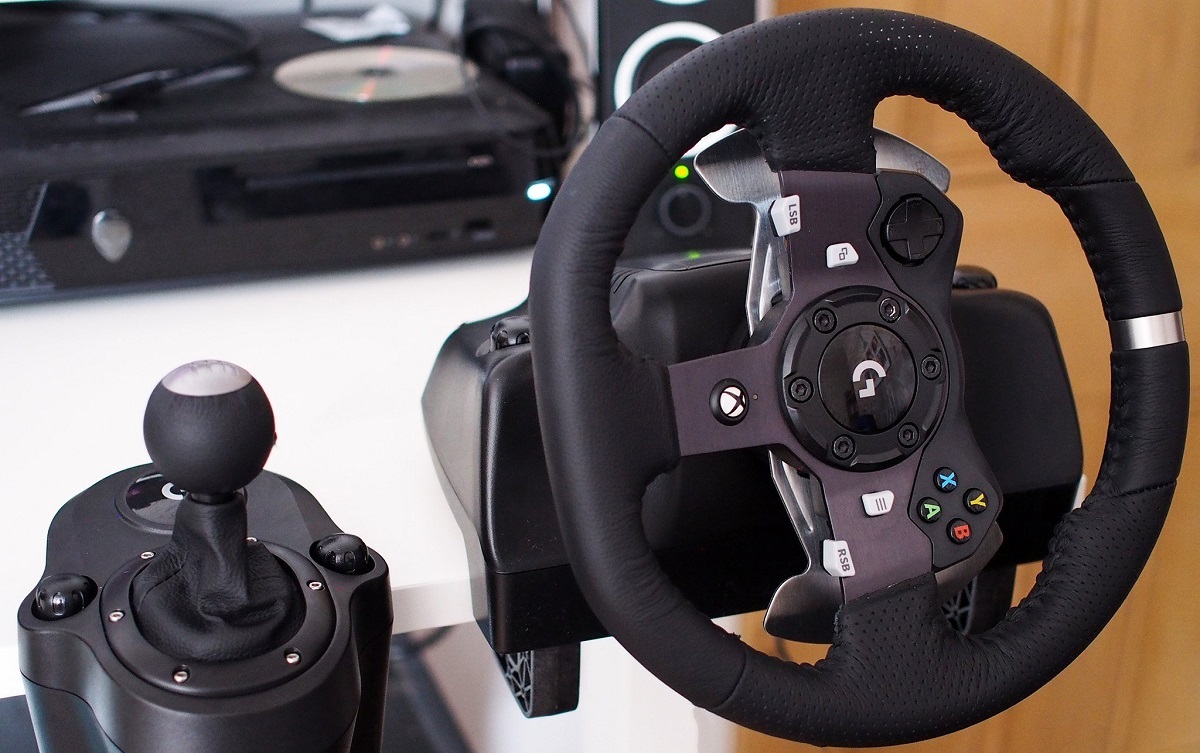
Step 2: Attaching the Steering Wheel
With the Xbox One controller disassembled, the next pivotal step in creating your DIY racing wheel is integrating a steering wheel to replace the standard controller inputs. Follow these detailed instructions to seamlessly attach the steering wheel:
- Select a Compatible Steering Wheel: Choose a steering wheel that is compatible with the Xbox One and ideally comes with a mounting bracket for easy installation.
- Position the Mounting Bracket: Secure the mounting bracket to a suitable surface, ensuring that it is positioned ergonomically for comfortable gameplay.
- Align the Wheel: Place the steering wheel onto the mounting bracket, aligning it to ensure a centered and balanced position for optimal control.
- Secure the Wheel: Using the provided hardware or suitable fasteners, securely attach the steering wheel to the mounting bracket, ensuring a stable and firm connection.
- Connect the Wheel to the Controller: Identify the appropriate wiring for the steering wheel’s inputs and connect them to the corresponding points on the controller’s circuit board.
- Test the Wheel Inputs: With the wheel securely attached and connected, perform a quick test to ensure that the steering inputs are correctly registered by the controller.
By seamlessly integrating a compatible steering wheel with the Xbox One controller, you’ve taken a significant stride in transforming it into a fully functional racing wheel. The tactile feedback and enhanced control offered by the steering wheel will elevate your gaming experience, bringing a heightened sense of realism to your favorite racing titles. With the steering wheel in place, you’re now ready to move on to the next phase of the project: connecting the electronics and preparing for the final assembly of your DIY racing wheel.
Step 3: Connecting the Electronics
As you progress through the creation of your DIY racing wheel for the Xbox One, the next crucial step involves connecting the electronics to ensure seamless integration and functionality. Follow these detailed instructions to successfully link the various components:
- Identify the Controller Inputs: Locate the points on the Xbox One controller’s circuit board where the steering wheel inputs need to be connected. This may involve identifying the pins or solder points for the directional controls.
- Prepare the Wiring: If necessary, strip and prepare the wiring from the steering wheel to ensure a clean and secure connection to the controller’s circuit board. Use appropriate tools to strip and tin the wires for soldering.
- Solder the Connections: Carefully solder the prepared wires from the steering wheel to the designated points on the controller’s circuit board, ensuring solid and reliable connections.
- Insulate the Connections: Once the soldering is complete, insulate the soldered connections with electrical tape or heat-shrink tubing to prevent short circuits and ensure electrical safety.
- Test the Connections: With the wiring securely connected and insulated, perform a comprehensive test of the steering wheel inputs to verify that they are correctly interfacing with the controller.
- Verify Compatibility: If necessary, ensure that the firmware of the Xbox One controller is compatible with the newly integrated inputs, and perform any required updates or adjustments.
By successfully connecting the electronics and integrating the steering wheel inputs with the Xbox One controller, you’ve brought your DIY racing wheel one step closer to completion. The seamless interaction between the steering wheel and the controller’s circuitry will pave the way for a truly immersive and responsive gaming experience. With the electronics connected and tested, you’re now ready to move on to the next phase of the project: mounting the racing wheel and finalizing the assembly of your custom gaming accessory.
Step 4: Mounting the Racing Wheel
With the electronics successfully connected and tested, the next pivotal step in the construction of your DIY racing wheel for the Xbox One involves securely mounting the steering wheel and ensuring its stability for a seamless gaming experience. Follow these detailed instructions to effectively mount the racing wheel:
- Prepare the Mounting Platform: Using a sturdy material such as wood or metal, create a mounting platform that can accommodate both the steering wheel and the Xbox One controller. Ensure that the platform is stable and ergonomically positioned for comfortable gameplay.
- Secure the Controller: Position the disassembled Xbox One controller onto the mounting platform, ensuring that it is firmly secured to prevent movement during gameplay.
- Attach the Steering Wheel: Place the steering wheel, along with its integrated mounting bracket, onto the platform in a position that allows for easy access and comfortable usage.
- Secure the Wheel and Controller: Using appropriate hardware, securely fasten both the steering wheel and the controller to the mounting platform, ensuring a stable and vibration-free setup.
- Adjust for Comfort: Fine-tune the positioning of the steering wheel and the controller on the mounting platform to ensure optimal comfort and accessibility during gameplay.
- Test the Stability: Perform a thorough stability test by simulating the motions and forces experienced during intense gaming sessions, ensuring that the mounted components remain secure and steady.
By effectively mounting the racing wheel and the Xbox One controller onto a stable platform, you’ve brought your DIY racing wheel one step closer to its final form. The secure and ergonomic positioning of the components will contribute to a more immersive and enjoyable gaming experience, allowing you to fully immerse yourself in the virtual racing world. With the racing wheel securely mounted, you’re now ready to proceed to the final phase of the project: testing and calibrating your custom-built racing wheel for the Xbox One.
Step 5: Testing and Calibration
As you near the completion of your DIY racing wheel for the Xbox One, the final step involves testing and calibrating the integrated components to ensure optimal functionality and responsiveness. Follow these detailed instructions to effectively test and calibrate your custom-built racing wheel:
- Power Up the Controller: Reassemble the Xbox One controller and power it up to initiate the testing phase, ensuring that all the components are securely in place.
- Verify Steering Inputs: Test the steering wheel inputs to ensure that the directional controls are accurately registered by the controller, allowing for smooth and precise steering in racing games.
- Test Button Inputs: Verify that all additional buttons and controls integrated into the steering wheel, such as gear shifters or auxiliary controls, function as intended and are correctly mapped to in-game actions.
- Calibrate the Pedals (if applicable): If your DIY racing wheel includes a pedal set, perform a calibration process to ensure that the accelerator, brake, and clutch inputs are accurately interpreted by the gaming console.
- Adjust Sensitivity and Dead Zones: Fine-tune the sensitivity and dead zones of the steering wheel inputs to match your personal preferences and optimize the responsiveness of the controls during gameplay.
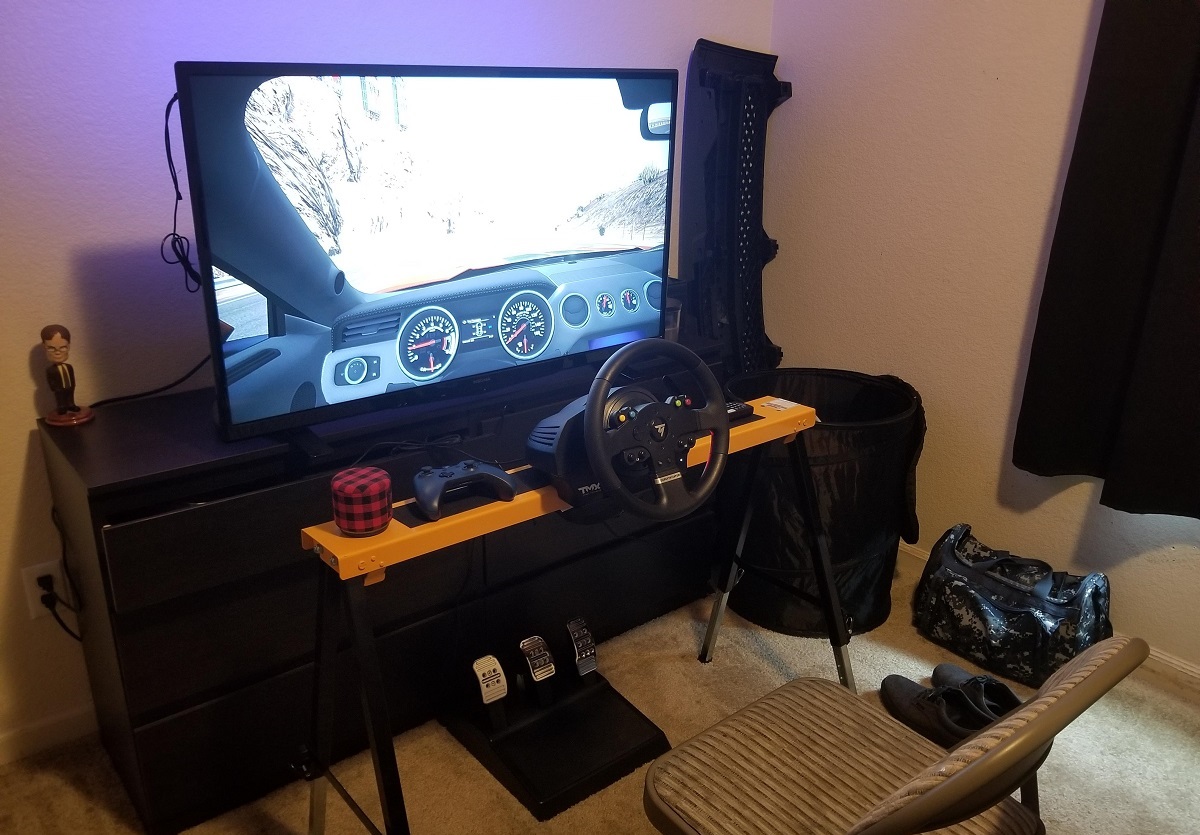
- Perform Test Races: Engage in test races within your favorite racing games to assess the overall performance and comfort of the custom-built racing wheel, making any necessary adjustments along the way.
By meticulously testing and calibrating the integrated components of your DIY racing wheel, you’ve reached the final phase of the project, ensuring that your custom gaming accessory delivers a seamless and immersive experience. The thorough testing and calibration process will guarantee that your racing wheel is finely tuned to your preferences, allowing you to fully immerse yourself in the excitement of virtual racing. With the testing and calibration phase complete, you’re now ready to enjoy the fruits of your labor and experience the thrill of racing with your personalized DIY racing wheel for the Xbox One.
Conclusion
Congratulations on successfully creating your very own DIY racing wheel for the Xbox One! By embarking on this exciting project, you’ve not only enhanced your gaming setup but also delved into the world of custom hardware modification, showcasing your creativity and technical skills. As you reflect on the journey from disassembling a standard controller to assembling a fully functional racing wheel, you’ve gained valuable hands-on experience and a deeper understanding of the intricacies of gaming peripherals.
Throughout the process, you’ve harnessed your ingenuity to seamlessly integrate a steering wheel, calibrate the controls, and craft a custom gaming accessory that reflects your unique preferences and playstyle. The tactile feedback, responsive controls, and immersive gameplay experience offered by your DIY racing wheel will undoubtedly elevate your enjoyment of racing titles on the Xbox One, providing a new level of realism and excitement.
Moreover, your endeavor serves as an inspiring example of the possibilities that DIY projects offer, empowering you to tailor your gaming experience to suit your preferences without the need for expensive off-the-shelf solutions. By repurposing and modifying existing hardware, you’ve demonstrated resourcefulness and innovation, setting a precedent for creating personalized gaming accessories that cater to individual preferences and budget constraints.
As you take your custom-built racing wheel for a spin in your favorite racing games, revel in the satisfaction of having transformed a simple controller into a feature-rich and immersive gaming peripheral. Your dedication and craftsmanship have resulted in a truly unique and personalized gaming experience that reflects your passion for racing and innovation. Embrace the thrill of the virtual racetrack, knowing that you’ve crafted a gaming accessory that’s as unique as your gaming journey.
With your DIY racing wheel ready to deliver an unparalleled gaming experience, it’s time to hit the virtual tracks and immerse yourself in the adrenaline-pumping world of racing, all from the comfort of your own gaming setup. Your custom creation stands as a testament to your creativity and technical prowess, showcasing the limitless potential of DIY projects in the gaming realm. So, rev up your engines, embrace the immersive experience, and enjoy the thrill of racing with your personalized DIY racing wheel for the Xbox One.