Introduction
Introduction
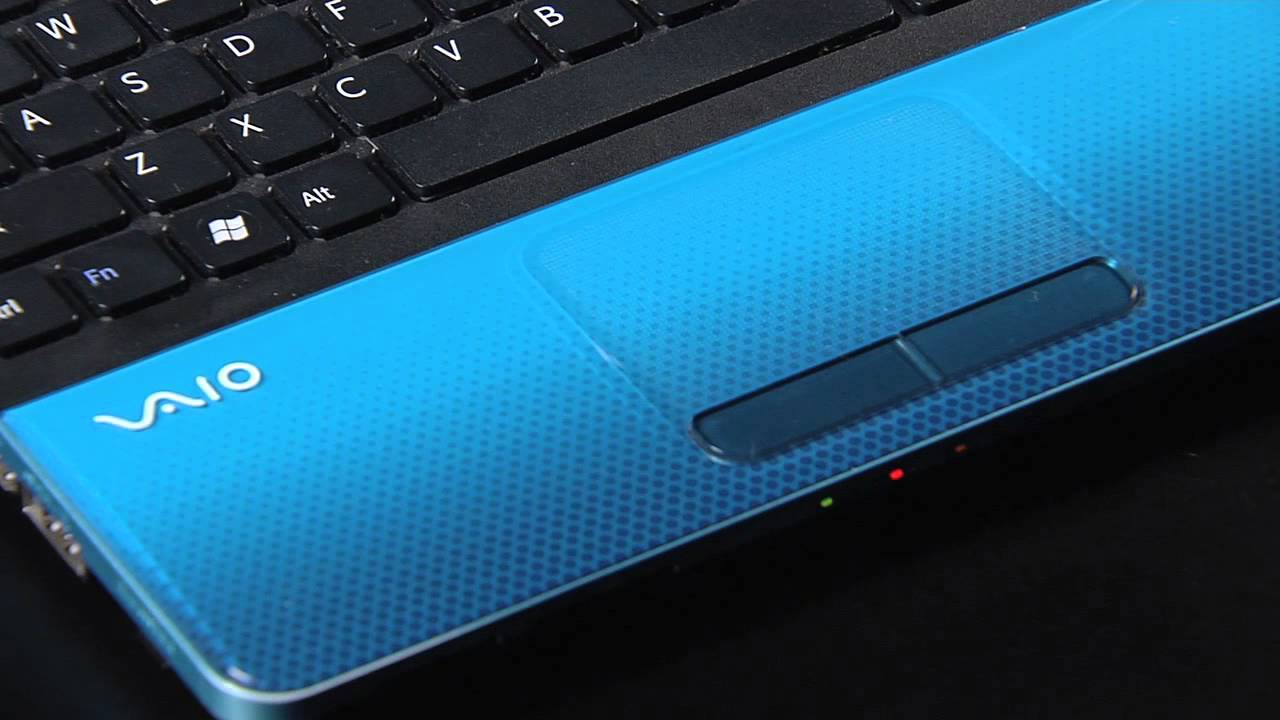
The mouse pad, also known as a touchpad, on a Sony Vaio laptop provides a convenient and intuitive way to navigate and interact with the device. One important aspect of the mouse pad is its click function, which allows users to perform various actions such as selecting, dragging, and dropping items. However, there are instances when users may need to change the click settings on their Sony Vaio mouse pad to better suit their preferences or to address issues with the default configuration.
In this guide, we will explore the process of changing the click on the mouse pad of a Sony Vaio laptop. Whether you want to adjust the sensitivity of the click, change the button configuration, or troubleshoot issues related to the click function, this step-by-step tutorial will walk you through the necessary steps to make the desired adjustments.
By the end of this guide, you will have a clear understanding of how to modify the click settings on your Sony Vaio mouse pad, empowering you to tailor the functionality to your specific needs and preferences.
Let's delve into the process of checking and changing the mouse pad click settings on your Sony Vaio laptop.
Checking Mouse Pad Settings
Checking Mouse Pad Settings
Before making any changes to the click settings on your Sony Vaio mouse pad, it’s essential to first check the current configuration to understand how the click function is currently set up. This initial step will help you determine whether any adjustments are necessary and provide insight into the specific settings that may need to be modified.
To check the mouse pad settings, follow these steps:
- 1. Accessing the Control Panel: Begin by navigating to the Control Panel on your Sony Vaio laptop. You can typically find the Control Panel in the Windows system settings or by using the search function to locate it.
- 2. Locating the Mouse Settings: Within the Control Panel, look for the “Mouse” or “Touchpad” settings. Depending on the specific model of your Sony Vaio laptop and the version of Windows you are using, the exact location of these settings may vary.
- 3. Opening Mouse Properties: Once you have located the mouse or touchpad settings, open the respective properties window to view the current configuration and options related to the click function.
Upon accessing the mouse properties, you will be able to review and assess the current click settings, including options for sensitivity, button configuration, and additional features that may impact the functionality of the mouse pad click. Take note of the existing settings and make a mental or written note of any specific aspects that you wish to modify or troubleshoot.
By checking the mouse pad settings through the Control Panel and mouse properties, you gain valuable insight into the current configuration, setting the stage for the next step of adjusting the click settings to better align with your preferences and usage requirements.
Changing Mouse Pad Click Settings
Changing Mouse Pad Click Settings
Once you have familiarized yourself with the current mouse pad settings on your Sony Vaio laptop, you can proceed to make adjustments to the click function based on your preferences and requirements. Whether you aim to alter the sensitivity of the click, change the button configuration, or troubleshoot issues related to the click function, the following steps will guide you through the process of modifying the mouse pad click settings.
To change the mouse pad click settings on your Sony Vaio laptop, follow these steps:
- 1. Accessing Mouse Properties: Return to the mouse or touchpad properties window within the Control Panel on your Sony Vaio laptop. This is where you will be able to modify the specific settings related to the click function.
- 2. Adjusting Sensitivity: Look for options or tabs within the mouse properties window that allow you to adjust the sensitivity of the mouse pad click. Depending on the model and driver software, you may find sliders or numerical values that can be modified to change the sensitivity to your desired level.
- 3. Configuring Button Functions: Explore the settings that pertain to the button functions of the mouse pad. You may have the option to customize the primary and secondary button assignments, as well as other advanced functions such as multi-touch gestures or specialized click actions.
- 4. Enabling or Disabling Additional Features: Some mouse pad settings may include additional features such as tap-to-click, edge scrolling, or palm rejection. Depending on your preferences, you can enable or disable these features to enhance the overall usability and comfort of the mouse pad.
As you make changes to the mouse pad click settings, ensure that you carefully review and test each adjustment to gauge its impact on the functionality and usability of the mouse pad. By customizing the click settings to align with your preferences, you can optimize the overall user experience and efficiency when interacting with your Sony Vaio laptop.
With the click settings modified according to your preferences, you are now ready to test the new configuration to ensure that it meets your needs and enhances the overall usability of the mouse pad.
Testing the New Click Settings
Testing the New Click Settings
After making adjustments to the click settings on your Sony Vaio mouse pad, it’s crucial to thoroughly test the new configuration to ensure that it aligns with your preferences and enhances the overall usability of the mouse pad. Testing the new click settings will allow you to assess the impact of the modifications and make any additional refinements if necessary.
Here are the key steps to effectively test the new click settings:
- 1. Testing Sensitivity: Begin by evaluating the sensitivity of the mouse pad click based on the adjustments you have made. Perform various clicking actions, such as selecting, dragging, and dropping items, to gauge the responsiveness and accuracy of the click function.
- 2. Verifying Button Configuration: Test the button configuration to ensure that the primary and secondary button assignments, as well as any customized functions, are functioning as intended. Verify that the button actions align with your preferred usage and ergonomic needs.
- 3. Assessing Additional Features: If you have enabled or disabled additional features such as tap-to-click, edge scrolling, or palm rejection, assess their impact on the overall usability and comfort of the mouse pad. Determine whether these features enhance or detract from your user experience.
- 4. Feedback and Adjustment: Throughout the testing process, pay attention to any areas where the new click settings may require further adjustment. Solicit feedback from other users if applicable, and consider additional refinements to optimize the functionality and user experience.
By thoroughly testing the new click settings, you can gain valuable insights into the effectiveness of the modifications and identify any areas that may require fine-tuning. This iterative approach allows you to tailor the mouse pad click settings to your specific needs and preferences, ultimately enhancing the overall usability and efficiency of your Sony Vaio laptop.
Conclusion
Conclusion
Changing the click settings on the mouse pad of your Sony Vaio laptop empowers you to personalize the functionality to better suit your preferences and usage requirements. By checking the current settings, making necessary adjustments, and thoroughly testing the new configuration, you can optimize the overall user experience and efficiency when interacting with your device.
Through the process of checking the mouse pad settings, you gained valuable insights into the current configuration, setting the stage for modifying the click settings based on your specific needs. By accessing the mouse properties and exploring options to adjust sensitivity, configure button functions, and enable or disable additional features, you took proactive steps to tailor the click settings to your preferences.
Thoroughly testing the new click settings allowed you to assess the impact of the modifications, verify the responsiveness and accuracy of the click function, and determine the effectiveness of any additional features that were enabled or disabled. This iterative testing process provided valuable feedback and insights, enabling you to make informed decisions about further adjustments to enhance the overall usability of the mouse pad.
By following this step-by-step guide, you have gained the knowledge and skills to confidently change the click settings on your Sony Vaio mouse pad, empowering you to optimize the functionality and usability of your device according to your unique preferences and requirements.
With the click settings modified to align with your preferences and usage needs, you can now enjoy a more personalized and efficient user experience when interacting with your Sony Vaio laptop, enhancing your productivity and comfort as you navigate and engage with various tasks and applications.


