Introduction
Welcome to the world of cryptocurrency! If you’re looking to exchange Bitcoin to Litecoin, you’ve come to the right place. Bitcoin and Litecoin are two popular digital currencies that have gained immense popularity in recent years. Whether you’re a seasoned cryptocurrency investor or just beginning your journey, knowing how to exchange one cryptocurrency for another is an essential skill.
Exchanging Bitcoin to Litecoin allows you to diversify your digital asset portfolio and potentially take advantage of different market trends. Bitcoin, often referred to as the “king” of cryptocurrencies, has a large market cap and is widely accepted. On the other hand, Litecoin offers faster transaction speeds and lower fees, making it an attractive option for many crypto enthusiasts.
In this guide, we will walk you through the step-by-step process of exchanging Bitcoin to Litecoin. You don’t need to be a tech genius or a financial expert to follow along. Just grab your digital wallet and let’s get started!
Please note that the process may vary slightly depending on the exchange platform you choose. However, the basic principles remain the same.
Step 1: Set up your wallet
The first step in exchanging Bitcoin to Litecoin is to make sure you have a suitable wallet for both currencies. A cryptocurrency wallet is a digital wallet that allows you to store, send, and receive your digital assets securely.
If you already have a Bitcoin wallet, you can skip this step and proceed to the next one. However, if you don’t have a wallet yet or if your current wallet doesn’t support Litecoin, you’ll need to set up one that does.
There are different types of wallets available, including desktop wallets, mobile wallets, web wallets, and hardware wallets. Each type has its own advantages and security features, so choose the one that best suits your needs.
To set up a Bitcoin and Litecoin wallet, follow these steps:
- Research wallet options: Take some time to research and compare different wallet providers that support both Bitcoin and Litecoin. Look for wallets that have a user-friendly interface, strong security measures, and good customer reviews.
- Choose a wallet provider: Once you have done your research, choose a wallet provider that you feel comfortable with. Popular wallet providers include Exodus, Electrum, and Coinomi.
- Download and install the wallet software: Visit the official website of your chosen wallet provider and download the wallet software that matches your operating system or device.
- Create a new wallet: Open the wallet software and follow the instructions to create a new wallet. Make sure to choose a strong and unique password to secure your funds.
- Backup your wallet: Most wallet providers will provide you with a recovery phrase or seed. Write down this recovery phrase and store it in a safe place. This will help you recover your wallet in case you lose access to your device.
Once you have set up your wallet, you are ready to move on to the next step: finding an exchange platform to facilitate the Bitcoin to Litecoin exchange.
Step 2: Find an exchange platform
Now that you have a Bitcoin and Litecoin wallet set up, it’s time to find a reliable exchange platform that supports both cryptocurrencies. An exchange platform is a digital marketplace where you can buy, sell, and trade cryptocurrencies.
When choosing an exchange platform, there are a few factors you should consider:
- Reputation: Look for platforms that have a solid reputation in the cryptocurrency community. Read reviews and testimonials from other users to gauge the platform’s reliability and trustworthiness.
- Security: Security should be a top priority when selecting an exchange platform. Ensure that the platform has robust security measures in place, such as two-factor authentication (2FA) and cold storage for funds.
- Supported countries: Check if the platform supports users from your country. Some platforms have restrictions on certain countries, so it’s important to choose one that suits your needs.
- Liquidity: Consider the liquidity of the platform, which refers to the ease of buying and selling cryptocurrencies. High liquidity ensures that you can execute trades quickly and at competitive prices.
- Fees: Exchanges usually charge fees for their services. Compare the fees charged by different platforms to find one that offers reasonable rates.
- User-friendly interface: A user-friendly interface makes the trading process smoother and more enjoyable. Look for platforms that have intuitive navigation and clear instructions.
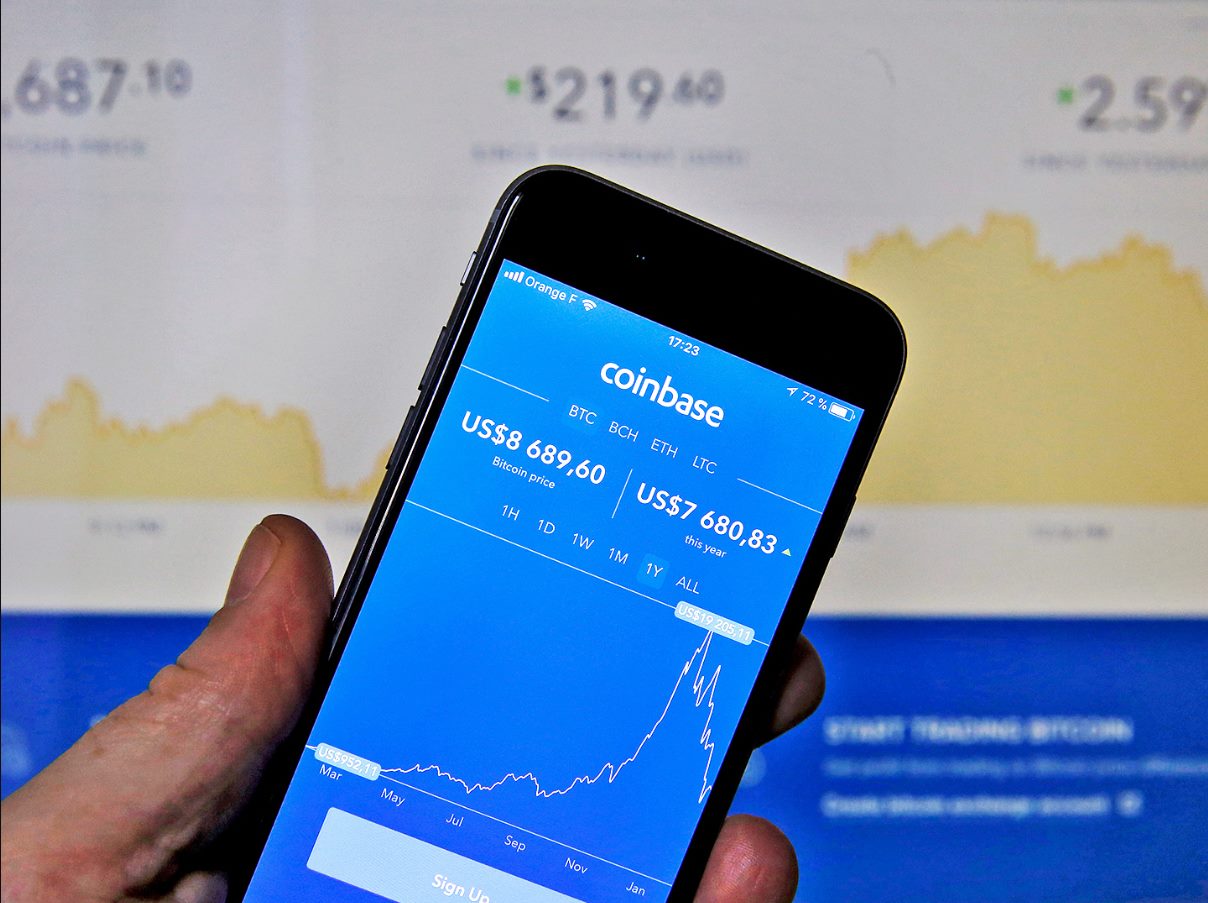
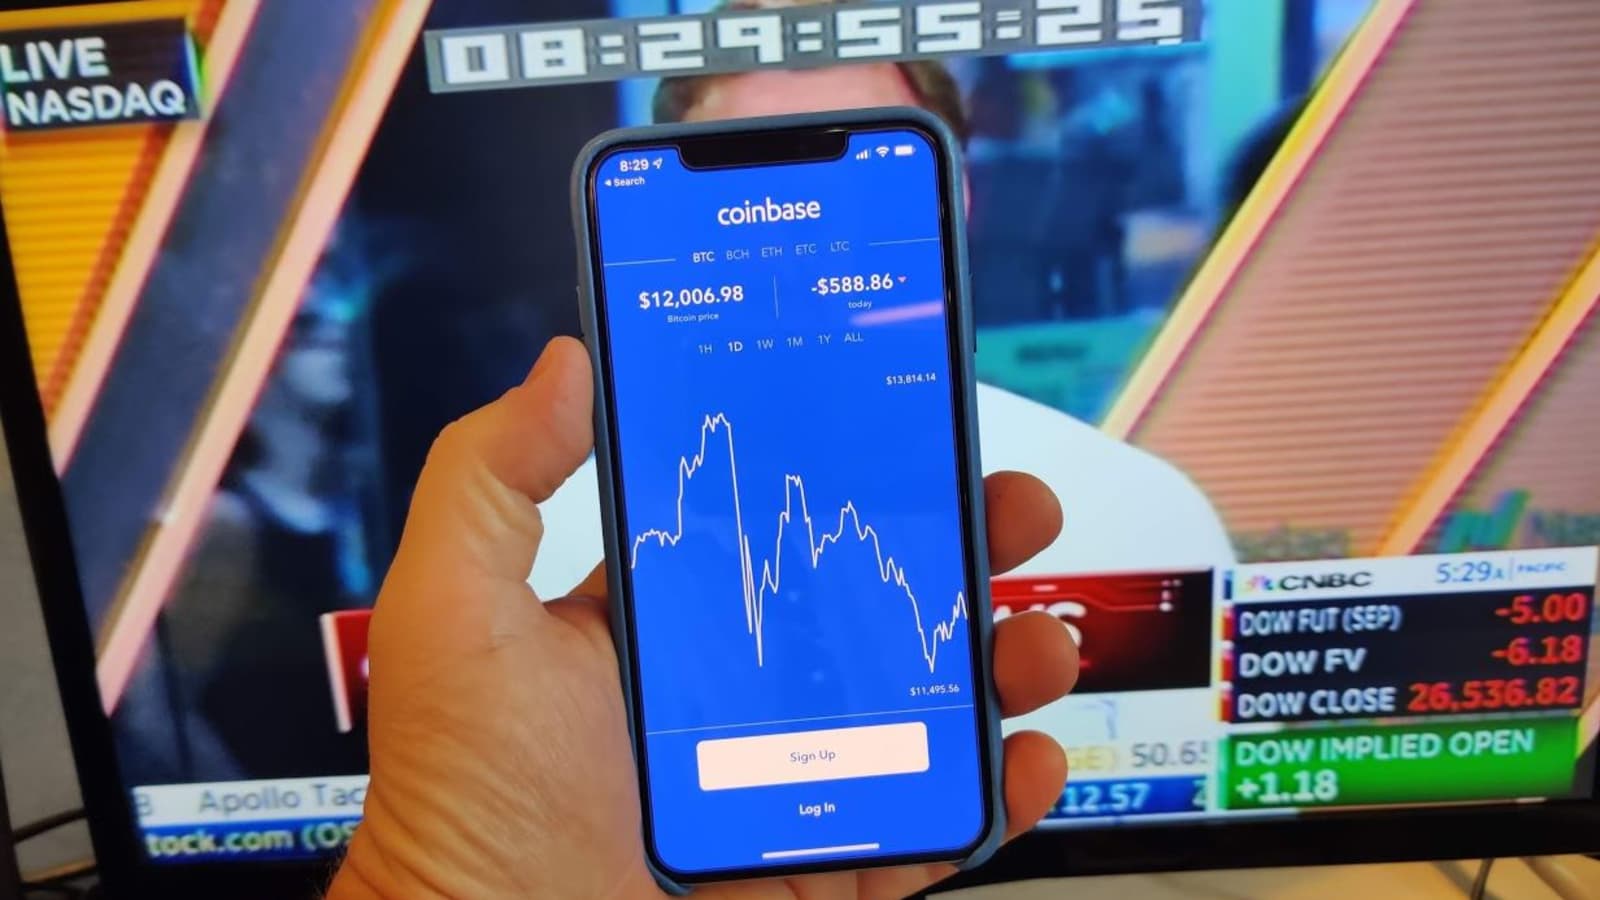
Some popular exchange platforms that support Bitcoin and Litecoin include Coinbase, Binance, and Kraken. These platforms offer a wide range of cryptocurrency pairs and have established themselves as reputable and reliable exchanges.
Once you have chosen an exchange platform that meets your requirements, you’re ready to move on to the next step: creating an account.
Step 3: Create an account
After finding a suitable exchange platform, the next step is to create an account. Creating an account will allow you to access the platform’s features and start trading Bitcoin for Litecoin.
Follow these steps to create an account on most exchange platforms:
- Visit the exchange platform’s website: Open your web browser and go to the official website of the exchange platform you have chosen.
- Click on the “Sign Up” or “Create Account” button: Look for the button that allows you to create a new account. It is usually prominently displayed on the homepage.
- Provide your email address: Enter your email address in the required field. Make sure to use an email address that you have access to, as you will receive important account-related notifications.
- Create a strong password: Choose a strong password that includes a mix of uppercase and lowercase letters, numbers, and special characters. This will help protect your account from unauthorized access.
- Complete the verification process: Some exchange platforms require users to go through a verification process to comply with regulations and enhance security. Follow the platform’s instructions to complete the verification process, which may include providing identification documents.
- Agree to the terms and conditions: Read the exchange platform’s terms and conditions, and if you agree to them, tick the box to accept.
- Submit your registration: Once you have filled in all the required information, click on the “Register” or “Sign Up” button to submit your registration.
- Check your email: After submitting your registration, check your email inbox for a verification link. Click on the link to verify your email address and activate your account.
Congratulations! You have successfully created an account on the exchange platform. Now it’s time to move on to the next step: verifying your account to unlock additional features.
Step 4: Verify your account
Verifying your account is an important step in the process of exchanging Bitcoin to Litecoin on most exchange platforms. The verification process is necessary to comply with regulatory requirements and ensure the security of your account.
Here are the general steps to verify your account:
- Login to your account: Use your registered email address and password to login to your account on the exchange platform.
- Locate the account verification section: Look for the “Account Verification” or “KYC (Know Your Customer)” section. It is usually found in the account settings or profile section of the platform.
- Provide personal information: You will be required to provide personal information such as your full name, date of birth, residential address, and sometimes nationality. Ensure that the information you provide is accurate and matches the details on your identification documents.
- Submit identification documents: You will need to upload scanned copies or photos of identification documents such as your passport, driver’s license, or national ID card. Make sure the documents are clear and legible.
- Additional verification (if necessary): Depending on the platform and the level of verification required, you may be asked to provide additional proof of address documents or undergo facial recognition verification.
- Wait for verification: After submitting your information and documents, the platform will review and verify them. The verification process may take some time, ranging from a few hours to a few days.
- Upgraded account status: Once your account is successfully verified, you will receive a notification, and your account status will be upgraded to allow you to access all available features on the platform.
Note that the verification process may vary slightly from one exchange platform to another. It’s important to follow the specific instructions provided by the platform during the verification process.
With your account successfully verified, you are one step closer to exchanging Bitcoin for Litecoin. The next step is to deposit your Bitcoin into your exchange wallet.
Step 5: Deposit Bitcoin
Now that your account is verified, you can proceed to deposit Bitcoin into your exchange wallet. This step is necessary to have funds available for the Bitcoin to Litecoin exchange.
Follow these steps to deposit Bitcoin into your exchange wallet:
- Login to your exchange account: Use your registered email address and password to login to your account on the exchange platform.
- Locate the deposit section: Look for the “Deposit” or “Funds” section on the platform. It is usually found in the account settings or wallet section.
- Select Bitcoin as the deposit currency: In the deposit section, choose Bitcoin as the currency you want to deposit. This will generate a unique Bitcoin wallet address for you.
- Copy the Bitcoin wallet address: The exchange platform will provide you with a unique Bitcoin wallet address. Copy this address as you will need it in the next step.
- Send Bitcoin to the wallet address: Open your personal Bitcoin wallet (the one you set up in Step 1) and initiate a transaction. Paste the exchange wallet address into the recipient field and enter the amount of Bitcoin you want to deposit.
- Confirm the transaction: Double-check the wallet address and the amount you entered. Once you are certain, confirm the transaction and wait for it to be validated by the Bitcoin network.
- Wait for the deposit to reflect in your exchange account: The time it takes for your deposit to reflect in your exchange account may vary depending on network congestion. It typically takes a few minutes to an hour.
It’s important to note that some exchange platforms may require additional confirmations or have minimum deposit amounts for Bitcoin. Make sure to familiarize yourself with the platform’s specific requirements and follow the instructions accordingly.
Once your Bitcoin deposit is successfully credited to your exchange account, you are ready to move on to the next step: selecting a trading pair to exchange your Bitcoin for Litecoin.
Step 6: Select a trading pair
With your Bitcoin successfully deposited into your exchange account, it’s time to select a trading pair to exchange your Bitcoin for Litecoin. A trading pair refers to the two cryptocurrencies that you will be trading between.
Follow these steps to select a trading pair:
- Login to your exchange account: Use your registered email address and password to login to your account on the exchange platform.
- Locate the trading section: Look for the “Trade” or “Exchange” section on the platform. It is usually found in the main navigation menu or dashboard.
- Select the Bitcoin/Litecoin trading pair: In the trading section, search for the Bitcoin/Litecoin trading pair. Some platforms may display the trading pairs as BTC/LTC or similar. Click on the pair to proceed.
- Review the trading interface: The trading interface will show you the current price of Litecoin in terms of Bitcoin, as well as the order book that displays the buy and sell orders from other traders.
- Choose your preferred order type: Depending on the platform, you may have different order types available such as market order, limit order, or stop order. Each order type has its own characteristics, so make sure to understand them before proceeding.
- Enter the amount to exchange: Specify the amount of Bitcoin you want to exchange for Litecoin. You can either enter the amount in Bitcoin or the equivalent amount in Litecoin.
- Review the order details: Double-check the order details, including the amount, price, and any fees associated with the transaction.
- Place the order: Once you are satisfied with the order details, click on the “Buy” or “Place Order” button to execute the trade.
The trading interface may vary depending on the exchange platform you are using. Take your time to familiarize yourself with the platform’s trading features and options to ensure a smooth trading experience.
After placing your order, the exchange platform will match it with a seller who is willing to sell Litecoin for the price you specified. Once the trade is executed, you can proceed to the next step: confirming the exchange.
Step 7: Initiate the exchange
With the trading pair selected, it’s time to initiate the exchange and execute the trade. This step involves confirming the details of the trade and finalizing the transaction on the exchange platform.
Follow these steps to initiate the exchange:
- Login to your exchange account: Use your registered email address and password to login to your account on the exchange platform.
- Access your open orders: Navigate to the “Trade” or “Orders” section of the platform. This is where you can view your pending trades and open orders.
- Locate your Bitcoin to Litecoin trade: Find the specific trade that you have placed for exchanging Bitcoin to Litecoin.
- Review the order details: Double-check the details of the trade, including the amount, price, and any fees associated with the transaction.
- Confirm the trade: If the order details are correct, click on the “Confirm” or “Execute” button to initiate the exchange.
- Wait for the trade to be executed: After confirming the trade, the exchange platform will process the transaction and match your order with a suitable seller.
- Monitor the trade status: Keep an eye on the trade status in the “Trade” or “Orders” section. You will be able to track whether the trade is in progress or has been successfully completed.
During the exchange process, it’s important to be patient and allow the platform enough time to complete the trade. The length of time it takes for the trade to be executed may vary depending on market conditions and the liquidity of the trading pair.
Once the exchange is successfully executed, you can move on to the next step: confirming the exchange details.
Step 8: Confirm the exchange
After initiating the exchange, it is crucial to carefully review and confirm the trade details before proceeding. Confirming the exchange ensures that the transaction is accurate and aligns with your intended exchange of Bitcoin to Litecoin.
Follow these steps to confirm the exchange:
- Login to your exchange account: Use your registered email address and password to login to your account on the exchange platform.
- Access your trade history: Navigate to the “Trade” or “Orders” section of the platform. This is where you can access your trade history and view the details of your recent trades.
- Locate the completed trade: Find the specific trade that involved the exchange of Bitcoin to Litecoin.
- Review the trade details: Carefully evaluate the trade details, including the amount of Bitcoin exchanged, the corresponding amount of Litecoin received, and any fees or charges associated with the transaction.
- Compare with your expectations: Verify that the trade details match your original intention and expectations. Ensure that the converted amount of Litecoin aligns with the exchange rate and any additional charges are as expected.
- Contact customer support (if needed): If you spot any discrepancies or have questions regarding the trade, don’t hesitate to contact customer support for assistance. They will be able to address your concerns and provide clarification if necessary.
- Confirm the trade completion: Once you are satisfied with the trade details, and everything aligns with your expectations, consider the trade as confirmed.
By confirming the exchange, you acknowledge that the trade has been executed according to the provided details. It is crucial to review the trade carefully to prevent any potential mistakes or inaccuracies.
Once you have confirmed the exchange details, the time has come to receive your Litecoin in your exchange wallet. This will be covered in the next step.
Step 9: Receive Litecoin
After confirming the exchange, it’s time to receive your Litecoin in your exchange wallet. This step involves ensuring that the Litecoin you exchanged for Bitcoin is credited to your wallet on the exchange platform.
Follow these steps to receive your Litecoin:
- Login to your exchange account: Use your registered email address and password to login to your account on the exchange platform.
- Check your wallet balance: Navigate to the “Wallet” or “Balances” section of the platform. This is where you can view the balances of different cryptocurrencies in your exchange wallet.
- Locate your Litecoin balance: Find the section that displays your Litecoin balance. The amount should reflect the Litecoin you received in exchange for your Bitcoin.
- Verify the transaction details: Review the transaction details, such as the transaction ID, the date and time of the transaction, and the number of Litecoin credited to your wallet.
- Ensure the amount is correct: Double-check that the amount of Litecoin credited to your wallet matches the expected amount based on the exchange rate and any applicable fees.
- Monitor for confirmations (if required): In some cases, a certain number of confirmations may be required for the transaction to be considered fully completed. Keep an eye on the transaction status to ensure it reaches the required number of confirmations.
- Use the Litecoin in your wallet: Your Litecoin is now available for you to use. You can hold onto it as an investment, transfer it to another wallet, or use it for various purposes depending on your needs and preferences.
It’s important to note that the time it takes for the Litecoin to be credited to your wallet may vary depending on network congestion and the confirmation requirements of the exchange platform.
Once the Litecoin is safely credited to your wallet, you can proceed to the final step: transferring your Litecoin to your personal wallet for added security.
Step 10: Transfer Litecoin to your wallet
Now that you have received Litecoin in your exchange wallet, it’s generally recommended to transfer your Litecoin to a more secure personal wallet. Holding your digital assets in a personal wallet gives you full control over your funds and reduces the risk of loss or theft due to exchange platform vulnerabilities.
Follow these steps to transfer your Litecoin to your personal wallet:
- Login to your exchange account: Use your registered email address and password to login to your account on the exchange platform.
- Access your Litecoin balance: Navigate to the “Wallet” or “Balances” section of the platform. Locate your Litecoin balance, which should show the amount of Litecoin you currently hold in your exchange wallet.
- Initiate a withdrawal: Look for the “Withdraw” or “Send” option for Litecoin. Click on it to begin the withdrawal process.
- Enter your personal wallet address: In your personal wallet, generate a receiving address for Litecoin. Copy this address and return to the exchange platform. Paste the address into the withdrawal request form.
- Specify the withdrawal amount: Enter the amount of Litecoin you want to transfer to your personal wallet. Ensure that the amount does not exceed your available balance.
- Review the withdrawal details: Double-check the withdrawal details, including the withdrawal address and the amount of Litecoin being transferred.
- Confirm the withdrawal: Once you are confident in the details, confirm the withdrawal request. Some platforms may require an additional layer of verification for security purposes.
- Wait for the transfer to complete: The time it takes for the transfer to complete can vary depending on network congestion and the processing time of the exchange platform. Monitor the platform for updates on the status of the withdrawal.
- Check your personal wallet: Once the transfer is complete, check your personal wallet to verify that the Litecoin has been successfully deposited. It may take some time for the transaction to be confirmed on the Litecoin network.
- Secure your personal wallet: Take steps to secure your personal wallet, such as enabling two-factor authentication and making regular backup copies of your wallet’s private keys or seed phrase.
By transferring your Litecoin to your personal wallet, you gain greater control and security over your digital assets. Remember to keep your personal wallet credentials and backup copies in a safe and secure location to prevent unauthorized access.
Congratulations! You have successfully completed the process of exchanging Bitcoin to Litecoin and transferring your Litecoin to your personal wallet. Now you can hold, use, or trade your Litecoin as you see fit.
Conclusion
Exchanging Bitcoin to Litecoin can be an exciting and rewarding venture within the world of cryptocurrencies. By following the step-by-step process outlined in this guide, you have learned how to navigate through setting up your wallet, finding a reliable exchange platform, creating an account, verifying your account, depositing Bitcoin, selecting a trading pair, initiating the exchange, confirming the trade, receiving Litecoin, and transferring it to your personal wallet.
Throughout this process, it is essential to prioritize security and accuracy, double-checking all the details before confirming any transactions. Researching and choosing reputable exchange platforms, conducting thorough verifications, and securing your personal wallet are fundamental steps to protect your funds.
Remember that the cryptocurrency market can be volatile and unpredictable. It’s important to stay informed, keep track of market trends, and only invest what you can afford to lose. As with any investment, it’s wise to conduct your own research and seek professional advice if needed.
By exchanging Bitcoin to Litecoin, you can diversify your digital asset portfolio and potentially take advantage of different market dynamics. Litecoin offers faster transaction speeds and lower fees compared to Bitcoin, making it an attractive option for many crypto enthusiasts.
Always stay vigilant and be mindful of potential scams or phishing attempts. Be cautious of sharing personal information, ensuring you only use official exchange platforms, and keeping your wallet and account credentials secure.
With the knowledge and steps outlined in this guide, you are now equipped to confidently navigate the process of exchanging Bitcoin to Litecoin. Enjoy exploring the world of cryptocurrencies and may your endeavors be successful!