Introduction
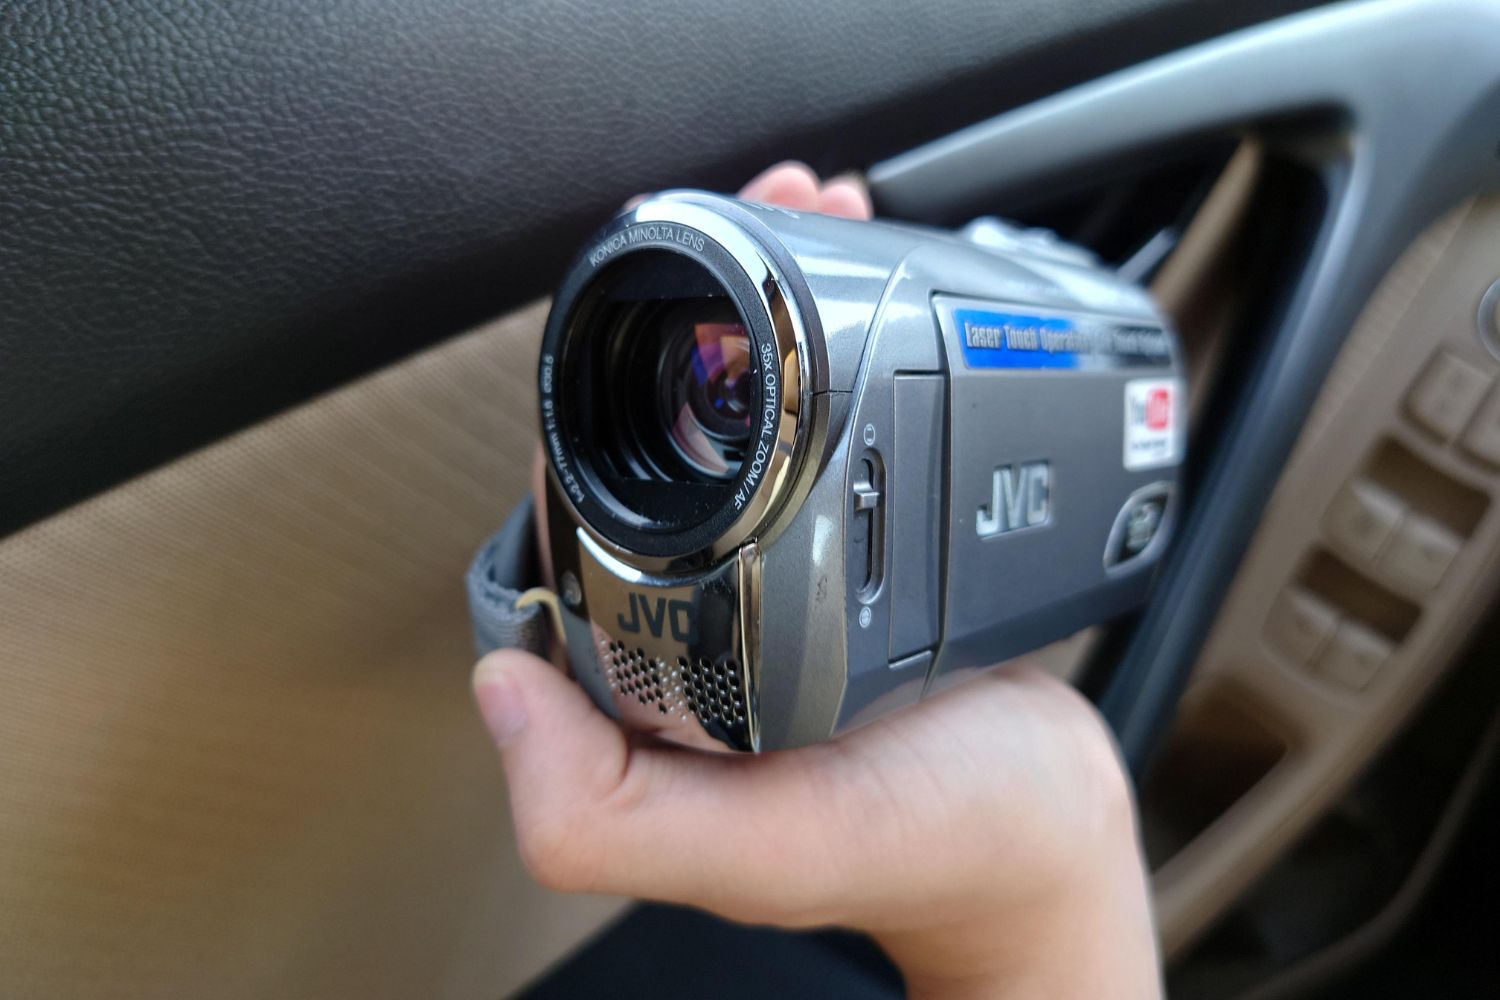
Are you eager to share your captivating moments captured on your JVC Everio camcorder with friends, family, or the world? Uploading videos from your JVC Everio camcorder to your computer and then to your preferred platform can be an exciting way to showcase your creativity and preserve cherished memories. Whether you're a vlogger, aspiring filmmaker, or simply looking to share special events, learning how to upload videos from your JVC Everio camcorder is a valuable skill.
In this guide, we'll walk you through the process step by step, ensuring that you can effortlessly transfer your video files and share them with your desired audience. By following these straightforward instructions, you'll be able to showcase your video content on various platforms, from social media channels to video hosting websites.
Let's embark on this journey to seamlessly upload your JVC Everio camcorder videos, allowing you to unleash your creativity and connect with your audience in a meaningful way. Whether you're documenting travel adventures, capturing family milestones, or creating engaging content, this guide will equip you with the knowledge and confidence to effortlessly share your video masterpieces.
Step 1: Connect Your JVC Everio Camcorder to Your Computer
Before you can begin the process of uploading your videos, it’s essential to establish a physical connection between your JVC Everio camcorder and your computer. This step is crucial for initiating the transfer of your video files, enabling you to seamlessly manage and share your content.
To connect your JVC Everio camcorder to your computer, you’ll need a USB cable that is compatible with your camcorder model. Most JVC Everio camcorders are equipped with a USB port for direct connectivity. Here’s a simple guide to help you through the process:
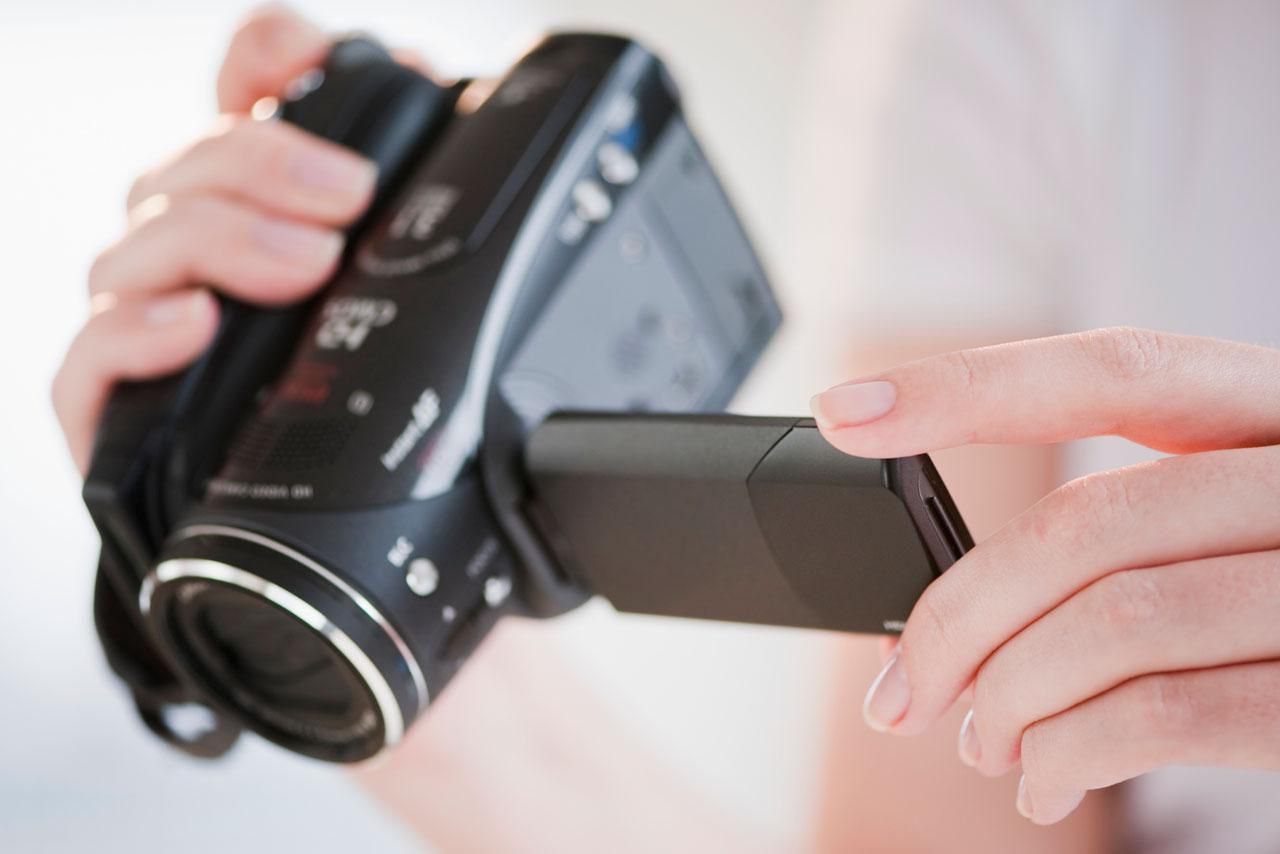
- Locate the USB Port: Begin by identifying the USB port on your JVC Everio camcorder. This port is typically located on the camcorder’s body, often concealed behind a protective cover. Once you’ve located the port, gently open the cover to reveal the USB connection point.
- Connect the USB Cable: With the USB port now accessible, take the USB cable and insert one end into the port on your JVC Everio camcorder. Ensure that the connection is secure to prevent any interruptions during the data transfer process.
- Connect to Your Computer: After securely attaching the USB cable to your camcorder, it’s time to connect the other end of the cable to an available USB port on your computer. Depending on your computer’s configuration, you may have multiple USB ports to choose from. Select a free port and insert the USB cable, establishing a direct link between your camcorder and computer.
Once the physical connection is established, your JVC Everio camcorder will be recognized by your computer, paving the way for the subsequent steps in the video uploading process. With this vital connection in place, you’re now ready to proceed to the next phase of transferring your video files to your computer.
Step 2: Transfer the Video Files to Your Computer
With your JVC Everio camcorder successfully connected to your computer, the next step involves transferring the video files from the camcorder to your computer’s storage. This process allows you to create a local copy of your videos, providing you with the freedom to edit, organize, and ultimately upload them to your preferred platform.
To transfer the video files, follow these simple steps:
- Access the Camcorder’s Storage: Once the connection between your JVC Everio camcorder and computer is established, navigate to your computer’s file explorer or desktop to locate the connected camcorder. Depending on your operating system, the camcorder may appear as a removable storage device or a designated drive.
- Select and Copy the Video Files: Upon accessing the camcorder’s storage, you’ll be presented with a list of video files stored on the device. Browse through the folders and select the video files you wish to transfer to your computer. You can typically identify your video files by their file extensions, such as .mp4 or .mov. Once you’ve selected the desired files, right-click and choose the “Copy” option.
- Paste the Files to Your Computer: After copying the selected video files, navigate to a destination on your computer where you’d like to store the videos. This could be a specific folder dedicated to your camcorder videos or any location of your choice. Right-click within the destination folder and select the “Paste” option to transfer the video files from your camcorder to your computer.
As the video files are transferred, you’ll notice the progress within your file explorer, indicating the successful copying of your videos. Once the transfer is complete, you’ll have local copies of your JVC Everio camcorder videos readily available on your computer, setting the stage for the final step of uploading them to your preferred platform.
Step 3: Upload the Video to Your Preferred Platform
Now that you’ve successfully transferred your video files from your JVC Everio camcorder to your computer, it’s time to share your captivating content with the world. Whether you’re aiming to showcase your videos on social media, a video hosting platform, or your personal website, the process of uploading your video is an essential final step in bringing your creations to a wider audience.
Here’s a straightforward guide to help you upload your JVC Everio camcorder videos to your preferred platform:
- Select Your Platform: Determine the platform where you intend to share your videos. This could be a social media platform like YouTube, Facebook, or Instagram, or a dedicated video hosting site such as Vimeo or Dailymotion. Each platform may have specific requirements and guidelines for video uploads, so it’s essential to familiarize yourself with the process and any formatting specifications.
- Access the Upload Interface: Once you’ve chosen your platform, navigate to the upload interface or section of the website or app. Look for the “Upload” or “Create” button, typically located prominently on the platform’s homepage or user dashboard.
- Locate Your Video Files: When prompted to upload a video, use the file explorer on your computer to locate the video files that you transferred from your JVC Everio camcorder. Select the desired video files and confirm your selection to initiate the upload process.
- Provide Title, Description, and Tags: As your video files are being uploaded, you’ll have the opportunity to provide essential details such as a title, description, and relevant tags or keywords. These elements help users discover and understand your content, so take the time to craft engaging and descriptive information about your videos.
- Set Privacy and Sharing Options: Depending on your preferences, you may have the option to adjust the privacy settings of your uploaded videos. You can choose to make your videos public, private, or accessible to specific audiences based on the platform’s available settings.
- Complete the Upload and Share: Once all necessary details are provided, complete the upload process and await the platform’s confirmation. Upon successful upload, you can share the video link with your audience, embed it on your website, or promote it across your social channels to amplify its reach.
By following these steps, you’ll be able to seamlessly upload your JVC Everio camcorder videos to your preferred platform, allowing you to showcase your creativity, share meaningful experiences, and connect with your audience in a compelling way.
Conclusion
Congratulations! You’ve successfully navigated the process of uploading videos from your JVC Everio camcorder to your computer and onto your preferred platform. By following the simple yet essential steps outlined in this guide, you’ve unlocked the ability to share your cherished moments, creative endeavors, and captivating stories with the world.
As you’ve discovered, the journey begins with establishing a physical connection between your JVC Everio camcorder and your computer, laying the groundwork for seamless data transfer. This foundational step sets the stage for the subsequent transfer of your video files, empowering you to create local copies and exercise greater control over your content.
With your video files safely stored on your computer, the final step of uploading them to your preferred platform opens the door to a vast audience eager to engage with your creations. Whether you’re sharing travel vlogs, documenting special events, or expressing your artistic vision, the act of uploading your videos signifies the culmination of your efforts and the beginning of a meaningful connection with your audience.
Through this process, you’ve not only mastered the technical aspects of video uploading but also embraced the opportunity to amplify your voice, express your creativity, and forge lasting connections with those who resonate with your content. Your JVC Everio camcorder has served as a faithful companion in capturing life’s moments, and now, with the knowledge gained from this guide, you’re equipped to share those moments with the world.
As you embark on your video uploading journey, remember that each upload is a testament to your unique perspective and creative expression. Whether you’re sharing laughter, inspiration, or thought-provoking narratives, your videos have the power to captivate, inspire, and leave a lasting impact on your audience.
So, with your newfound expertise, go forth and share your stories, experiences, and passions with confidence, knowing that your JVC Everio camcorder videos are ready to enrich the digital landscape and touch the hearts of viewers around the globe.