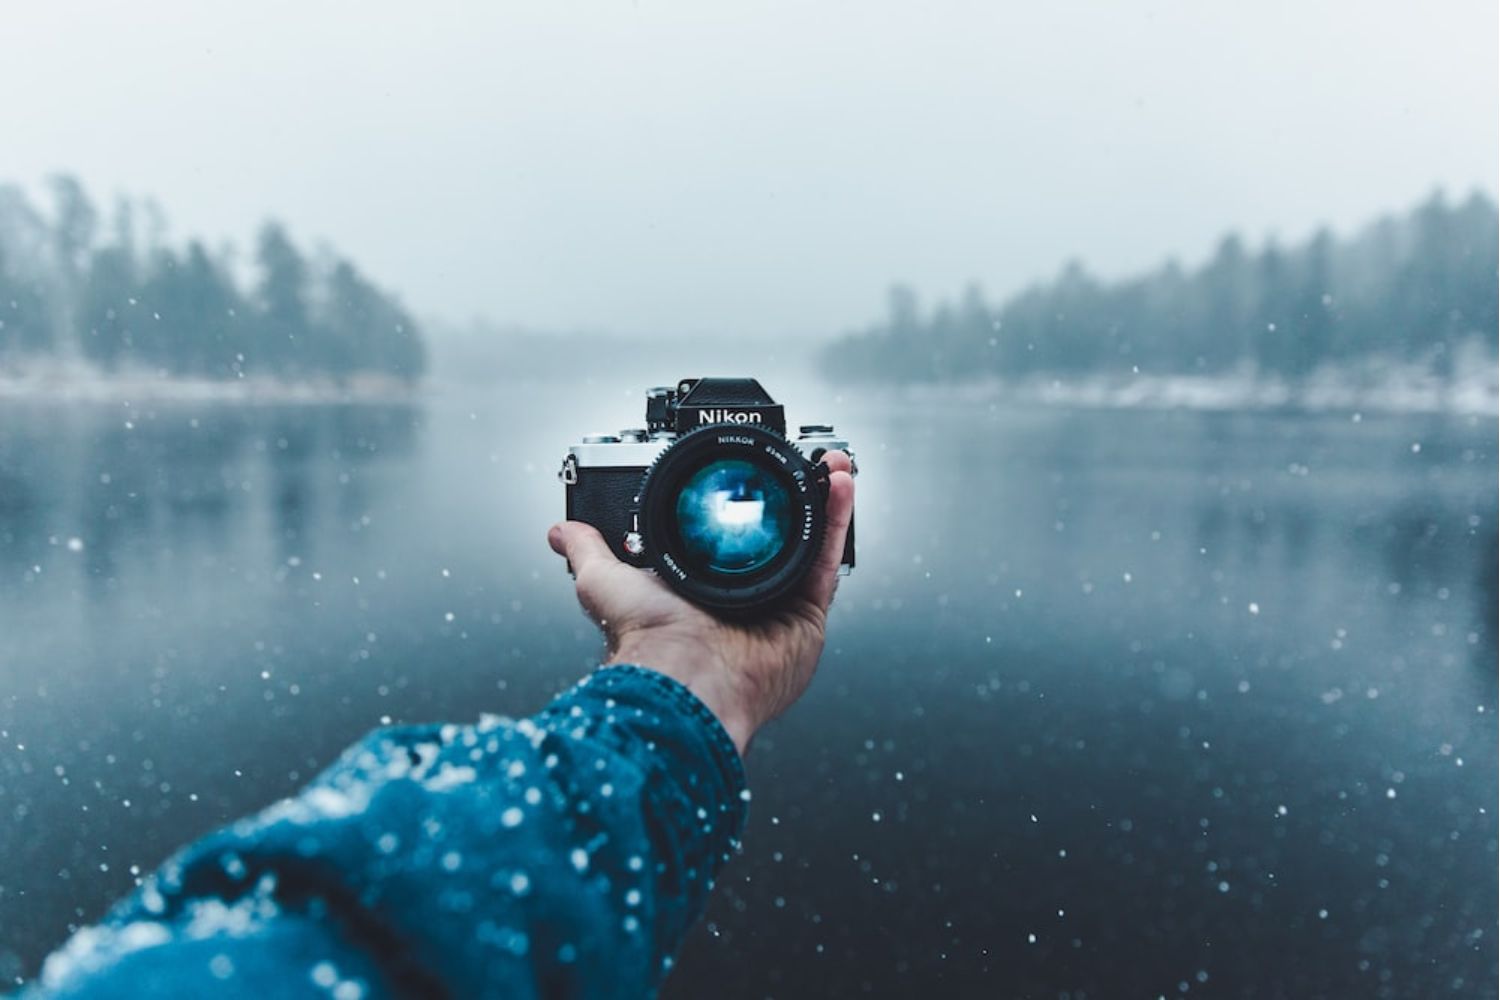
Introduction
Welcome to the world of self-portraiture with a DSLR camera! Capturing your own image can be an incredibly rewarding and empowering experience. Whether you’re an aspiring photographer or simply want to document moments in your life, mastering the art of self-portraits can open up a world of creative possibilities. With the right equipment, technique, and a dash of creativity, you can produce stunning self-portraits that truly reflect your unique personality.
Self-portraiture allows you to control every aspect of the image, from the composition and lighting to the mood and expression. It’s an opportunity to express yourself, tell a story, or simply capture a moment in time. With the rise of social media and personal branding, the demand for high-quality self-portraits has never been greater. Whether you’re looking to update your professional profile, showcase your personal style, or simply express yourself artistically, knowing how to take captivating self-portraits with a DSLR camera is a valuable skill to possess.
Throughout this guide, we’ll explore the essential steps and techniques for creating stunning self-portraits with a DSLR camera. From choosing the right equipment to mastering lighting and composition, we’ll cover everything you need to know to elevate your self-portrait game. Whether you’re a seasoned photographer or a complete novice, this guide will provide you with the knowledge and confidence to take your self-portraits to the next level.
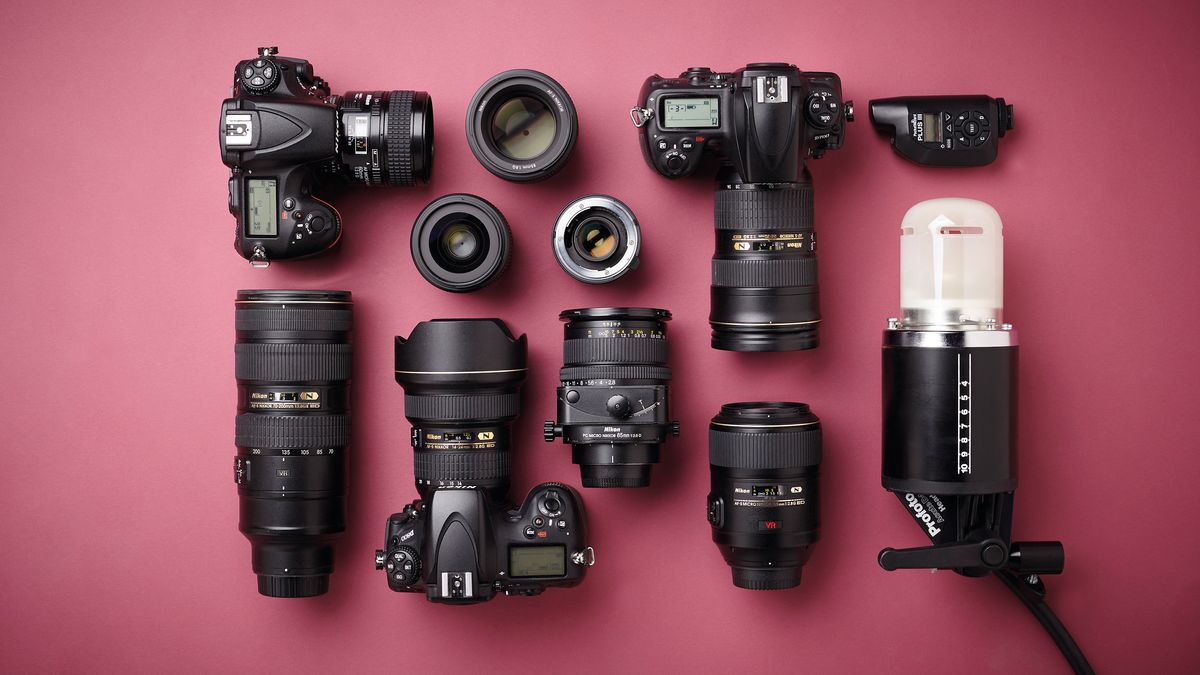
Choosing the Right Equipment
When it comes to capturing stunning self-portraits with a DSLR camera, selecting the right equipment is crucial. Here’s what you need to consider:
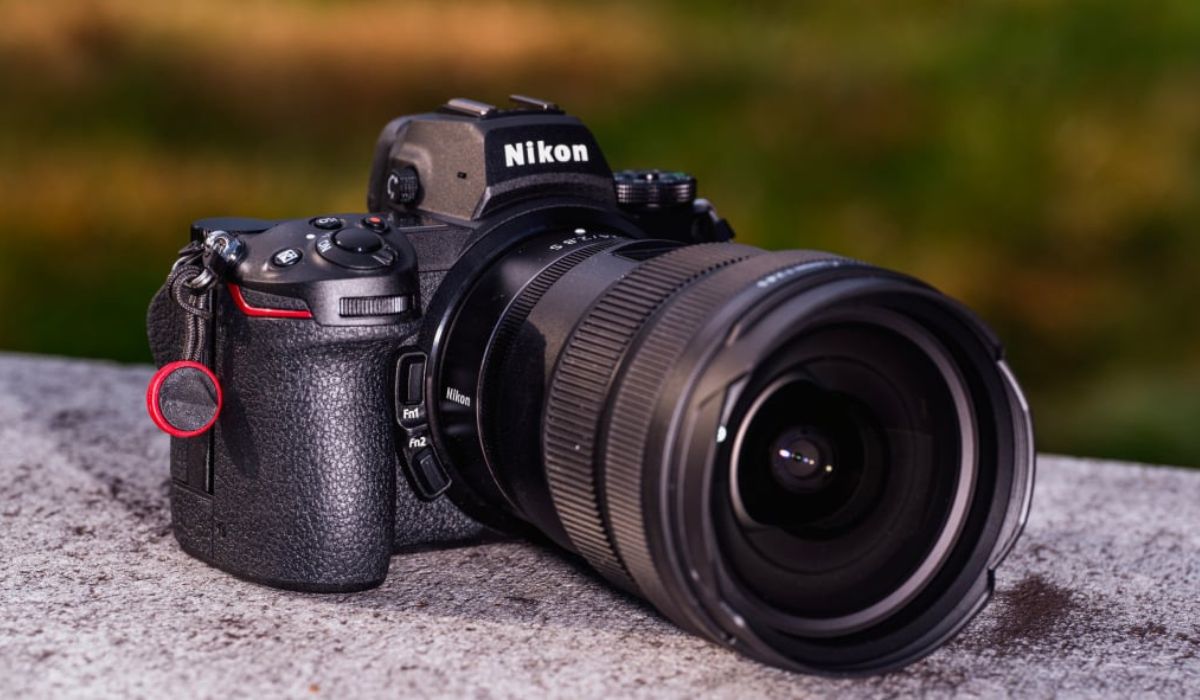
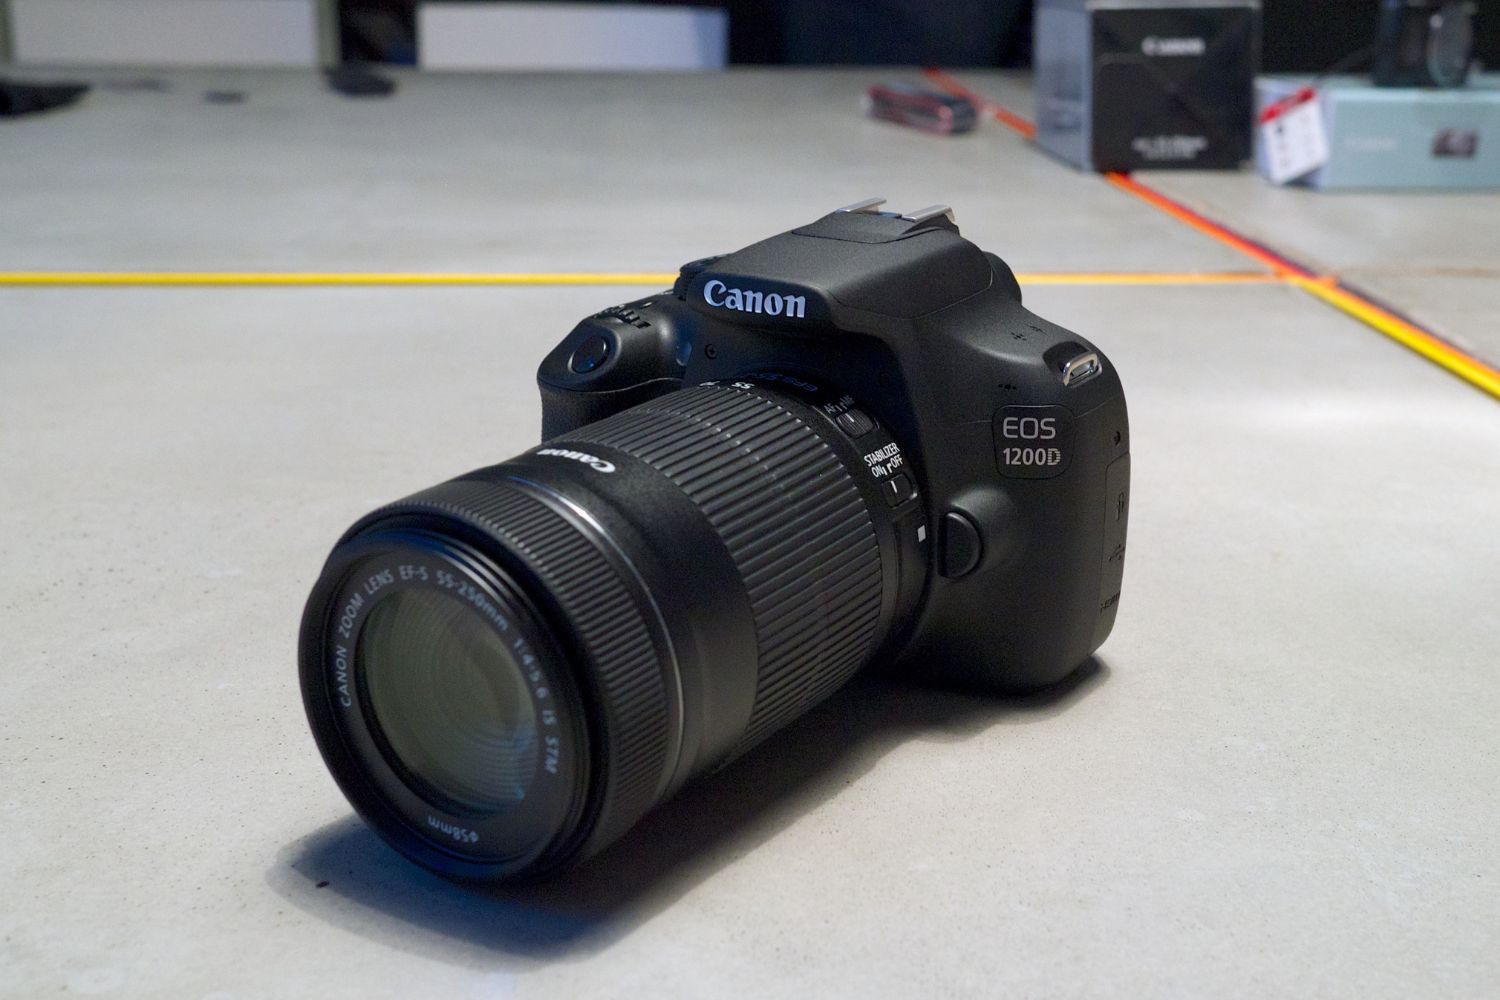
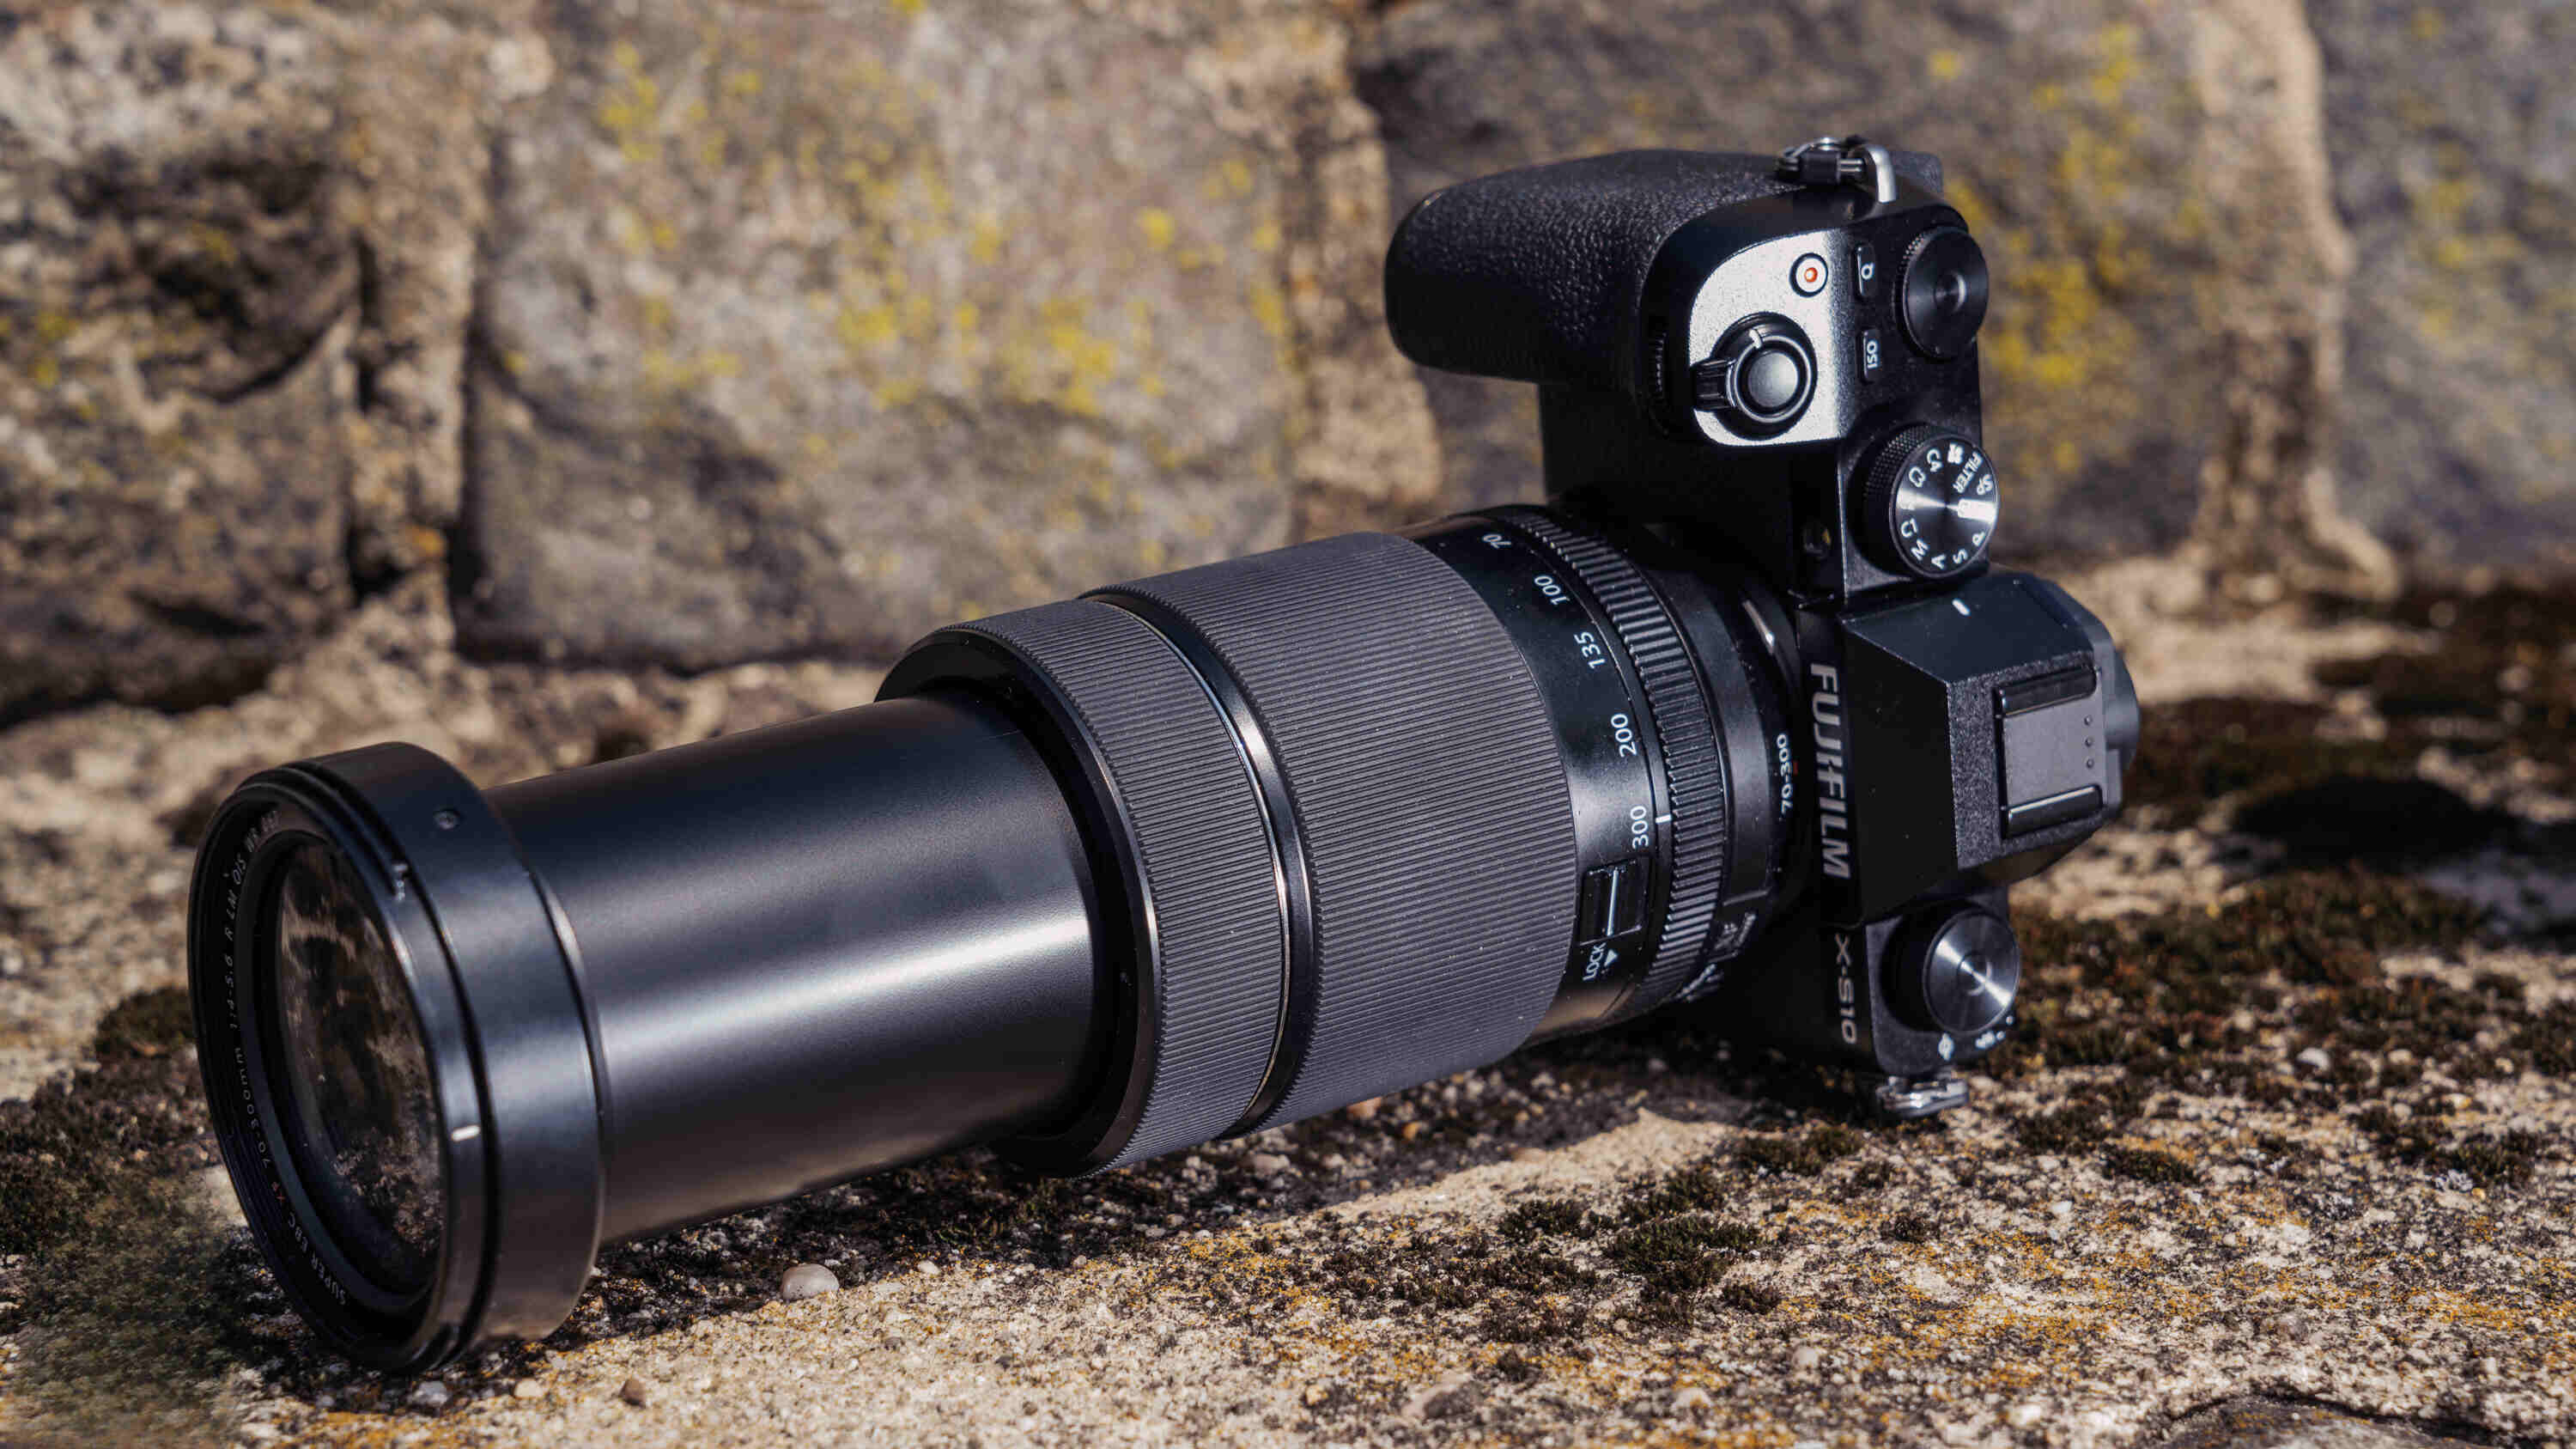
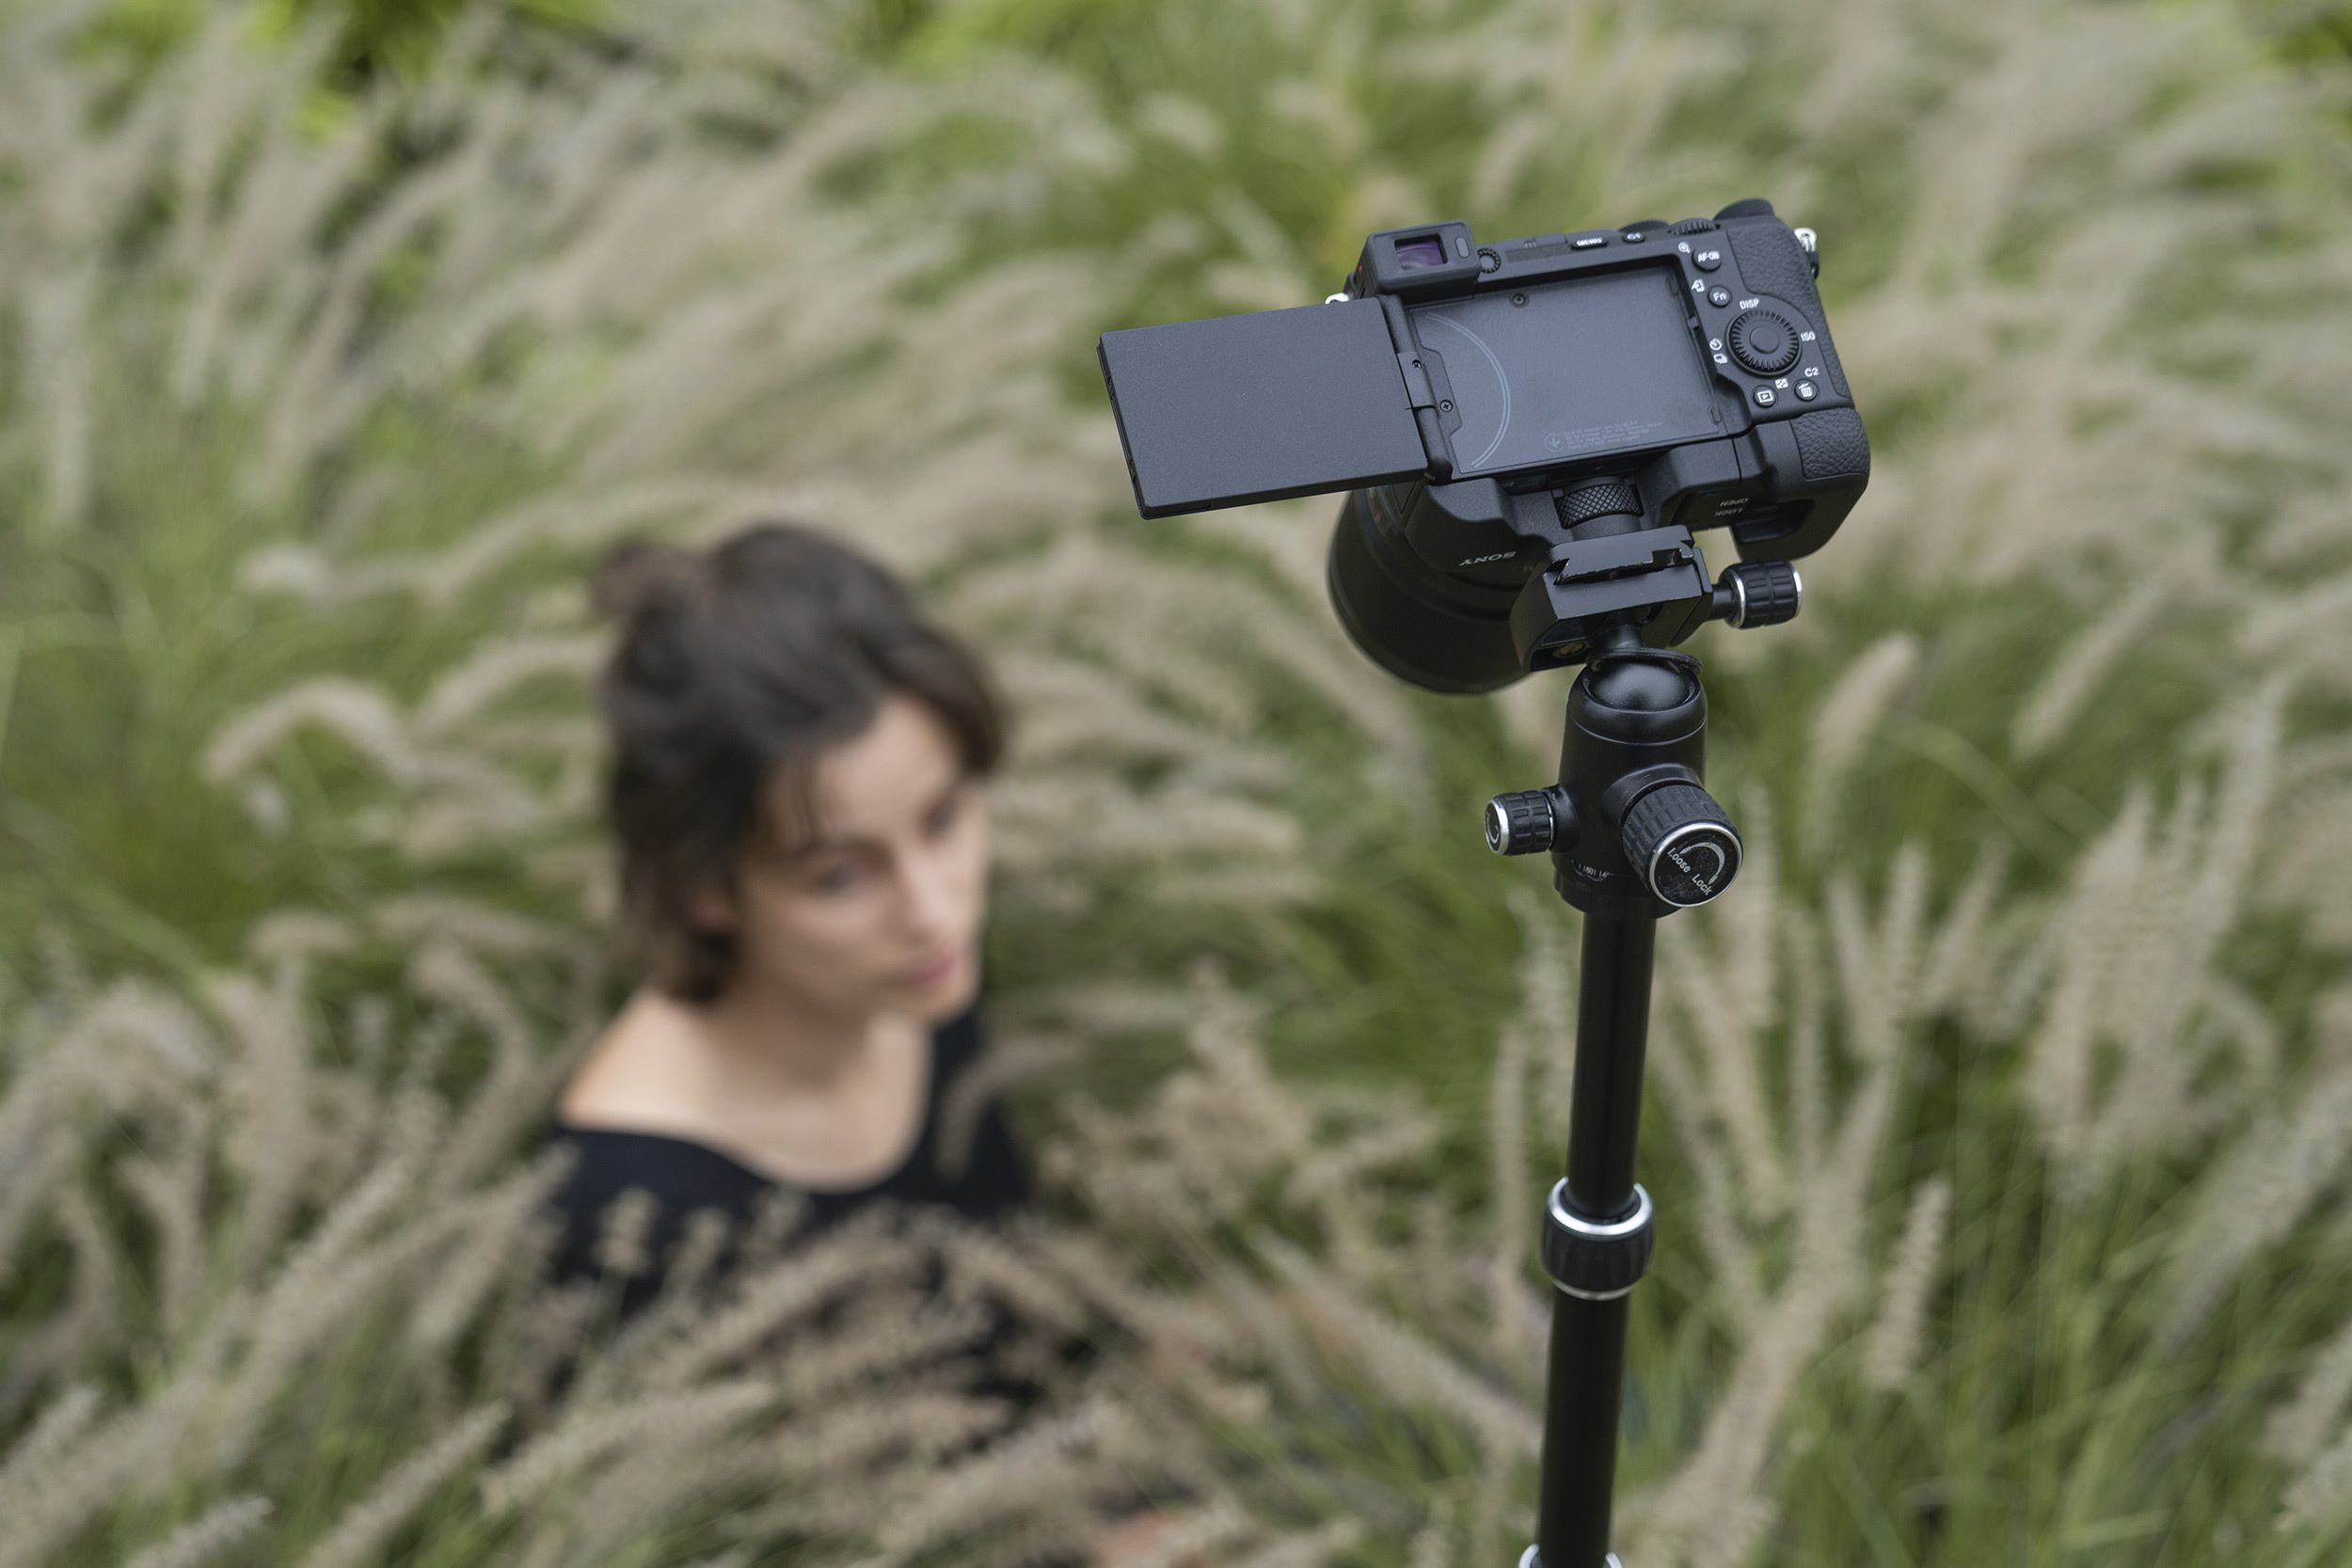
- Camera: Investing in a DSLR camera with a flip-out screen can greatly facilitate the process of capturing self-portraits. The ability to see yourself in the frame while adjusting settings and composition is invaluable.
- Lens: A versatile lens, such as a prime lens with a wide aperture (e.g., 50mm f/1.8), is ideal for achieving that coveted shallow depth of field, which beautifully isolates the subject from the background.
- Tripod: A sturdy tripod is essential for stabilizing the camera and ensuring sharp, blur-free images. Look for a tripod with adjustable height and a tilting center column for added flexibility.
- Remote Shutter Release or Timer: To eliminate camera shake and achieve precise control over the shutter, consider using a remote shutter release or the camera’s built-in timer function.
- Lighting Equipment: While natural light can work wonders for self-portraits, having a basic lighting setup, such as a softbox or a ring light, can significantly enhance the quality of your images, especially in low-light conditions.
By carefully selecting the right equipment, you can set yourself up for success and ensure that the technical aspects of capturing self-portraits don’t hinder your creative process. With the proper gear in hand, you’ll be well-equipped to bring your artistic vision to life through captivating self-portraits.
Setting Up Your Camera
Before diving into the process of capturing self-portraits with your DSLR camera, it’s essential to properly set up your equipment to achieve the best results. Here’s a step-by-step guide to help you get started:
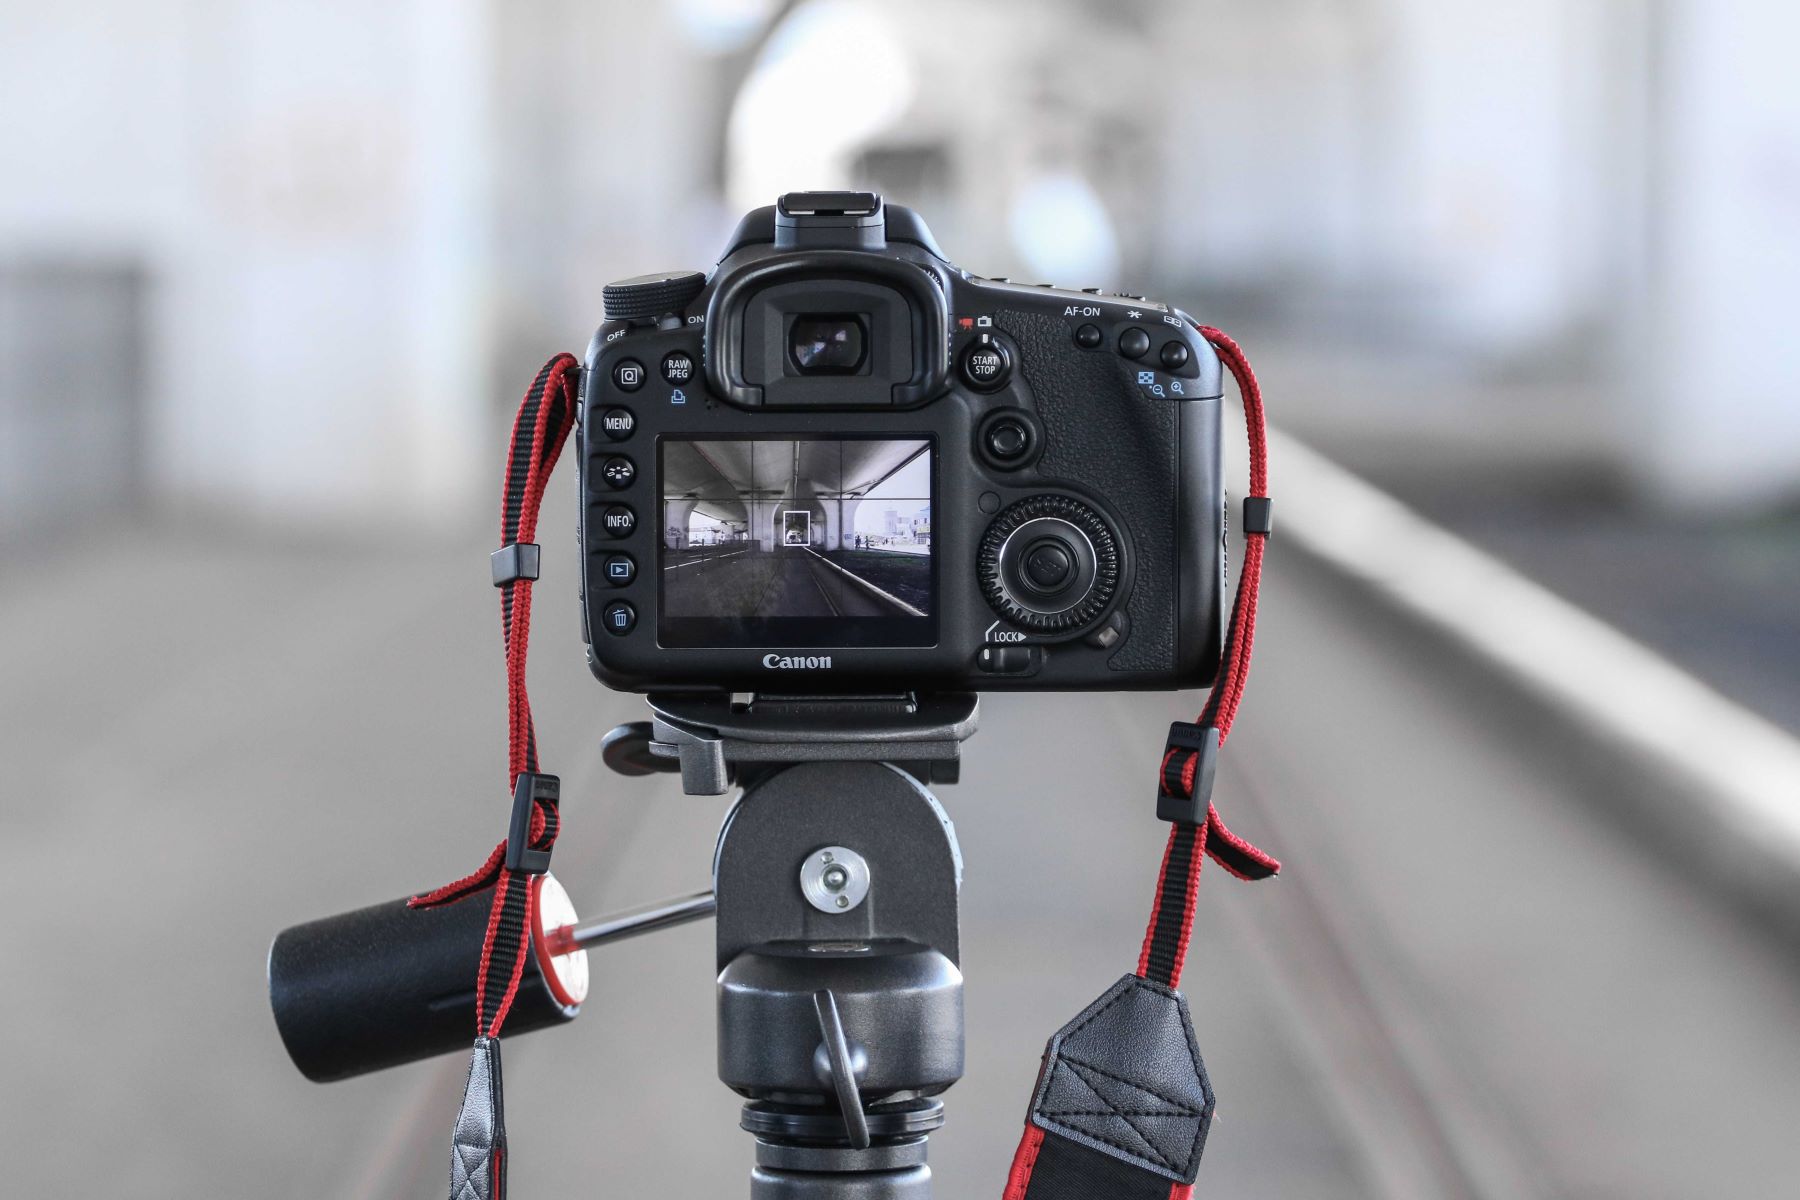
- Mount Your Camera on a Tripod: Stability is key when shooting self-portraits. Secure your camera to a tripod to minimize camera shake and ensure sharp images.
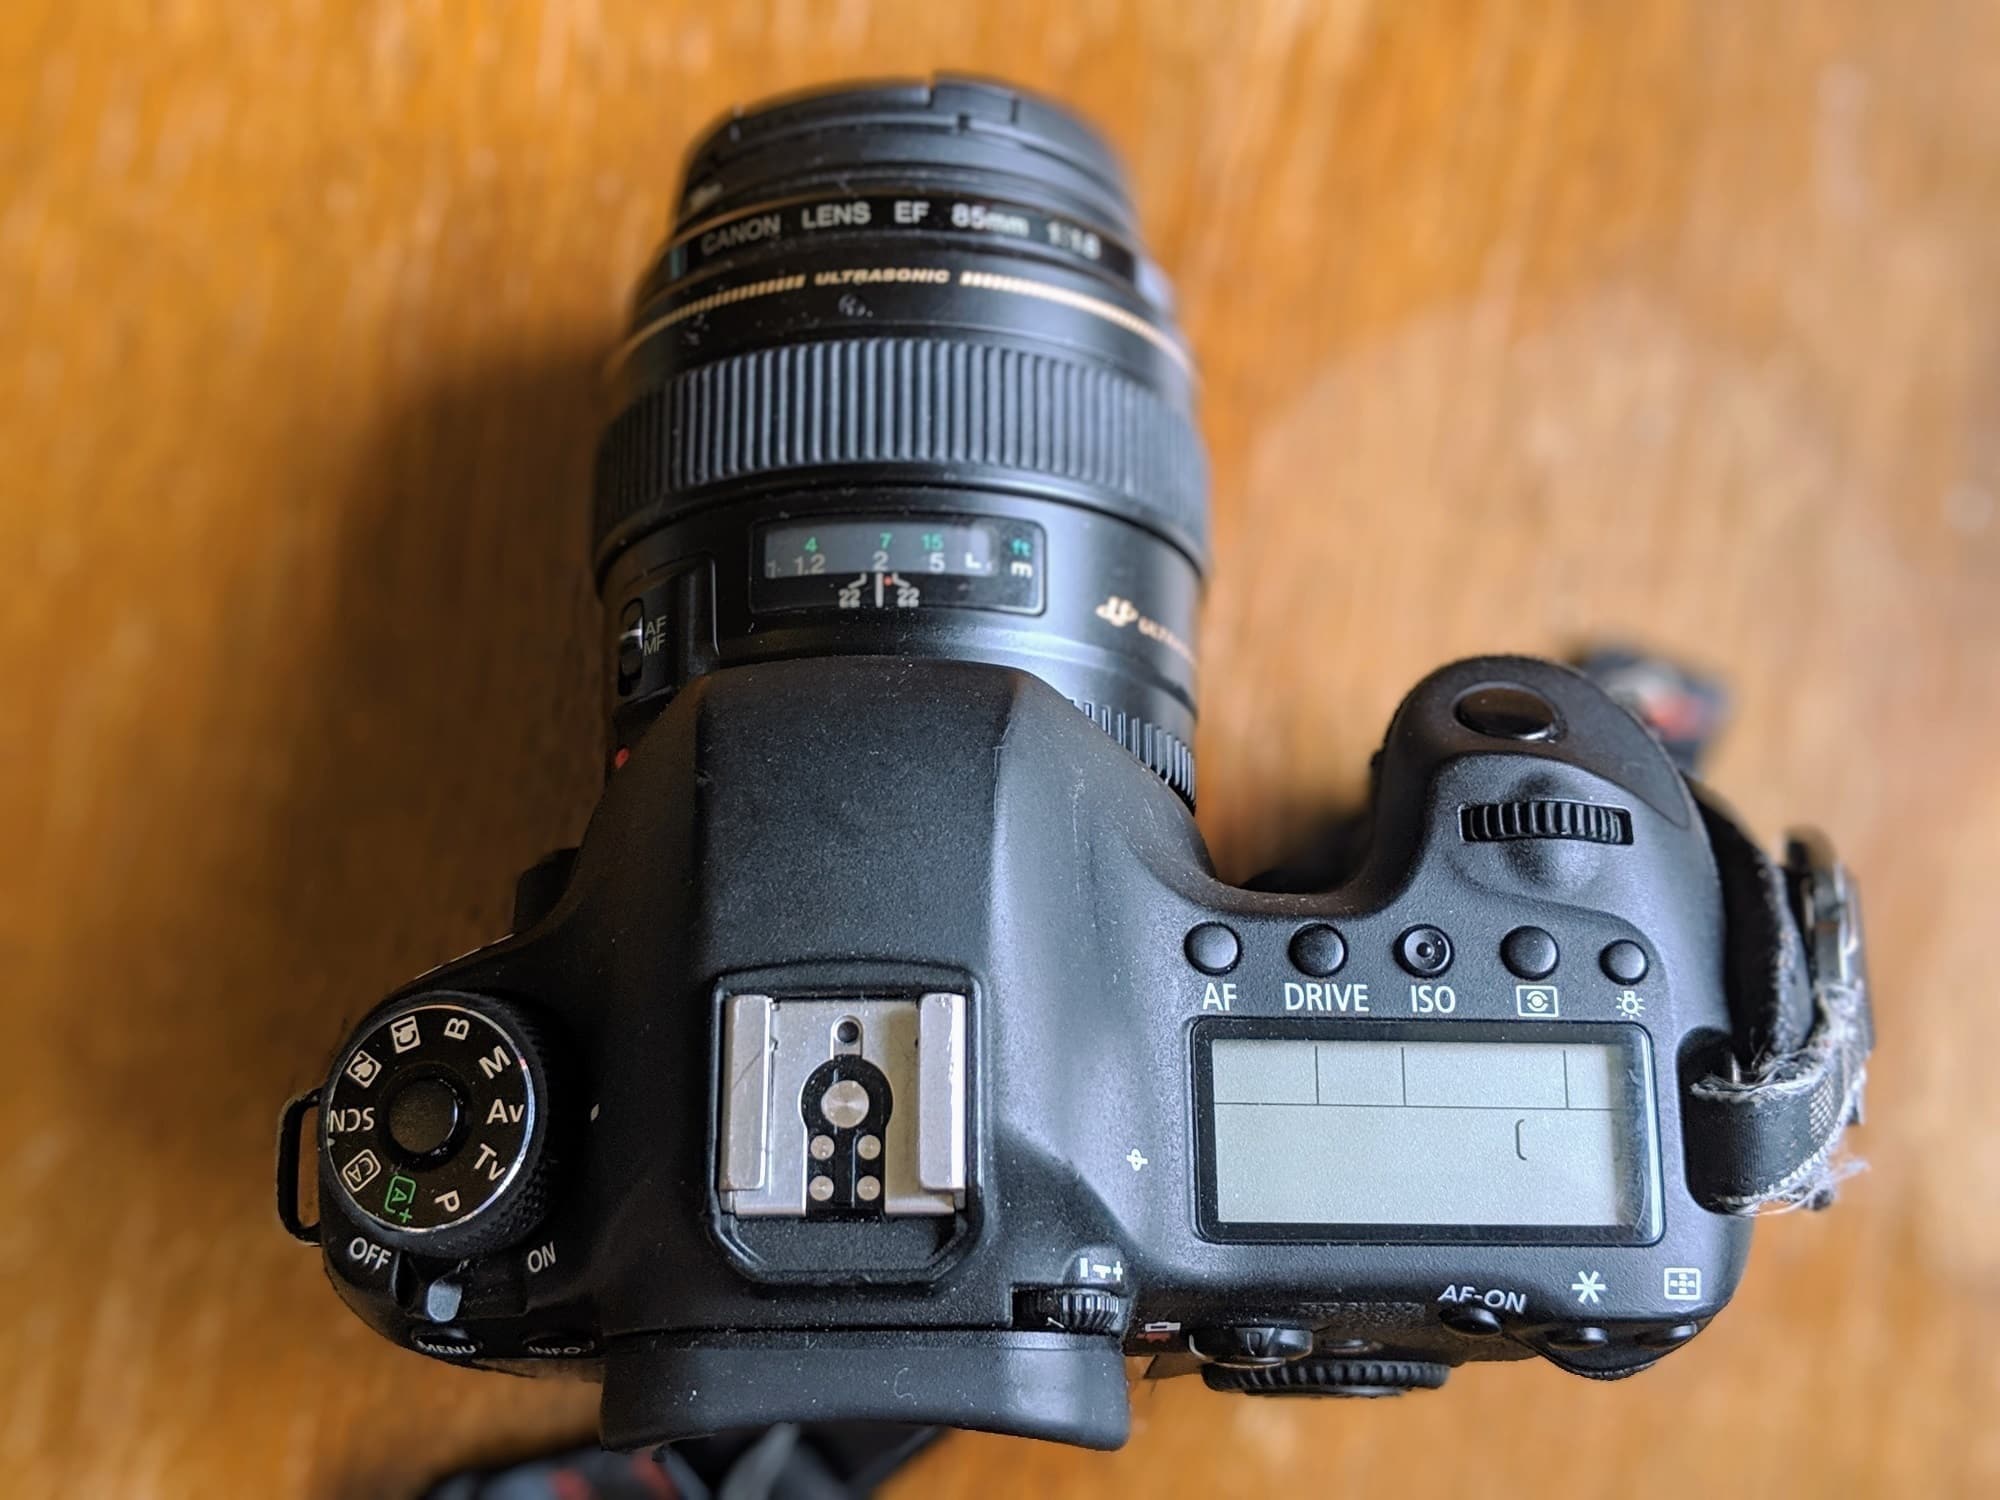
- Adjust the Camera Settings: Set your camera to aperture priority (A/Av mode) or manual mode to have control over the depth of field. Consider using a wide aperture (e.g., f/2.8) to achieve a pleasing background blur.
- Enable Live View Mode: Utilize the live view function on your camera to see a real-time preview of the framing and exposure. This feature is especially helpful when composing self-portraits.
- Focus on the Subject: If you’re shooting alone, use the camera’s autofocus to lock onto your desired focal point. Alternatively, switch to manual focus and utilize a stand-in object to set the focus before stepping into the frame.
- Set Up the Self-Timer or Remote Shutter Release: If you’re not using a remote shutter release, activate the camera’s self-timer function to allow a brief delay between pressing the shutter button and the actual capture, minimizing the risk of camera shake.
- Adjust the White Balance: Depending on the lighting conditions, consider setting the appropriate white balance preset or manually adjusting it to ensure accurate color representation in your self-portraits.
By following these steps, you can ensure that your camera is optimally configured to capture stunning self-portraits. Taking the time to set up your equipment properly will streamline the shooting process and allow you to focus on expressing your creativity without technical distractions.
Finding the Right Lighting
Lighting plays a pivotal role in creating compelling self-portraits. The way light interacts with your features can dramatically influence the mood and impact of your images. Here’s how to find the right lighting for your self-portraits:
- Natural Light: If shooting indoors, position yourself near a large window to benefit from soft, diffused natural light. North-facing windows often provide gentle, even illumination ideal for portraits.
- Golden Hour: For outdoor self-portraits, consider shooting during the golden hour—shortly after sunrise or before sunset—when the warm, directional light can add a captivating glow to your images.
- Artificial Lighting: If natural light is limited, consider using artificial lighting sources such as softboxes, ring lights, or even desk lamps with diffusers to create flattering and controlled light for your self-portraits.
- Experiment with Shadows: Embrace the interplay of light and shadow to add depth and dimension to your self-portraits. Positioning yourself at an angle to the light source can create intriguing shadow patterns on your face and background.
- Consider the Mood: The quality and direction of light can evoke different emotions. Soft, diffused light often conveys a gentle, intimate mood, while dramatic, directional light can add flair and intensity to your self-portraits.
Understanding how to leverage different lighting scenarios can elevate the impact of your self-portraits, allowing you to convey your desired mood and aesthetic. By experimenting with various lighting setups and observing how light interacts with your surroundings, you can develop a keen eye for capturing captivating self-portraits in any environment.
Posing and Composition
Mastering the art of posing and composition is essential for creating engaging and visually appealing self-portraits. Here are some tips to help you strike the right pose and compose your shots effectively:
- Find Your Angle: Experiment with different angles to discover your most flattering and expressive poses. Tilt your head, shift your body, and play with various angles to highlight your best features.
- Consider the Background: Pay attention to the background of your self-portraits. Choose a clean, uncluttered backdrop or a visually interesting environment that complements your overall composition without overshadowing the main subject—you.
- Use the Rule of Thirds: Apply the rule of thirds to create visually dynamic compositions. Position yourself off-center within the frame to add visual interest and create a more balanced and harmonious image.
- Express Yourself Naturally: Avoid forced or unnatural expressions. Relax, be yourself, and let your genuine emotions and personality shine through in your self-portraits.
- Experiment with Framing: Play with different framing techniques, such as close-up shots, wide-angle perspectives, and creative crops to add variety and visual impact to your self-portraits.
By understanding the principles of posing and composition, you can craft self-portraits that are not only visually striking but also authentically reflect your personality and style. Embrace experimentation and allow your creativity to guide you as you explore different poses and compositions to capture the perfect self-portrait.
Using a Remote or Timer
When capturing self-portraits with a DSLR camera, employing a remote shutter release or utilizing the camera’s timer function can significantly enhance the convenience and precision of the shooting process. Here’s how to make the most of these tools:
- Remote Shutter Release: A remote shutter release allows you to trigger the camera’s shutter without physically touching the camera, minimizing the risk of camera shake and ensuring sharp, blur-free images. It provides the flexibility to capture your self-portraits from a distance, offering more creative freedom and control over your shots.
- Wireless Remote: Consider using a wireless remote shutter release for added convenience and versatility. This allows you to trigger the camera from various positions and distances, making it easier to experiment with different poses and compositions without being restricted by a physical cable.
- Camera Timer: If a remote shutter release is not available, the camera’s built-in timer function can serve as a valuable alternative. By setting a brief delay (e.g., 2-10 seconds) after pressing the shutter button, you can ensure that any residual camera shake from the button press has subsided before the image is captured.
- Continuous Shooting Mode: Utilize the camera’s continuous shooting mode in conjunction with the timer to capture a series of self-portraits in rapid succession. This can be particularly useful for achieving natural and candid expressions without the need for repeated manual triggering.
By incorporating a remote shutter release or leveraging the camera’s timer function, you can streamline the process of capturing self-portraits and achieve greater precision and creative control over your images. These tools empower you to focus on your posing, expression, and overall composition without the constraints of physically operating the camera.
Editing and Enhancing Your Self-Portraits
After capturing your self-portraits with a DSLR camera, the post-processing stage presents an opportunity to refine and elevate your images further. Here are key considerations for editing and enhancing your self-portraits:
- Image Selection: Begin by reviewing your self-portraits and selecting the shots that best convey your desired mood, expression, and composition. Look for images with strong visual impact and genuine emotion.
- Basic Adjustments: Use photo editing software to make basic adjustments to your self-portraits, such as adjusting exposure, contrast, and white balance to ensure optimal tonal balance and color accuracy.
- Skin Retouching: When retouching skin in self-portraits, aim for natural-looking enhancements. Soften minor blemishes, reduce distractions, and refine skin texture while preserving the overall integrity and authenticity of your appearance.
- Color Grading: Experiment with color grading to infuse your self-portraits with a specific mood or aesthetic. Adjust the color tones, saturation, and hues to evoke the desired emotional impact and visual style.
- Cropping and Framing: Fine-tune the composition of your self-portraits through strategic cropping and framing adjustments. Consider different aspect ratios and framing styles to enhance the visual storytelling and focus on the main subject.
- Artistic Effects: Explore creative effects and filters to add a unique artistic flair to your self-portraits. Experiment with black and white conversions, vignetting, and other artistic enhancements to imbue your images with a distinct visual character.
By carefully editing and enhancing your self-portraits, you can refine the visual narrative, amplify the emotional resonance, and ensure that your images authentically reflect your artistic vision. Post-processing serves as the final creative touch that elevates your self-portraits from raw captures to compelling, polished works of art.