Choosing the Right DSLR Camera
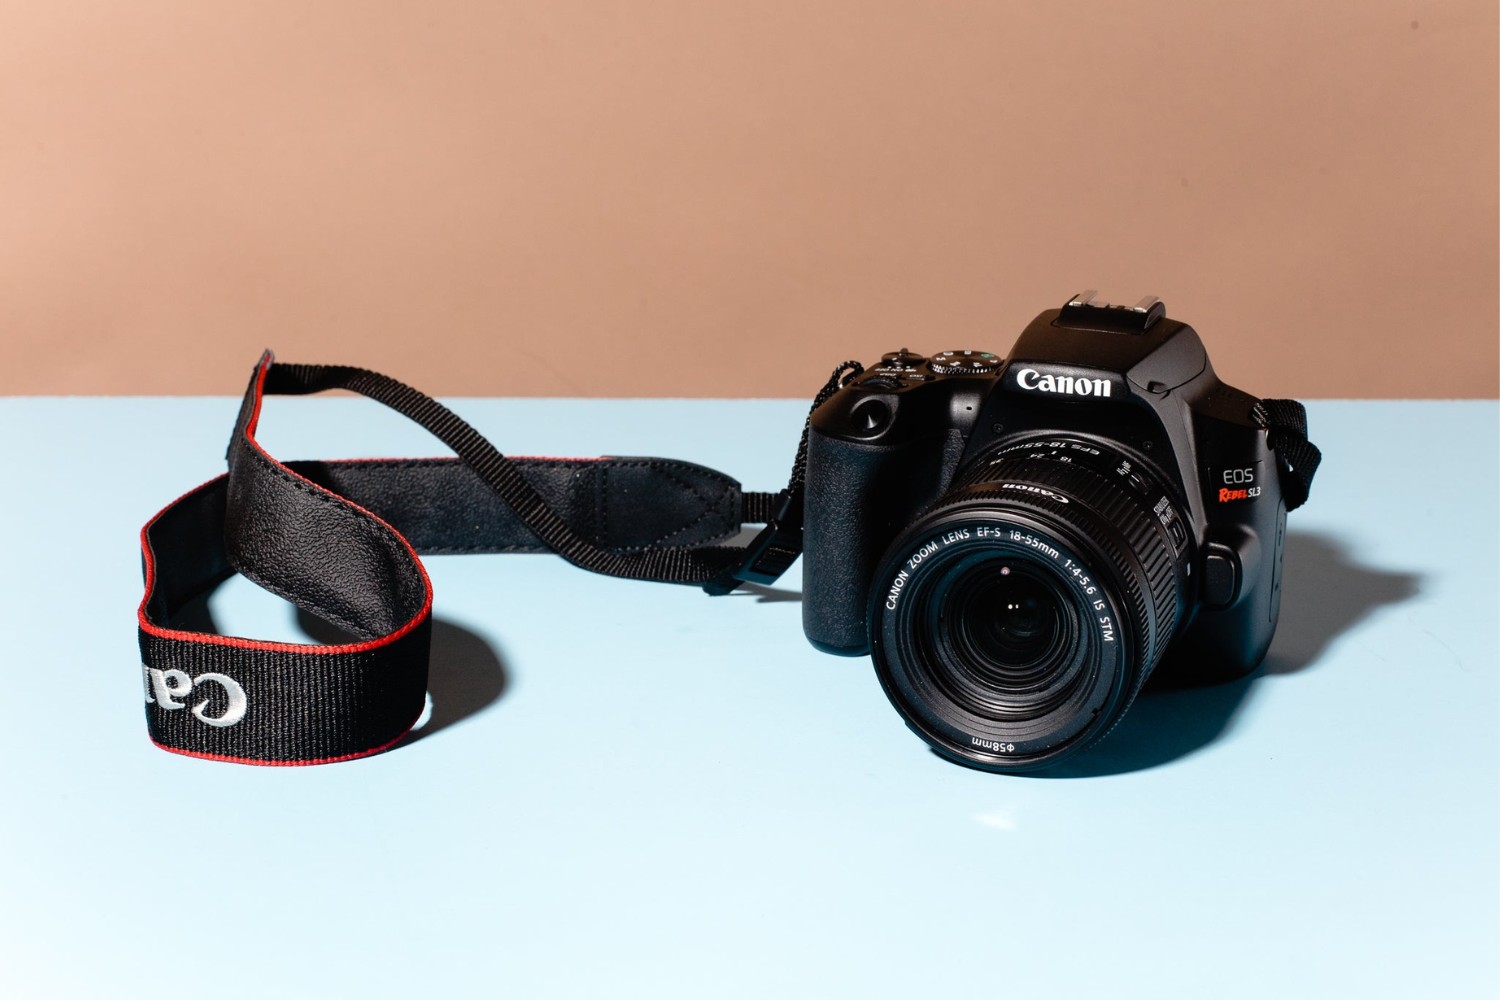
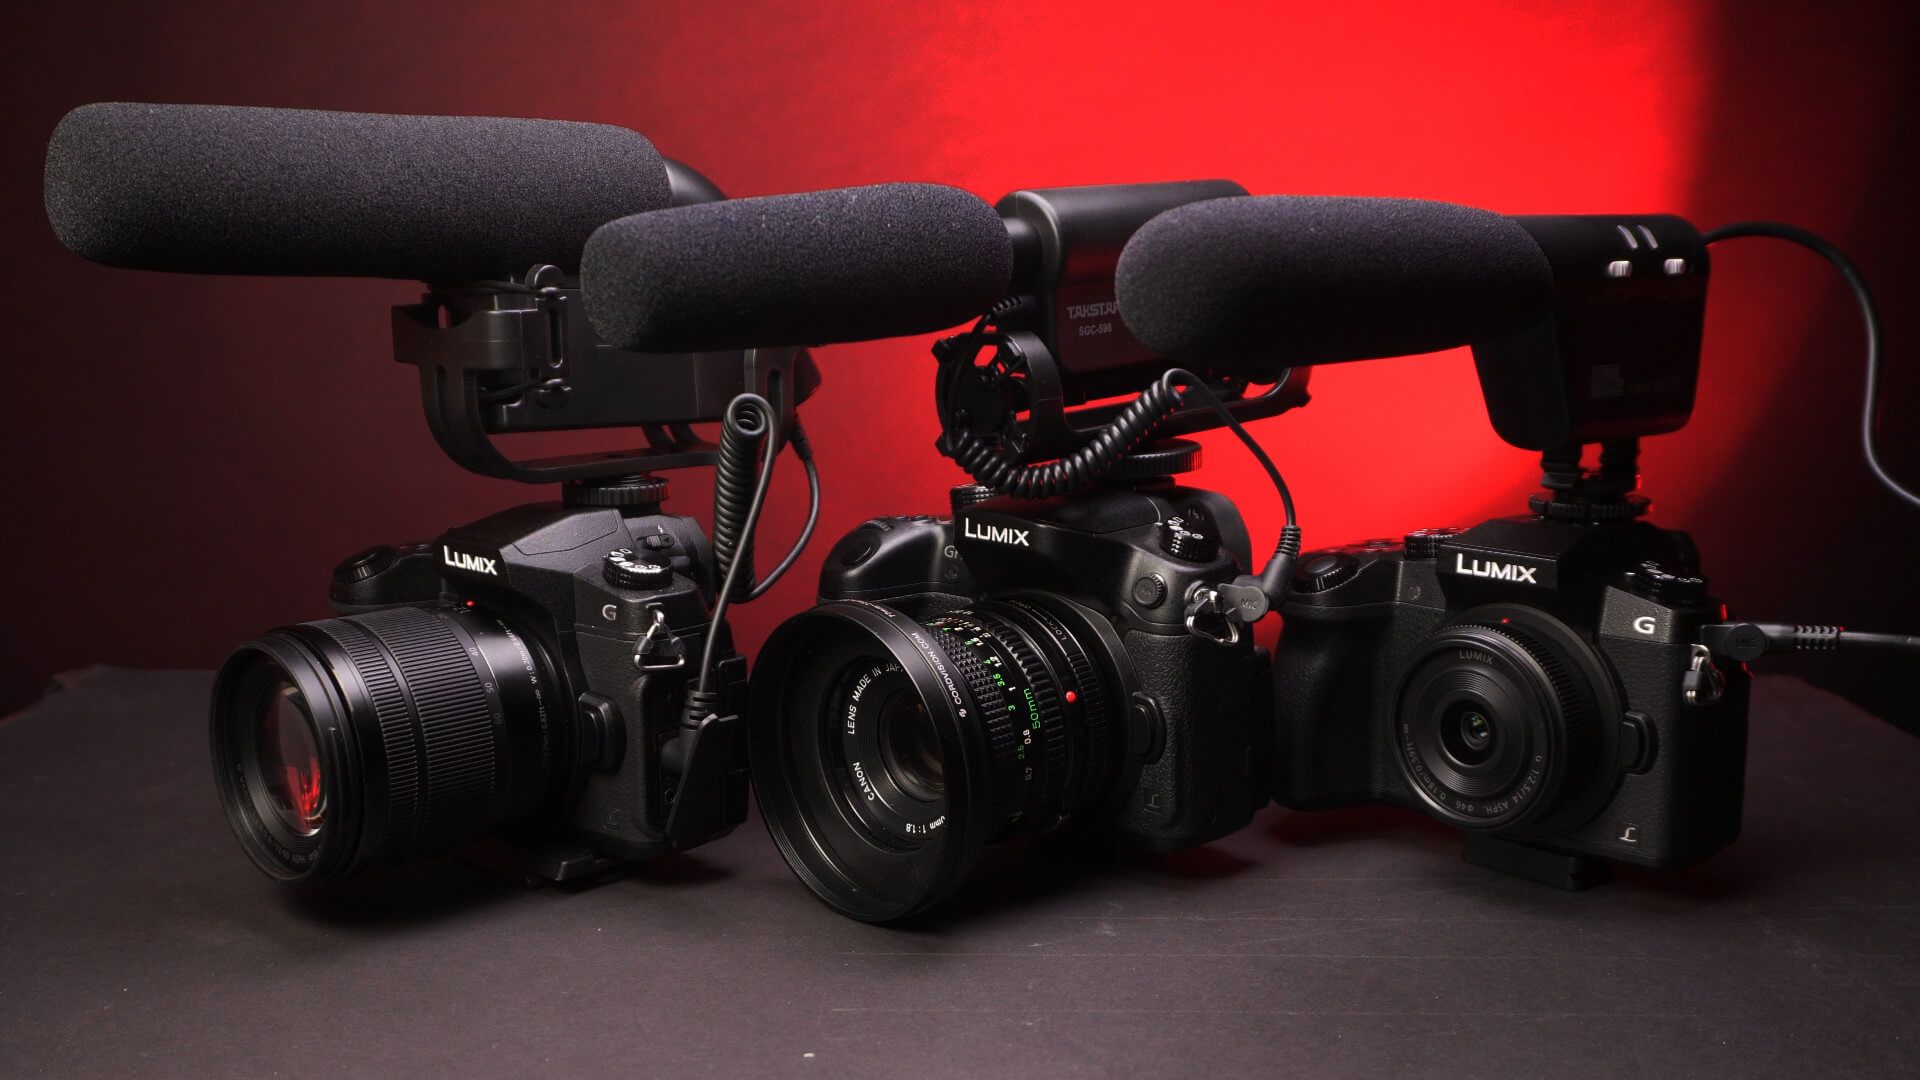
When embarking on the journey of learning to use a DSLR camera, the first step is choosing the right equipment. With a plethora of options available in the market, selecting the perfect DSLR can be overwhelming. Here are some essential factors to consider to ensure you make an informed decision:
- Define Your Needs: Before making a purchase, it’s crucial to assess your requirements. Are you an aspiring landscape photographer, a portrait enthusiast, or a sports photography aficionado? Understanding your specific needs will help narrow down the options and guide you towards a camera that aligns with your goals.
- Consider Your Budget: Establishing a budget is vital in the decision-making process. DSLR cameras come in a wide price range, and determining how much you’re willing to invest will help filter out models that may not be feasible for you.
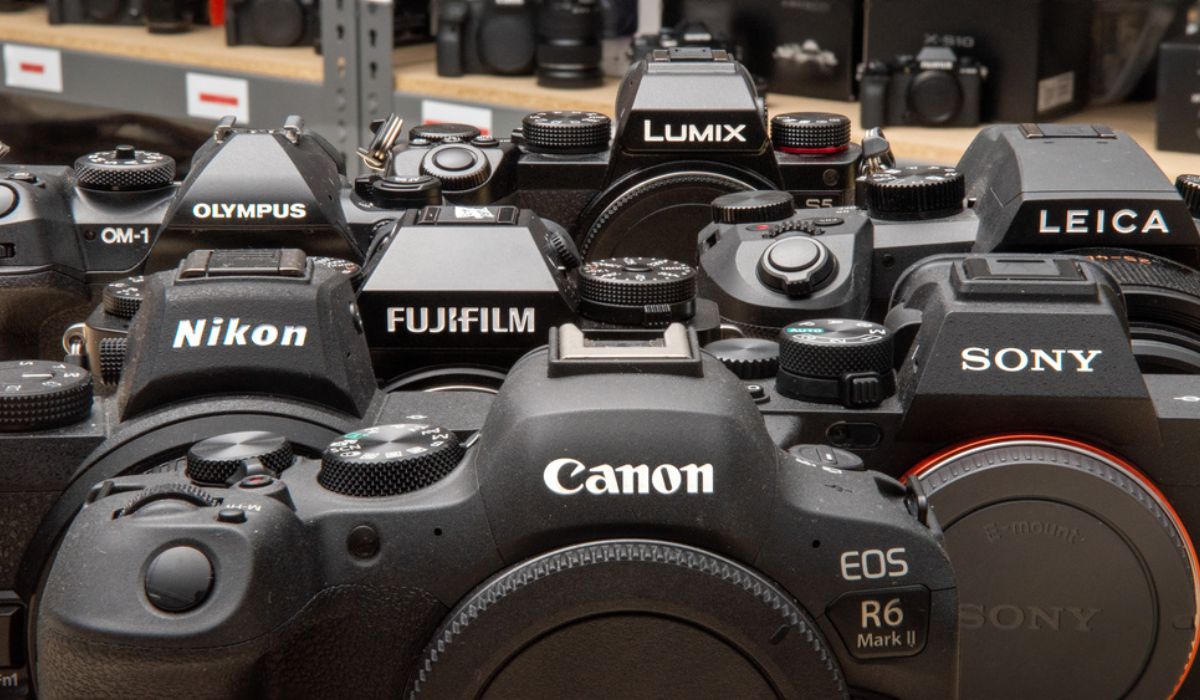
- Research and Compare: Take the time to research different DSLR models, compare their features, and read reviews from both experts and users. Pay attention to factors such as sensor size, megapixels, ISO range, autofocus capabilities, and video recording functionalities.
- Handle and Ergonomics: Visit a camera store if possible to physically handle the cameras you’re interested in. Assess the ergonomics, button placement, and overall feel of the camera to ensure it is comfortable and intuitive for you to use.
- Future-Proofing: While it’s essential to stay within your budget, considering a camera that allows for growth and expansion is advantageous. Look for a model that offers compatibility with a variety of lenses and accessories, as this can be beneficial as your skills and interests develop.
By carefully evaluating these factors, you can make an informed decision when choosing a DSLR camera that not only meets your current needs but also accommodates your future growth as a photographer.
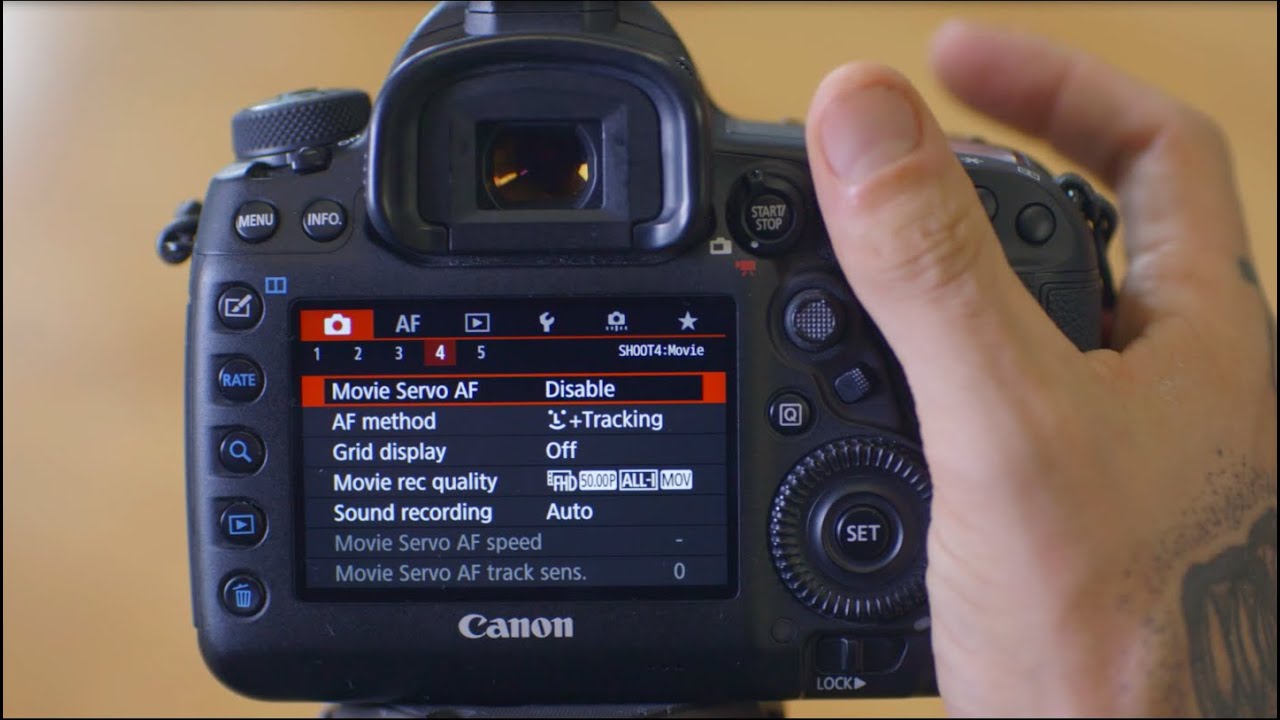
Understanding the Basic Functions of a DSLR Camera
Before delving into the intricacies of photography, it’s crucial to familiarize yourself with the fundamental functions of a DSLR camera. Understanding these basics will lay a strong foundation for your photographic journey:
- Shutter Speed: This setting controls the duration for which the camera’s shutter remains open. It determines the amount of light that enters the camera and directly impacts the motion blur in your images. A faster shutter speed is ideal for capturing fast-moving subjects, while a slower speed can create artistic motion blur.
- Aperture: The aperture, measured in f-stops, regulates the size of the lens opening. It not only influences the amount of light entering the camera but also affects the depth of field. A lower f-stop (wider aperture) results in a shallower depth of field, ideal for portraits and macro photography, while a higher f-stop (narrower aperture) increases the depth of field, suitable for landscapes and architecture.
- ISO: ISO determines the camera’s sensitivity to light. A lower ISO is ideal for well-lit conditions, while a higher ISO is suitable for low-light environments. However, higher ISO settings can introduce digital noise, impacting the overall image quality.
- Exposure Compensation: This feature allows you to adjust the camera’s exposure settings to make images brighter or darker. It’s particularly useful in challenging lighting situations where the camera’s automatic settings may not produce the desired results.
- White Balance: White balance ensures that the colors in your images appear natural under different lighting conditions. It allows you to adjust the color temperature to match the light source, preventing images from appearing too warm (orange) or too cool (blue).
By familiarizing yourself with these basic functions, you’ll gain the foundational knowledge needed to confidently manipulate your camera settings and capture compelling images in various shooting scenarios.
Mastering Manual Mode
While DSLR cameras offer convenient automatic modes, mastering manual mode empowers you to have complete control over your photography. Here’s how to navigate and harness the potential of manual mode:
- Understanding the Exposure Triangle: Manual mode allows you to adjust the three key elements of exposure: shutter speed, aperture, and ISO. Familiarize yourself with the relationship between these settings to achieve the desired exposure for your shots.
- Practice with Metering: Learn to interpret your camera’s light meter to gauge the exposure levels in your scene. Understanding how to adjust your settings based on the meter’s readings is essential for achieving well-exposed images in manual mode.
- Experiment with Different Lighting Conditions: Manual mode provides the flexibility to adapt to diverse lighting situations. Practice shooting in various environments, from bright daylight to low-light settings, to understand how manual adjustments can optimize your results.
- Utilize Manual Focus: In addition to exposure settings, manual mode allows for precise control over focus. Experiment with manual focus to fine-tune the sharpness and depth of field in your images, especially in challenging or selective-focus scenarios.
- Embrace the Learning Curve: Mastering manual mode requires patience and practice. Embrace the learning process, and don’t be discouraged by initial challenges. With consistent experimentation and observation, you’ll gradually develop an intuitive understanding of manual control.
By embracing manual mode, you unlock the potential to craft images exactly as you envision them, tailored to your creative preferences and the specific demands of each photographic opportunity.
Learning About Lenses and Their Uses
Understanding the diverse range of lenses available for DSLR cameras is essential for expanding your photographic capabilities. Each lens type offers unique characteristics that cater to specific shooting scenarios. Here’s a guide to help you navigate the world of lenses:
- Prime Lenses: These fixed focal length lenses offer exceptional image quality and are renowned for their wide apertures, making them ideal for low-light conditions and achieving artistic background blur, or “bokeh.” Prime lenses encourage photographers to move and compose shots thoughtfully due to their fixed focal length.
- Zoom Lenses: Zoom lenses provide versatile focal length ranges, allowing for flexibility in framing and composition without the need to change lenses. They are well-suited for various genres, from landscapes and portraits to sports and wildlife photography, offering convenience and adaptability.
- Macro Lenses: Designed for close-up photography, macro lenses enable intricate capture of small subjects with exceptional detail and minimal distortion. They are favored by nature enthusiasts, product photographers, and anyone interested in exploring the captivating world of macro imagery.
- Wide-Angle Lenses: These lenses encompass a broad field of view, making them ideal for capturing expansive landscapes, architecture, and immersive interior shots. Their ability to exaggerate perspective adds a dynamic element to visual storytelling.
- Telephoto Lenses: With their long focal lengths, telephoto lenses excel in bringing distant subjects closer, making them indispensable for sports, wildlife, and astrophotography. Their ability to isolate subjects and create compelling background compression enhances visual impact.
By familiarizing yourself with the characteristics and applications of different lenses, you can make informed choices based on your photographic interests and the specific demands of each shooting situation. Building a collection of lenses tailored to your creative vision will significantly enrich your photographic pursuits.
Understanding Composition and Framing
Mastering composition and framing is pivotal in elevating the visual impact of your photographs. It involves deliberate placement of elements within the frame to convey a compelling narrative and evoke an emotional response from viewers. Here are essential principles to consider when exploring composition and framing:
- Rule of Thirds: Dividing the frame into a 3×3 grid and positioning key elements along the gridlines or at their intersections creates balanced and visually engaging compositions. This technique encourages dynamic and harmonious placement of subjects within the frame.
- Leading Lines: Incorporating leading lines, such as paths, roads, or architectural features, directs the viewer’s gaze and adds depth to the image. These lines guide the eye through the photograph, emphasizing spatial relationships and drawing attention to focal points.
- Use of Negative Space: Intentional inclusion of negative space, or areas of the image devoid of significant detail, can emphasize the subject, evoke a sense of minimalism, and create a visually arresting composition. Negative space serves as a powerful storytelling tool.
- Foreground Interest: Incorporating elements in the foreground adds depth and dimension to the composition, creating a sense of immersion for the viewer. It enhances the visual narrative and contributes to a more captivating and multi-layered image.
- Consideration of Balance: Striking a balance between various elements within the frame, whether in terms of visual weight, color distribution, or spatial arrangement, is crucial for creating visually harmonious and impactful compositions.
By internalizing these principles and actively applying them in your photography, you can cultivate a discerning eye for composition and framing, thereby infusing your images with intention, visual intrigue, and storytelling prowess.
Exploring Different Shooting Techniques
Embracing a diverse array of shooting techniques expands your creative repertoire and equips you to capture a wide spectrum of subjects and scenes with finesse. Here are several techniques to explore, each offering unique opportunities for artistic expression:
- Long Exposure Photography: By using longer shutter speeds, you can create captivating effects such as silky waterfalls, streaking car lights, and dreamy cloud movements. This technique adds a dynamic and ethereal quality to your images, transforming everyday scenes into mesmerizing visual narratives.
- High-Speed Photography: High-speed photography allows you to freeze fast-moving subjects, such as splashing liquids, bursting balloons, or athletic feats, capturing split-second moments that evade the naked eye. It unveils the beauty and intricacy of fleeting actions, offering a fresh perspective on motion and dynamics.
- Forced Perspective: This imaginative technique involves manipulating the visual perception of depth and scale to create optical illusions. By skillfully positioning subjects within the frame, you can craft whimsical and thought-provoking images that challenge the viewer’s sense of reality.
- Double Exposure: Double exposure photography merges two distinct images into a single frame, resulting in surreal and poetic compositions. This technique invites experimentation and invites the fusion of disparate elements to convey layered narratives and evoke emotions through visual juxtaposition.
- Light Painting: By using long exposures and carefully choreographed light sources, such as flashlights or colored LEDs, you can paint with light to create striking and otherworldly imagery. This technique offers boundless creative freedom, enabling the crafting of luminous, abstract, and evocative scenes.
By immersing yourself in these diverse shooting techniques, you can unleash your creativity, expand your artistic horizons, and infuse your photography with a captivating and distinctive visual language.
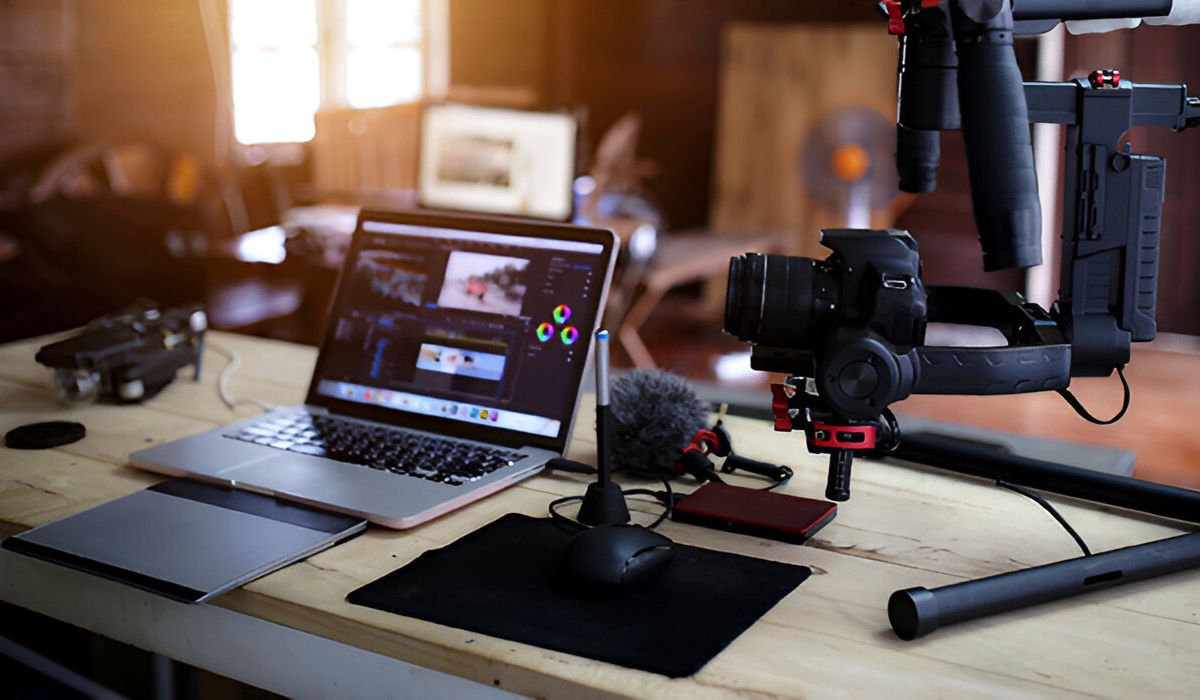
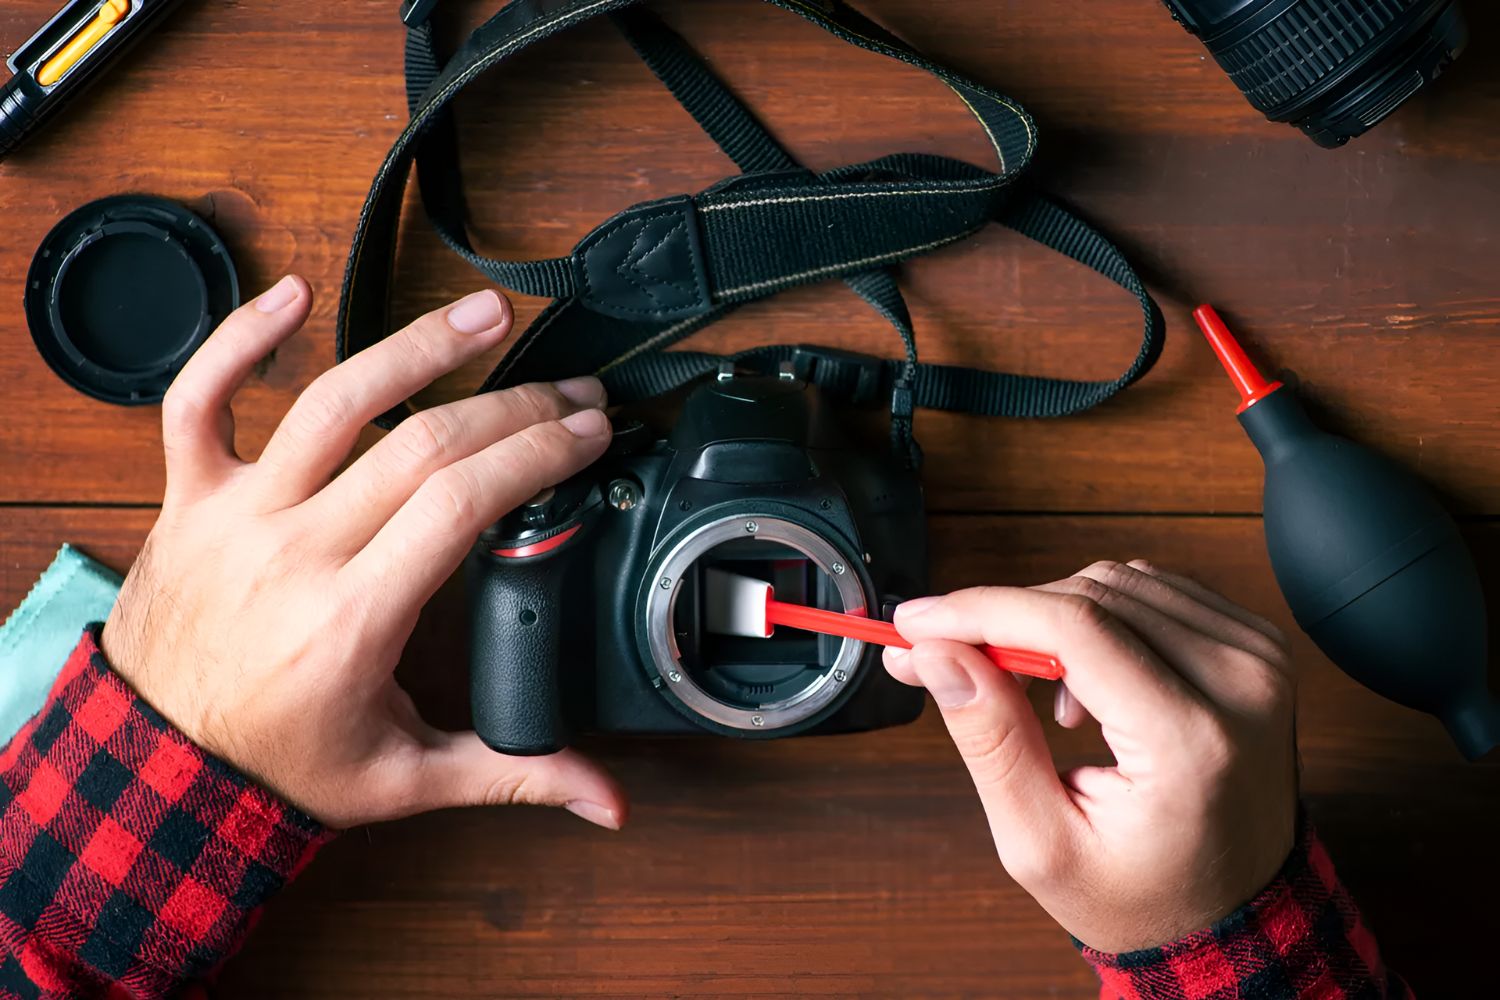
Post-Processing and Editing Your Photos
Post-processing and editing play a pivotal role in refining and enhancing your photographic vision. Leveraging editing software empowers you to elevate your images, correct imperfections, and imbue them with a distinct aesthetic. Here are essential considerations for effective post-processing:
- RAW Processing: Working with RAW files provides maximum flexibility and control over image adjustments. RAW processing software allows you to fine-tune exposure, white balance, and other parameters with minimal loss of image quality, enabling comprehensive refinement of your photographs.
- Color Correction and Grading: Manipulating colors through selective adjustments or global grading can significantly impact the mood and visual impact of your images. Whether aiming for natural color fidelity or stylized tonal palettes, adept color correction enhances the emotive resonance of your photographs.
- Sharpening and Detail Enhancement: Precise sharpening and detail enhancement techniques accentuate the clarity and intricacy of your images, ensuring that essential elements stand out with crispness and definition. Careful application of these adjustments contributes to the overall visual impact and professionalism of your work.
- Noise Reduction: Addressing digital noise, particularly in low-light or high-ISO images, is crucial for preserving image quality. Employing noise reduction tools effectively minimizes unwanted graininess while retaining critical details and preserving image integrity.
- Composition Refinement: Post-processing offers the opportunity to fine-tune composition through cropping, straightening horizons, and adjusting aspect ratios. These refinements optimize the visual flow and balance of your images, ensuring that they resonate with viewers as intended.
By approaching post-processing as a means to realize your creative vision rather than as a means to disguise shortcomings, you can harness its potential to refine and elevate your photographic storytelling, ultimately presenting images that authentically reflect your artistic intent and technical prowess.