Introduction
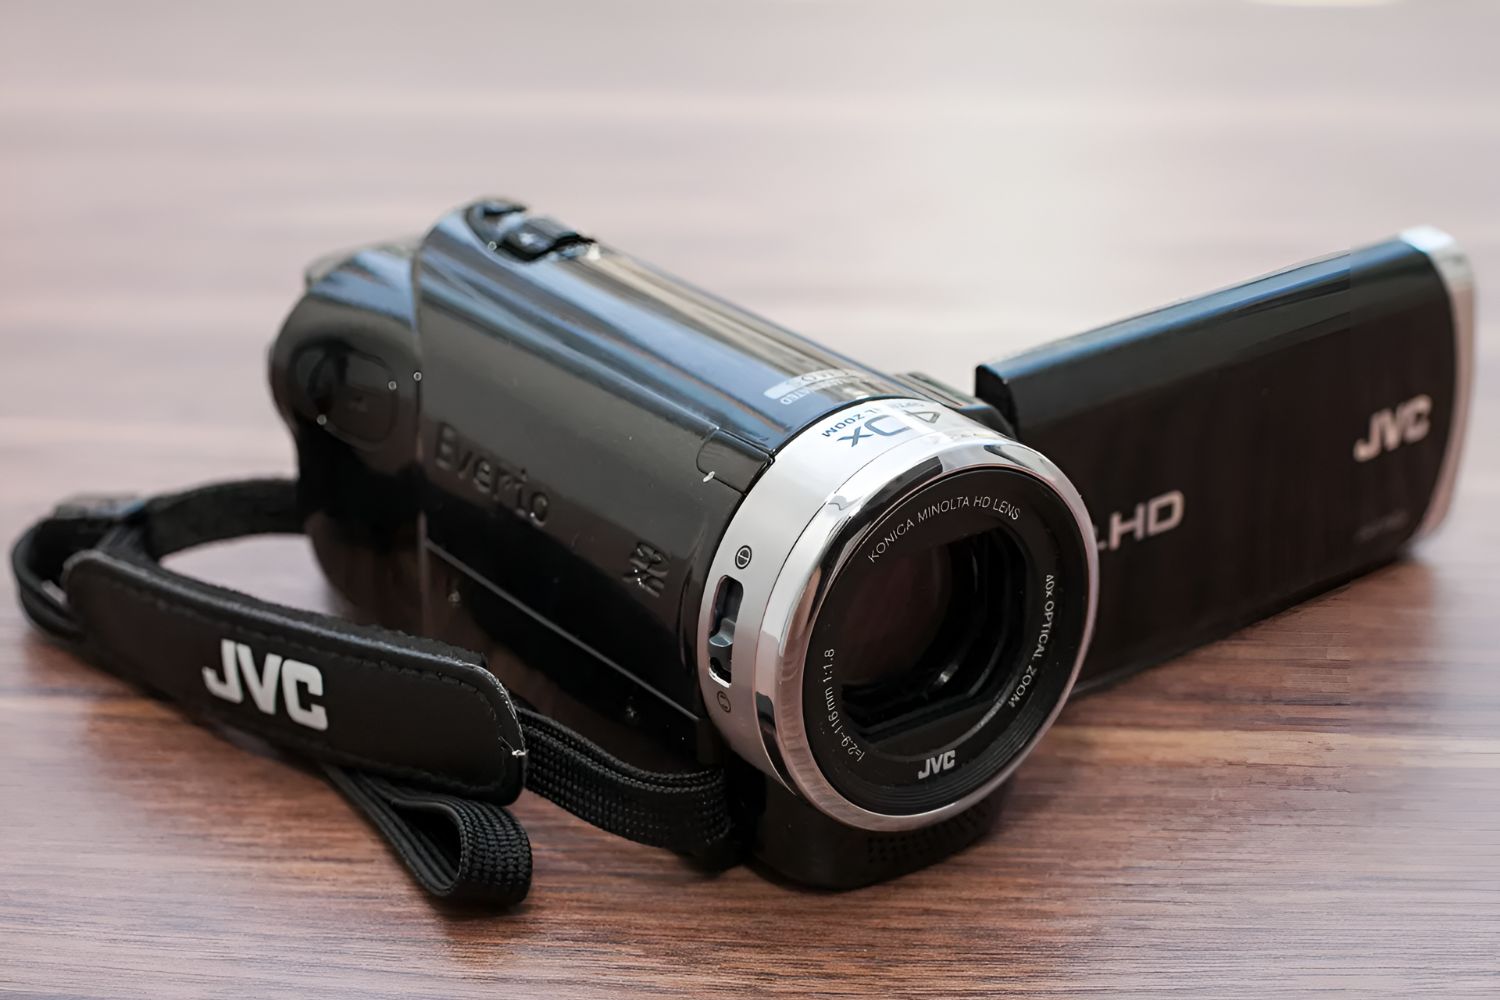
Are you eager to transfer your captivating videos from your Everio JVC camcorder to your PC for editing, sharing, or safekeeping? Connecting your Everio JVC camcorder to your PC is a straightforward process that allows you to effortlessly transfer your recorded memories. Whether you're a videography enthusiast or a casual user, this guide will walk you through the simple steps to establish a seamless connection between your Everio JVC camcorder and your PC.
With the advancement of technology, sharing and editing videos has become an integral part of our digital lifestyles. Your Everio JVC camcorder is a treasure trove of precious moments, and by connecting it to your PC, you can unlock its full potential. Whether it's preserving family gatherings, documenting travel adventures, or capturing life's special moments, your Everio JVC camcorder holds memories waiting to be cherished and shared.
In this guide, you will learn how to connect your Everio JVC camcorder to your PC, enabling you to transfer videos with ease. By following the simple steps outlined in this guide, you will be able to seamlessly transfer your videos from your camcorder to your PC, opening up a world of possibilities for editing, sharing, and preserving your precious memories.
Let's dive into the step-by-step process of connecting your Everio JVC camcorder to your PC and unlocking the potential of your cherished videos.
Step 1: Install the Necessary Software
Before connecting your Everio JVC camcorder to your PC, it’s essential to ensure that you have the necessary software installed to facilitate the seamless transfer of videos. The software required for this process is provided with your camcorder and can typically be found in the package or downloaded from the official JVC website. Here’s how to install the necessary software:
- Check the Package: Start by checking the package of your Everio JVC camcorder for any included software CDs or download instructions. The required software, often referred to as the "Everio MediaBrowser" or similar, is essential for establishing a connection between your camcorder and your PC.
- Download from the Official Website: If the software is not included in the package or if you prefer to download the latest version, visit the official JVC website and navigate to the support or downloads section. Look for the specific software designed for your Everio JVC camcorder model and follow the instructions to download and install it on your PC.
- Installation Process: Once you have the software, follow the installation instructions provided with the download or included in the package. Typically, the installation involves running the setup file and following the on-screen prompts to complete the installation process. Ensure that the software is installed in a location where you can easily access it when connecting your camcorder to your PC.
By installing the necessary software for your Everio JVC camcorder, you are equipping your PC with the tools required to establish a seamless connection and transfer videos effortlessly. With the software installed, you are ready to proceed to the next step of connecting your camcorder to your PC and initiating the transfer process.
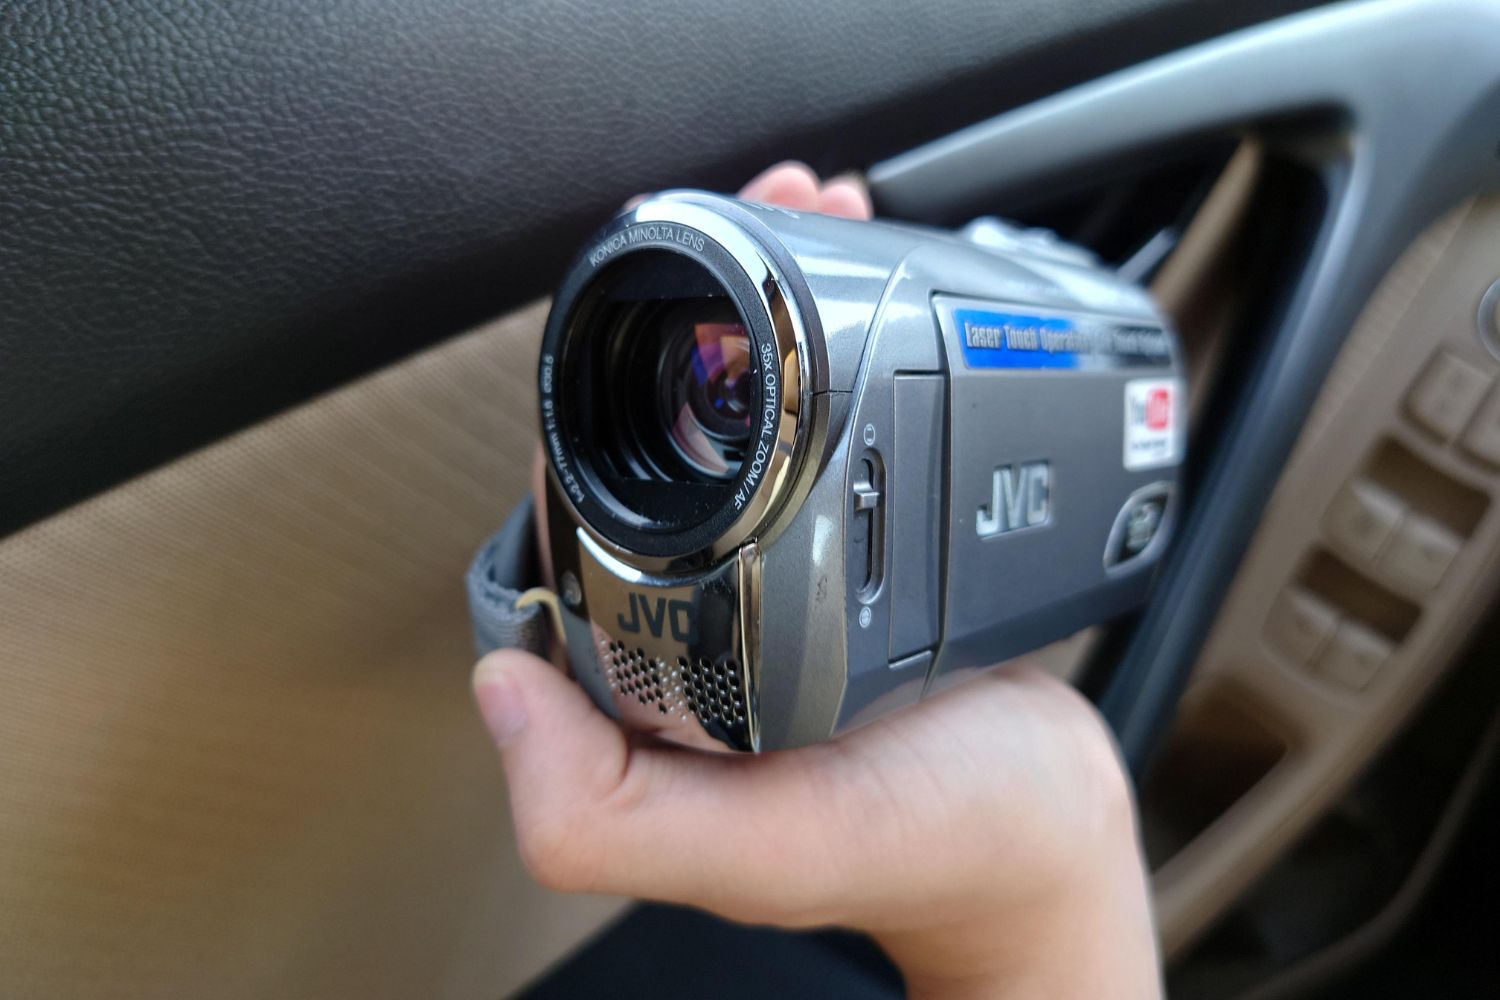
Step 2: Connect the Camcorder to the PC
Now that you have the necessary software installed on your PC, it’s time to establish the physical connection between your Everio JVC camcorder and your computer. This step is crucial for initiating the transfer of videos and accessing your camcorder’s content directly on your PC. Follow these simple steps to connect your camcorder to your PC:
- Prepare the Camcorder: Begin by ensuring that your Everio JVC camcorder is powered on and in the appropriate mode for PC connectivity. Refer to your camcorder’s manual for specific instructions on selecting the correct mode for connecting to a PC. This may involve accessing the camcorder’s menu and navigating to the connectivity settings.
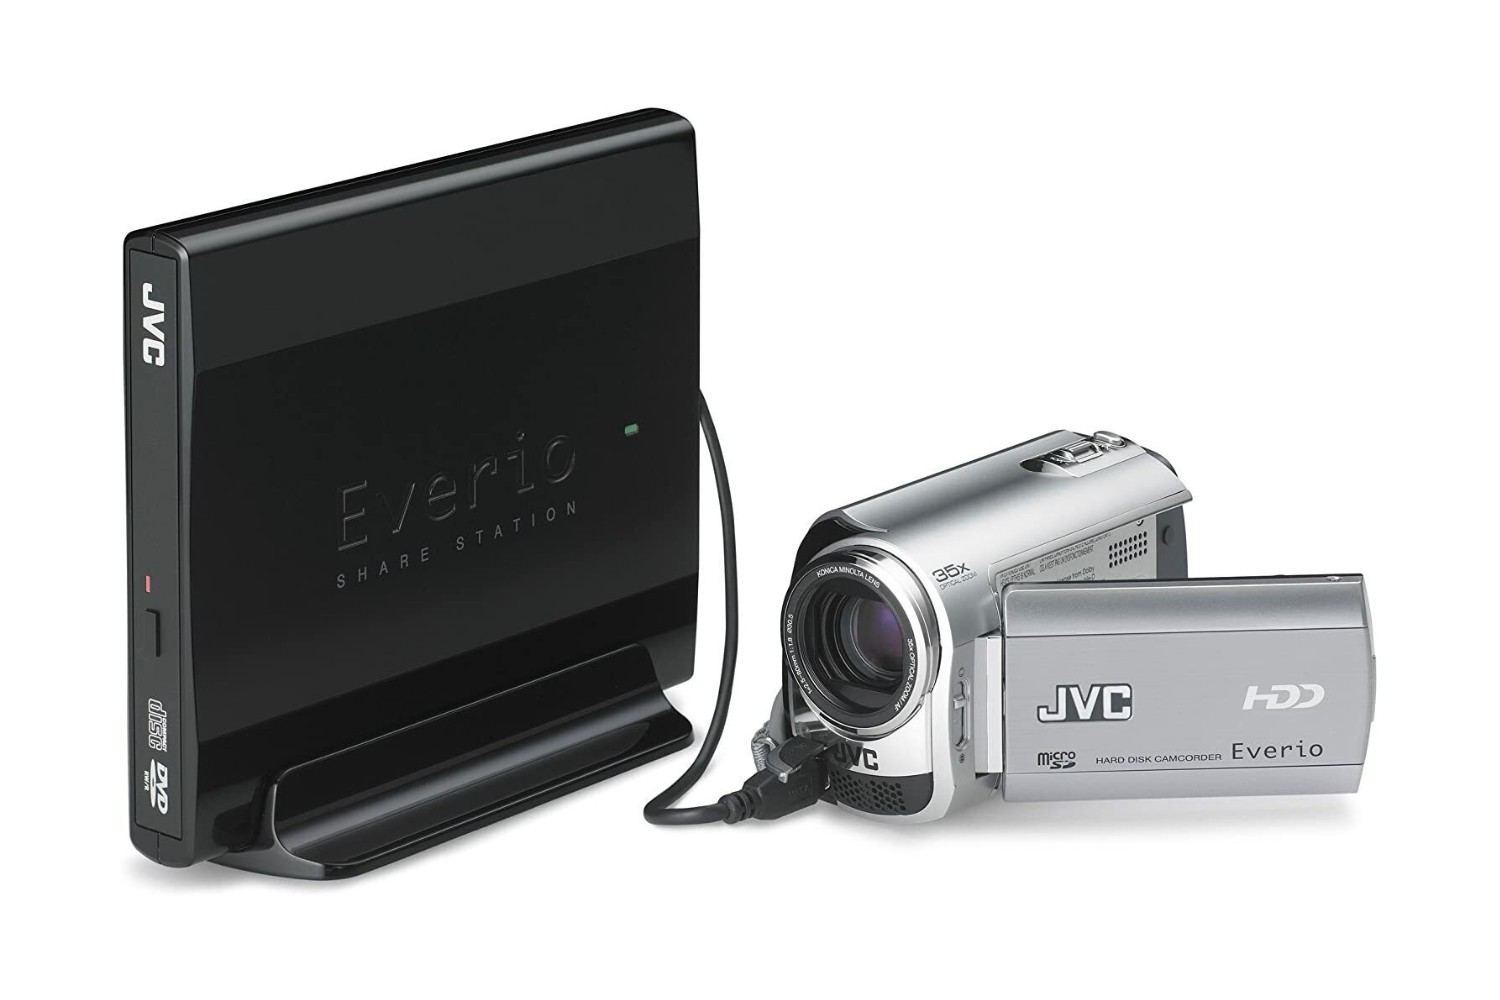
- Locate the USB Cable: Retrieve the USB cable that was included with your Everio JVC camcorder. This cable is designed to establish a direct connection between your camcorder and your PC, allowing for the seamless transfer of videos and other media files.
- Connect the USB Cable: With your camcorder and PC in close proximity, carefully connect one end of the USB cable to the designated port on your Everio JVC camcorder. Ensure that the connection is secure to prevent any interruptions during the transfer process.
- Connect to the PC: Locate an available USB port on your PC and connect the opposite end of the USB cable to the port. Once connected, your PC should recognize the camcorder and initiate the necessary processes to establish a stable connection.
- Follow On-Screen Prompts: Depending on your PC’s operating system, you may encounter on-screen prompts or notifications indicating that a new device has been connected. Follow any on-screen prompts to ensure that the connection is properly established and that your PC recognizes the Everio JVC camcorder as a connected device.
By following these steps, you will successfully connect your Everio JVC camcorder to your PC, laying the foundation for seamless video transfer and accessibility. With the physical connection established, you are ready to proceed to the next step of transferring your cherished videos from the camcorder to your PC for editing, sharing, or safekeeping.
Step 3: Transfer Files from the Camcorder to the PC
With your Everio JVC camcorder successfully connected to your PC, you are now ready to initiate the transfer of your valuable video files. This step involves accessing the content stored on your camcorder and transferring it to your PC for editing, sharing, or safekeeping. Follow these straightforward steps to transfer files from your camcorder to your PC:
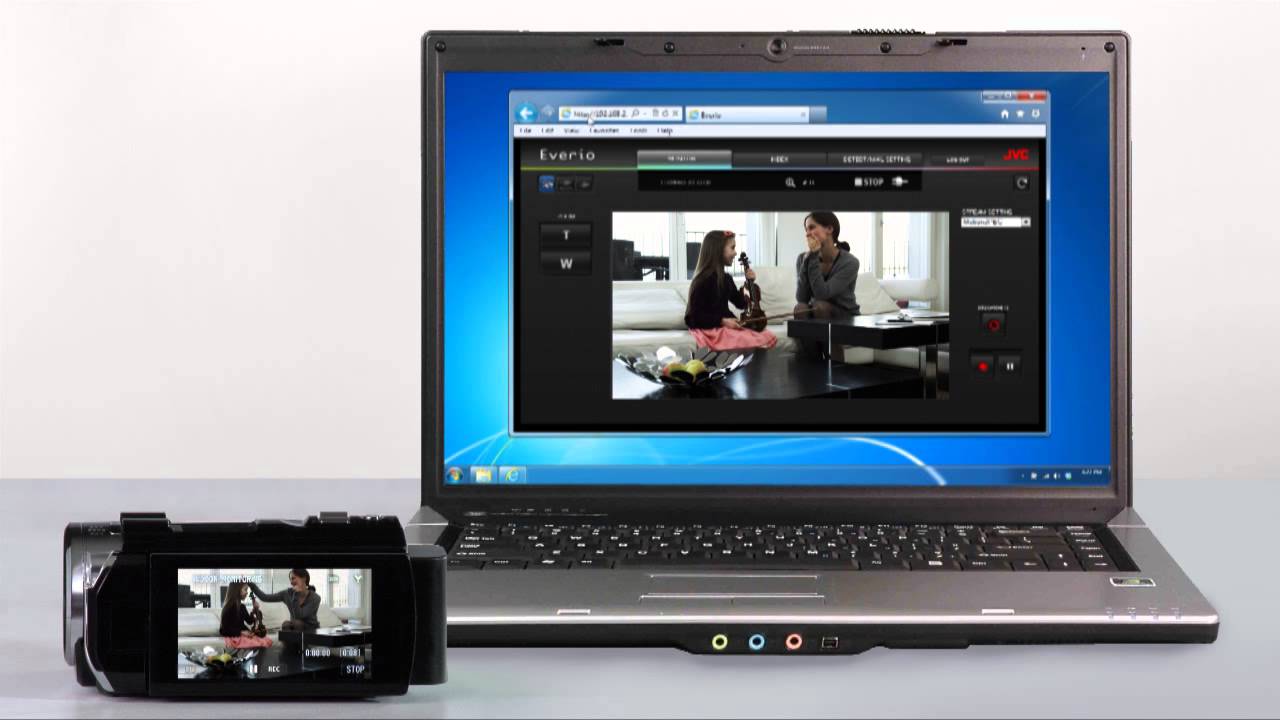
- Access the Camcorder’s Content: Once your camcorder is connected to your PC, navigate to the location on your computer where the installed software for your Everio JVC camcorder is located. Open the software to access the camcorder’s content and initiate the transfer process.
- Select and Transfer Videos: Within the software interface, you should be able to view the videos stored on your camcorder. Select the videos you wish to transfer to your PC by marking the checkboxes next to their respective thumbnails or filenames. This process may vary depending on the specific software provided with your camcorder, so refer to the software’s instructions for detailed guidance.
- Initiate the Transfer: Once you have selected the videos for transfer, look for an option within the software to initiate the transfer process. This may be labeled as "Transfer", "Import", or a similar term, depending on the software’s interface. Click on this option to begin transferring the selected videos from your camcorder to your PC.
- Monitor the Transfer Progress: During the transfer process, the software will typically display a progress indicator or status bar to keep you informed about the transfer’s status. Depending on the size and quantity of the selected videos, the transfer process may take some time to complete. Ensure that your camcorder remains connected to your PC throughout the transfer.
- Verify the Transferred Videos: Once the transfer is complete, verify that the videos have been successfully transferred to your PC. Navigate to the designated location on your computer where the videos were transferred and confirm that they are accessible and ready for editing, sharing, or safekeeping.
By following these steps, you will successfully transfer your cherished videos from your Everio JVC camcorder to your PC, providing you with the opportunity to enhance, share, and preserve your captured memories with ease.
Step 4: Disconnect the Camcorder from the PC
After successfully transferring your cherished videos from your Everio JVC camcorder to your PC, it’s essential to safely disconnect the camcorder to ensure that the process is completed without any issues. Safely disconnecting the camcorder helps prevent data loss and maintains the integrity of your videos. Follow these simple steps to disconnect your camcorder from your PC:
- Close the Software: Begin by closing the software that facilitated the transfer of videos from your camcorder to your PC. This ensures that all processes related to the camcorder’s connection are properly terminated before disconnecting the device.
- Eject the Camcorder: On your PC, locate the option to safely eject or disconnect the camcorder. This process varies depending on your operating system. For Windows users, you can typically find this option by clicking on the "Safely Remove Hardware and Eject Media" icon in the system tray and selecting the appropriate device for ejection. Mac users can eject the camcorder by dragging its icon to the trash or using the "Eject" option in Finder.
- Power Off the Camcorder: Once you have safely ejected the camcorder from your PC, power off your Everio JVC camcorder. This step is important to ensure that the device is safely disconnected and prepared for future use without any lingering connections to your PC.
- Disconnect the USB Cable: Carefully disconnect the USB cable from both your camcorder and your PC. Ensure that the connections are released gently to avoid any damage to the ports or cables. Store the USB cable in a safe location for future use.
- Verify Disconnection: After disconnecting the USB cable, verify that your Everio JVC camcorder is no longer recognized as a connected device on your PC. This ensures that the disconnection was successful and that your camcorder is ready for standalone use or future connections as needed.
By following these steps, you will safely disconnect your Everio JVC camcorder from your PC, ensuring that the transfer process is completed without any complications. With the camcorder safely disconnected, you can now explore your transferred videos on your PC, share them with others, or begin editing to enhance your cherished memories.
Conclusion
Congratulations! You have successfully learned how to connect your Everio JVC camcorder to your PC and transfer your valuable videos with ease. By following the simple steps outlined in this guide, you have unlocked the potential of your cherished memories, allowing you to edit, share, and preserve your videos effortlessly.
Connecting your Everio JVC camcorder to your PC is a gateway to a world of possibilities. Whether you’re a passionate videographer, a family historian, or simply someone who loves capturing life’s special moments, the ability to transfer your videos to your PC opens up avenues for creativity and sharing. From editing your videos to creating captivating montages, the seamless connection between your camcorder and your PC empowers you to bring your stories to life.
By installing the necessary software, establishing the physical connection, and initiating the transfer process, you have taken the essential steps to bridge the gap between your camcorder and your PC. The software provided with your Everio JVC camcorder serves as a vital link, enabling you to seamlessly access and transfer your videos, ensuring that your memories are readily available for editing, sharing, and safekeeping.
As you disconnect your camcorder from your PC, it’s important to reflect on the newfound convenience and creative potential that this connection offers. With your videos safely transferred to your PC, you can explore a myriad of possibilities, from creating captivating compilations to preserving life’s most treasured moments for generations to come.
Embrace the seamless connection between your Everio JVC camcorder and your PC as a bridge to creativity and storytelling. Your videos are now at your fingertips, ready to be transformed into captivating narratives and shared with those who matter most. As you embark on this journey of video transfer and exploration, may your cherished memories continue to inspire and connect those who experience them.