Introduction
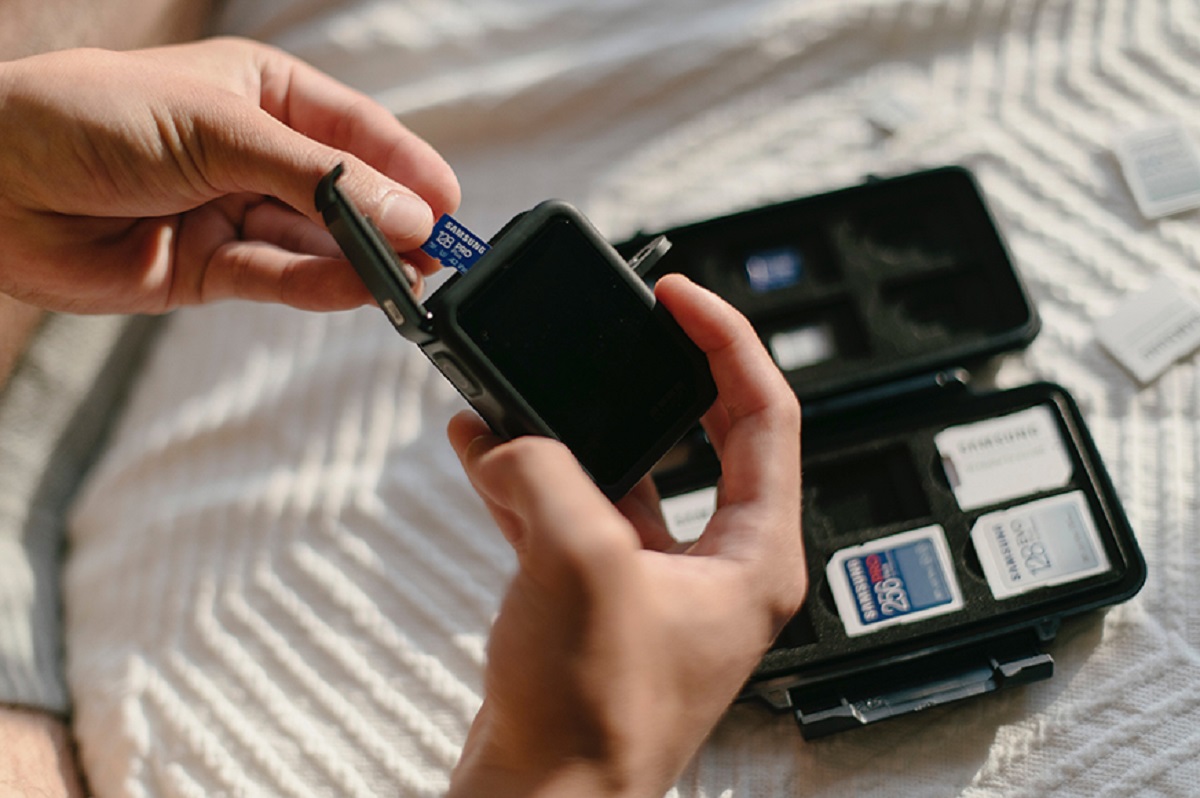
When using your Crosstour action camera, you may find that the memory becomes full, or you simply want to remove unnecessary files to free up space for new recordings. Deleting files from your action camera can be a straightforward process, but it's essential to know the correct steps to ensure you don't accidentally delete important footage. This guide will walk you through the process of deleting files from your Crosstour action camera, providing clear and easy-to-follow instructions.
As you delve into the world of action photography and videography, managing your camera's storage becomes crucial. Whether you're capturing breathtaking footage of your outdoor adventures or documenting memorable moments with friends and family, knowing how to delete files from your Crosstour action camera empowers you to maintain an organized and efficient workflow.
By following the steps outlined in this guide, you'll gain the confidence to manage your action camera's storage effectively, allowing you to focus on capturing stunning footage without worrying about running out of space. Let's dive into the simple yet essential process of deleting files from your Crosstour action camera, ensuring that you can continue to capture and preserve your most thrilling moments.
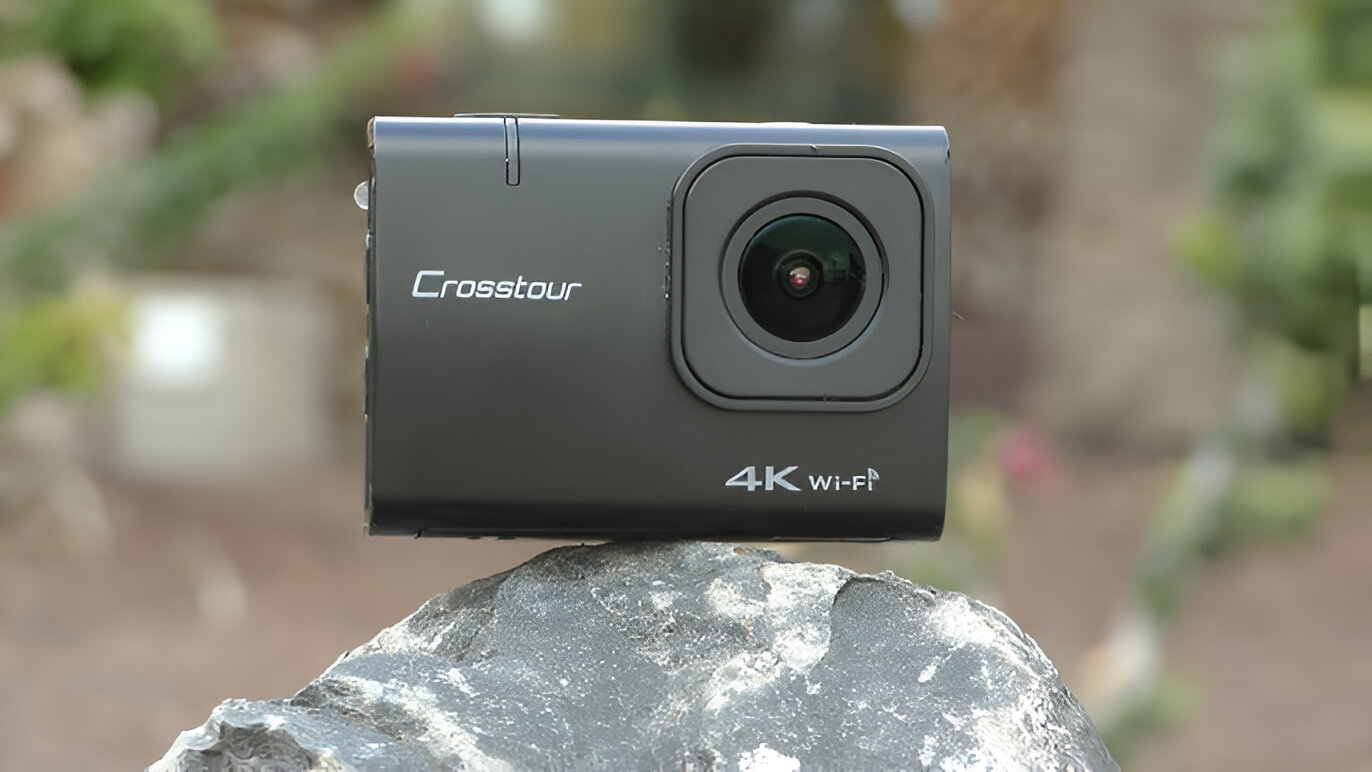
Step 1: Turn on the Crosstour Action Camera
Before you can begin the process of deleting files from your Crosstour action camera, you’ll need to ensure that the device is powered on. To do this, locate the power button on the camera. Depending on the specific model of your Crosstour action camera, the power button may be situated on the top, front, or side of the device.
Press and hold the power button for a few seconds until the camera’s indicator lights illuminate, signaling that the device is now powered on. Once the camera is turned on, you’ll be ready to proceed with accessing the settings menu and initiating the file deletion process.
Ensuring that your Crosstour action camera is powered on is the first fundamental step in managing your device’s storage effectively. By familiarizing yourself with the location and operation of the power button, you can confidently navigate through the camera’s menu and settings, enabling you to delete unwanted files and optimize the available storage space for capturing new and exciting footage.
Step 2: Access the Settings Menu
Once your Crosstour action camera is powered on, the next step in deleting files is to access the settings menu. The settings menu is where you can manage various aspects of your camera, including file deletion, resolution settings, and other essential configurations.
To access the settings menu, navigate through the camera’s interface using the designated buttons or touchscreen, depending on the model of your Crosstour action camera. Look for an icon or label that signifies the settings menu, often represented by a gear or wrench symbol. Once located, press the corresponding button to enter the settings menu.
Upon entering the settings menu, you’ll be presented with a range of options for customizing and managing your camera’s settings. It’s important to familiarize yourself with the layout of the settings menu, as this will allow you to navigate efficiently and locate the “Delete” option, which is crucial for removing unwanted files from your action camera.
Accessing the settings menu is a pivotal step in the process of deleting files from your Crosstour action camera. By mastering this step, you’ll gain the ability to explore and adjust various settings, ensuring that your camera is optimized for capturing high-quality footage while efficiently managing its storage capacity.
Step 3: Select “Delete” Option
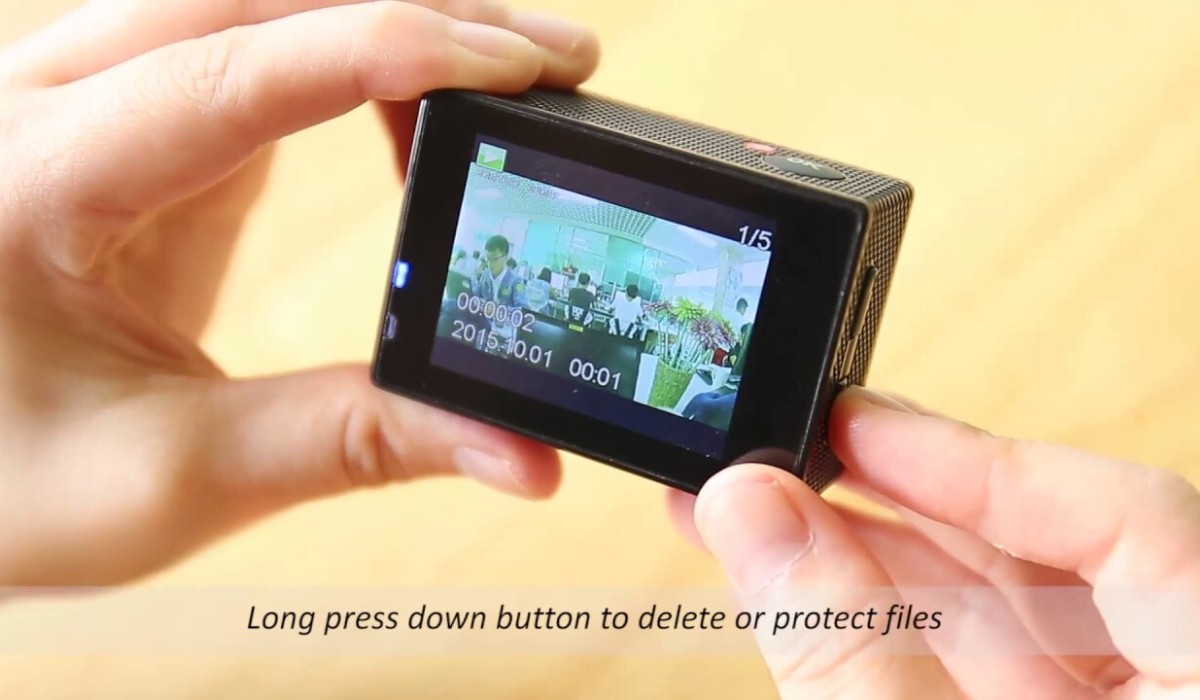
After accessing the settings menu on your Crosstour action camera, the next crucial step in deleting files is to locate and select the “Delete” option. This feature allows you to browse and manage the files stored on your camera, enabling you to remove unwanted footage and free up valuable storage space.
Within the settings menu, navigate through the available options using the directional buttons or touchscreen interface. Look for the “Delete” option, which may be represented by a trash can icon or a label indicating file management. Once you’ve identified the “Delete” option, press the corresponding button to enter this file management section.
Upon entering the “Delete” menu, you’ll be presented with a list of files stored on your Crosstour action camera. Depending on the camera’s interface, you may be able to view thumbnails or file names to identify the content you wish to delete. Take your time to browse through the files and select the ones you no longer need, ensuring that you’re only deleting the intended footage.
By selecting the “Delete” option within the settings menu, you’re taking a significant step toward managing your camera’s storage effectively. This feature empowers you to review and remove specific files, allowing you to maintain a well-organized library of footage while creating space for new recordings and adventures.
Step 4: Choose the Files to Delete
Once you’ve accessed the “Delete” menu on your Crosstour action camera, it’s time to carefully choose the files you want to delete. Depending on the camera model and interface, you may be presented with a list of thumbnails or file names, allowing you to identify and select the specific footage you wish to remove from the device’s storage.
Use the navigation controls or touchscreen functionality to scroll through the available files. As you browse through the content stored on your action camera, consider the following factors when choosing which files to delete:
- Relevance: Identify files that are no longer needed or are duplicates of footage you have already transferred to another device or storage medium.
- Quality: If you notice any recordings that are of lower quality or contain errors, consider removing them to free up space for new, high-quality footage.
- Storage Capacity: Assess the overall storage capacity of your Crosstour action camera and prioritize the deletion of larger files or content that is consuming a significant amount of space.
By carefully evaluating the files and considering these factors, you can make informed decisions about which content to delete, ensuring that you optimize your camera’s storage while retaining the footage that holds the most value and significance.
Choosing the files to delete is a critical step in managing your Crosstour action camera’s storage effectively. By thoughtfully selecting the content for deletion, you can maintain a well-organized library of footage, creating space for new recordings and preserving the most captivating moments from your adventures.
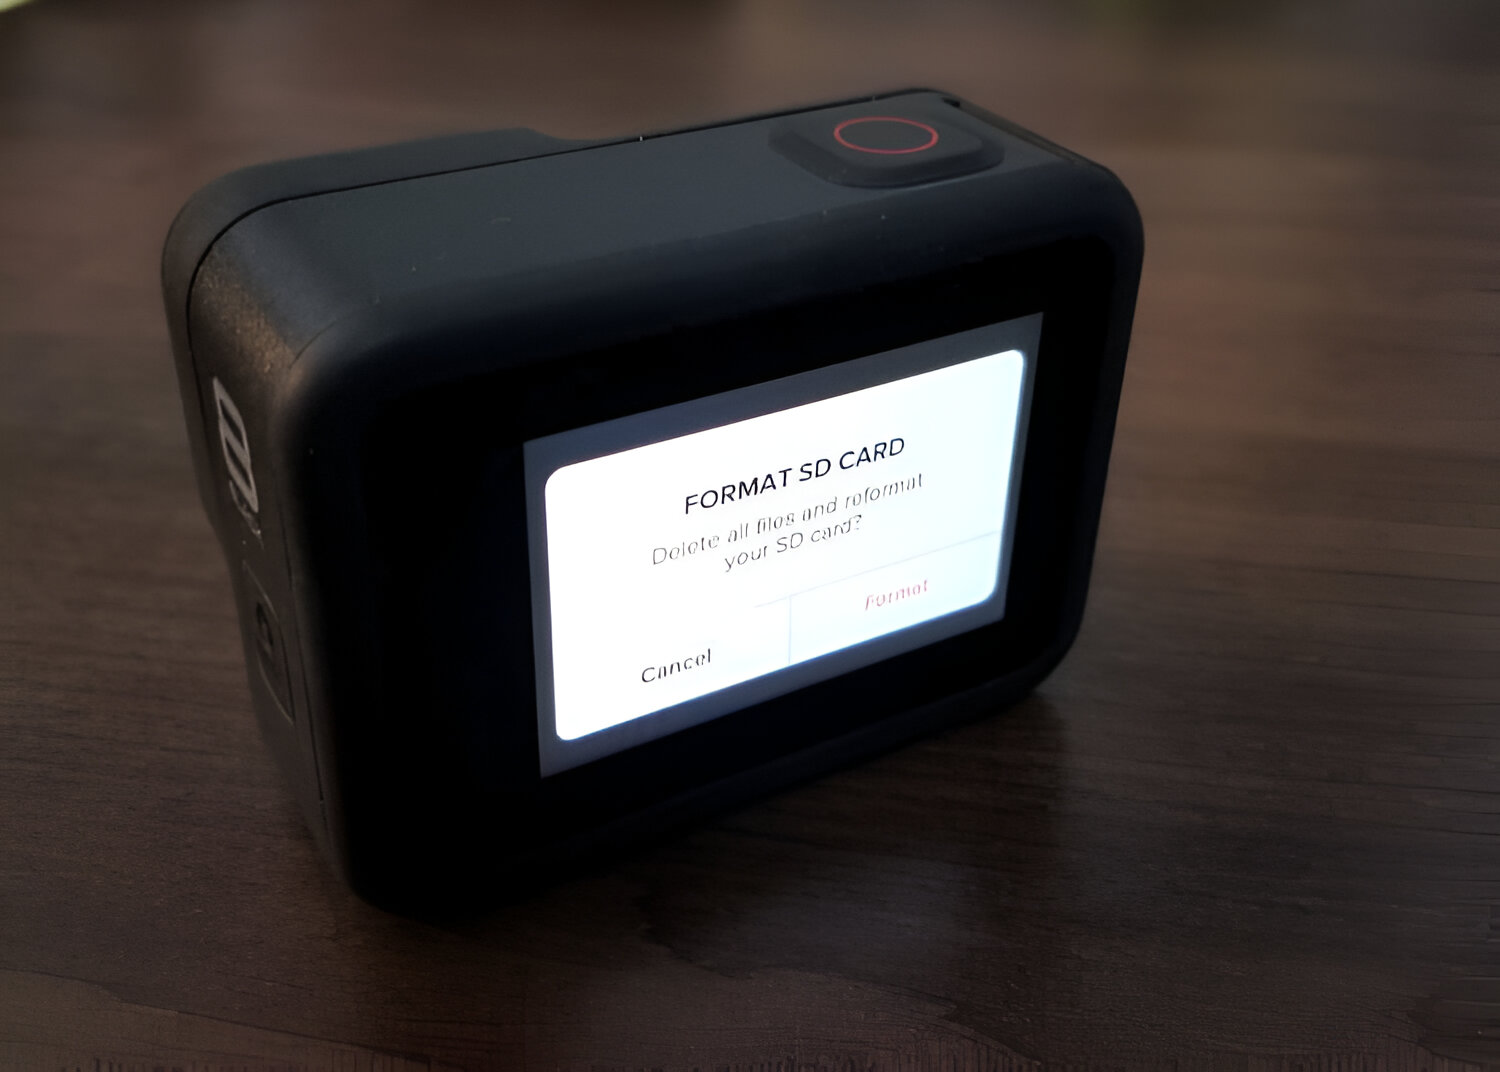
Step 5: Confirm Deletion
Once you have selected the files you wish to delete from your Crosstour action camera, the final step in the process is to confirm the deletion. This crucial step ensures that you are intentional and deliberate in removing the chosen files from the camera’s storage, preventing accidental loss of valuable footage.
After choosing the files for deletion, navigate to the confirmation prompt within the “Delete” menu. Depending on the camera’s interface, you may be prompted to confirm the deletion of each file individually or as a batch. Take a moment to review the selected files and ensure that you are comfortable with permanently removing them from the camera’s memory.
Once you are confident in your selection, proceed to confirm the deletion as prompted by the camera’s interface. This action may involve pressing a designated button or following on-screen instructions to finalize the removal of the chosen files. It’s essential to exercise caution and attentiveness during this step to avoid unintentional deletion of important footage.
By confirming the deletion of selected files, you are actively managing the storage of your Crosstour action camera, maintaining an organized library of footage while creating space for new recordings and experiences. This deliberate process empowers you to curate and preserve the most compelling and valuable moments captured with your action camera.
Conclusion
Managing the files on your Crosstour action camera is an essential aspect of maintaining an efficient and organized workflow, allowing you to capture and preserve your most thrilling moments without being hindered by limited storage space. By following the steps outlined in this guide, you have gained valuable insights into the process of deleting files from your action camera, empowering you to optimize its storage capacity effectively.
From turning on the camera and accessing the settings menu to selecting and confirming the deletion of specific files, each step plays a crucial role in ensuring that you can manage your camera’s storage with confidence and precision. By familiarizing yourself with these fundamental steps, you have equipped yourself with the knowledge and skills needed to maintain a well-organized library of footage while creating space for new recordings and adventures.
As you continue to explore the capabilities of your Crosstour action camera, remember the significance of managing its storage efficiently. Whether you’re capturing breathtaking outdoor adventures, documenting memorable moments with loved ones, or recording thrilling experiences, the ability to delete files and optimize your camera’s storage empowers you to focus on creating captivating content without being constrained by limited space.
By implementing the knowledge gained from this guide, you can confidently navigate through your action camera’s settings, curate your library of footage, and ensure that you are always prepared to capture the most exhilarating and cherished moments. With a well-managed storage system, your Crosstour action camera becomes a reliable companion on your journey to document and share your most captivating experiences.