Introduction
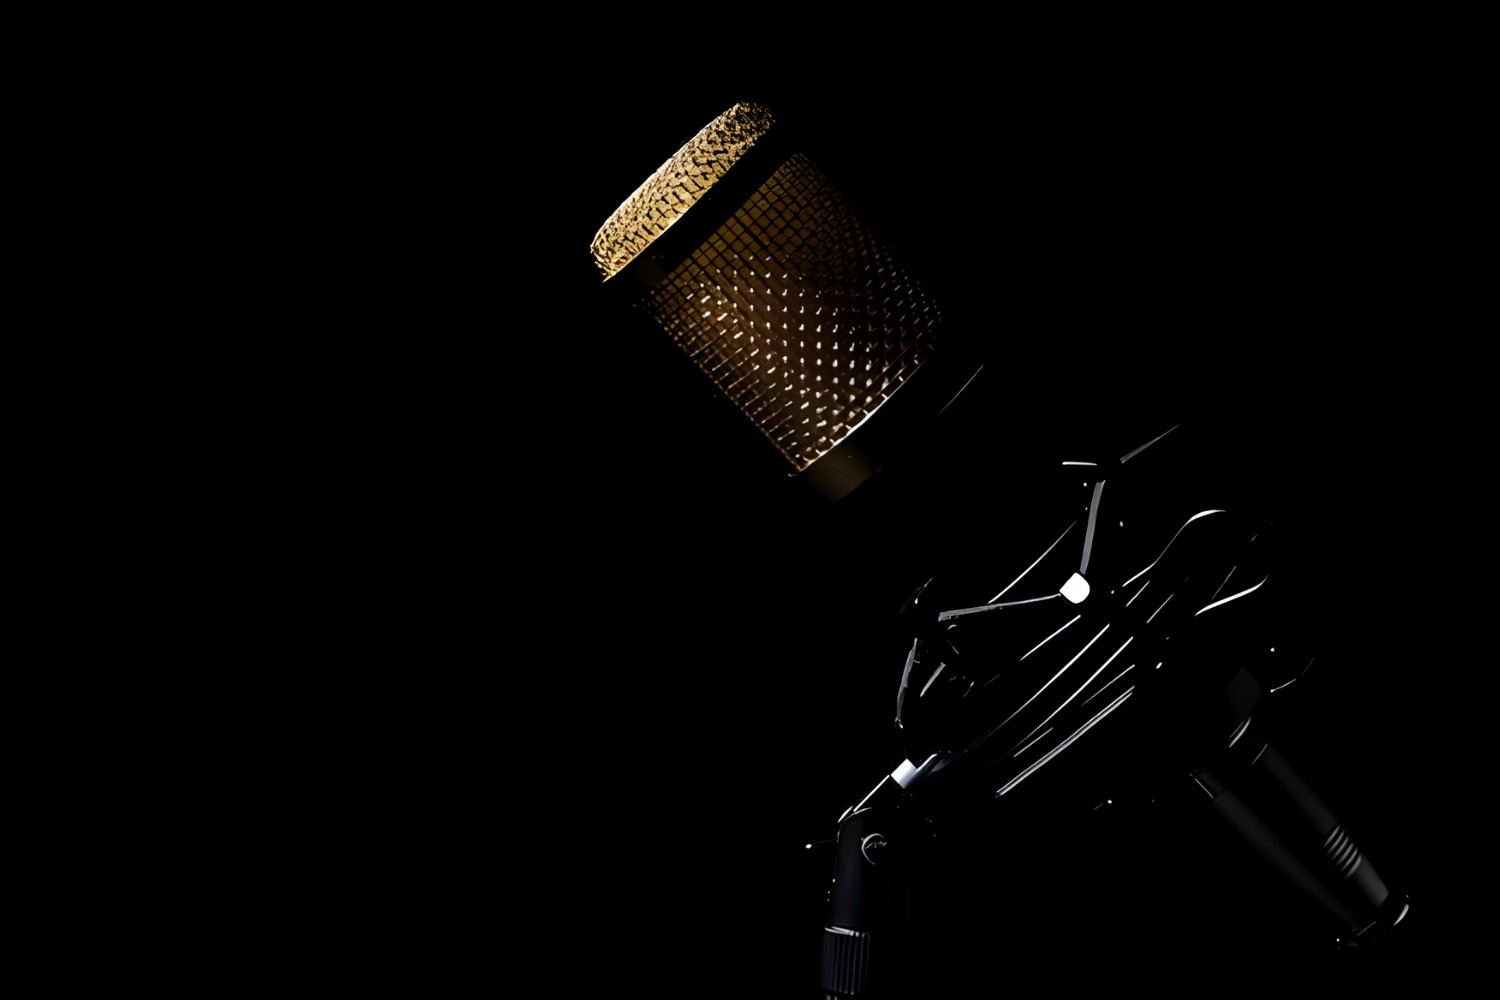
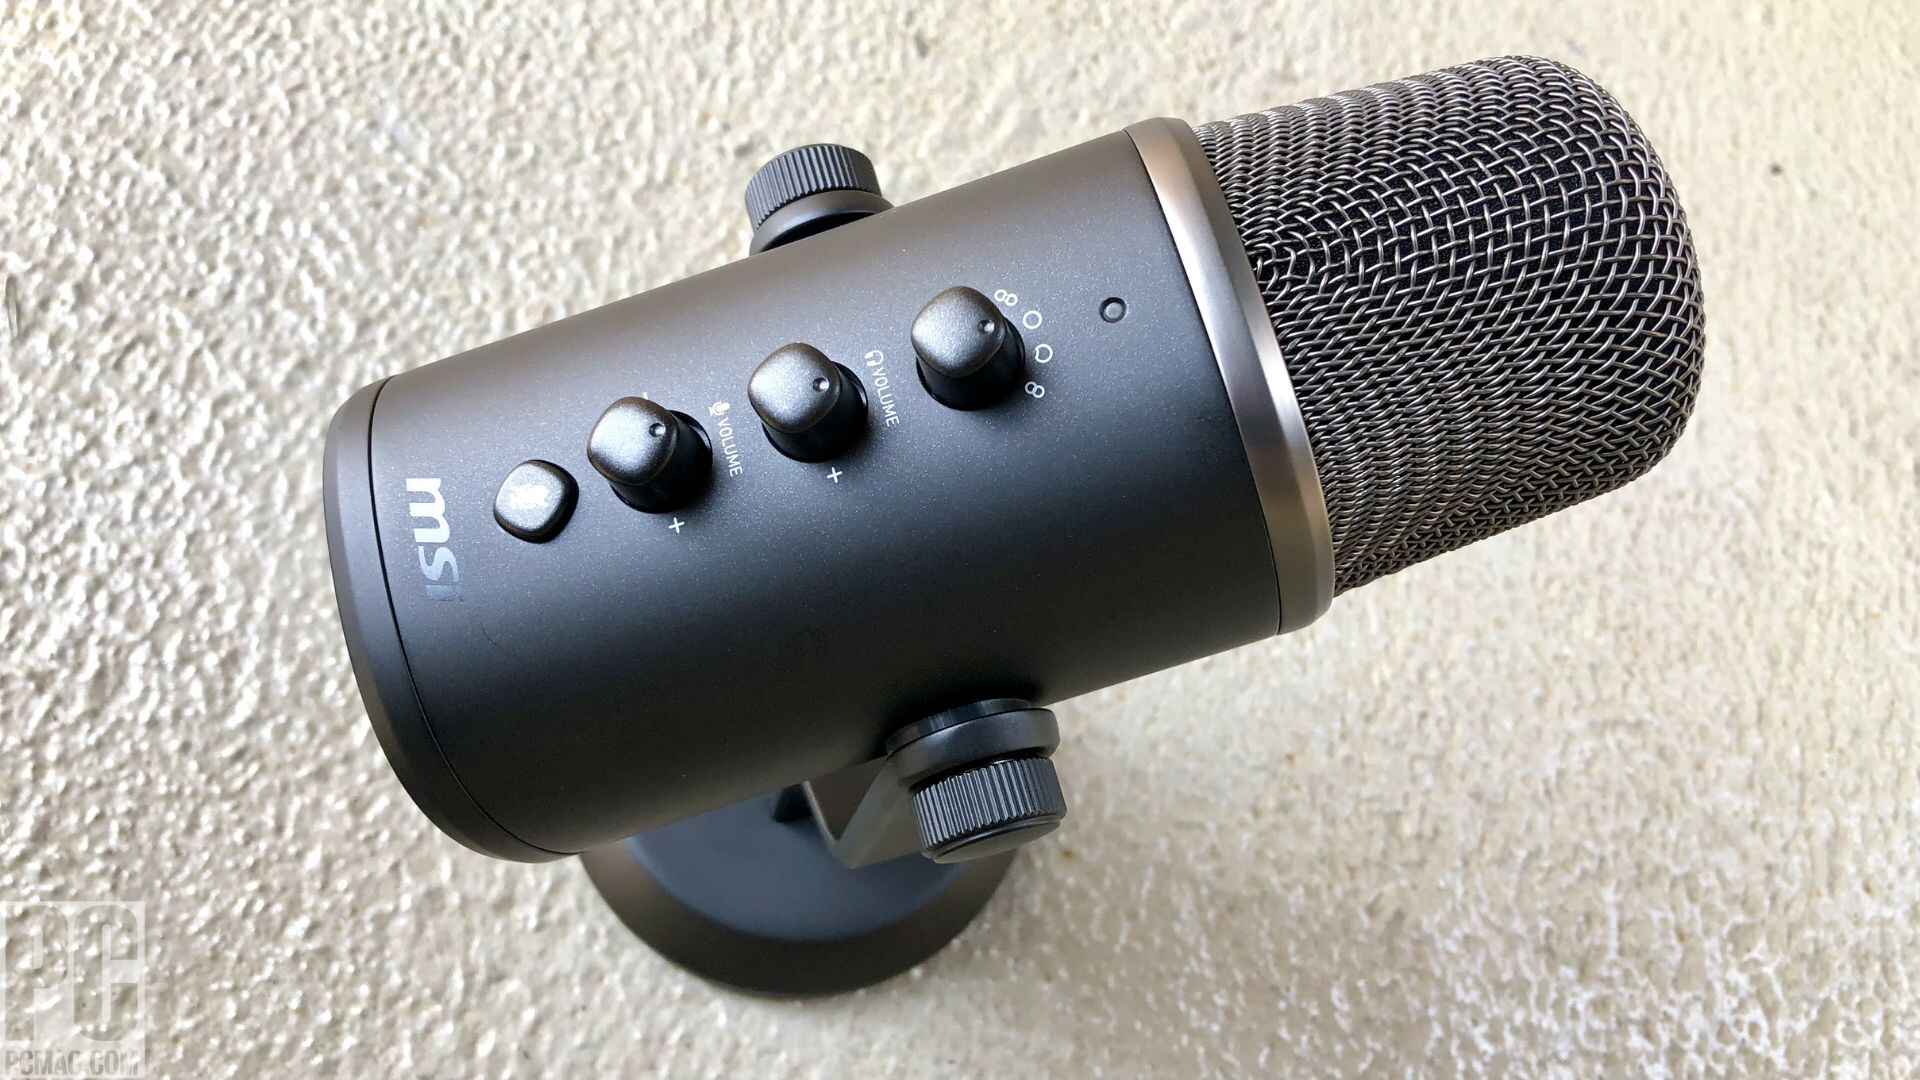
Welcome to our guide on how to eliminate buzzing from a USB microphone. USB microphones have become increasingly popular for recording vocals, podcasts, and streaming audio due to their ease of use and plug-and-play functionality. However, one common issue that users may encounter is a buzzing or humming sound that can detract from the overall recording quality.
This buzzing sound can be caused by a variety of factors and diagnosing the root cause is essential in finding the most effective solution. In this article, we will explore the common causes of buzzing in USB microphones and provide step-by-step instructions on how to troubleshoot and eliminate the issue.
Whether you’re a professional audio engineer or a content creator, dealing with buzzing in your USB microphone can be frustrating. Fortunately, by following the tips and techniques outlined in this guide, you’ll be able to rectify the buzzing problem and achieve clean, high-quality recordings.
Before diving into the troubleshooting process, it’s important to note that while we will provide general guidelines that apply to most USB microphones, different models may have specific nuances or unique settings. Therefore, always refer back to your microphone’s user manual for any manufacturer-specific instructions or troubleshooting steps.
In the following sections, we will cover the common causes of buzzing in USB microphones, starting with checking and fixing the USB connection.
Common Causes of Buzzing in USB Microphones
When you experience buzzing in your USB microphone, it’s important to understand the potential causes so that you can effectively troubleshoot and eliminate the issue. Here are some of the most common culprits behind the buzzing sound:
- USB Connection Issues: A loose or faulty USB connection can lead to buzzing or interference. Make sure the USB cable is securely plugged into the microphone and the computer. Additionally, using a USB extension cable or hub may introduce potential signal degradation. Connect the microphone directly to a USB port on your computer for the best results.
- Faulty Cables: Over time, USB cables can become damaged or frayed, resulting in poor connectivity and buzzing. Inspect the USB cable for any visible signs of wear and tear. If necessary, replace the cable with a new one from a reliable manufacturer.
- Ground Loop Issues: Ground loops occur when there are multiple devices connected to different power outlets, causing an imbalance in electrical grounding. This can result in an audible buzzing sound. To fix this, try connecting all devices, including the microphone and computer, to the same power strip or outlet.
- Microphone Settings: Incorrect microphone settings can cause buzzing or distortion. Check the input gain levels and make sure they are appropriately set to avoid amplifying background noise. Adjusting the sample rate and bit depth settings in your audio recording software may also help alleviate buzzing issues.
- Microphone Firmware: Outdated or buggy firmware can cause buzzing or other performance issues. Check the manufacturer’s website for any available firmware updates for your specific microphone model and follow their instructions to ensure you have the latest firmware installed.
- Electrical Interference: Nearby electronic devices or power sources can cause electromagnetic interference that leads to buzzing in USB microphones. Move the microphone away from other electronics or power sources, such as routers or fluorescent lights, to reduce the interference.
By identifying the potential cause of the buzzing sound in your USB microphone, you are now equipped with the knowledge needed to effectively troubleshoot and resolve the issue. In the following sections, we will delve deeper into each of these causes, providing step-by-step instructions on how to fix the problem.
Checking and Fixing the USB Connection
One of the first and easiest steps to take when troubleshooting buzzing in your USB microphone is to check and fix the USB connection. Here’s how:
- Ensure a Secure Connection: Start by inspecting the USB cable connection between the microphone and your computer. Ensure that the cable is securely plugged into both the microphone and the USB port on your computer. A loose connection can result in a buzzing sound. If the connection is loose, firmly and properly insert the USB cable into the ports.
- Try a Different USB Port: Sometimes, a particular USB port on your computer can cause interference or connectivity issues. Try plugging the USB cable into a different USB port to see if the buzzing problem persists. Ideally, use a USB port directly on your computer rather than a USB hub or extension cable, as these may introduce signal degradation.
- Change the USB Cable: If the buzzing continues, the USB cable itself may be faulty or damaged. Inspect the cable for any visible signs of wear or fraying. If you notice any damage, replace the USB cable with a new one from a reputable manufacturer. Using a high-quality USB cable can help ensure a stable and interference-free connection.
- Restart Your Computer: Sometimes, a simple restart can resolve USB connection issues. Restart your computer and then test the microphone to see if the buzzing problem has been resolved. This can help refresh the USB ports and eliminate any temporary glitches.
By checking and fixing the USB connection, you can address common issues that may cause buzzing in your USB microphone. Once you have gone through these steps, test the microphone to see if the buzzing problem has been resolved. If not, don’t worry, as there are additional troubleshooting steps to try.
In the next section, we will explore the steps involved in replacing or repairing faulty cables.
Replacing or Repairing Faulty Cables
If checking and fixing the USB connection did not resolve the buzzing issue in your USB microphone, the next step is to inspect and potentially replace or repair any faulty cables. Here’s what you can do:
- Inspect the USB Cable: Carefully examine the USB cable for any visible signs of damage, such as frayed or exposed wires. Pay close attention to both ends of the cable and along its length. Additionally, check for bent or broken connectors. If you notice any damage, it is advisable to replace the USB cable with a new one from a reliable manufacturer.
- Ensure a Secure Connection: Once you have confirmed that the USB cable is in good condition, disconnect and then firmly reconnect both ends of the cable. In some cases, a loose connection can cause buzzing or interference. Ensure that the cable is securely plugged into both the microphone and the USB port on your computer.
- Try a Different USB Cable: If the buzzing problem persists, try using a different USB cable that is known to be working properly. Borrow a USB cable from another device or purchase a new one if necessary. This will help determine if the original cable was the source of the issue.
- Consider Cable Repair: If you are experienced in electronics or have access to a professional technician, you may attempt to repair a faulty USB cable. However, this should only be done if you have the necessary knowledge and tools. If you are unsure or uncomfortable with doing the repair yourself, it is recommended to replace the cable instead.
Replacing or repairing faulty cables can often resolve buzzing issues in USB microphones. Ensure that you use high-quality USB cables and connectors to maintain a stable and interference-free connection. Once you have completed these steps, test the microphone to see if the buzzing problem has been eliminated.
If the buzzing persists, don’t worry. In the next section, we will address the issue of ground loop and provide solutions to overcome it.
Fixing Ground Loop Issues
If you are still experiencing buzzing in your USB microphone after checking and fixing the USB connection, the issue may be related to ground loops. Ground loops occur when there are multiple devices connected to different power outlets, causing an imbalance in electrical grounding. This can lead to an audible buzzing sound. Here are some steps to help you fix ground loop issues:
- Unplug unnecessary devices: Start by disconnecting any unnecessary devices that are connected to the same power strip or outlet as your computer and USB microphone. This includes speakers, monitors, and other peripherals. By reducing the number of devices sharing the same electrical circuit, you can minimize the potential for ground loops.
- Use a ground loop isolator: A ground loop isolator is a device that provides electrical isolation between your USB microphone and the audio interface or computer. It helps eliminate ground loops by breaking the electrical connection. Simply connect the ground loop isolator between the USB microphone and the audio interface or computer. Make sure to choose a ground loop isolator that is compatible with USB connections.
- Plug devices into the same power source: To ensure a balanced electrical grounding, connect all your devices, including your USB microphone and computer, to the same power strip or outlet. Avoid using different power outlets or power strips, as this can contribute to ground loop issues. This consolidated power source can help eliminate potential voltage differences between devices.
- Consider using a power conditioner: A power conditioner is a device that provides clean and stable power to your audio equipment. It filters out any electrical noise and can help mitigate ground loop issues caused by interference. Using a power conditioner can provide a more reliable and consistent power supply to your USB microphone.
By following these steps, you can effectively fix ground loop issues and eliminate the buzzing sound in your USB microphone. Remember to test the microphone after implementing each step to determine if the issue has been resolved. If the buzzing problem persists, proceed to the next troubleshooting step.
In the following section, we will delve into adjusting the microphone settings to address any potential issues related to gain levels or audio configuration settings.
Adjusting the Microphone Settings
If you’re still hearing buzzing in your USB microphone, adjusting the microphone settings can help eliminate the issue. Here are some steps to follow:
- Check the microphone gain: The gain, also known as the input level, controls the sensitivity of the microphone. If the gain is set too high, it can amplify background noise and lead to buzzing. Lower the gain level to a point where the desired audio is captured without picking up excessive noise. Adjust the gain settings on your microphone or through your recording software.
- Adjust sample rate and bit depth: Incorrect sample rate or bit depth settings can also cause buzzing or distortion. Open your audio recording software and navigate to the settings or preferences menu. Ensure that the sample rate and bit depth are set to the appropriate values for your project. The common sample rate is 44.1kHz or 48kHz, and the standard bit depth is 16-bit or 24-bit.
- Enable noise reduction or suppression: Many audio recording software and digital audio workstations (DAWs) include built-in noise reduction or suppression features. Enable these features to help eliminate background noise and buzzing sounds. Experiment with the settings to find the optimal balance between noise reduction and audio quality.
- Disable unnecessary audio enhancements: Some computers come with audio enhancement software or features that can interfere with the audio signal from your USB microphone. Disable any audio enhancements, such as equalization, surround sound, or special effects, to ensure a clean and unaltered signal from your microphone.
By adjusting the microphone settings, you can fine-tune the input levels, sample rate, and other parameters to optimize the audio quality and eliminate buzzing. As you make these adjustments, test the microphone to see if the buzzing problem has been resolved. If not, don’t worry. There are still additional steps to explore.
In the next section, we will discuss the importance of updating the microphone firmware and how doing so can potentially resolve buzzing issues.
Updating the Microphone Firmware
If you’re encountering buzzing in your USB microphone even after adjusting the settings, it’s worth considering whether the microphone’s firmware is up to date. Firmware updates can address software bugs and improve overall performance. Here’s how you can update the microphone firmware:
- Check the manufacturer’s website: Visit the manufacturer’s website for your specific USB microphone model. Look for a support or downloads section where you can find firmware updates. Read the documentation and release notes to determine if there are any firmware updates intended to address buzzing or other audio issues.
- Download the firmware update: If a firmware update is available, download it onto your computer. Follow the instructions provided by the manufacturer on how to install the firmware update. Some microphones may require you to connect the USB microphone to your computer and run a firmware update utility.
- Ensure a stable power source: When performing a firmware update, it’s crucial to have a stable power source to avoid any interruptions that could lead to system errors or firmware corruption. Make sure your computer is plugged into a reliable power source, and avoid performing the update during power outages or when your device’s battery is low.
- Follow the firmware update process: Carefully follow the manufacturer’s instructions to complete the firmware update process. This may involve running an executable file or using a specific firmware updater tool. During the update, avoid interrupting the process or disconnecting the USB microphone from your computer.
- Test the microphone: After updating the firmware, test the USB microphone to see if the buzzing issue has been resolved. If the buzzing persists, try restarting your computer and testing the microphone again. It’s possible that a combination of firmware and system restart may be required to fully resolve the buzzing problem.
Updating the microphone firmware can often resolve buzzing issues as it ensures that you have the latest software improvements and bug fixes. Always remember to consult the manufacturer’s instructions and recommendations while updating the firmware.
If the buzzing still persists after updating the firmware, the next section will guide you through eliminating electrical interference, which can be another potential cause of the issue.
Eliminating Electrical Interference
If you’re still experiencing buzzing in your USB microphone after adjusting settings and updating the firmware, electrical interference may be the culprit. Electrical interference can come from nearby electronic devices or power sources, causing electromagnetic interference that affects the microphone’s signal. Here are some steps to eliminate electrical interference:
- Change the microphone’s location: Move the USB microphone away from other electronic devices, such as routers, speakers, monitors, or fluorescent lights. Placing the microphone further from these sources of electrical activity can help reduce interference.
- Use shielded cables: Replace the USB cable with a shielded USB cable. Shielded cables have additional shielding to protect against electromagnetic interference. These cables can help reduce the impact of electrical interference on the microphone’s signal.
- Try a different power outlet: Plug your computer and USB microphone into a different power outlet. Sometimes, using a separate circuit can help minimize electrical interference. Avoid sharing the same power outlet with devices that draw large amounts of power, such as air conditioners or refrigerators.
- Use power conditioners or surge protectors: Power conditioners and surge protectors can filter and regulate the power supply, reducing the risk of electrical interference. Connect your computer and USB microphone to a power conditioner or surge protector to help eliminate interference caused by power fluctuations.
- Investigate wiring issues: If the buzzing persists, inspect the wiring in your workspace. Faulty or improperly grounded electrical outlets can contribute to electrical interference. Consider consulting an electrician to assess and resolve any wiring issues in your space.
By applying these steps, you can effectively reduce or eliminate electrical interference that may be causing the buzzing in your USB microphone. Remember to test the microphone after each adjustment to determine if the issue has been resolved. If needed, you can combine multiple solutions to achieve the best results.
If the buzzing problem persists, don’t worry. In the next section, we will explore the option of using a USB isolator as a potential solution.
Using a USB Isolator
If you’re still struggling with buzzing in your USB microphone despite trying various solutions, using a USB isolator can help eliminate the issue. A USB isolator is a device that provides electrical isolation between your USB microphone and the computer. Here’s how you can use a USB isolator:
- Acquire a USB isolator: Purchase a USB isolator from a reputable manufacturer. Ensure that it is compatible with USB connections and has good reviews for reducing electrical interference.
- Connect the USB isolator: Disconnect the USB cable from your USB microphone and connect it to the input port of the USB isolator. Then, connect the output port of the USB isolator to your computer using a new USB cable.
- Plug in the USB microphone: Plug your USB microphone into the USB isolator’s input port. Make sure the connection is secure and the cables are properly inserted into their respective ports.
- Test the microphone: After connecting the USB isolator, test your microphone to see if the buzzing problem has been resolved. The USB isolator should help reduce or eliminate any electrical interference that was occurring between the microphone and the computer.
A USB isolator acts as a barrier between the USB microphone and the computer, preventing any electrical interference from affecting the audio signal. By using this isolator, you can create a clean and isolated connection for your USB microphone, potentially resolving the buzzing issue.
If the buzzing problem still persists after using a USB isolator, it is advisable to consult with the microphone manufacturer’s support team or seek assistance from a professional audio technician for further troubleshooting.
Now that you have explored various troubleshooting steps to eliminate buzzing in your USB microphone, you are well-equipped to resolve this issue and achieve clear, high-quality recordings.
Conclusion
Dealing with buzzing in a USB microphone can be frustrating, but by following the troubleshooting steps outlined in this guide, you can effectively identify and resolve the issue. From checking and fixing the USB connection to addressing ground loops, adjusting microphone settings, updating firmware, eliminating electrical interference, and using a USB isolator, there are several strategies you can employ to eliminate buzzing and achieve clean audio recordings.
Remember to start with the simplest solutions, such as checking the USB connection and inspecting cables, before moving on to more complex troubleshooting steps. Each step outlined in this guide builds upon the previous one, targeting potential causes of buzzing until a solution is found.
It’s important to note that while these troubleshooting steps are generally applicable to most USB microphones, it’s always a good idea to consult your microphone’s user manual or the manufacturer’s website for any specific guidelines or recommendations.
By systematically addressing and resolving the common causes of buzzing in USB microphones, you can ensure that your recordings are free from unwanted noise and interference. The resulting clean, high-quality audio will enhance your projects, whether you’re recording vocals, podcast episodes, or streaming content.
If, after following all the troubleshooting steps, you are still experiencing buzzing in your USB microphone, don’t hesitate to reach out to the manufacturer’s support team or seek assistance from a professional audio technician. They may be able to provide further guidance and assistance in resolving the issue.
With persistence and the proper troubleshooting techniques, you’ll be able to eliminate buzzing from your USB microphone and enjoy optimal audio performance for all your recording endeavors.