Introduction
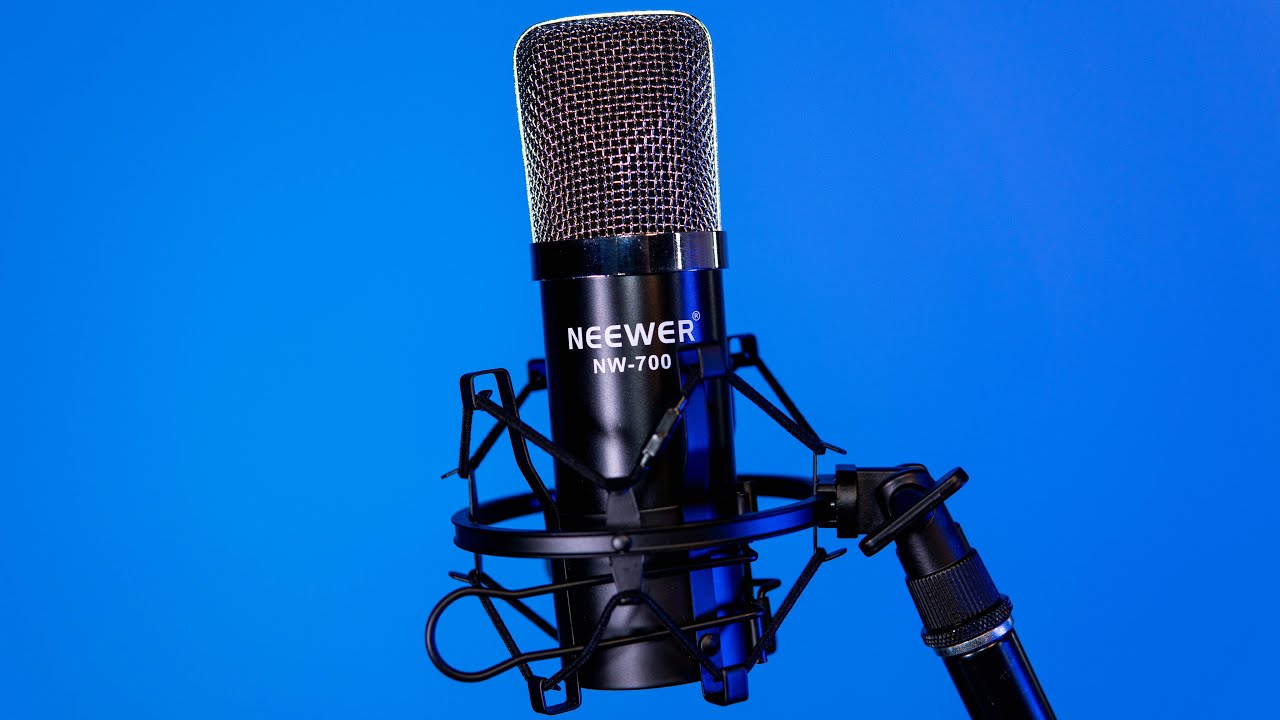
So, you've got your hands on the Neewer Condenser Microphone, and you're excited to start using it to record your voice or instruments on your PC. This high-quality microphone is perfect for podcasting, voiceovers, gaming, and music recording. However, before you can start using it, you need to know how to connect it to your PC. Don't worry; it's a straightforward process that we'll walk you through step by step.
In this guide, we'll cover everything you need to know to connect your Neewer Condenser Microphone to your PC. We'll start by unboxing the microphone and familiarizing ourselves with its components. Then, we'll move on to the process of connecting the microphone to your PC, ensuring that everything is properly set up for optimal performance. Finally, we'll test the microphone to ensure that it's working as expected.
By the end of this guide, you'll have a clear understanding of how to set up your Neewer Condenser Microphone and start using it to capture high-quality audio on your PC. So, let's dive in and get started with unboxing the Neewer Condenser Microphone!
Step 1: Unboxing the Neewer Condenser Microphone
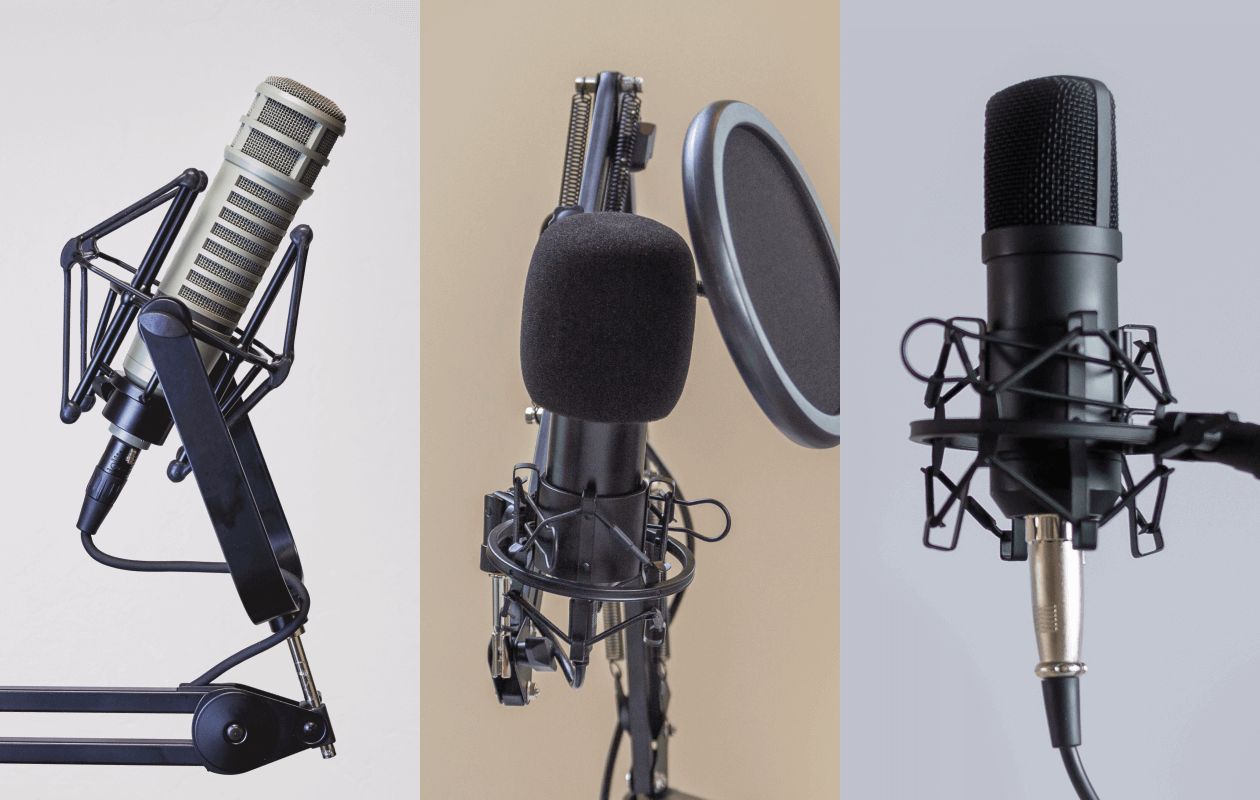
Before you can connect your Neewer Condenser Microphone to your PC, you need to unbox it and familiarize yourself with its components. The Neewer Condenser Microphone typically comes with the following items:
- The Neewer Condenser Microphone
- Shock Mount
- Pop Filter
- XLR Cable
- Microphone Stand
- 3.5mm to XLR Cable (for connecting to a PC)
Once you have all these items in front of you, take a moment to inspect each one. The Neewer Condenser Microphone itself has a sturdy and professional feel, and the shock mount and pop filter are essential for reducing unwanted noise and plosives in your recordings. The XLR cable is used to connect the microphone to an audio interface or mixer, while the 3.5mm to XLR cable is what you’ll need to connect the microphone directly to your PC.
Now that you’ve unboxed the microphone and its accessories, you’re ready to move on to the next step: connecting the Neewer Condenser Microphone to your PC. Let’s dive into the process of making this connection to unleash the full potential of your new microphone.
Step 2: Connecting the Microphone to the PC
Now that you’re familiar with the components of the Neewer Condenser Microphone, it’s time to connect it to your PC. The process is relatively straightforward, but it’s essential to follow the steps carefully to ensure a proper connection.
First, locate the 3.5mm to XLR cable that came with your microphone. This cable is designed to connect the microphone directly to your PC’s sound card or audio interface. One end of the cable has a 3.5mm (1/8 inch) TRS plug, which will go into the microphone, while the other end has an XLR connector that will plug into the PC’s audio input.
Before making the physical connection, ensure that your PC is powered off. This precaution will prevent any potential electrical issues during the setup process. Once the PC is powered off, locate the microphone input on your PC. This is typically a pink-colored 3.5mm jack labeled “mic in” or “microphone.”
Next, plug the 3.5mm end of the cable into the Neewer Condenser Microphone. The plug should securely fit into the microphone’s output jack. Then, take the XLR end of the cable and carefully plug it into the microphone input on your PC. Ensure that the connection is secure but avoid using excessive force, as this could damage the connectors.
With the microphone now physically connected to your PC, you’re ready to move on to the next step: adjusting the PC settings to ensure that the microphone is recognized and configured correctly. This step is crucial for optimizing the performance of your Neewer Condenser Microphone and ensuring that it functions as intended. Let’s proceed to the next step and fine-tune the settings on your PC for seamless integration with the microphone.
Step 3: Adjusting the PC Settings for the Microphone
Now that you have physically connected your Neewer Condenser Microphone to your PC, it’s time to ensure that the PC recognizes the microphone and that the settings are optimized for recording. Follow these steps to adjust the PC settings for seamless integration with the microphone:
- Accessing Sound Settings: Power on your PC and navigate to the sound settings. On Windows, you can typically access sound settings by right-clicking the speaker icon in the taskbar and selecting “Sounds” or “Recording devices.”
- Microphone Selection: Once in the sound settings, ensure that the Neewer Condenser Microphone is recognized as the default recording device. If it’s not selected as the default device, right-click on the microphone and choose “Set as Default Device.”
- Adjusting Levels: After selecting the microphone as the default recording device, navigate to the microphone properties and adjust the input levels. Ensure that the levels are neither too low (resulting in faint recordings) nor too high (causing distortion).
- Enhancements and Effects: Depending on your recording preferences, you may want to explore the enhancements and effects available for the microphone. This can include adjusting the microphone’s gain, enabling noise suppression, or applying equalization to enhance the audio quality.
- Testing the Microphone: Once you’ve adjusted the settings, it’s crucial to test the microphone to ensure that it’s capturing audio correctly. Speak into the microphone and observe the input levels on the sound settings. If the levels are responsive and clear, your microphone is ready for use.
By following these steps, you can fine-tune the settings on your PC to optimize the performance of the Neewer Condenser Microphone. This ensures that your recordings are of high quality and free from any technical issues. With the settings adjusted, you’re now ready to move on to the final step: testing the microphone to confirm that it’s functioning as expected.
Step 4: Testing the Microphone
With the Neewer Condenser Microphone connected to your PC and the settings adjusted for optimal performance, it’s time to conduct a test to ensure that the microphone is functioning as expected. Testing the microphone allows you to verify that it’s capturing audio accurately and that there are no technical issues affecting its performance.
To conduct the test, follow these steps:
- Open a Recording Application: Launch a recording application on your PC, such as Audacity, Adobe Audition, or the built-in Voice Recorder app on Windows. Ensure that the recording application is set to use the Neewer Condenser Microphone as the input device.
- Speak or Sing into the Microphone: Position yourself in front of the microphone and speak into it at a normal volume. Alternatively, if you’re using the microphone for music recording, play an instrument or sing into it to capture the audio.
- Monitor the Recording: As you speak or perform, monitor the recording levels in the application. The levels should respond to the audio input, indicating that the microphone is successfully capturing sound. Verify that the recorded audio is clear and free from any distortion or unwanted noise.
- Playback the Recording: After completing the test recording, play back the audio to assess the quality. Listen for any issues such as background noise, pops, or distortion. If the recorded audio sounds clear and accurate, your Neewer Condenser Microphone is ready for use.
By conducting this test, you can confirm that the Neewer Condenser Microphone is functioning correctly and that it’s ready to capture high-quality audio for your intended purpose, whether it’s podcasting, voiceovers, gaming, or music recording. If you encounter any issues during the test, revisit the previous steps to ensure that the microphone is properly connected and the PC settings are configured accurately.
With the microphone successfully tested and verified, you can now proceed with confidence, knowing that your Neewer Condenser Microphone is fully operational and ready to fulfill your recording needs.
Conclusion
Congratulations! You have successfully learned how to connect your Neewer Condenser Microphone to your PC and ensure that it’s ready to capture high-quality audio. By following the steps outlined in this guide, you have unboxed the microphone, connected it to your PC, adjusted the PC settings for optimal performance, and conducted a thorough test to confirm its functionality.
With your Neewer Condenser Microphone set up and tested, you are now equipped to embark on your recording endeavors with confidence. Whether you’re delving into podcasting, voiceovers, gaming commentary, or music recording, your microphone is poised to deliver professional-grade audio capture for your projects.
Remember to revisit the PC settings if you encounter any issues during recording sessions, as adjustments may be necessary to fine-tune the microphone’s performance based on specific recording requirements. Additionally, explore the capabilities of your chosen recording software to maximize the potential of your Neewer Condenser Microphone and unleash its full range of features.
As you begin utilizing your microphone for various recording purposes, continue to monitor the audio quality and make adjustments as needed to achieve the desired results. With practice and experimentation, you’ll further harness the capabilities of your Neewer Condenser Microphone to produce captivating and professional audio content.
By mastering the process of connecting and setting up your Neewer Condenser Microphone, you’ve taken a significant step toward elevating the quality of your recordings and enhancing your creative pursuits. Embrace the possibilities that your microphone offers and unleash your creativity with confidence, knowing that you have the tools and knowledge to capture exceptional audio on your PC.


