Introduction
Introduction
If you're an aspiring music producer or a seasoned beatmaker looking to expand your sonic horizons, connecting a MIDI keyboard to your MPC Studio can unlock a world of creative possibilities. The MPC Studio, renowned for its intuitive workflow and powerful production capabilities, becomes even more versatile when paired with a MIDI keyboard. This combination allows you to harness the tactile expressiveness of a keyboard while leveraging the MPC Studio's robust production features.
By connecting a MIDI keyboard to your MPC Studio, you can seamlessly integrate melodic and harmonic elements into your productions, whether you're crafting soulful melodies, laying down lush chords, or experimenting with intricate synth lines. This setup empowers you to explore new musical avenues and elevate your production prowess to new heights.
In this guide, we'll walk you through the process of connecting your MIDI keyboard to the MPC Studio, from gathering the necessary equipment to configuring the software for seamless integration. By the end of this tutorial, you'll be ready to harness the full potential of your MIDI keyboard within the MPC Studio environment, unleashing your creativity and musical vision with confidence. Let's dive into the steps that will enable you to seamlessly connect your MIDI keyboard to the MPC Studio and elevate your music production experience.
Step 1: Gather Your Equipment
Before embarking on the process of connecting your MIDI keyboard to the MPC Studio, it’s essential to ensure that you have the necessary equipment at your disposal. Gathering the right tools will facilitate a smooth and seamless integration, setting the stage for a productive and inspiring music-making experience.
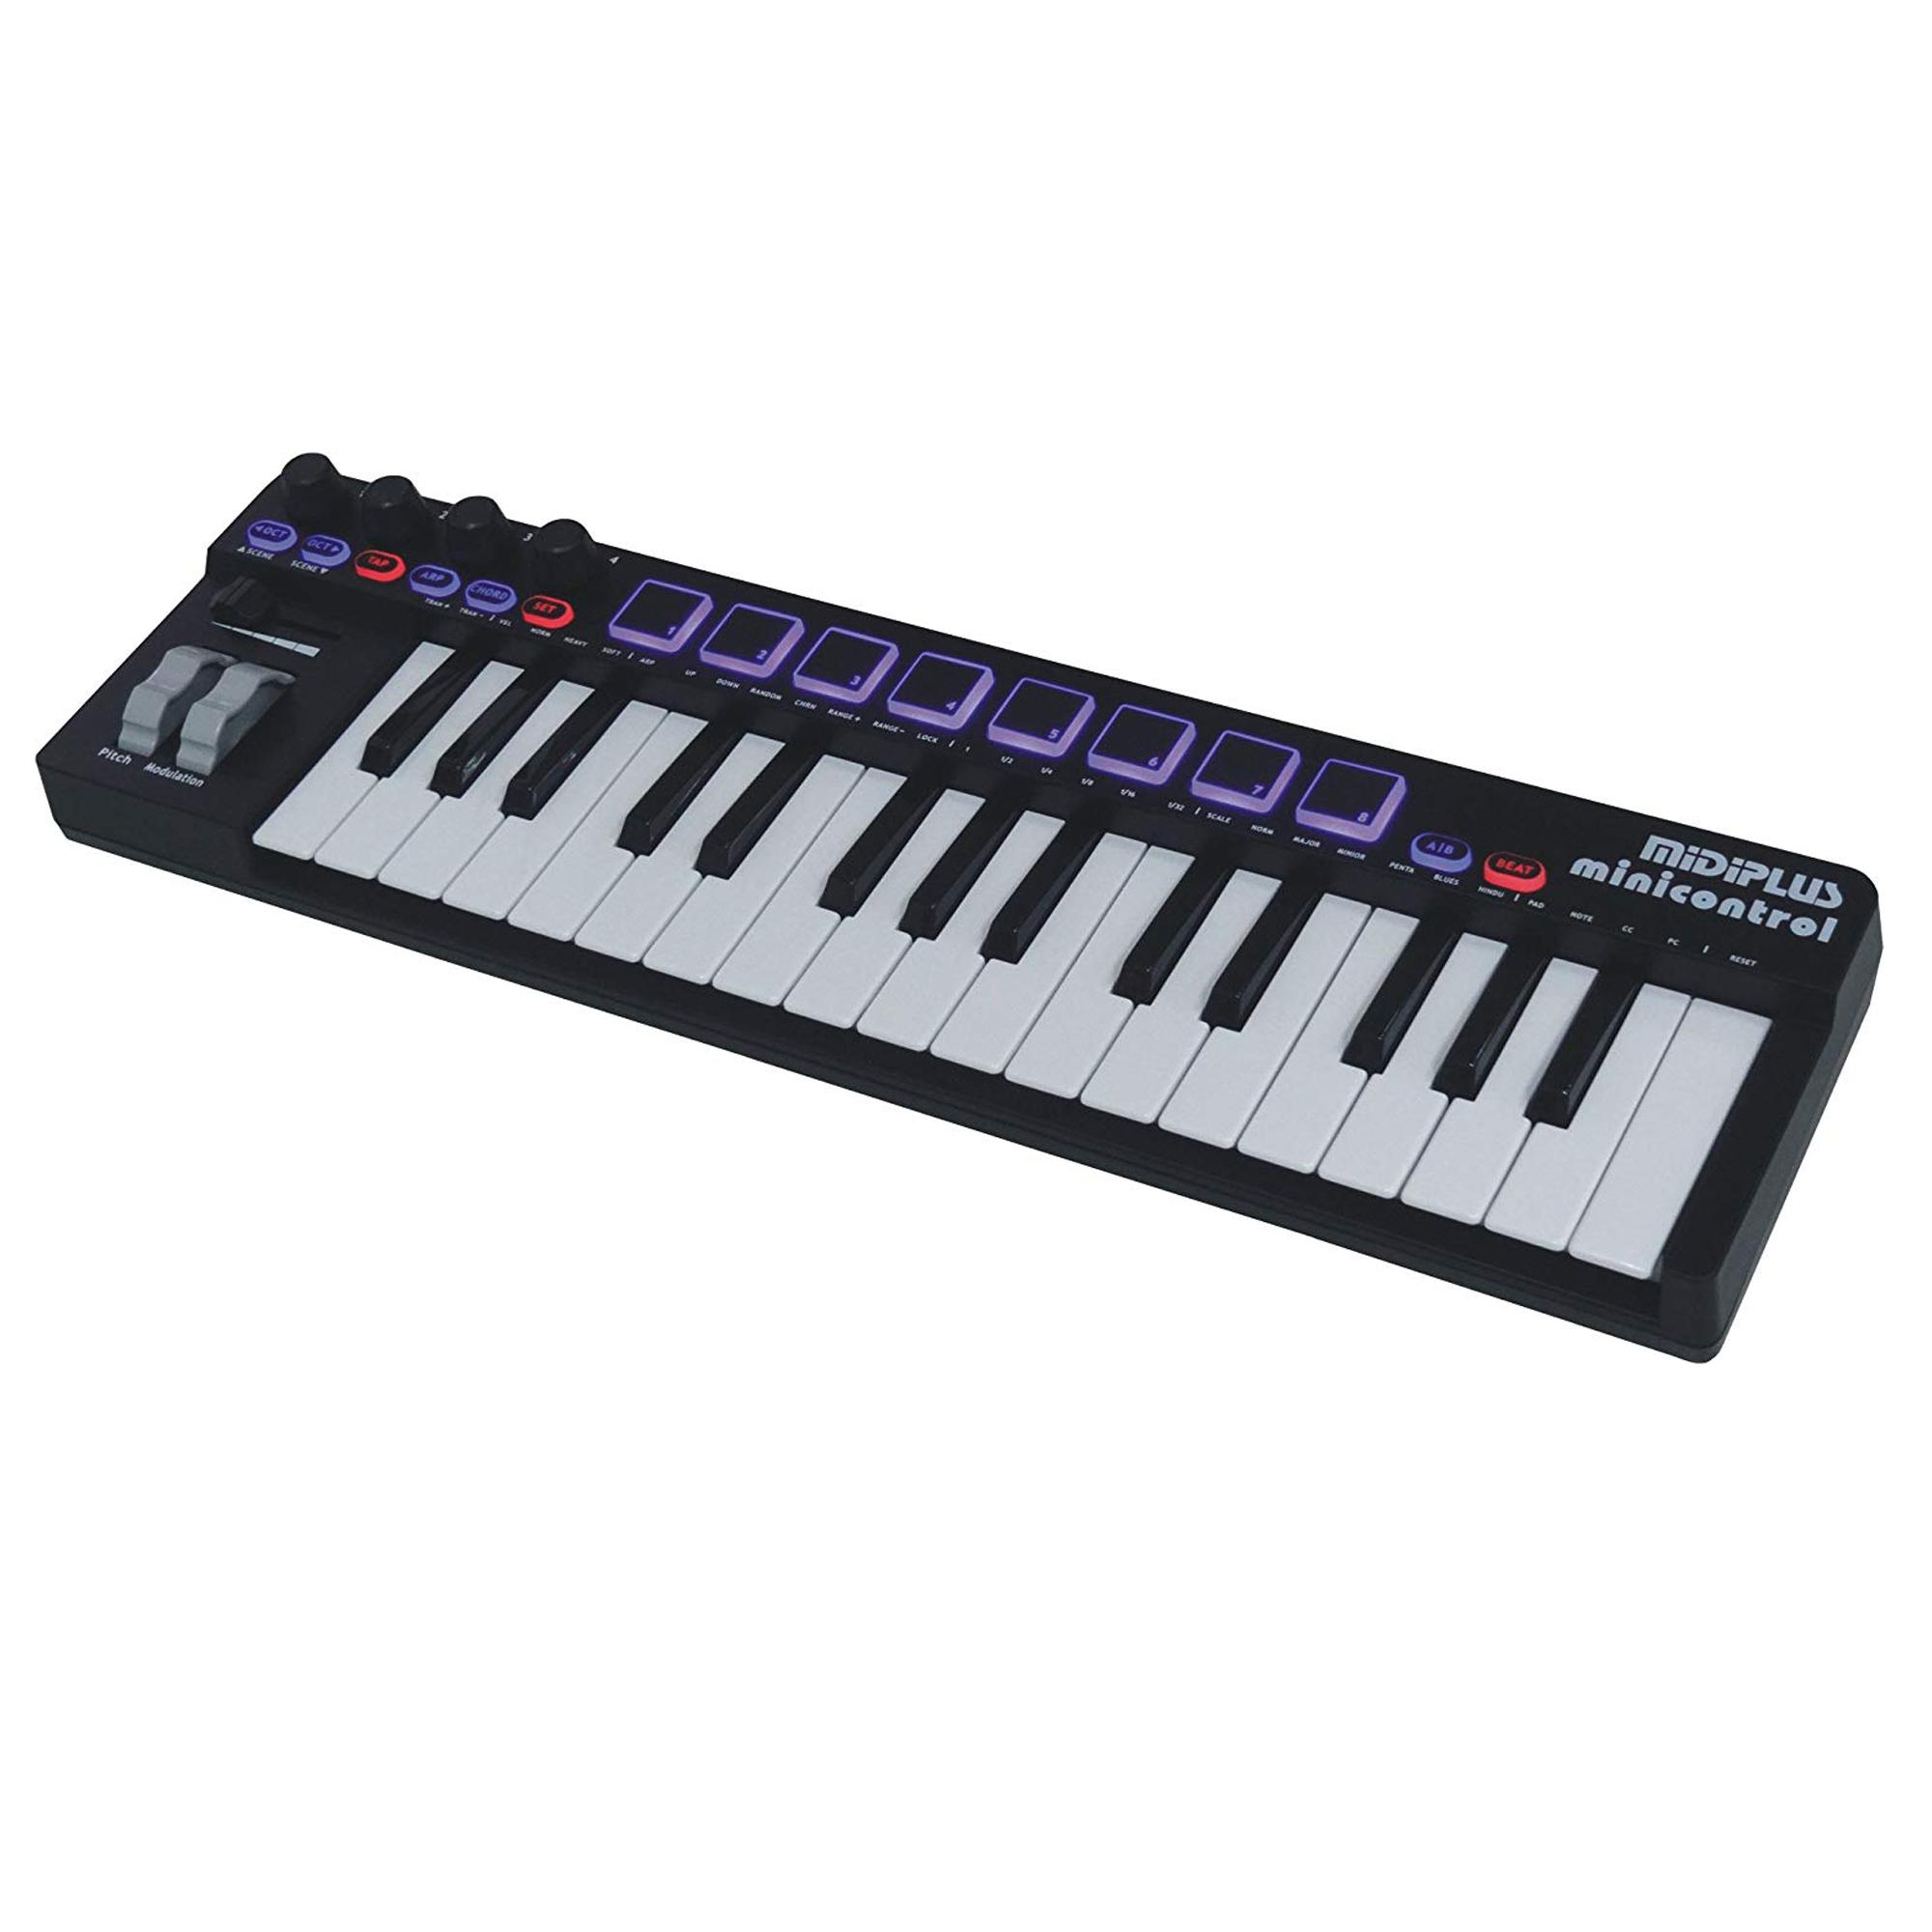
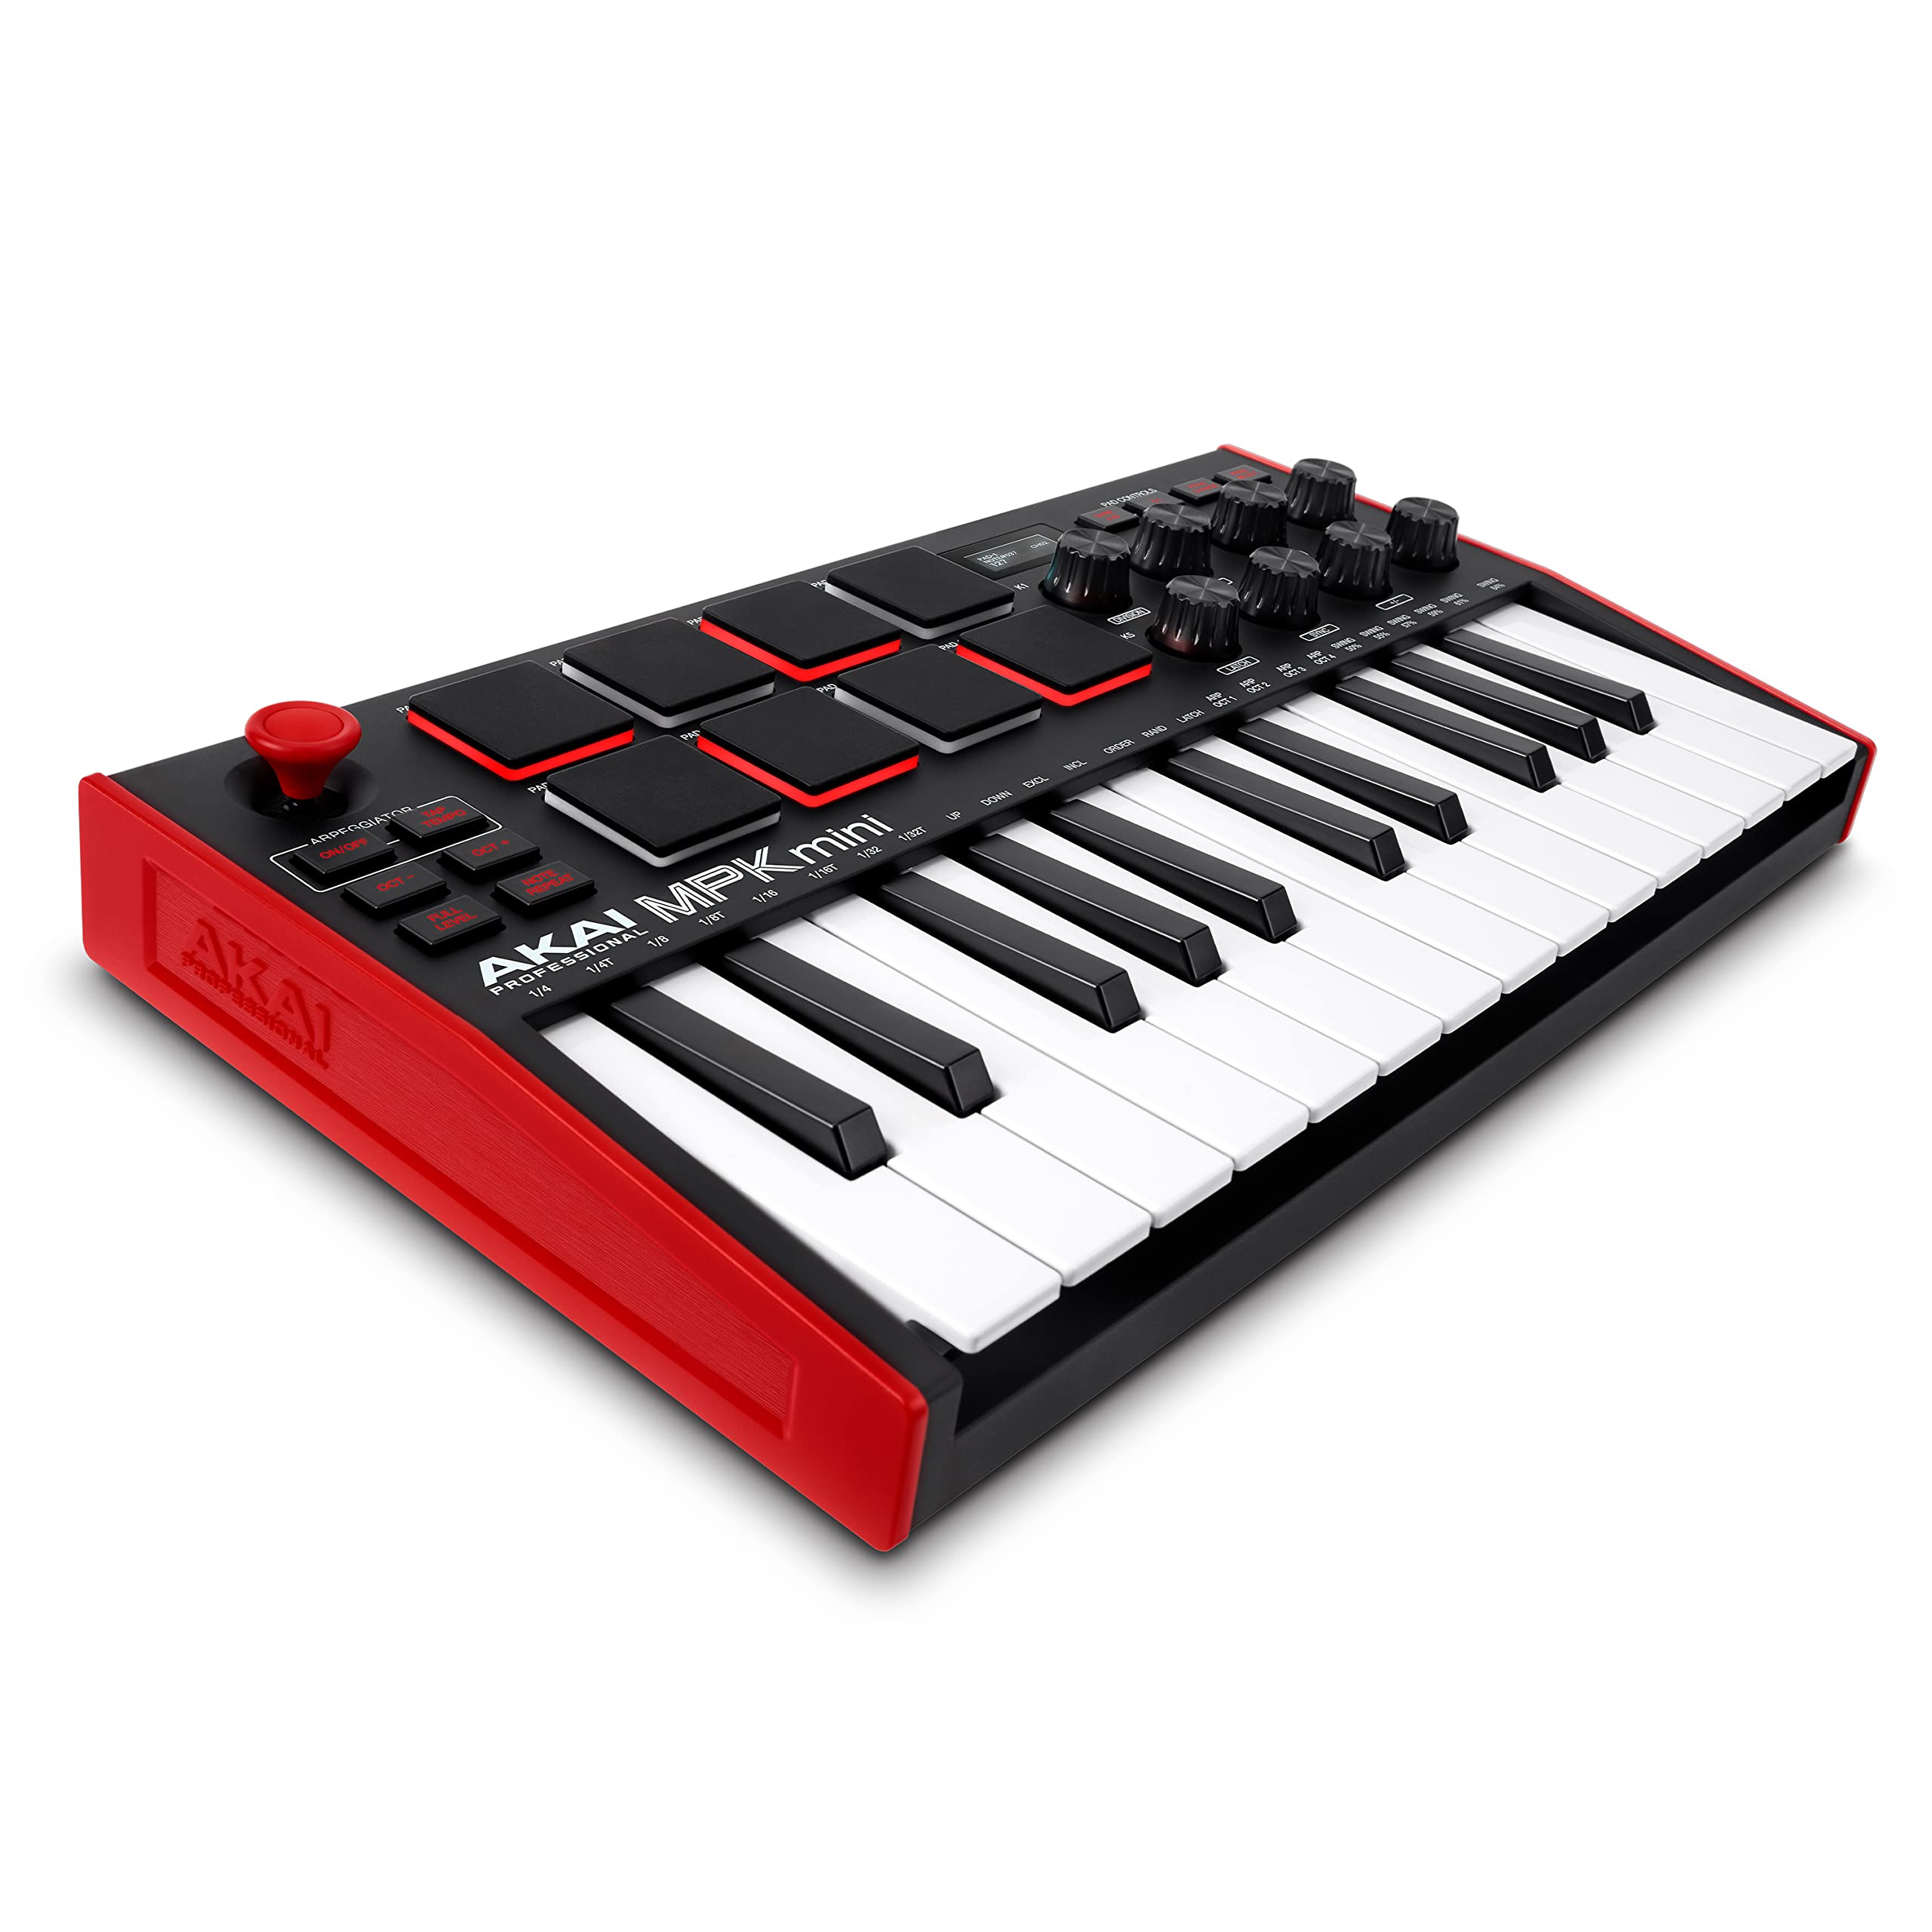
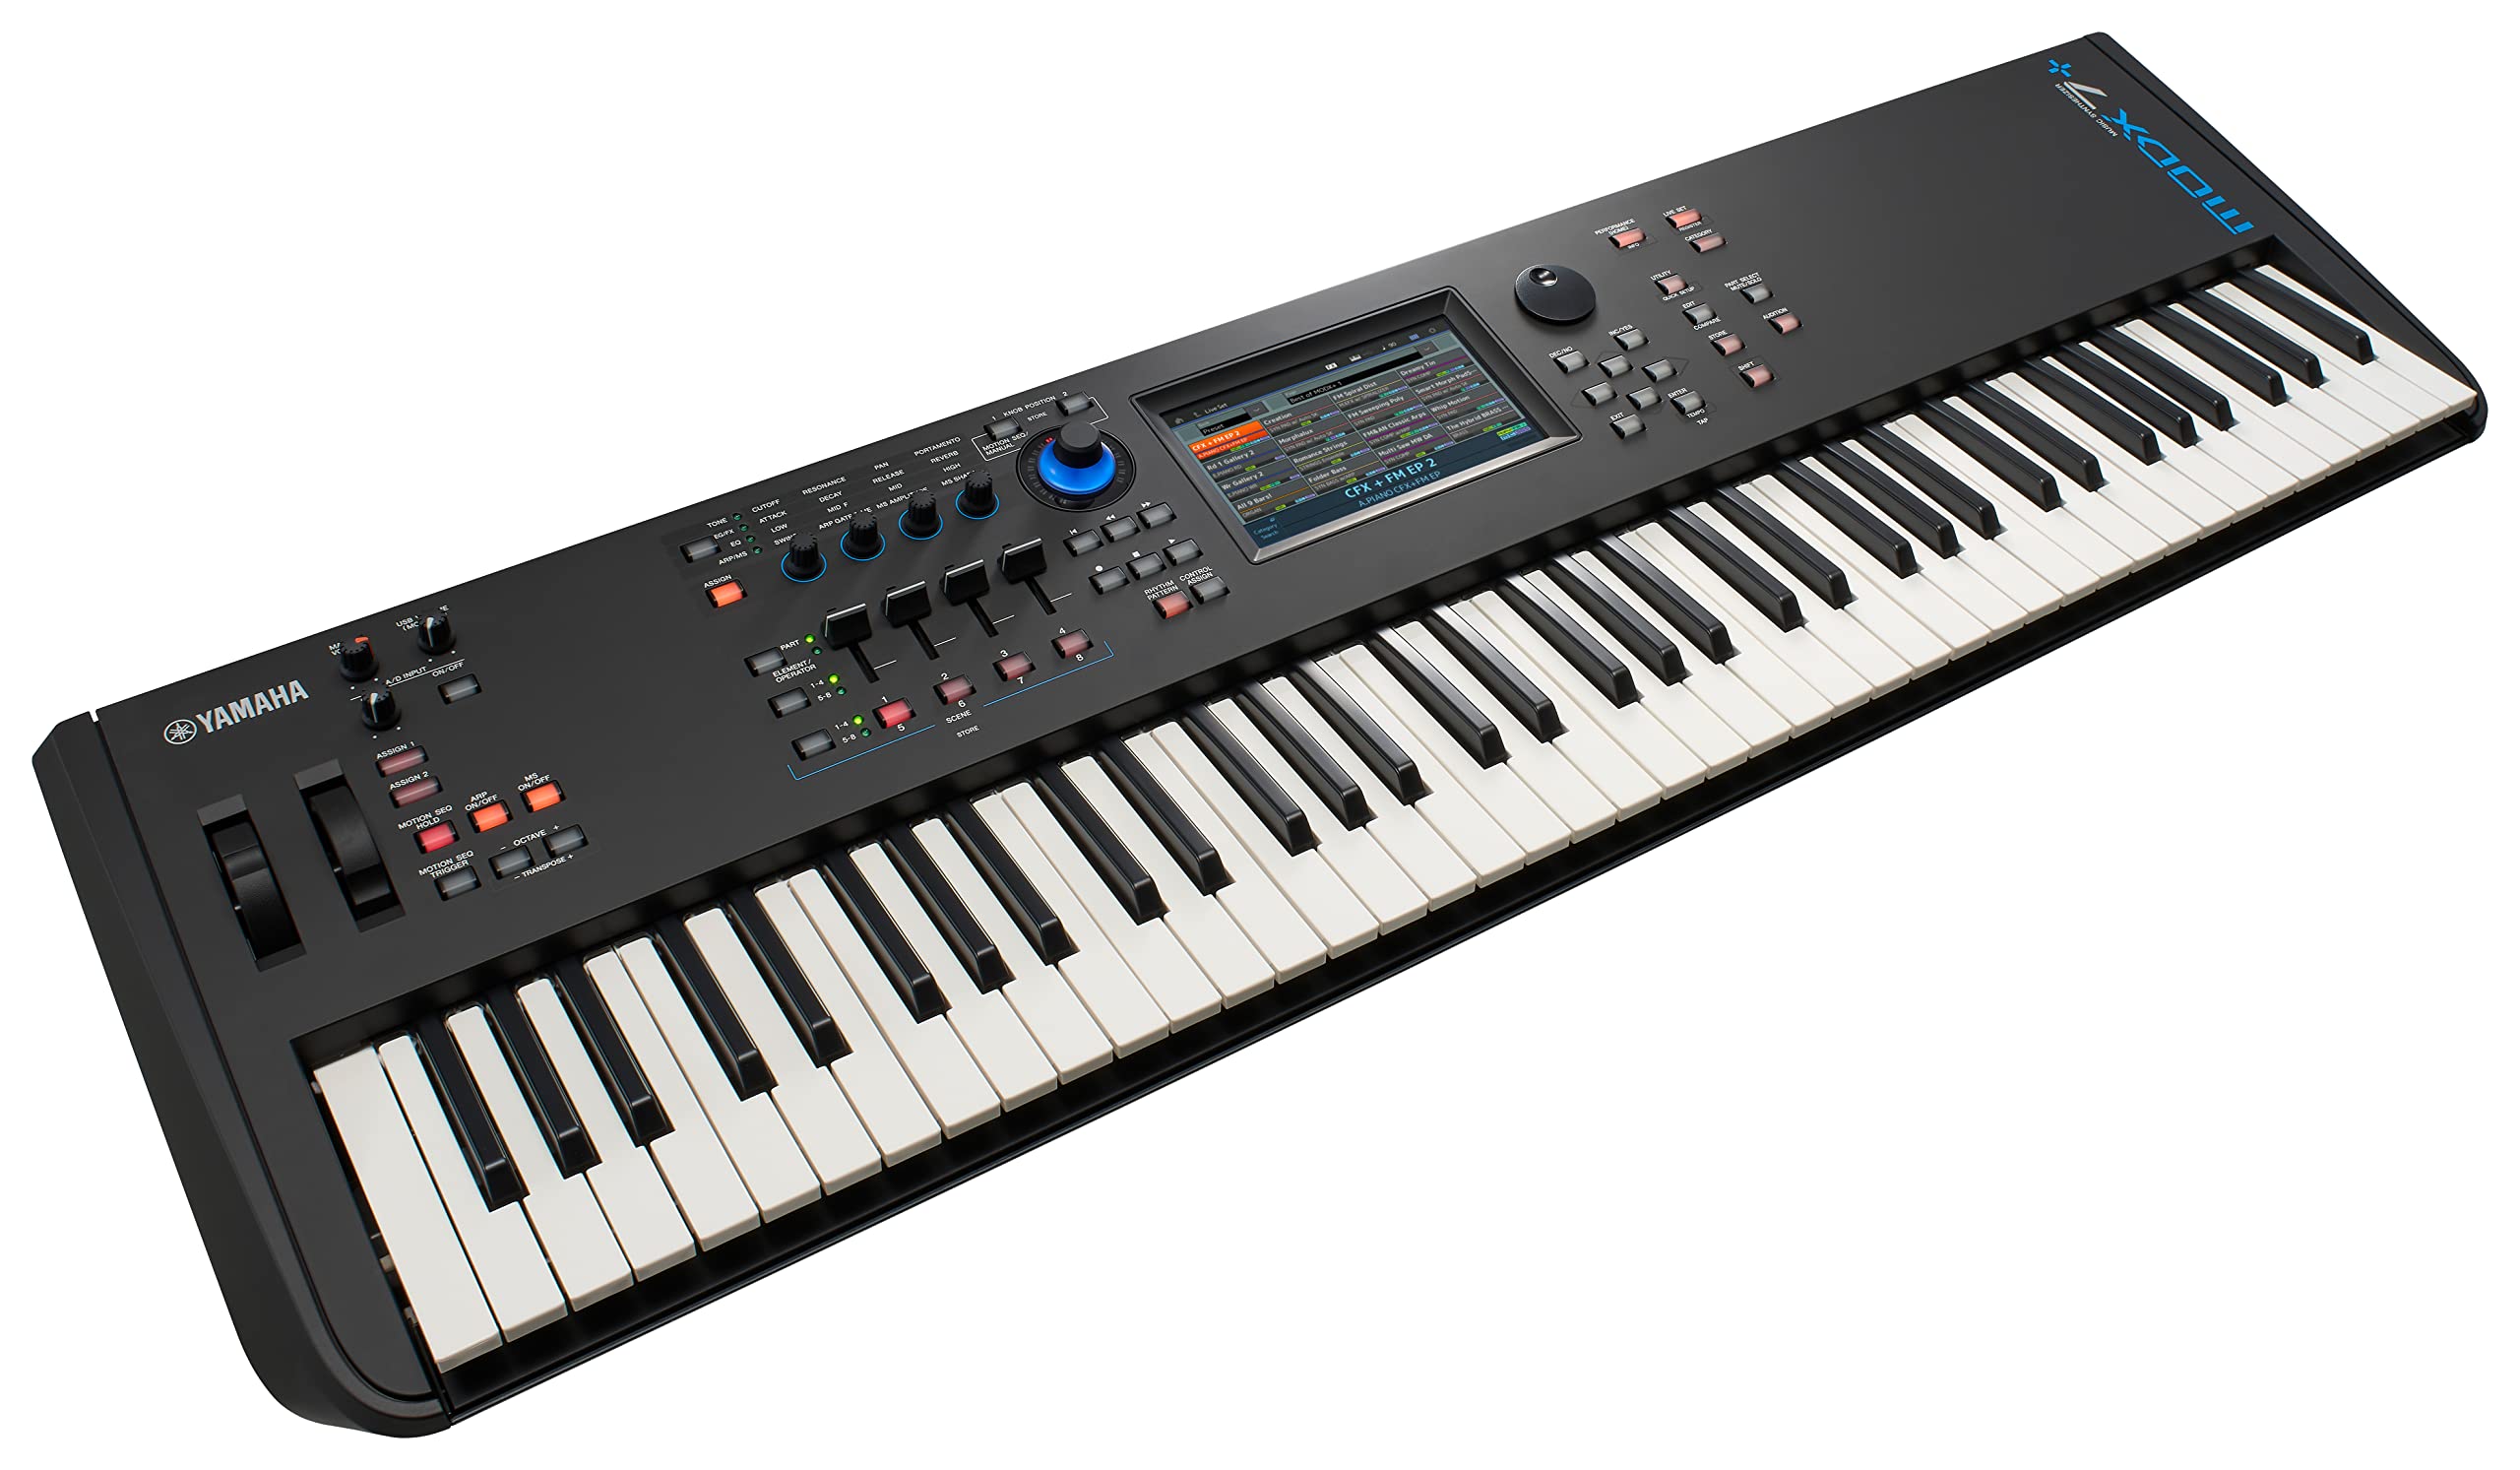
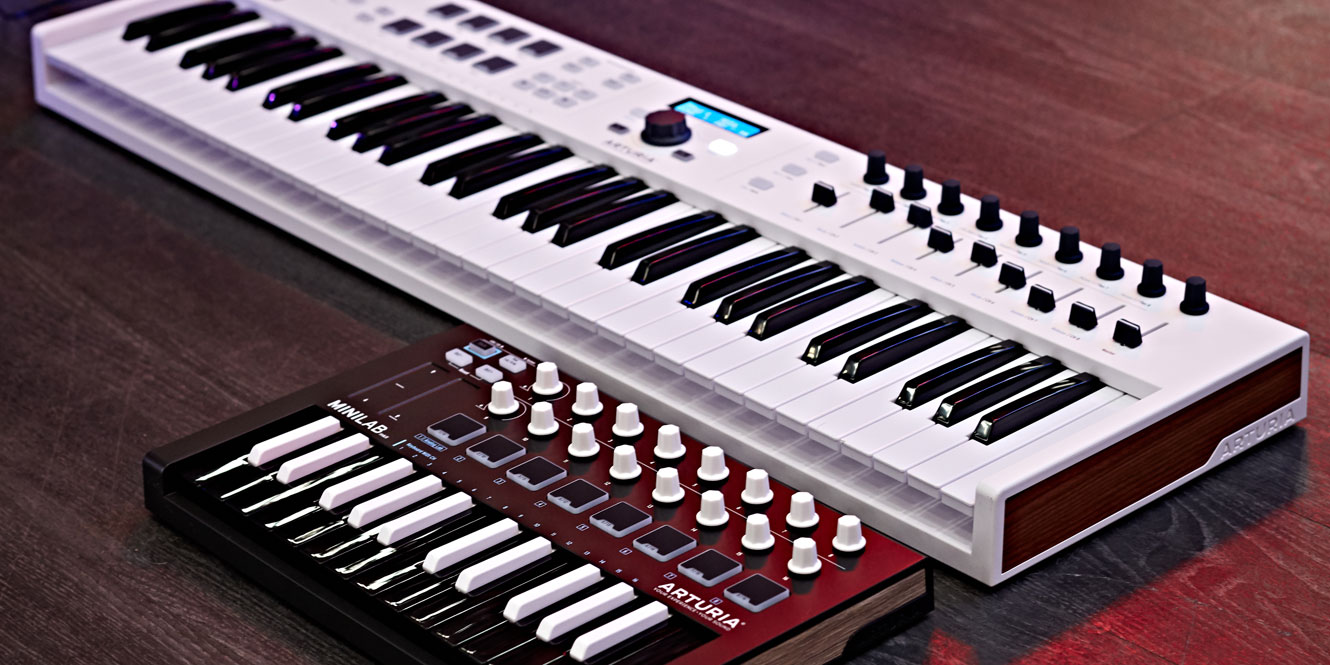
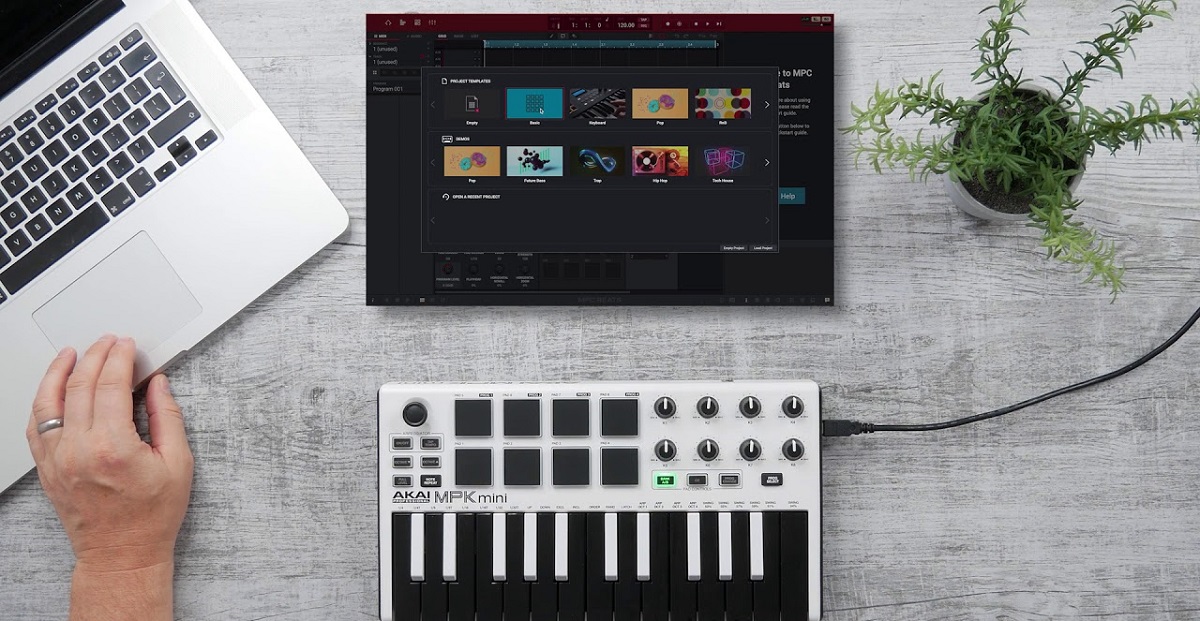
- MIDI Keyboard: The centerpiece of this setup is, of course, your MIDI keyboard. Ensure that it is in good working condition and that the necessary cables are readily available.
- USB Cable: Most modern MIDI keyboards utilize a USB connection for interfacing with other devices. Verify that you have a USB cable compatible with your MIDI keyboard.
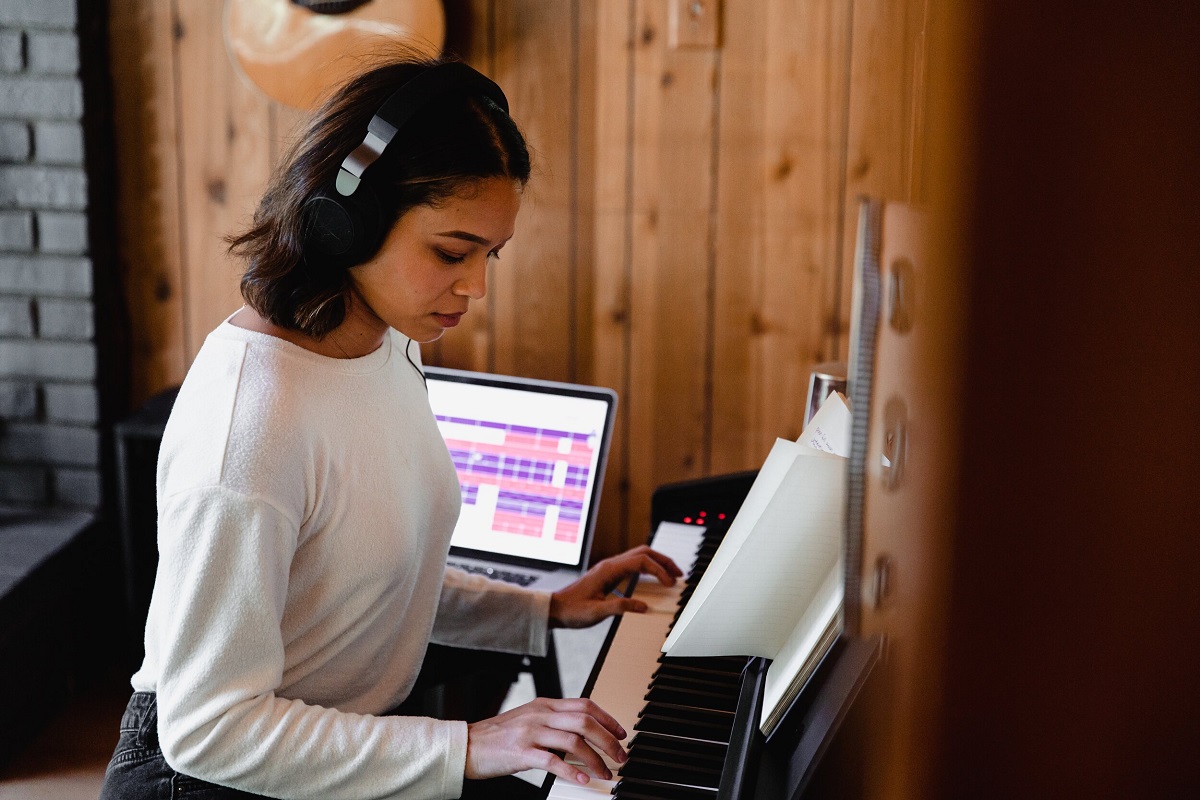
- MPC Studio: The MPC Studio hardware and software are at the core of this setup. Ensure that your MPC Studio is powered on and ready to be integrated with your MIDI keyboard.
- Computer: A computer or laptop with the MPC Studio software installed is essential for configuring the MIDI keyboard within the MPC environment.
- Audio Interface (Optional): If you plan to route audio from your MIDI keyboard through the MPC Studio, an audio interface may be required. Verify if your setup necessitates this additional component.
By meticulously gathering these essential components, you’ll be well-prepared to seamlessly connect your MIDI keyboard to the MPC Studio, laying the groundwork for an immersive and productive music production session. With your equipment in place, you’re ready to proceed to the next step and initiate the connection process.
Step 2: Connect the MIDI Keyboard to the MPC Studio
With your equipment gathered, it’s time to establish the physical connection between your MIDI keyboard and the MPC Studio. This pivotal step sets the stage for seamless communication between the two devices, enabling you to harness the full potential of your MIDI keyboard within the MPC Studio environment.
The process of connecting your MIDI keyboard to the MPC Studio typically involves the following steps:
- Locate the USB Port: Identify the USB port on your MIDI keyboard. This is where you’ll connect the USB cable that facilitates communication with the MPC Studio.
- Connect the USB Cable: Plug one end of the USB cable into the USB port on your MIDI keyboard and the other end into an available USB port on your computer. This establishes the physical connection between the MIDI keyboard and your computer, enabling data transmission.
- Power On Your MIDI Keyboard: Ensure that your MIDI keyboard is powered on. Some keyboards may require you to install drivers or configure settings on your computer to enable proper communication.
- Launch the MPC Studio Software: Open the MPC Studio software on your computer. Navigate to the settings or preferences menu to configure the MIDI input settings. This allows the MPC Studio to recognize and communicate with your MIDI keyboard.
- Verify the Connection: Once the software is configured, test the connection by playing notes on your MIDI keyboard. You should see corresponding MIDI input signals within the MPC Studio software, indicating that the connection has been successfully established.
By meticulously following these steps, you’ll seamlessly connect your MIDI keyboard to the MPC Studio, laying the foundation for a cohesive and integrated music production setup. With the physical connection established, you’re now ready to proceed to the next crucial phase: configuring the MPC Studio software to optimize the integration of your MIDI keyboard.
Step 3: Configure the MPC Studio Software
With the physical connection between your MIDI keyboard and the MPC Studio established, the next pivotal step involves configuring the MPC Studio software to seamlessly integrate your MIDI keyboard into the production environment. This crucial phase ensures that the MPC Studio recognizes and effectively communicates with your MIDI keyboard, enabling you to leverage its full potential within your music production workflow.
The process of configuring the MPC Studio software to accommodate your MIDI keyboard typically entails the following steps:
- Access the MIDI Settings: Within the MPC Studio software, navigate to the preferences or settings menu to access the MIDI settings. This is where you’ll configure the software to recognize and respond to MIDI input from your keyboard.
- Select MIDI Input Device: In the MIDI settings, select your MIDI keyboard as the input device. This designates the keyboard as the primary MIDI controller for the MPC Studio, allowing you to trigger sounds, control parameters, and record MIDI data directly from the keyboard.
- Assign MIDI Channels: If your MIDI keyboard supports multiple MIDI channels, assign specific channels to different functions within the MPC Studio. For example, you can designate one channel for playing instruments and another for controlling mixer parameters, providing enhanced flexibility and control over your production workflow.
- Configure MIDI Mapping: Customize MIDI mapping within the MPC Studio software to align with the layout and functionality of your MIDI keyboard. This may involve assigning specific knobs, faders, and buttons on your keyboard to control various aspects of the MPC software, streamlining your interaction with the production environment.
- Test MIDI Input: After configuring the MIDI settings, test the MIDI input by playing notes, triggering pads, and manipulating controls on your MIDI keyboard. Verify that the MPC Studio accurately responds to your input, confirming that the software is effectively communicating with your MIDI keyboard.
By meticulously configuring the MPC Studio software to accommodate your MIDI keyboard, you’ll seamlessly integrate the keyboard into your music production setup, unlocking its expressive potential and enhancing your creative workflow. With the software optimized to recognize and respond to your MIDI keyboard, you’re poised to harness its capabilities and elevate your music production endeavors.
Step 4: Test Your Connection
After connecting and configuring your MIDI keyboard with the MPC Studio, it’s crucial to thoroughly test the connection to ensure seamless functionality and optimal performance. This phase allows you to validate the integration of your MIDI keyboard within the MPC Studio environment, confirming that the two devices communicate effectively and that you can leverage the full range of creative possibilities offered by the combined setup.
The process of testing your MIDI keyboard connection within the MPC Studio typically involves the following steps:
- Play MIDI Notes: Utilize your MIDI keyboard to play notes and trigger sounds within the MPC Studio. Verify that the software accurately responds to your keyboard input, translating your playing into corresponding sound output. This confirms that the MIDI data is being transmitted effectively from your keyboard to the MPC Studio.
- Explore Instrument Control: Experiment with controlling virtual instruments and samples within the MPC Studio using your MIDI keyboard. Test the responsiveness of the keyboard’s keys, pads, and modulation controls, ensuring that you can intuitively interact with and manipulate instrument parameters within the software.
- Record MIDI Data: Record MIDI data directly from your MIDI keyboard into the MPC Studio. This involves capturing your performances, melodies, and musical ideas in real-time, demonstrating the seamless integration of your keyboard as a primary input device within the production environment.
- Manipulate Mixer and Effects: Use your MIDI keyboard to manipulate mixer settings, effects parameters, and other controls within the MPC Studio. Verify that the keyboard effectively serves as a versatile controller, empowering you to shape and refine your productions with precision and fluidity.
By rigorously testing your MIDI keyboard connection within the MPC Studio, you validate the successful integration of the keyboard into your music production setup. This comprehensive evaluation ensures that the keyboard functions seamlessly as a creative tool within the MPC environment, empowering you to compose, perform, and shape your musical ideas with unparalleled expressiveness and control.
Conclusion
Connecting a MIDI keyboard to your MPC Studio opens a gateway to a dynamic and immersive music production experience. By following the steps outlined in this guide, you have successfully integrated your MIDI keyboard into the MPC Studio environment, unlocking a myriad of creative possibilities and enhancing your workflow. With the physical connection established, the software configured, and the connection thoroughly tested, you are now poised to harness the full potential of this integrated setup in your music production endeavors.
Seamlessly incorporating your MIDI keyboard into the MPC Studio empowers you to infuse your productions with expressive melodies, intricate harmonies, and nuanced performances, adding a layer of authenticity and emotion to your music. The tactile nature of the keyboard allows for intuitive interaction with virtual instruments, enabling you to breathe life into your compositions and capture inspired performances with ease.
Furthermore, the integration of your MIDI keyboard as a primary input device within the MPC Studio environment enhances your creative control, allowing you to sculpt sounds, manipulate parameters, and craft arrangements with precision and finesse. This cohesive integration streamlines your production workflow, fostering a seamless and inspiring environment where your musical vision can flourish.
As you embark on your music production journey with your MIDI keyboard and MPC Studio working in harmony, embrace the boundless opportunities for experimentation, exploration, and artistic expression. Whether you’re crafting captivating melodies, sculpting intricate soundscapes, or driving the rhythmic pulse of your compositions, the integrated setup empowers you to realize your musical vision with unparalleled depth and creativity.
With your MIDI keyboard seamlessly connected to the MPC Studio, you are primed to embark on a sonic adventure, where your creativity knows no bounds, and your musical aspirations are brought to life with every keystroke and beat. Embrace the fusion of technology and artistry, and let your integrated setup propel your music production endeavors to new heights.