Introduction
Introduction
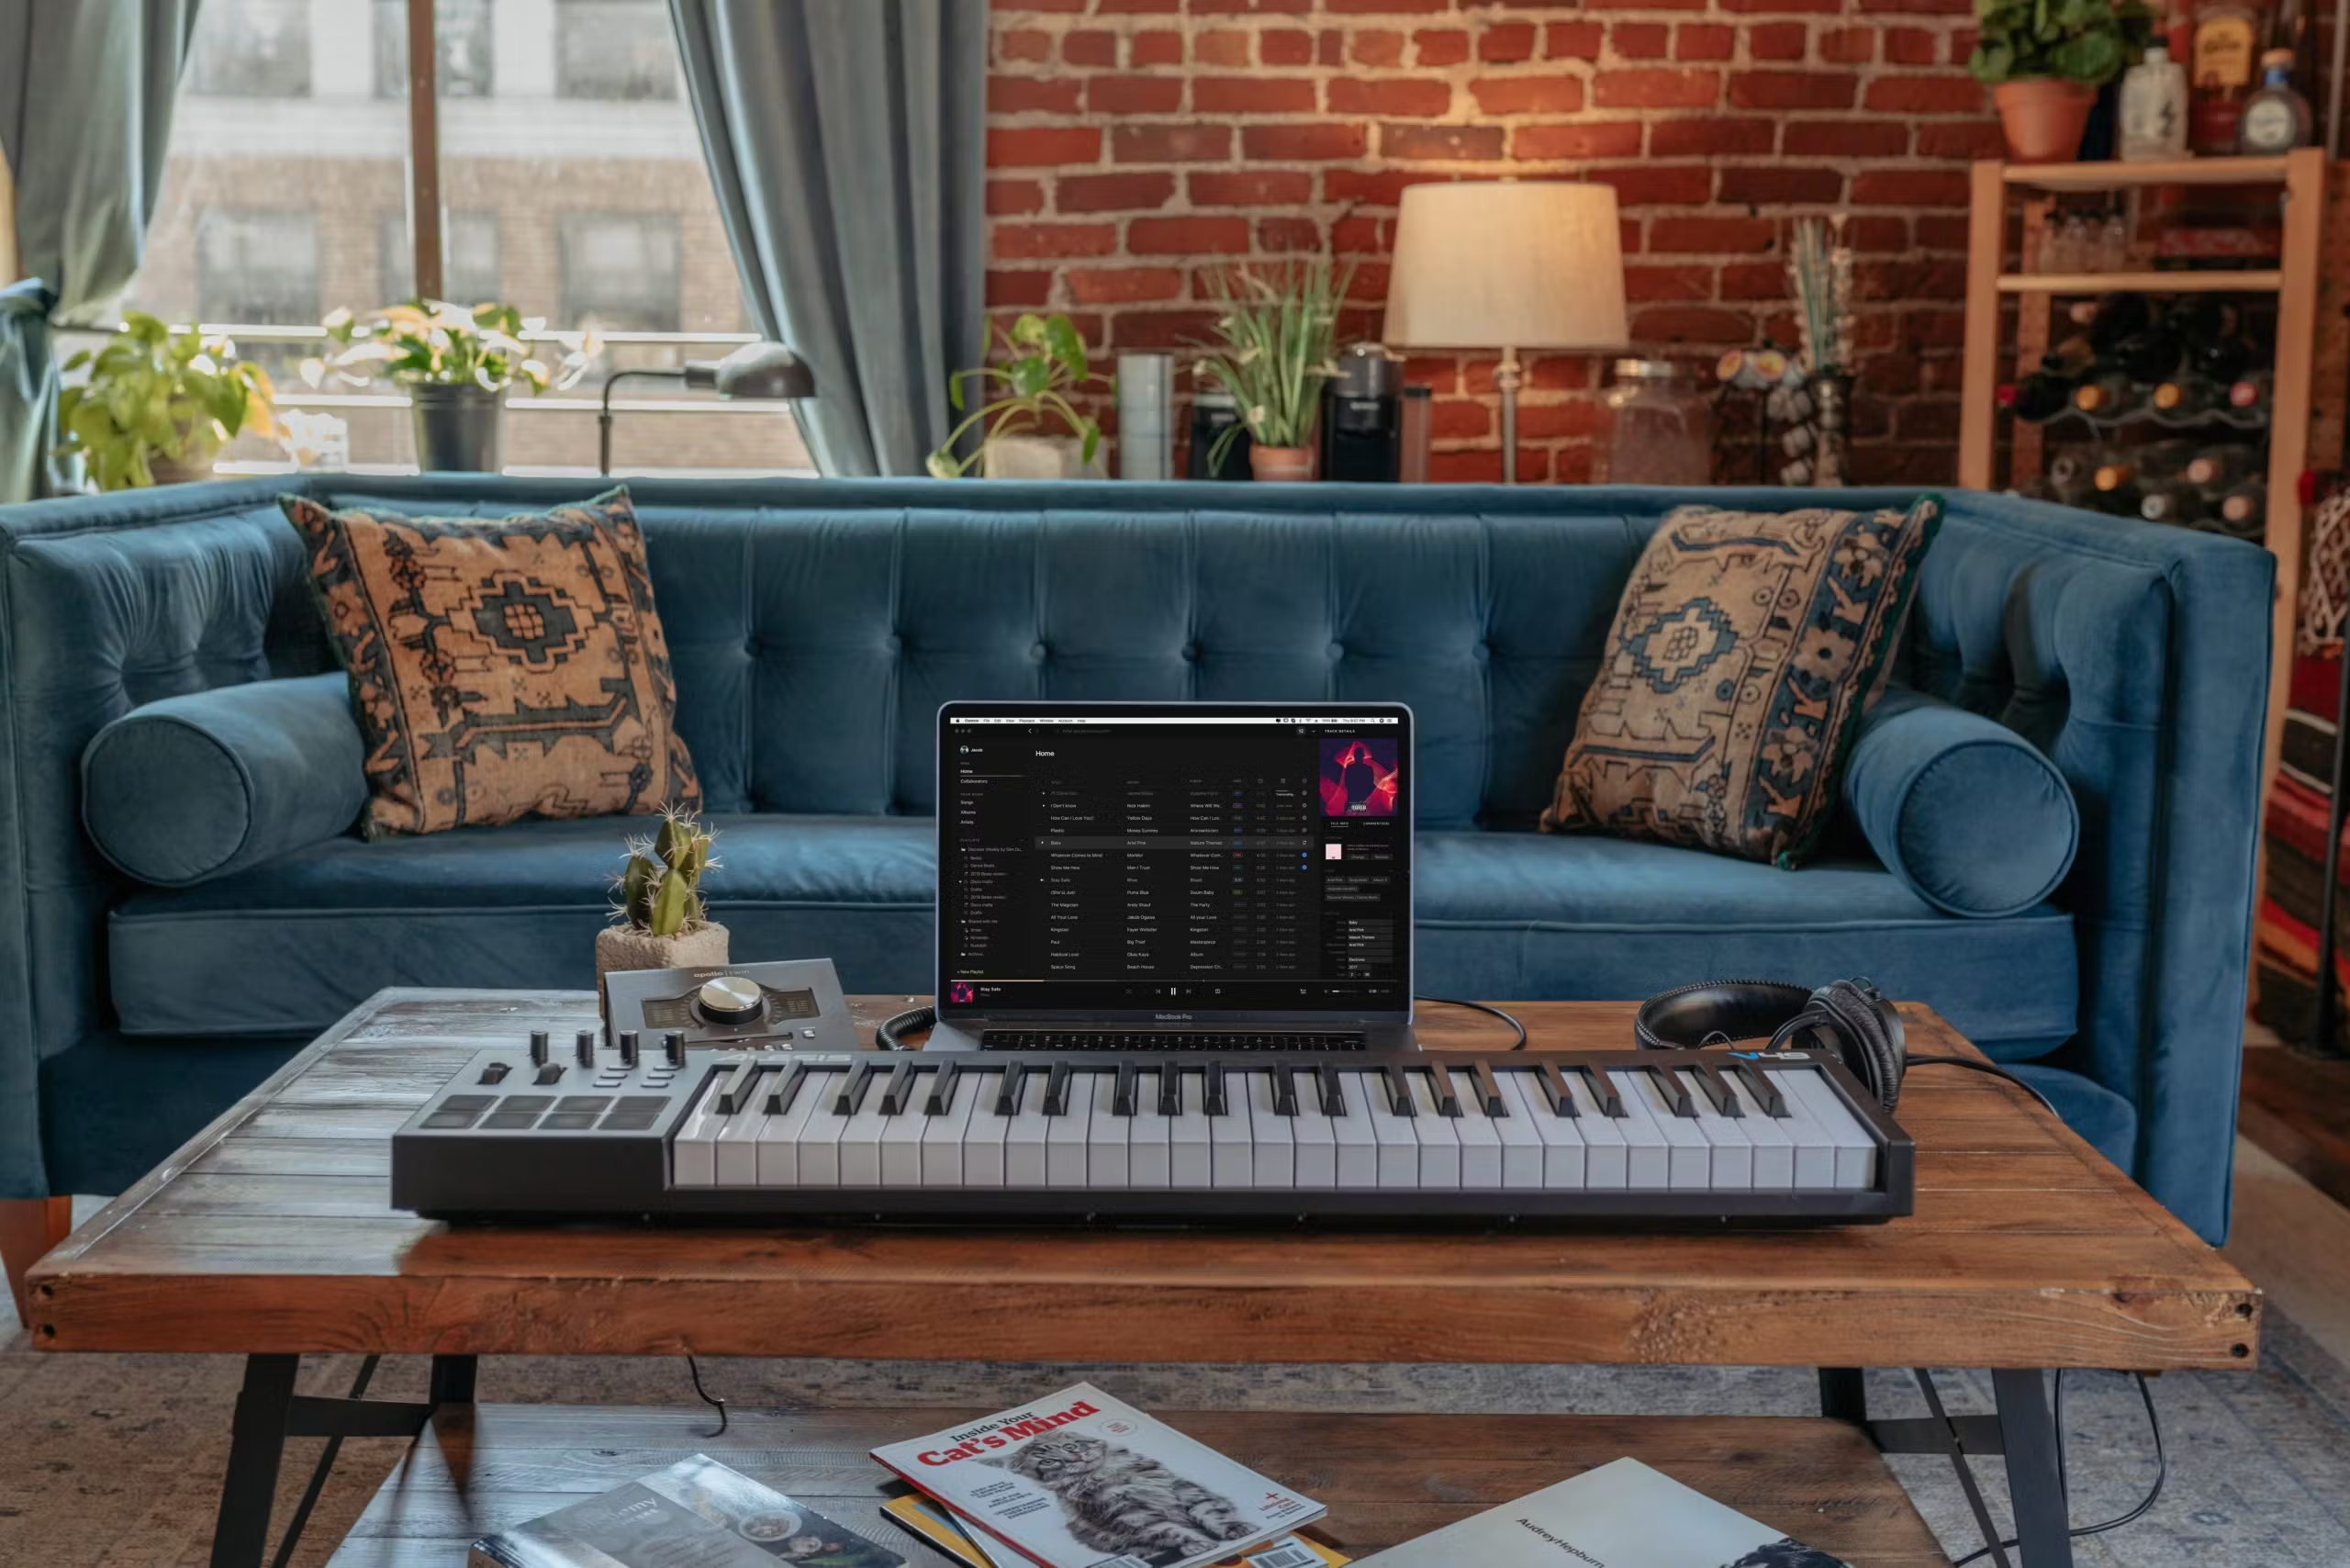
So, you've got yourself a MIDI keyboard and you're ready to dive into the world of music production using Pro Tools. Congratulations! MIDI keyboards are fantastic tools for creating music, whether you're a seasoned pro or just starting out on your musical journey. Pro Tools, on the other hand, is a powerful digital audio workstation (DAW) that is widely used in the music industry for recording, editing, and mixing music.
In this comprehensive guide, we'll walk you through the process of using your MIDI keyboard with Pro Tools. From setting up your MIDI keyboard to recording and editing MIDI in Pro Tools, we've got you covered. Whether you're a songwriter, composer, or producer, understanding how to integrate your MIDI keyboard with Pro Tools will open up a world of creative possibilities.
We'll start by guiding you through the setup process for your MIDI keyboard, ensuring that it's properly connected to your computer and recognized by Pro Tools. Then, we'll delve into the essential steps for configuring Pro Tools to receive MIDI input from your keyboard. Once everything is set up, we'll explore how to record MIDI in Pro Tools, enabling you to capture your musical ideas with ease.
But that's not all – we'll also cover the intricacies of editing MIDI in Pro Tools, allowing you to fine-tune your performances and craft intricate musical arrangements. Additionally, we'll discuss how to leverage MIDI effects within Pro Tools to add depth, texture, and creativity to your music.
By the end of this guide, you'll have a solid understanding of how to seamlessly integrate your MIDI keyboard with Pro Tools, empowering you to unleash your creativity and bring your musical visions to life. So, let's embark on this exciting journey and unlock the full potential of your MIDI keyboard within the powerful framework of Pro Tools.
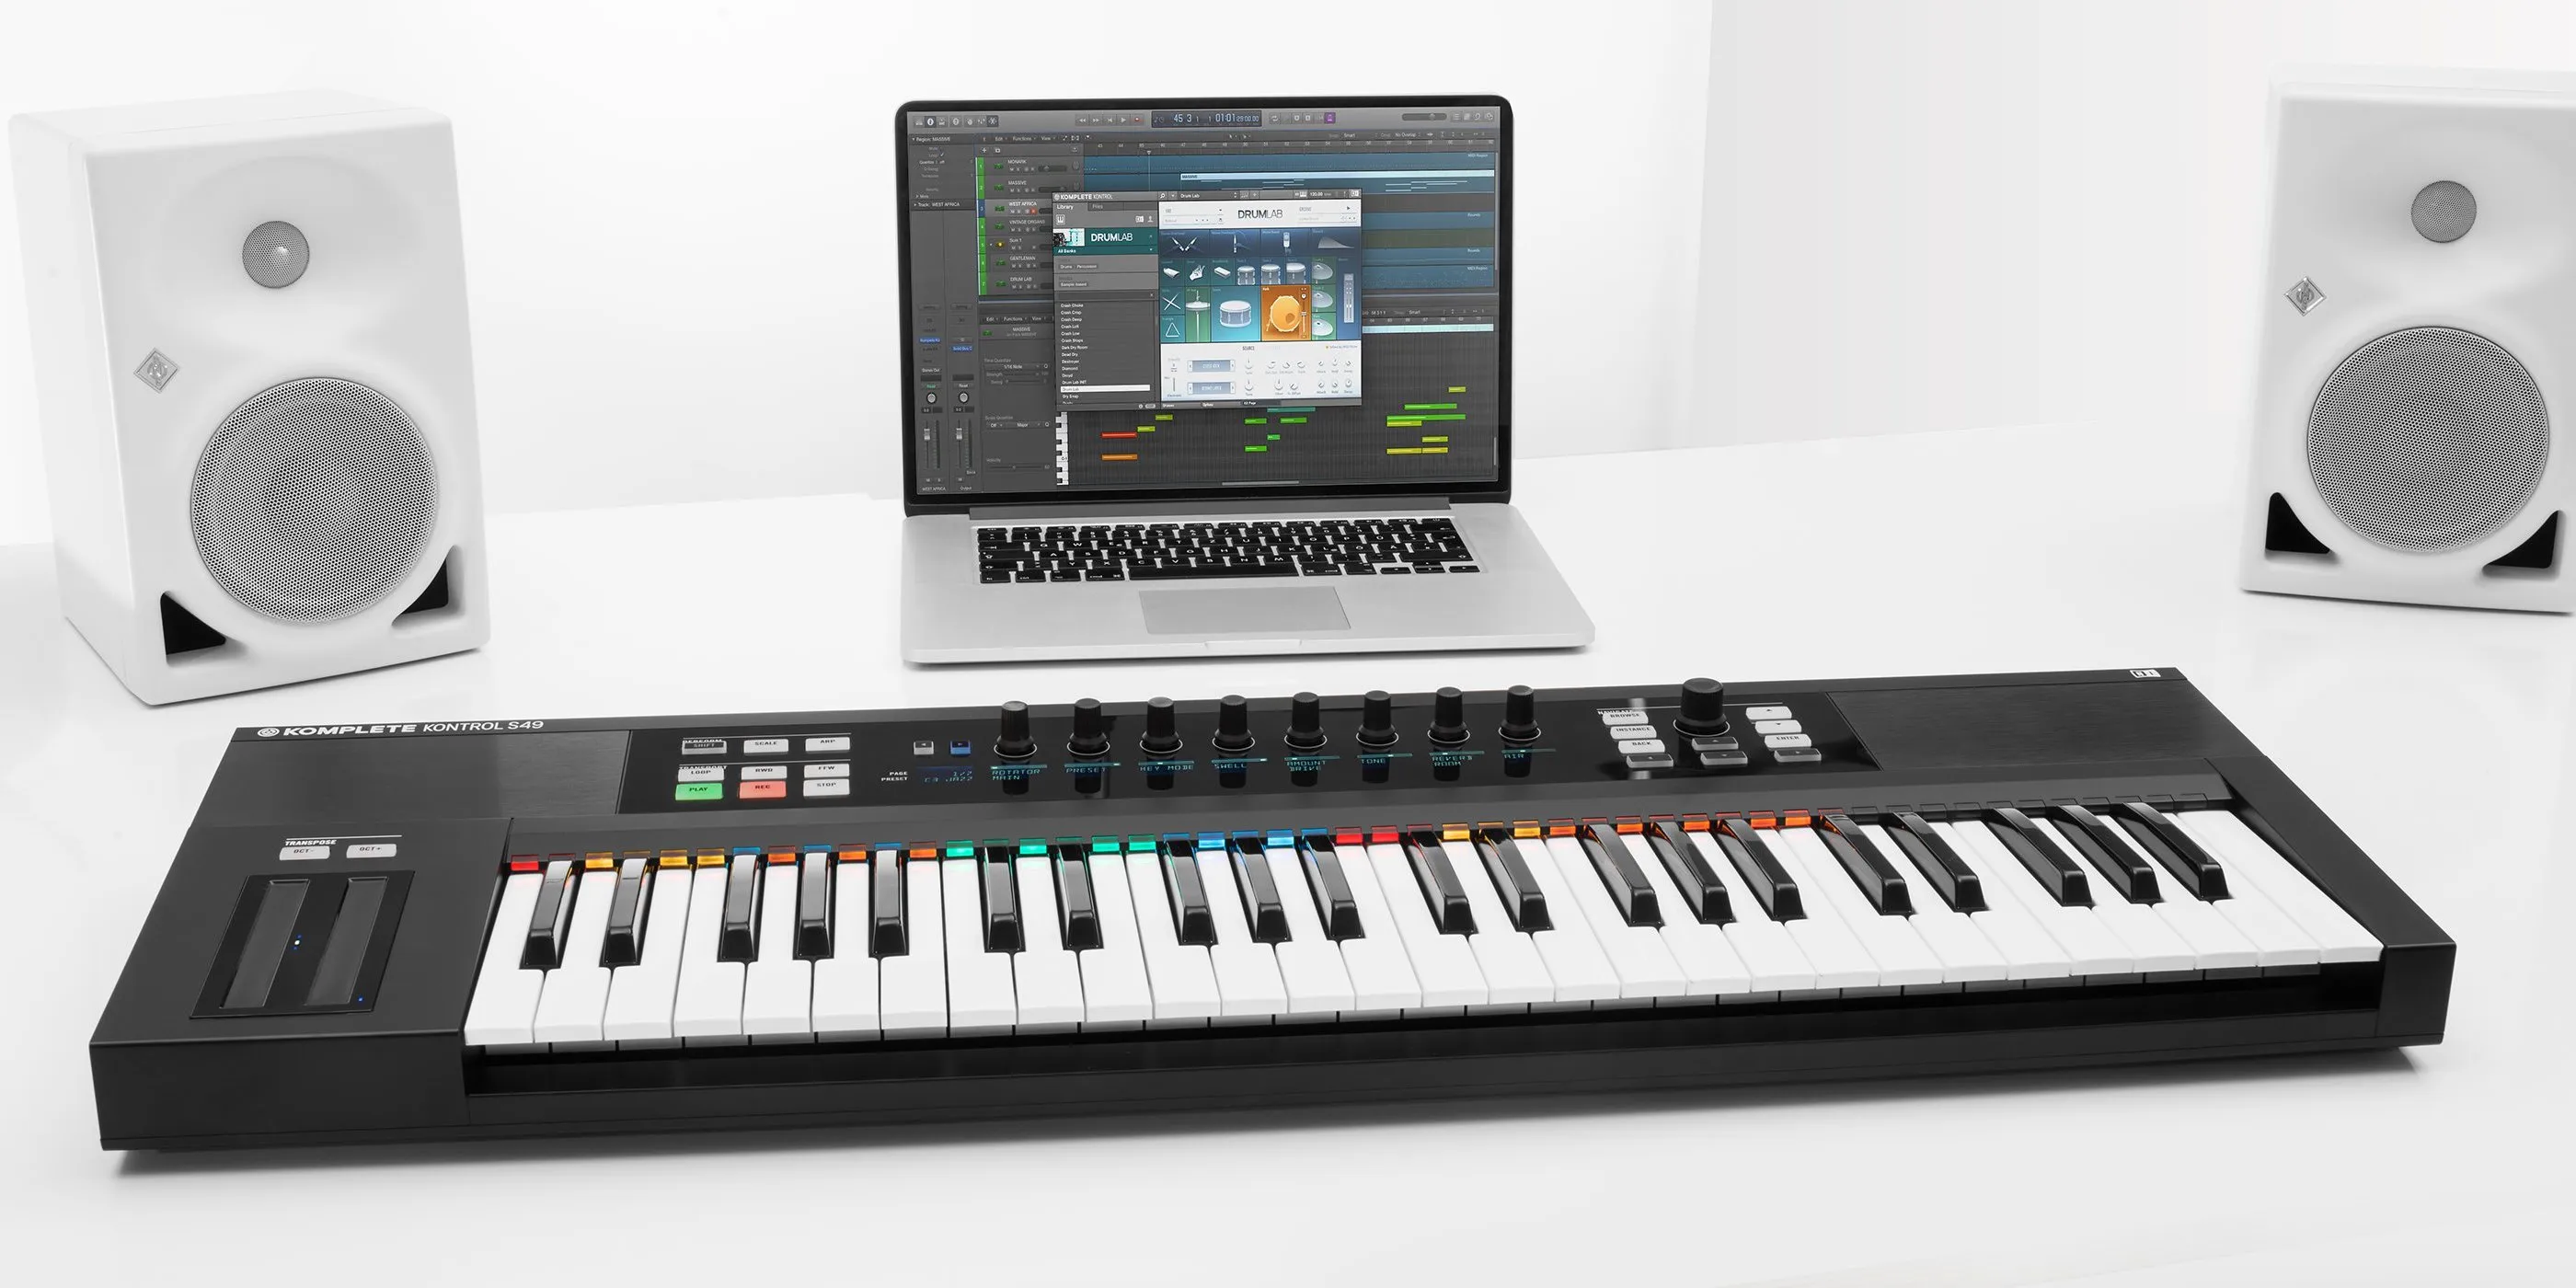
Setting Up Your MIDI Keyboard
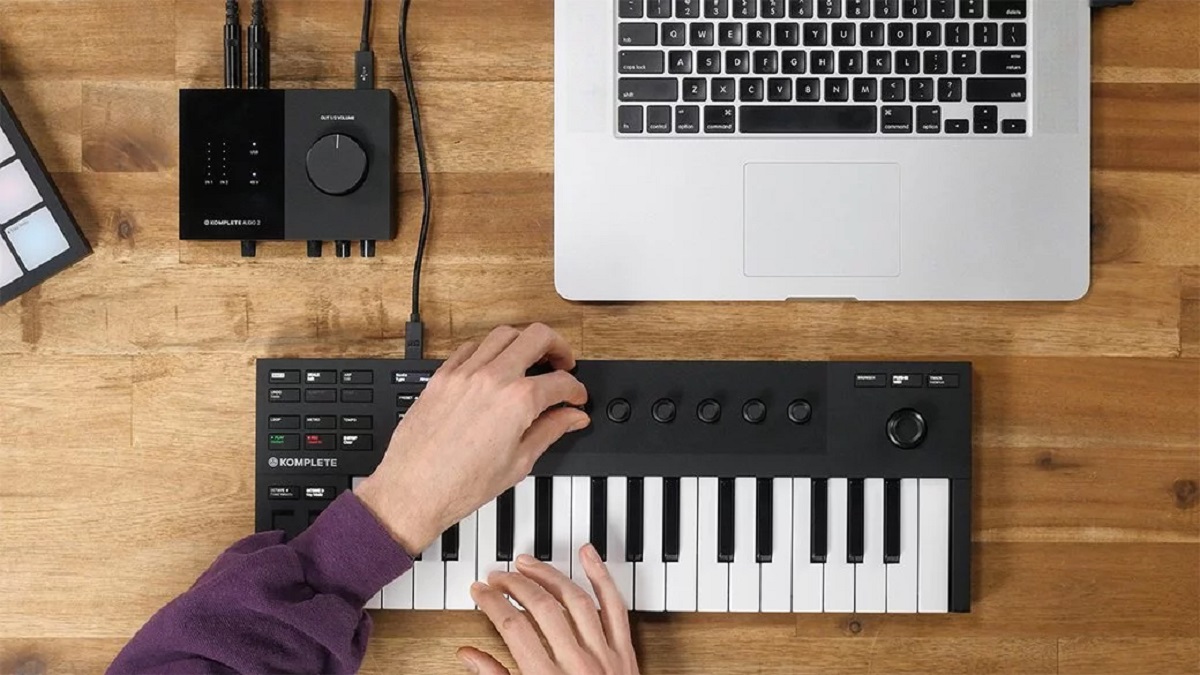
Before you can start making music with your MIDI keyboard in Pro Tools, it’s crucial to ensure that the setup process is seamless and error-free. Here’s a step-by-step guide to setting up your MIDI keyboard for use with Pro Tools:
- Connect your MIDI keyboard to your computer: Using a USB cable or MIDI interface, connect your MIDI keyboard to your computer. Ensure that the connection is secure and that the keyboard is receiving power.
- Install any necessary drivers: Depending on your MIDI keyboard and computer operating system, you may need to install specific drivers to enable communication between the keyboard and your computer. Check the manufacturer’s website for the latest drivers and follow the installation instructions.
- Verify MIDI input/output settings: Once the keyboard is connected, verify the MIDI input and output settings on your keyboard and within Pro Tools. This ensures that Pro Tools can send and receive MIDI data to and from your keyboard.
- Test the connection: Open Pro Tools and create a new session. Verify that your MIDI keyboard is recognized by Pro Tools and that you can play notes and trigger sounds within the software. If the keyboard isn’t recognized, double-check the connections and settings.
By following these steps, you’ll establish a solid foundation for using your MIDI keyboard with Pro Tools. With the setup process complete, you’re ready to configure Pro Tools to receive MIDI input from your keyboard and begin creating music in this powerful digital audio workstation.
Configuring Pro Tools for MIDI Input
Once your MIDI keyboard is connected to your computer and recognized by Pro Tools, it’s time to configure the software to receive MIDI input from your keyboard. Proper configuration ensures that Pro Tools accurately captures and processes the MIDI data transmitted by your keyboard. Follow these essential steps to configure Pro Tools for MIDI input:
- Open the MIDI Studio: In Pro Tools, navigate to the “Setup” menu and select “MIDI Studio.” This allows you to manage MIDI devices and configure their settings within Pro Tools.
- Add your MIDI keyboard: Within the MIDI Studio, click “Add Device” and select your MIDI keyboard from the list of available MIDI devices. This establishes a direct connection between your keyboard and Pro Tools.
- Assign MIDI channels: If your MIDI keyboard supports multiple MIDI channels, you can assign specific channels to different instruments or tracks within Pro Tools. This enables you to control various virtual instruments and devices using different channels on your keyboard.
- Configure MIDI input settings: In the Pro Tools preferences or settings menu, navigate to the MIDI section and verify that your MIDI keyboard is selected as the input device. Additionally, ensure that the MIDI input settings align with the capabilities of your keyboard, such as velocity sensitivity and aftertouch.
- Test MIDI input: Create a new MIDI track in Pro Tools and verify that MIDI input from your keyboard is being received accurately. Play some notes on your keyboard and observe the MIDI input indicators within Pro Tools to confirm that the software is capturing the data.
By following these steps, you’ll successfully configure Pro Tools to receive MIDI input from your keyboard, laying the groundwork for recording and manipulating MIDI data within the software. With Pro Tools primed to harness the musical input from your keyboard, you’re ready to embark on the creative process of recording MIDI in Pro Tools.
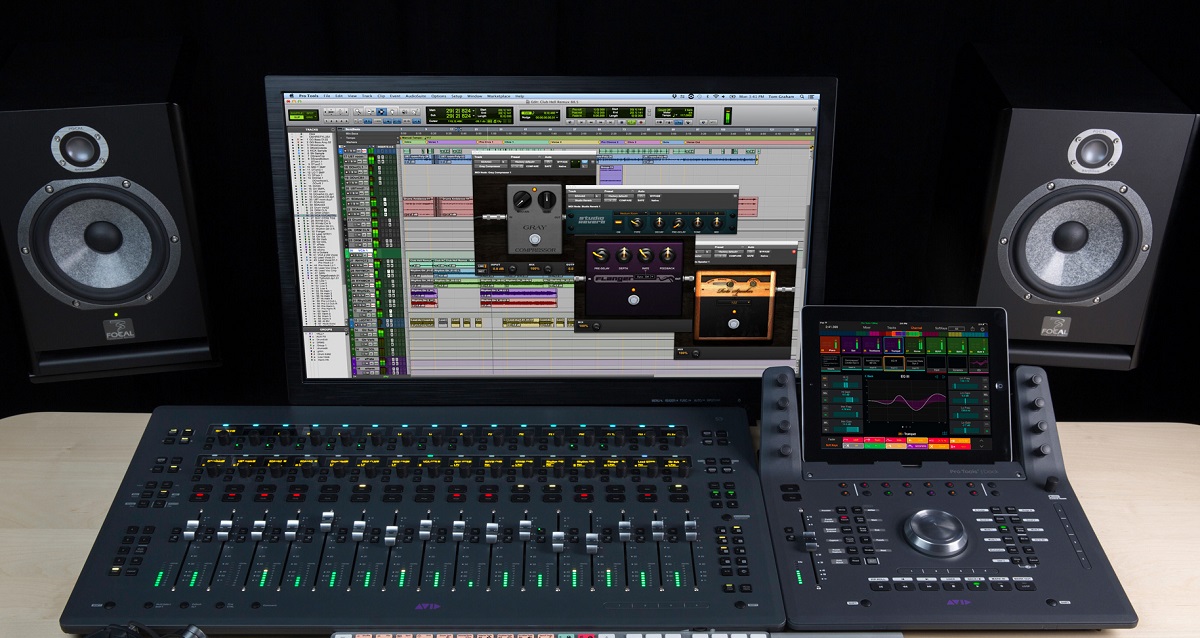
Recording MIDI in Pro Tools
Recording MIDI in Pro Tools allows you to capture your musical performances from a MIDI keyboard and transform them into editable, expressive tracks. Whether you’re laying down melodies, crafting intricate chord progressions, or programming rhythmic patterns, Pro Tools provides a robust environment for capturing MIDI data with precision and flexibility. Here’s a guide to recording MIDI in Pro Tools:
- Create a MIDI track: In Pro Tools, create a new MIDI track where you’ll record your MIDI input from the keyboard. Assign the appropriate MIDI input device (your keyboard) to the track to establish the connection.
- Set the recording parameters: Configure the recording parameters for the MIDI track, including the input quantization, recording mode (overwrite or merge), and the MIDI input channel. These settings ensure that your MIDI performances are captured according to your preferences.
- Arm the track for recording: Arm the MIDI track for recording, enabling Pro Tools to receive MIDI input from your keyboard. Ensure that the track is set to record-enable mode, allowing you to capture your performances in real-time.
- Record your MIDI performance: Once the track is armed and ready, start playing your MIDI keyboard to record your performance. Pro Tools will capture the MIDI data in real-time, creating a MIDI clip that represents your musical input.
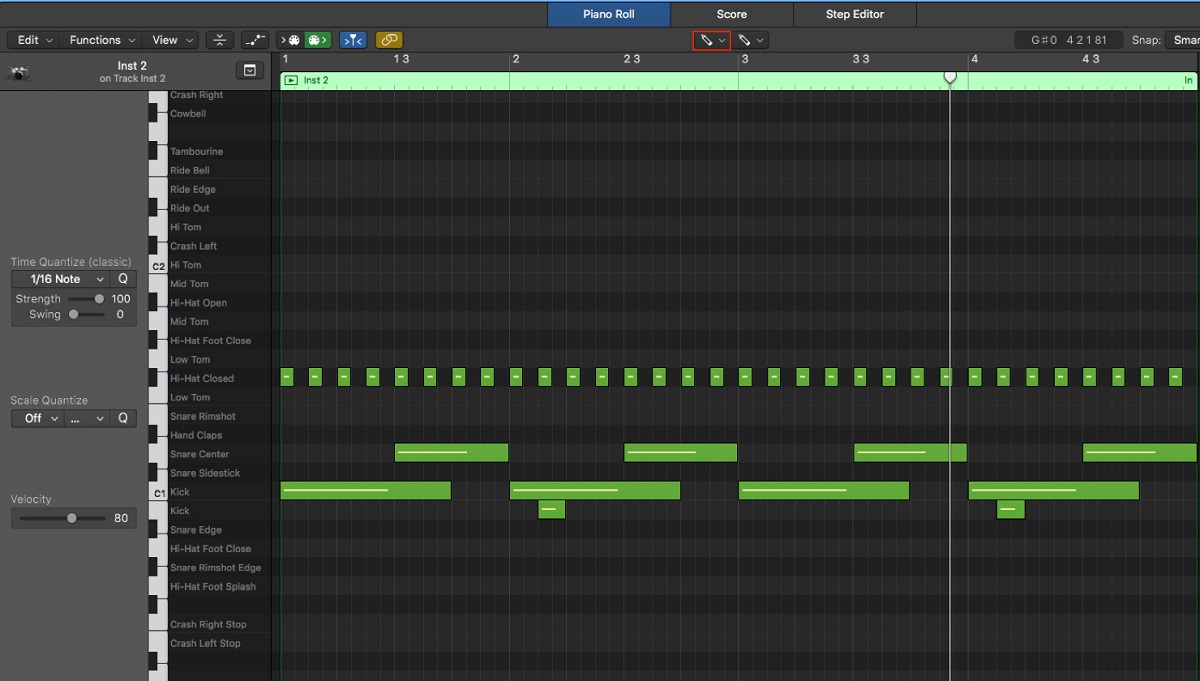
- Review and edit MIDI data: After recording, review the MIDI clip in Pro Tools to fine-tune your performance. You can quantize notes, adjust velocities, and make precise edits to ensure that the MIDI data aligns with your musical intentions.
Recording MIDI in Pro Tools empowers you to capture the nuances of your musical expression and refine them with precision. Whether you’re recording intricate piano compositions, dynamic synth sequences, or expressive drum patterns, Pro Tools provides the tools you need to capture and manipulate MIDI performances with finesse. With your MIDI performances seamlessly recorded in Pro Tools, you’re ready to explore the next phase of music production: editing MIDI data to shape your musical vision.
Editing MIDI in Pro Tools
Once you’ve recorded MIDI performances in Pro Tools, the software offers a wealth of tools and features for editing and refining the captured MIDI data. Whether you’re correcting timing discrepancies, adjusting note velocities, or creating intricate musical arrangements, Pro Tools provides a comprehensive set of editing capabilities to elevate your MIDI productions. Here’s a guide to editing MIDI in Pro Tools:
- Quantize MIDI notes: Pro Tools enables you to quantize MIDI notes to align them with the grid, correcting timing imperfections and ensuring rhythmic precision. You can specify the quantization strength and resolution to achieve the desired rhythmic feel.
- Adjust note velocities: Fine-tune the velocities of individual MIDI notes to introduce dynamics and expression into your performances. Pro Tools allows you to modify note velocities to create nuanced and emotive musical passages.
- Edit note properties: Modify the properties of MIDI notes, including their start and end times, duration, and pitch. This level of control enables you to craft intricate melodies, chord progressions, and melodic motifs with precision.
- Arrange MIDI data: Arrange and manipulate MIDI clips within the Pro Tools timeline to create cohesive musical compositions. You can duplicate, cut, and move MIDI data to shape the structure and flow of your music.
- Apply MIDI automation: Utilize MIDI automation to dynamically control parameters such as modulation, pitch bend, and expression within your MIDI performances. This adds depth and articulation to your musical arrangements.
By leveraging these editing capabilities, you can refine and enhance your MIDI performances in Pro Tools, transforming initial recordings into polished, expressive musical compositions. Whether you’re meticulously shaping individual note velocities or crafting intricate MIDI arrangements, Pro Tools provides the tools you need to realize your creative vision with precision and artistry.
Using MIDI Effects in Pro Tools
Pro Tools offers a diverse array of MIDI effects that can elevate your MIDI productions, adding depth, texture, and creativity to your musical compositions. These MIDI effects enable you to sculpt and manipulate MIDI data in innovative ways, opening up new sonic possibilities and enhancing the expressive qualities of your music. Here’s a guide to using MIDI effects in Pro Tools:
- Arpeggiator: The arpeggiator MIDI effect in Pro Tools generates intricate arpeggios and rhythmic patterns from sustained chords played on your MIDI keyboard. You can customize the arpeggiator’s rate, range, and rhythmic feel to create captivating melodic sequences.
- Quantize and Humanize: Pro Tools provides MIDI effects for quantizing and humanizing MIDI performances. The quantize effect aligns MIDI notes to a specified grid, while the humanize effect introduces subtle variations in timing and velocity to emulate the nuances of human performance.
- Transpose and Scale: With MIDI effects for transposition and scaling, you can effortlessly transpose MIDI notes to different pitches and constrain them to specific musical scales. This empowers you to experiment with harmonic variations and explore diverse tonalities within your compositions.
- Velocity and Dynamics: The velocity and dynamics MIDI effects allow you to manipulate the velocity and dynamics of MIDI notes, shaping the intensity and expressiveness of your performances. You can accentuate musical phrases and imbue them with nuanced dynamics using these effects.
- Time Shift and Delay: Utilize MIDI effects for time shifting and delay to introduce rhythmic shifts and spatial movement into your MIDI performances. These effects add rhythmic intricacy and spatial depth to your musical arrangements.
By integrating these MIDI effects into your workflow, you can infuse your MIDI productions with a rich tapestry of sonic enhancements and expressive nuances. Whether you’re seeking to create mesmerizing arpeggios, refine the timing and dynamics of your performances, or explore harmonic transformations, Pro Tools’ MIDI effects provide a versatile toolkit for shaping and enriching your musical creations.
Conclusion
Embarking on the journey of using a MIDI keyboard with Pro Tools opens up a world of creative possibilities for musicians, producers, and composers. By seamlessly integrating your MIDI keyboard with Pro Tools, you gain the ability to capture, manipulate, and enhance MIDI performances with precision and artistry. From setting up your MIDI keyboard to recording, editing, and utilizing MIDI effects within Pro Tools, the process is a gateway to musical expression and innovation.
As you navigate the intricacies of setting up and configuring your MIDI keyboard in Pro Tools, you establish a solid foundation for translating your musical ideas into tangible productions. The seamless connection between your keyboard and Pro Tools empowers you to capture expressive performances and refine them with meticulous editing capabilities.
Recording MIDI in Pro Tools becomes an intuitive and dynamic process, allowing you to capture the nuances of your musical expression with ease. Whether you’re crafting melodic phrases, rhythmic patterns, or harmonically rich compositions, Pro Tools provides the tools you need to bring your musical visions to life.
Furthermore, the comprehensive editing and MIDI effects within Pro Tools enable you to sculpt and shape your MIDI performances with finesse. From quantizing notes to applying expressive dynamics and exploring harmonic transformations, the software becomes a playground for musical innovation and experimentation.
Ultimately, the seamless integration of your MIDI keyboard with Pro Tools represents a fusion of technology and creativity, empowering you to explore new sonic territories and realize your musical aspirations. As you continue to refine your skills and leverage the powerful capabilities of Pro Tools, your MIDI productions will evolve into captivating and emotive musical expressions.
So, whether you’re a seasoned musician or an aspiring producer, the synergy between your MIDI keyboard and Pro Tools paves the way for boundless musical exploration and artistic fulfillment. Embrace the journey, unleash your creativity, and let the harmonious marriage of technology and musical expression propel your productions to new heights.