Introduction
Understanding the Need to Manually Remove Logitech Gaming Headset Drivers
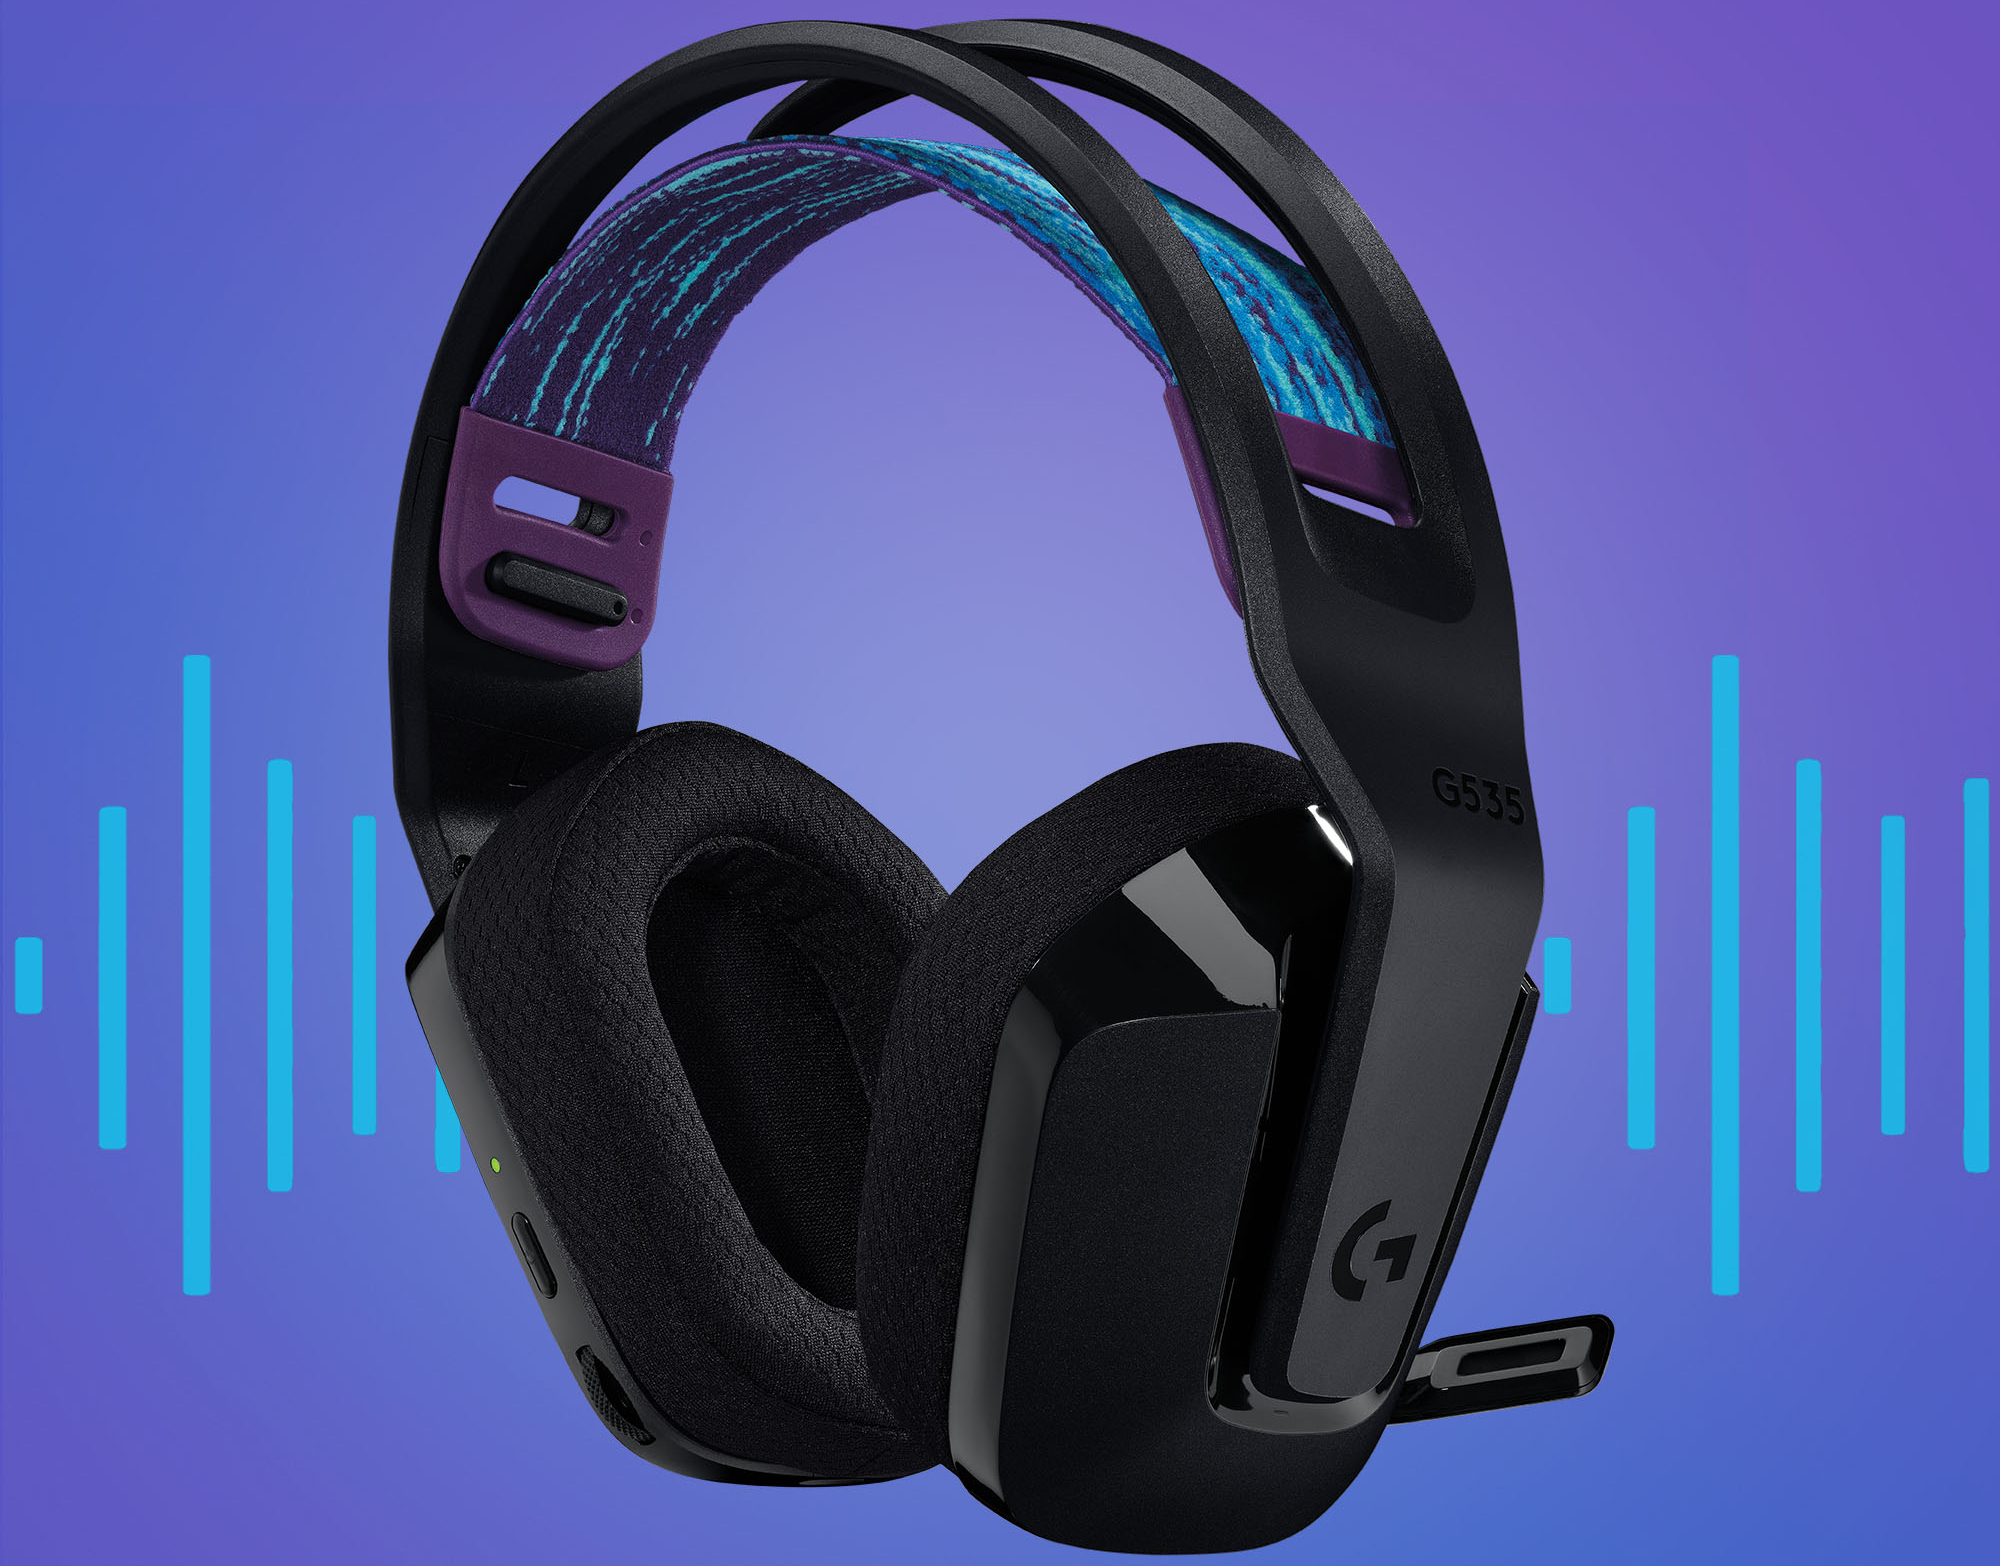
Logitech gaming headsets are renowned for their superior audio quality, comfort, and innovative features that enhance the gaming experience. However, there are instances when users encounter issues with their Logitech gaming headset drivers, leading to malfunctions or performance issues. In such cases, manually removing the device driver for the Logitech gaming headset becomes necessary to ensure a clean reinstallation and optimal performance.
When troubleshooting headset-related problems, it's important to consider the possibility of corrupted or conflicting drivers as a potential root cause. This can occur due to incomplete uninstallation, outdated drivers, or software conflicts. Manually removing the Logitech gaming headset driver allows for a comprehensive elimination of all associated files and registry entries, paving the way for a fresh installation that can resolve the underlying issues.
In this guide, we will walk you through the step-by-step process of manually removing the device driver for your Logitech gaming headset. By following these instructions, you can effectively eliminate any lingering driver remnants and ensure a clean slate for reinstalling the headset drivers, potentially resolving the issues you may have encountered.
Whether you are experiencing audio distortion, connectivity issues, or other performance-related problems with your Logitech gaming headset, understanding how to manually remove the device driver is a valuable skill. This knowledge empowers you to take proactive measures in troubleshooting and maintaining your gaming peripherals, ultimately enhancing your overall gaming experience.
Now, let's delve into the specific steps required to manually remove the device driver for your Logitech gaming headset, equipping you with the expertise to tackle driver-related challenges with confidence.
Step 1: Uninstall the Driver from Device Manager
Initiating the Removal Process
Before delving into the manual removal of the Logitech gaming headset driver, it is essential to initiate the uninstallation process through the Device Manager. This step ensures that the driver is no longer actively running and allows for a smoother removal procedure.
To begin, access the Device Manager by right-clicking on the Start button and selecting “Device Manager” from the context menu. Alternatively, you can press the Windows key + X and choose “Device Manager” from the power user menu.
Once in the Device Manager, locate the “Sound, video and game controllers” category and expand it to reveal the installed audio devices, including your Logitech gaming headset. Right-click on the Logitech gaming headset entry and select “Uninstall device” from the dropdown menu.
At this point, a confirmation dialog may appear to verify the uninstallation. Ensure that the option to delete the driver software for this device is selected to remove all associated driver files during the uninstallation process. Click “Uninstall” to proceed with the removal of the Logitech gaming headset driver.
After confirming the uninstallation, the Device Manager will commence the removal process, effectively uninstalling the Logitech gaming headset driver from your system. Once the process is complete, restart your computer to finalize the removal and ensure that any lingering driver components are no longer active.
By uninstalling the driver from the Device Manager, you have taken the initial step towards manually removing the Logitech gaming headset driver. This sets the stage for the subsequent steps, which involve eliminating the remaining driver files and cleaning up the registry to achieve a comprehensive removal of the driver and its associated components.
With the driver uninstalled from the Device Manager, you are now ready to proceed to the next phase of the manual removal process, where we will address the elimination of the driver files from the system.
Step 2: Remove the Driver Files from the System
Having uninstalled the Logitech gaming headset driver from the Device Manager, the next crucial step in the manual removal process involves eliminating the remaining driver files from the system. This ensures a thorough clean-up and paves the way for a successful reinstallation of the headset driver.
To begin, navigate to the location where the Logitech gaming headset driver files are stored on your system. Typically, these files are located in the “C:\Windows\System32\drivers” directory. Locate the driver files associated with your Logitech gaming headset, which are often identified by names containing “Logitech” or “Gaming Headset.” Select and delete these files to remove the driver components from your system.
It’s important to note that some driver files may be in use by the system and cannot be deleted directly. In such cases, you may need to restart your computer in Safe Mode to gain the necessary permissions to delete these files. Safe Mode restricts the operation of certain drivers and system processes, allowing for the removal of files that are otherwise in use during normal system operation.
After deleting the driver files from the specified directory, it is advisable to perform a comprehensive search of your system for any remaining Logitech gaming headset driver remnants. Use the Windows search function to look for any residual driver files or folders related to the headset, and delete them accordingly to ensure a complete elimination of the driver from your system.
By removing the driver files from the system, you are effectively eradicating the remaining components of the Logitech gaming headset driver, setting the stage for a clean slate upon which to reinstall the driver. This meticulous approach ensures that all remnants of the previous driver installation are thoroughly removed, mitigating the risk of conflicts or issues during the reinstallation process.
With the driver files successfully removed from your system, you are now prepared to proceed to the final phase of the manual removal process, which involves cleaning up the registry to eliminate any lingering entries associated with the Logitech gaming headset driver.
Step 3: Clean Up the Registry
As the penultimate step in the manual removal of the Logitech gaming headset driver, cleaning up the registry is essential to ensure the complete eradication of all remnants associated with the driver. The Windows registry contains crucial system configurations and settings, including entries related to installed drivers, making it imperative to remove any lingering Logitech gaming headset driver entries from the registry.
To initiate the registry cleanup process, type “regedit” in the Windows search bar and select “Registry Editor” from the search results. This will open the Registry Editor, providing access to the hierarchical database that stores system and application settings.
Within the Registry Editor, navigate to the following key: HKEY_LOCAL_MACHINE\SYSTEM\CurrentControlSet\Control\Class. Under this key, locate the subkey related to the Logitech gaming headset driver. The subkey is typically identified by a GUID (Globally Unique Identifier) associated with the headset driver.
Once the Logitech gaming headset driver subkey is located, right-click on it and select “Delete” from the context menu to remove the entire subkey, including all associated entries and settings within the registry. Exercise caution when making changes in the registry, as incorrect modifications can potentially impact system stability and functionality.
Following the deletion of the Logitech gaming headset driver subkey, it is advisable to conduct a thorough search of the registry for any remaining entries related to the headset driver. Use the search functionality within the Registry Editor to locate and remove any additional references to the Logitech gaming headset driver, ensuring a comprehensive cleanup of the registry.
By meticulously cleaning up the registry and removing all traces of the Logitech gaming headset driver entries, you are effectively eliminating any potential sources of conflict or inconsistency that may have persisted in the registry following the driver’s uninstallation. This systematic approach sets the stage for a pristine environment in which to reinstall the Logitech gaming headset driver without any lingering remnants from the previous installation.
With the registry cleanup process concluded, you have successfully completed the manual removal of the Logitech gaming headset driver, paving the way for a fresh installation that can potentially resolve any issues or conflicts that prompted the need for driver removal.
Conclusion
Embarking on the journey of manually removing the device driver for your Logitech gaming headset has equipped you with the essential knowledge and skills to address driver-related challenges effectively. By following the comprehensive steps outlined in this guide, you have navigated the process of uninstalling the driver from the Device Manager, removing the driver files from the system, and cleaning up the registry with precision and confidence.
Through these deliberate actions, you have ensured the thorough eradication of all remnants associated with the Logitech gaming headset driver, setting the stage for a clean slate upon which to reinstall the driver and potentially resolve any issues or conflicts that prompted the need for its removal.
It is important to emphasize that the manual removal of a device driver requires careful attention to detail and a cautious approach, particularly when making changes to the Windows registry. By exercising diligence and following the prescribed steps, you have demonstrated a proactive approach to troubleshooting and maintaining your gaming peripherals, ultimately enhancing your overall gaming experience.
As you proceed with the reinstallation of the Logitech gaming headset driver, it is advisable to ensure that you are utilizing the latest version of the driver software, obtained directly from the official Logitech support website. This proactive measure can help mitigate the risk of encountering similar issues in the future, as updated drivers often include bug fixes and performance enhancements.
By integrating the knowledge gained from this guide into your troubleshooting repertoire, you have empowered yourself to address driver-related challenges with confidence and precision, ensuring the optimal performance and functionality of your Logitech gaming headset.
With the manual removal process successfully completed, you are now poised to embark on the reinstallation of the Logitech gaming headset driver, potentially ushering in a seamless and enhanced audio experience as you immerse yourself in the world of gaming.


