Introduction
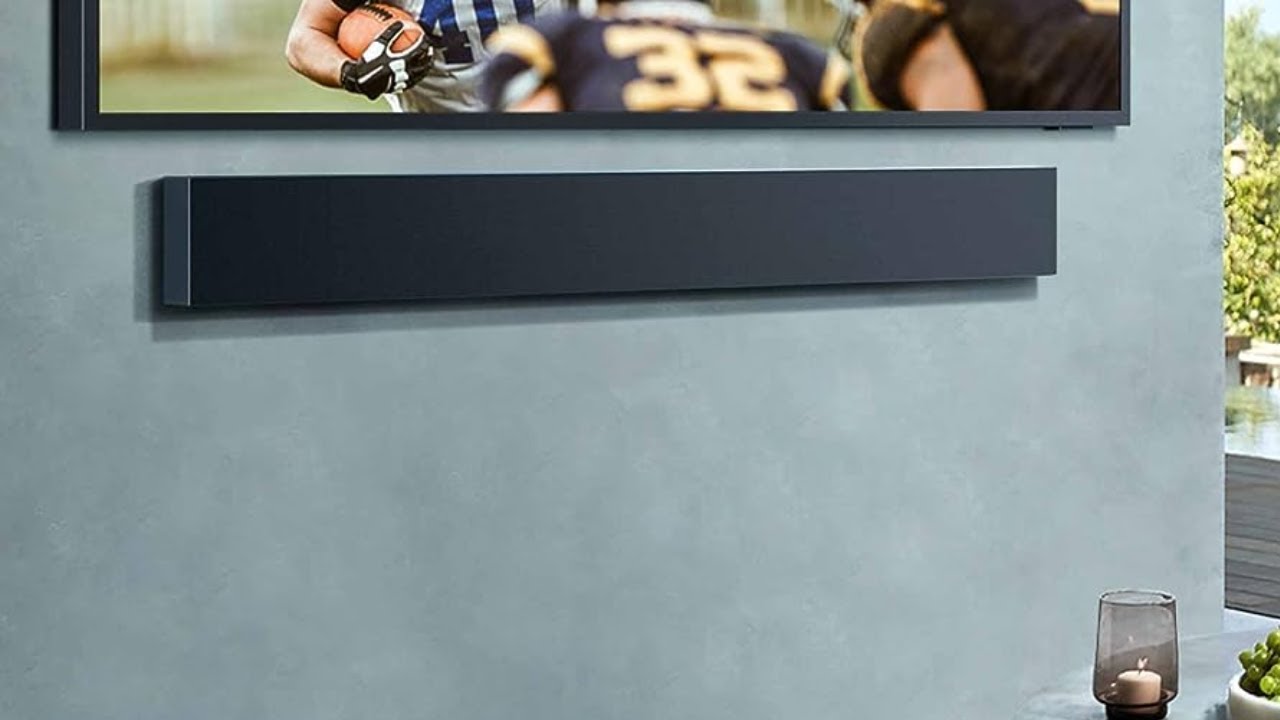
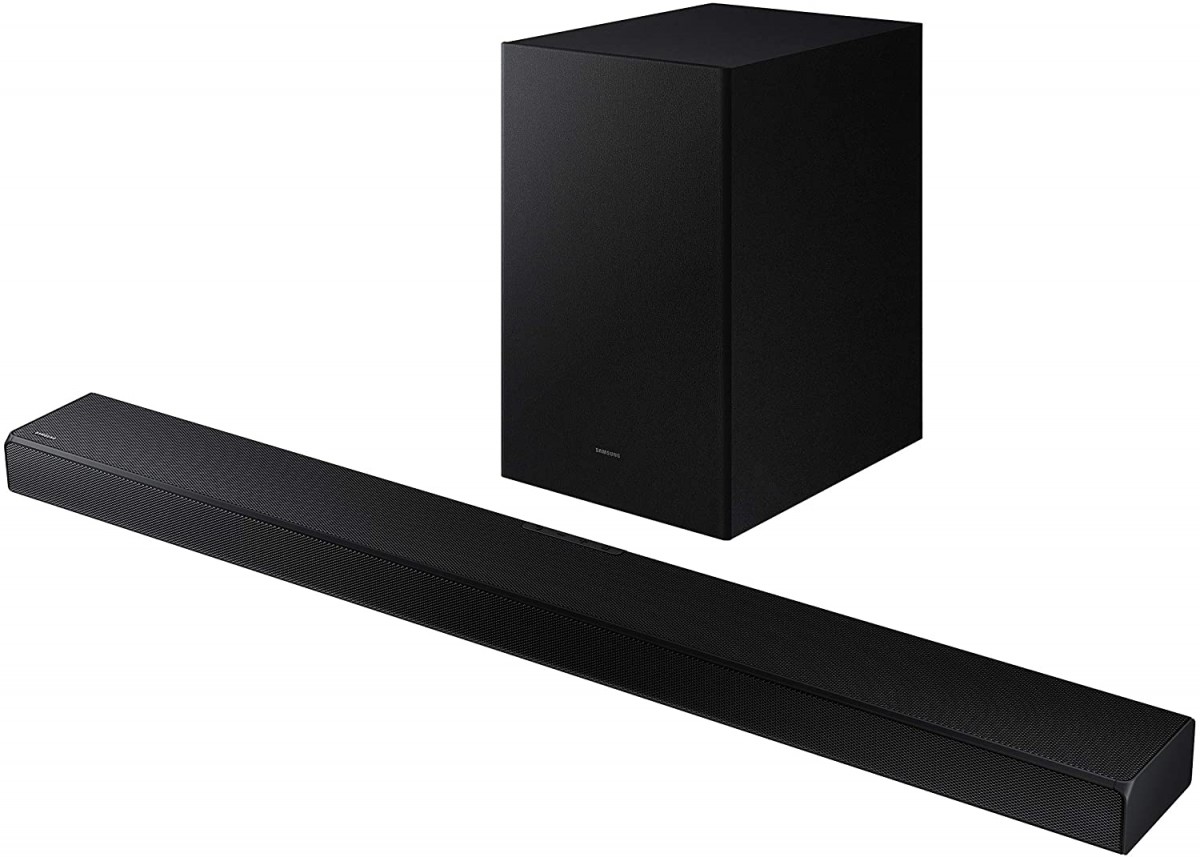
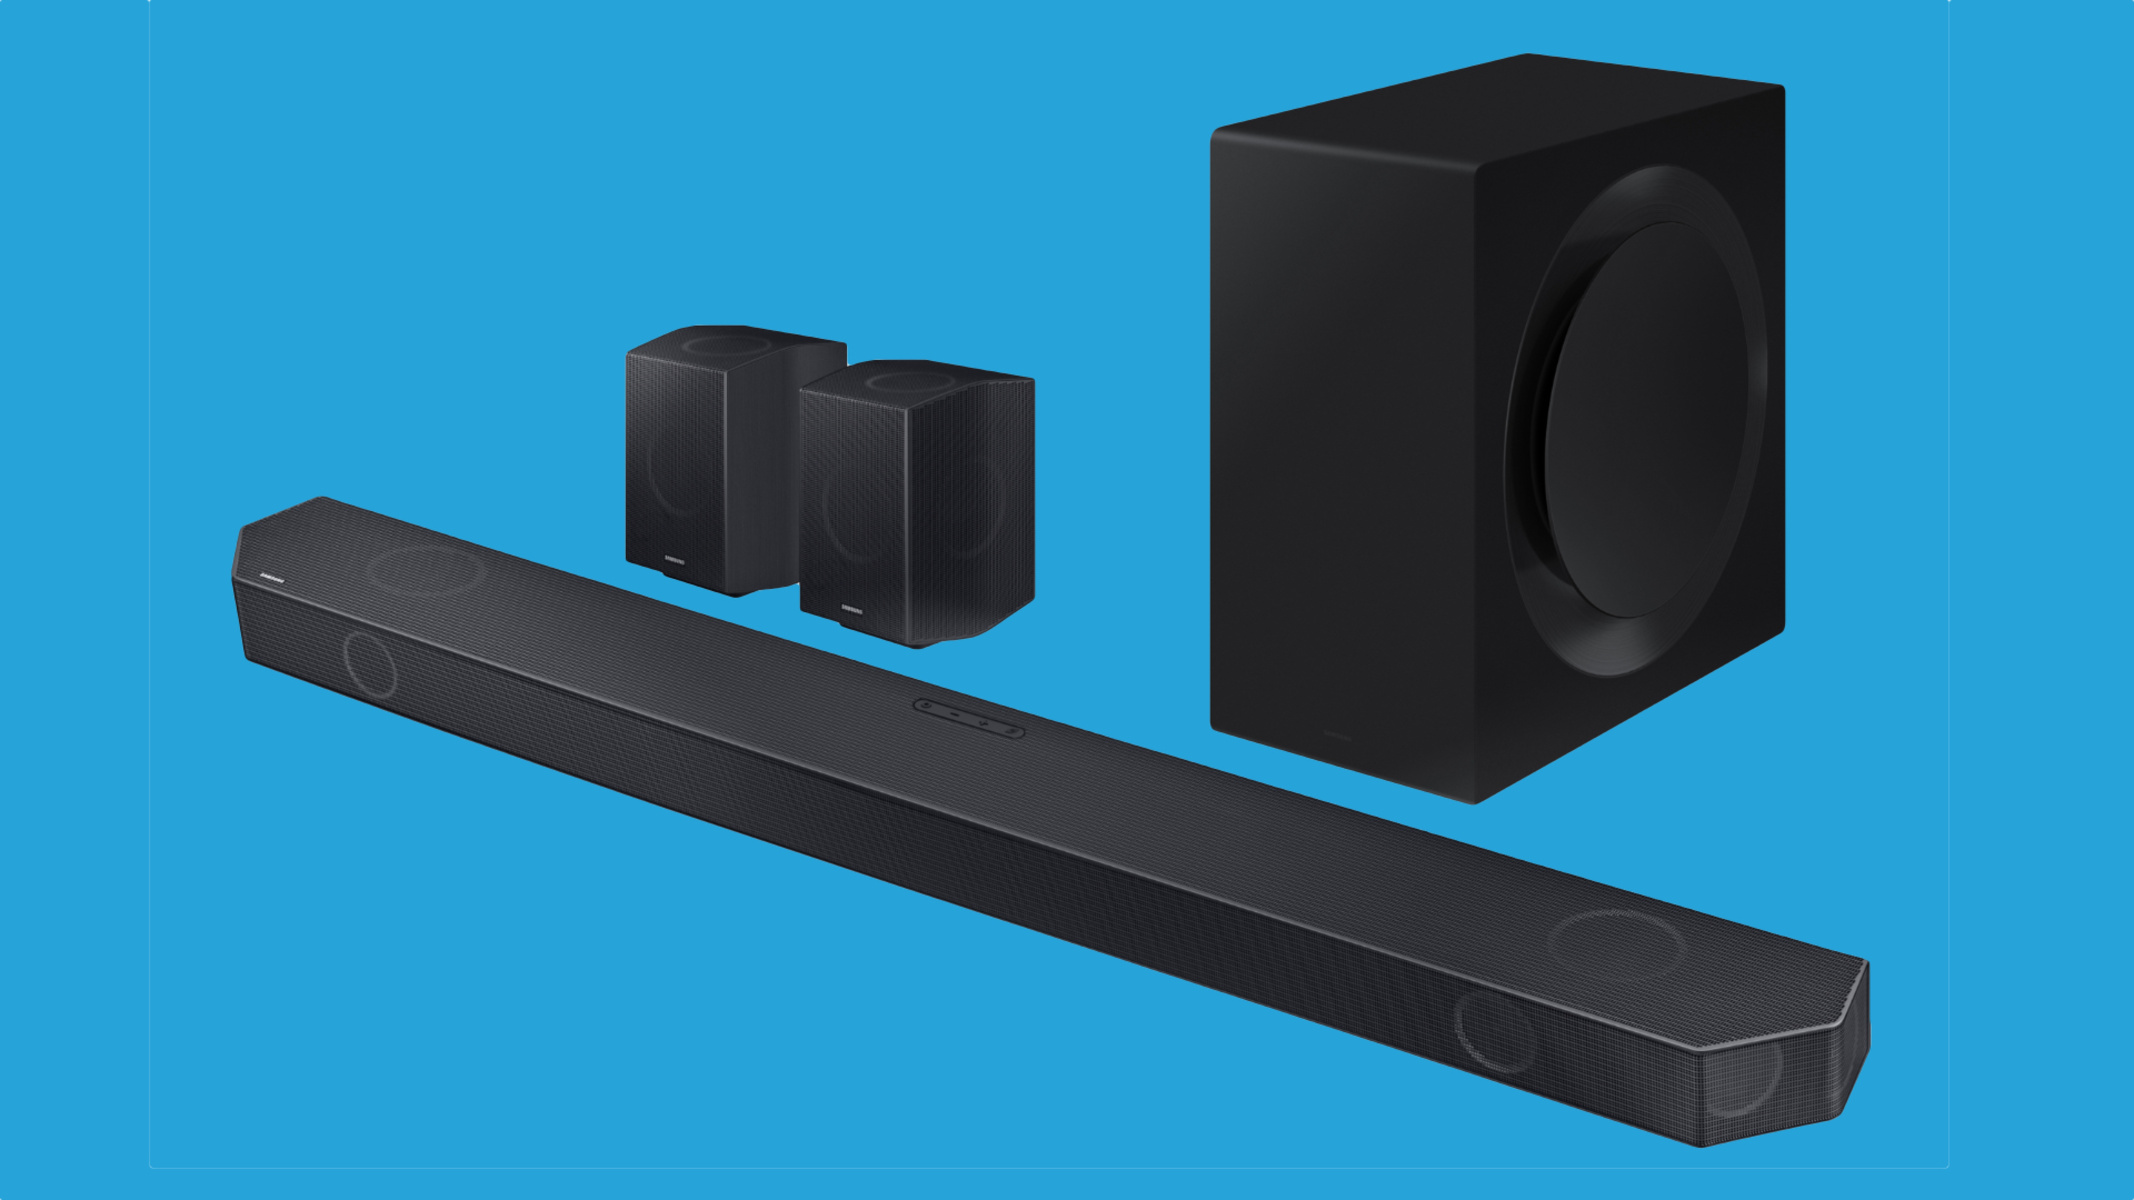
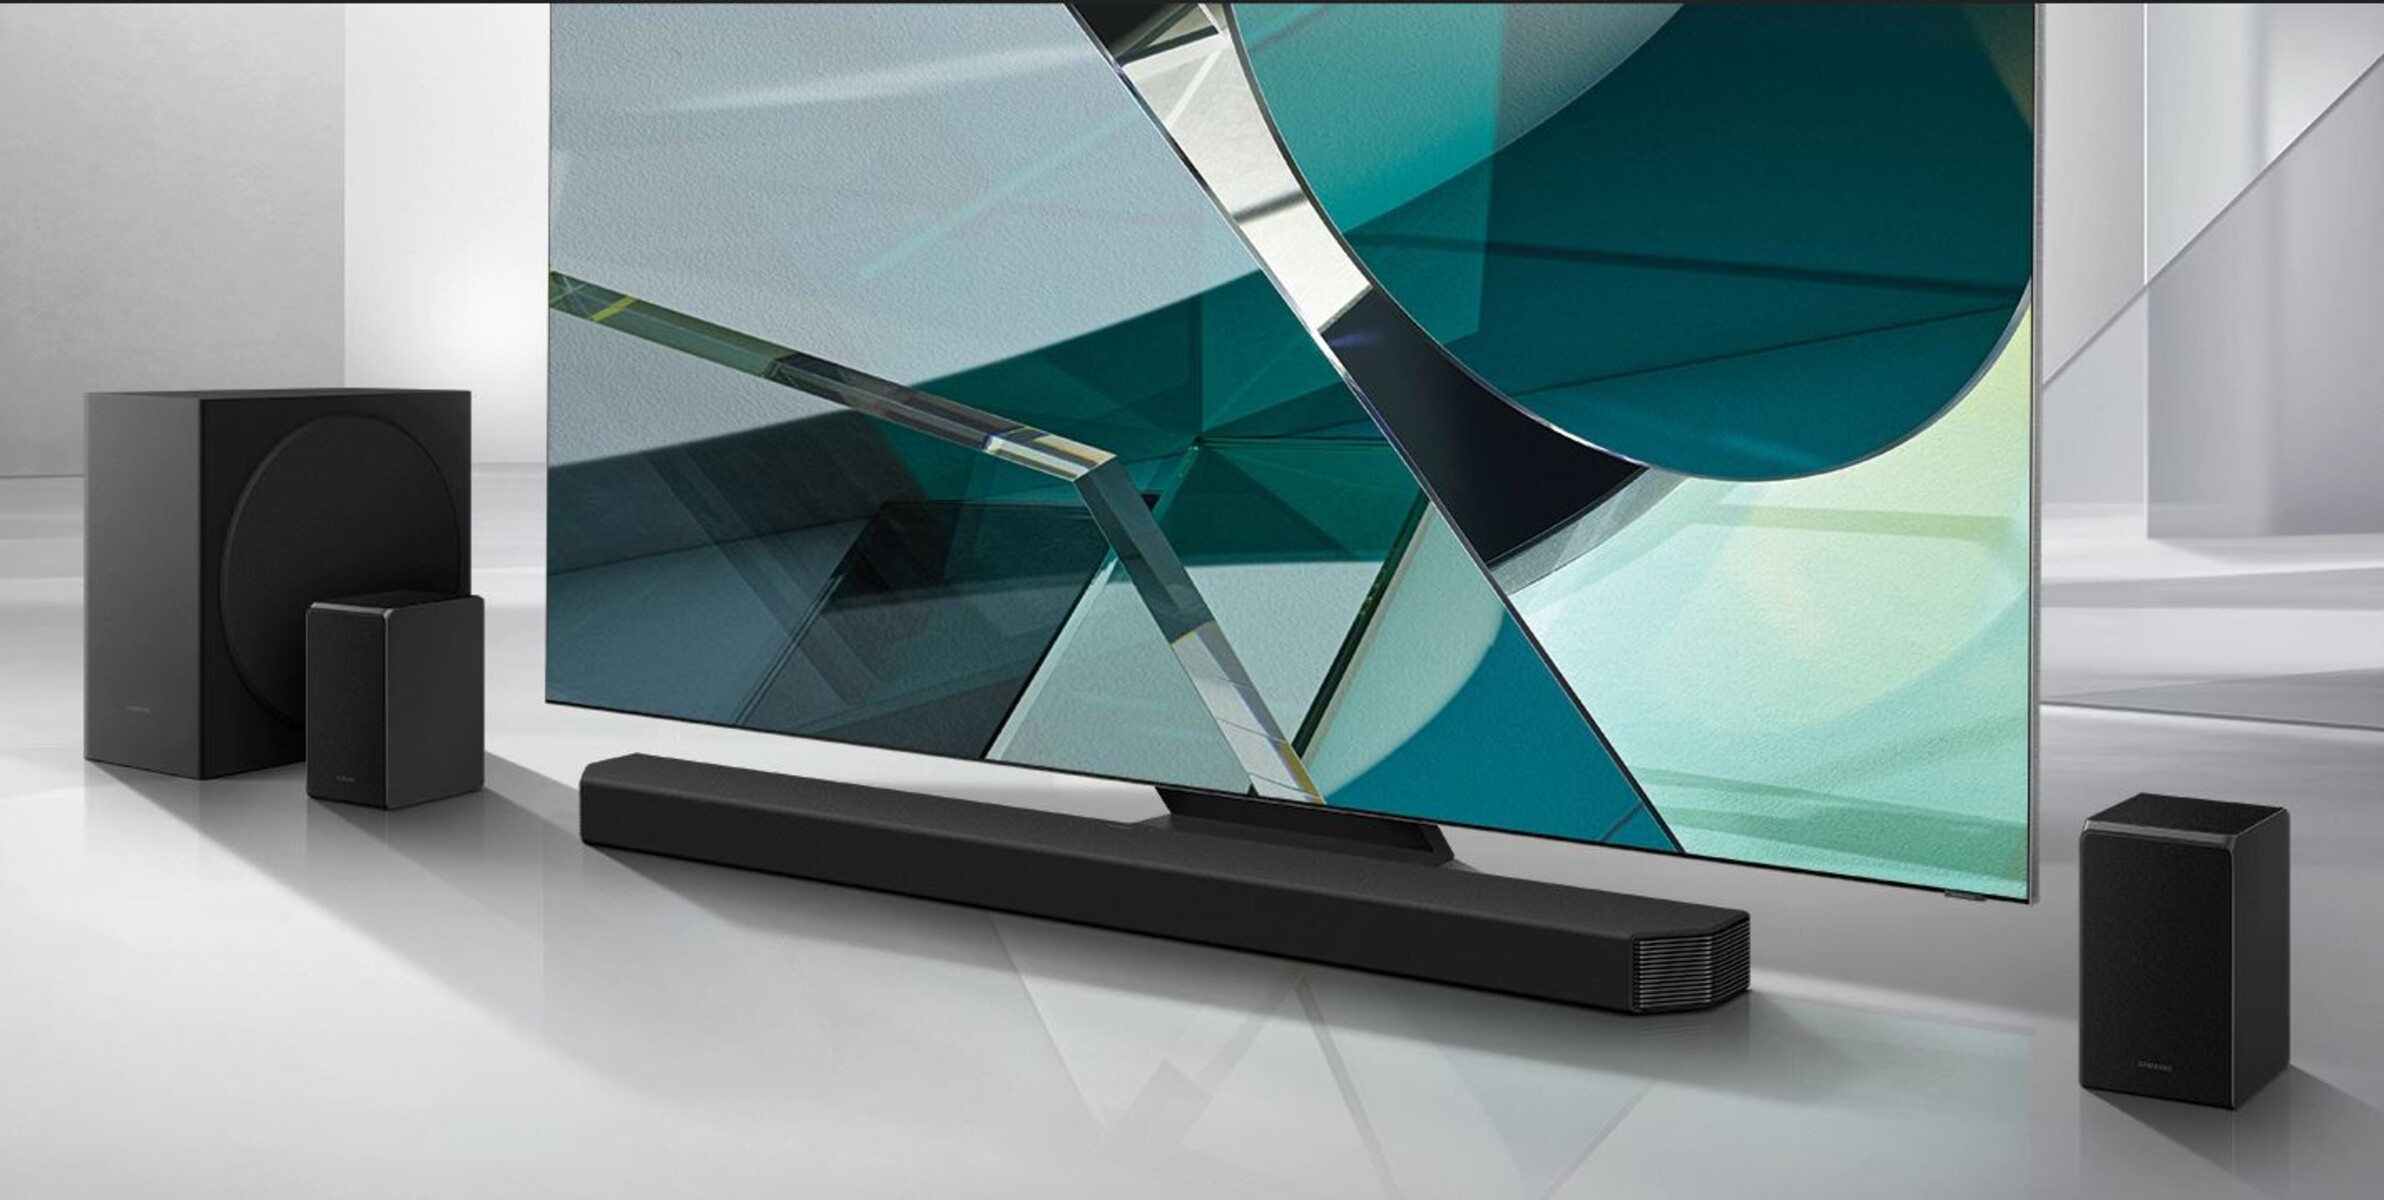
Mounting a Samsung soundbar to your TV can greatly enhance your entertainment experience. Whether you’re watching your favorite movies, TV shows, or playing games, having the soundbar mounted to your TV can provide immersive sound and a sleek, clutter-free setup.
In this guide, we will walk you through the step-by-step process of mounting a Samsung soundbar to your TV. We will cover everything from gathering the necessary tools to adjusting the position of the soundbar. By following these instructions, you’ll be able to enjoy enhanced audio quality and a visually appealing home theater setup.
Before we dive into the steps, it’s important to note that the specific instructions may vary depending on the model of your Samsung soundbar and TV. We recommend consulting the user manual that came with your devices for any model-specific guidelines. Additionally, ensure that you have read and understood all safety precautions outlined in the user manuals.
Now, let’s get started on mounting your Samsung soundbar to your TV!
Step 1: Gather the necessary tools
Before you begin mounting your Samsung soundbar to your TV, make sure you have all the necessary tools ready. Having the right tools on hand will ensure a smooth and hassle-free installation process. Here are the tools you will need:
- Mounting brackets: Check if your soundbar comes with mounting brackets. If not, you may need to purchase them separately. These brackets will connect your soundbar to your TV.
- Screws: Depending on your soundbar and TV models, you may need specific screws to attach the mounting brackets. Refer to the user manuals to identify the required screw size and type.
- Screwdriver or drill: To secure the mounting brackets and screws, you will need a screwdriver or a drill with the appropriate bit size. Make sure you have the right tool for the job.
- Level: A level will help you ensure that your soundbar is mounted straight and level on your TV.
- Tape measure: You may need a tape measure to determine the ideal positioning of the soundbar on your TV.
- Power drill (optional): If your TV does not have pre-drilled mounting holes, you may need a power drill to create the necessary holes.
Having these tools ready before you begin will save you time and frustration during the installation process. Once you have gathered all the required tools, you’re ready to move on to the next step: locating the mounting holes on your Samsung soundbar and TV.
Step 2: Locate the mounting holes on your Samsung soundbar and TV
Locating the mounting holes on both your Samsung soundbar and TV is an essential step in the mounting process. These mounting holes will be where you attach the mounting brackets to secure the soundbar to the TV. Here’s how to locate them:
- Refer to the user manuals: The user manuals for your soundbar and TV should provide information on the location of the mounting holes. Take a moment to read through the manuals and find the relevant sections.
- Inspect the soundbar: Examine your soundbar carefully, paying close attention to the sides or back. Look for any labeled or designated areas that indicate the location of the mounting holes. They may be identified with symbols such as squares or circles.
- Check the TV: Similarly, inspect your TV for mounting hole indicators. These are usually located on the back of the TV, but they can also be on the sides. Look for any labels or markings that denote the positions of the mounting holes.
- Measure the spacing: If you’re unable to find clear indicators, you can measure the distance between the holes on both the soundbar and TV. This will help you identify the correct alignment for attaching the mounting brackets.
Once you have successfully located the mounting holes on your Samsung soundbar and TV, you’re ready to proceed to the next step: attaching the mounting brackets to your TV.
Step 3: Attach the mounting brackets to your TV
Attaching the mounting brackets to your TV is a crucial step in securely mounting your Samsung soundbar. The mounting brackets will provide the necessary support and stability for your soundbar. Follow these steps to attach the mounting brackets:
- Position the TV: Place your TV on a stable surface, making sure it is facing upwards to give you better access to the back.
- Align the brackets: Take the mounting brackets and align them with the mounting holes on the back of your TV. Ensure that the brackets are positioned symmetrically and evenly spaced.
- Screw in the brackets: Using the appropriate screws for your TV, insert them through the holes on the brackets and tighten them into the pre-drilled holes on the TV. Make sure the screws are secure but not overly tightened to avoid damaging the TV.
- Check the alignment: Use a level to check if the brackets are straight and aligned. Adjust if necessary by loosening the screws slightly and correcting the position of the brackets. Once aligned, tighten the screws firmly.
It’s important to note that the number of brackets and the exact procedure may vary depending on the TV model and the mounting kit you’re using. Therefore, refer to the user manual of your specific TV for any additional instructions or variations in the mounting process.
With the mounting brackets securely attached to your TV, you’re now ready to move on to the next step: attaching the mounting brackets to your Samsung soundbar.
Step 4: Attach the mounting brackets to your Samsung soundbar
Now that you have successfully attached the mounting brackets to your TV, it’s time to attach the corresponding brackets to your Samsung soundbar. This step will ensure that the soundbar is securely mounted and aligned with your TV. Follow these steps carefully:
- Position the soundbar: Place your Samsung soundbar on a stable surface, such as a table or countertop.
- Align the brackets: Take the mounting brackets and align them with the mounting holes on the back of your soundbar. Ensure they are positioned symmetrically and that the holes on the brackets line up with the holes on your soundbar.
- Screw in the brackets: Using the appropriate screws provided or recommended for your soundbar model, insert them through the holes on the brackets and tighten them into the corresponding mounting holes on the soundbar. Be careful not to overtighten, as it may damage the soundbar.
- Check the alignment: Use a level to check if the soundbar is aligned and level with your TV. Adjust the position of the brackets if needed, and then tighten the screws securely.
It’s important to refer to the user manual of your Samsung soundbar or consult the manufacturer’s instructions for any specific guidelines or variations in the attachment process. Each soundbar model may have slightly different mounting requirements, so ensure you follow the instructions specifically meant for your device.
With the mounting brackets securely attached to your Samsung soundbar, it’s time to move on to the next step: connecting the soundbar to your TV.
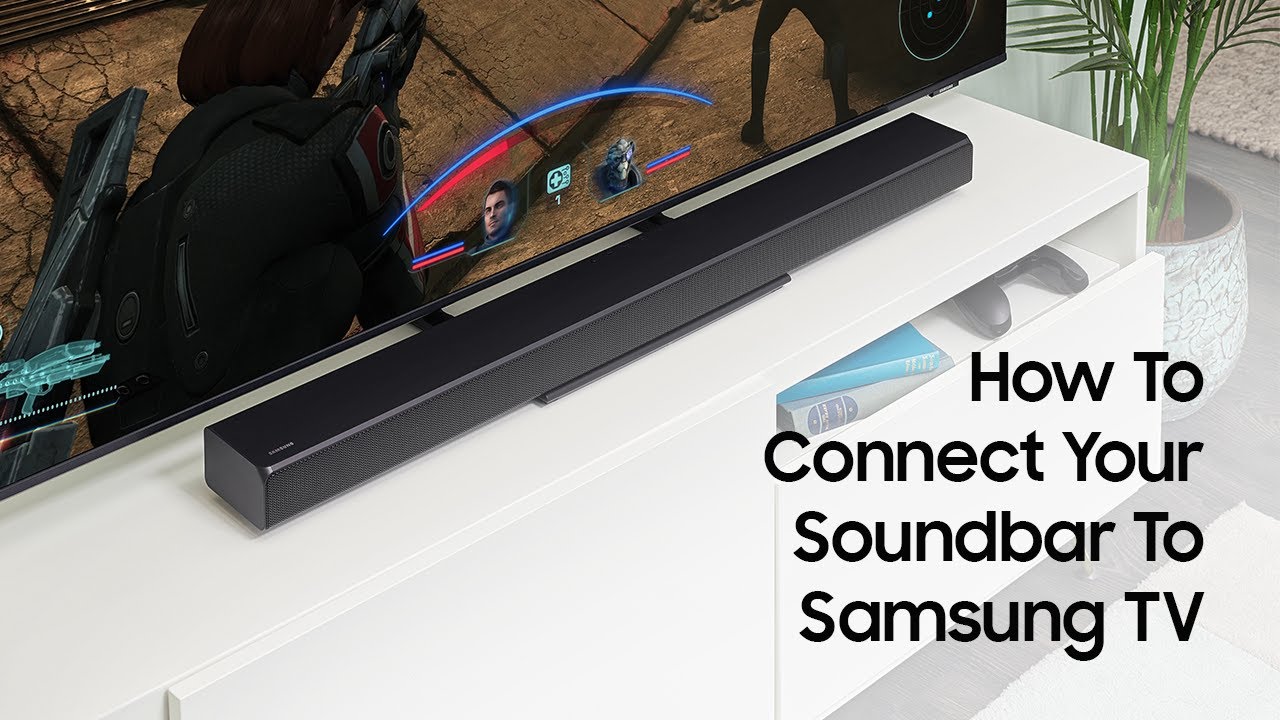
Step 5: Connect the soundbar to your TV
With the mounting brackets securely attached to your Samsung soundbar and TV, the next step is to connect the soundbar to your TV. This step will ensure that the audio from your TV is properly transmitted to the soundbar for an enhanced audio experience. Follow these steps to connect the soundbar to your TV:
- Locate the audio output port: Identify the audio output port on your TV. This is usually labeled as “Audio Out” or “Digital Audio Out.” Common audio output options include HDMI, optical, or aux connections.
- Choose the appropriate audio cable: Depending on the audio output port on your TV and the input options on your soundbar, select the appropriate audio cable. This could be an HDMI cable, optical cable, or aux cable.
- Connect one end of the cable: Plug one end of the selected audio cable into the corresponding audio output port on your TV. Ensure that it is securely connected.
- Connect the other end of the cable: Plug the other end of the audio cable into the corresponding audio input port on your Samsung soundbar. Again, ensure a secure connection.
- Select the correct audio input on your soundbar: Depending on your soundbar model, you may need to manually select the audio input source. Use the remote or buttons on your soundbar to choose the input corresponding to the connected cable.
After completing these steps, the soundbar should now be successfully connected to your TV. Make sure to refer to the user manual of your soundbar for any specific instructions related to audio settings or input selection.
With the soundbar connected to your TV, you’re ready to move on to the next step: adjusting the position of the soundbar.
Step 6: Adjust the position of the soundbar
Now that the soundbar is securely mounted and connected to your TV, it’s time to adjust its position to ensure optimal sound quality and aesthetics. Proper positioning will enhance your audio experience and create a visually appealing setup. Follow these steps to adjust the position of your Samsung soundbar:
- Consider the optimal height: Position the soundbar at a height that complements your TV setup. It is generally recommended to have the soundbar placed below the TV, aligning it with the central portion of the screen. However, you can experiment with the placement to find what works best for your viewing area.
- Align the soundbar horizontally: Ensure that the soundbar is aligned horizontally with the TV. Use a level to check if it is perfectly straight. Adjust the position if necessary.
- Adjust the distance: The ideal distance between the soundbar and your listening area may vary depending on the size of your room and personal preference. Experiment with different distances to find the sweet spot that provides optimal sound coverage and immersion.
- Clear any obstructions: Make sure there are no objects blocking the soundbar, such as decorative items, cables, or other electronic devices. Clearing obstructions will allow sound to project freely and minimize any potential distortion.
- Secure any loose cables: Neatly secure and organize the cables connected to the soundbar and TV to prevent them from dangling or becoming tangled. This not only ensures a clean and clutter-free appearance but also minimizes the risk of accidental damage.
Take your time in adjusting the position of the soundbar to achieve the desired audio performance and visual appeal. Consider the acoustics of your room and the specific features of your soundbar to maximize the overall experience.
With the soundbar properly positioned, it’s time to move on to the final step: testing the soundbar mounting stability.
Step 7: Test the soundbar mounting stability
After successfully mounting your Samsung soundbar to your TV and adjusting its position, it’s important to test the stability of the installation. This step will give you peace of mind and ensure that the soundbar remains securely mounted. Here’s how to test the soundbar mounting stability:
- Gently shake the soundbar: Give the soundbar a gentle shake to see if it feels loose or wobbly. If you notice any significant movement or instability, it may indicate that the mounting brackets are not securely attached. In such cases, you may need to review the installation steps and re-attach the brackets if necessary.
- Check for sagging: Examine the soundbar to ensure it is level and not sagging downwards. If you notice any sagging, it may indicate that the mounting brackets are not properly aligned or tightened. Make the necessary adjustments to ensure a level and secure installation.
- Monitor during audio playback: While playing audio through the soundbar, observe its stability. Vibrations and movement during playback may indicate an unstable mounting. If you notice excessive movement or vibrations, double-check the mounting brackets and screws to ensure they are tight and secure.
- Periodically check for stability: Over time, it’s important to periodically check the stability of the soundbar mounting. Factors such as vibrations, temperature changes, or accidental bumps can affect the mounting integrity. Regularly inspect the brackets and screws to ensure they remain tight and secure.
By thoroughly testing the soundbar mounting stability, you can ensure a safe and reliable installation. If you encounter any issues or concerns, refer to the user manual of your soundbar or seek assistance from the manufacturer or a professional installer.
Congratulations! You have now successfully mounted and tested your Samsung soundbar to your TV. Enjoy the immersive audio experience and the sleek, clutter-free setup.
Conclusion
Mounting a Samsung soundbar to your TV can greatly enhance your entertainment experience by delivering immersive audio and creating a neat and stylish home theater setup. By following the step-by-step instructions provided in this guide, you can successfully mount your soundbar to your TV and enjoy a superior audiovisual experience.
Throughout the process, it’s essential to gather the necessary tools, locate the mounting holes on both your soundbar and TV, attach the mounting brackets securely, and connect the soundbar to your TV using the appropriate audio cables. Adjusting the position of the soundbar ensures optimal sound projection and aesthetics, while testing the mounting stability adds an extra layer of assurance.
Remember to refer to the user manuals of your specific soundbar and TV models for any model-specific guidelines or variations in the installation process. Safety should always be a priority, so ensure you have read and understood all safety precautions outlined in the user manuals.
Now that you’ve successfully mounted your Samsung soundbar to your TV, sit back, relax, and enjoy an immersive audio experience. Whether you’re watching movies, TV shows, or playing games, the enhanced sound quality and sleek setup will take your entertainment to the next level.
Happy viewing and listening!


