Introduction
Welcome to our guide on how to connect Bose Surround Speakers to the Soundbar 900. If you’re looking to elevate your home audio experience and create a truly immersive surround sound setup, you’ve come to the right place. The Bose Soundbar 900 is a high-quality soundbar that delivers exceptional audio performance, and when paired with the Bose Surround Speakers, it takes your audio experience to a whole new level.
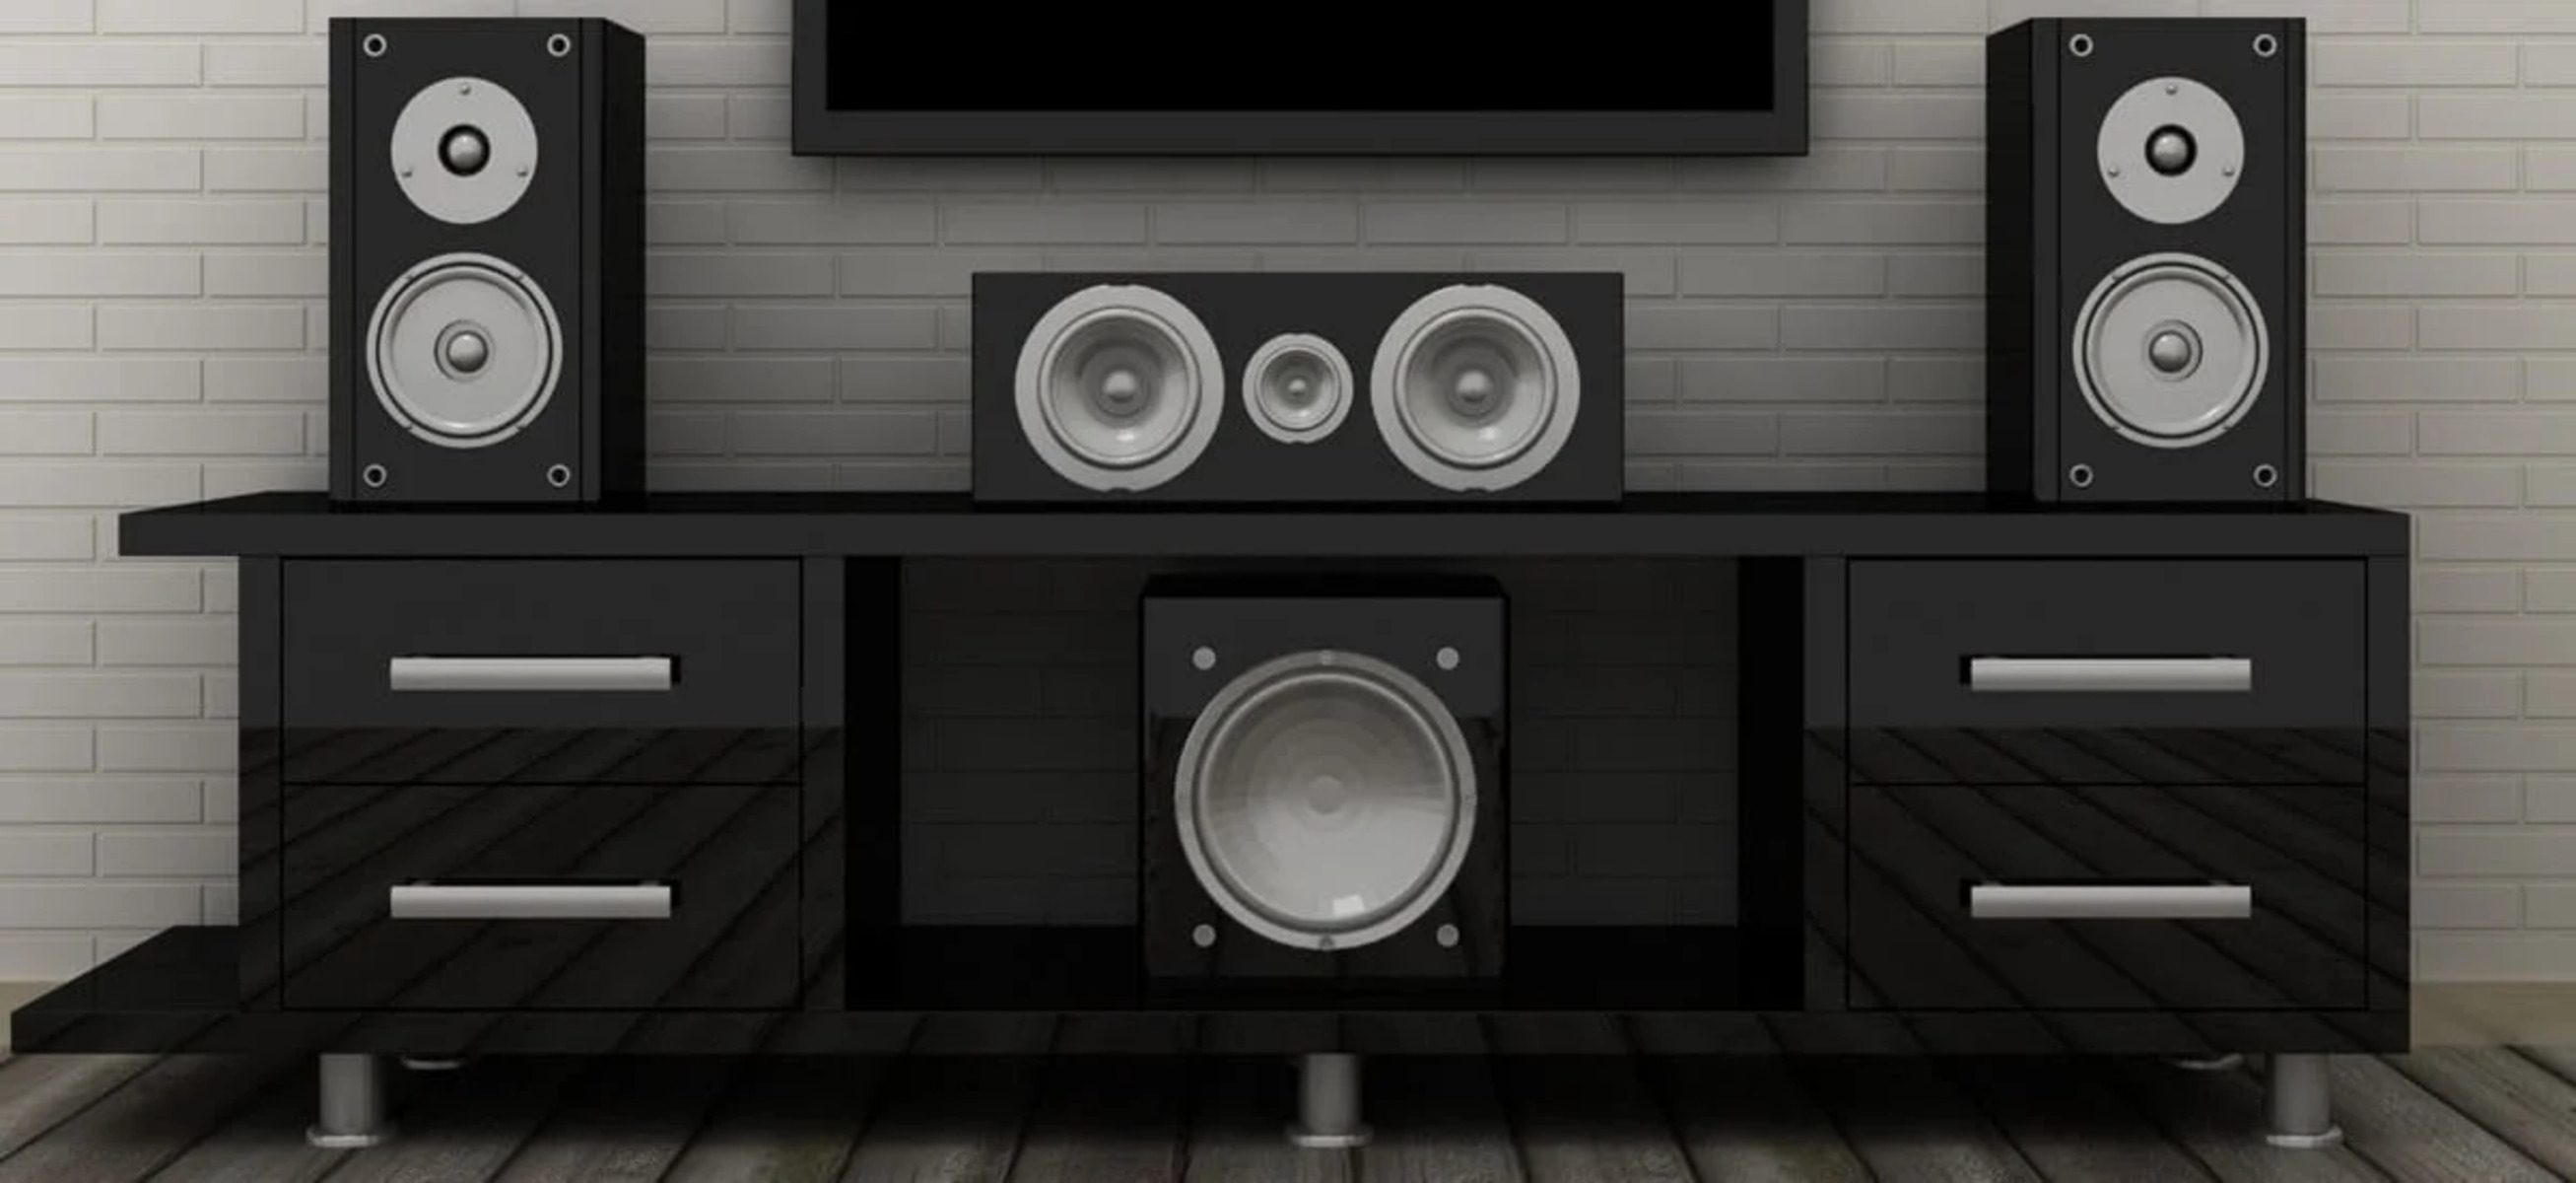
Whether you enjoy watching movies, playing video games, or listening to music, connecting the Bose Surround Speakers to the Soundbar 900 will provide you with rich, detailed sound that envelops the entire room. With wireless connectivity, you have the freedom to place the surround speakers wherever you desire, ensuring optimal audio dispersion for a truly cinematic experience.
In this guide, we will take you through a step-by-step process to help you connect the Bose Surround Speakers to your Soundbar 900. From unboxing the speakers to setting up the Bose Music App and pairing the devices, we have you covered. By the end of this guide, you’ll be ready to sit back, relax, and enjoy a superior surround sound experience in your home.
Before we begin, it’s important to note that this guide assumes you already have the Bose Soundbar 900 and the Bose Surround Speakers. Additionally, make sure your TV supports HDMI ARC (Audio Return Channel) or eARC (enhanced Audio Return Channel) for optimal connectivity. If you’re unsure, refer to your TV’s user manual or contact the manufacturer for assistance.
Now, let’s get started on connecting your Bose Surround Speakers to the Soundbar 900!
Step 1: Check compatibility
Before proceeding with the setup, it’s crucial to ensure that your Soundbar 900 and your Bose Surround Speakers are compatible. The Soundbar 900 is designed to work seamlessly with the Bose Surround Speakers, but it’s essential to verify their compatibility to avoid any issues.
First, check the model numbers of your Soundbar 900 and your Surround Speakers. Both devices should have the same model numbers to guarantee compatibility. If you’re unsure about the model numbers, refer to the product documentation or labels on the devices themselves.
In addition to matching model numbers, it’s also important to ensure that both the Soundbar 900 and the Surround Speakers are from the same product line. Bose may release different versions of speakers or soundbars that look similar but have different compatibility requirements.
If you’ve confirmed that your Soundbar 900 and Surround Speakers are compatible, you can proceed to the next step. However, if you discover any compatibility issues, it’s best to contact Bose customer support for assistance. They will be able to guide you on the appropriate steps to take.
Keep in mind that using non-compatible speakers or soundbars can result in audio distortion or lack of functionality. It’s always recommended to use devices specifically designed to work together for the best audio experience.
Now that you’ve checked the compatibility of your Soundbar 900 and Surround Speakers, you’re ready to move on to the next step: unboxing the Surround Speakers.
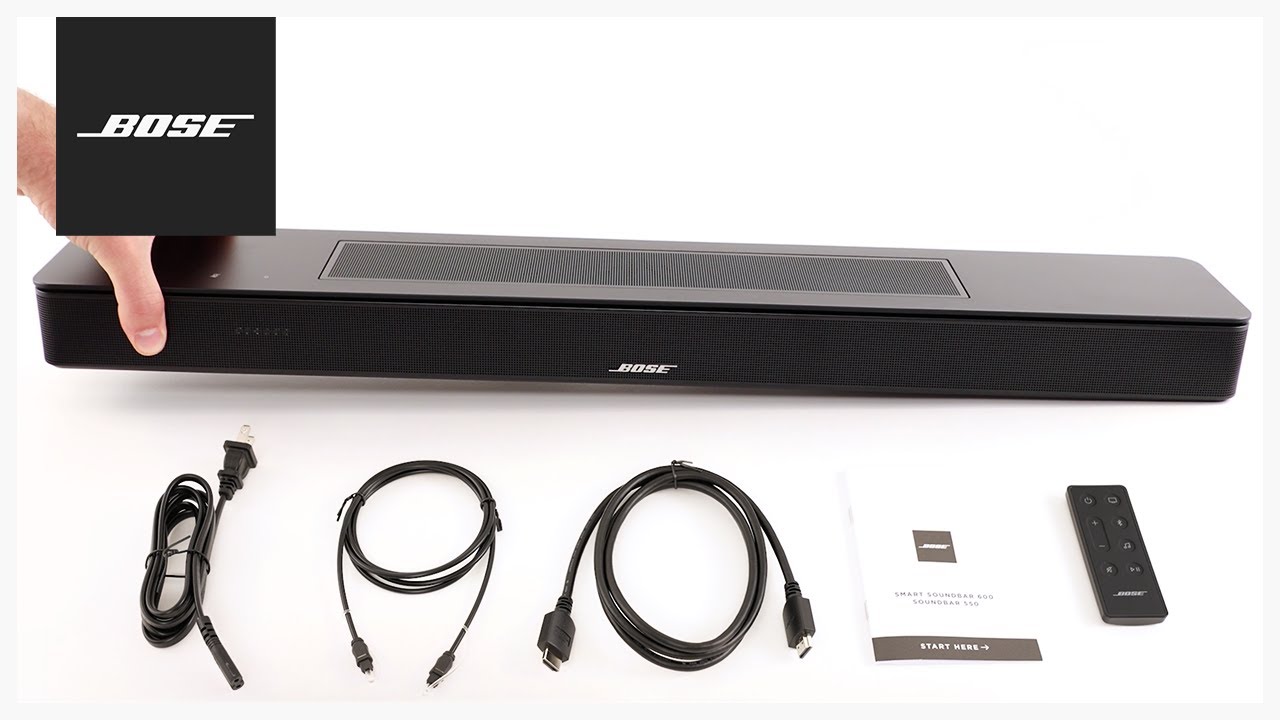
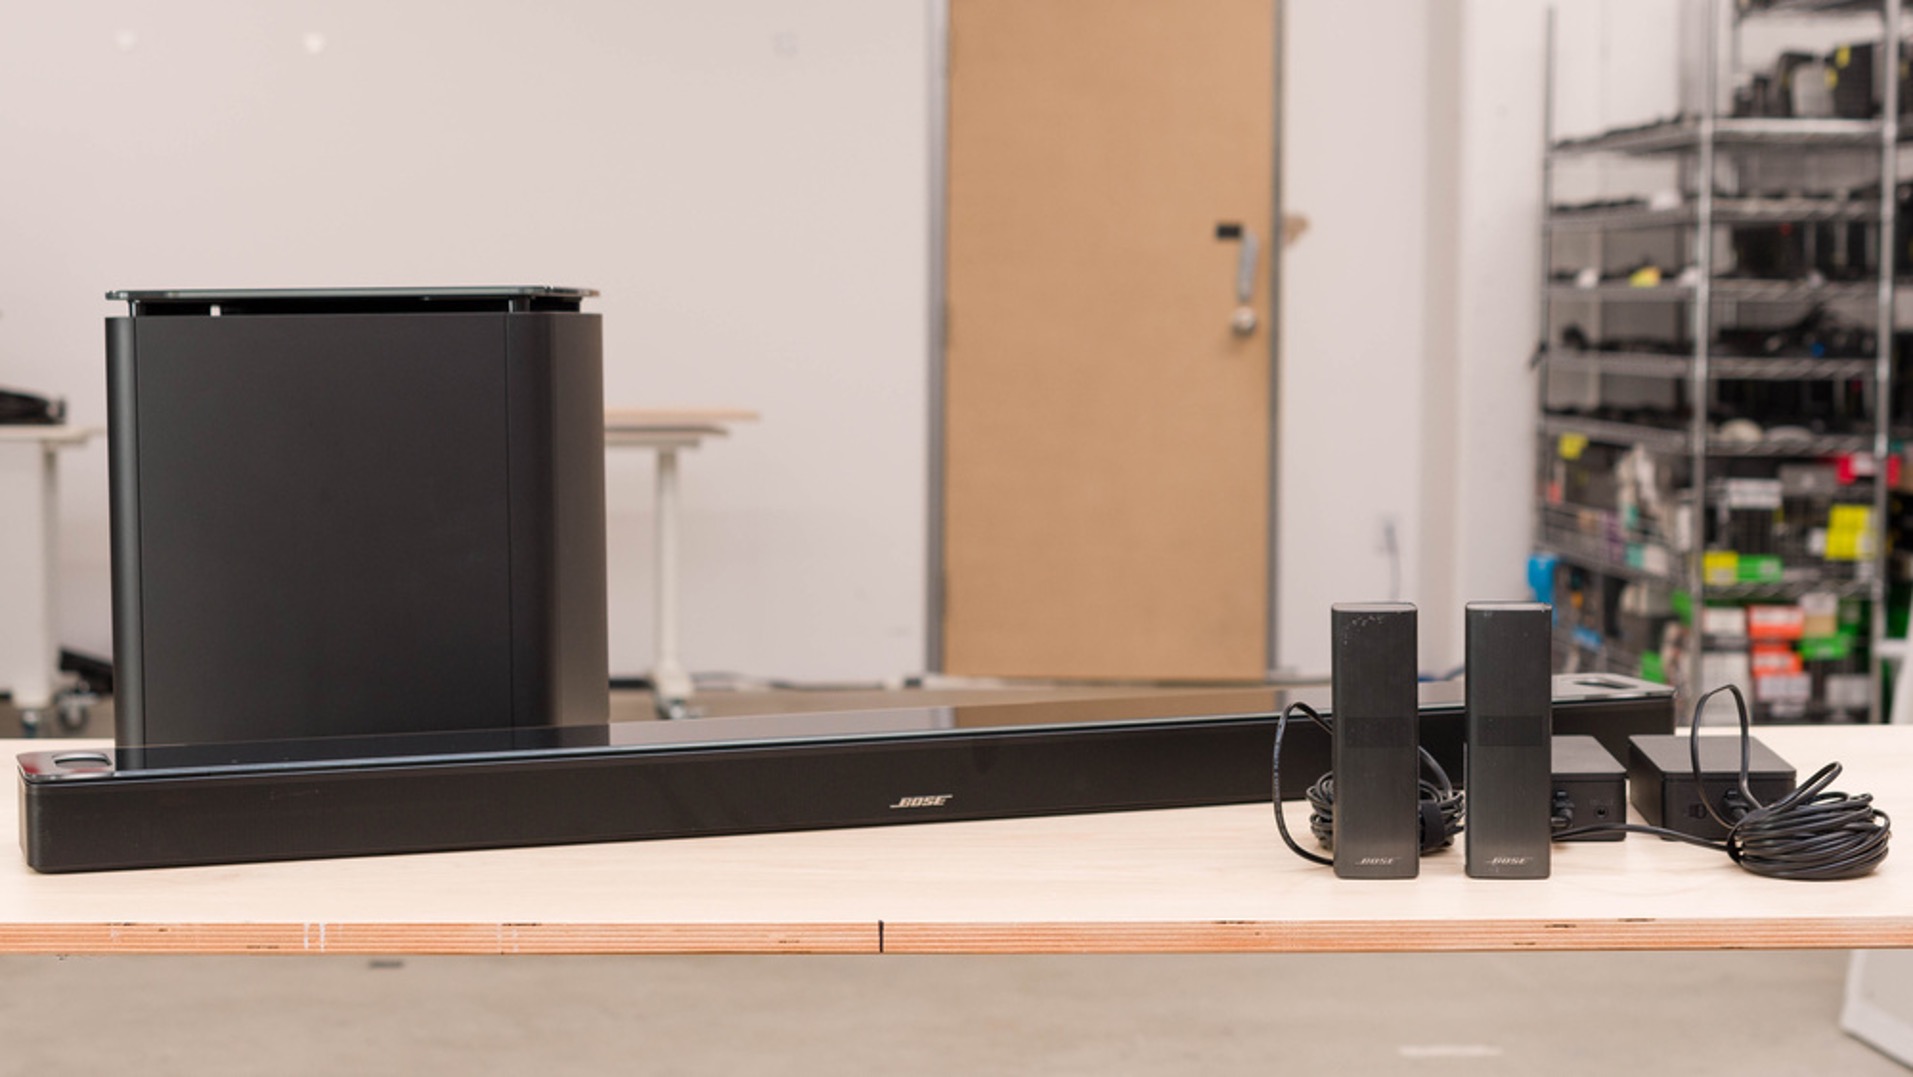
Step 2: Unbox the Bose Surround Speakers
Once you’ve confirmed the compatibility of your Soundbar 900 and Bose Surround Speakers, it’s time to unbox the surround speakers and prepare them for setup. Properly unboxing and handling the speakers is important to avoid any damage and ensure a smooth installation process.
Begin by finding a clear, spacious area to work in. Remove the packaging carefully, making sure not to use sharp objects that could scratch the speakers. Keep all the included accessories and cables organized and within reach.
Inside the box, you will find the two Bose Surround Speakers, power cables, and any additional accessories that may have been included. Carefully lift the speakers out of their packaging, taking note of any protective covering or plastic film that needs to be removed. Inspect the speakers for any visible damage or defects, and if you encounter any issues, contact Bose customer support for assistance.
Next, locate the power cables that came with the speakers. Connect one end of each power cable to the respective speaker and the other end to a power source. Make sure to connect each speaker to its designated power cable to avoid any confusion later on.
With the speakers powered on, you can check for any indicator lights or display screens that confirm they are in working order. These lights or screens will vary depending on the specific model of Bose Surround Speakers you have.
Now that you’ve unboxed and powered on the Bose Surround Speakers, you’re ready to move on to the next step: preparing the Soundbar 900 for connection.
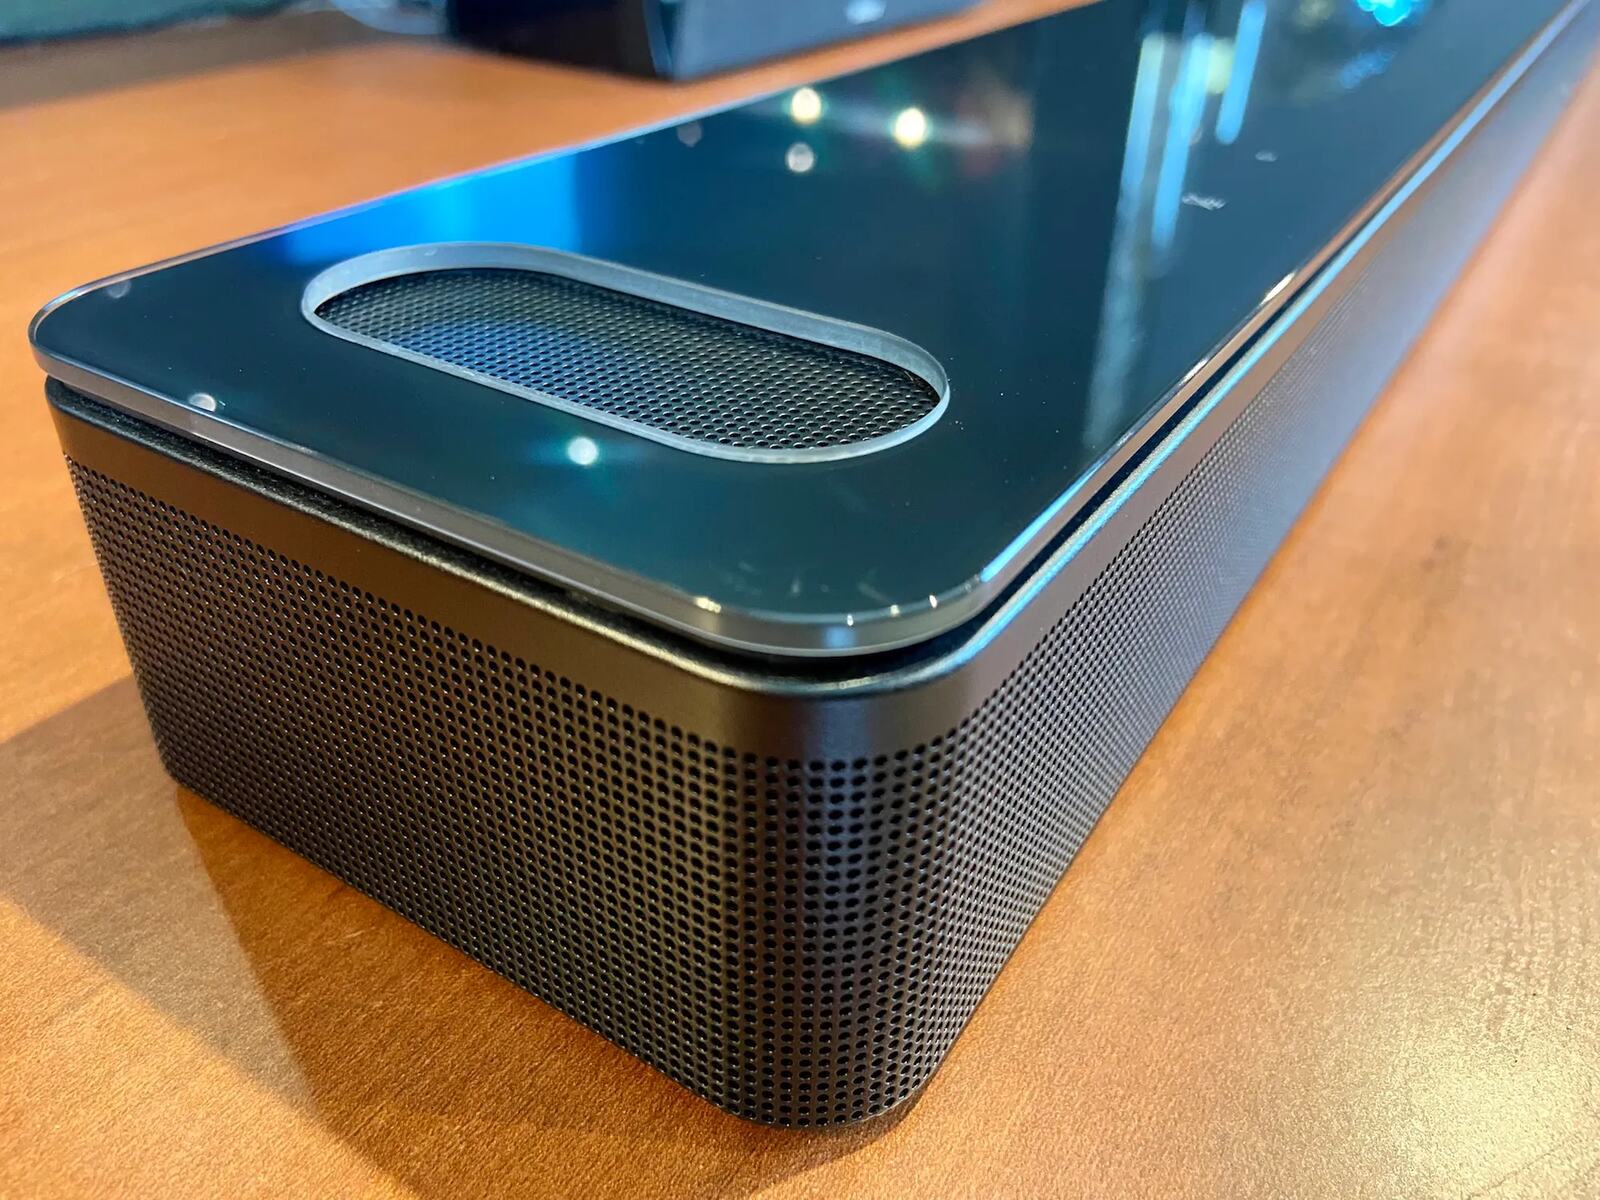
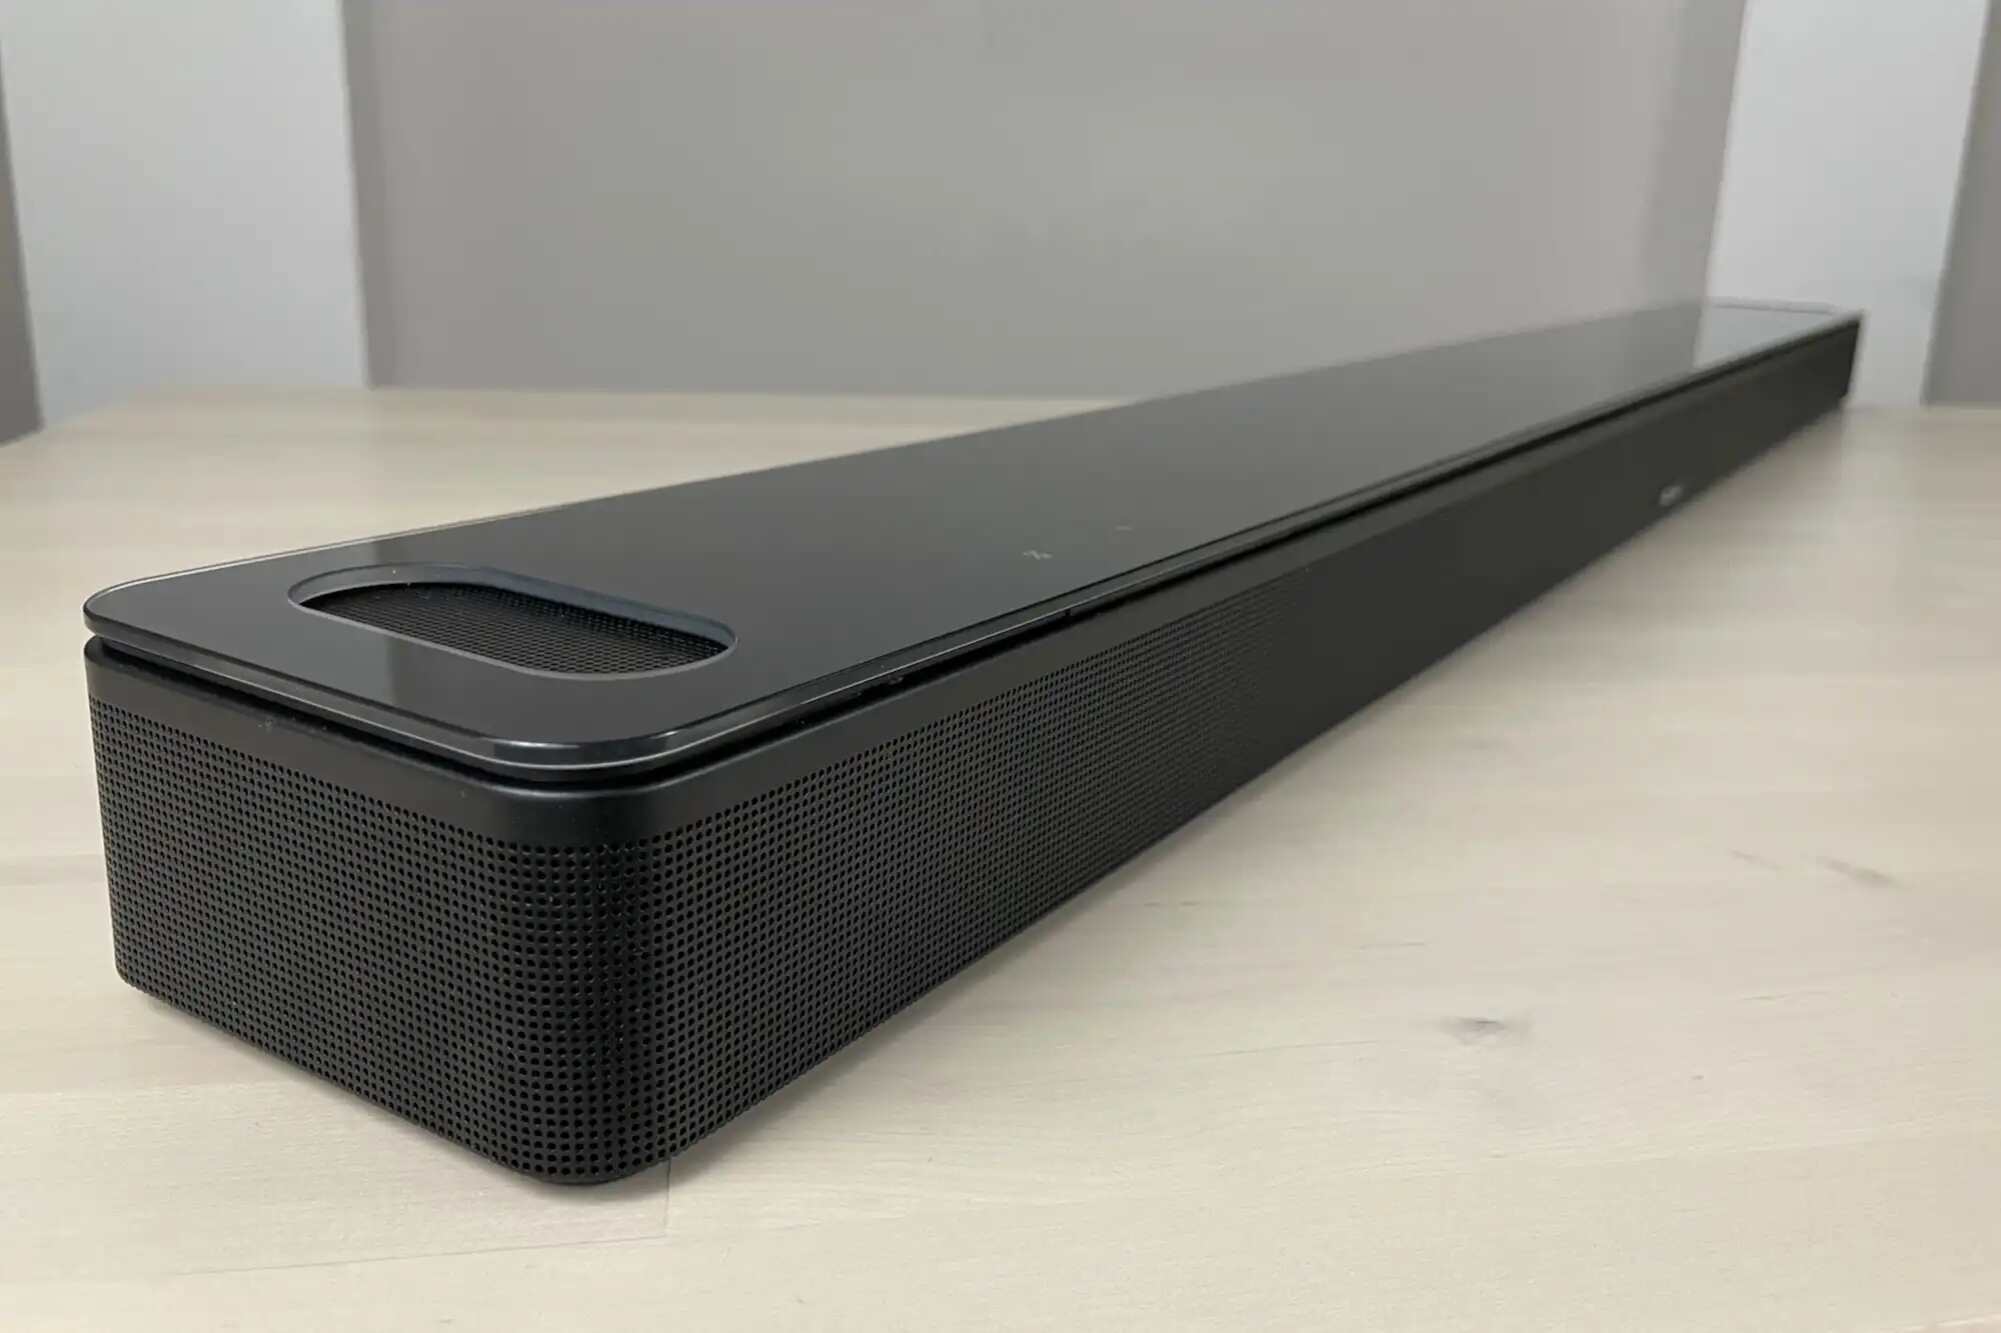
Step 3: Prepare the Soundbar 900
With the Bose Surround Speakers unboxed and ready, it’s time to prepare the Soundbar 900 for the connection process. This step involves positioning the soundbar and ensuring it is properly connected to your TV or audio source.
Start by finding an ideal location for your Soundbar 900. It’s recommended to place it directly in front of your TV, either mounted on the wall or on a stable surface. Make sure there is enough space around the soundbar for proper airflow and ventilation to prevent overheating.
If you are mounting the soundbar on the wall, carefully follow the instructions provided in the Soundbar 900’s user manual or mounting guide. Using the appropriate mounting hardware, securely attach the soundbar to the wall in the desired position. Ensure that the mounting is level and stable.
If you choose to place the soundbar on a surface, make sure it is level and positioned in a way that allows the audio to project towards the listening area. You may need to adjust the soundbar’s position to achieve the best sound dispersion.
Once the soundbar is in its desired location, connect it to your TV or audio source using a high-quality HDMI cable. Locate the HDMI ARC (Audio Return Channel) or eARC (enhanced Audio Return Channel) port on both the soundbar and your TV. Connect one end of the HDMI cable to the HDMI ARC or eARC port on the soundbar and the other end to the corresponding port on your TV.
If your TV does not have an HDMI ARC or eARC port, you can use an optical audio cable to connect the soundbar to your TV. Simply plug one end of the optical audio cable into the soundbar’s optical audio input and the other end into the optical audio output on your TV. Make sure to secure the connections properly.
With the Soundbar 900 prepared and connected to your TV or audio source, you’re now ready to move on to the next step: connecting the power cable.
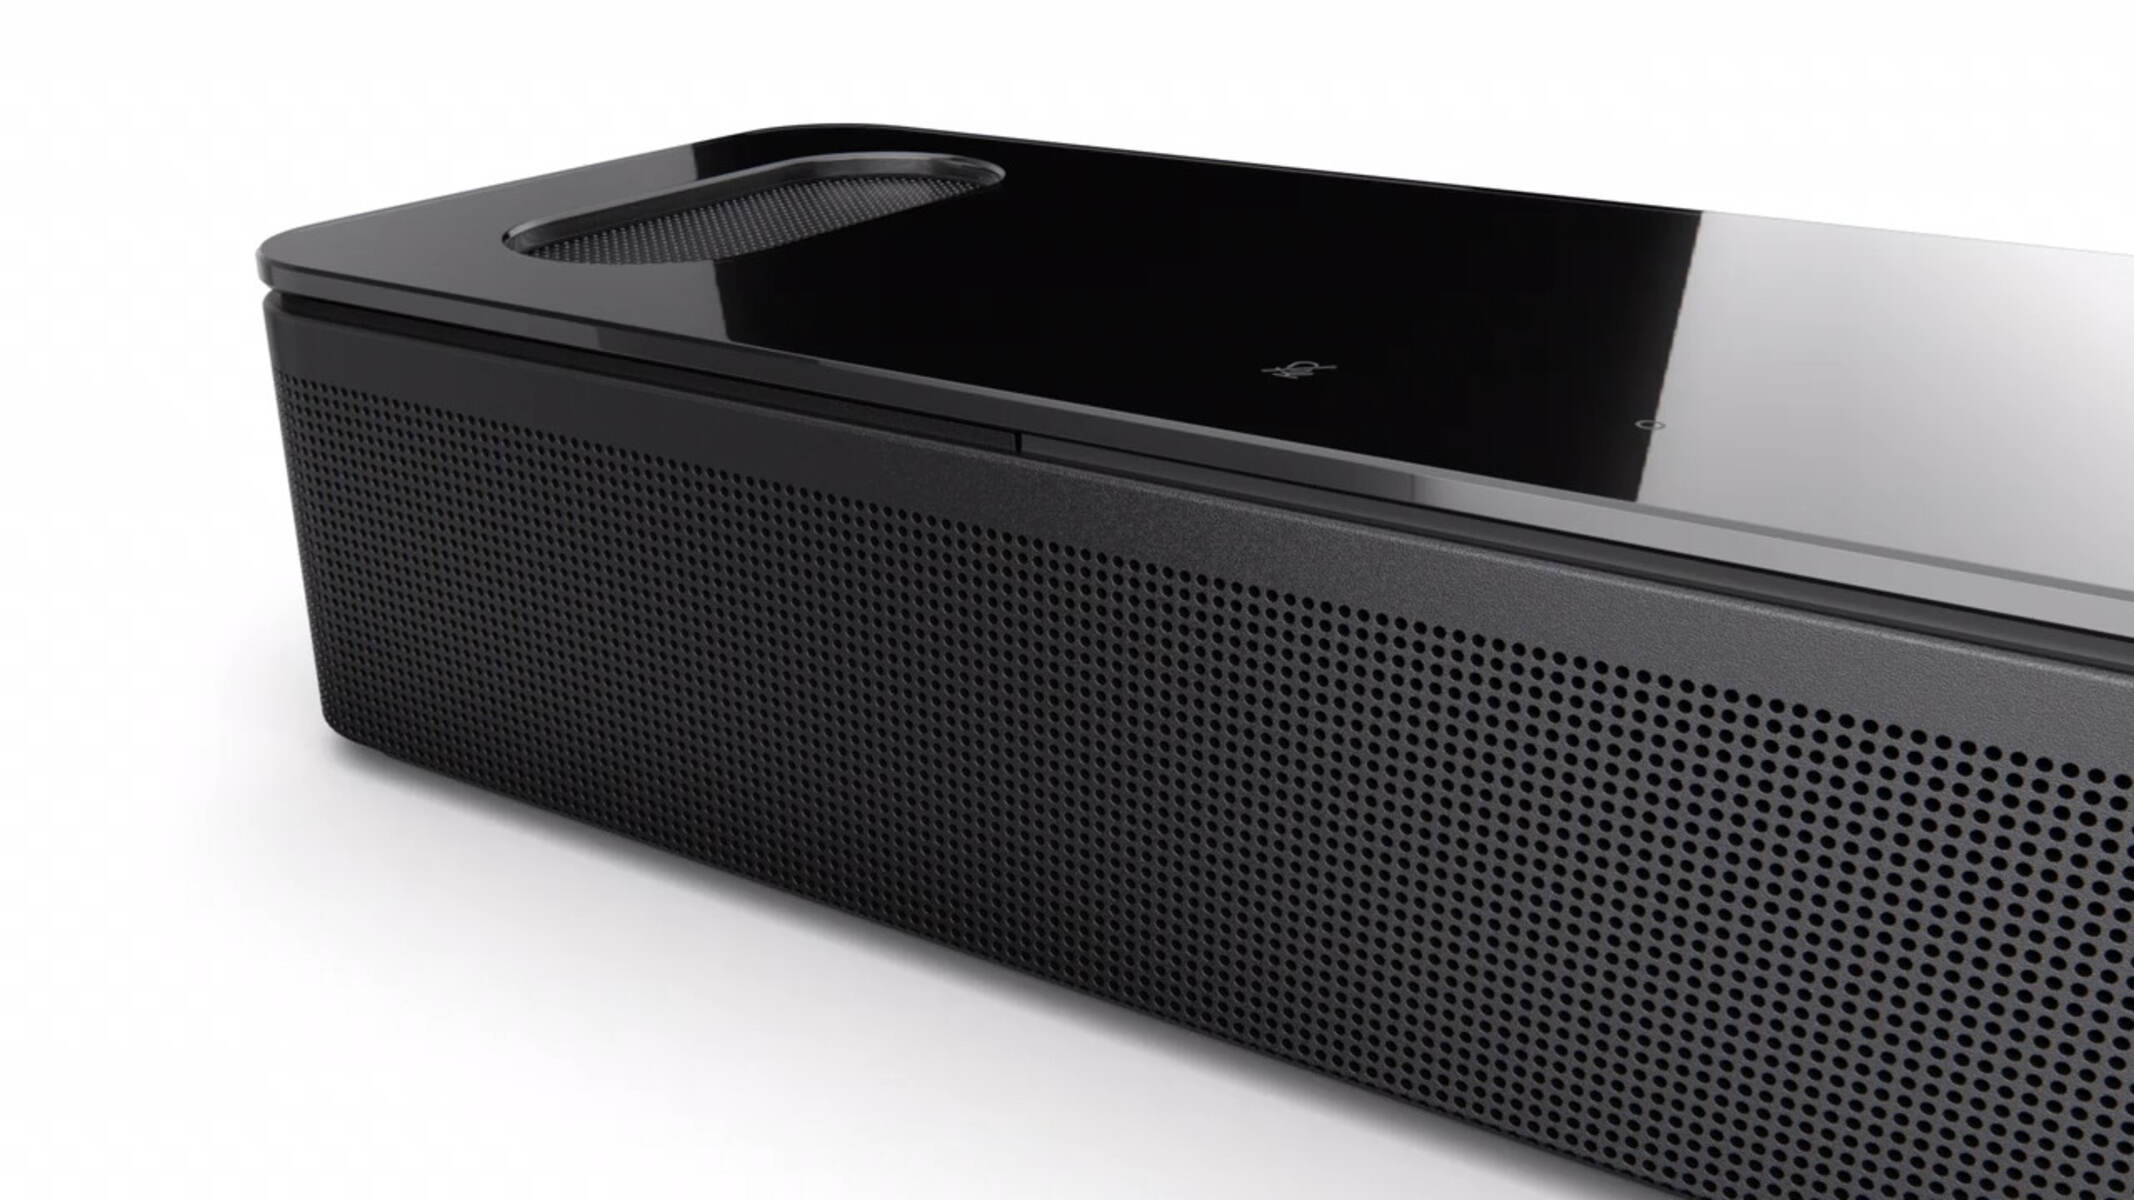
Step 4: Connect the Power Cable
Now that you have positioned and connected the Soundbar 900, it’s time to ensure it has a reliable power source. Connecting the power cable is an essential step in the setup process, as it provides the necessary electrical power to operate the soundbar.
Locate the power cable that came with the Soundbar 900. One end of the cable will have a standard power plug, while the other end will have a connector specific to the soundbar. Take note of any power requirements or voltage specifications mentioned in the user manual or on the soundbar itself.
Connect one end of the power cable to the power input on the soundbar and ensure it is securely plugged in. Then, connect the other end of the power cable to a power outlet or surge protector. Make sure the power outlet is easily accessible and within reach of the soundbar.
Once the power cable is connected, locate the power button on the soundbar, either on the device itself or on the remote control. Press the power button to turn on the soundbar and confirm that it is receiving power. Look for any indicator lights or display screens that show the soundbar is powered on.
It’s important to allow the soundbar to fully power up before moving on to the next step. This may include any initial setup processes or software updates that occur upon powering on the soundbar for the first time. Follow any on-screen instructions or prompts that appear during this process.
With the power cable securely connected and the soundbar powered on, you have successfully completed the step to connect the power cable. The soundbar is now ready for further configuration and setup.
Step 5: Connect the Soundbar to your TV
Now that your Soundbar 900 is positioned and powered on, it’s time to establish the audio connection between the soundbar and your TV. This step is crucial for ensuring that the audio from your TV is delivered through the soundbar, providing a high-quality audio experience for your entertainment.
Start by turning on your TV and accessing the settings menu. Locate the audio settings or sound output settings on your TV. Depending on your TV model, the location and naming of these settings may vary.
In the audio settings menu, look for the option to change the audio output or audio device. Select the option that allows you to set the audio output to an external device or speaker system.
From the available audio output options, choose the option that corresponds to the connection you made between the Soundbar 900 and your TV. This could be either HDMI ARC (or eARC) or optical audio, depending on the type of connection you established in the previous steps.
Once you’ve selected the appropriate audio output option, ensure that the audio is set to be output through the external device rather than the TV’s built-in speakers. Save the changes and exit the settings menu.
Now, test the audio output by playing a video or music on your TV. You should hear the sound coming from the Soundbar 900 instead of the TV’s speakers. If you’re not getting any audio or experiencing any issues, double-check the audio settings on your TV and ensure that the Soundbar 900 is properly connected.
In some cases, you may need to adjust the audio settings on your Soundbar 900 to optimize the sound output. Refer to the soundbar’s user manual for instructions on adjusting the bass, treble, surround sound settings, and any other audio enhancements that are available.
By successfully connecting the Soundbar 900 to your TV, you’ve now established the audio link between the two devices. This brings you one step closer to enjoying a truly immersive audio experience in your home.
Step 6: Set Up the Bose Music App
To enhance your control over the Soundbar 900 and make the most of its features, it’s recommended to set up the Bose Music App on your mobile device. The Bose Music App allows you to easily manage and customize your audio settings, access streaming services, and control multiple Bose devices in your home.
Start by downloading the Bose Music App from the App Store (for iOS) or Google Play Store (for Android). Once the app is installed, open it and follow the on-screen instructions to set up an account or log in to your existing Bose account.
Ensure that your mobile device is connected to the same Wi-Fi network as your Soundbar 900. This allows the app to communicate with the soundbar and provide seamless control.
Once you’ve logged in to the Bose Music App, follow the prompts to add your Soundbar 900 to your account. This typically involves selecting the device from a list of available Bose products and confirming the connection.
After successfully adding the soundbar, you can explore the various features and settings available in the Bose Music App. The app provides access to personalized presets, where you can save your preferred audio settings for different content types, such as movies, music, or gaming.
Additionally, the app allows you to access popular streaming services, such as Spotify, Apple Music, or Amazon Music. Link your accounts and enjoy your favorite music directly from the app, with the soundbar as your audio output.
Furthermore, you can explore advanced settings, such as adjusting the soundbar’s EQ (Equalizer), enabling virtual surround sound, or configuring the soundbar to work with other Bose devices in a multi-room audio setup.
Take your time to familiarize yourself with the options and customization features offered by the Bose Music App. Experiment with different settings to find the audio experience that suits your preferences and complements your entertainment needs.
By setting up the Bose Music App, you gain greater control and flexibility over your Soundbar 900, ensuring an immersive audio experience tailored to your preferences.
Step 7: Pair the Soundbar with the Bose Surround Speakers
Now that you have set up the Soundbar 900 and configured the Bose Music App, it’s time to pair the soundbar with your Bose Surround Speakers. Pairing the speakers with the soundbar allows them to wirelessly communicate and work together to create immersive surround sound.
Open the Bose Music App on your mobile device and ensure that it is connected to the same Wi-Fi network as your Soundbar 900 and Surround Speakers.
In the app, navigate to the settings or devices section, where you can manage the connected Bose devices. Look for an option to add or pair additional devices. Select the option to add the Bose Surround Speakers.
Follow the on-screen instructions to put the Surround Speakers in pairing mode. This typically involves pressing and holding a specific button or combination of buttons on the speakers until they enter pairing mode. Refer to the user manual of your specific Surround Speaker model for the exact instructions.
Once the Surround Speakers are in pairing mode, the app will search for available devices. It should recognize the Surround Speakers and prompt you to confirm the pairing.
Confirm the pairing in the app, and the Soundbar 900 will establish a wireless connection with the Surround Speakers. The app will provide confirmation when the pairing is successful.
Once the pairing is complete, you can further customize the settings for the Surround Speakers through the Bose Music App. Adjust the volume levels, delay, or other audio settings to achieve the desired surround sound experience.
Test the surround sound capabilities by playing a movie or content that features surround sound effects. You should hear audio coming from the Soundbar 900 as well as the Surround Speakers, creating a truly immersive audio experience.
If you encounter any issues with the pairing process or the audio output from the Surround Speakers, refer to the troubleshooting guide in the user manual or contact Bose customer support for assistance.
By successfully pairing the Soundbar 900 with the Bose Surround Speakers, you’ve now completed the setup process for a true surround sound system. Enjoy the enhanced audio experience and get ready to immerse yourself in your favorite movies, shows, or music.
Step 8: Adjust settings and customize your listening experience
Now that you have connected and paired your Soundbar 900 with the Bose Surround Speakers, it’s time to fine-tune the settings and customize your listening experience. By adjusting the settings according to your preferences, you can maximize the audio quality and tailor it to suit different types of content.
Open the Bose Music App on your mobile device and ensure it is connected to the Soundbar 900 and the paired Surround Speakers.
In the app, explore the various settings and customization options available for the soundbar and surround speakers. These may include adjusting the bass, treble, or equalizer settings to enhance specific frequency ranges based on your preference for music, movies, or gaming.
Furthermore, the app may offer additional settings to enable features such as dialogue enhancement, virtual surround sound, or night mode. Adjusting these settings can enhance the clarity of dialogue, create a more immersive soundstage, or optimize the audio output for late-night viewing without disturbing others.
Take the time to experiment with different settings and listen to various types of content to find your preferred audio configuration. Explore different genres of music, watch movies with different sound effects, or play games that utilize surround sound to assess the impact of your chosen settings.
Remember to periodically revisit the settings and make adjustments as needed to adapt to different types of content or personal audio preferences. The ability to customize the audio settings allows you to enjoy a truly personalized listening experience with your Soundbar 900 and Surround Speakers.
If you encounter any difficulties or have questions about specific settings or customization options, consult the user manual or reach out to Bose customer support for assistance. They can provide additional guidance based on your specific setup and preferences.
By adjusting the settings and customizing your listening experience, you will enhance the capabilities of your Soundbar 900 and Surround Speakers. Enjoy the immersive sound and dive into a world of rich and detailed audio in the comfort of your own home.
Conclusion
Congratulations! You have successfully connected and set up your Bose Surround Speakers with the Soundbar 900, creating a cinematic audio experience in your home. By following the step-by-step guide and making use of the Bose Music App, you have unlocked the full potential of your audio system.
The process began with checking the compatibility of your devices and ensuring they are from the same product line. Then, you unboxed the Surround Speakers, prepared the Soundbar 900, and connected the power cable. Next, you seamlessly connected the soundbar to your TV and set up the Bose Music App for enhanced control over your audio settings. You paired the Soundbar with the Surround Speakers, creating a truly immersive surround sound experience. Finally, you adjusted the settings and customized your listening experience to suit your preferences.
Now, sit back, relax, and enjoy the incredible sound quality that your Bose Soundbar 900 and Surround Speakers deliver. Watch movies with a captivating surround sound experience, listen to music with enhanced clarity and depth, and immerse yourself in the world of gaming like never before.
Remember that you have the flexibility to further adjust the settings and fine-tune your audio experience at any time. Take advantage of the features offered by the Bose Music App, such as personalized presets, streaming services, and advanced settings, to create an audio environment that perfectly suits your needs.
If you encounter any challenges along the way or have additional questions about your setup, Bose provides comprehensive customer support to assist you. Feel free to consult the user manuals, reach out to Bose customer support, or visit their online forums for troubleshooting and guidance.
Thank you for trusting us as your guide to connect your Bose Surround Speakers to the Soundbar 900. We hope you enjoy the exceptional audio experience that these devices provide and are able to create memorable moments with your friends and family.