Introduction
Uninstalling Google Chrome from your Redmi Note 4 can be a straightforward process, but it's essential to follow the correct steps to ensure a seamless removal. Whether you're looking to free up space on your device, switch to an alternative browser, or troubleshoot issues related to Google Chrome, this guide will walk you through the necessary steps.
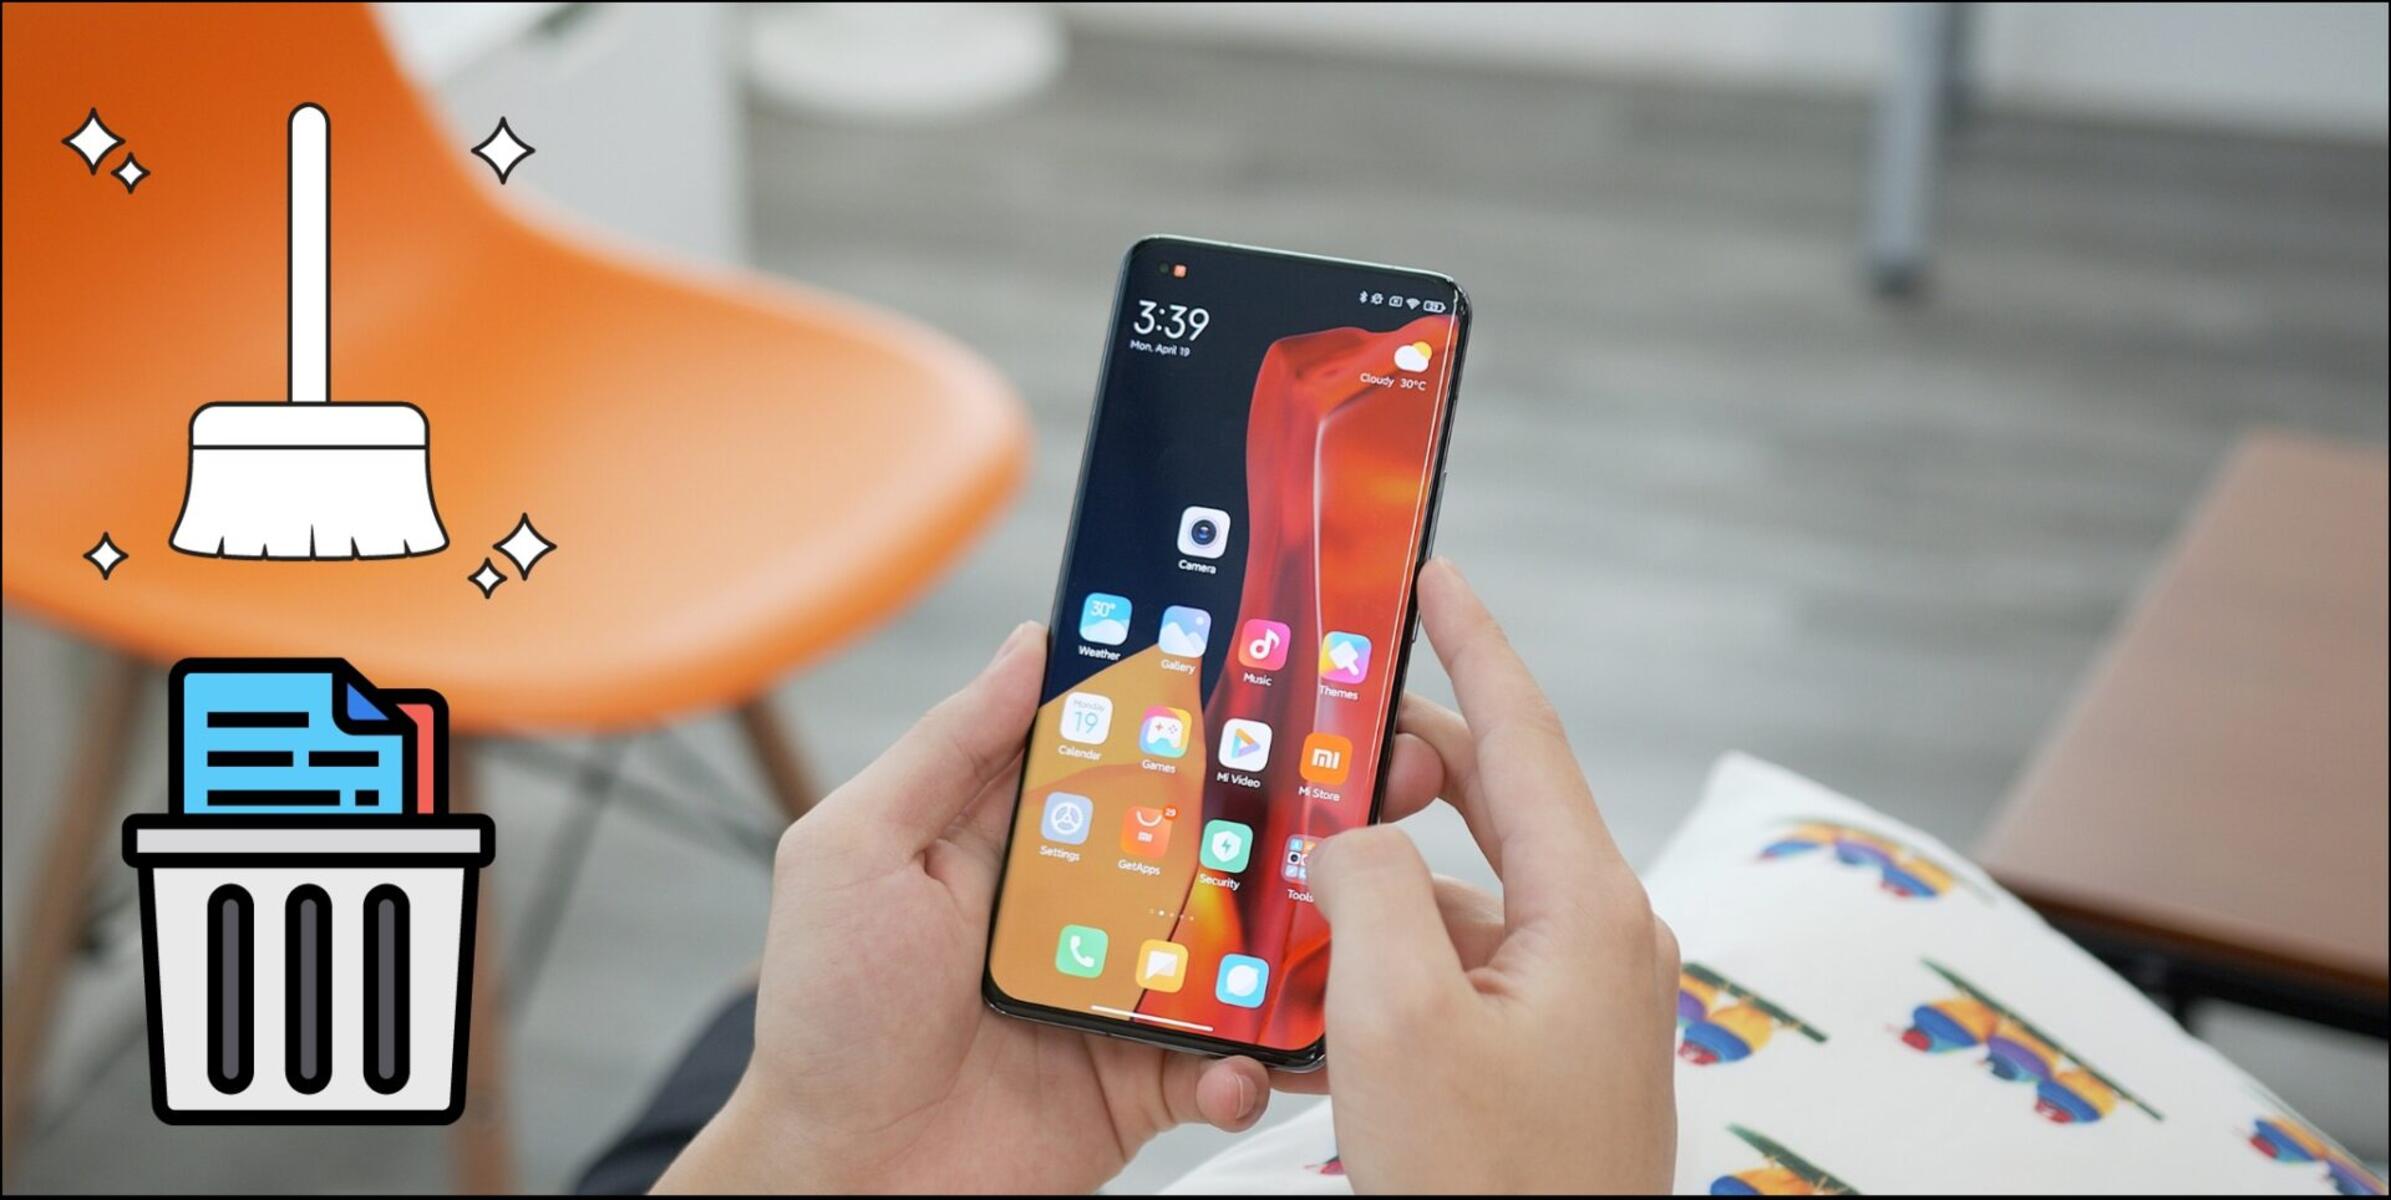
By uninstalling Google Chrome, you can create room for other apps and potentially improve the performance of your Redmi Note 4. Additionally, if you've encountered persistent issues with Chrome, such as slow loading times or frequent crashes, removing the app and reinstalling it can often resolve these issues.
In the following sections, we will delve into the precise steps required to uninstall Google Chrome from your Redmi Note 4. From accessing the Apps menu to locating Google Chrome and executing the uninstallation process, each step will be clearly outlined to ensure a smooth and efficient removal.
Let's proceed with the step-by-step guide to uninstalling Google Chrome from your Redmi Note 4.
Step 1: Accessing the Apps Menu
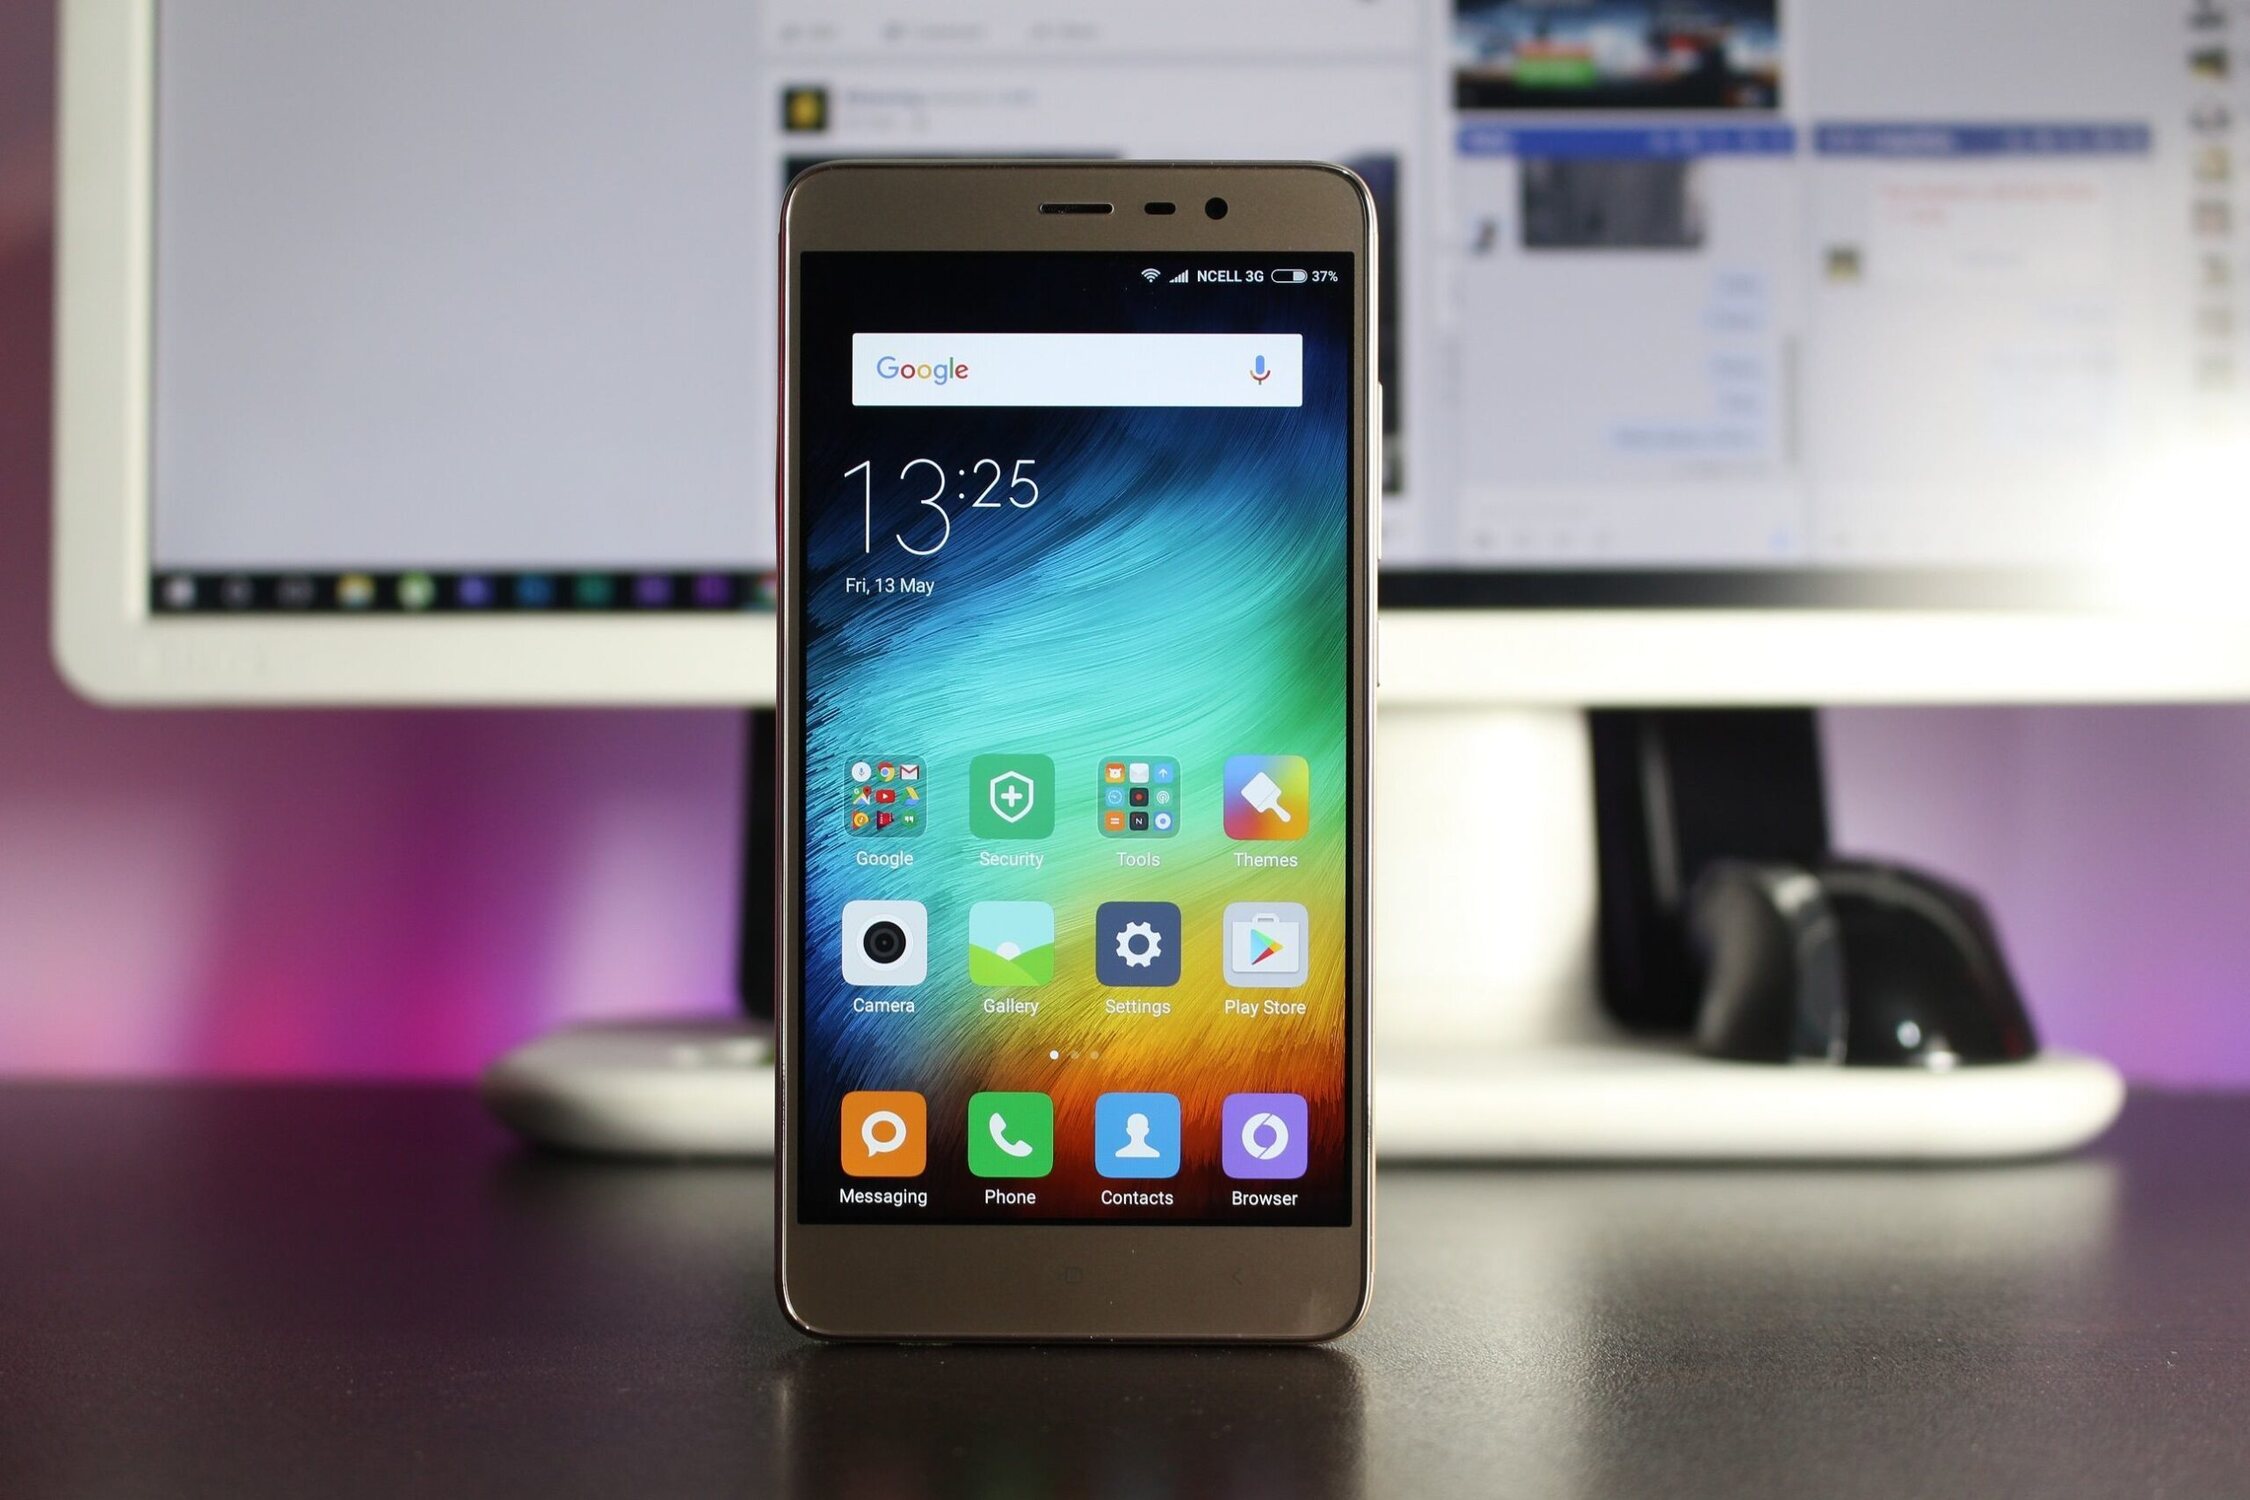
Accessing the Apps menu on your Redmi Note 4 is the initial step towards uninstalling Google Chrome. The Apps menu is where all the installed applications on your device are listed, allowing you to manage and organize them efficiently. Here's how you can access the Apps menu:
-
Navigate to the Home Screen: Upon unlocking your Redmi Note 4, you will find yourself on the Home Screen. This is the primary interface where you can access various functions and applications on your device.
-
Locate the Apps Icon: Look for the Apps icon on the Home Screen. It is typically represented by a grid of dots or squares and is often located at the bottom of the screen. Tapping on this icon will lead you to the Apps menu.
-
Access the Apps Menu: Once you've located the Apps icon, tap on it to access the Apps menu. This action will open a new window displaying all the installed applications on your Redmi Note 4.
-
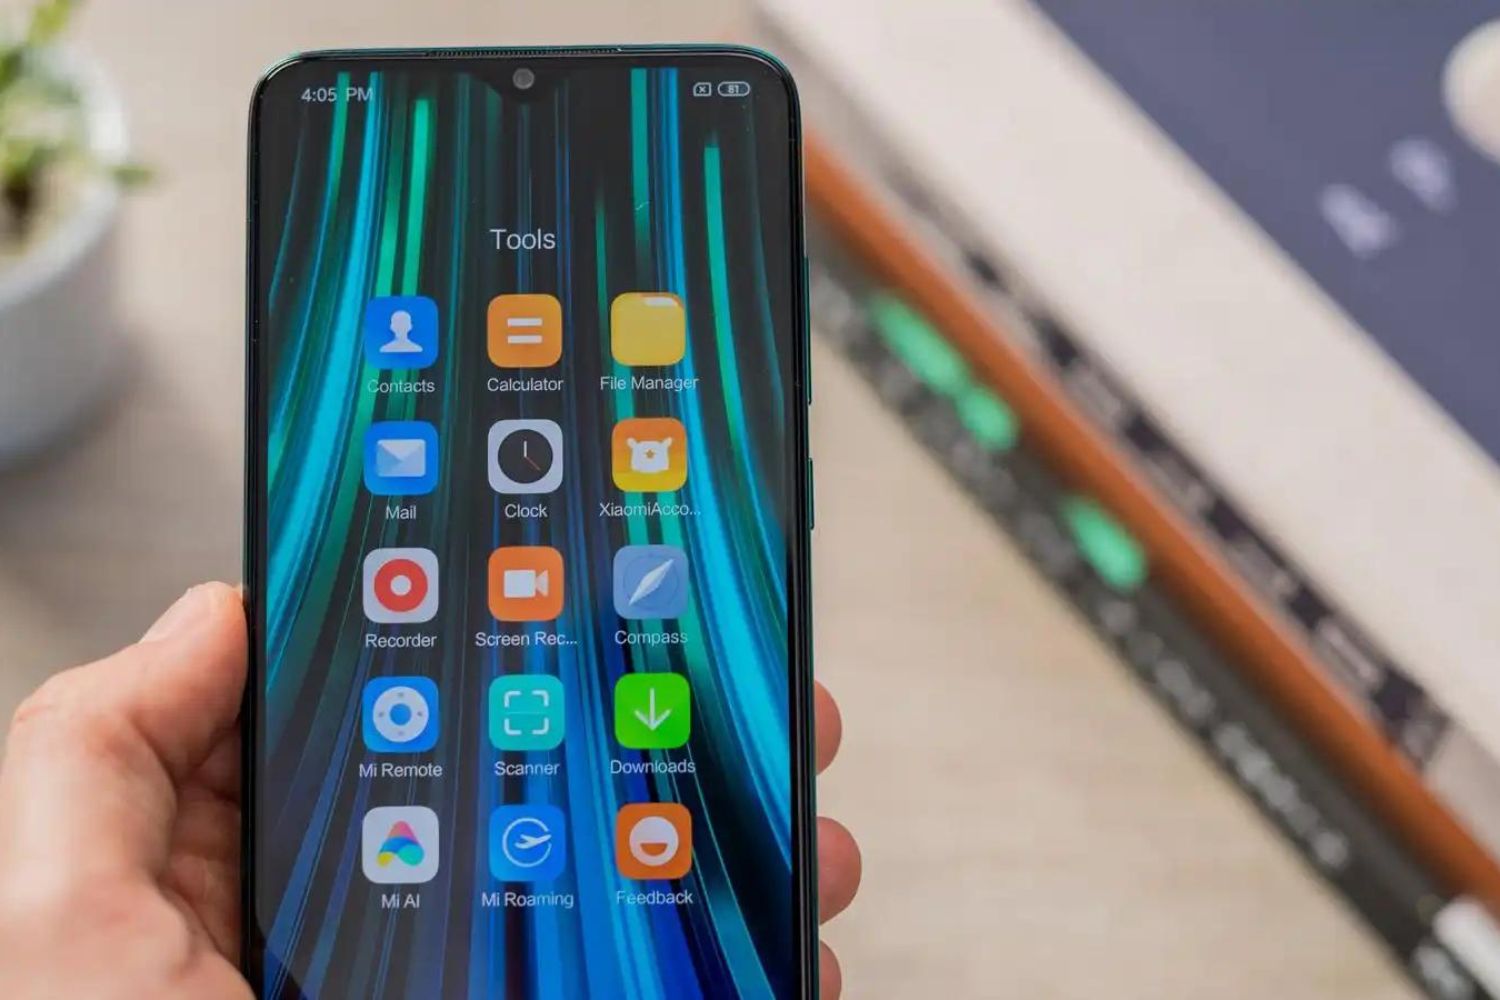
Search for Google Chrome: In the Apps menu, you can scroll through the list of applications or use the search function to locate Google Chrome. The search function is usually denoted by a magnifying glass icon and allows you to quickly find specific apps by entering their names.
Accessing the Apps menu is a fundamental step that sets the stage for the subsequent actions required to uninstall Google Chrome from your Redmi Note 4. By following these steps, you will be well-prepared to proceed with the uninstallation process seamlessly.
Next, we will delve into the process of finding Google Chrome within the Apps menu, which is the next crucial step in uninstalling the application from your device.
Step 2: Finding Google Chrome
After accessing the Apps menu on your Redmi Note 4, the next step is to locate Google Chrome within the list of installed applications. This process enables you to pinpoint the app and prepare for its uninstallation. Here's a detailed walkthrough of how to find Google Chrome within the Apps menu:
-
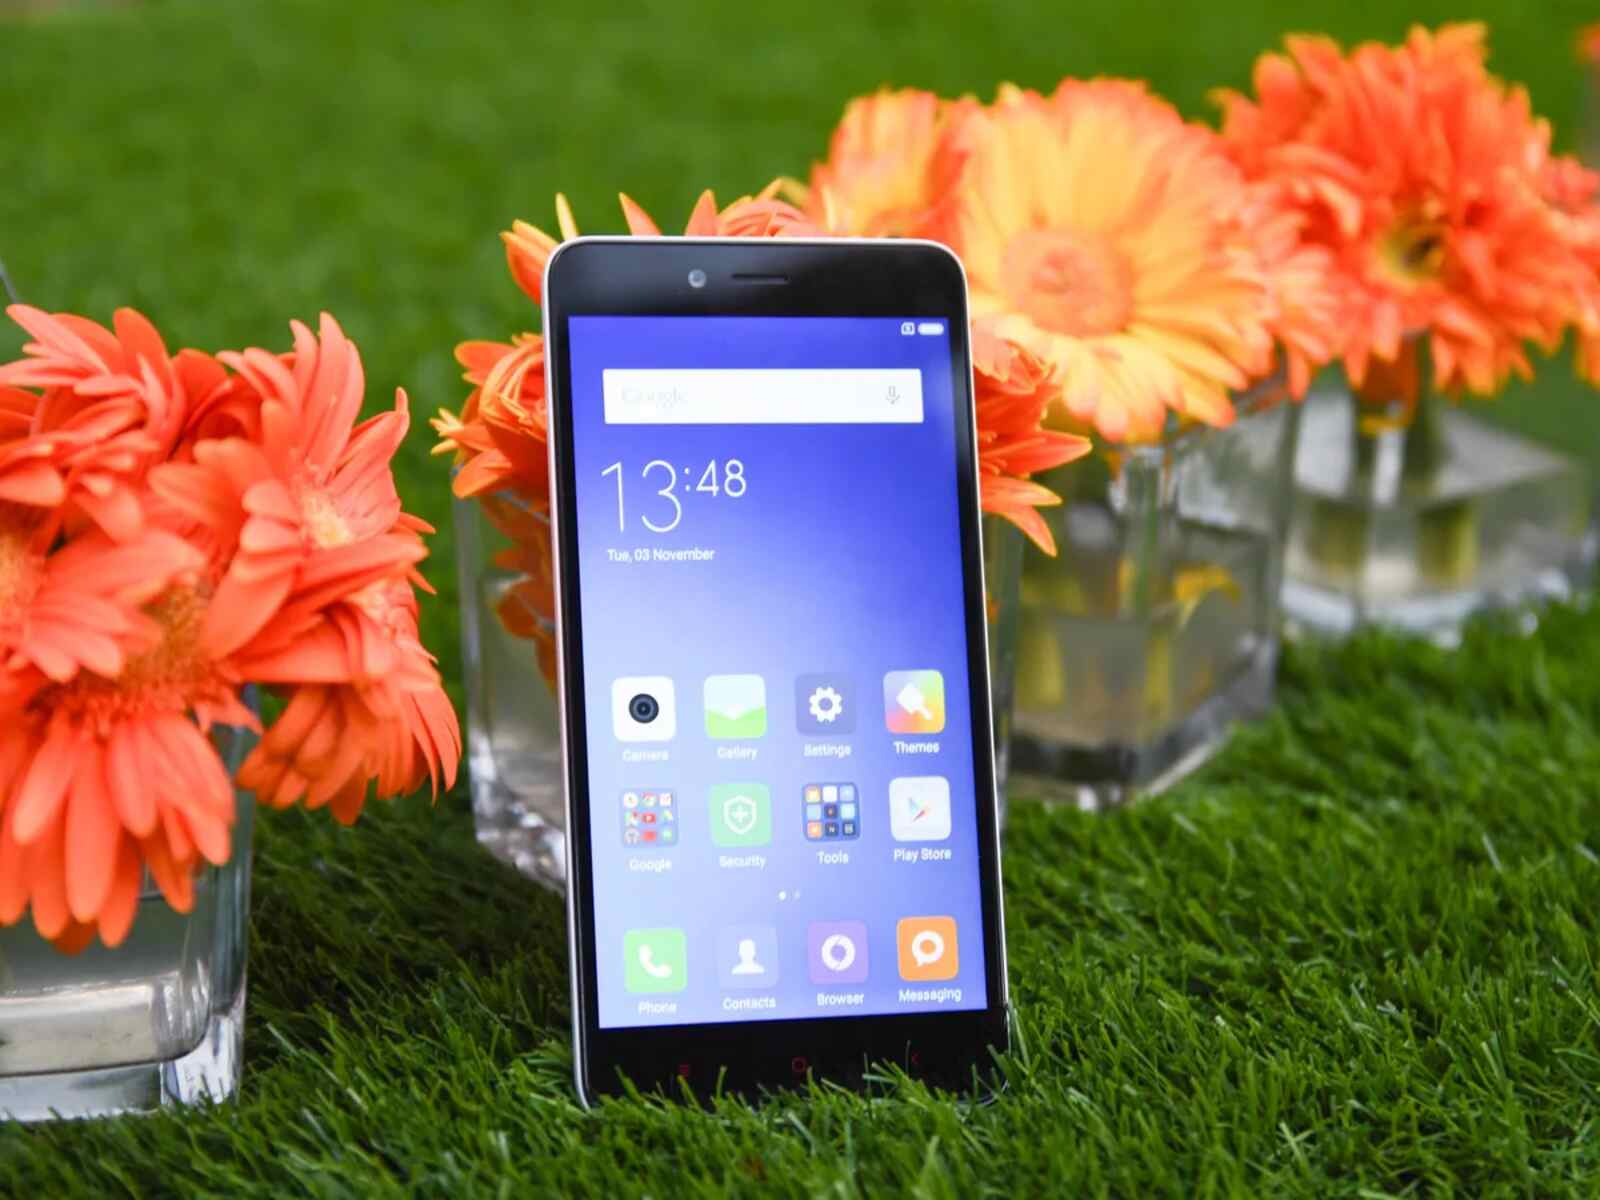
Scroll Through the List: Upon entering the Apps menu, you will be presented with a comprehensive list of installed applications on your Redmi Note 4. Begin by scrolling through this list to visually identify Google Chrome. The apps are typically arranged alphabetically, so you may find Google Chrome under the letter "G."
-
Utilize the Search Function: If scrolling through the list seems cumbersome, you can utilize the search function within the Apps menu. Look for the magnifying glass icon, usually located at the top or bottom of the screen, and tap on it to activate the search bar. Enter "Google Chrome" in the search bar and allow the system to display the relevant results.
-
Identify the Google Chrome Icon: As the search results populate, look for the distinctive Google Chrome icon among the displayed applications. The icon typically features a circular design with vibrant colors, representing the familiar branding of the Chrome browser. Once you've located the icon, you're ready to proceed to the next step.
-
Verify the App Details: Before initiating the uninstallation process, it's advisable to verify that the application you've identified is indeed Google Chrome. You can do this by tapping on the app icon to view its details, including the app name, publisher, and version. This verification step ensures that you're targeting the correct app for uninstallation.
By following these steps, you can effectively find Google Chrome within the Apps menu of your Redmi Note 4. This sets the stage for the subsequent step, which involves initiating the uninstallation process to remove Google Chrome from your device. With the app successfully located, you're now prepared to proceed with the uninstallation process, which will be covered in the next section.
Step 3: Uninstalling Google Chrome
Now that you've successfully located Google Chrome within the Apps menu of your Redmi Note 4, you're ready to proceed with the uninstallation process. Removing Google Chrome from your device involves a few simple steps, ensuring a smooth and efficient removal. Here's a detailed guide on how to uninstall Google Chrome from your Redmi Note 4:
-
Initiating the Uninstallation Process: To begin the uninstallation process, press and hold the Google Chrome icon within the Apps menu. This action will activate a series of options at the top or bottom of the screen, including the option to uninstall the app. Look for the "Uninstall" or "Remove" option and tap on it to initiate the uninstallation process.
-
Confirming the Uninstallation: After tapping the "Uninstall" or "Remove" option, a confirmation prompt will appear, requesting your confirmation to proceed with the uninstallation. This prompt serves as a safeguard against accidental removal of essential apps. To confirm the uninstallation of Google Chrome, tap "OK" or "Confirm" within the prompt.
-
Completing the Uninstallation: Once you've confirmed the uninstallation, the system will proceed to remove Google Chrome from your Redmi Note 4. This process may take a few moments, depending on the size of the app and the speed of your device. Once the uninstallation is complete, you will receive a notification confirming the successful removal of Google Chrome.
-
Verifying the Uninstallation: After the uninstallation process is complete, it's advisable to verify that Google Chrome has been successfully removed from your device. Return to the Home Screen or the Apps menu and ensure that the Google Chrome icon is no longer present. Additionally, you can access the list of installed apps to confirm the absence of Google Chrome from the application list.
By following these steps, you can effectively uninstall Google Chrome from your Redmi Note 4, freeing up valuable space and potentially addressing any issues associated with the app. Whether you're looking to switch to an alternative browser or troubleshoot Chrome-related issues, the uninstallation process outlined above provides a clear and concise method for removing Google Chrome from your device.
With Google Chrome successfully uninstalled from your Redmi Note 4, you now have the flexibility to explore other browsing options or address any performance concerns related to the app. This process empowers you to manage your device's applications efficiently, ensuring a tailored and optimized user experience.
Conclusion
In conclusion, the process of uninstalling Google Chrome from your Redmi Note 4 involves a series of straightforward yet crucial steps. By following the detailed guide provided in this article, you can effectively navigate through the Apps menu, locate Google Chrome, and execute the uninstallation process with confidence.
Uninstalling Google Chrome from your Redmi Note 4 not only frees up valuable storage space but also presents an opportunity to explore alternative browsing options or troubleshoot any persistent issues related to the app. Whether you're seeking to optimize your device's performance, streamline your app usage, or address specific concerns associated with Google Chrome, the uninstallation process offers a practical solution.
Furthermore, the ability to efficiently manage your device's applications contributes to a personalized and tailored user experience. By removing apps that are no longer essential or functional, you can optimize your device's performance and create a clutter-free environment that aligns with your preferences and usage patterns.
As technology continues to evolve, the seamless management of applications on mobile devices remains a fundamental aspect of user experience. The process of uninstalling Google Chrome from your Redmi Note 4 exemplifies the user-centric approach to app management, empowering individuals to make informed decisions about their digital interactions and device functionality.
In essence, the uninstallation process outlined in this guide serves as a gateway to a more streamlined and optimized user experience on your Redmi Note 4. Whether you're driven by the need to free up space, troubleshoot app-related issues, or explore alternative browsing options, the ability to uninstall Google Chrome with ease underscores the user's autonomy and control over their device's functionality.
By leveraging the insights and steps provided in this guide, you can confidently navigate the uninstallation process, ensuring a seamless removal of Google Chrome from your Redmi Note 4. This proactive approach to app management empowers you to curate a personalized digital environment that aligns with your preferences and enhances your overall mobile experience.