Introduction
Removing the SIM card from an iPhone 6 may seem like a daunting task, especially for those who are new to the world of mobile devices. However, with the right guidance and a steady hand, this process can be accomplished smoothly and safely. Whether you're looking to switch to a new phone, troubleshoot connectivity issues, or simply inspect the SIM card, understanding the proper method for removing it from your iPhone 6 is essential.
In this tutorial, we will walk you through the step-by-step process of safely removing the SIM card from your iPhone 6. By following these instructions, you can ensure that the delicate components of your device remain unharmed, and the SIM card can be safely extracted for any necessary maintenance or replacement.
Taking the time to familiarize yourself with this procedure can save you from potential mishaps and ensure that you handle your iPhone 6 with care. So, let's dive into the details and learn how to safely remove the SIM card from your iPhone 6.
Step 1: Gather necessary tools
Before embarking on the process of removing the SIM card from your iPhone 6, it's important to gather the necessary tools to ensure a smooth and hassle-free experience. Here's a list of essential items you'll need:
-
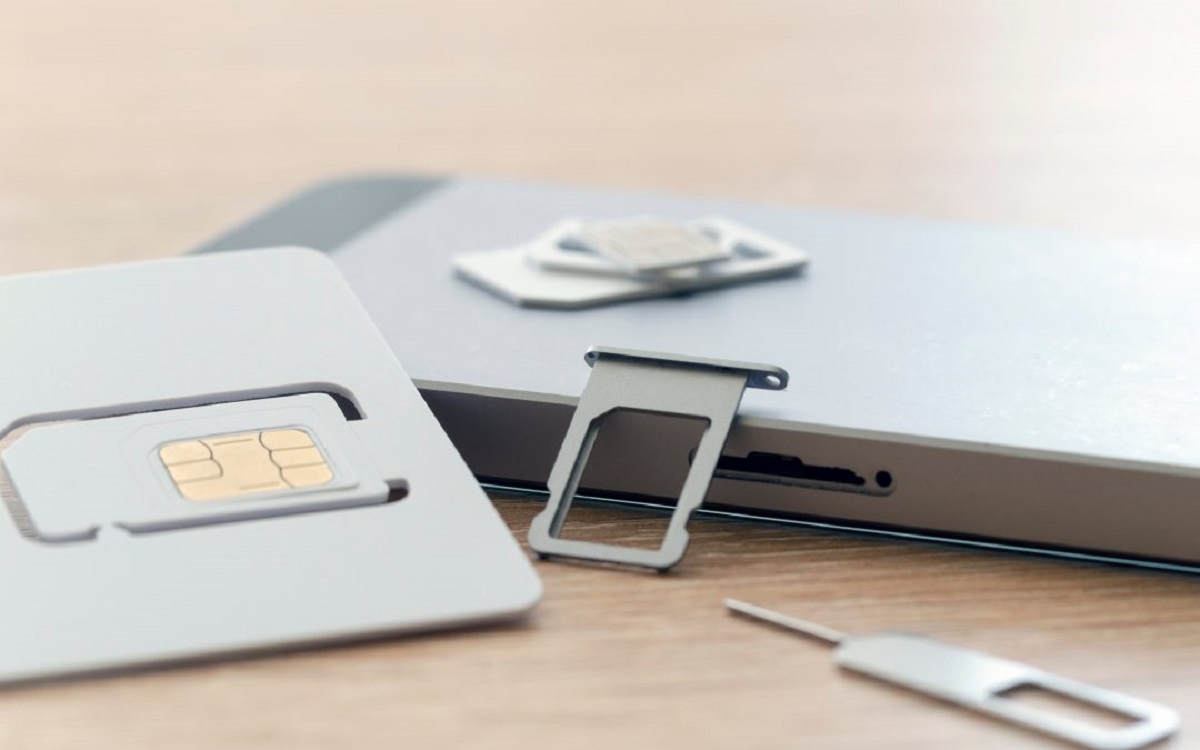
SIM Card Removal Tool: This small, metal tool is specifically designed for ejecting the SIM card tray from your iPhone 6. It typically comes with the original packaging of your device. If you've misplaced it, fret not! A paperclip can serve as a makeshift alternative.
-
Clean, Lint-Free Cloth: Having a lint-free cloth on hand is crucial for wiping the SIM card and the internal components of the device. This ensures that the SIM card and its slot remain free of dust and debris, which can affect connectivity and functionality.
-
Stable Work Surface: Find a flat and stable surface to work on, preferably a table or desk, to prevent any accidental drops or damage to the device during the SIM card removal process.
-
Good Lighting: Adequate lighting is essential for clearly viewing the SIM card tray and ensuring that the removal process is carried out accurately. If necessary, position yourself near a well-lit area or use a flashlight to illuminate the device.
By gathering these essential tools, you'll be well-prepared to carry out the subsequent steps with confidence and precision. Ensuring that you have these items at your disposal will contribute to a seamless and successful SIM card removal process, allowing you to maintain the integrity of your iPhone 6 while attending to the task at hand.
Step 2: Turn off the iPhone 6
Before delving into the intricacies of removing the SIM card from your iPhone 6, it's crucial to power off the device to prevent any potential damage and ensure a safe and smooth removal process. Turning off the iPhone 6 not only minimizes the risk of disrupting its internal components but also allows for a clear and unobstructed view of the SIM card tray, facilitating a more precise extraction.
To power off your iPhone 6, follow these simple steps:
-
Locate the Power Button: The power button, also known as the sleep/wake button, is situated on the right-hand side of the device. It is identifiable by its small, circular shape and is typically positioned slightly above the midpoint of the side panel.
-
Press and Hold the Power Button: Firmly press and hold the power button until the "slide to power off" prompt appears on the screen. This prompt signifies that the device is ready to be powered down.
-
Slide to Power Off: With the "slide to power off" message displayed on the screen, use your fingertip to drag the slider from left to right. This action initiates the shutdown process, and the screen will gradually dim as the iPhone 6 powers down.
-
Wait for Complete Power Off: Allow the device a few moments to fully power off. You can verify that the iPhone 6 is turned off by ensuring that the screen is completely dark and unresponsive to touch.
By following these straightforward steps, you can effectively power down your iPhone 6 in preparation for the SIM card removal process. This simple yet essential precautionary measure minimizes the risk of accidental damage to the device and sets the stage for a successful SIM card extraction.
Taking the time to power off your iPhone 6 demonstrates a conscientious approach to handling your device and ensures that the subsequent steps of the SIM card removal process can be carried out with precision and care. With the iPhone 6 safely powered down, you're now ready to proceed to the next step of this tutorial.
Step 3: Locate the SIM card tray
After powering down your iPhone 6, the next crucial step in the process of removing the SIM card is to locate the SIM card tray. This tray houses the SIM card and is designed to be easily accessible for removal and insertion. To locate the SIM card tray on your iPhone 6, follow these steps:
-
Identify the SIM Card Tray Slot: The SIM card tray slot is typically located on the right-hand side of the device. It is positioned along the same side as the power button and is distinguishable by a small, recessed opening.
-
Use Good Lighting: Adequate lighting is essential for clearly identifying the SIM card tray and ensuring that the removal process is carried out accurately. If necessary, position yourself near a well-lit area or use a flashlight to illuminate the side of the device.
-
Inspect the Device Closely: Carefully examine the right-hand side of your iPhone 6, paying close attention to the area around the SIM card tray slot. The tray is designed to sit flush with the device's frame, so it may not protrude significantly.
-
Look for the Tray Ejection Hole: Adjacent to the SIM card tray slot, there is a small pinhole. This pinhole is the access point for the SIM card removal tool or makeshift alternative, such as a paperclip. It allows for the insertion of the tool to eject the SIM card tray.
-
Position the Device Properly: Hold your iPhone 6 securely and position it in such a way that the right-hand side is easily accessible. This ensures that you have a clear view of the SIM card tray slot and the adjacent pinhole for the tool insertion.
By carefully following these steps, you can successfully locate the SIM card tray on your iPhone 6. The tray's positioning on the right-hand side, along with the presence of the pinhole for the removal tool, allows for a straightforward and efficient process when it comes to removing the SIM card. With the tray located, you are now prepared to proceed to the subsequent steps of the SIM card removal tutorial.
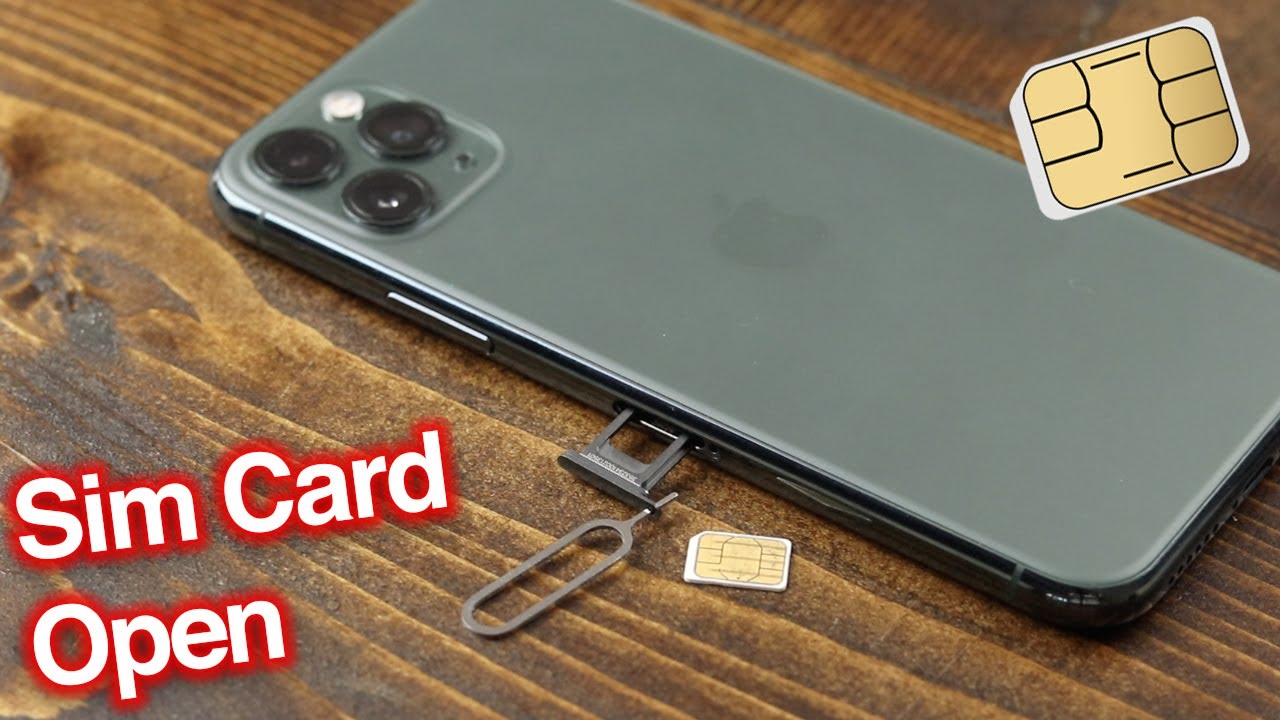
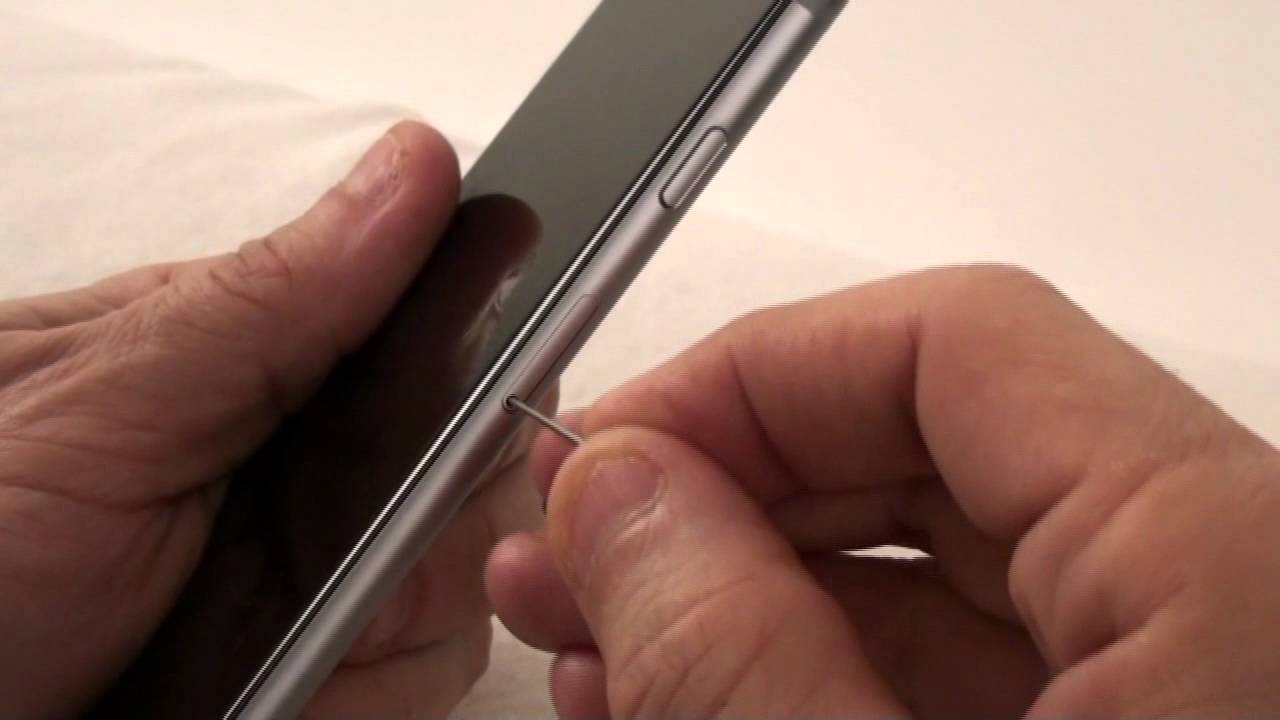
Step 4: Use the SIM card removal tool
With the SIM card tray located, the next step in the process of removing the SIM card from your iPhone 6 involves the use of the SIM card removal tool. This small, metal tool, specifically designed for ejecting the SIM card tray, plays a pivotal role in facilitating the safe and efficient extraction of the SIM card. If the original tool is unavailable, a paperclip can be used as a substitute.
To use the SIM card removal tool, follow these steps:
-
Prepare the Removal Tool: If you're using the original SIM card removal tool, ensure that it is readily accessible. If a paperclip is being used, gently straighten it to create a small, protruding end that can be inserted into the pinhole adjacent to the SIM card tray.
-
Insert the Tool: With the prepared tool in hand, carefully insert the pointed end into the pinhole next to the SIM card tray slot. Apply gentle pressure until you feel a slight resistance, indicating that the tool has engaged with the internal mechanism of the SIM card tray.
-
Apply Even Pressure: Once the tool is inserted, exert even pressure to initiate the ejection process. This action causes the SIM card tray to protrude slightly from the device, allowing for easy removal without the risk of damage to the tray or the internal components of the iPhone 6.
-
Remove the SIM Card Tray: With the SIM card tray partially ejected, carefully grasp it and pull it out from the device. Ensure a steady hand to prevent any accidental drops or mishandling during the removal process.
By following these steps, you can effectively use the SIM card removal tool to eject the SIM card tray from your iPhone 6. This method ensures a controlled and safe extraction of the tray, allowing for the subsequent removal of the SIM card without causing any damage to the delicate internal components of the device.
With the SIM card tray successfully ejected, you are now prepared to proceed to the next step of removing the SIM card from your iPhone 6. This pivotal stage sets the foundation for a seamless and careful extraction process, ensuring that the SIM card can be safely removed and inspected or replaced as needed.
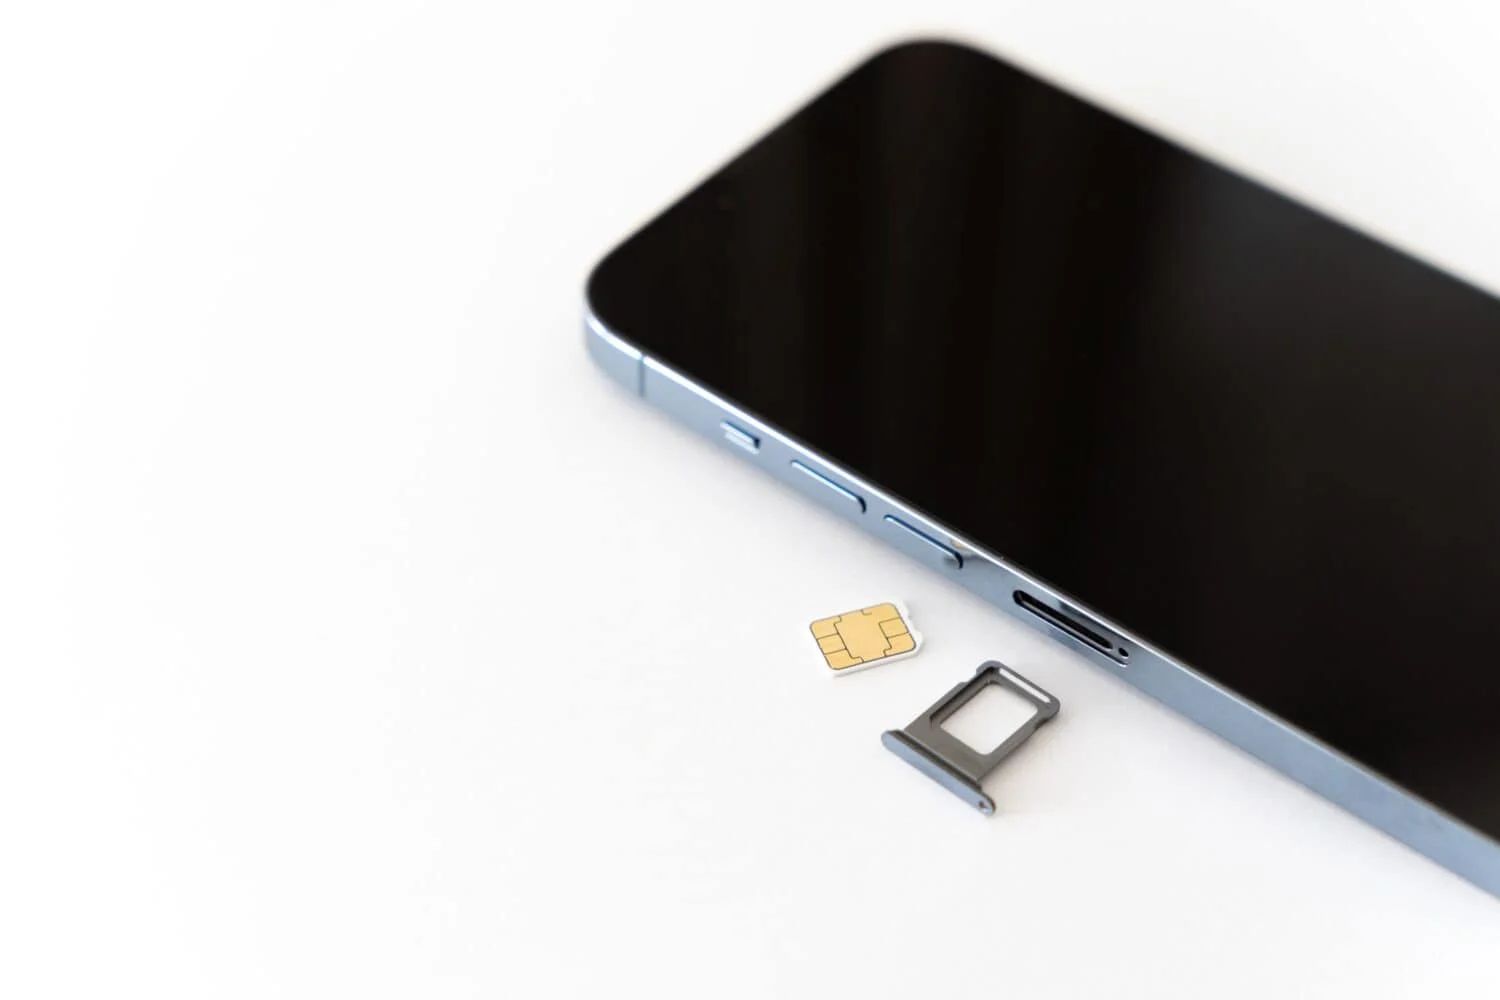
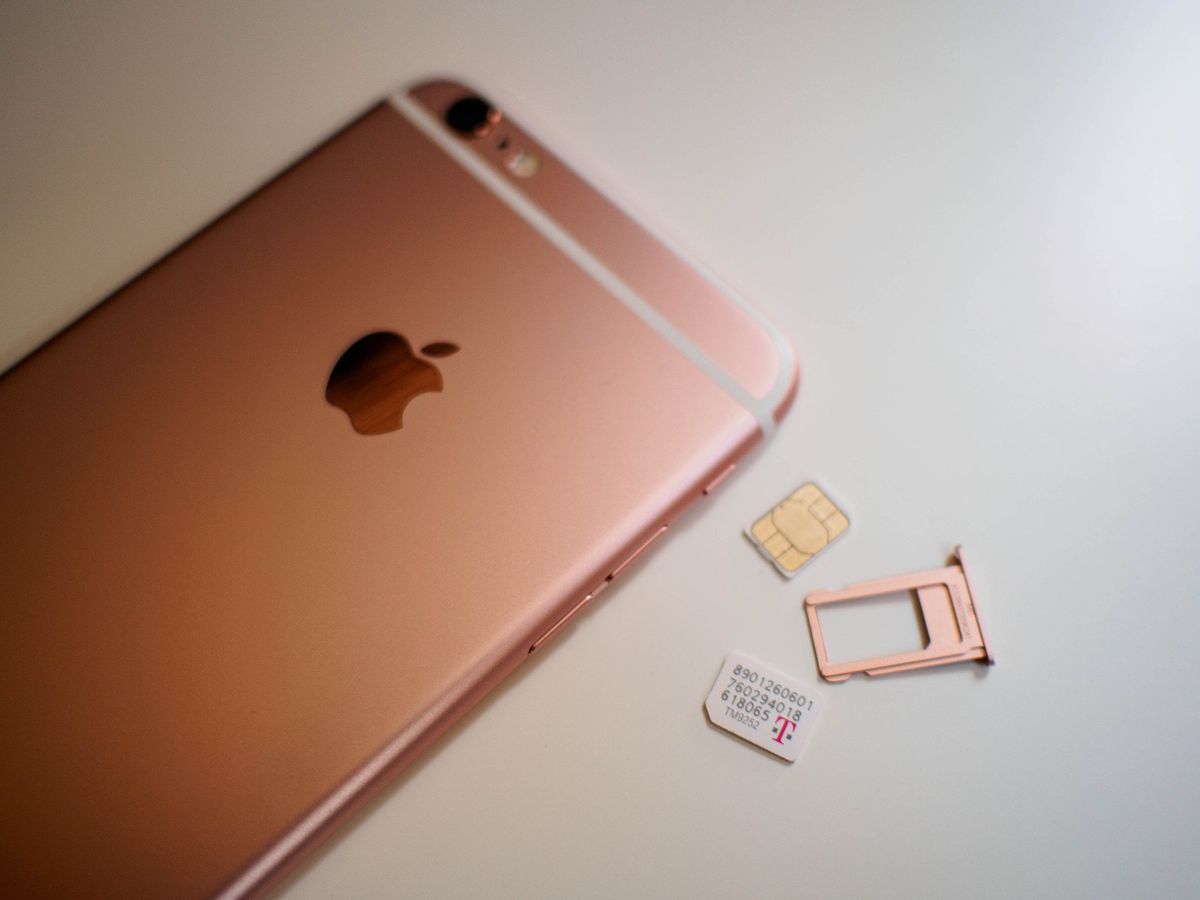
Step 5: Remove the SIM card
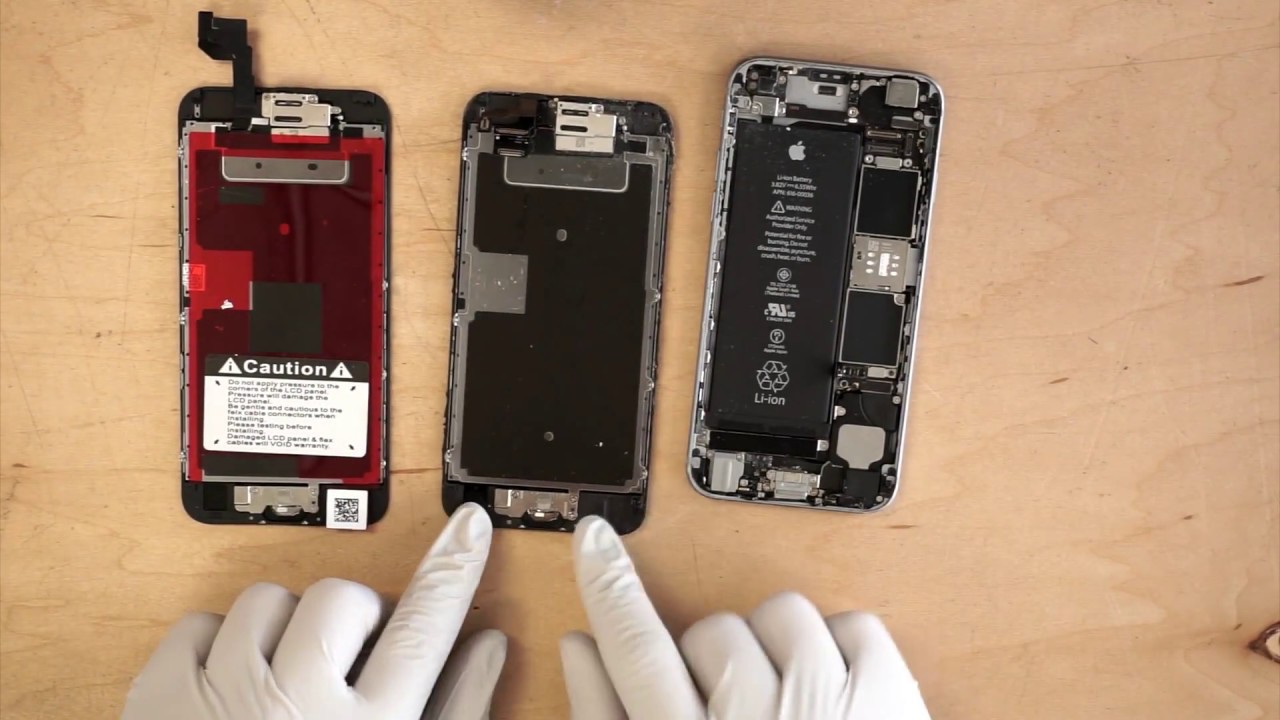
With the SIM card tray successfully ejected from your iPhone 6, the next critical step is to delicately remove the SIM card from the tray. This process requires a steady hand and careful attention to ensure that the SIM card is extracted without any damage.
To remove the SIM card from the tray, follow these precise steps:
-
Inspect the SIM Card: Before proceeding with the removal, take a moment to inspect the SIM card. Note its positioning within the tray and any identifying features, such as the chip orientation and contact points. This visual inspection ensures that you can handle the SIM card with care and avoid any mishandling during the extraction process.
-
Gently Remove the SIM Card: Using your fingertips, delicately grasp the SIM card positioned within the tray. Apply gentle pressure to slide the SIM card out of its slot. Exercise caution to avoid bending or damaging the card during this process. Ensure that your movements are controlled and deliberate to prevent any accidental slippage or mishandling.
-
Inspect the SIM Card: Upon removing the SIM card from the tray, take a moment to inspect it closely. Check for any signs of damage, such as scratches or bends, and ensure that the chip and contact points remain intact. Additionally, examine the tray to ensure that no debris or foreign particles have adhered to it, which could impact the functionality of the SIM card when reinserted.
-
Clean the SIM Card: If necessary, use a clean, lint-free cloth to gently wipe the SIM card, removing any dust or particles that may have accumulated. This ensures that the card remains free of debris and maintains optimal contact with the device's internal components.
By meticulously following these steps, you can safely remove the SIM card from the tray, ensuring that it remains unharmed and ready for inspection or replacement. This careful approach minimizes the risk of damaging the SIM card or its tray, allowing you to handle these components with the utmost precision and care.
With the SIM card successfully removed, you are now prepared to proceed to the subsequent steps of this tutorial, ensuring that the iPhone 6's SIM card removal process is carried out with precision and attention to detail.
Step 6: Reinsert the SIM card tray
After successfully removing the SIM card from your iPhone 6, the final step in this meticulous process is to reinsert the SIM card tray back into the device. This step is crucial to ensure that the SIM card and its tray are securely and accurately positioned within the iPhone 6, allowing for seamless connectivity and functionality. To complete this essential task, follow these precise steps:
-
Prepare the SIM Card Tray: Before reinserting the SIM card tray, take a moment to inspect it for any signs of damage or debris. Ensure that the tray is clean and free of any particles that may hinder the proper seating of the SIM card.
-
Position the SIM Card: With the SIM card in hand, carefully align it with the designated slot within the SIM card tray. Take note of the orientation of the SIM card, ensuring that the chip and contact points align with the corresponding areas within the tray. This precise alignment is crucial for the optimal functioning of the SIM card within the device.
-
Place the SIM Card Tray: Holding the iPhone 6 securely, position the SIM card tray in alignment with the slot from which it was previously ejected. Ensure that the tray sits flush with the device's frame, and gently guide it back into place, exerting even pressure to ensure a secure fit.
-
Verify the Seating: Once the SIM card tray is reinserted, take a moment to verify that it sits securely within the device. Ensure that it does not protrude or sit unevenly, as this may indicate that the tray is not fully seated. A proper fit ensures that the SIM card remains stable and maintains optimal contact with the device's internal components.
-
Power On the iPhone 6: With the SIM card tray securely reinserted, power on your iPhone 6 by pressing and holding the power button until the Apple logo appears on the screen. This action initiates the device's startup process, allowing you to verify that the SIM card is recognized and that connectivity is restored.
By meticulously following these steps, you can seamlessly reinsert the SIM card tray into your iPhone 6, ensuring that the SIM card is securely positioned for optimal functionality. This careful approach minimizes the risk of any connectivity issues or disruptions, allowing you to confidently resume using your device with the reassurance that the SIM card is correctly seated and ready for use.
With the SIM card tray successfully reinserted, you have completed the comprehensive process of removing and reinserting the SIM card from your iPhone 6. This meticulous approach ensures that the delicate components of your device are handled with care and precision, allowing for uninterrupted connectivity and seamless operation.
Conclusion
In conclusion, successfully removing the SIM card from your iPhone 6 is a task that requires attention to detail, precision, and care. By following the step-by-step tutorial outlined in this guide, you have gained valuable insights into the safe and efficient removal of the SIM card, ensuring that your iPhone 6's delicate components are handled with the utmost consideration.
Throughout this tutorial, you have learned the importance of gathering the necessary tools, including the SIM card removal tool, a clean, lint-free cloth, a stable work surface, and good lighting. These tools are essential for creating an optimal environment for the SIM card removal process, allowing you to navigate the task with confidence and precision.
Furthermore, the meticulous approach to powering off the iPhone 6, locating the SIM card tray, using the SIM card removal tool, delicately removing the SIM card, and reinserting the SIM card tray has equipped you with the knowledge and skills to handle this process with care and precision.
By adhering to the detailed instructions provided, you have minimized the risk of accidental damage to the SIM card, its tray, and the internal components of the iPhone 6. This conscientious approach ensures that the SIM card removal process is carried out seamlessly, allowing for the safe inspection or replacement of the SIM card as needed.
With the SIM card safely removed and reinserted into your iPhone 6, you can now enjoy the reassurance of seamless connectivity and optimal functionality. The attention to detail and precision demonstrated throughout this tutorial exemplify your commitment to maintaining the integrity of your device while attending to essential maintenance tasks.
By integrating these newfound skills into your mobile device management repertoire, you are well-equipped to handle similar tasks with confidence and precision in the future. The knowledge gained from this tutorial empowers you to approach SIM card removal and related maintenance procedures with a conscientious and meticulous mindset, ensuring the continued optimal performance of your iPhone 6.
In essence, this tutorial has not only provided a comprehensive guide to safely removing the SIM card from your iPhone 6 but has also instilled in you a sense of confidence in managing essential device maintenance with precision and care. With these newfound skills, you are well-prepared to navigate similar tasks with confidence and proficiency, ensuring the ongoing care and maintenance of your mobile device.