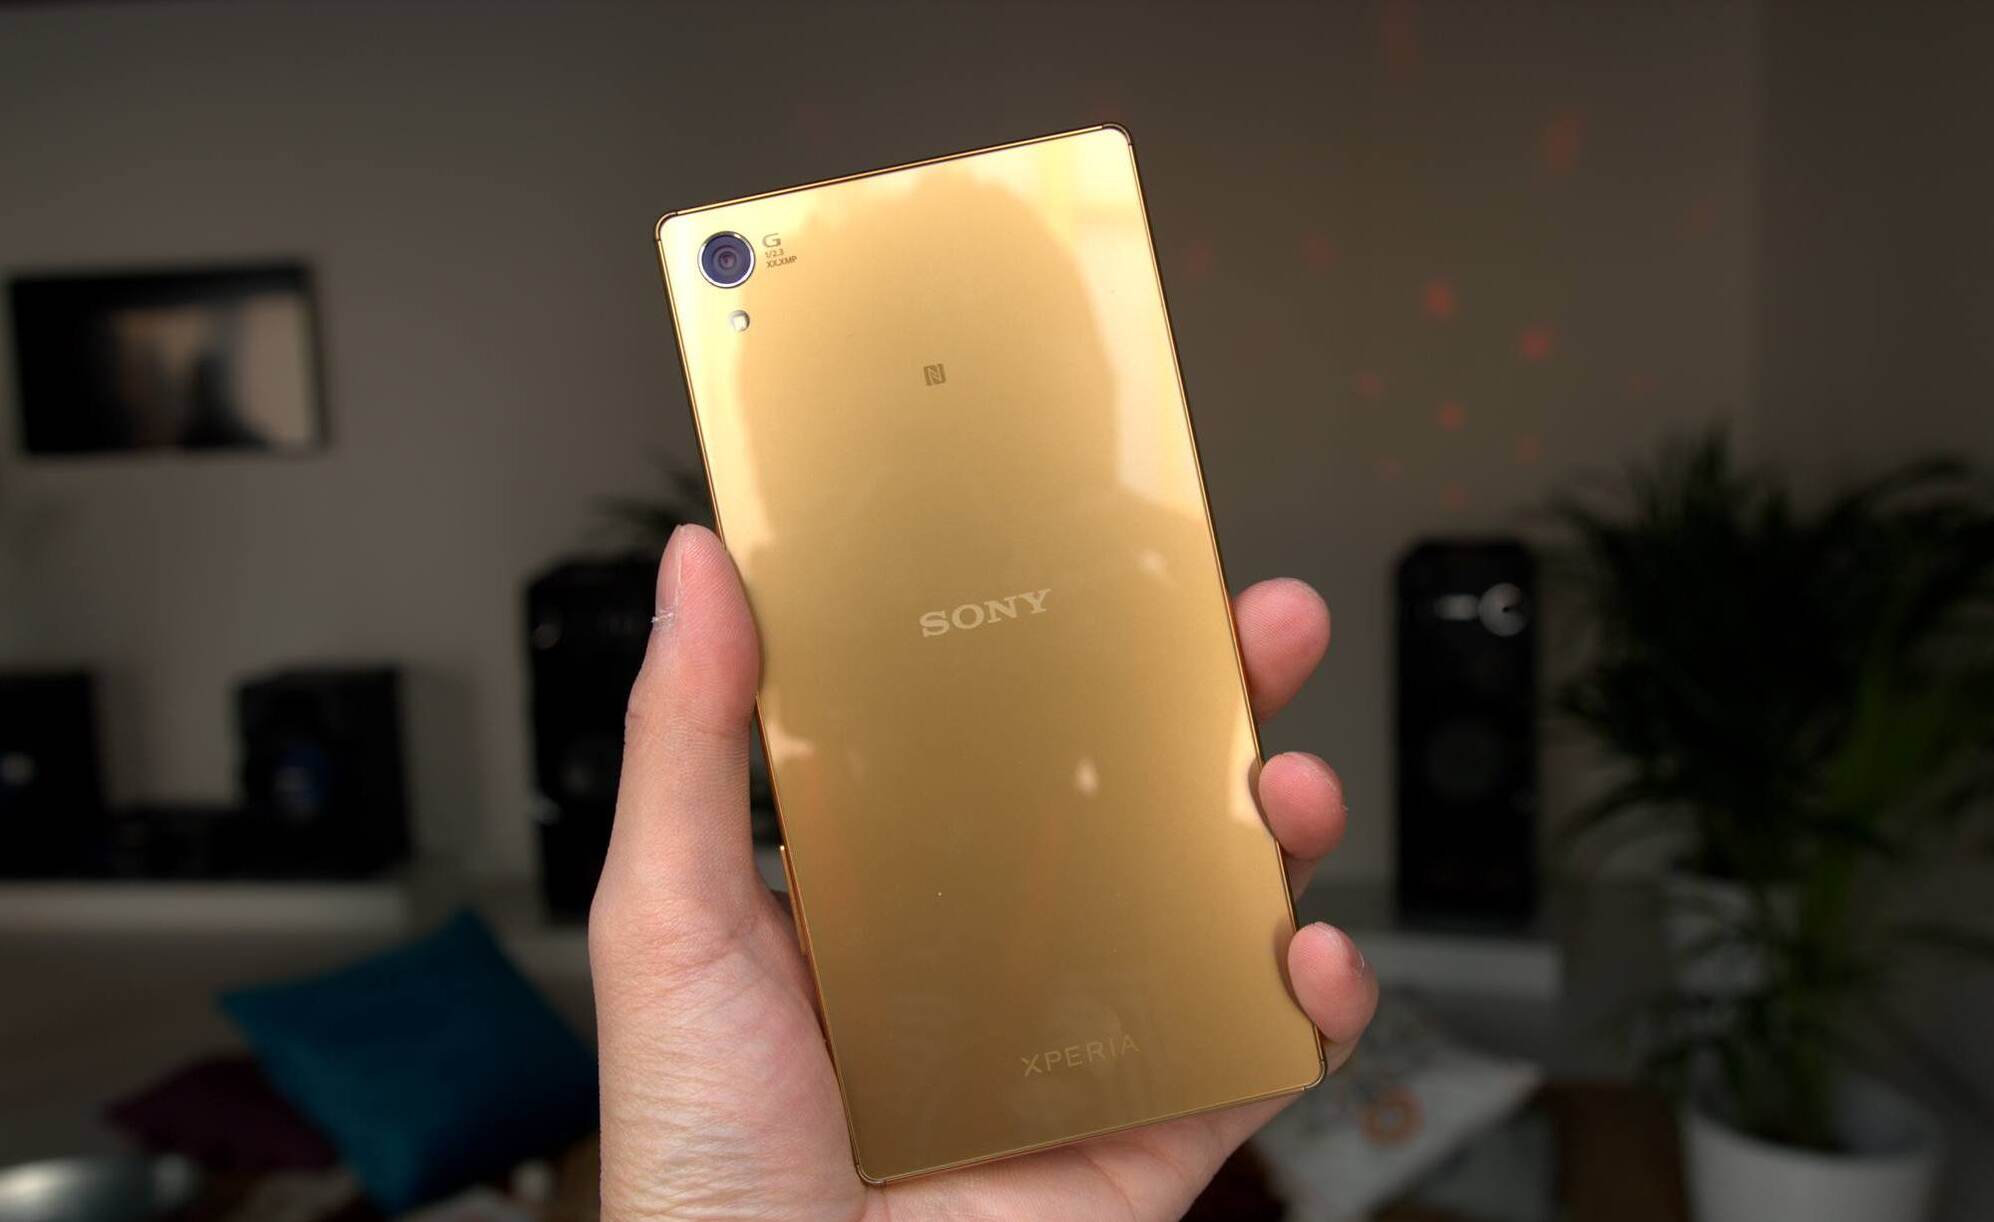
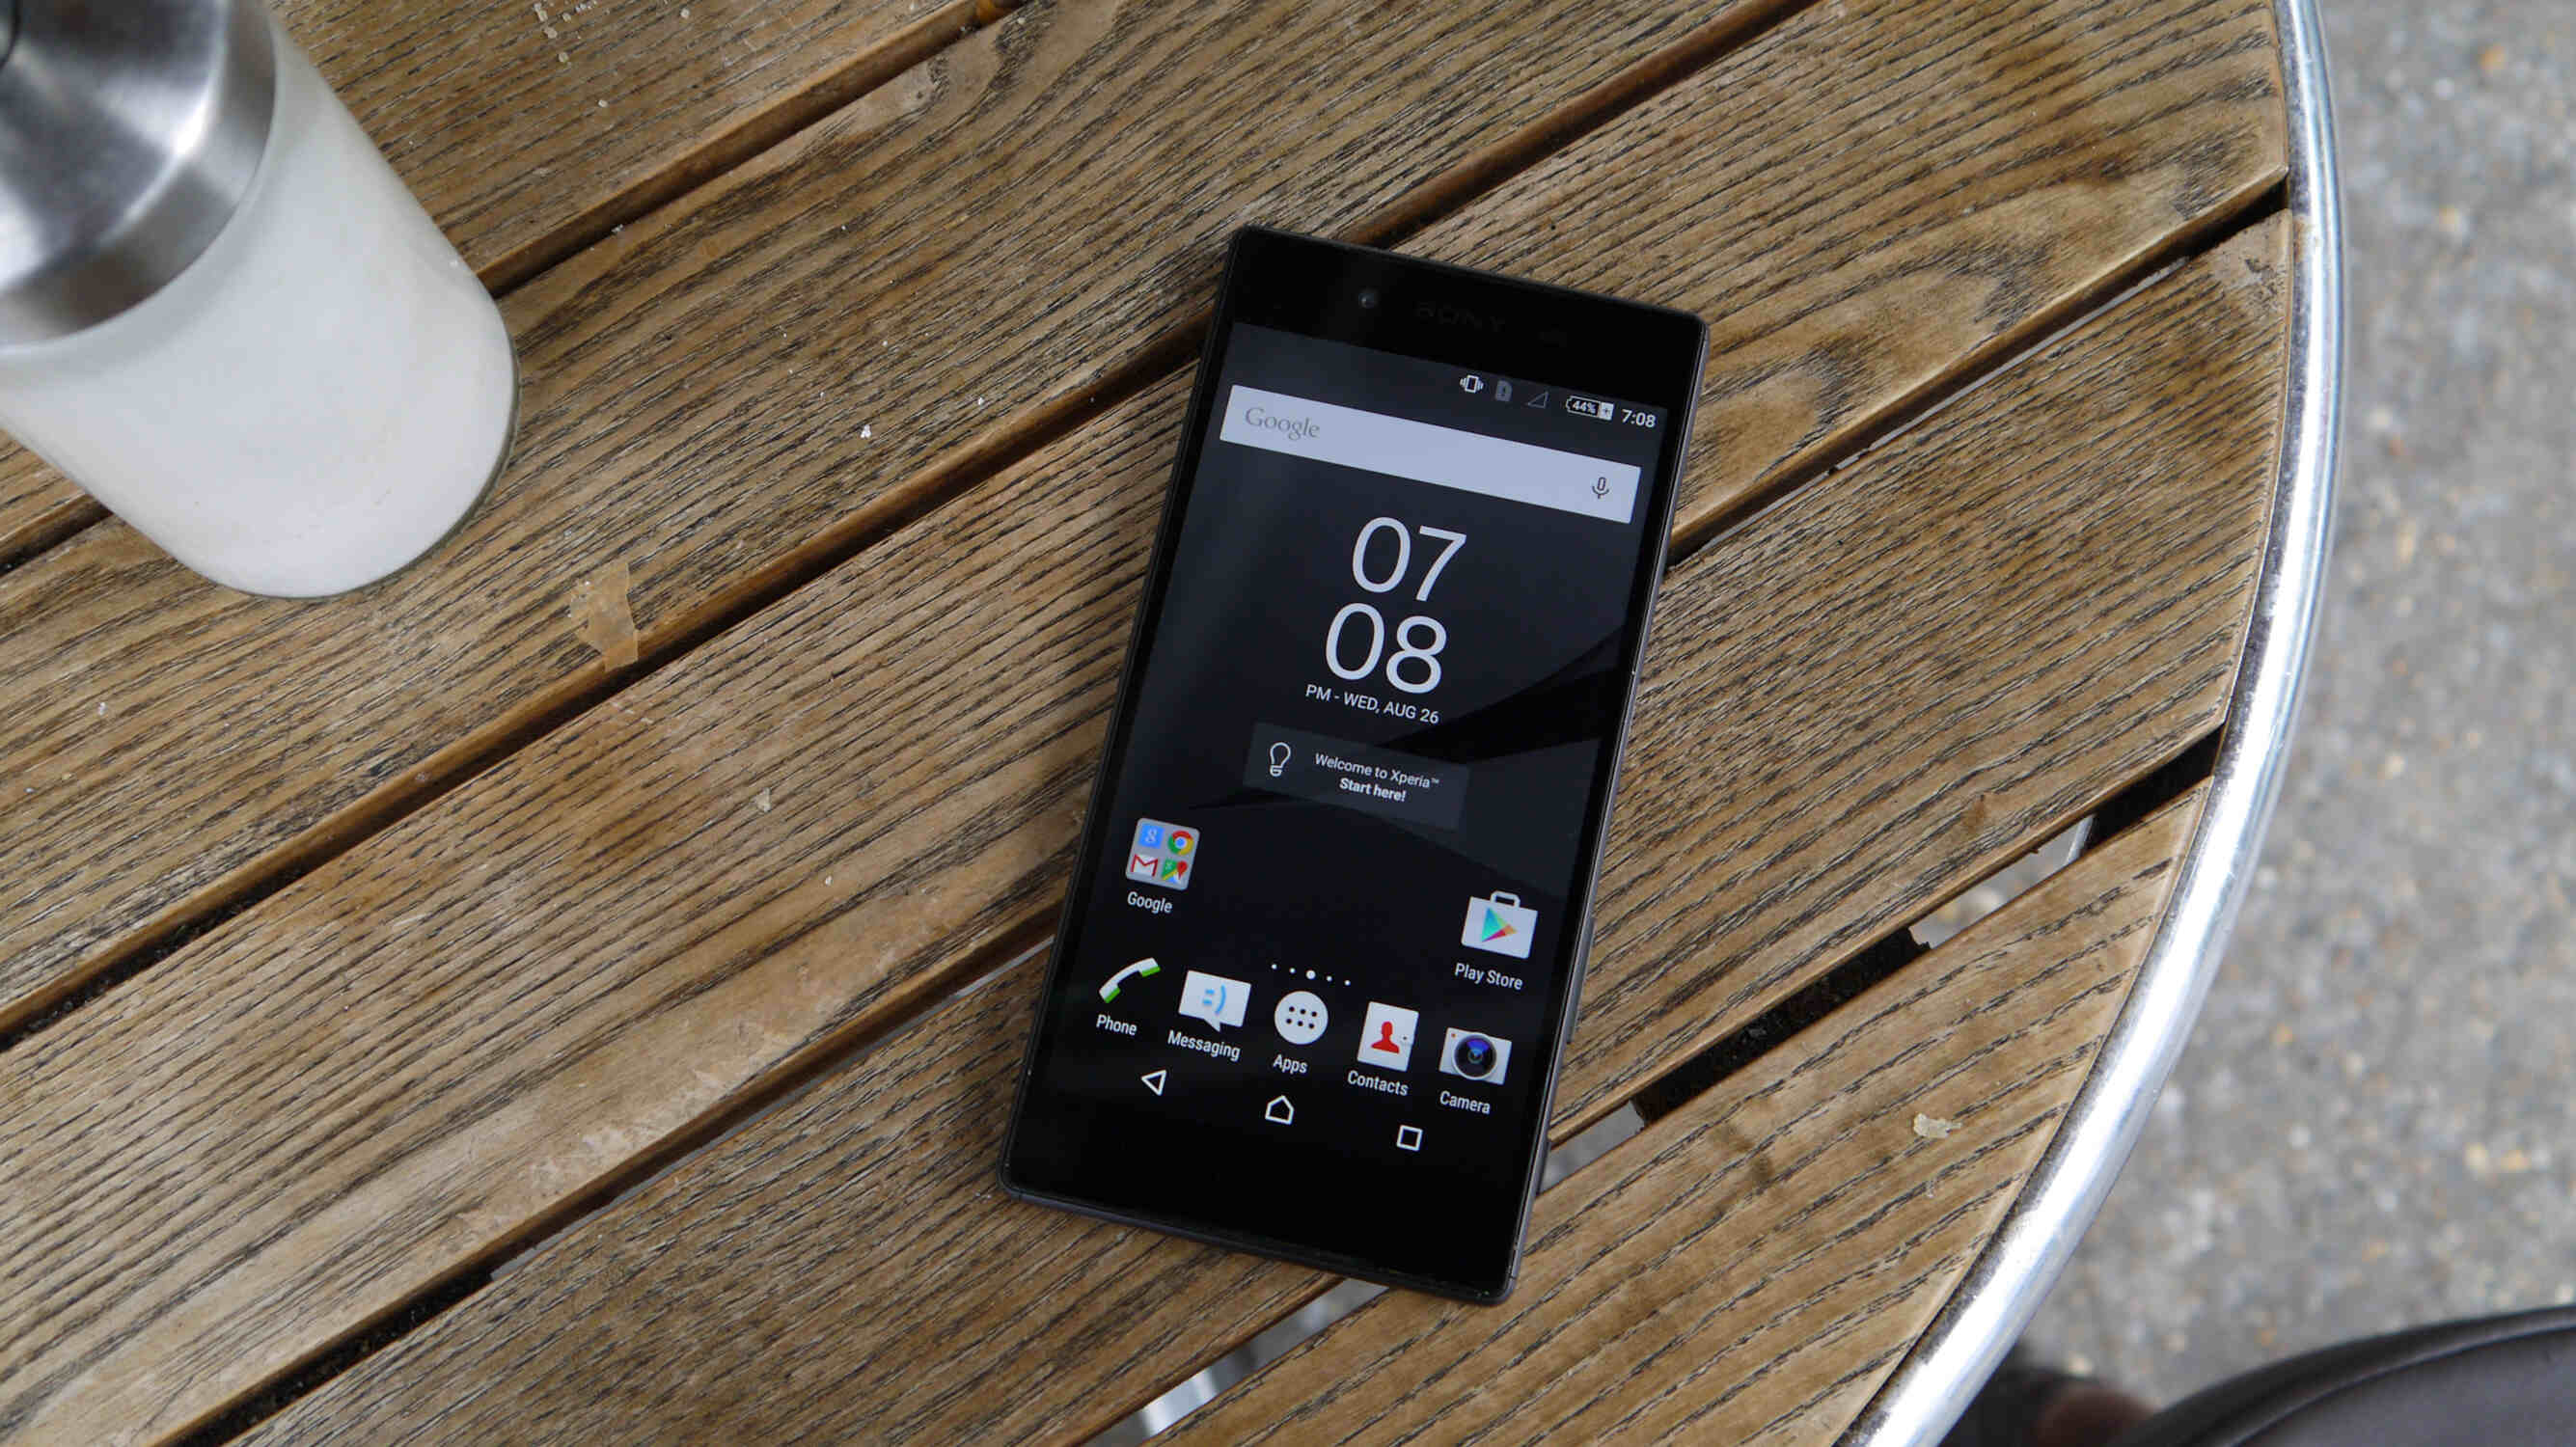
Introduction
Removing the SIM card from your Xperia Z5 is a straightforward process that allows you to switch to a new device, change carriers, or troubleshoot SIM-related issues. The SIM card, which stands for Subscriber Identity Module, is a small, removable card that stores your phone number and allows you to connect to a mobile network. Whether you're upgrading to a new phone or simply need to access the SIM card for any reason, it's essential to follow the correct steps to avoid damaging the card or the phone itself.
In this guide, we'll walk you through the process of safely removing the SIM card from your Xperia Z5. By following these steps, you can ensure that the SIM card is extracted without any issues, allowing you to seamlessly transition to a new device or address any SIM-related concerns. With a few simple steps, you'll be able to access the SIM card tray and remove the card without causing any damage to your Xperia Z5. Let's dive into the process and ensure that you can safely remove the SIM card from your device.
Step 1: Power off the Xperia Z5
Before beginning the process of removing the SIM card from your Xperia Z5, it's crucial to power off the device. This step is essential to prevent any potential damage to the phone or the SIM card itself. By turning off the Xperia Z5, you ensure that the device is in a safe state for the SIM card removal process.
To power off your Xperia Z5, follow these simple steps:
-
Locate the Power Button: The power button on the Xperia Z5 is typically located on the right-hand side of the device. It is often positioned below the volume buttons and can be easily identified by its size and placement.
-
Press and Hold the Power Button: To initiate the power-off sequence, press and hold the power button until the power-off menu appears on the screen. This action prompts the device to begin shutting down.
-
Confirm Power Off: Once the power-off menu is displayed, select the "Power Off" option to confirm the shutdown process. This action ensures that the Xperia Z5 will power down completely.
-
Wait for Shutdown: Allow the device to complete the shutdown process before proceeding to the next step. This ensures that the Xperia Z5 is fully powered off and ready for the SIM card removal process.
By following these steps, you can safely power off your Xperia Z5, setting the stage for the subsequent steps involved in removing the SIM card. This simple yet crucial step helps mitigate the risk of any damage to the device or the SIM card, ensuring a smooth and hassle-free SIM card removal process.
With the Xperia Z5 powered off, you can confidently move on to the next step in the process, knowing that the device is in a safe state for the SIM card removal procedure.
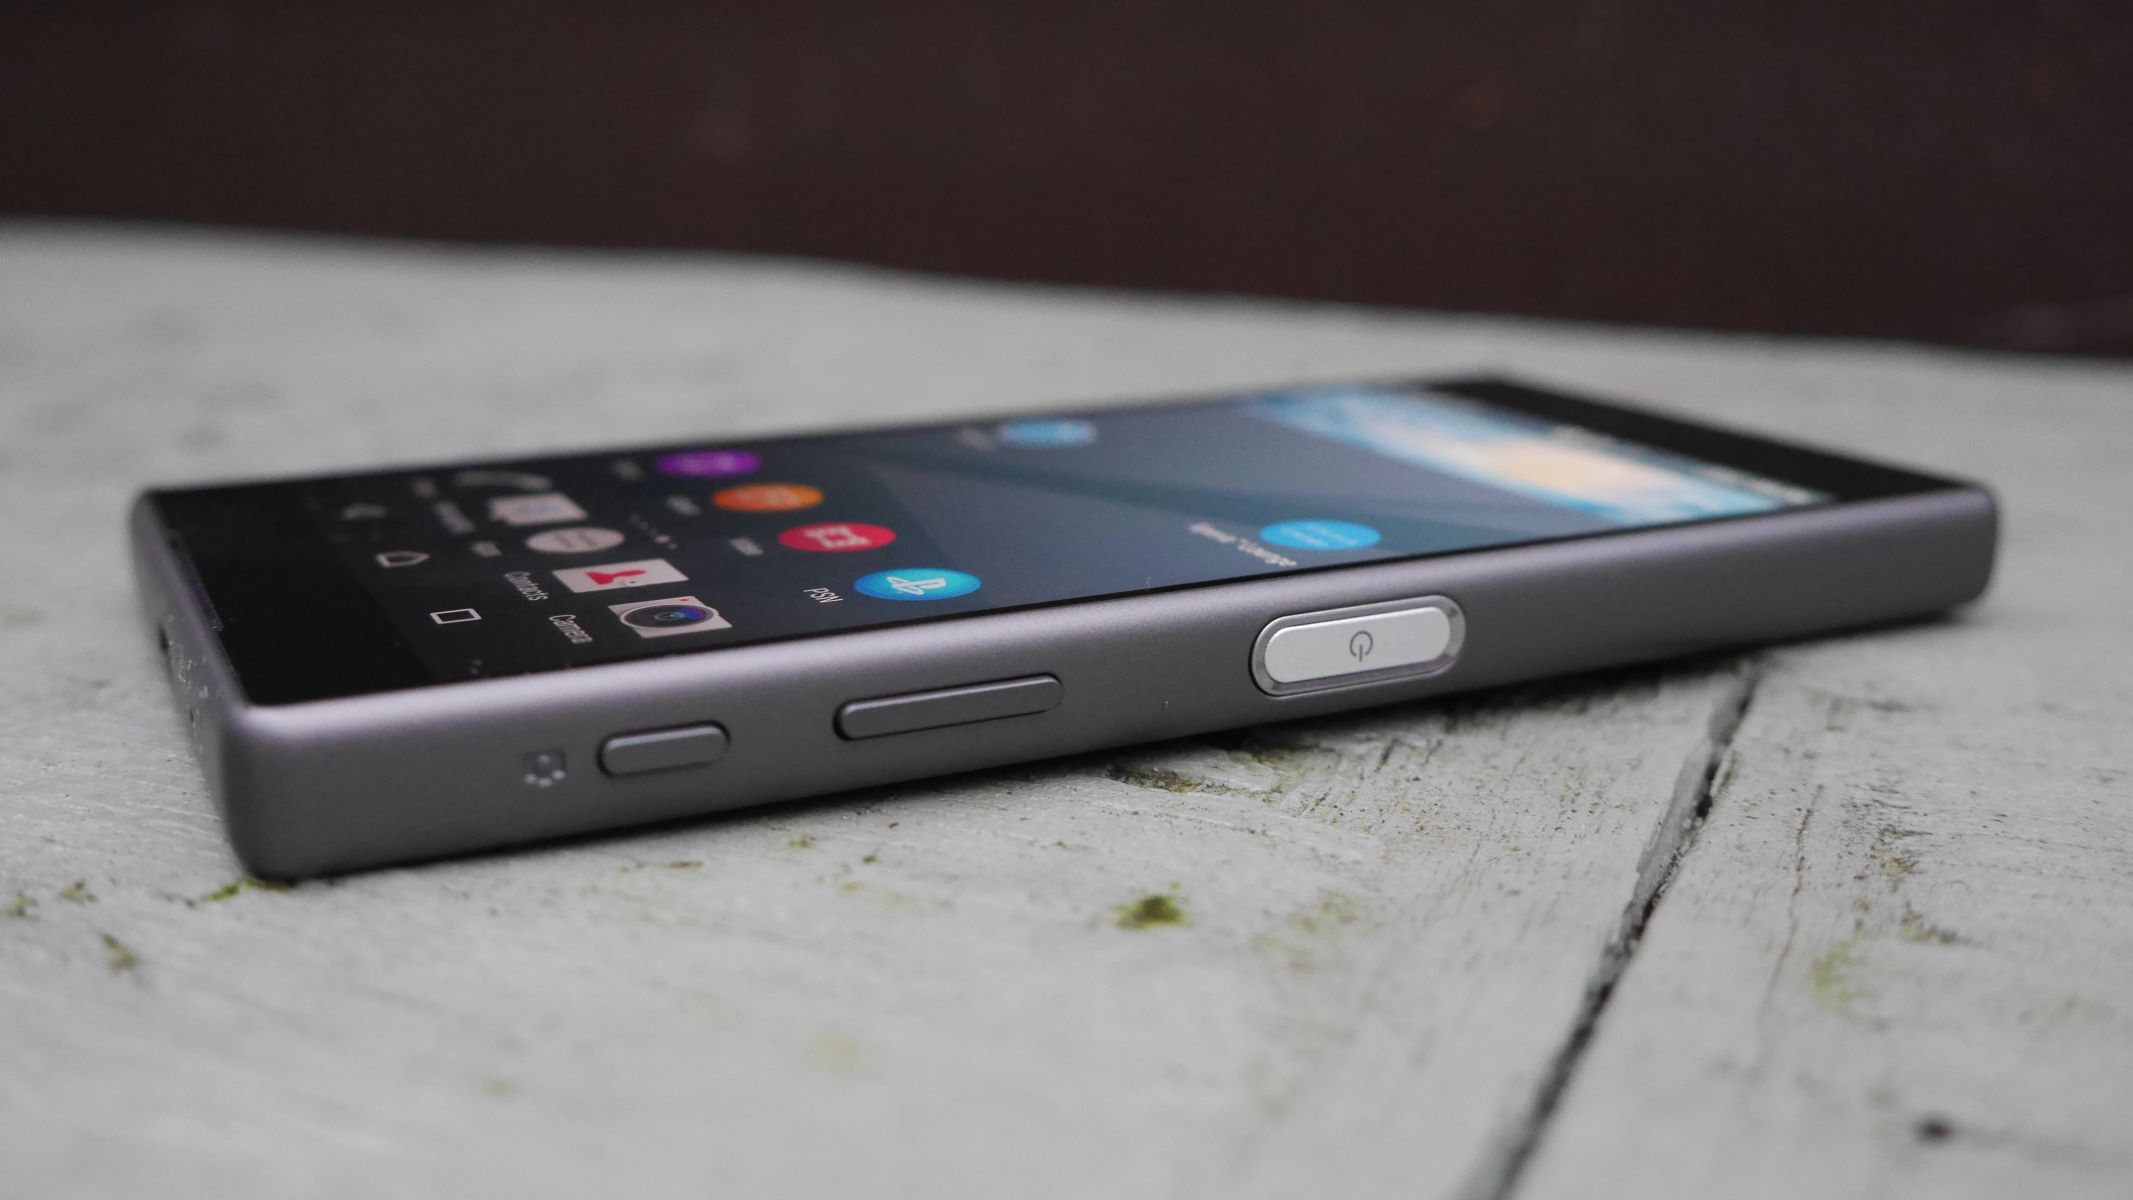
Step 2: Locate the SIM card tray
Locating the SIM card tray on your Xperia Z5 is the next crucial step in the process of removing the SIM card. The SIM card tray houses the SIM card and is designed to be easily accessible for removal or replacement. Here's how you can locate the SIM card tray on your Xperia Z5:
-
Identify the SIM Card Tray Slot: The SIM card tray slot is typically located on the side of the Xperia Z5. It is often positioned on the left-hand side of the device, adjacent to the volume buttons. The slot is designed to accommodate the SIM card tray and can be identified by its small, rectangular shape.
-
Use the SIM Card Removal Tool: To access the SIM card tray, you will need to utilize the SIM card removal tool that was included with your Xperia Z5. This tool is specifically designed to eject the SIM card tray from the device, allowing you to remove the SIM card safely.
-
Insert the SIM Card Removal Tool: Take the SIM card removal tool and locate the small pinhole on the SIM card tray slot. Insert the pointed end of the removal tool into the pinhole until you feel a slight resistance. This action engages the internal mechanism and prepares the SIM card tray for ejection.
-
Apply Gentle Pressure: Once the removal tool is inserted into the pinhole, apply gentle pressure to activate the ejection mechanism. You will feel the SIM card tray begin to protrude from the Xperia Z5, indicating that it is ready to be removed.
By following these steps, you can easily locate the SIM card tray on your Xperia Z5 and prepare it for the subsequent actions involved in removing the SIM card. This process sets the stage for safely accessing the SIM card tray and ensuring that the SIM card can be removed without any complications.
With the SIM card tray now accessible, you are ready to proceed to the next step in the process, which involves ejecting the SIM card tray from your Xperia Z5. This seamless transition from locating the SIM card tray to the subsequent steps ensures a smooth and efficient SIM card removal experience.
Step 3: Eject the SIM card tray
Ejecting the SIM card tray from your Xperia Z5 is a pivotal step in the process of removing the SIM card. Once the SIM card tray is accessible, the next action involves safely ejecting the tray from the device, allowing you to access the SIM card and proceed with its removal. Here's a detailed guide on how to eject the SIM card tray from your Xperia Z5:
-
Gently Eject the SIM Card Tray: With the SIM card tray partially protruding from the Xperia Z5, carefully grasp the exposed edge of the tray. Apply gentle pressure to continue ejecting the tray from the device. It's essential to exercise caution and avoid using excessive force, as this can lead to damage to the tray or the device itself.
-
Remove the SIM Card Tray Completely: Once the SIM card tray is fully ejected from the Xperia Z5, carefully remove it from the device. Take note of the orientation of the tray to ensure that you can easily reinsert it after the SIM card has been removed. The SIM card tray is designed to be easily removable, allowing you to access the SIM card without any complications.
-
Retrieve the SIM Card: Upon removing the SIM card tray, you will have clear access to the SIM card housed within the tray. Carefully remove the SIM card from the tray, taking note of its position and orientation. It's important to handle the SIM card with care, avoiding any bending or damage to the card's surface or contacts.
-
Inspect the SIM Card and Tray: Before proceeding further, take a moment to inspect both the SIM card and the tray for any signs of damage or debris. Ensure that the SIM card contacts are clean and free from any obstructions. Similarly, check the SIM card tray for any foreign objects that may affect its functionality.
By following these steps, you can safely eject the SIM card tray from your Xperia Z5 and access the SIM card without encountering any issues. This process sets the stage for the final step in the SIM card removal procedure, allowing you to seamlessly remove the SIM card from your device.
With the SIM card tray successfully ejected and the SIM card within reach, you are now prepared to proceed to the next step, which involves removing the SIM card from the tray and completing the SIM card removal process.
Step 4: Remove the SIM card
With the SIM card tray in hand and the SIM card accessible, the next crucial step in the SIM card removal process involves safely removing the SIM card from the tray. This step requires precision and care to ensure that the SIM card is extracted without any damage, allowing for a seamless transition to a new device or carrier. Here's a detailed guide on how to remove the SIM card from the tray of your Xperia Z5:
-
Handle the SIM Card: Carefully hold the SIM card between your thumb and forefinger, ensuring that you maintain a firm yet gentle grip. The SIM card is a delicate component, and it's essential to avoid any bending or flexing that could potentially damage the card's surface or contacts.
-
Inspect the SIM Card Contacts: Take a moment to inspect the contacts on the SIM card. Ensure that they are clean and free from any debris or smudges that could affect the card's functionality. If necessary, gently wipe the contacts with a soft, dry cloth to remove any contaminants.
-
Align the SIM Card for Removal: Position the SIM card tray in a well-lit area and align it in a way that allows you to easily access the SIM card. Take note of the orientation of the SIM card within the tray, as this will guide you in reinserting the card correctly if needed.
-
Gently Remove the SIM Card: Using your fingertips, carefully slide the SIM card out of the tray. Apply gentle and even pressure to ensure that the card moves smoothly without any resistance. It's crucial to maintain a steady and controlled motion to prevent any accidental damage to the SIM card or the tray.
-
Secure the SIM Card: Once the SIM card has been removed from the tray, place it in a safe and easily accessible location. It's advisable to store the SIM card in a protective case or holder to prevent any damage or loss. Additionally, keeping the SIM card in a secure location ensures that it can be easily retrieved when needed.
By following these steps, you can safely remove the SIM card from the tray of your Xperia Z5, allowing for a smooth and hassle-free SIM card removal process. With the SIM card successfully extracted, you have completed the essential steps required to remove the SIM card from your device. Whether you're transitioning to a new phone or addressing SIM-related concerns, this process ensures that the SIM card can be safely removed and handled with care.
Conclusion
In conclusion, safely removing the SIM card from your Xperia Z5 is a straightforward yet essential process that allows you to seamlessly transition to a new device, change carriers, or address SIM-related concerns. By following the step-by-step guide outlined in this article, you can ensure that the SIM card is extracted without any issues, safeguarding both the card and your Xperia Z5.
From powering off the device to locating the SIM card tray, ejecting the tray, and finally removing the SIM card, each step is designed to facilitate a smooth and hassle-free SIM card removal process. By exercising caution and precision throughout the process, you can mitigate the risk of any damage to the SIM card, the tray, or the device itself.
Once the SIM card has been safely removed, it's advisable to store it in a secure location, such as a protective case or holder, to prevent any damage or loss. Additionally, if you plan to reinsert the SIM card into another device, take note of its orientation within the tray to ensure a seamless transition.
By mastering the art of safely removing the SIM card from your Xperia Z5, you gain the confidence to manage SIM-related tasks effectively, whether it involves upgrading to a new phone, switching carriers, or troubleshooting connectivity issues. This knowledge empowers you to take control of your device and its essential components, ensuring a seamless and efficient user experience.
As technology continues to evolve, the ability to navigate the intricacies of mobile devices becomes increasingly valuable. By mastering fundamental processes such as SIM card removal, you enhance your overall understanding of device management and maintenance, contributing to a more seamless and enjoyable mobile experience.
In essence, the process of safely removing the SIM card from your Xperia Z5 is not only a practical skill but also a testament to your ability to adapt and manage the essential components of modern technology. With these skills in hand, you are well-equipped to navigate the dynamic landscape of mobile devices and harness their full potential.