Introduction
The Samsung Galaxy S10 is a remarkable device that seamlessly integrates into our daily lives, keeping us connected and informed. One essential component of this smartphone is the SIM card, which allows us to make calls, send messages, and access mobile data. At times, we may need to remove or replace the SIM card for various reasons, such as changing carriers or troubleshooting network issues. However, it's crucial to handle this process with care to avoid damaging the SIM card or the device itself.
In this guide, we will walk through the step-by-step process of safely removing the SIM card from the Galaxy S10. By following these instructions, you can ensure that the SIM card is handled properly, minimizing the risk of any mishaps. Whether you're a seasoned smartphone user or new to the world of mobile devices, this guide will provide clear and easy-to-follow instructions for safely managing your Galaxy S10's SIM card.
Now, let's delve into the details of each step to safely remove the SIM card from your Galaxy S10.
Step 1: Power off the device
Before beginning the process of removing the SIM card from your Samsung Galaxy S10, it is crucial to power off the device. This simple yet essential step ensures that the phone is in a safe state for handling the SIM card and prevents any potential damage to the device or the SIM card itself.
To power off your Galaxy S10, locate the power button, typically located on the right side of the device. Press and hold the power button until the power-off menu appears on the screen. Then, tap on the "Power off" option to initiate the shutdown process.
Alternatively, if you have enabled the "Side key settings" on your Galaxy S10, you can power off the device by simultaneously pressing the side key and the volume down button. This action will also prompt the power-off menu, allowing you to turn off the device with ease.
Once the device is powered off, it is advisable to wait for a few seconds to ensure that all system processes have been safely terminated. This brief pause allows the device to enter a fully powered-off state, minimizing the risk of any electrical interference during the SIM card removal process.
By powering off your Galaxy S10 before proceeding to remove the SIM card, you are taking a proactive step to safeguard the device and the SIM card from potential harm. This simple precaution sets the stage for a smooth and secure SIM card removal process, ensuring that you can handle the device and the SIM card with confidence and peace of mind.
With the Galaxy S10 powered off, you are now ready to move on to the next step in safely removing the SIM card from your device.
Step 2: Locate the SIM card tray
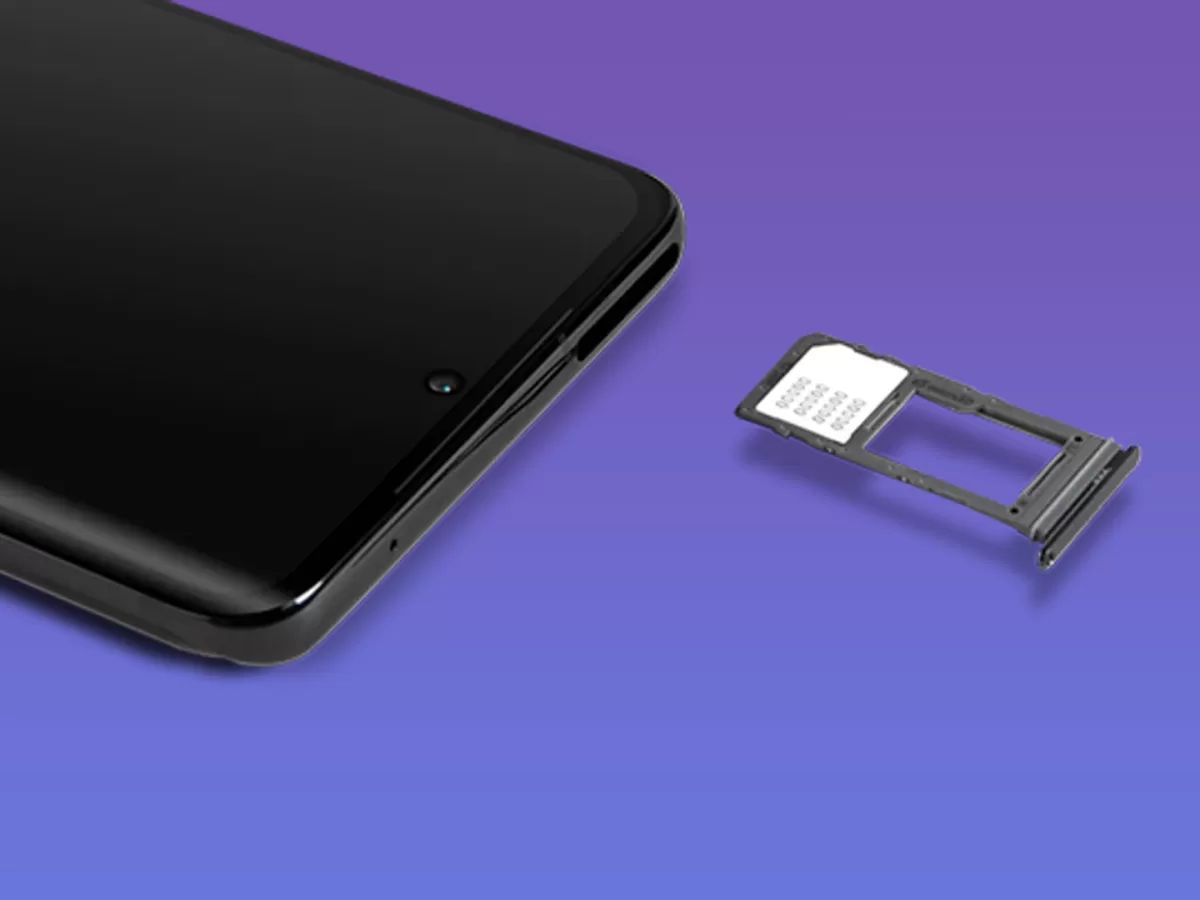
The next crucial step in safely removing the SIM card from your Samsung Galaxy S10 is to locate the SIM card tray. The SIM card tray houses the SIM card and is designed to secure it within the device while allowing for easy removal and replacement when necessary.
To locate the SIM card tray on your Galaxy S10, you will need to identify the specific location of the tray on the device. In most cases, the SIM card tray is situated on the upper part of the device, either on the left or right side, depending on the model of the Galaxy S10.
To access the SIM card tray, you will need to use a SIM eject tool, which is typically provided with the device at the time of purchase. If the SIM eject tool is not readily available, a small paperclip can be used as an alternative. The SIM eject tool is a small, pointed instrument that allows for the safe ejection of the SIM card tray without causing damage to the device or the tray itself.
Once you have located the SIM card tray, you will notice a small pinhole next to the tray. This pinhole is where the SIM eject tool will be inserted to initiate the tray ejection process. It is important to handle the device with care and precision during this step to avoid applying excessive force or causing any unintended damage.
By taking the time to locate the SIM card tray and familiarize yourself with its position on the Galaxy S10, you are setting the stage for a smooth and efficient SIM card removal process. Understanding the physical layout of the device and the specific location of the SIM card tray allows you to proceed with confidence and ensures that you can safely proceed to the next step in removing the SIM card from your Galaxy S10.
With the SIM card tray located and the necessary tools at hand, you are now prepared to move on to the subsequent step in safely removing the SIM card from your Samsung Galaxy S10.
Step 3: Insert the SIM eject tool
With the SIM card tray located and the Galaxy S10 powered off, the next step in safely removing the SIM card is to carefully insert the SIM eject tool into the designated pinhole next to the SIM card tray. This step requires precision and a gentle touch to ensure that the SIM card tray can be safely ejected without causing any damage to the device or the tray itself.
Using the provided SIM eject tool or a small paperclip, gently insert the tool into the pinhole next to the SIM card tray. Apply light pressure and ensure that the tool is inserted straight into the pinhole, as the SIM card tray mechanism is designed to respond to a direct and even force applied by the eject tool.
As you insert the eject tool, you may feel a slight resistance, which is a normal part of the process. It is important to exercise caution and avoid using excessive force, as this can lead to unintended damage to the device. By maintaining a steady and controlled approach, you can effectively engage the SIM card tray ejection mechanism and prepare it for the next phase of the SIM card removal process.
The act of inserting the SIM eject tool into the pinhole is a critical step that sets the stage for the safe ejection of the SIM card tray. By following this procedure with care and attention to detail, you are positioning the device for the successful removal of the SIM card, ensuring that the entire process is carried out smoothly and without any complications.
With the SIM eject tool securely inserted into the pinhole, you are now ready to proceed to the subsequent step, which involves gently pushing to eject the SIM card tray from your Samsung Galaxy S10.
The careful insertion of the SIM eject tool marks a pivotal moment in the SIM card removal process, demonstrating your commitment to handling the device with precision and care. This deliberate approach ensures that the SIM card tray can be safely ejected, allowing you to proceed with confidence as you move forward in removing the SIM card from your Galaxy S10.
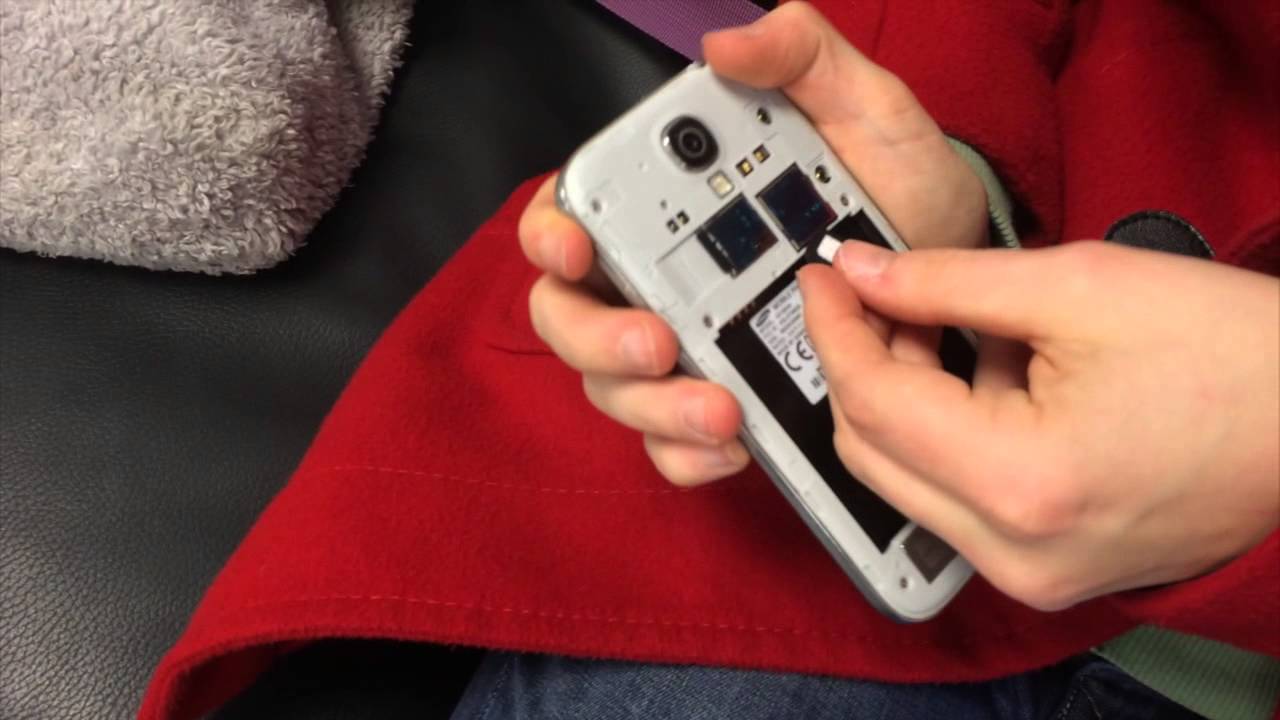
Step 4: Gently push to eject the tray
After successfully inserting the SIM eject tool into the designated pinhole next to the SIM card tray, the next step is to gently push to eject the tray from your Samsung Galaxy S10. This pivotal moment in the SIM card removal process requires a delicate touch and a steady hand to ensure that the tray is safely and smoothly ejected without causing any damage to the device or the tray itself.
With the SIM eject tool securely in place, apply light and even pressure to the tool, directing it towards the interior of the pinhole. As you exert gentle pressure, you will feel the subtle release of the SIM card tray from its secured position within the device. It is essential to maintain a steady and controlled approach, avoiding any sudden or forceful movements that could potentially disrupt the ejection process.
As you continue to apply gentle pressure, the SIM card tray will gradually begin to emerge from the device, facilitated by the precise engagement of the eject tool. It is crucial to remain patient and attentive during this phase, allowing the tray to smoothly and steadily extend outward without any resistance. By exercising caution and a deliberate touch, you can ensure that the tray emerges from the device in a controlled and secure manner.
Once the SIM card tray has been fully ejected from the Galaxy S10, carefully remove the SIM eject tool from the pinhole, taking care to handle the tool and the tray with the utmost care. The successful ejection of the tray marks a significant milestone in the SIM card removal process, setting the stage for the safe extraction of the SIM card from the tray itself.
By gently pushing to eject the tray from your Galaxy S10, you have demonstrated a meticulous and attentive approach to handling the device, ensuring that the SIM card removal process proceeds with precision and care. With the tray now accessible, you are ready to proceed to the next step, which involves removing the SIM card from the tray in a safe and controlled manner.
The successful ejection of the SIM card tray reflects your commitment to maintaining the integrity of the device and the SIM card, underscoring the importance of handling the removal process with the utmost attention to detail and caution. With the tray now accessible, you are poised to continue the SIM card removal process with confidence and assurance, knowing that each step is carried out with precision and care.
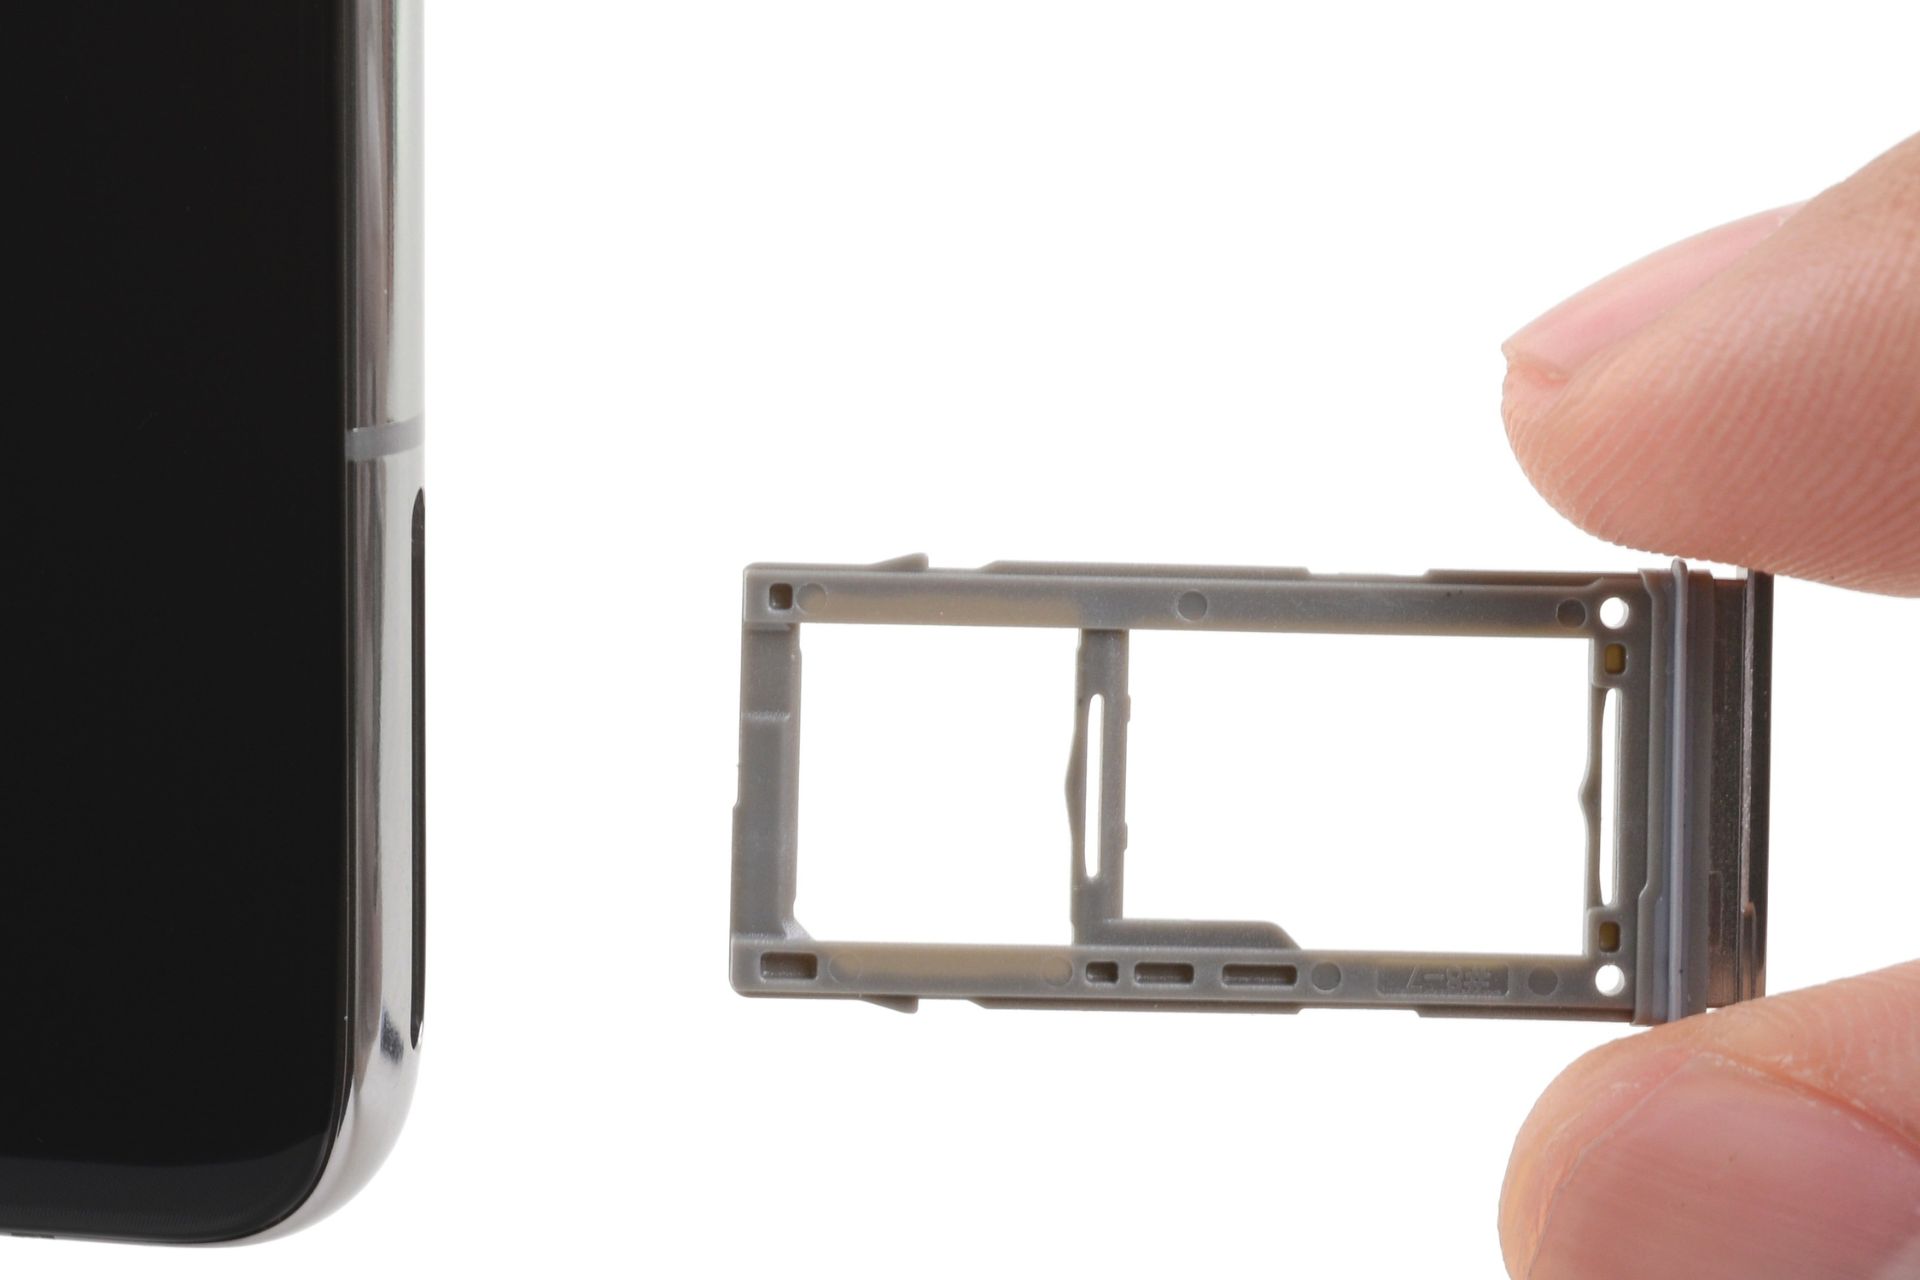
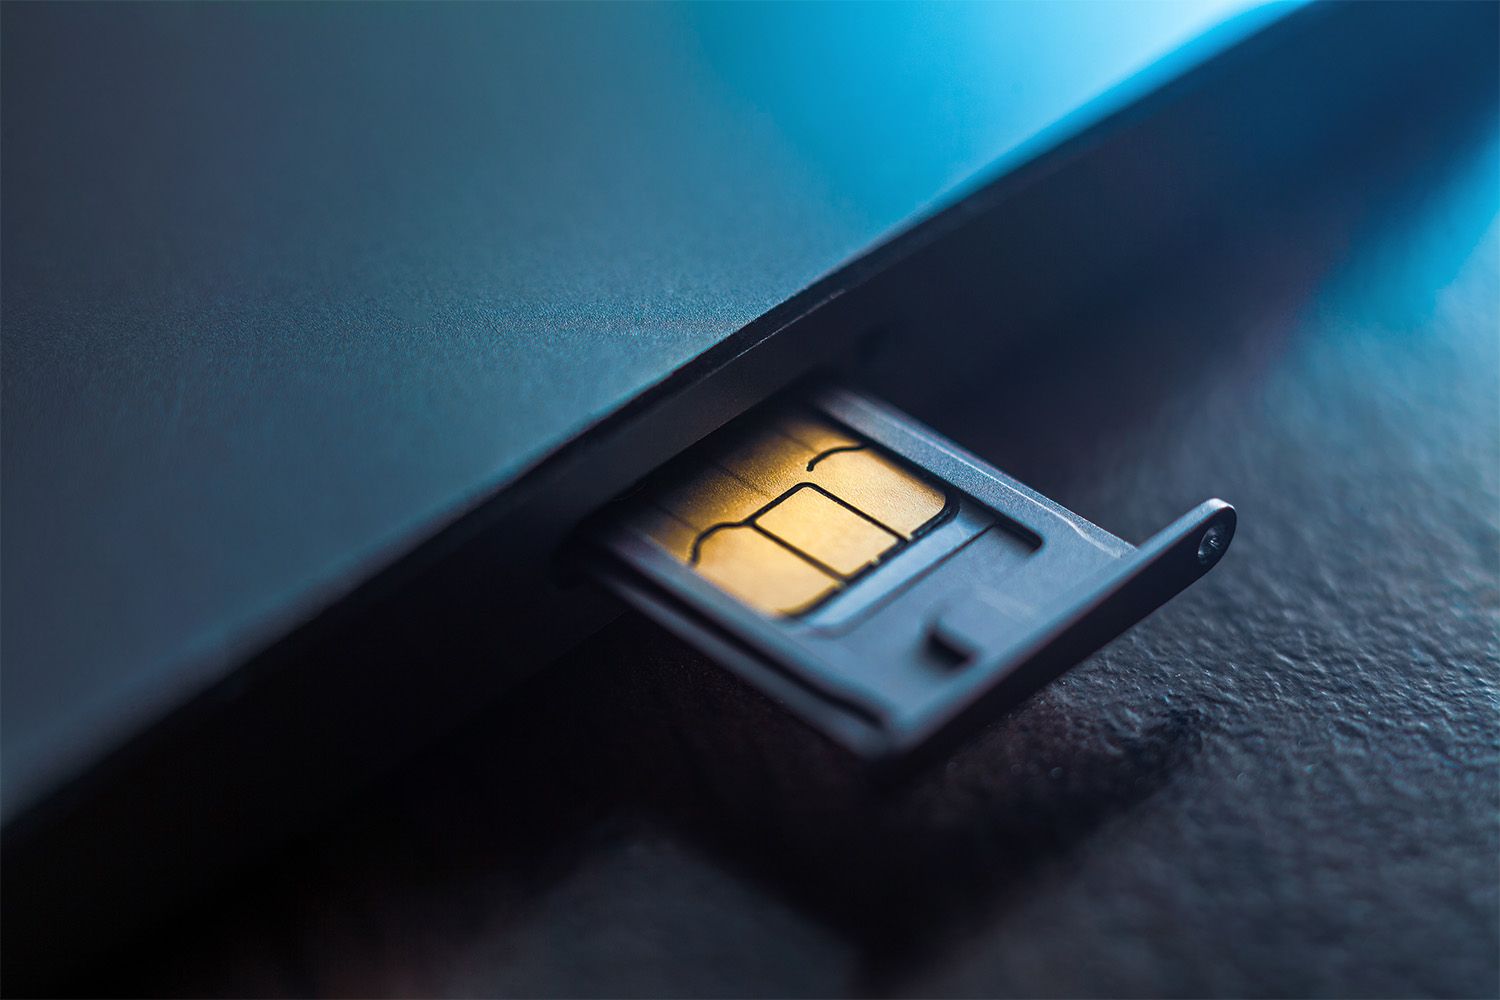
Step 5: Remove the SIM card
With the SIM card tray successfully ejected from your Samsung Galaxy S10, the next crucial step is to carefully remove the SIM card from the tray. This process requires a delicate touch and keen attention to detail to ensure that the SIM card is extracted smoothly and without any damage.
Upon examining the SIM card tray, you will notice a designated slot that securely holds the SIM card in place. To remove the SIM card, gently maneuver the tray to access the SIM card slot. Take note of the orientation of the SIM card within the slot, as it will guide you in properly aligning the card when reinserting it or replacing it with a new one.
Using your fingertips, delicately grasp the SIM card and slowly slide it out of the slot within the tray. It is essential to exercise caution and avoid applying any unnecessary force, as the SIM card is a delicate component that must be handled with care.
As you carefully remove the SIM card from the tray, take note of any visible damage or irregularities on the card. Inspect the gold contacts on the back of the SIM card to ensure that they are free from any debris or damage, as these contacts facilitate the connection between the SIM card and the device's internal components.
Once the SIM card has been safely removed from the tray, place it in a secure location to prevent any accidental damage or misplacement. It is advisable to store the SIM card in its original packaging or a protective case designed for SIM cards to safeguard it from external elements.
By meticulously removing the SIM card from the tray, you have demonstrated a meticulous and attentive approach to managing the device's components. This deliberate and careful process ensures that the SIM card is handled with the utmost care, setting the stage for a seamless reinsertion or replacement when necessary.
With the SIM card safely removed from the tray, you are now prepared to proceed to the subsequent step, which involves reinserting the SIM card tray into your Samsung Galaxy S10. This pivotal phase in the SIM card removal process underscores your commitment to maintaining the integrity of the device and its essential components, ensuring that each step is carried out with precision and care.
Step 6: Reinsert the SIM card tray
With the SIM card safely removed from the tray, the next crucial step is to reinsert the SIM card tray into your Samsung Galaxy S10. This process requires a meticulous approach to ensure that the tray is securely and accurately positioned within the device, setting the stage for seamless functionality and connectivity.
Before reinserting the SIM card tray, take a moment to inspect the tray and the device's SIM card slot for any debris or damage. Clear away any foreign particles or obstructions that may impede the tray's proper insertion, ensuring a smooth and secure fit within the device.
Carefully align the SIM card tray with the designated slot on the Galaxy S10, taking note of the orientation to ensure that the tray is positioned correctly. The tray should fit snugly within the slot, with no protrusions or misalignments that could hinder its proper seating within the device.
Once the tray is aligned with the slot, gently slide it back into place, applying even pressure to ensure that it smoothly re-enters the device. Exercise caution to avoid any abrupt or forceful movements that could potentially damage the tray or the device's internal components.
As the SIM card tray is reinserted, listen for a subtle clicking sound, indicating that the tray has securely seated within the device. This auditory cue confirms that the tray is properly aligned and firmly in place, ready to facilitate the reestablishment of the SIM card's connection with the device.
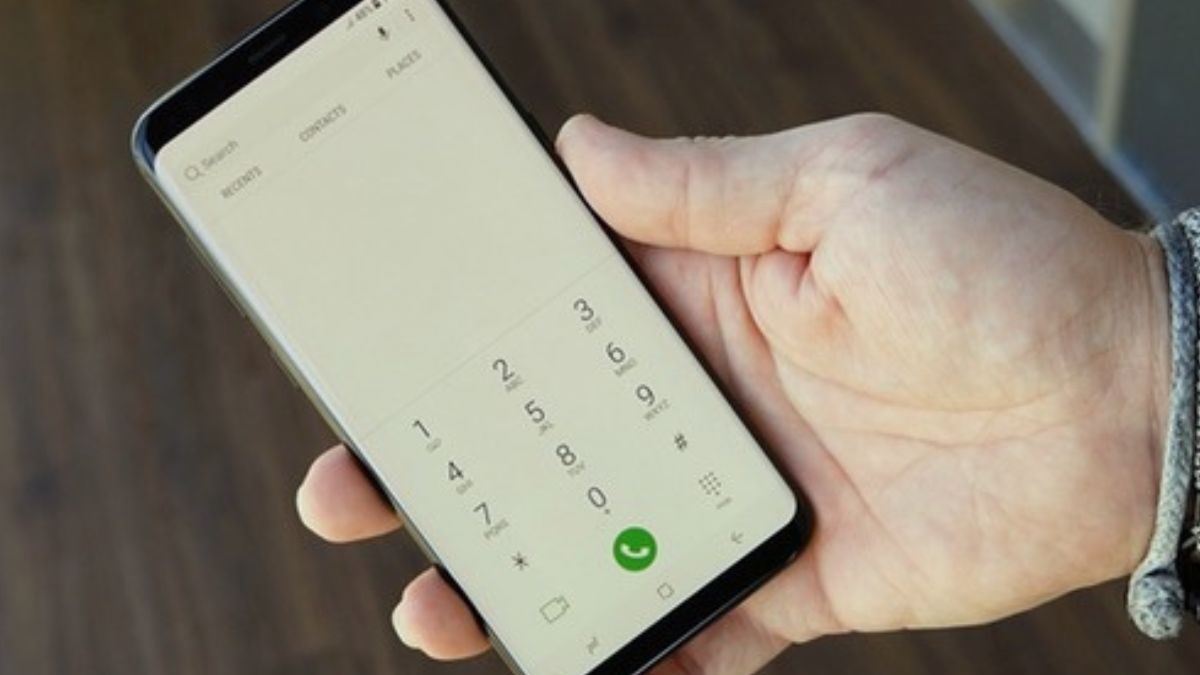
With the SIM card tray successfully reinserted into your Galaxy S10, take a moment to power on the device, allowing it to initialize and recognize the SIM card. Once the device has powered on, verify that the SIM card is detected and that cellular connectivity is restored, ensuring that the reinsertion process has been completed successfully.
By reinserting the SIM card tray with precision and care, you have demonstrated a meticulous approach to maintaining the integrity of the device's essential components. This deliberate and attentive process ensures that the SIM card tray is securely positioned within the device, setting the stage for seamless functionality and uninterrupted connectivity.
With the SIM card tray securely reinserted and the device powered on, you have successfully completed the process of safely removing and reinserting the SIM card in your Samsung Galaxy S10. This meticulous and careful approach underscores your commitment to handling the device's components with the utmost attention to detail, ensuring that each step is carried out with precision and care.
Conclusion
In conclusion, safely removing the SIM card from your Samsung Galaxy S10 is a straightforward yet critical process that demands attention to detail and a cautious approach. By following the step-by-step guide outlined in this article, you have gained valuable insights into the precise methods for handling the SIM card and the device with care and precision.
Each step in the SIM card removal process, from powering off the device to reinserting the SIM card tray, serves as a testament to your commitment to maintaining the integrity of the Galaxy S10 and its essential components. By adhering to these meticulous instructions, you have demonstrated a keen understanding of the importance of safeguarding the SIM card and the device from potential damage or mishandling.
The deliberate and attentive approach taken in each step underscores your dedication to ensuring that the SIM card removal process is carried out smoothly and without any complications. By exercising caution and precision, you have effectively minimized the risk of any inadvertent damage to the SIM card or the Galaxy S10, setting the stage for uninterrupted functionality and connectivity.
As you power on your Galaxy S10 and verify the successful reinsertion of the SIM card, take pride in the meticulous care and attention to detail that you have demonstrated throughout the entire process. Your commitment to handling the device with precision and care reflects a deep understanding of the importance of maintaining the integrity of the Galaxy S10 and its essential components.
In essence, this comprehensive guide has equipped you with the knowledge and confidence to safely manage the SIM card in your Samsung Galaxy S10, ensuring that you can handle the device with the utmost care and precision. Whether you are removing the SIM card for a carrier switch or troubleshooting network issues, the insights gained from this guide will serve as a valuable resource in your journey of effectively managing your Galaxy S10's SIM card.
By embracing a meticulous and attentive approach to handling the SIM card and the device, you have not only safeguarded the integrity of the Galaxy S10 but also empowered yourself with the knowledge and skills to navigate the intricacies of mobile device management with confidence and assurance.