Introduction
Removing the battery from a Motorola Razr is a straightforward process that can be accomplished with a few simple steps. Whether you need to replace a worn-out battery or perform a reset on your device, knowing how to safely remove the battery is essential. By following the easy steps outlined in this guide, you can confidently navigate the process without any hassle.
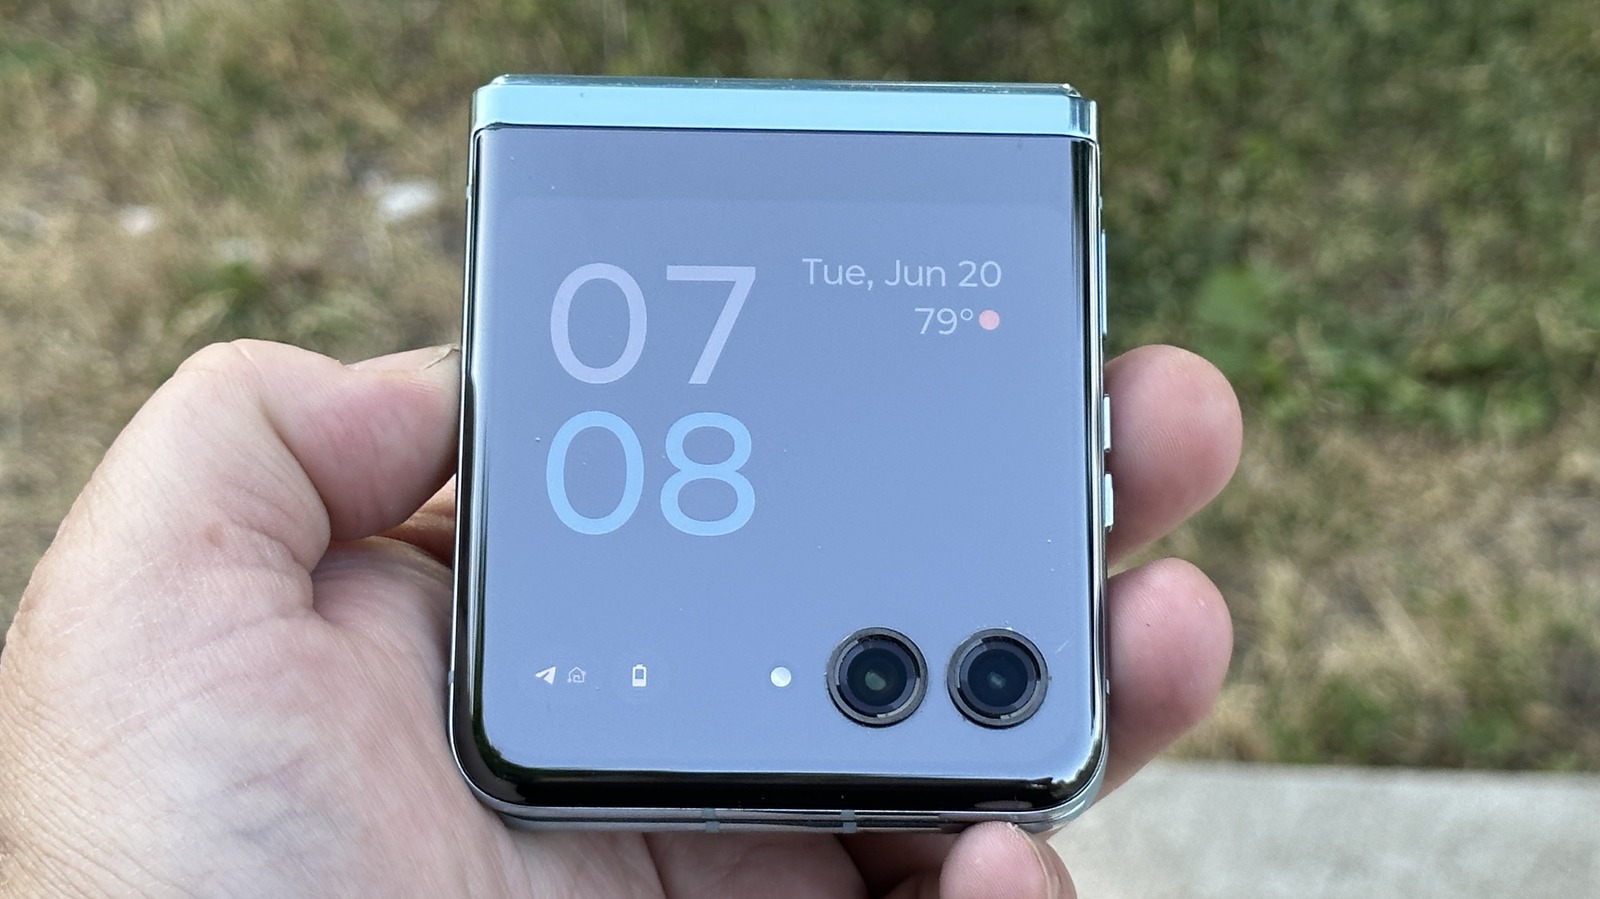
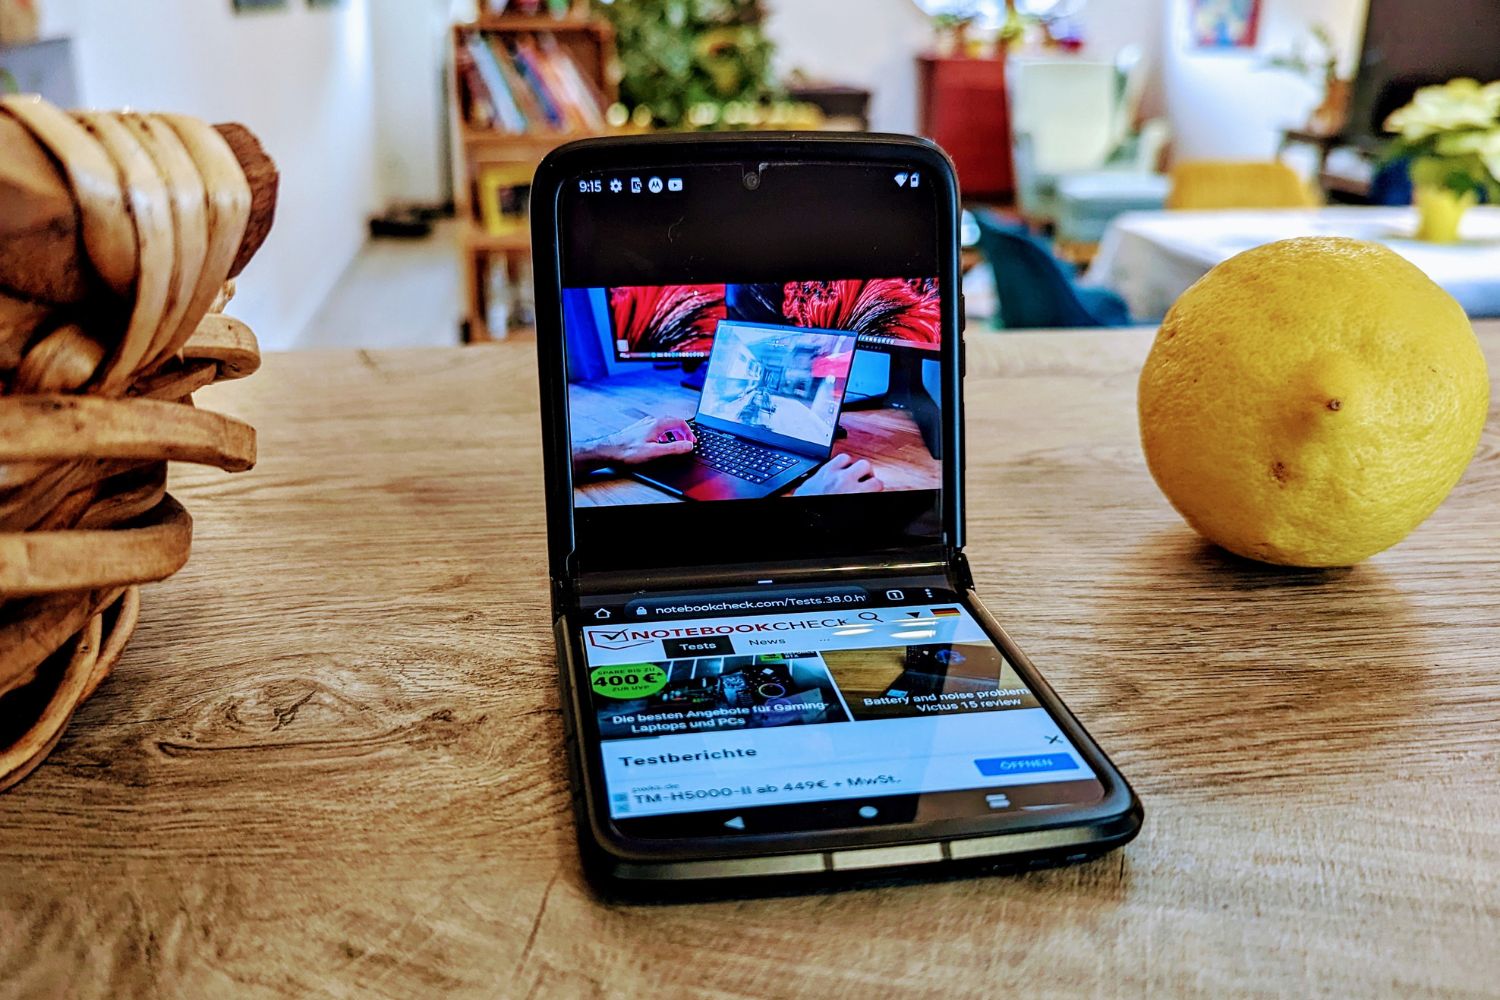
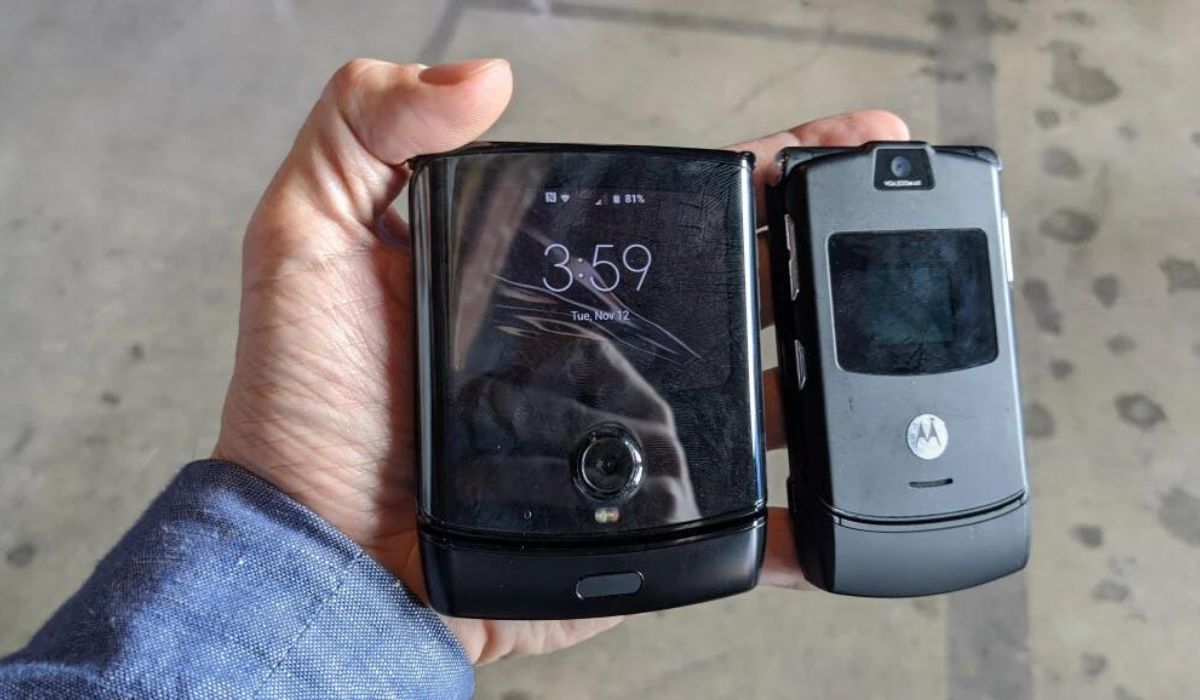
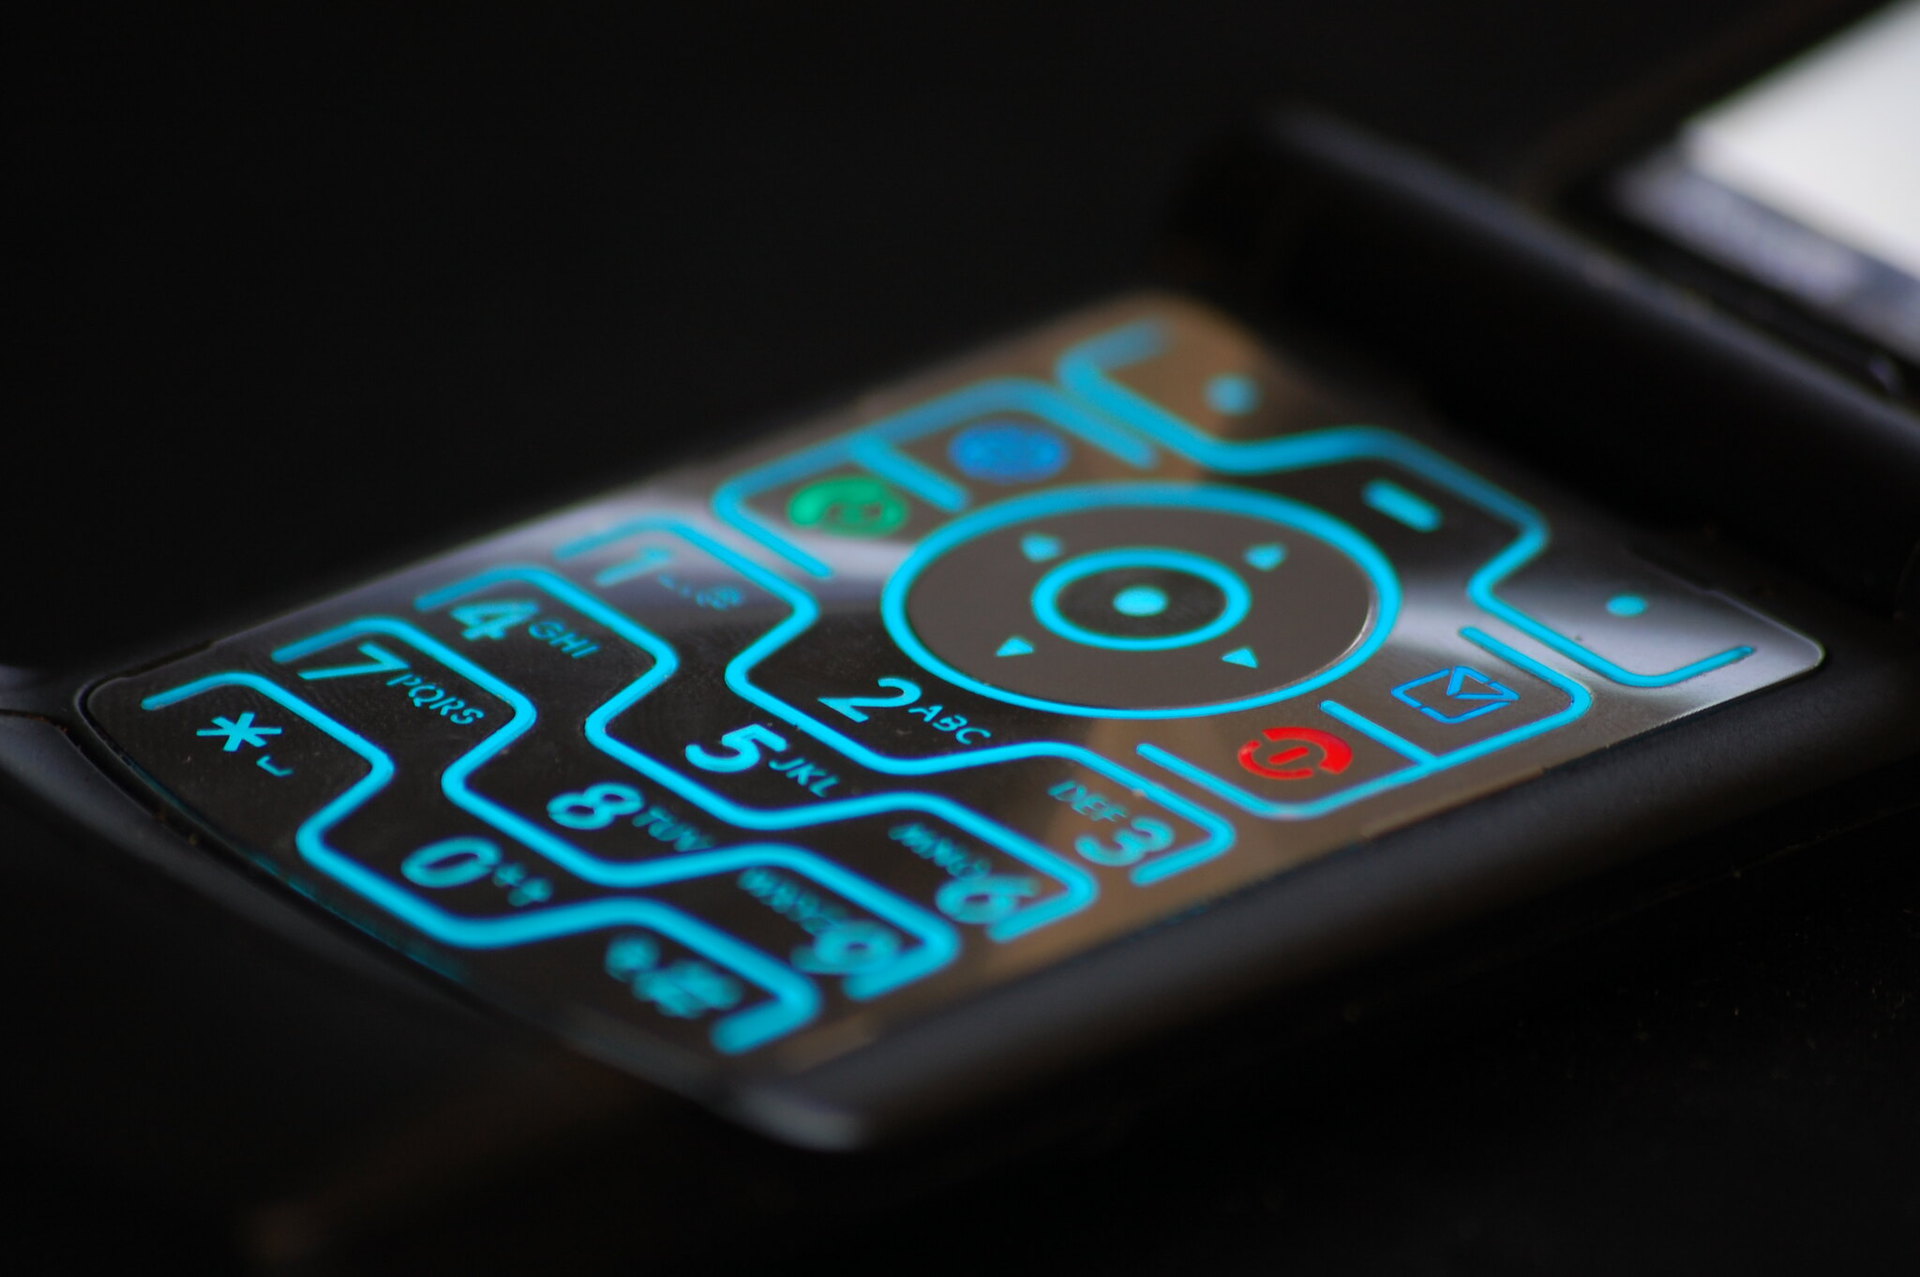
The Motorola Razr, known for its sleek design and advanced features, has gained popularity among users who value both style and functionality in their mobile devices. However, like any electronic device, the battery of the Motorola Razr may need to be removed at some point for maintenance or troubleshooting purposes. Understanding the proper procedure for removing the battery ensures that you can address any issues effectively without causing damage to the device.
In the following steps, we will walk you through the process of safely removing the battery from your Motorola Razr. Before you begin, it's important to gather the necessary tools and familiarize yourself with the layout of the device. With a clear understanding of the steps involved, you can confidently proceed with the battery removal process, knowing that you are taking the necessary precautions to protect your device.
Whether you are a tech-savvy individual or a casual user, having the knowledge to remove the battery from your Motorola Razr empowers you to take control of your device's maintenance and care. By following the steps outlined in this guide, you can ensure that the battery removal process is smooth and hassle-free, allowing you to address any issues with confidence.
Now, let's delve into the specific steps required to remove the battery from your Motorola Razr, empowering you to maintain and care for your device effectively.
Step 1: Gather necessary tools
Before embarking on the process of removing the battery from your Motorola Razr, it's essential to gather the necessary tools to ensure a smooth and efficient experience. Here are the tools you will need:
-
Small Phillips screwdriver: This tool is crucial for removing any screws securing the battery compartment or cover. Ensure that the screwdriver is compatible with the size of the screws on your Motorola Razr to prevent damage during the removal process.
-
Plastic pry tool or spudger: A plastic pry tool or spudger is invaluable for safely prying open the battery cover without causing damage to the device's exterior. Opt for a non-conductive tool to minimize the risk of electrical hazards while working with the battery.
-
Clean, dry cloth: Having a clean, dry cloth on hand is essential for wiping any dust or debris from the battery compartment and surrounding areas. This ensures a clean working environment and helps prevent contaminants from interfering with the battery removal process.
-
Anti-static wrist strap (optional): If you have an anti-static wrist strap available, consider using it to ground yourself and minimize the risk of static electricity damaging sensitive components of the device during the battery removal process.
By ensuring that you have these tools readily available, you can approach the battery removal process with confidence and preparedness. Having the right tools at your disposal not only facilitates a smooth removal process but also minimizes the risk of accidental damage to your Motorola Razr. With the necessary tools in hand, you are now ready to proceed to the next step of powering off the device in preparation for battery removal.
Step 2: Power off the Motorola Razr
Before initiating the process of removing the battery from your Motorola Razr, it is crucial to power off the device to ensure safety and prevent potential damage. Powering off the device minimizes the risk of electrical hazards and allows for a smooth and controlled battery removal process.
To power off your Motorola Razr, follow these simple steps:
-
Unlock the Screen: If your device is locked, unlock the screen by entering your PIN, pattern, or password.
-
Press and Hold the Power Button: Locate the power button on your Motorola Razr, typically situated along the device's edge. Press and hold the power button until the power-off menu appears on the screen.
-
Select "Power Off": Once the power-off menu is displayed, tap on the "Power Off" option to initiate the shutdown process.
-
Confirm Power Off: A confirmation prompt may appear, asking you to confirm the power-off action. Tap "OK" or follow the on-screen instructions to confirm the device shutdown.
-
Wait for Shutdown: Allow the device to power off completely. You may notice the screen turning off, indicating that the device is successfully powered down.
By following these steps, you can ensure that your Motorola Razr is safely powered off and ready for the subsequent battery removal process. It is important to exercise caution and patience during this step to avoid any accidental damage to the device or disruption to the battery removal procedure.
Once the device is powered off, you can proceed with confidence to the next step of locating the battery compartment, knowing that you have taken the necessary precautions to prepare the device for the battery removal process. With the Motorola Razr safely powered off, you are now ready to advance to the subsequent steps, bringing you closer to successfully removing the battery from your device.
Step 3: Locate the battery compartment
Locating the battery compartment is a crucial step in the process of removing the battery from your Motorola Razr. Understanding the precise location of the battery compartment allows you to approach the subsequent steps with confidence and precision. The battery compartment of the Motorola Razr is typically situated beneath the device's rear cover, and accessing it requires careful maneuvering to avoid causing any damage to the device's exterior.
To locate the battery compartment, follow these steps:
-
Turn the Device Over: Carefully turn your Motorola Razr over to expose the rear side of the device. Ensure that the device is placed on a clean and flat surface to prevent any accidental slips or falls.
-
Identify the Rear Cover: The rear cover of the Motorola Razr is the panel that encases the back of the device. It is essential to identify the specific area where the rear cover meets the rest of the device's body.
-
Inspect for Notches or Indentations: Look for notches, indentations, or small gaps along the edges of the rear cover. These features often indicate the presence of a removable cover and provide access to the battery compartment.
-
Use Visual Guides or Manuals: If available, refer to the device's user manual or visual guides to pinpoint the exact location of the battery compartment. Manufacturers often provide detailed illustrations or descriptions to assist users in locating essential components of the device.
-
Exercise Caution: While inspecting the rear cover and identifying the battery compartment, exercise caution to avoid applying excessive force or pressure that may lead to damage. Take your time to familiarize yourself with the layout of the device and the specific area where the battery compartment is located.
By carefully following these steps, you can successfully locate the battery compartment of your Motorola Razr, setting the stage for the subsequent steps involved in removing the battery. With a clear understanding of the battery compartment's location, you are now prepared to proceed to the next step of removing the battery cover, bringing you closer to the successful completion of the battery removal process.
Step 4: Remove the battery cover
With the battery compartment of your Motorola Razr successfully located, the next crucial step is to remove the battery cover. The battery cover serves as the protective panel that encases the battery and ensures its secure placement within the device. By carefully removing the battery cover, you gain access to the battery, allowing for its safe removal and potential replacement. Here's a detailed guide on how to remove the battery cover from your Motorola Razr:
-
Identify the Latch or Release Mechanism: Examine the edges of the rear cover to identify any latches, tabs, or release mechanisms securing the battery cover in place. These may appear as small protrusions, sliding mechanisms, or marked areas indicating the point of access.
-
Use the Plastic Pry Tool or Spudger: Once the latch or release mechanism is identified, gently insert the plastic pry tool or spudger into the designated area. Apply gentle pressure to disengage the latch or release the mechanism, allowing the battery cover to loosen from its position.
-
Work Along the Edges: Carefully work the plastic pry tool or spudger along the edges of the battery cover, gradually releasing any additional latches or securing points. Exercise patience and precision to avoid applying excessive force that may lead to damage.
-
Lift and Remove the Battery Cover: As the latches are disengaged, gently lift the battery cover away from the device, ensuring a smooth and controlled removal. Take note of any flex cables or connectors that may be attached to the battery cover and handle them with care to prevent damage.
-
Set Aside the Battery Cover: Once removed, set the battery cover aside in a safe and clean location. It is essential to keep the battery cover in a secure place to prevent misplacement or damage during the subsequent battery removal and reassembly process.
By following these detailed steps, you can successfully remove the battery cover from your Motorola Razr, gaining access to the battery and preparing for its safe removal. With the battery cover removed, you are now ready to proceed to the next step of taking out the battery, bringing you closer to completing the battery removal process with confidence and precision.
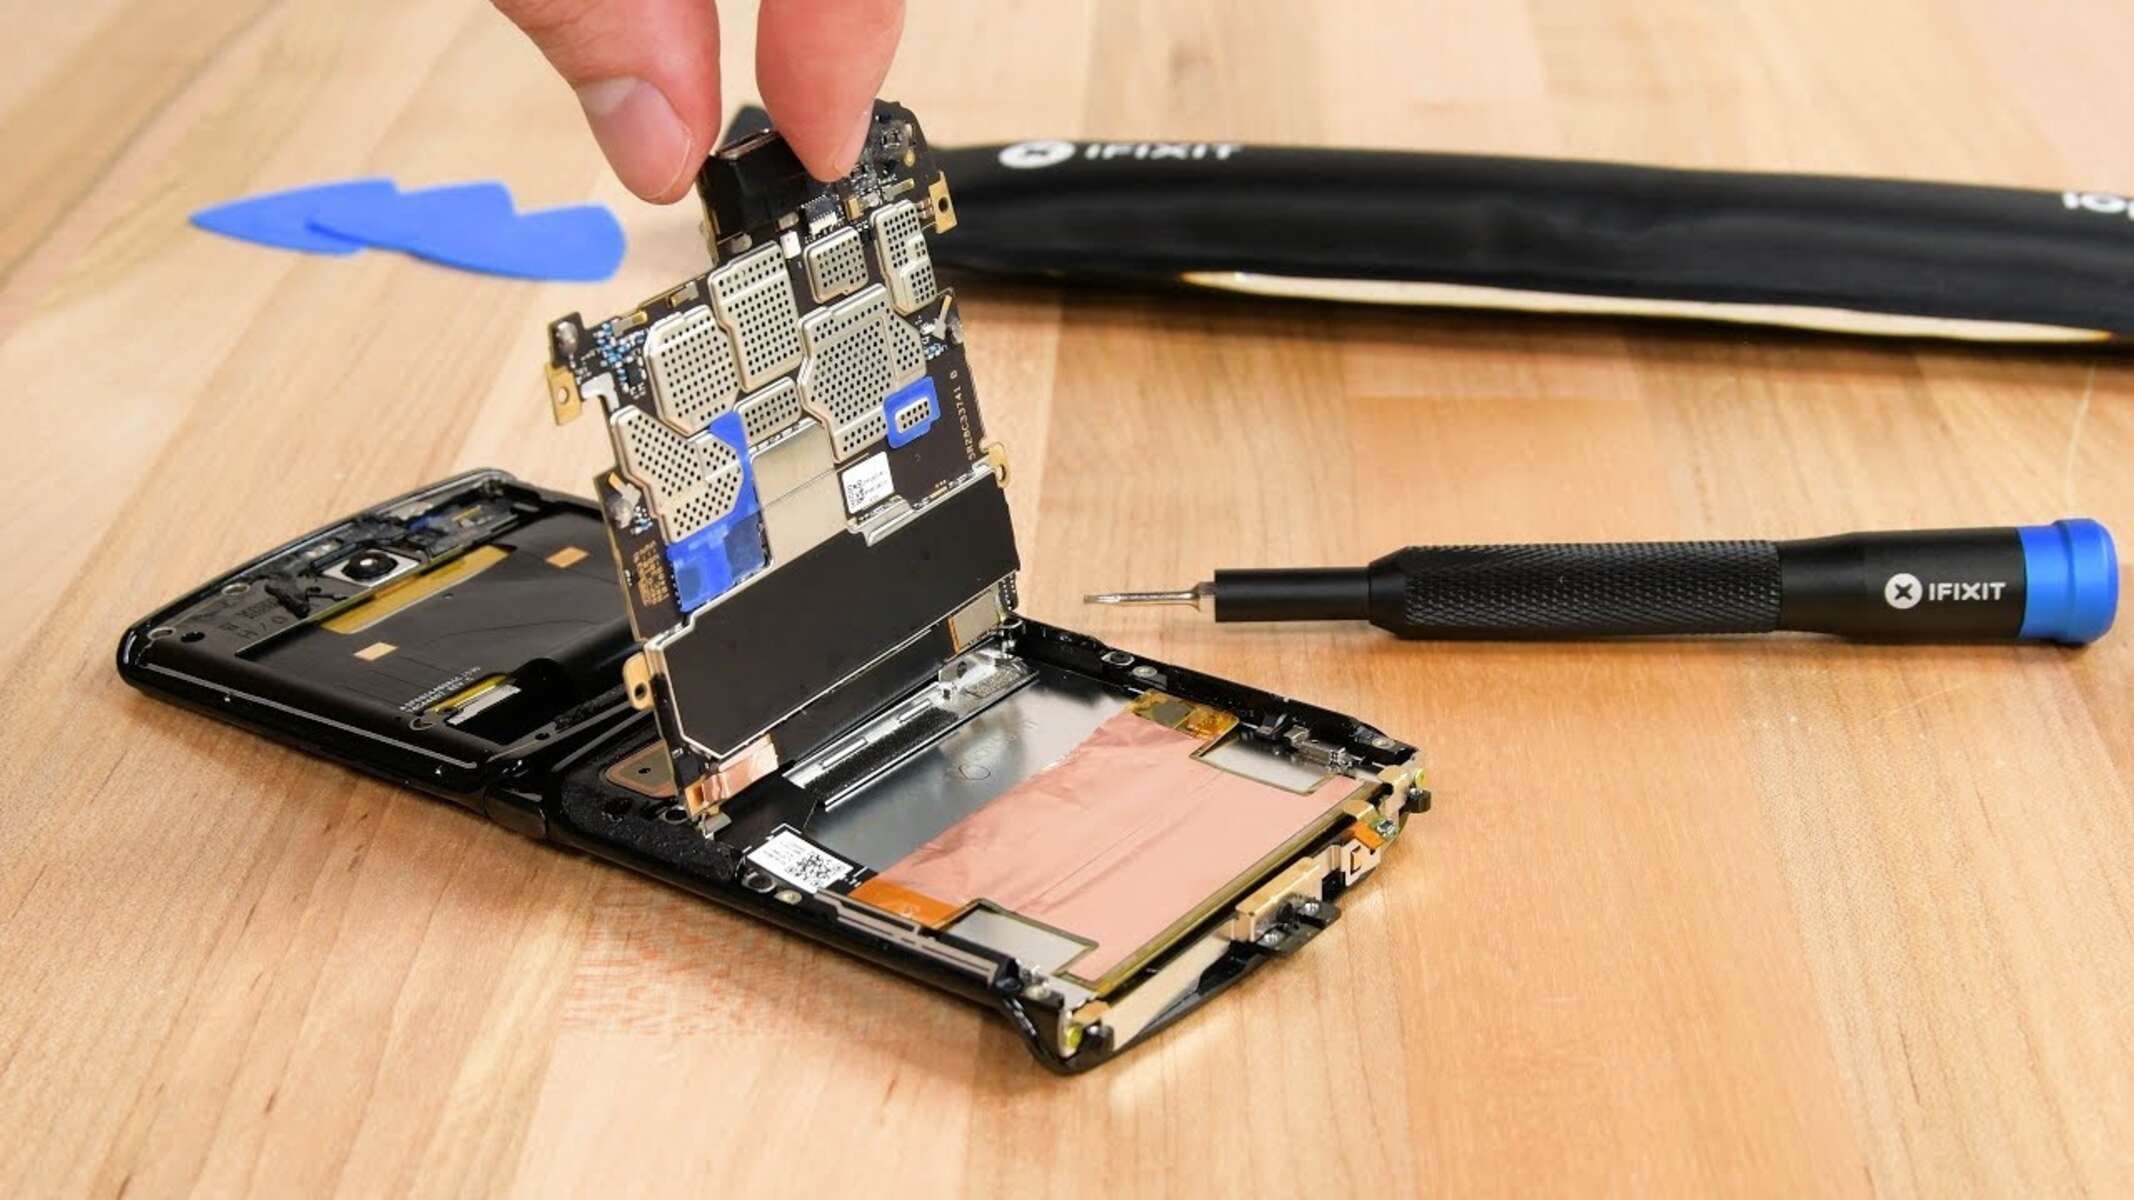
Step 5: Take out the battery
With the battery cover successfully removed, the next crucial step in the process of removing the battery from your Motorola Razr is to carefully take out the battery. The battery is a vital component of the device, and its safe removal requires precision and attention to detail. By following the steps outlined below, you can confidently navigate the process of taking out the battery from your Motorola Razr.
-
Identify the Battery: Once the battery cover is removed, the battery becomes visible within the battery compartment. Take a moment to identify the battery and familiarize yourself with its positioning and orientation within the device.
-
Inspect for Connectors or Flex Cables: Before proceeding with the battery removal, inspect the battery for any connectors or flex cables that may be attached to it. These connectors facilitate the electrical connection between the battery and the device, and it is essential to handle them with care to prevent damage.
-
Disconnect Any Cables: If the battery is connected to the device via flex cables or connectors, carefully disconnect them by gently releasing the latches or tabs securing the connections. Exercise caution and precision to avoid damaging the connectors or the device's internal components.
-
Lift the Battery: With any connectors or flex cables disconnected, gently lift the battery from its position within the battery compartment. Ensure a smooth and controlled removal, taking care not to apply excessive force that may lead to damage.
-
Handle with Care: As you take out the battery, handle it with care to prevent any physical damage or deformation. Batteries are sensitive components, and proper handling is essential to maintain their integrity and safety.
-
Place the Battery in a Safe Location: Once the battery is removed, place it in a safe and secure location, away from any potential sources of damage or interference. Keeping the battery in a clean and dry environment helps preserve its condition during the subsequent steps of the maintenance or troubleshooting process.
By meticulously following these steps, you can successfully take out the battery from your Motorola Razr, paving the way for potential replacement or further maintenance. With the battery safely removed, you have completed a crucial phase of the battery removal process, empowering you to address any issues or perform necessary maintenance with confidence and precision.
Step 6: Reassemble the phone
Reassembling the phone after removing the battery from your Motorola Razr is a critical step that ensures the device is restored to its fully functional state. Proper reassembly involves carefully securing the battery back into its compartment, reattaching any connectors or flex cables, and replacing the battery cover to safeguard the internal components. By following the detailed steps outlined below, you can confidently navigate the reassembly process, bringing your Motorola Razr back to its operational state.
-
Position the Battery: Carefully position the battery back into the designated compartment within the device, ensuring that it aligns correctly with the connectors and seating points. Exercise caution to prevent any undue pressure on the battery or the device's internal components during this step.
-
Reconnect Any Cables: If the battery is connected to the device via flex cables or connectors, carefully reattach them by aligning the connectors and securing them in place. Take care to handle the connectors with precision to avoid damage and ensure a secure electrical connection.
-
Secure the Battery Cover: Place the battery cover back onto the device, aligning it with the edges and ensuring a snug fit. Gently press along the edges to secure the battery cover in place, taking care to engage any latches or securing mechanisms to prevent any movement or detachment.
-
Test the Device: Once the battery is reinstalled and the cover is securely in place, power on the device to verify that it functions as expected. Ensure that the device boots up without any issues and that the battery is recognized and operational.
-
Final Inspection: Conduct a visual inspection of the device to ensure that the battery cover is securely attached, and there are no gaps or misalignments. Verify that all buttons, ports, and features are accessible and functional, indicating a successful reassembly process.
By meticulously following these steps, you can effectively reassemble your Motorola Razr after removing the battery, ensuring that the device is restored to its optimal condition. Proper reassembly is essential for maintaining the device's integrity and functionality, allowing you to continue using your Motorola Razr with confidence and peace of mind.
With the phone successfully reassembled, you have completed the comprehensive process of removing and reinstalling the battery, empowering you to address any maintenance or troubleshooting needs effectively.
Conclusion
In conclusion, the process of removing the battery from a Motorola Razr involves a series of straightforward yet crucial steps that empower users to maintain and care for their devices effectively. By following the outlined steps, individuals can confidently navigate the battery removal process, ensuring the safety and integrity of their Motorola Razr throughout the maintenance or troubleshooting procedure.
The importance of gathering the necessary tools, including a small Phillips screwdriver, plastic pry tool or spudger, clean, dry cloth, and optional anti-static wrist strap, cannot be overstated. These tools not only facilitate a smooth battery removal process but also minimize the risk of accidental damage to the device. Preparedness and attention to detail during the tool-gathering phase set the stage for a successful battery removal experience.
Powering off the Motorola Razr before initiating the battery removal process is a critical safety measure. By following the simple steps to power off the device, users can mitigate the risk of electrical hazards and ensure a controlled and safe environment for the subsequent steps of locating the battery compartment, removing the battery cover, and taking out the battery.
Locating the battery compartment and carefully removing the battery cover are pivotal steps that require precision and patience. By identifying the latch or release mechanism and using the plastic pry tool or spudger to remove the battery cover, users gain access to the battery, setting the stage for its safe removal and potential replacement.
Taking out the battery from the Motorola Razr demands attention to detail and a gentle touch to ensure the integrity of the device and its components. By identifying the battery, disconnecting any cables, and handling the battery with care, users can successfully remove the battery, paving the way for potential maintenance or troubleshooting needs.
The reassembly phase, which involves positioning the battery, reconnecting any cables, and securing the battery cover, ensures that the Motorola Razr is restored to its fully functional state. Proper reassembly is essential for maintaining the device's integrity and functionality, allowing users to continue using their Motorola Razr with confidence and peace of mind.
In essence, the comprehensive process of removing and reinstalling the battery from a Motorola Razr empowers users to take control of their device's maintenance and care. By following the outlined steps and exercising caution and precision throughout the process, individuals can address any maintenance or troubleshooting needs effectively, ensuring the longevity and optimal performance of their Motorola Razr.