Introduction
Welcome to the world of mobile connectivity! Whether you've just purchased a new iPhone or switched to AT&T as your service provider, ensuring that your SIM card is properly installed is crucial for accessing the network and enjoying the full functionality of your device. In this tutorial, we will guide you through the process of installing an AT&T SIM card in your iPhone, ensuring that you can seamlessly connect with friends, family, and the digital world at large.
The SIM card, or Subscriber Identity Module, plays a pivotal role in enabling your iPhone to communicate with the AT&T network. It contains essential information such as your phone number, network credentials, and other key data necessary for making calls, sending texts, and accessing mobile data. Without a properly installed SIM card, your iPhone would be unable to connect to the AT&T network, rendering it essentially a sleek, high-tech paperweight.
Fear not, as we will walk you through the entire process in a clear and concise manner. By the end of this tutorial, you will be equipped with the knowledge and confidence to successfully install your AT&T SIM card, empowering you to harness the full potential of your iPhone and stay connected wherever you go. So, without further ado, let's dive into the step-by-step guide to installing your AT&T SIM card in your iPhone.
Step 1: Gather the necessary materials
Before embarking on the journey of installing your AT&T SIM card in your iPhone, it's essential to ensure that you have all the necessary materials at your disposal. This preliminary step will help streamline the installation process and prevent any unnecessary interruptions. Here's what you'll need:
-
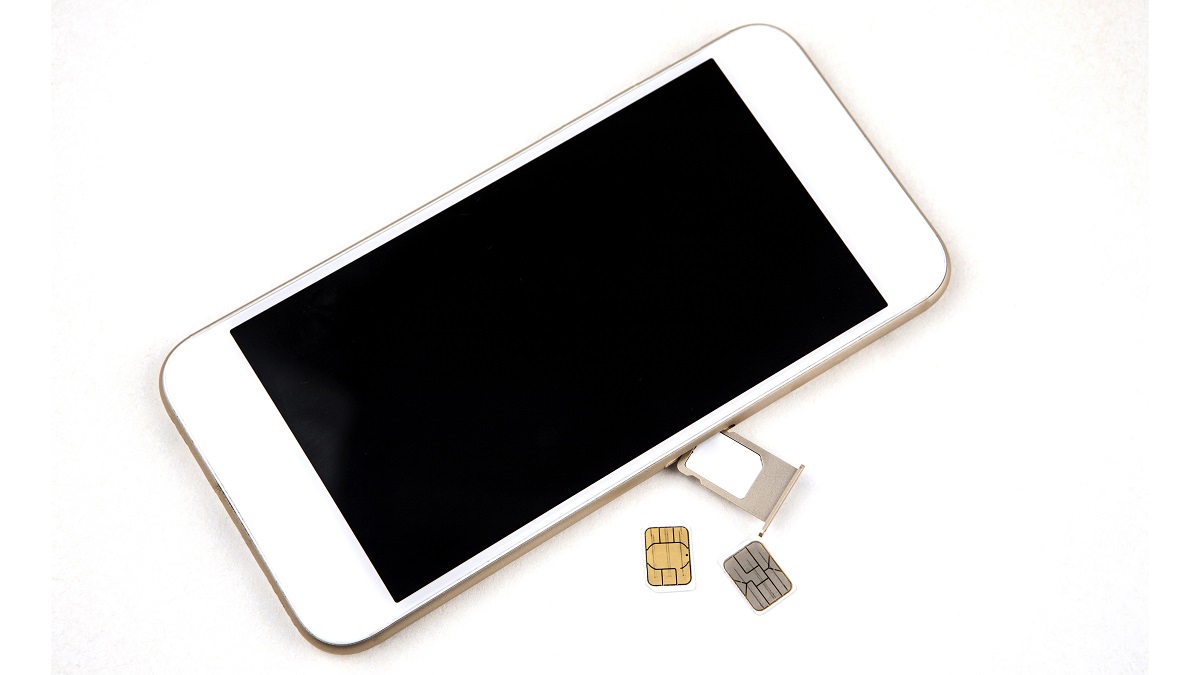
AT&T SIM Card: The star of the show, the AT&T SIM card is a small, rectangular chip that contains vital information required for connecting to the AT&T network. It's typically packaged in a protective card, so ensure that you have this ready.
-
iPhone: Of course, you'll need the iPhone for which you are installing the SIM card. Whether it's the latest model or a trusty older version, make sure it's powered off before proceeding.
-
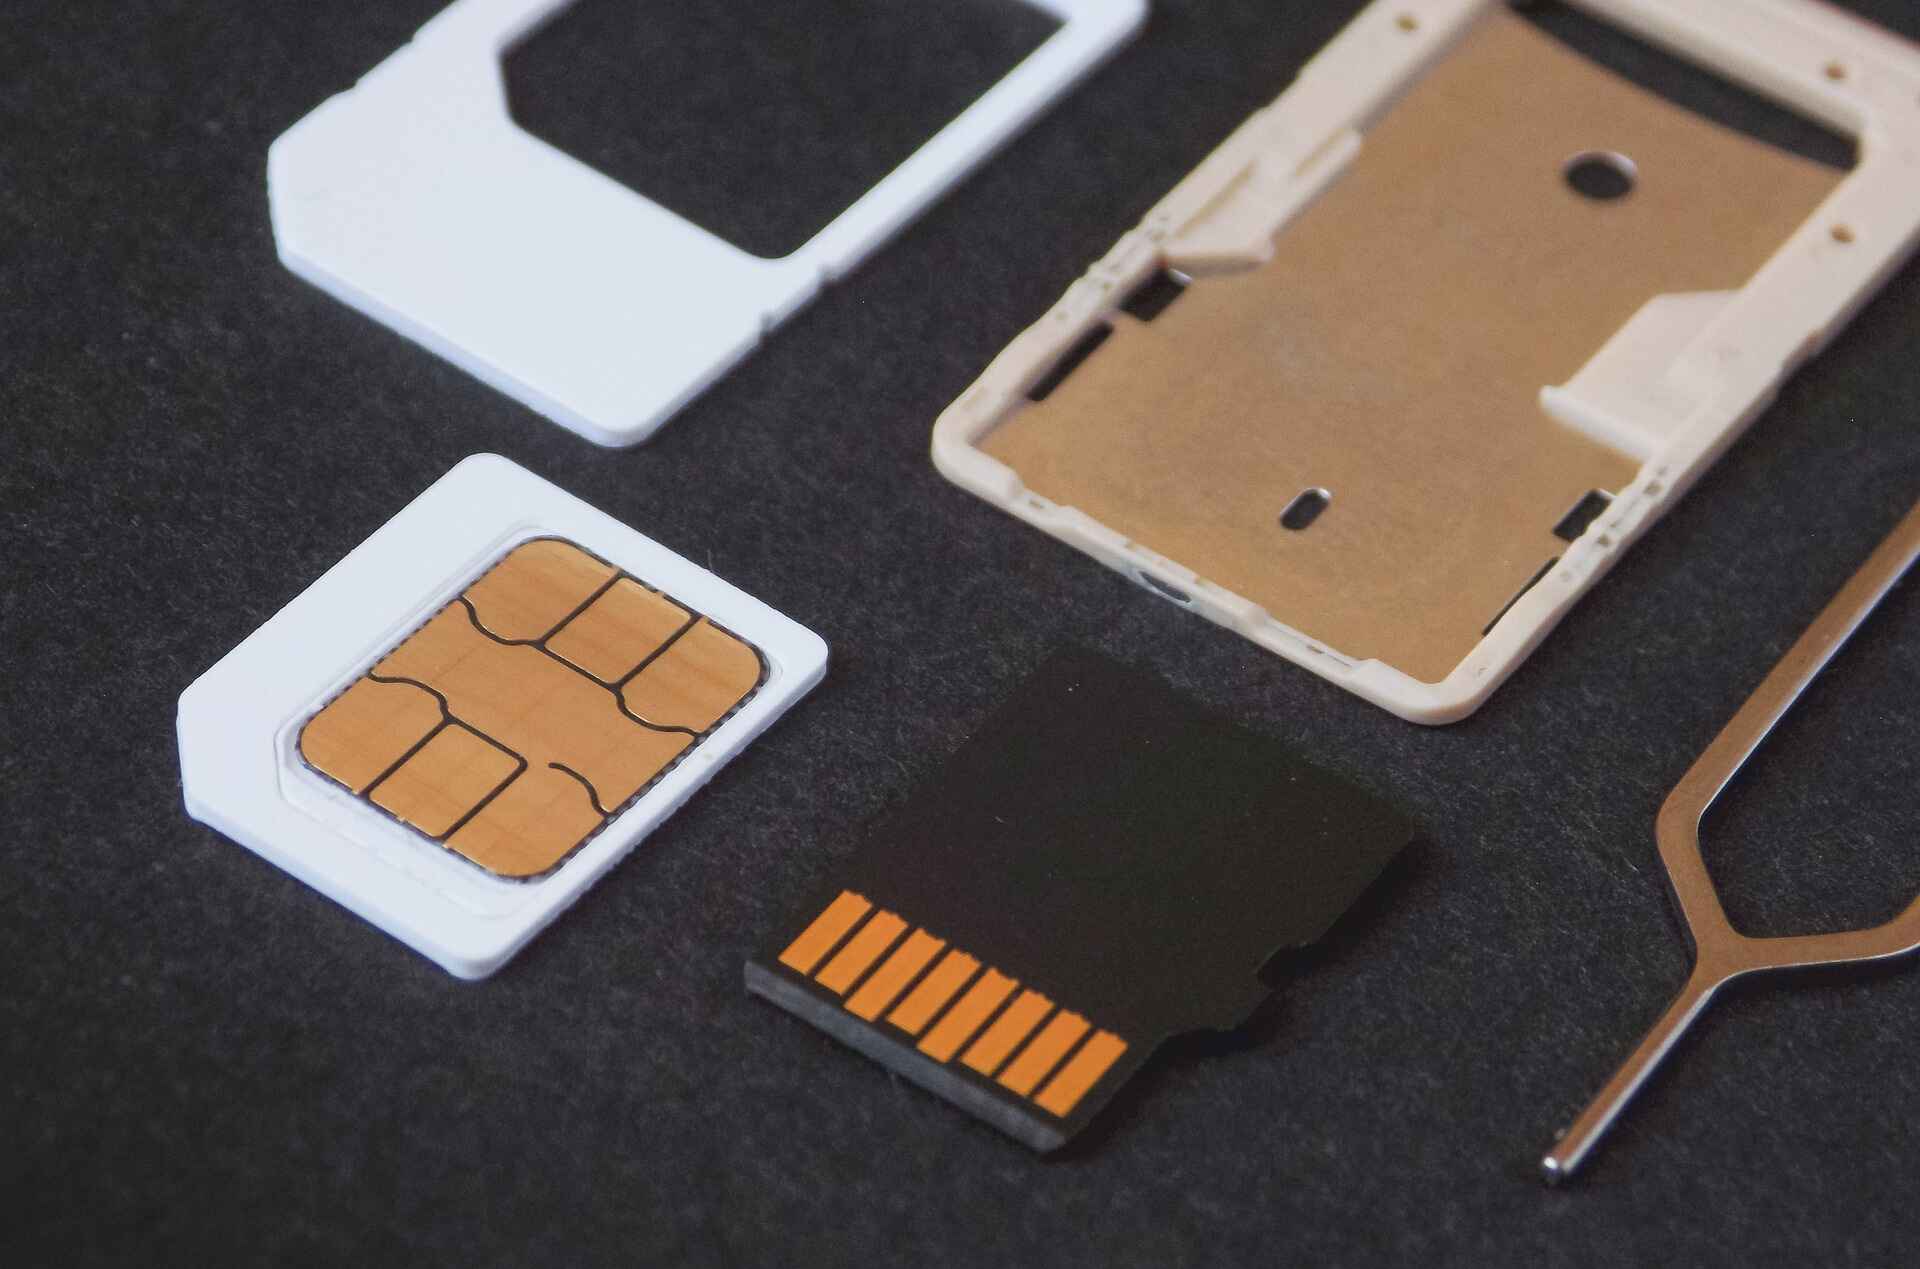
SIM Card Ejector Tool or Paperclip: To access the SIM card slot on your iPhone, you'll need a SIM card ejector tool or a straightened paperclip. This tool is essential for gently opening the SIM card tray without causing any damage to your device.
-
Stable Work Surface: While this may seem like a minor detail, having a stable work surface can make the installation process much smoother. Whether it's a table or desk, ensure that it provides a secure and level platform for working on your iPhone.
-
Good Lighting: Installing a SIM card in your iPhone requires precision, so having adequate lighting is crucial. Whether it's natural daylight or a well-lit room, ensure that you can clearly see the SIM card slot and surrounding areas.
By gathering these essential materials, you'll be fully prepared to navigate the subsequent steps with confidence and ease. With everything in place, you're now ready to power off your iPhone and proceed to the next step of the installation process.
Step 2: Power off your iPhone
Before delving into the intricacies of inserting the AT&T SIM card into your iPhone, it's crucial to ensure that your device is powered off. This seemingly simple step is essential for the safety of both your iPhone and the SIM card, as it minimizes the risk of potential damage during the installation process.
To power off your iPhone, follow these straightforward steps:
-
Locate the Power Button: On most iPhone models, the power button is situated on the right-hand side of the device. It's typically distinguished by its small, circular shape and is positioned slightly above the volume buttons.
-
Press and Hold the Power Button: Press and hold the power button until the "slide to power off" option appears on the screen. This action prompts the iPhone to initiate the shutdown process.
-
Slide to Power Off: Once the "slide to power off" option is displayed, use your finger to slide the on-screen control from left to right. As you do this, the iPhone will begin the shutdown sequence, and the screen will gradually darken as the device powers down.
-
Wait for the Shutdown to Complete: Allow the iPhone to fully power off before proceeding to the next step. This ensures that the device is in a safe state for the SIM card installation.
By diligently following these steps to power off your iPhone, you're taking a proactive approach to safeguarding your device and the delicate components within. This preparatory measure sets the stage for a smooth and stress-free SIM card installation process, allowing you to proceed with confidence and peace of mind.
With your iPhone successfully powered off, you're now ready to move on to the next step: locating the SIM card slot and preparing to insert the AT&T SIM card. This marks a pivotal moment in the installation process, bringing you one step closer to seamlessly integrating your iPhone with the AT&T network.
Step 3: Locate the SIM card slot
With your iPhone powered off, the next crucial step in the process of installing your AT&T SIM card is to locate the SIM card slot on your device. The SIM card slot is where the SIM card will be housed, enabling your iPhone to establish a connection with the AT&T network. Depending on the model of your iPhone, the location of the SIM card slot may vary slightly, but the fundamental process remains consistent.
-
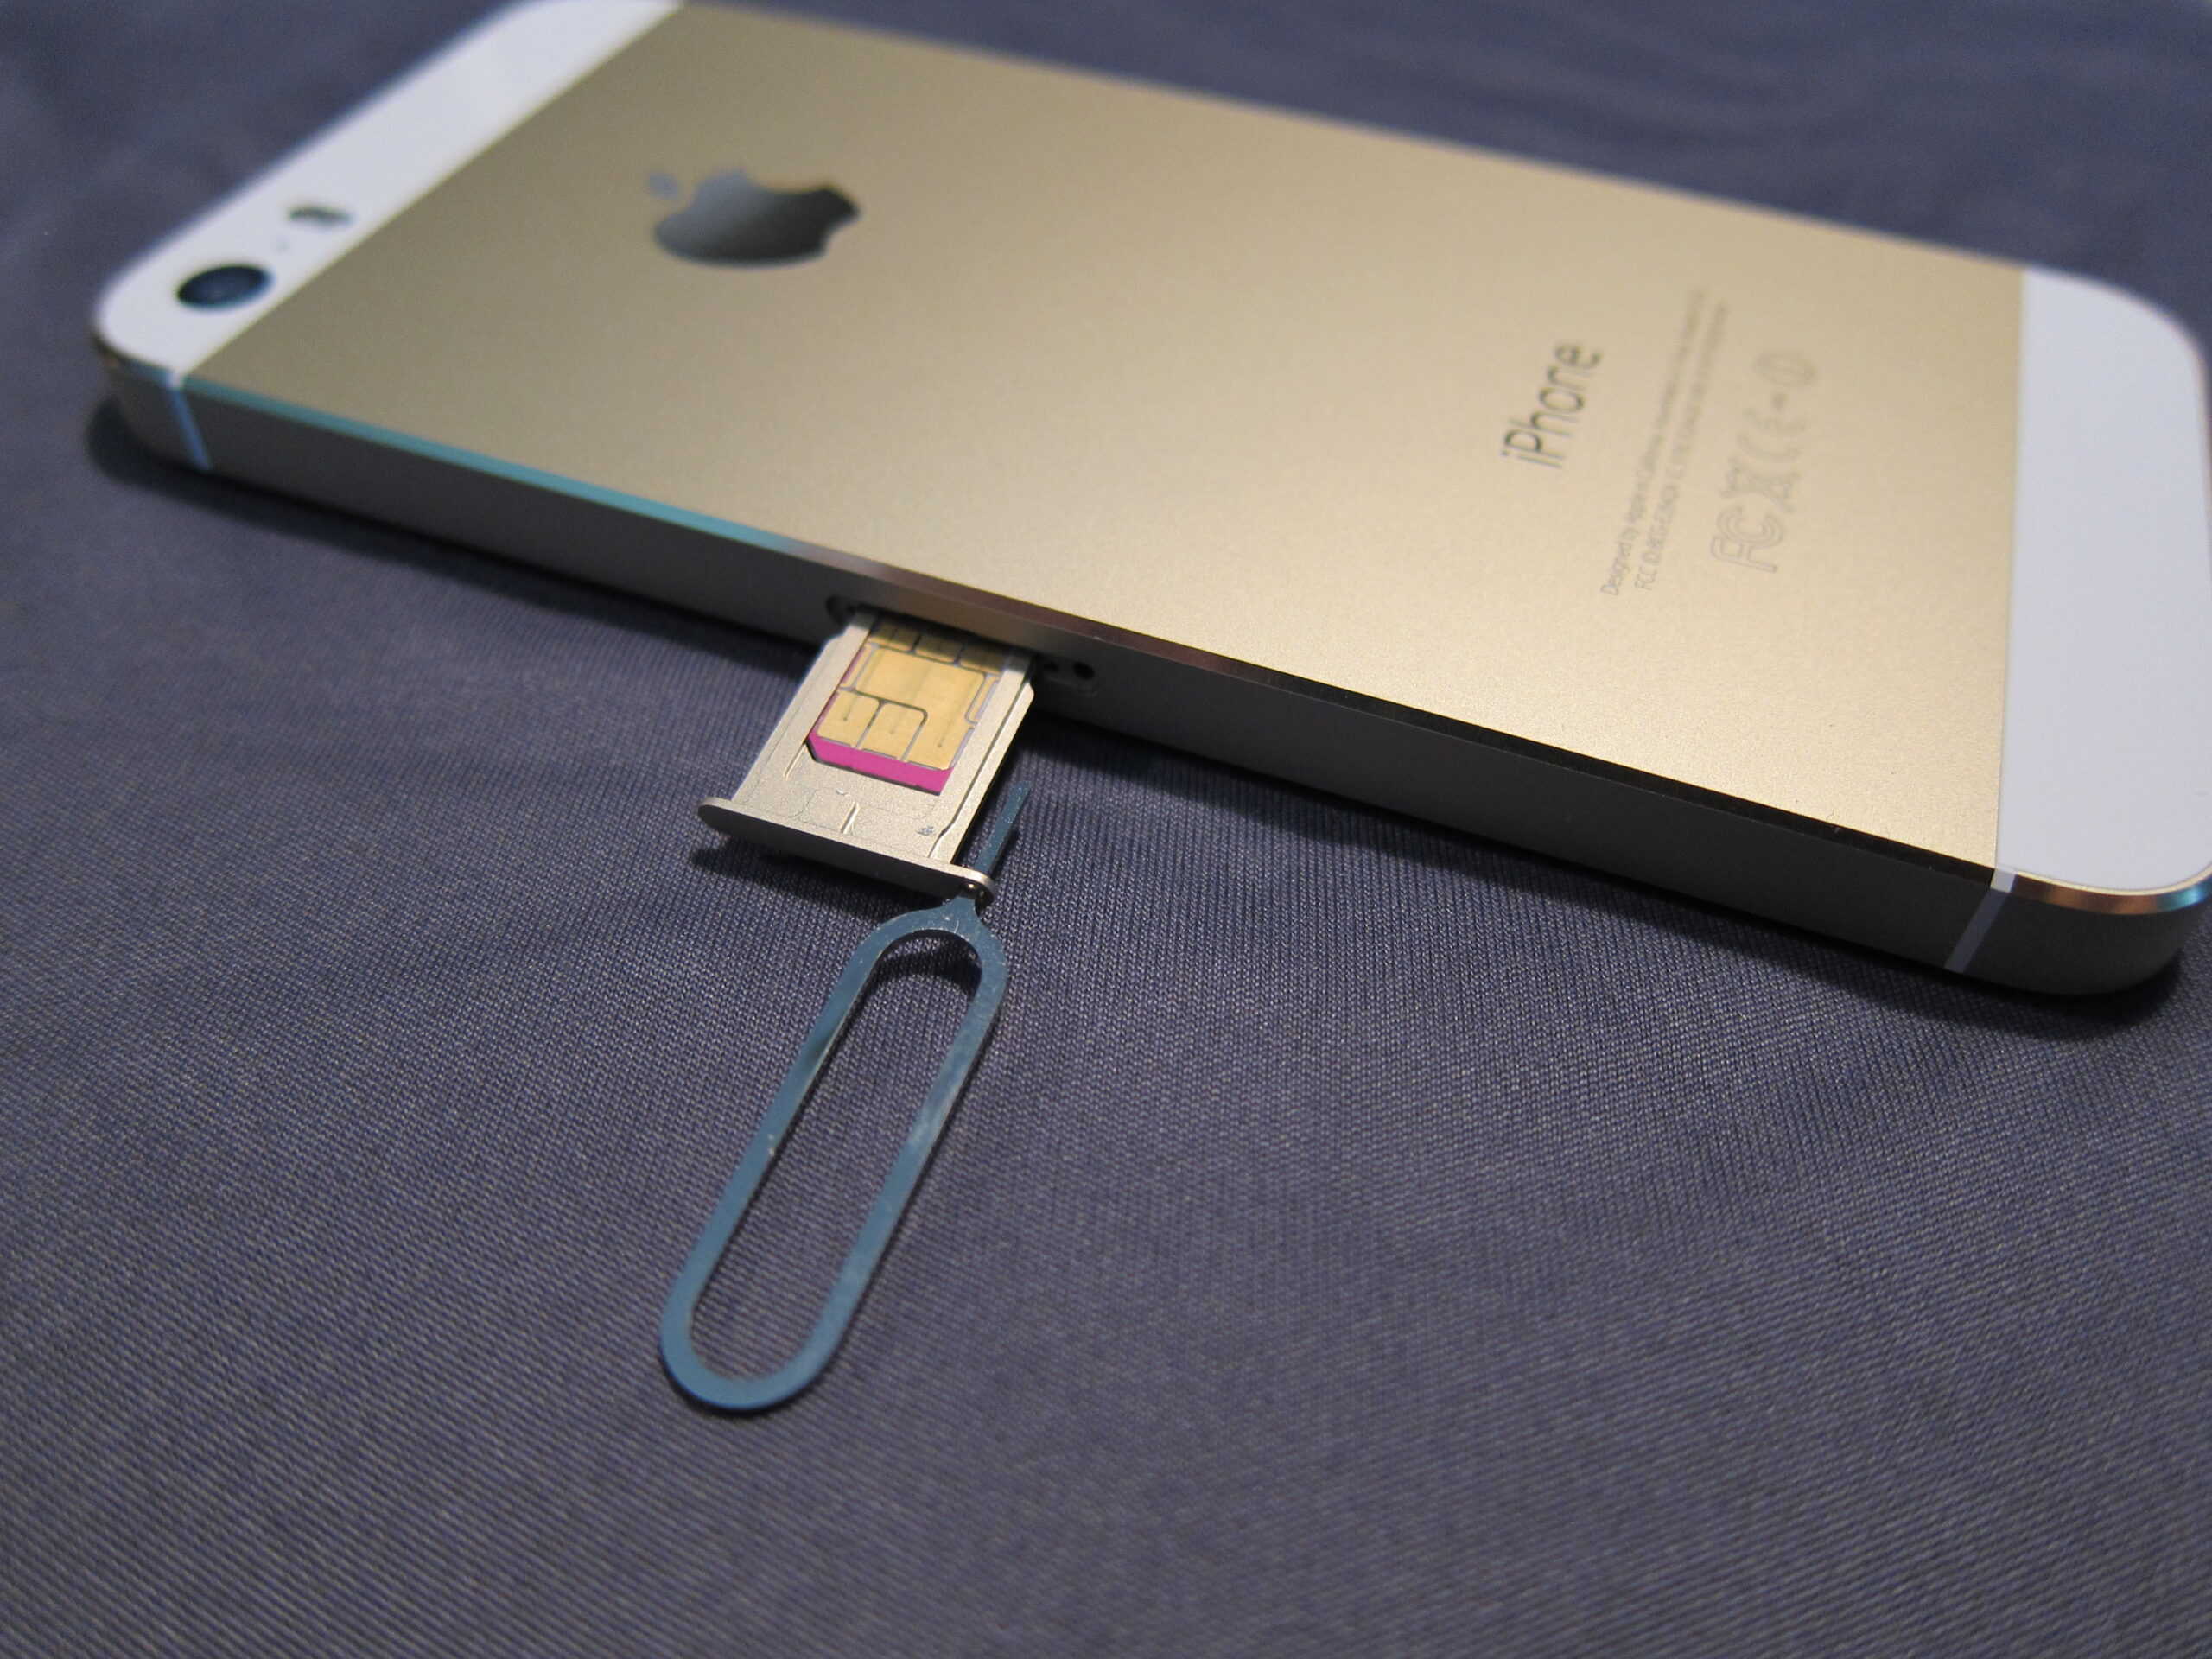
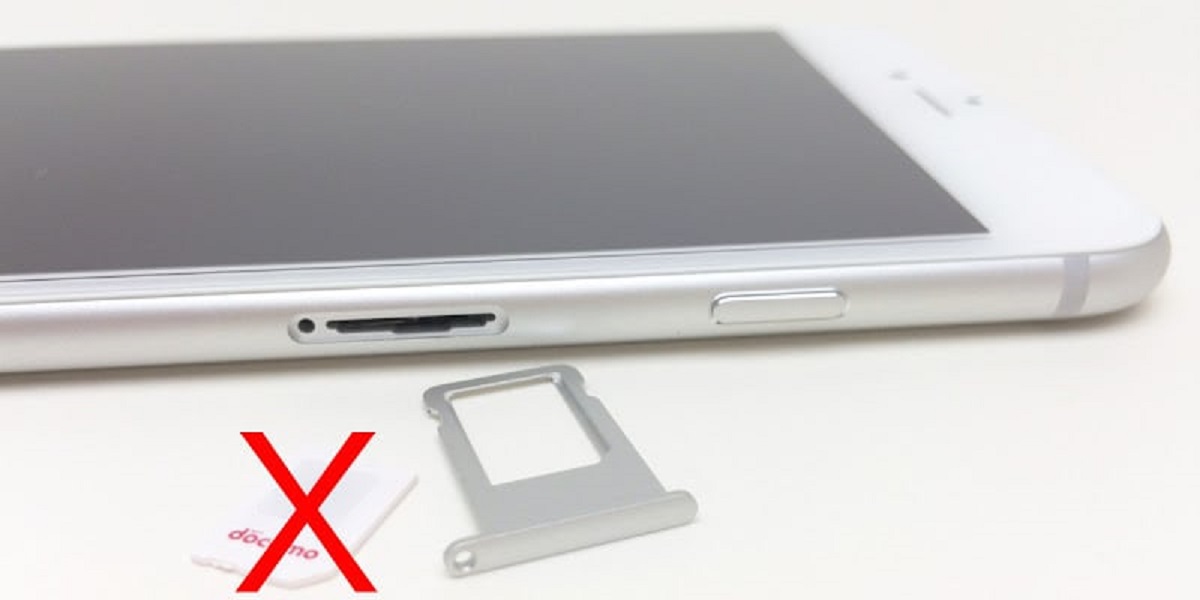
Identify the SIM Card Tray: On most iPhone models, the SIM card tray is located on the right-hand side of the device. It is typically positioned near the midpoint of the side panel and is distinguished by a small pinhole.
-
Retrieve the SIM Card Ejector Tool: As mentioned in the preliminary materials list, you'll need the SIM card ejector tool or a straightened paperclip to access the SIM card tray. Retrieve this tool and hold it securely in your hand.
-
Insert the Ejector Tool: Gently insert the pointed end of the SIM card ejector tool or paperclip into the small pinhole located next to the SIM card tray. Apply light pressure to ensure that the tool is inserted fully but with caution, as excessive force may damage the internal components.
-
Eject the SIM Card Tray: Once the ejector tool is inserted, exert a small amount of pressure to activate the internal mechanism that releases the SIM card tray. You will feel a slight resistance before the tray begins to emerge from the side of the iPhone.
-
Carefully Remove the SIM Card Tray: Once the SIM card tray is partially ejected, carefully pull it out from the device using your fingers. Exercise caution to avoid tilting or dropping the tray, as this could potentially dislodge the existing SIM card if one is already installed.
By diligently following these steps, you will successfully locate the SIM card slot on your iPhone, setting the stage for the pivotal moment of inserting the AT&T SIM card. With the SIM card tray in hand, you are now ready to proceed to the next step and seamlessly integrate your AT&T SIM card with your iPhone, bringing you one step closer to enjoying the full spectrum of mobile connectivity and functionality.
Step 4: Insert the AT&T SIM card
With the SIM card tray in hand and your iPhone powered off, the moment has arrived to insert the AT&T SIM card into your device. This pivotal step is essential for establishing a seamless connection with the AT&T network and unlocking the full potential of your iPhone. Follow these detailed instructions to ensure a smooth and successful insertion process:
-
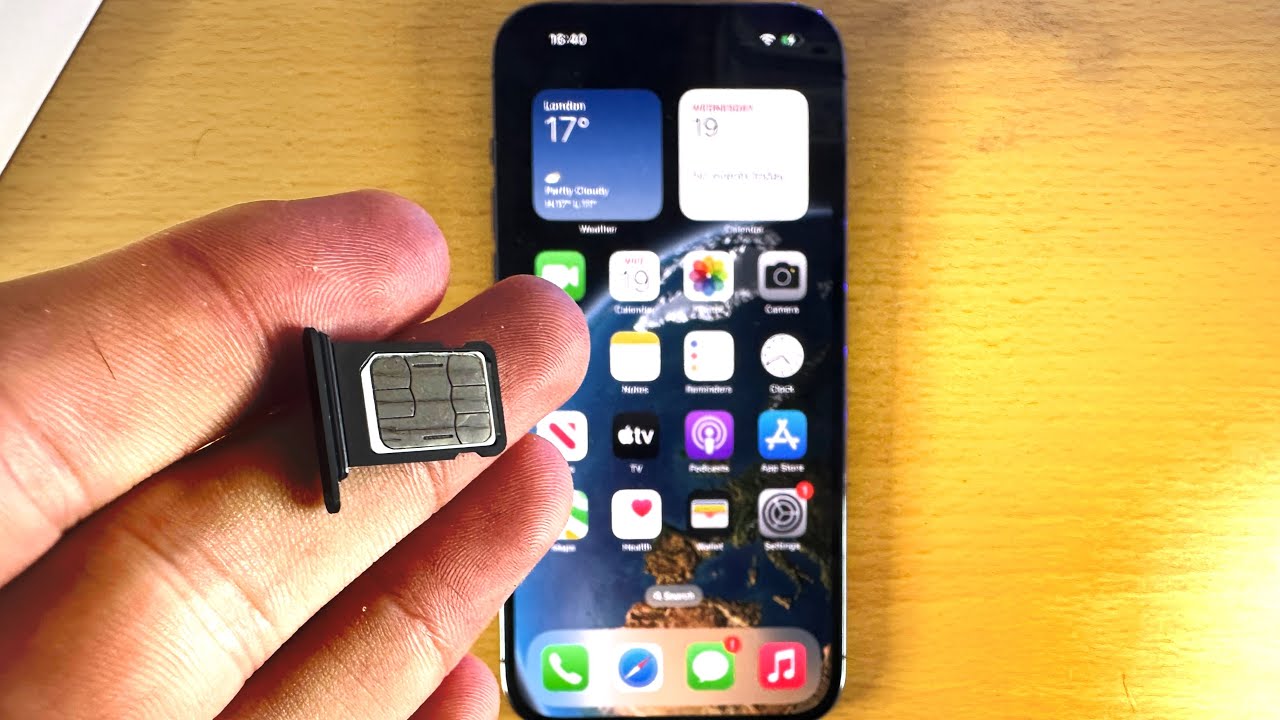
Prepare the AT&T SIM Card: Take the AT&T SIM card, ensuring that it is free from any visible damage and is positioned correctly for insertion. The SIM card features a notched corner, which aligns with the corresponding notch in the SIM card tray, ensuring the correct orientation for insertion.
-
Position the SIM Card in the Tray: Gently place the AT&T SIM card into the designated area on the SIM card tray. Align the notched corner of the SIM card with the matching notch on the tray, ensuring a precise fit. The SIM card should rest flat and flush within the tray, without any protrusions or misalignment.
-
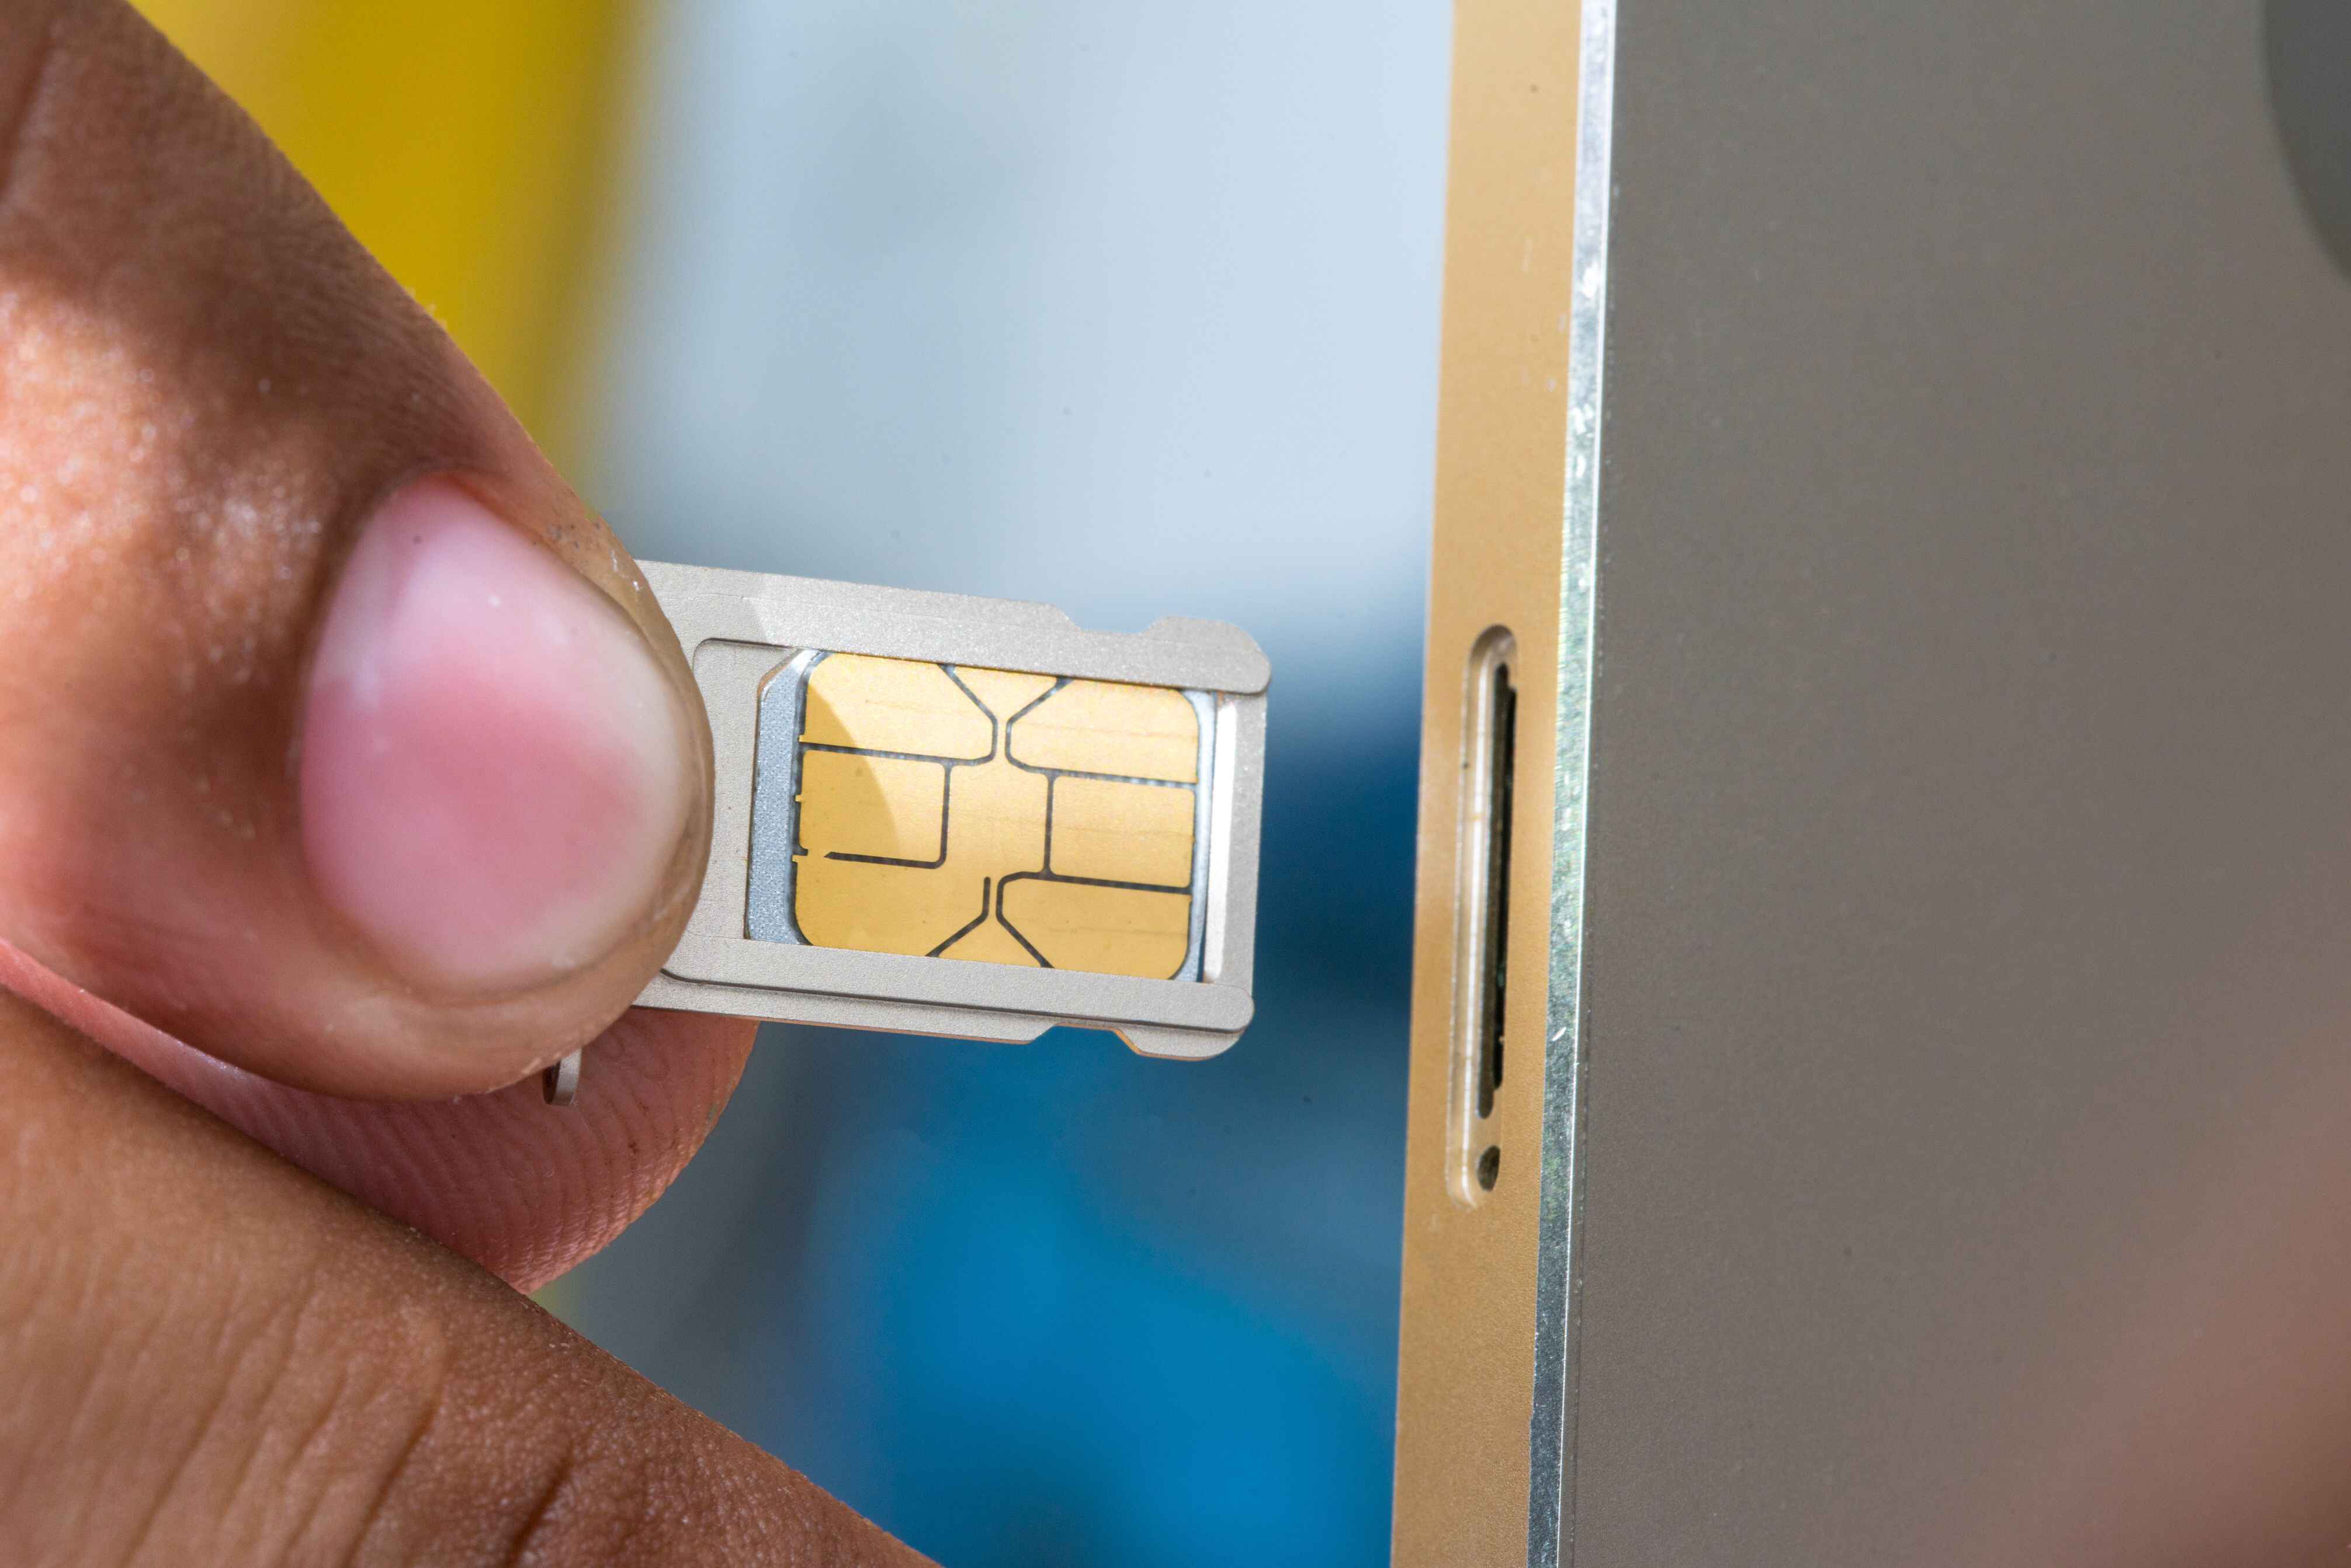
Carefully Insert the Tray into the iPhone: Holding the SIM card tray securely, position it back into the SIM card slot on the side of your iPhone. Ensure that the tray slides in smoothly and without resistance, maintaining a steady and level approach. Avoid applying excessive force, as this could potentially damage the SIM card or the internal components of your device.
-
Securely Close the SIM Card Tray: Once the SIM card tray is fully inserted, gently press it into place until it sits flush with the side of your iPhone. Ensure that the tray is securely closed, with no gaps or misalignment. This step is crucial for maintaining the integrity of the SIM card connection and ensuring a stable and reliable network connection.
-
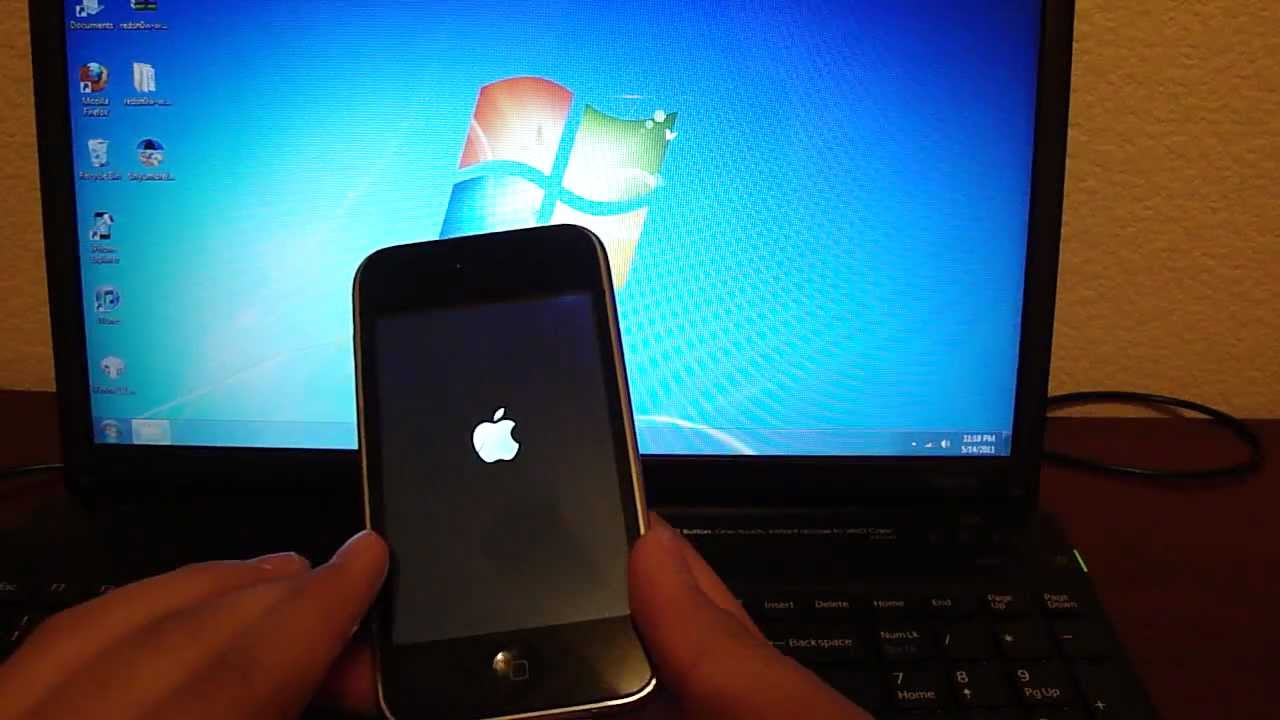
Power on your iPhone: With the AT&T SIM card successfully inserted, power on your iPhone by pressing and holding the power button until the Apple logo appears on the screen. As your device boots up, it will initiate the process of recognizing the newly installed SIM card and establishing a connection with the AT&T network.
By carefully following these steps, you have successfully inserted the AT&T SIM card into your iPhone, setting the stage for seamless connectivity and access to the full suite of mobile services offered by AT&T. With your device powered on and the SIM card in place, you are now ready to embark on a journey of uninterrupted communication, digital engagement, and unparalleled mobile experiences.
Step 5: Power on your iPhone
With the AT&T SIM card successfully inserted into the SIM card tray and securely closed, the next crucial step is to power on your iPhone. This pivotal moment marks the initiation of the device's recognition of the newly installed SIM card and the subsequent establishment of a seamless connection with the AT&T network.
To power on your iPhone, follow these straightforward steps:
-
Press and Hold the Power Button: Located on the right-hand side of the device, the power button is easily accessible. Press and hold this button until the iconic Apple logo appears on the screen, signaling the commencement of the boot-up process.
-
Wait for the Startup Sequence: As your iPhone powers on, it undergoes a series of internal checks and configurations to ensure that all components are functioning optimally. This startup sequence typically takes a few moments, during which the device prepares to recognize the newly installed AT&T SIM card.
-
Network Recognition and Activation: Upon completing the startup sequence, your iPhone will actively seek to recognize and activate the AT&T SIM card. This process involves establishing a secure connection with the AT&T network, enabling you to access voice, text, and data services seamlessly.
-
Verification and Network Registration: As the startup process nears completion, your iPhone verifies the authenticity of the AT&T SIM card and registers it with the network. This crucial step ensures that your device is fully equipped to harness the capabilities of the AT&T network, empowering you to stay connected wherever you go.
-
Unlock the Full Potential: With the successful recognition and activation of the AT&T SIM card, your iPhone is now fully equipped to unlock its full potential. Whether it's making calls, sending texts, browsing the web, or enjoying a myriad of mobile applications, your device is primed to deliver a comprehensive and uninterrupted mobile experience.
By diligently following these steps to power on your iPhone, you have successfully completed the installation process of the AT&T SIM card, setting the stage for a seamless and enriching mobile connectivity experience. With your iPhone powered on and the SIM card recognized by the AT&T network, you are now ready to embark on a journey of uninterrupted communication, digital engagement, and unparalleled mobile experiences.
Conclusion
Congratulations! You have successfully navigated the process of installing an AT&T SIM card in your iPhone, unlocking a world of seamless connectivity and mobile possibilities. By following the step-by-step guide outlined in this tutorial, you have empowered your iPhone to establish a robust connection with the AT&T network, enabling you to stay connected, informed, and engaged at all times.
With the AT&T SIM card seamlessly integrated into your iPhone, you are now poised to harness the full spectrum of mobile services and experiences offered by AT&T. Whether it's making crystal-clear calls, exchanging text messages with friends and family, or delving into the boundless realm of mobile data, your device is now equipped to deliver a comprehensive and uninterrupted mobile experience.
The successful installation of the AT&T SIM card represents a pivotal milestone in your journey towards seamless mobile connectivity. It signifies the convergence of cutting-edge technology and reliable network infrastructure, culminating in a harmonious union within the sleek confines of your iPhone. As you power on your device and witness the familiar Apple logo illuminate the screen, you can take pride in knowing that your iPhone is now fully equipped to keep you connected, informed, and entertained.
Furthermore, the installation process serves as a testament to your ability to navigate the intricacies of mobile device management with confidence and precision. By carefully following each step, from powering off your iPhone to delicately inserting the SIM card and powering it back on, you have demonstrated a keen understanding of the symbiotic relationship between hardware and network connectivity.
As you embark on your mobile journey with the AT&T SIM card seamlessly integrated into your iPhone, remember that this newfound connectivity is more than just a technological feat – it's a gateway to staying connected with loved ones, accessing vital information on the go, and immersing yourself in the rich tapestry of digital experiences that define the modern era.
So, as your iPhone springs to life with the AT&T network at its core, take a moment to appreciate the seamless integration that you have achieved. Embrace the boundless potential of mobile connectivity, and let your iPhone serve as a steadfast companion in your daily adventures, keeping you connected to the world with unparalleled ease and reliability.