Introduction
Inserting a SIM card into your iPhone 11 is a simple yet crucial step in setting up your device for seamless communication. Whether you're upgrading to a new iPhone or replacing your SIM card, this guide will walk you through the process with clear and easy-to-follow instructions. By understanding the steps involved in inserting a SIM card, you can ensure that your iPhone 11 is ready to connect you to the world.
Ensuring that you have the necessary tools and understanding the location of the SIM card tray are essential preliminary steps. With the right guidance, you can confidently navigate through the process of ejecting the SIM card tray, inserting the SIM card, and re-inserting the tray into your iPhone 11. This article aims to provide a comprehensive overview of the entire process, empowering you to complete the task effortlessly.
By following the steps outlined in this guide, you'll gain a deeper understanding of your iPhone 11's hardware and feel more confident in handling basic maintenance tasks. Whether you're a new iPhone user or simply need a refresher on inserting a SIM card, this article will equip you with the knowledge and skills to carry out this essential task with ease. Let's dive into the step-by-step process of inserting a SIM card into your iPhone 11 and ensure that your device is ready to keep you connected at all times.
Step 1: Gather necessary tools
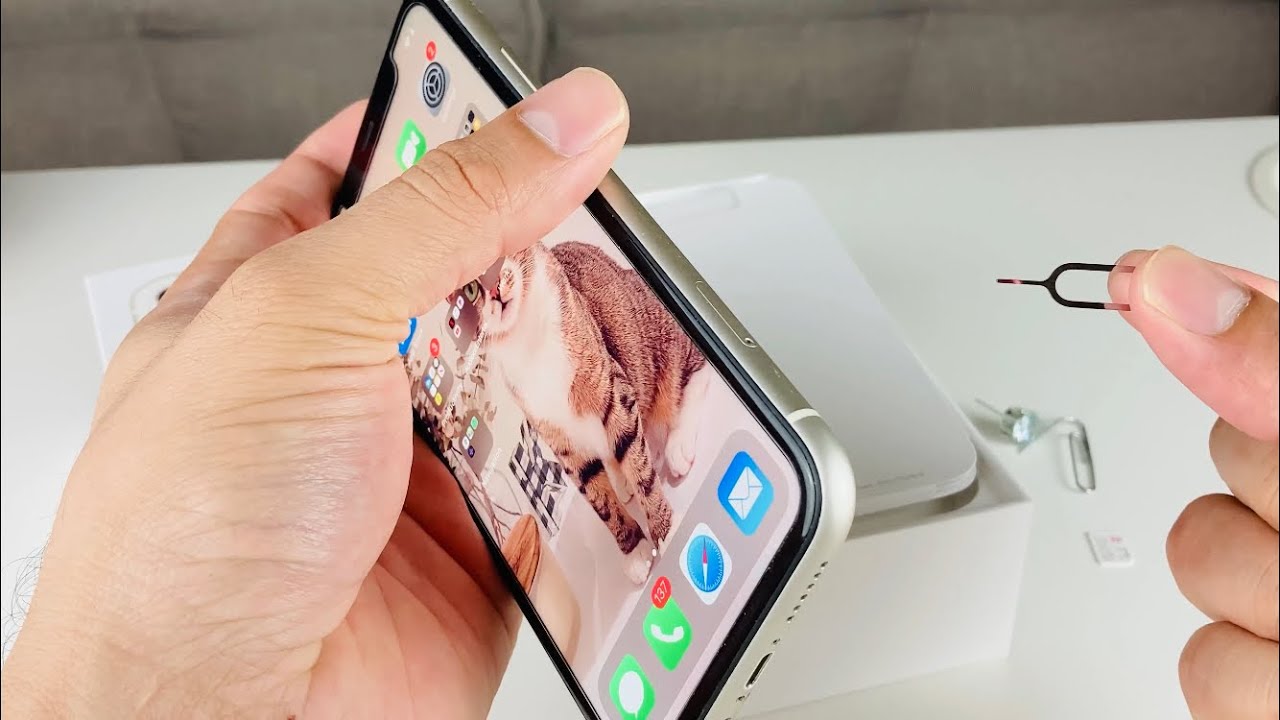
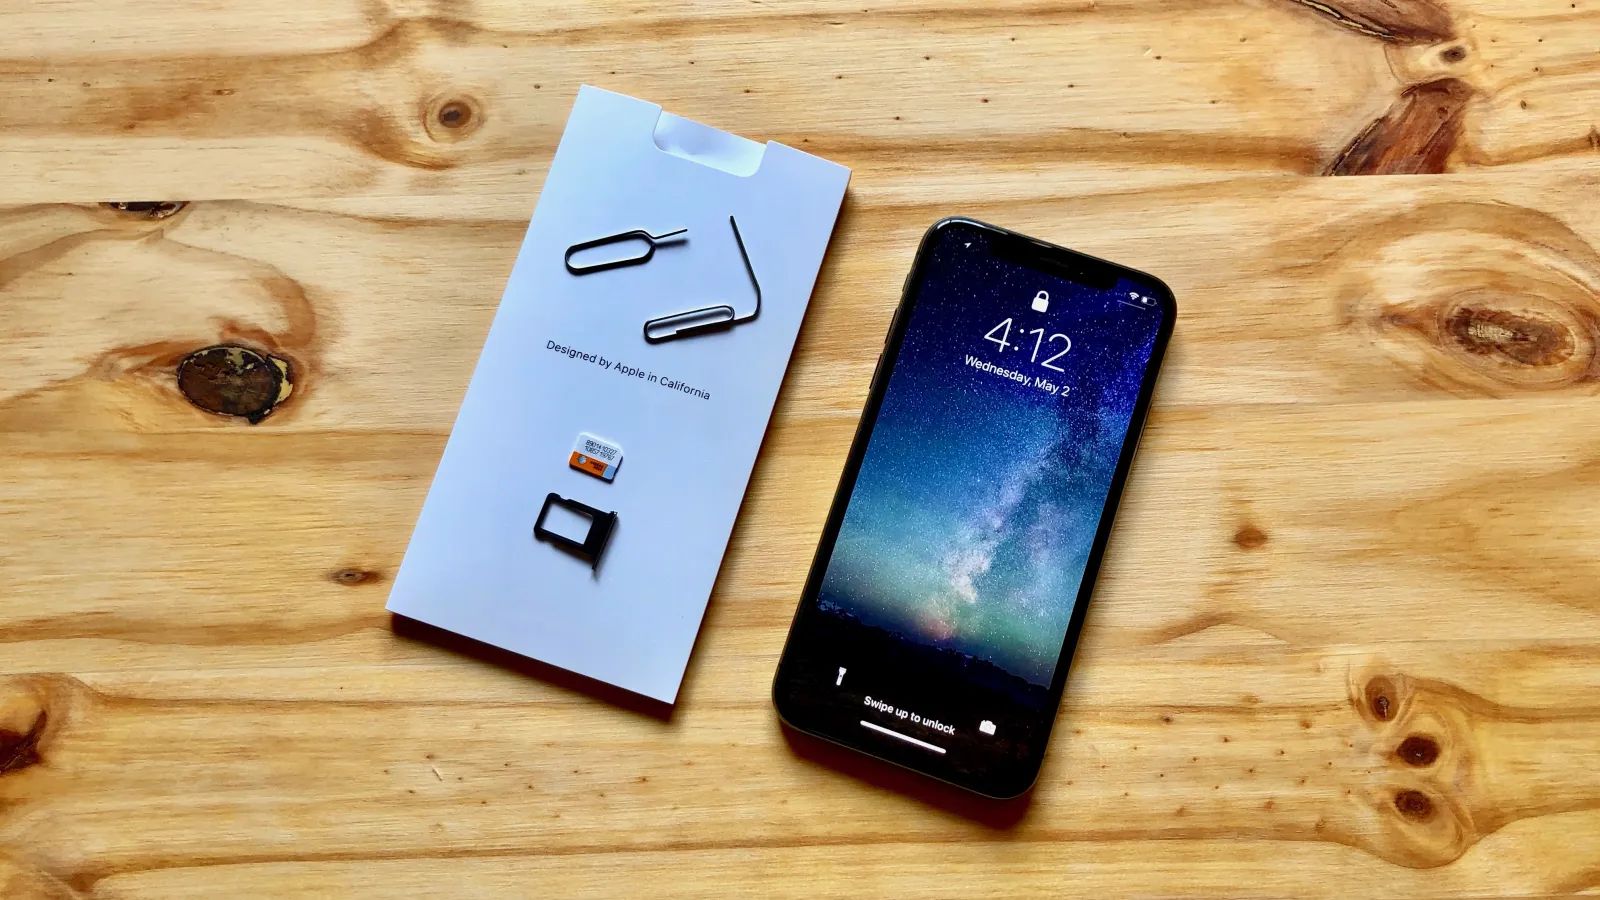
Before embarking on the process of inserting a SIM card into your iPhone 11, it's essential to gather the necessary tools to ensure a smooth and hassle-free experience. The primary tool required for this task is the SIM ejector tool, which is typically provided by Apple within the packaging of your iPhone 11. This small, metal tool is specifically designed to facilitate the removal and insertion of the SIM card tray.
Additionally, it's advisable to work in a well-lit and spacious area to prevent misplacing any components during the process. Having a clean, flat surface to place your iPhone 11 and the SIM card tray will also contribute to a more organized and efficient experience.
By taking the time to gather these essential tools and setting up an appropriate workspace, you can approach the task of inserting the SIM card with confidence and precision. This initial preparation ensures that you have everything you need at your fingertips, minimizing the chances of interruptions or complications during the subsequent steps.
With the SIM ejector tool and a suitable workspace in place, you're now ready to proceed to the next step of locating the SIM card tray on your iPhone 11. This foundational preparation sets the stage for a successful SIM card insertion process, allowing you to navigate through the subsequent steps with ease and confidence.
By giving due attention to this preliminary step of gathering necessary tools, you set the tone for a seamless and efficient SIM card insertion process, ensuring that your iPhone 11 is ready to deliver uninterrupted connectivity and communication capabilities.
Step 2: Locate the SIM card tray
Locating the SIM card tray is the pivotal first step in the process of inserting a SIM card into your iPhone 11. This small yet essential component plays a crucial role in facilitating the connection between your device and the cellular network. To begin this step, examine the exterior of your iPhone 11 to identify the position of the SIM card tray.
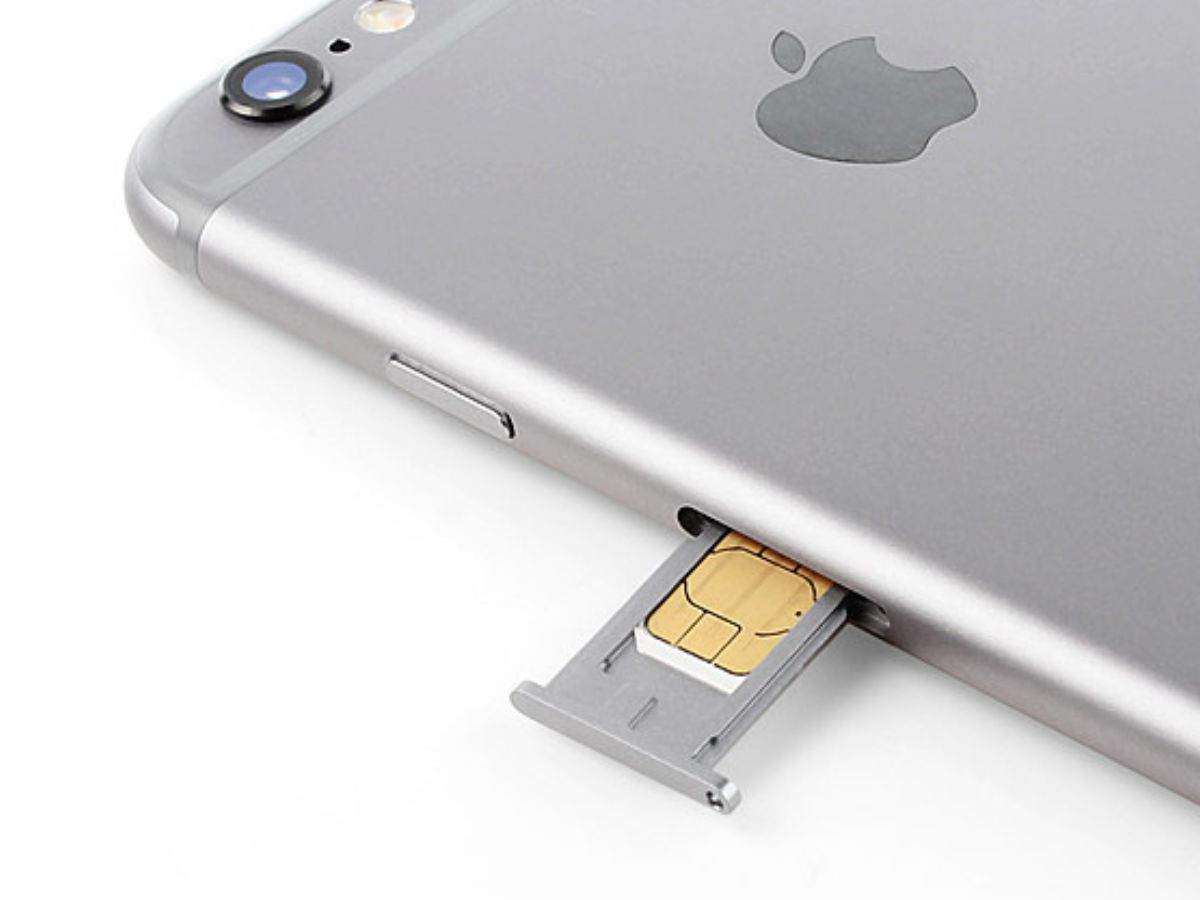
On the right-hand side of the device, you will notice a small, recessed slot. This is the location of the SIM card tray. Using the provided SIM ejector tool, gently insert the tip into the pinhole located adjacent to the slot. Applying slight pressure, push the tool into the pinhole until the SIM card tray begins to emerge.
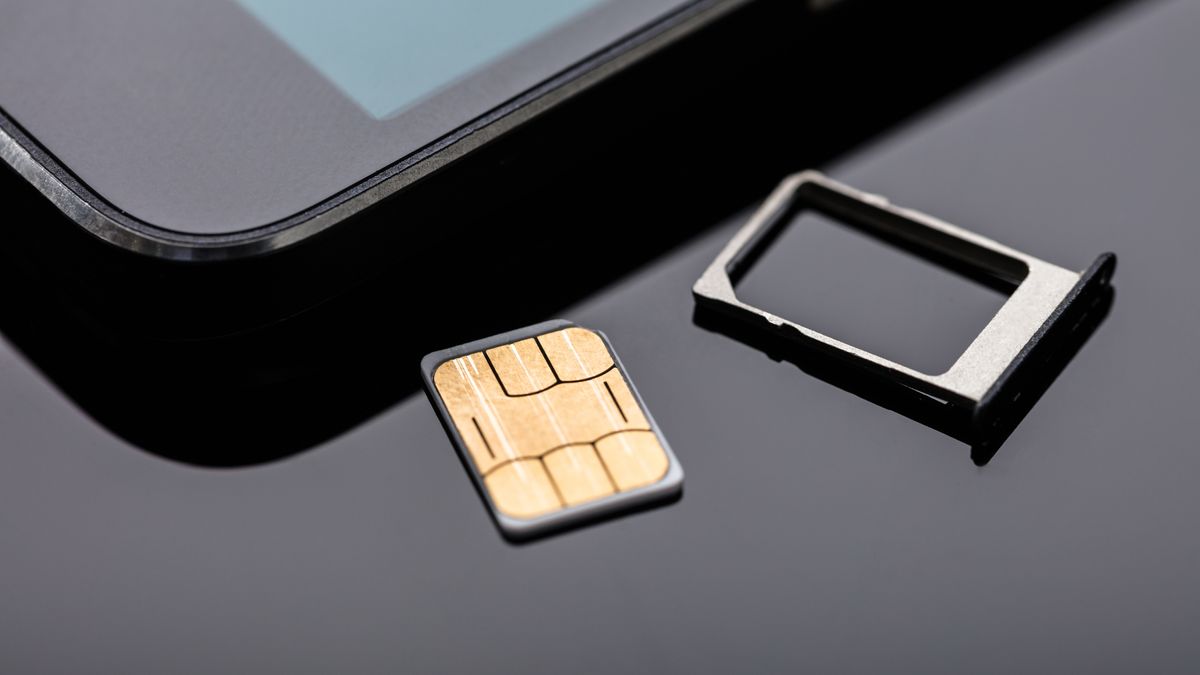
As the SIM card tray slides out, carefully grasp it and place it on a flat surface. Take a moment to familiarize yourself with the tray's design, noting the position of the SIM card slot and the orientation of the tray itself. This simple yet crucial step sets the stage for the subsequent actions of ejecting the tray and inserting the SIM card.
By locating the SIM card tray with precision and attention to detail, you demonstrate a proactive approach to the task at hand. This foundational step ensures that you are fully prepared to proceed with confidence, setting the stage for a seamless and successful SIM card insertion process.
With the SIM card tray now in view, you are ready to move on to the next step of ejecting the tray from your iPhone 11. This process involves utilizing the SIM ejector tool to safely remove the tray and gain access to the SIM card slot. As you transition to the next phase of the process, the clarity and precision with which you located the SIM card tray will serve as a solid foundation for the subsequent steps, ensuring a smooth and efficient SIM card insertion experience.
Step 3: Eject the SIM card tray
With the SIM card tray now accessible, the next crucial step in the process of inserting a SIM card into your iPhone 11 is to eject the tray from its slot. This step requires precision and care to ensure that the tray is safely removed without causing any damage to the device or the SIM card itself.
Using the SIM ejector tool provided, gently but firmly press the tip of the tool into the pinhole adjacent to the SIM card tray slot. Apply steady pressure until you feel a slight resistance, indicating that the tray is being released from its secured position within the device. It's important to exercise caution and avoid using excessive force during this step to prevent any potential damage to the SIM card tray or the internal components of your iPhone 11.
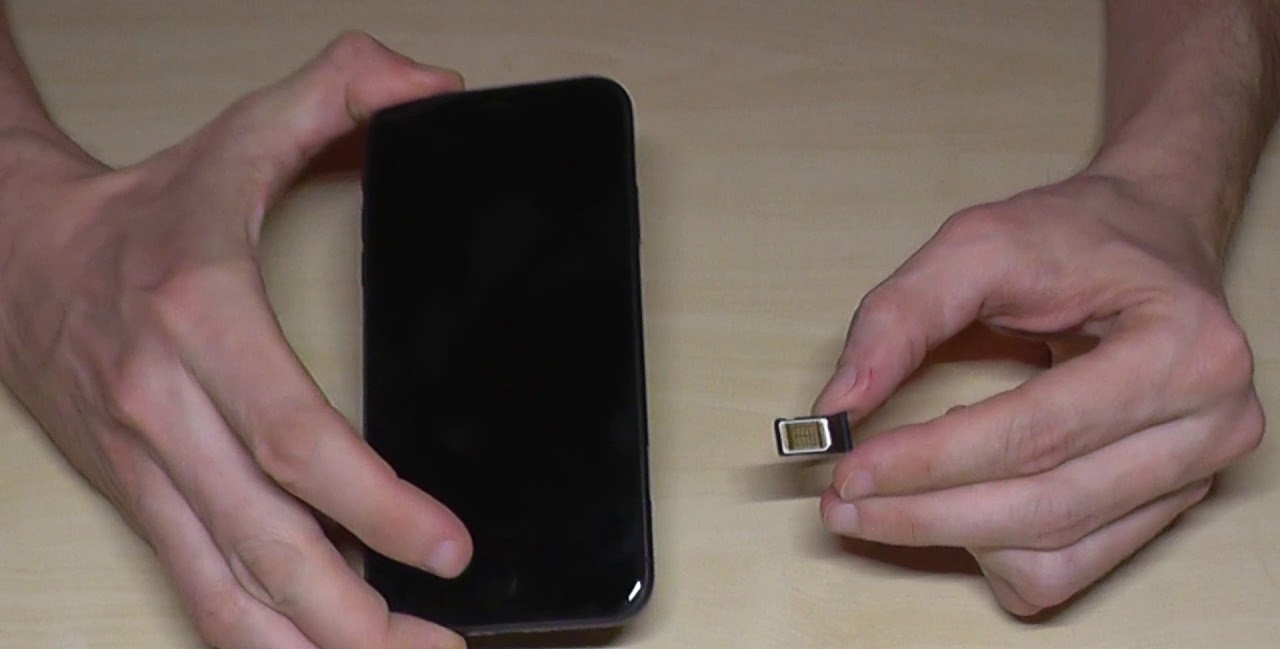
As the SIM card tray begins to emerge from the device, carefully grasp it and continue to slide it out, ensuring a smooth and controlled motion. Once the tray is fully ejected, place it on a stable surface, taking note of the orientation and position of the tray to maintain a clear understanding of how the SIM card will be inserted.
Ejecting the SIM card tray is a critical step that sets the stage for the subsequent action of inserting the SIM card into your iPhone 11. By approaching this step with precision and attention to detail, you ensure that the tray is safely removed, allowing you to proceed to the next phase of the process with confidence and clarity.
With the SIM card tray now in your possession, you are ready to transition to the following step of inserting the SIM card. This pivotal action will establish a direct connection between your iPhone 11 and the cellular network, enabling seamless communication and connectivity. As you move forward in the process, the careful execution of this step will pave the way for a successful and stress-free SIM card insertion experience, ensuring that your iPhone 11 is fully equipped to keep you connected at all times.
Step 4: Insert the SIM card
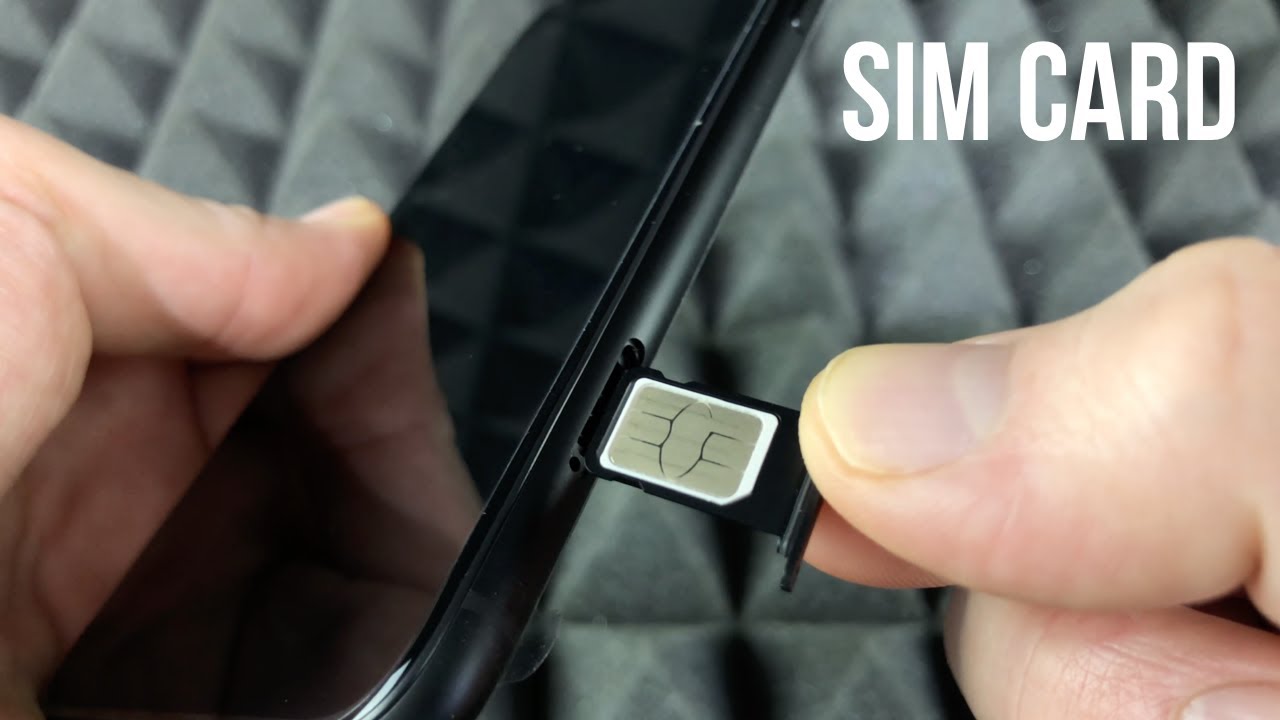
With the SIM card tray now removed from your iPhone 11, the next pivotal step is to insert the SIM card into the designated slot. Before proceeding, carefully examine the SIM card and the tray to ensure that you understand the correct orientation for insertion. Most SIM cards are designed with a notched corner, which aligns with a corresponding notch within the SIM card slot.
Begin by gently removing the SIM card from its holder, taking care to handle it with clean hands to prevent any dust or debris from affecting the connection. Align the notched corner of the SIM card with the corresponding notch inside the SIM card slot on the tray. With steady and precise movements, carefully place the SIM card onto the tray, ensuring that it fits securely and sits flush within the designated area.
It's essential to avoid forcing the SIM card into the slot, as this can potentially cause damage to both the card and the device. Instead, maintain a gentle and controlled approach, allowing the SIM card to slide smoothly into place. Once the SIM card is correctly positioned within the tray, take a moment to verify that it sits flat and level, without any protrusions or misalignments.
By executing this step with attention to detail and precision, you ensure that the SIM card is securely and correctly inserted into the tray, setting the stage for the final phase of the process. With the SIM card now in place, you are ready to proceed to the subsequent step of re-inserting the SIM card tray into your iPhone 11.
The successful insertion of the SIM card establishes a vital connection between your device and the cellular network, enabling seamless communication and access to mobile services. As you transition to the next phase of the process, the careful execution of this step ensures that your iPhone 11 is fully equipped to keep you connected at all times.
Step 5: Re-insert the SIM card tray
After successfully inserting the SIM card into the designated slot on the tray, the final step in the process of setting up your iPhone 11 for seamless connectivity is to re-insert the SIM card tray back into the device. This step is crucial in ensuring that the SIM card remains securely in place, establishing a stable connection with the cellular network and enabling uninterrupted communication capabilities.
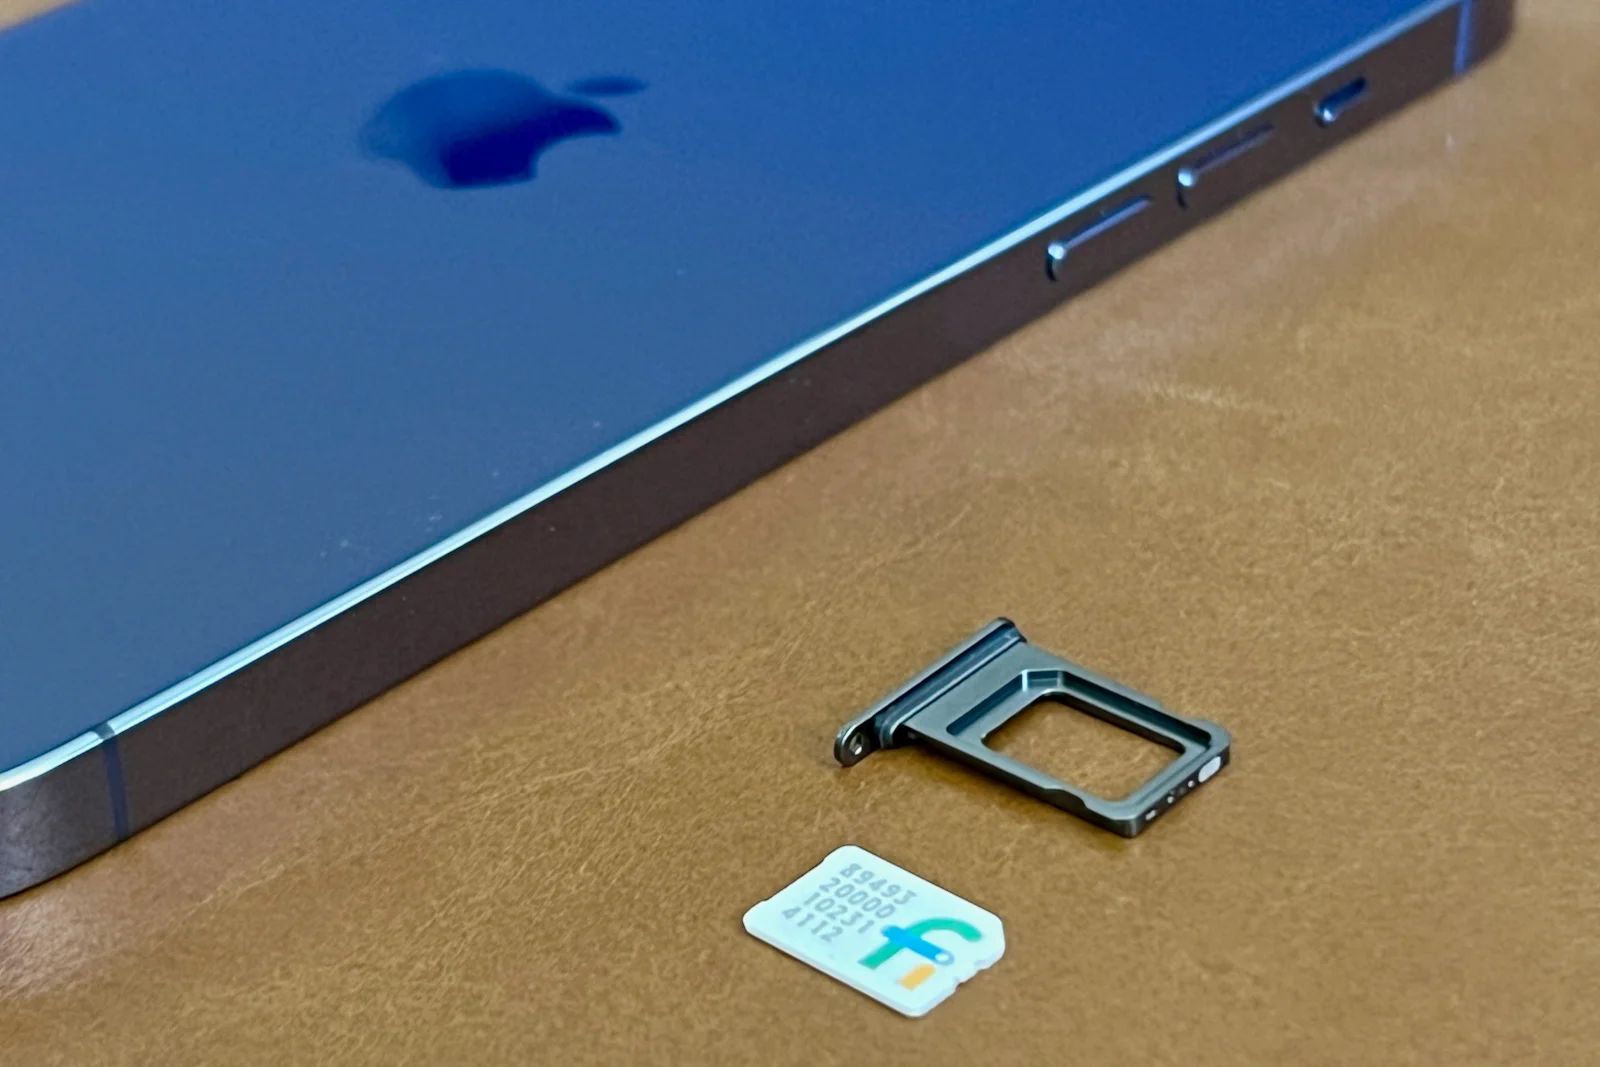
Begin by carefully aligning the SIM card tray with the slot on the side of your iPhone 11, taking note of the orientation to ensure a proper fit. With steady and controlled movements, gently slide the tray back into the device, applying even pressure to ensure a smooth and secure insertion. It's important to avoid any abrupt or forceful actions during this step to prevent potential damage to the device or the SIM card tray.
As the SIM card tray slides back into place, you may feel a slight resistance, indicating that the tray is securely seated within the device. Take a moment to verify that the tray sits flush with the exterior of the iPhone 11, with no protrusions or misalignments. This visual confirmation ensures that the tray is properly inserted and that the SIM card is firmly connected to the device.
Once the SIM card tray is securely re-inserted, you have completed the process of inserting a SIM card into your iPhone 11. With the tray back in place, your device is now fully equipped to establish a stable connection with the cellular network, enabling you to make calls, send messages, and access mobile data with ease.
By executing this final step with precision and attention to detail, you have ensured that the SIM card tray is securely seated within your iPhone 11, setting the stage for uninterrupted connectivity and communication. With the SIM card tray successfully re-inserted, you can now enjoy the full functionality of your device, confident in the knowledge that your iPhone 11 is ready to keep you connected at all times.
Conclusion
Congratulations! By following the comprehensive guide on inserting a SIM card into your iPhone 11, you have successfully completed a fundamental yet essential task in setting up your device for seamless connectivity. The process of gathering the necessary tools, locating the SIM card tray, ejecting the tray, inserting the SIM card, and re-inserting the tray has equipped you with a deeper understanding of your iPhone 11's hardware and functionality.
As you reflect on the steps you've navigated through, it's evident that attention to detail, precision, and a methodical approach are key elements in ensuring a smooth and successful SIM card insertion process. By familiarizing yourself with the components of your device and executing each step with care, you have not only established a direct connection between your iPhone 11 and the cellular network but also gained valuable insight into the device's internal mechanisms.
The successful insertion of the SIM card into your iPhone 11 signifies the readiness of your device to keep you connected at all times, enabling you to make calls, send messages, and access mobile data with ease. The completion of this task empowers you to fully harness the communication capabilities of your device, setting the stage for seamless connectivity and uninterrupted access to essential mobile services.
As you embark on your journey with your iPhone 11, the knowledge and skills gained from this SIM card insertion process will serve as a solid foundation for future interactions with your device. Whether you're exploring additional features, troubleshooting minor issues, or simply seeking a deeper understanding of your device, the confidence and familiarity you've gained through this process will undoubtedly enhance your overall user experience.
By taking the time to master this essential task, you've demonstrated a proactive and empowered approach to managing your device, setting the stage for a seamless and fulfilling user experience. With your iPhone 11 now equipped with a securely inserted SIM card, you are poised to embark on a connected and communicative journey, confident in the knowledge that your device is ready to support your mobile lifestyle.
As you move forward with your iPhone 11, remember that the successful completion of this task is a testament to your ability to navigate and engage with the intricacies of modern technology. Your proactive approach and attention to detail have laid the groundwork for a rewarding and connected experience with your iPhone 11, ensuring that you are fully equipped to embrace the possibilities and conveniences that mobile connectivity has to offer.