Introduction
Inserting a SIM card into your Nexus 6P is a straightforward process that allows you to connect to a mobile network and enjoy seamless communication. Whether you're setting up your device for the first time or replacing an existing SIM card, understanding the steps involved can help you complete the task with ease. By following this step-by-step guide, you'll be able to ensure that your Nexus 6P is ready to make and receive calls, send text messages, and access mobile data.
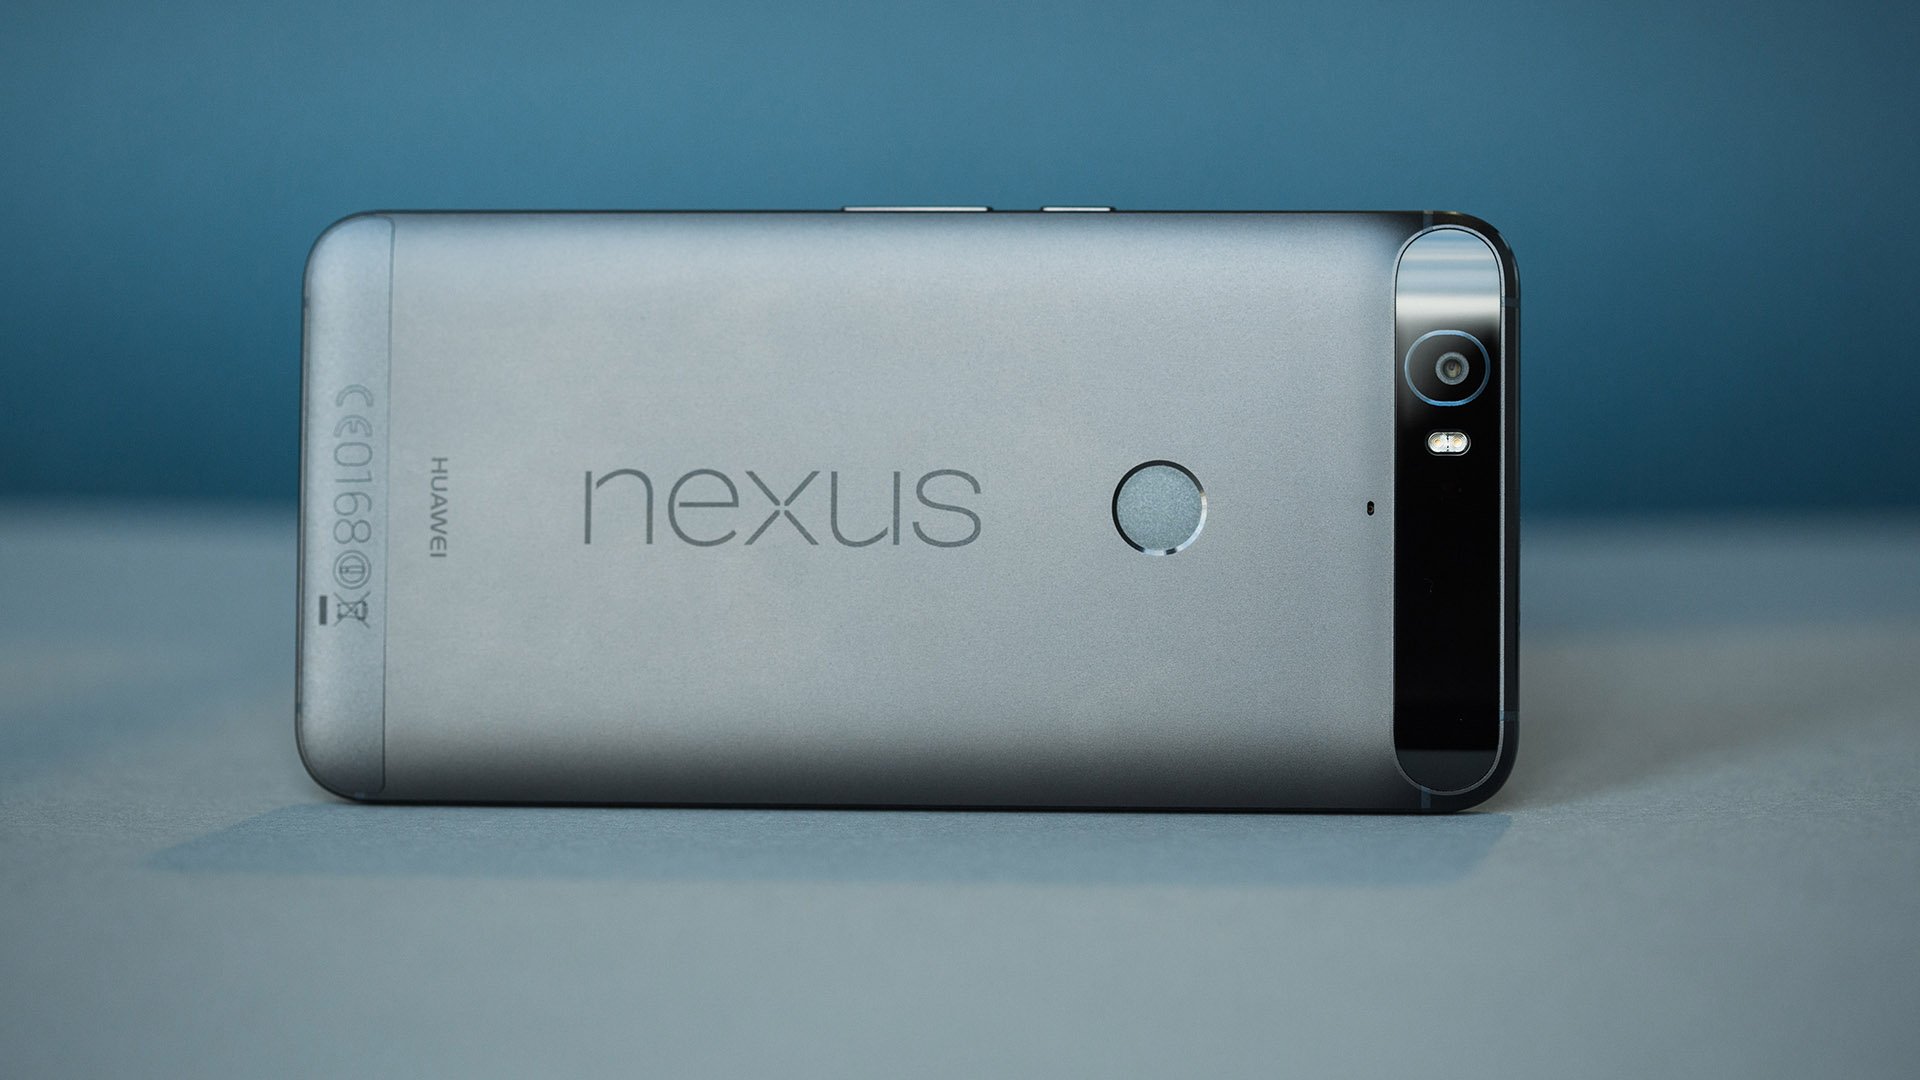
The Nexus 6P, a flagship device from Google, features a slim and sleek design that houses a slot for the SIM card. This small, yet essential, component is responsible for identifying your device on the mobile network, enabling you to access voice and data services. By inserting the SIM card correctly, you can seamlessly integrate your Nexus 6P with your mobile service provider, allowing you to harness the full potential of the device's communication capabilities.
Whether you're a tech enthusiast exploring the features of your new Nexus 6P or a seasoned mobile device user, understanding how to insert a SIM card is a fundamental aspect of device setup. With the guidance provided in this article, you'll gain the knowledge and confidence to complete this task effortlessly, ensuring that your Nexus 6P is fully equipped to keep you connected on the go.
Now, let's delve into the step-by-step instructions for inserting a SIM card into your Nexus 6P, empowering you to make the most of your device's communication features.
Step 1: Locate the SIM card tray
The first step in inserting a SIM card into your Nexus 6P is to locate the SIM card tray. This essential component is designed to securely hold the SIM card and facilitate its seamless integration with the device. To begin, you'll need to identify the location of the SIM card tray on your Nexus 6P.
The SIM card tray on the Nexus 6P is strategically positioned along the edge of the device, typically on the left or right side, depending on the device's orientation. To locate the SIM card tray, gently examine the edges of your device, feeling for a small recessed area or a tiny slot. Once you've identified the SIM card tray's location, you can proceed with the next steps in the process of inserting the SIM card.
It's important to handle your Nexus 6P with care during this step, ensuring that you're mindful of the device's sleek and sophisticated design. By approaching the task with a gentle touch, you can avoid inadvertently applying excessive force or causing damage to the device.
As you locate the SIM card tray, take a moment to familiarize yourself with its appearance and position. The SIM card tray is a small, rectangular component with a tiny pinhole or slot, which is used to facilitate the ejection of the tray. This distinctive feature sets it apart from other parts of the device, making it easier to identify and work with as you progress through the SIM card insertion process.
By successfully locating the SIM card tray, you've completed the initial step in preparing your Nexus 6P for the insertion of a SIM card. With this crucial component now within your sights, you're ready to move on to the next step and continue the process of seamlessly integrating the SIM card with your device.
Step 2: Eject the SIM card tray
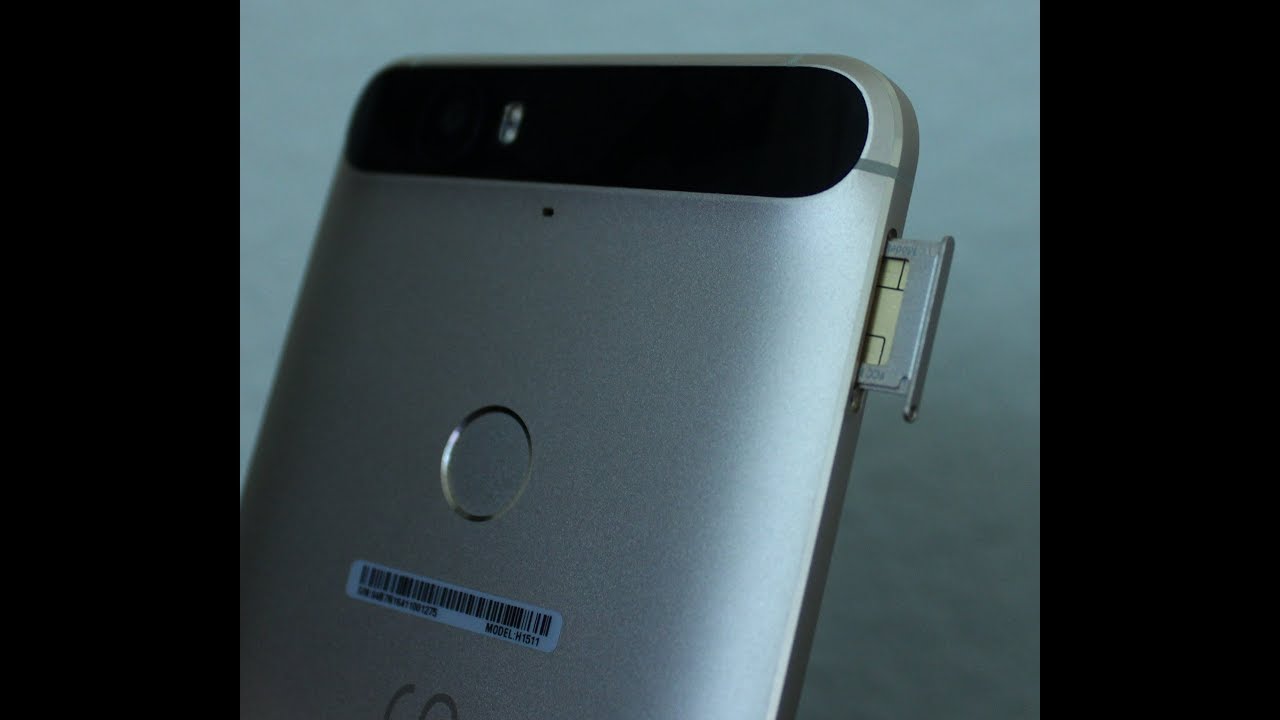
Once you have located the SIM card tray on your Nexus 6P, the next step is to carefully eject the tray in preparation for inserting the SIM card. Ejecting the SIM card tray allows you to access the slot where the SIM card will be placed, ensuring a secure and proper fit within the device.
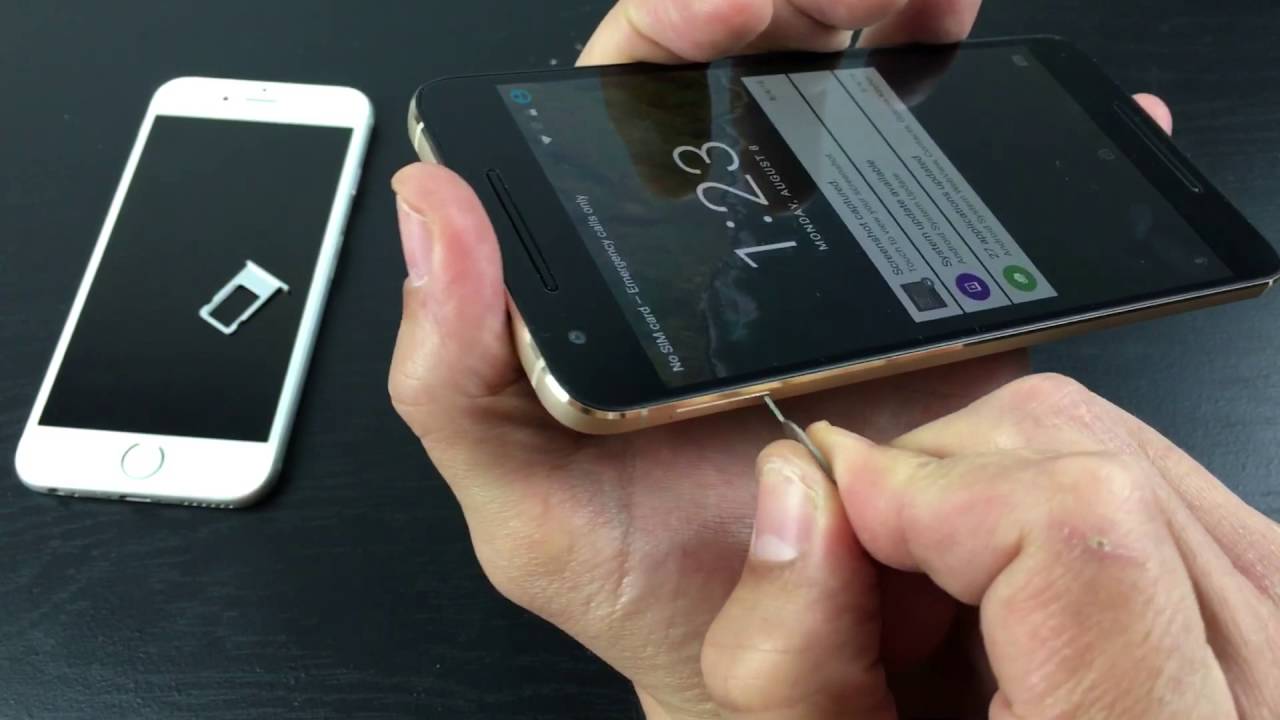
To begin the process of ejecting the SIM card tray, you will need to use the SIM ejector tool that was included with your Nexus 6P. This specialized tool is designed to easily and safely remove the SIM card tray without causing any damage to the device. If the SIM ejector tool is not readily available, you can use a small paperclip or a similar tool with a fine, pointed tip.
Locate the small pinhole or slot on the SIM card tray, typically positioned near one of the edges. Insert the SIM ejector tool or the alternative tool into the pinhole with gentle pressure, ensuring that it fits securely into the opening. Apply steady and even pressure to the tool, exerting a slight amount of force to initiate the ejection process.
As you apply pressure to the tool, you will feel a subtle resistance, indicating that the SIM card tray is being released from its position within the device. Continue to apply gentle pressure until the SIM card tray is partially ejected from the device. Once the tray is partially released, carefully grasp the exposed edge and gently slide the tray out of the device, taking care to avoid any abrupt or forceful movements.
It's important to exercise caution and precision during this step, as mishandling the SIM card tray or applying excessive force can lead to damage or misalignment. By approaching the ejection process with a steady hand and a gentle touch, you can ensure that the SIM card tray is safely and smoothly removed from your Nexus 6P.
With the SIM card tray successfully ejected from the device, you have completed this crucial step in the process of inserting a SIM card into your Nexus 6P. The next step will involve carefully placing the SIM card into the designated slot within the tray, ensuring that it is securely positioned for seamless integration with your device.
Step 3: Insert the SIM card
With the SIM card tray successfully ejected from your Nexus 6P, you are now ready to proceed with the pivotal step of inserting the SIM card. This step is essential for establishing the connection between your device and the mobile network, enabling you to access voice, text, and data services seamlessly.
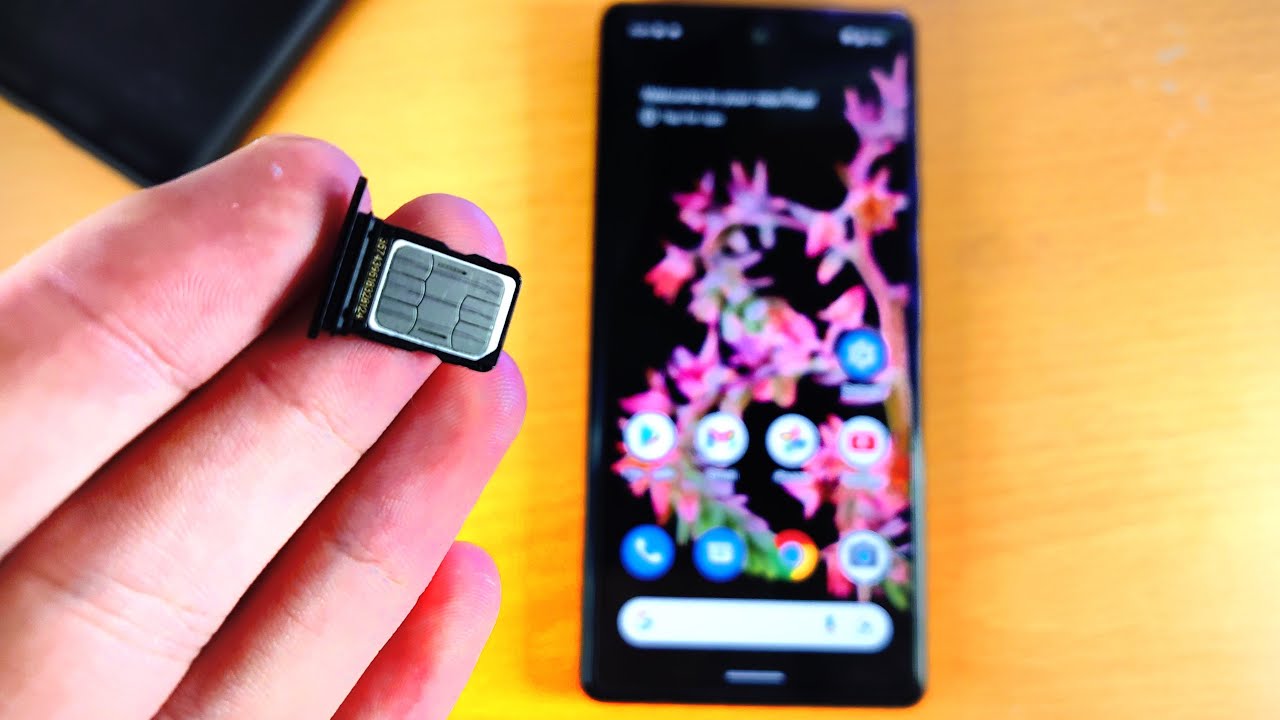
Before inserting the SIM card, take a moment to inspect the SIM card tray and the slot where the SIM card will be placed. The tray features a designated area that precisely accommodates the SIM card, ensuring a secure and proper fit within the device. Additionally, the slot is designed to align with the SIM card's shape and size, facilitating a seamless integration process.
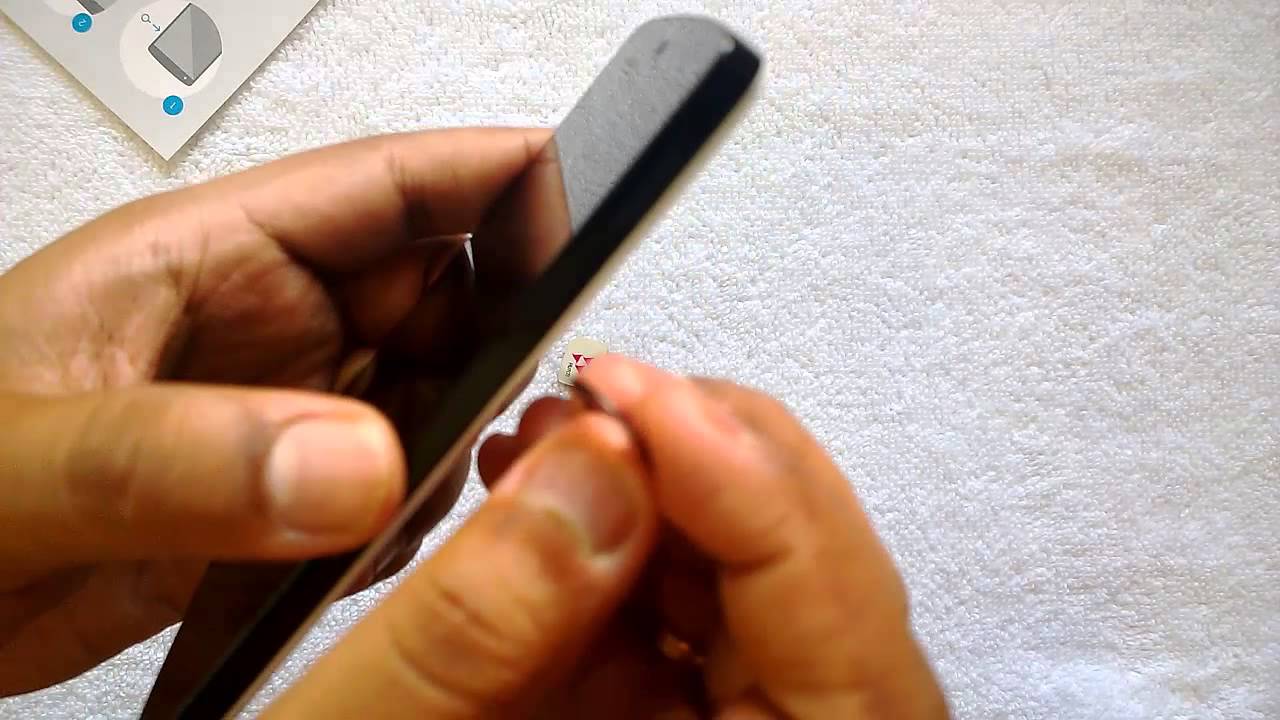
Carefully remove the SIM card from its packaging, handling it with care to avoid any damage or bending. The SIM card is a small, rectangular component with a metallic chip embedded on one side. This chip contains essential information that identifies your device on the mobile network, allowing you to make and receive calls, send text messages, and access mobile data.
Position the SIM card with the metallic chip facing downward, aligning it with the corresponding area within the SIM card tray. Take care to ensure that the SIM card is oriented correctly, fitting within the designated space without any resistance or misalignment. Once the SIM card is positioned correctly, gently press down on it to secure it within the tray, ensuring that it is held firmly in place.
As you insert the SIM card, it's important to maintain a steady and gentle approach, avoiding any abrupt or forceful movements that could potentially damage the card or the tray. By exercising precision and care during this step, you can ensure that the SIM card is seamlessly integrated with your Nexus 6P, setting the stage for uninterrupted connectivity and communication.
With the SIM card successfully inserted into the tray, you have completed the crucial step of preparing your Nexus 6P to connect to the mobile network. The next step will involve carefully reinserting the SIM card tray into the device, securing it in place to finalize the integration process and ensure that your Nexus 6P is fully equipped to keep you connected on the go.
Step 4: Reinsert the SIM card tray
With the SIM card securely placed in the tray, the next crucial step is to reinsert the SIM card tray into your Nexus 6P. This step is essential for ensuring that the SIM card is seamlessly integrated with the device, allowing you to establish a connection with the mobile network and access communication services effortlessly.
Carefully align the SIM card tray with the corresponding slot in your Nexus 6P, taking note of the orientation to ensure a proper fit. Gently slide the tray back into the device, applying even pressure to guide it into position. As you reinsert the tray, you should feel a smooth and seamless movement, indicating that it is aligning correctly with the device's internal components.
Once the SIM card tray is fully reinserted, take a moment to ensure that it sits flush with the device's edge, maintaining a consistent and secure position. This step is crucial for preventing any potential misalignment or instability that could affect the SIM card's connectivity with the mobile network.
As you complete the reinsertion process, take care to handle your Nexus 6P with precision and attention to detail, ensuring that the device's sleek and sophisticated design is maintained. By approaching this step with a gentle touch and a steady hand, you can ensure that the SIM card tray is seamlessly integrated into your Nexus 6P, setting the stage for uninterrupted connectivity and communication.
With the SIM card tray securely reinserted into your Nexus 6P, you have successfully completed the process of inserting a SIM card into your device. This pivotal task empowers you to connect to the mobile network, access voice and data services, and stay connected on the go, ensuring that your Nexus 6P is fully equipped to meet your communication needs.
By following this comprehensive step-by-step guide, you have gained the knowledge and confidence to seamlessly integrate a SIM card with your Nexus 6P, setting the stage for a seamless and connected mobile experience. With the SIM card securely in place, your Nexus 6P is ready to keep you connected and engaged, allowing you to harness the full potential of its communication capabilities.
Conclusion
Congratulations! By following this step-by-step guide, you have successfully learned how to insert a SIM card into your Nexus 6P, empowering you to seamlessly integrate your device with a mobile network and access essential communication services. As you've navigated through the process, you've gained valuable insights into the fundamental steps involved in preparing your Nexus 6P for uninterrupted connectivity and engagement.
By locating the SIM card tray, carefully ejecting the tray, inserting the SIM card, and reinserting the tray into your Nexus 6P, you've demonstrated a keen understanding of the device's essential components and the precise actions required to ensure a secure and seamless integration process. These foundational skills are invaluable for maximizing the functionality of your Nexus 6P and leveraging its communication capabilities to stay connected on the go.
As you've engaged with the intricacies of inserting a SIM card, you've also developed a deeper appreciation for the role of this small yet essential component in facilitating your device's connection to the mobile network. The SIM card serves as the gateway to a myriad of communication services, including voice calls, text messaging, and mobile data access, enabling you to stay connected, informed, and engaged in today's dynamic digital landscape.
Furthermore, your commitment to mastering the process of inserting a SIM card reflects your dedication to optimizing your Nexus 6P's capabilities and harnessing its full potential. By taking the time to understand and execute each step with precision and care, you've not only equipped your device for seamless connectivity but also cultivated a sense of confidence and proficiency in managing essential device setup tasks.
As you move forward with your Nexus 6P, equipped with a securely inserted SIM card, you can embark on your mobile journey with the assurance that your device is primed to deliver a seamless and connected experience. Whether you're making calls, sending messages, or accessing online content, the successful insertion of the SIM card ensures that your Nexus 6P is ready to meet your communication needs with reliability and efficiency.
In conclusion, your commitment to mastering the process of inserting a SIM card into your Nexus 6P exemplifies your proactive approach to device setup and optimization. By embracing this foundational task, you've set the stage for a seamless and connected mobile experience, allowing you to fully immerse yourself in the diverse array of communication services and digital opportunities that await you.
With your Nexus 6P now equipped with a securely inserted SIM card, you're poised to embark on a journey of connectivity, engagement, and empowerment, leveraging the device's capabilities to stay connected and informed in today's dynamic digital landscape.