Introduction
Inserting a SIM card into your Nexus 5 is an essential step to activate mobile services and enjoy seamless connectivity. Whether you're setting up a new device or replacing an existing SIM card, understanding the process is crucial for a smooth and hassle-free experience. In this comprehensive guide, we will walk you through the step-by-step procedure to insert a SIM card into your Nexus 5, ensuring that you can effortlessly harness the full potential of your mobile device.
The Nexus 5, renowned for its sleek design and advanced features, has garnered a loyal following among tech enthusiasts and casual users alike. With its vibrant display, powerful performance, and intuitive user interface, the Nexus 5 offers a compelling mobile experience. However, to fully harness its capabilities, it's imperative to insert a SIM card correctly, enabling access to voice calls, messaging, and high-speed data services.
By following the instructions outlined in this tutorial, you will gain a deeper understanding of the Nexus 5's hardware design and learn how to navigate its internal components with confidence. Whether you're a seasoned smartphone user or a newcomer to the world of mobile technology, this guide will equip you with the knowledge and skills to complete the SIM card insertion process effortlessly.
Understanding the intricacies of inserting a SIM card into your Nexus 5 is not only practical but also empowers you to take full advantage of the device's connectivity features. With this tutorial as your guide, you'll be able to seamlessly integrate your Nexus 5 into your daily routine, staying connected with friends, family, and the digital world at large.
Now, let's embark on this journey together and delve into the step-by-step process of inserting a SIM card into your Nexus 5, unlocking the full potential of your mobile device.
Step 1: Locate the SIM card tray
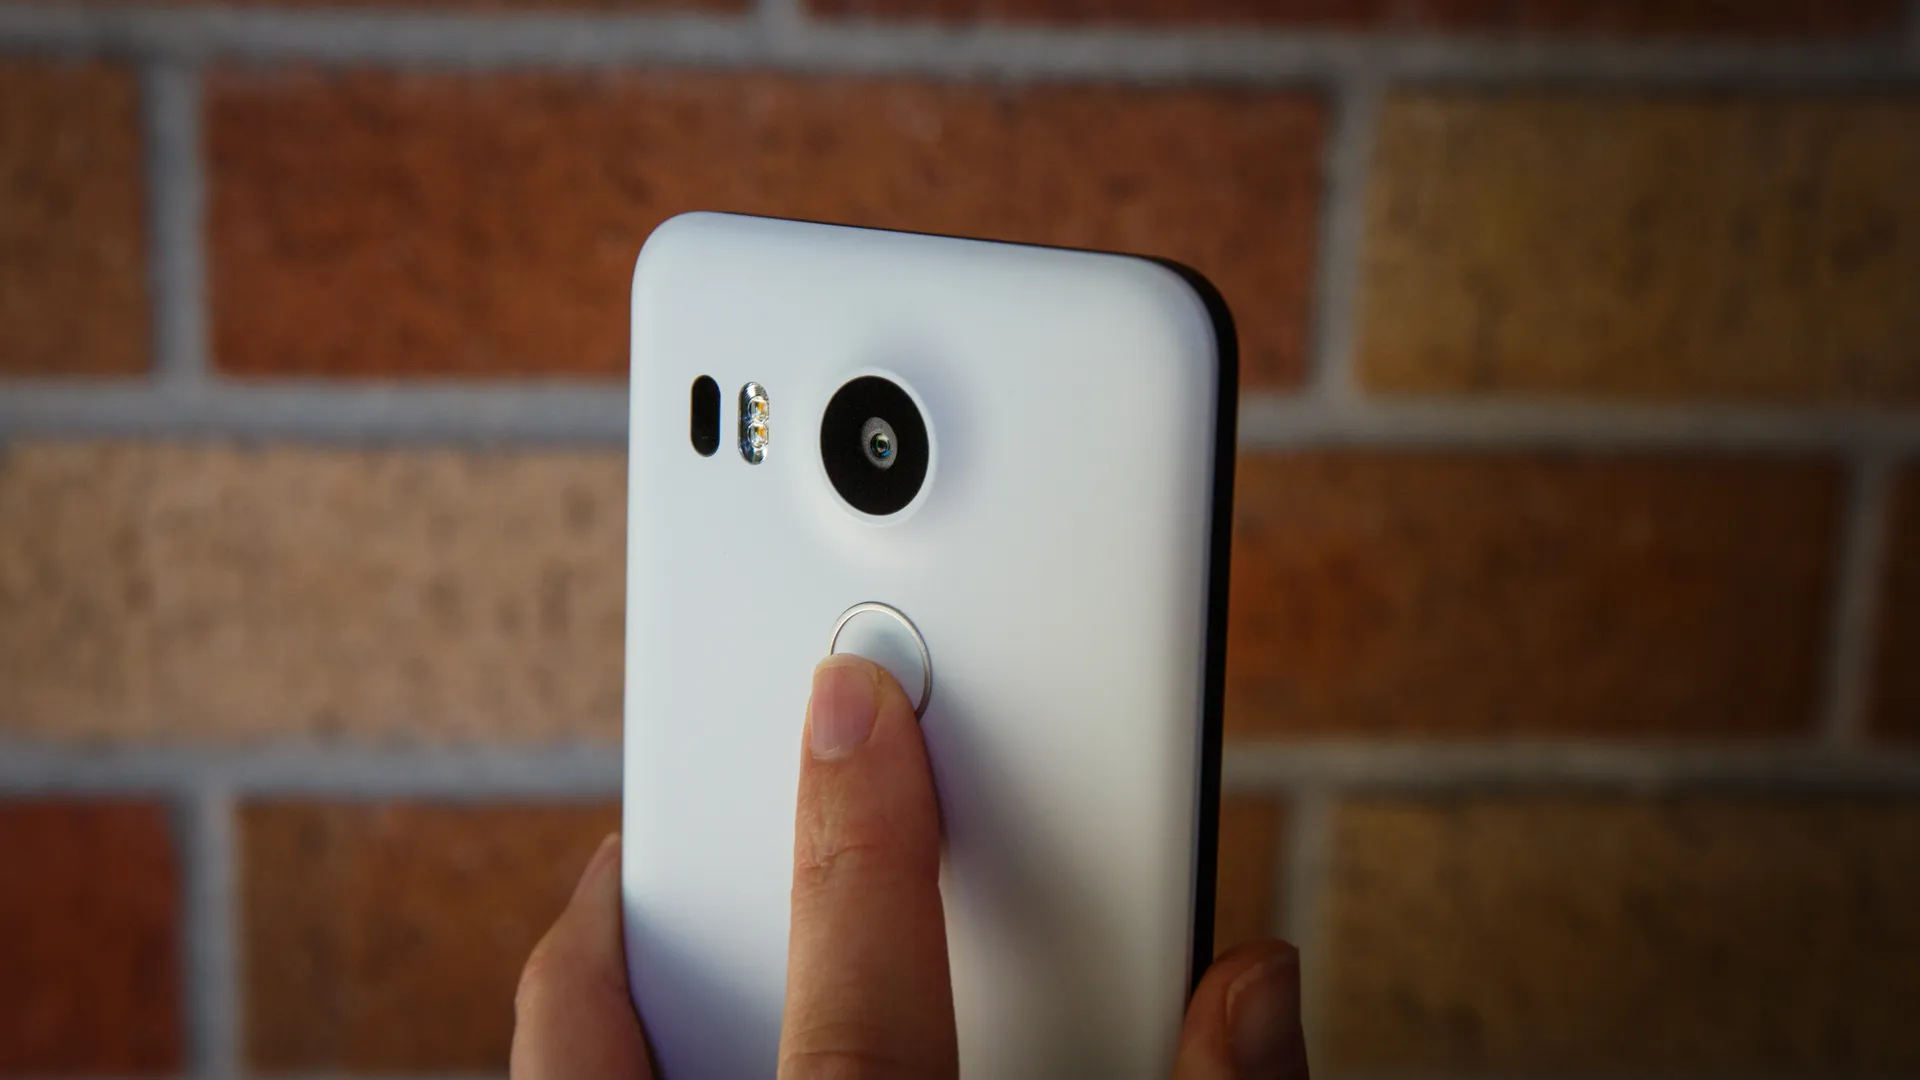
The first step in inserting a SIM card into your Nexus 5 is to locate the SIM card tray. This essential component is designed to securely hold the SIM card and facilitate its seamless integration with the device's hardware. To begin this process, you'll need to familiarize yourself with the physical layout of the Nexus 5 and identify the precise location of the SIM card tray.
The SIM card tray on the Nexus 5 is strategically positioned to ensure convenient access while maintaining the device's sleek and streamlined profile. To locate the SIM card tray, start by holding your Nexus 5 in a comfortable position, ensuring that you have a clear view of the device's exterior. The SIM card tray is typically situated on the side of the device, adjacent to the volume buttons. You can easily identify it as a small, discreet slot that is designed to accommodate the SIM card.
Upon locating the SIM card tray, take a moment to observe its design and orientation. The tray is often equipped with a small pinhole or a tiny indentation, which serves as the access point for ejecting the tray. This feature allows for the safe and effortless removal and insertion of the SIM card, ensuring a user-friendly experience.
As you familiarize yourself with the location and design of the SIM card tray, take note of any additional markings or indicators that may be present. Some Nexus 5 models feature subtle markings near the SIM card tray, providing visual cues to guide users through the insertion process. These markings may include icons or labels that signify the tray's function, further simplifying the task of locating and accessing the SIM card tray.
By taking the time to locate the SIM card tray and understand its physical attributes, you are laying the groundwork for a smooth and efficient SIM card insertion process. This foundational step sets the stage for the subsequent actions required to complete the installation, ensuring that you can proceed with confidence and precision.
With the SIM card tray now within your sights, you are ready to embark on the next phase of the tutorial, which involves ejecting the tray to prepare for the insertion of the SIM card. Let's proceed to the next step and continue our journey toward seamlessly integrating the SIM card with your Nexus 5.
Step 2: Eject the SIM card tray
Ejecting the SIM card tray is a pivotal step in the process of inserting a SIM card into your Nexus 5. This action enables you to access the internal compartment where the SIM card will be placed, setting the stage for a seamless integration that ensures uninterrupted mobile connectivity.
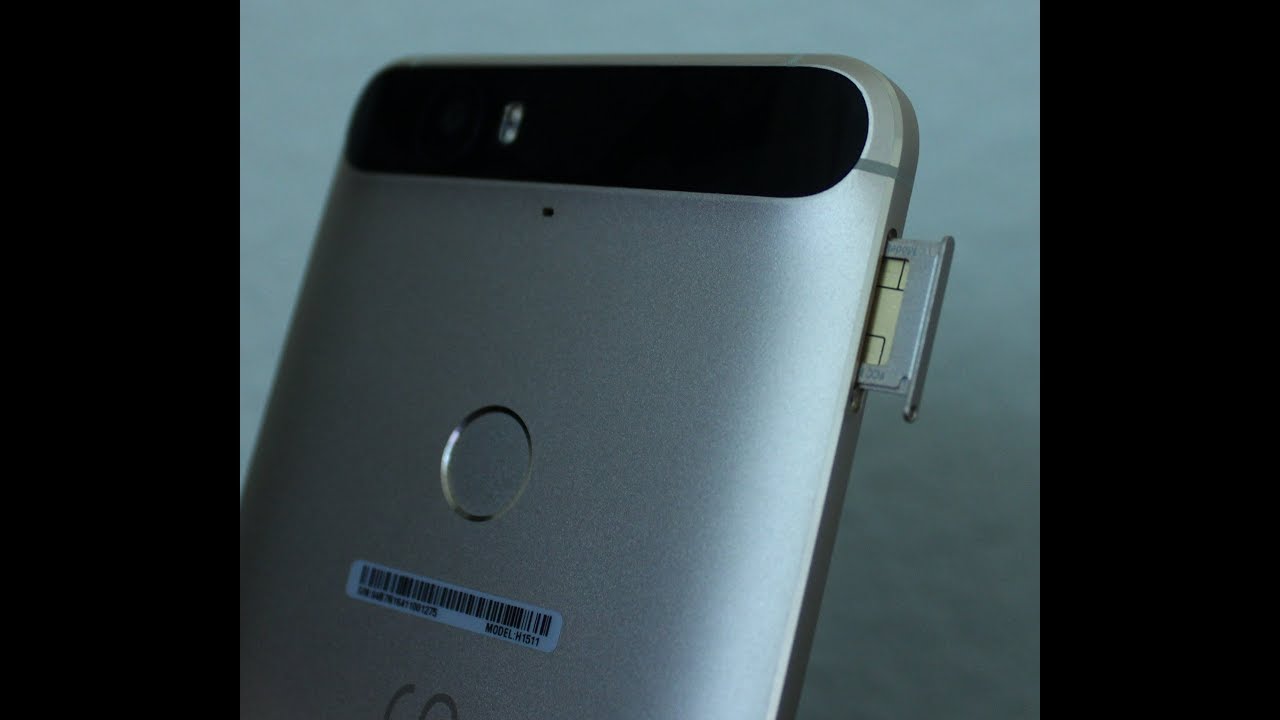
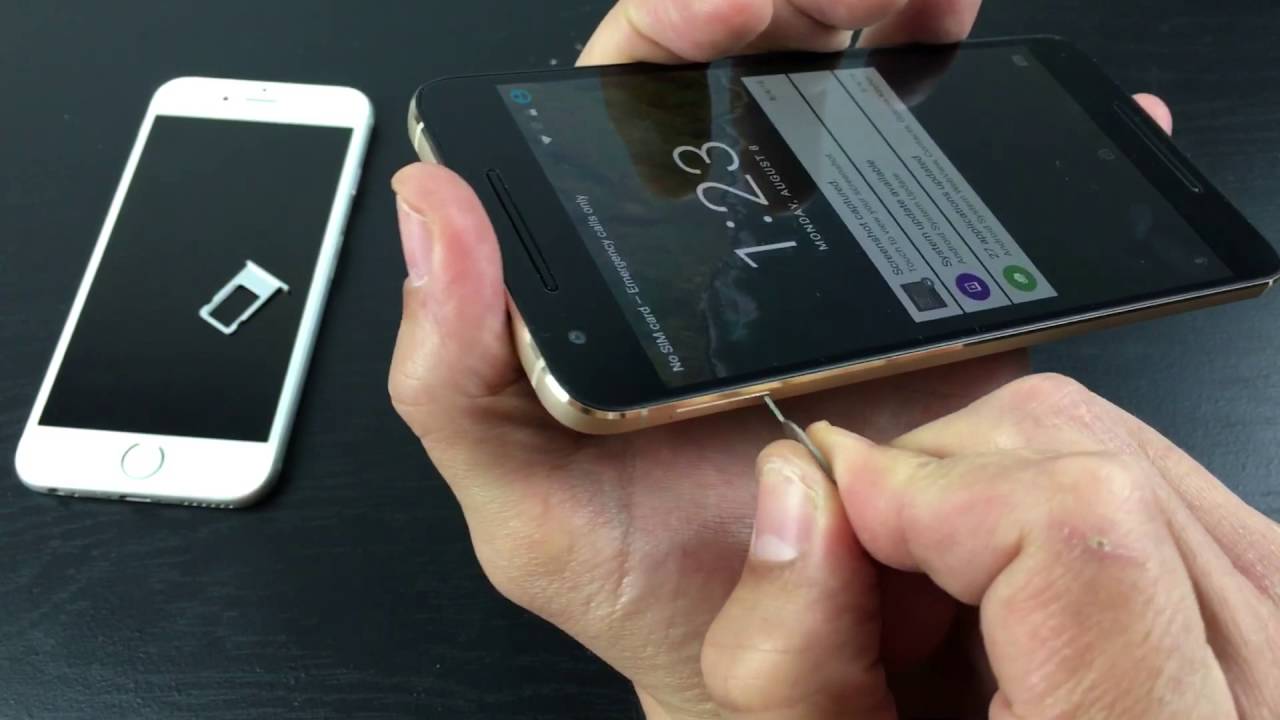
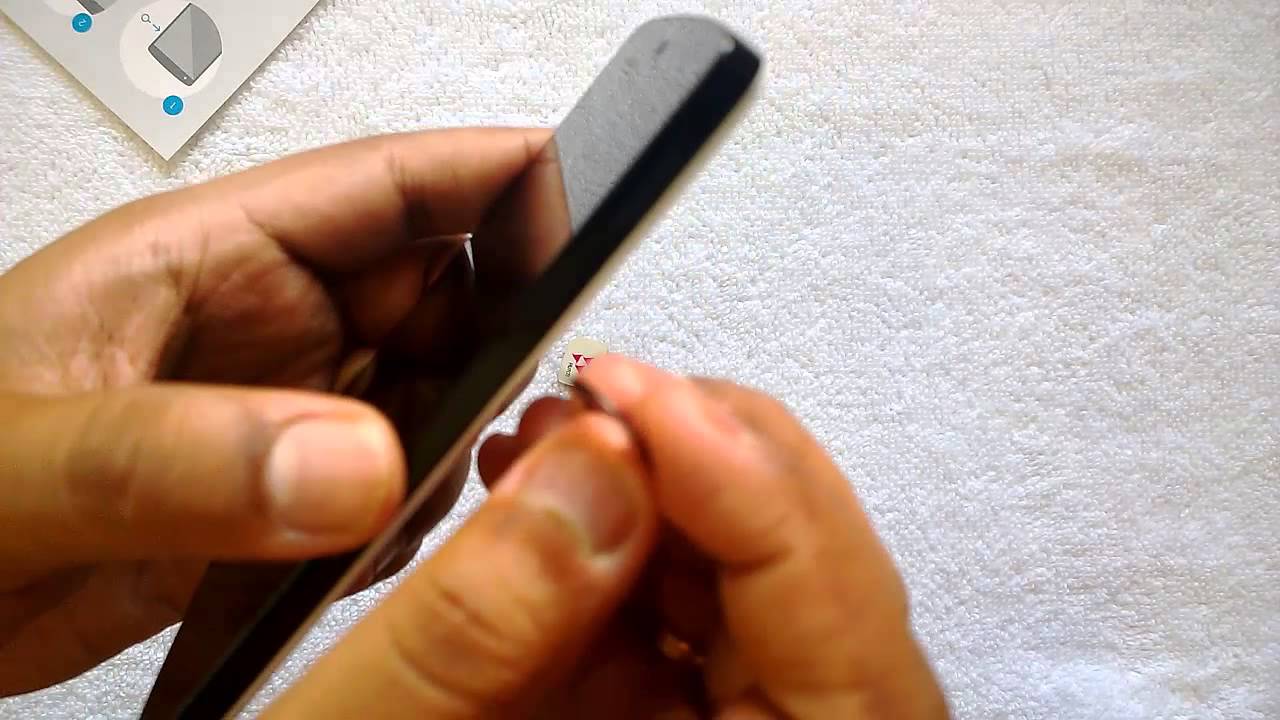
To begin the process of ejecting the SIM card tray, you will need to locate the small pinhole or indentation adjacent to the SIM card tray on your Nexus 5. This pinhole serves as the access point for ejecting the tray and is designed to accommodate a SIM card removal tool or a similarly sized object. The inclusion of this pinhole reflects the device's user-centric design, providing a practical and efficient means of accessing the SIM card tray.
Once you have identified the pinhole, it's time to prepare the tool for ejecting the tray. If you have a dedicated SIM card removal tool, ensure that it is readily available. Alternatively, if a SIM card removal tool is not at hand, a small paperclip or a similarly sized, sturdy object can be used to achieve the same purpose. When using an alternative tool, exercise caution to avoid applying excessive force or causing damage to the device.
With the tool in hand, gently insert it into the pinhole, applying a slight amount of pressure to engage the ejection mechanism. As you do so, you will feel a subtle resistance, indicating that the tray is being released from its secured position within the device. Continue to apply gentle pressure until the SIM card tray begins to emerge from the Nexus 5, at which point you can carefully withdraw it from the device.
As the SIM card tray becomes accessible, handle it with care to ensure that it remains free from damage or interference. Take note of the orientation of the tray and the position of the existing SIM card, if applicable, as this will guide the subsequent steps of the insertion process.
By successfully ejecting the SIM card tray, you have completed a crucial phase in the process of integrating a SIM card with your Nexus 5. This accomplishment paves the way for the next step, which involves inserting the SIM card into the tray in preparation for its seamless reintegration into the device.
With the SIM card tray now in your possession, you are poised to continue the journey toward harnessing the full potential of your Nexus 5. Let's proceed to the next step and bring the SIM card insertion process to fruition.
Step 3: Insert the SIM card
With the SIM card tray in hand, it's time to proceed with the pivotal step of inserting the SIM card into your Nexus 5. This process is essential for establishing a seamless connection between the SIM card and the device, enabling access to mobile services and network connectivity. By following the precise instructions outlined below, you will seamlessly integrate the SIM card with your Nexus 5, setting the stage for a streamlined and uninterrupted mobile experience.
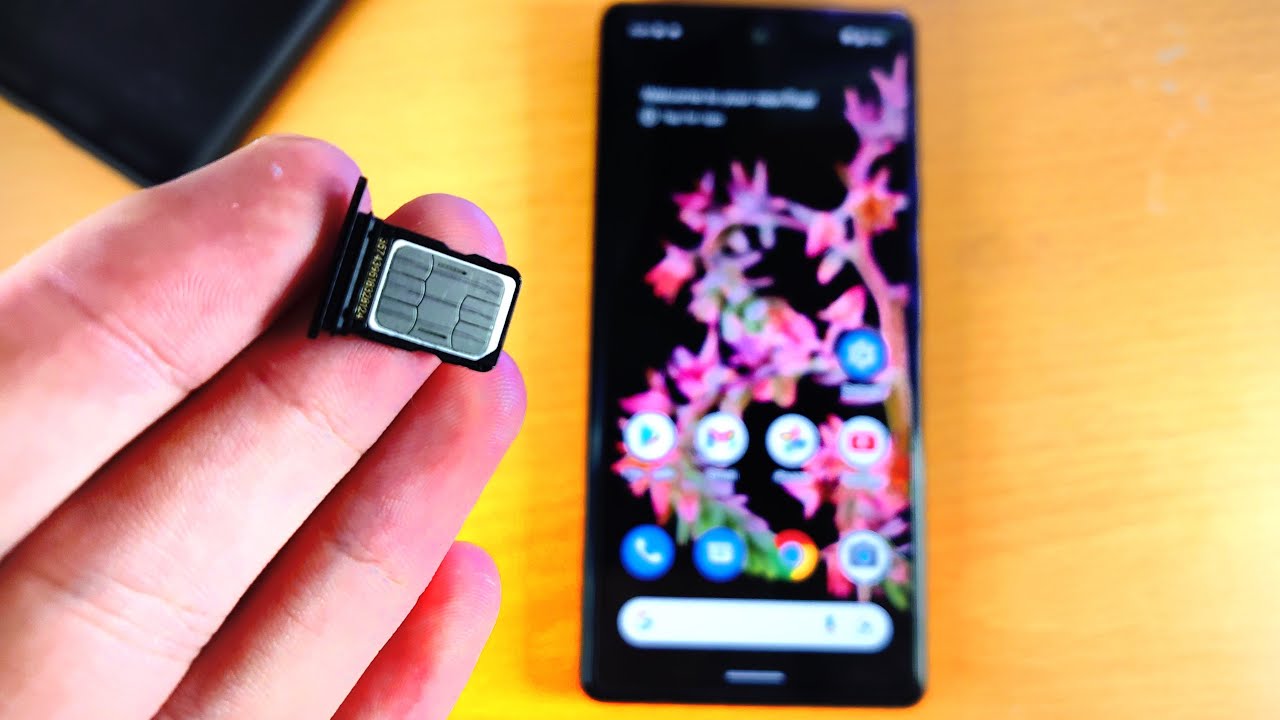
Begin by carefully examining the SIM card tray to identify the designated area where the SIM card will be placed. Within the tray, you will notice a small, rectangular slot that corresponds to the dimensions of the SIM card. This slot is designed to securely hold the SIM card in place, ensuring a stable and reliable connection with the device's internal components.
Next, retrieve the SIM card from its protective casing or packaging, handling it with care to avoid any damage to its delicate components. Take note of the orientation of the SIM card, as indicated by the notched corner or the positioning of the contact points. Aligning the SIM card correctly is crucial for ensuring that it fits seamlessly into the designated slot within the tray.
With the SIM card oriented correctly, gently place it into the designated slot within the SIM card tray, taking care to position it in a manner that aligns with the contours of the slot. Apply gentle pressure to secure the SIM card within the tray, ensuring that it sits flush and remains firmly in place. This step is essential for establishing a stable connection and facilitating the seamless transmission of data and network signals.
As you complete the insertion of the SIM card, take a moment to verify that it is securely positioned within the tray and that no irregularities or misalignments are present. A properly inserted SIM card will sit snugly within the tray, with its contact points aligned and its notched corner positioned as intended.
By successfully inserting the SIM card into the designated slot within the SIM card tray, you have achieved a critical milestone in the process of integrating the SIM card with your Nexus 5. This accomplishment sets the stage for the final step, which involves reinserting the SIM card tray into the device, securing the SIM card in its operational position.
With the SIM card now seamlessly integrated into the tray, you are poised to proceed to the next and final step of the tutorial, bringing the SIM card insertion process to its culmination. Let's move forward and complete the journey toward unlocking the full potential of your Nexus 5.
Step 4: Reinsert the SIM card tray
With the SIM card securely positioned within the tray, the final step in the process of inserting a SIM card into your Nexus 5 involves reinserting the SIM card tray into the device. This critical action not only secures the SIM card in its operational position but also ensures that the device's internal components are safeguarded against potential damage or interference.
Begin by carefully aligning the SIM card tray with the corresponding slot on the side of your Nexus 5. Take note of the orientation of the tray, ensuring that it is positioned correctly to facilitate a smooth and seamless reintegration into the device. The tray should align with the slot in a precise manner, allowing for effortless insertion without the need for excessive force or manipulation.
As you prepare to reinsert the SIM card tray, it's essential to approach this step with precision and attentiveness. Avoid rushing the process, and take the time to ensure that the tray is aligned correctly before proceeding with the insertion. This mindful approach minimizes the risk of potential errors and promotes a seamless reintegration of the tray into the device.
Once the SIM card tray is aligned with the slot, gently guide it back into the device, applying steady and even pressure to facilitate its insertion. Exercise caution to avoid any abrupt or forceful movements that may compromise the integrity of the tray or the device itself. A smooth and controlled insertion process ensures that the tray seamlessly reengages with the internal components, maintaining the device's structural integrity.
As the SIM card tray returns to its operational position within the Nexus 5, take a moment to verify that it sits flush with the device's exterior, indicating a successful reintegration. Ensure that the tray is securely seated and that no protrusions or misalignments are present, as this confirms that the SIM card is effectively secured within the device.
With the SIM card tray successfully reinserted into your Nexus 5, you have completed the crucial process of integrating a SIM card with your device. This achievement signifies the seamless establishment of mobile connectivity and network access, empowering you to harness the full potential of your Nexus 5's communication capabilities.
By following the step-by-step instructions outlined in this tutorial, you have gained a comprehensive understanding of the process of inserting a SIM card into your Nexus 5. This knowledge equips you with the confidence and expertise to navigate the device's internal components and seamlessly integrate essential hardware components, ensuring a seamless and uninterrupted mobile experience.
With the SIM card now securely integrated into your Nexus 5, you are poised to embark on a journey of seamless connectivity and unparalleled mobile functionality. Whether you're engaging in voice calls, sending messages, or accessing high-speed data services, the successful insertion of the SIM card sets the stage for a fulfilling and enriching mobile experience with your Nexus 5.
Conclusion
In conclusion, the process of inserting a SIM card into your Nexus 5 encompasses a series of deliberate and precise steps, each contributing to the seamless integration of essential hardware components and the establishment of uninterrupted mobile connectivity. By following the step-by-step instructions outlined in this tutorial, you have gained valuable insights into the intricacies of the Nexus 5's hardware design and learned how to navigate its internal components with confidence and precision.
The journey began with the essential task of locating the SIM card tray, a pivotal component that serves as the gateway to integrating the SIM card with the device. By familiarizing yourself with the physical layout of the Nexus 5 and identifying the precise location of the SIM card tray, you laid the groundwork for a smooth and efficient insertion process.
Ejecting the SIM card tray emerged as the next critical step, as it facilitated access to the internal compartment where the SIM card would be placed. By carefully engaging the ejection mechanism and withdrawing the tray from the device, you set the stage for the seamless integration of the SIM card, ensuring uninterrupted mobile connectivity.
The subsequent step involved the precise insertion of the SIM card into the designated slot within the tray, a process that required attentiveness and precision. By aligning the SIM card correctly and securing it within the tray, you established a stable and reliable connection, laying the foundation for a seamless transmission of data and network signals.
The final act of reinserting the SIM card tray into the Nexus 5 marked the culmination of the insertion process, securing the SIM card in its operational position and safeguarding the device's internal components. By approaching this step with mindfulness and attentiveness, you ensured that the tray seamlessly reengaged with the device, maintaining its structural integrity.
With the SIM card now securely integrated into your Nexus 5, you are poised to embark on a journey of seamless connectivity and unparalleled mobile functionality. Whether you're engaging in voice calls, sending messages, or accessing high-speed data services, the successful insertion of the SIM card sets the stage for a fulfilling and enriching mobile experience with your Nexus 5.
By mastering the process of inserting a SIM card into your Nexus 5, you have not only unlocked the full potential of your device but also gained valuable insights into its internal workings. This knowledge empowers you to navigate the Nexus 5's hardware components with confidence, ensuring that you can seamlessly integrate essential hardware elements and maximize the device's capabilities.
In essence, the successful insertion of a SIM card into your Nexus 5 signifies more than just a technical accomplishment; it represents the gateway to a world of seamless connectivity, empowering you to stay connected with the digital world and harness the full potential of your mobile device.