Introduction
When it comes to staying connected on the go, a reliable mobile device is indispensable. The Nexus 6, with its impressive features and user-friendly design, offers a seamless communication experience. One of the essential components for enabling connectivity on the Nexus 6 is the SIM card. The Subscriber Identity Module, or SIM card, is a small but crucial element that allows the device to connect to a mobile network and make calls, send messages, and access mobile data.
In this comprehensive guide, we will walk you through the process of inserting a SIM card into your Nexus 6. Whether you're setting up your device for the first time or replacing an existing SIM card, understanding how to properly insert and manage your SIM card is essential for seamless connectivity. By following the step-by-step instructions provided in this guide, you'll be able to effortlessly install or replace your SIM card, ensuring that your Nexus 6 is ready to keep you connected wherever you go.
The process of inserting a SIM card may seem daunting at first, especially for those who are new to the Nexus 6 or mobile devices in general. However, with the right guidance and a clear understanding of the steps involved, you'll find that it's a straightforward and manageable task. By the end of this guide, you'll have the confidence and knowledge to handle your Nexus 6's SIM card with ease, empowering you to make the most of your device's communication capabilities.
So, without further ado, let's dive into the step-by-step process of inserting a SIM card into your Nexus 6 and ensure that you're equipped to stay connected in today's fast-paced world.
Step 1: Locate the SIM Card Tray
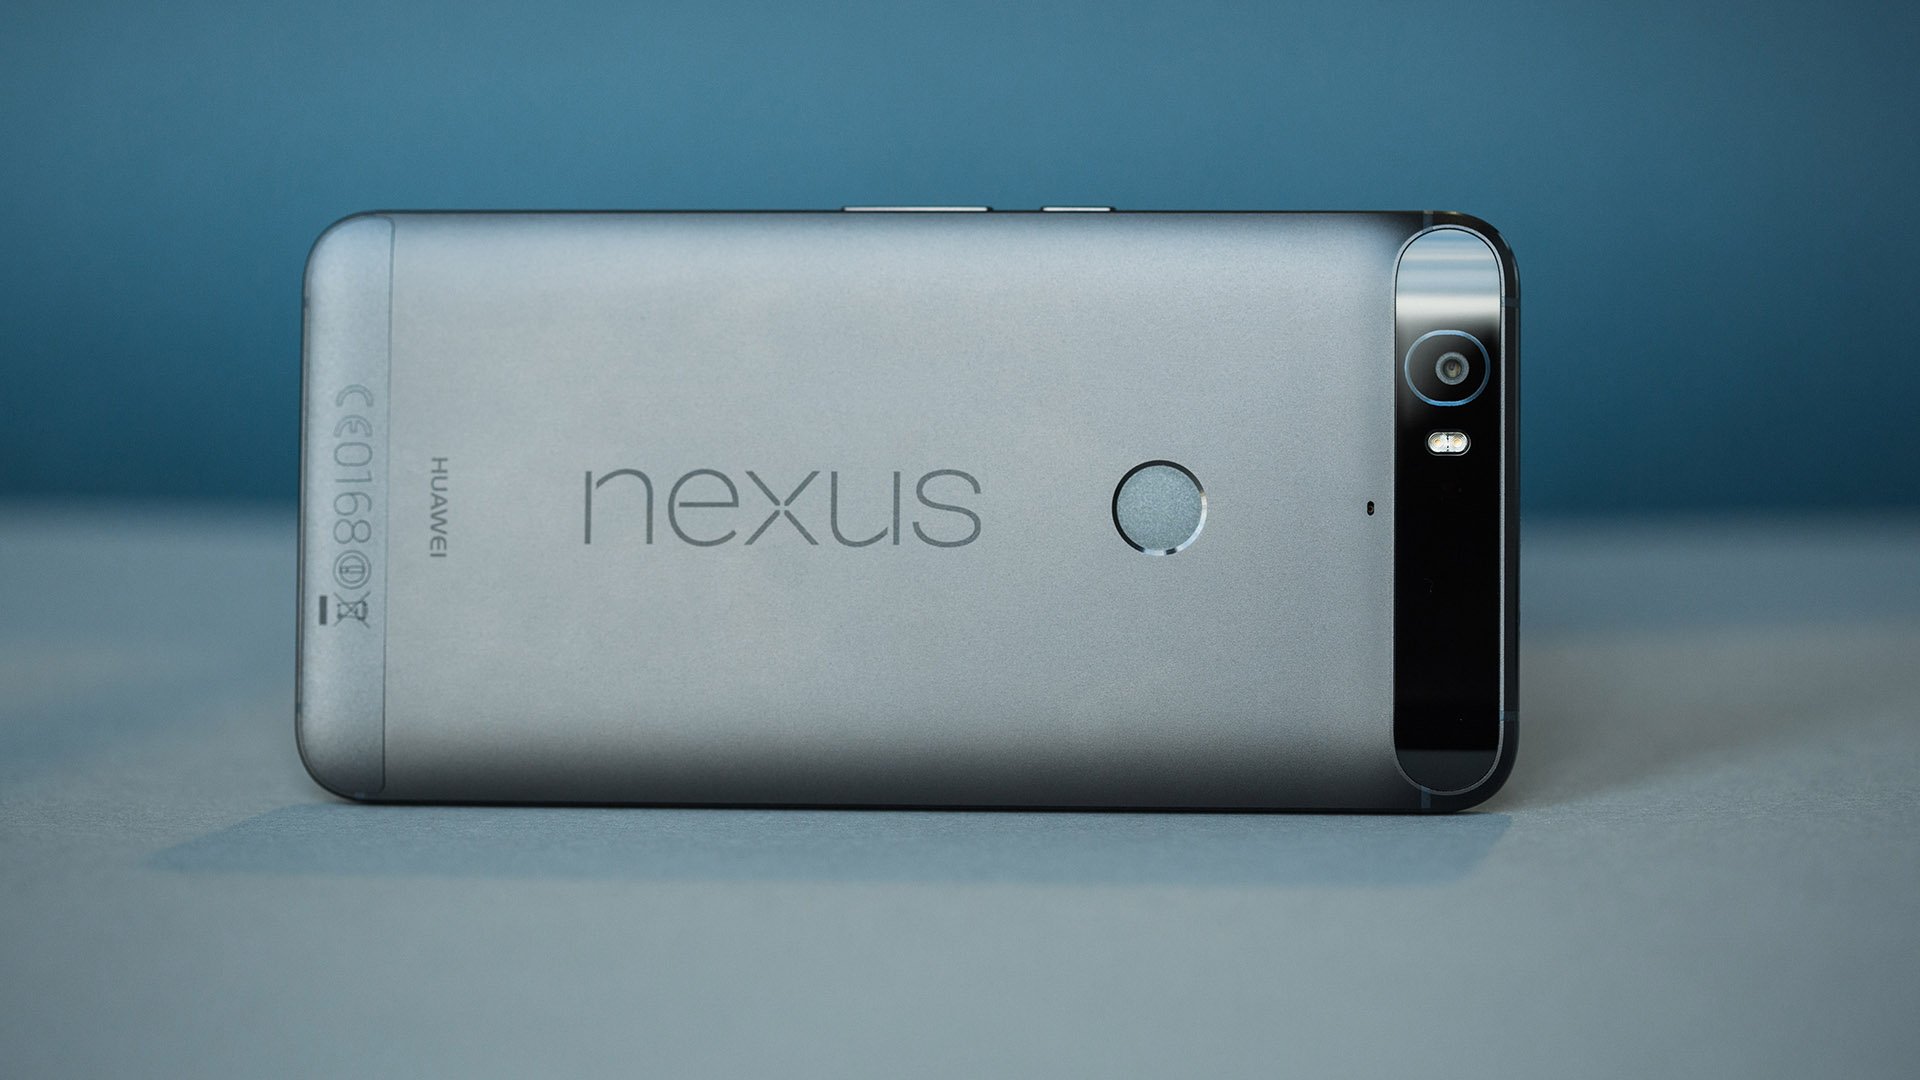
The first step in preparing your Nexus 6 for a SIM card installation is to locate the SIM card tray. The SIM card tray is a small, discreet component of the device that securely houses the SIM card. To begin, you'll need to identify the exact location of the SIM card tray on your Nexus 6.
-
Power Off the Device: Before proceeding, ensure that your Nexus 6 is powered off. This is a crucial safety measure that prevents any potential damage to the device or the SIM card during the installation process.
-
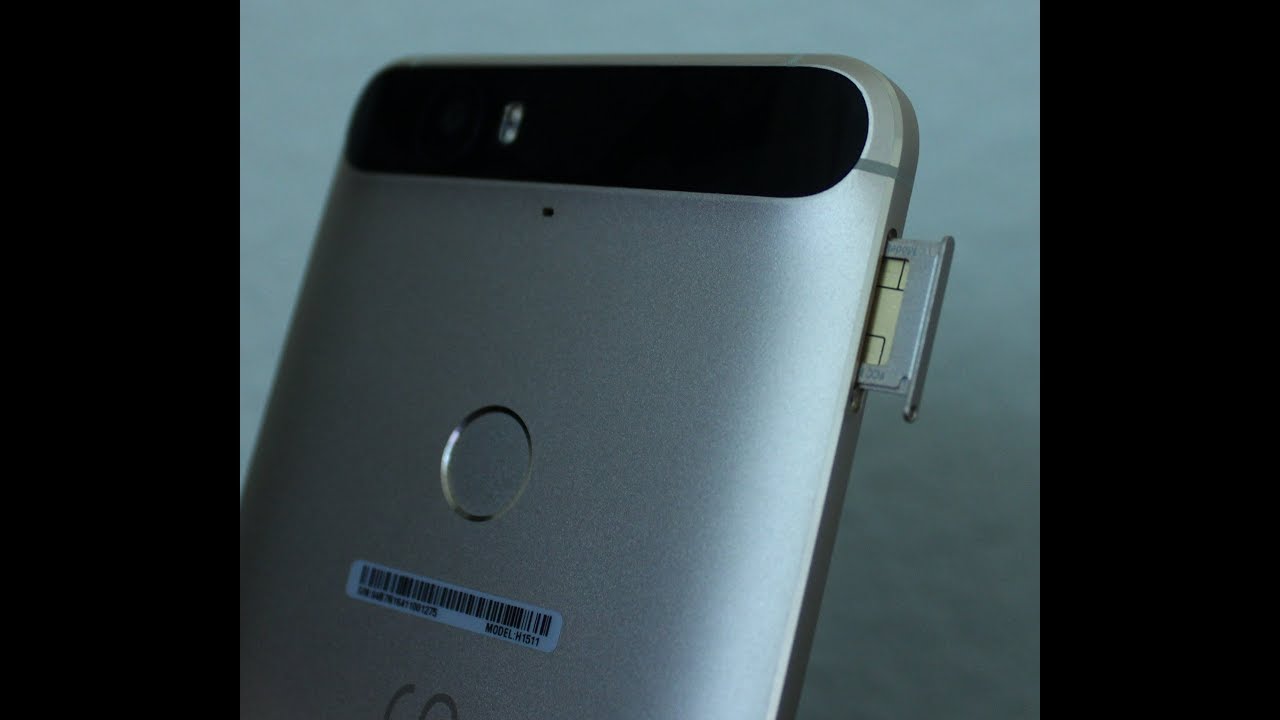
Locate the SIM Card Tray Slot: Once the device is powered off, turn your attention to the sides of the Nexus 6. The SIM card tray slot is typically situated on the upper edge of the device. It is a small, rectangular slot with a pinhole next to it, indicating the location of the SIM card tray.
-
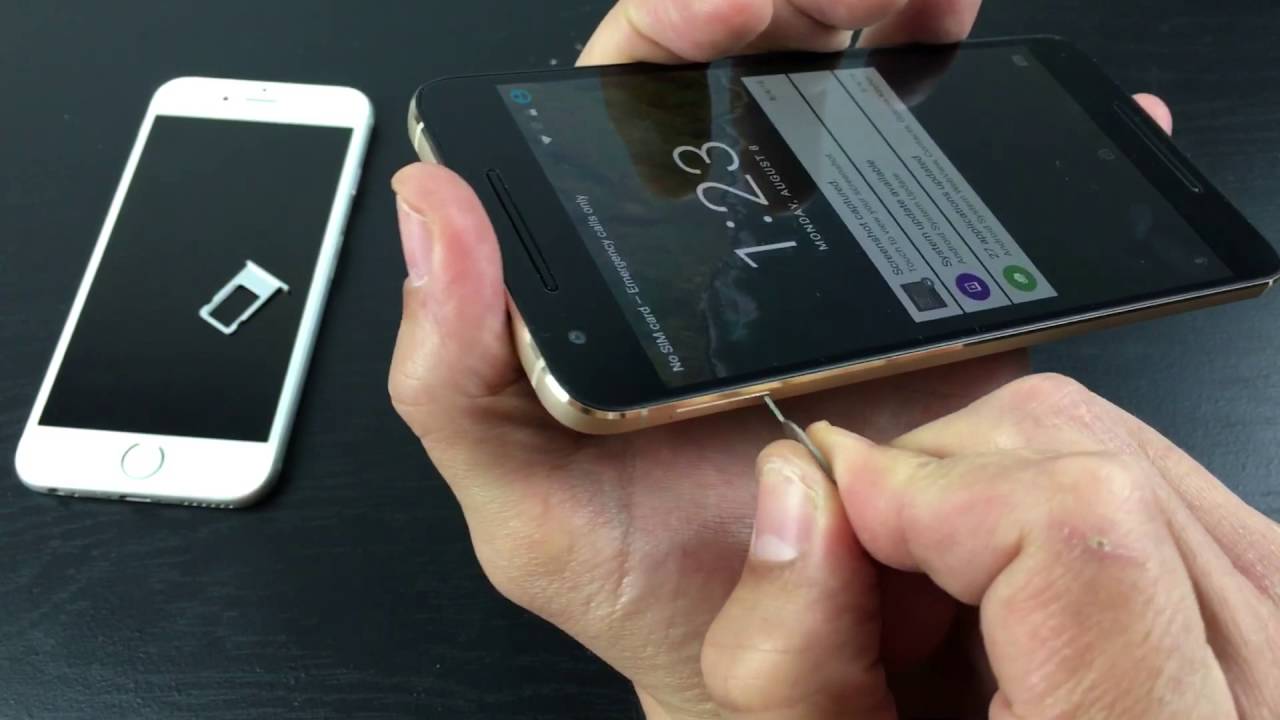
Identify the Pinhole: The pinhole adjacent to the SIM card tray slot is a key feature that facilitates the ejection of the SIM card tray. This pinhole allows you to use a SIM card ejection tool or a small, unfolded paperclip to gently release the SIM card tray from its slot.
-
Exercise Caution: As you familiarize yourself with the location of the SIM card tray, it's important to handle the device with care. Avoid applying excessive force or using sharp objects to prevent any damage to the SIM card tray slot or the device itself.
By successfully locating the SIM card tray on your Nexus 6, you've completed the initial step in the SIM card installation process. With a clear understanding of the SIM card tray's position and the associated safety precautions, you're now ready to proceed to the next step and continue the seamless installation of your SIM card.
Next, we'll delve into the essential process of ejecting the SIM card tray, which sets the stage for inserting your SIM card and optimizing your Nexus 6 for connectivity.
Step 2: Eject the SIM Card Tray
Ejecting the SIM card tray is a crucial step in the process of preparing your Nexus 6 for the insertion of a SIM card. This step involves using the provided SIM card ejection tool or a small, unfolded paperclip to safely remove the SIM card tray from its slot. By carefully following the instructions outlined below, you'll be able to execute this step with precision and confidence.
-
Prepare the SIM Card Ejection Tool: If you have the SIM card ejection tool that came with your Nexus 6, ensure that it is readily accessible. Alternatively, if the ejection tool is unavailable, a small, unfolded paperclip can be used as an effective substitute.
-
Insert the Ejection Tool: Gently insert the SIM card ejection tool or the unfolded paperclip into the pinhole located adjacent to the SIM card tray slot. Apply light pressure to engage the internal mechanism that releases the SIM card tray.
-
Apply Even Pressure: Once the ejection tool is inserted into the pinhole, apply even pressure to push the tool further into the pinhole. This action triggers the release of the SIM card tray, causing it to partially protrude from the slot.
-
Remove the SIM Card Tray: Carefully pull the SIM card tray out of the slot using your fingers. Exercise caution to ensure that the tray is extracted smoothly and without any resistance. Avoid using excessive force, as the tray should slide out effortlessly once it has been released.
-
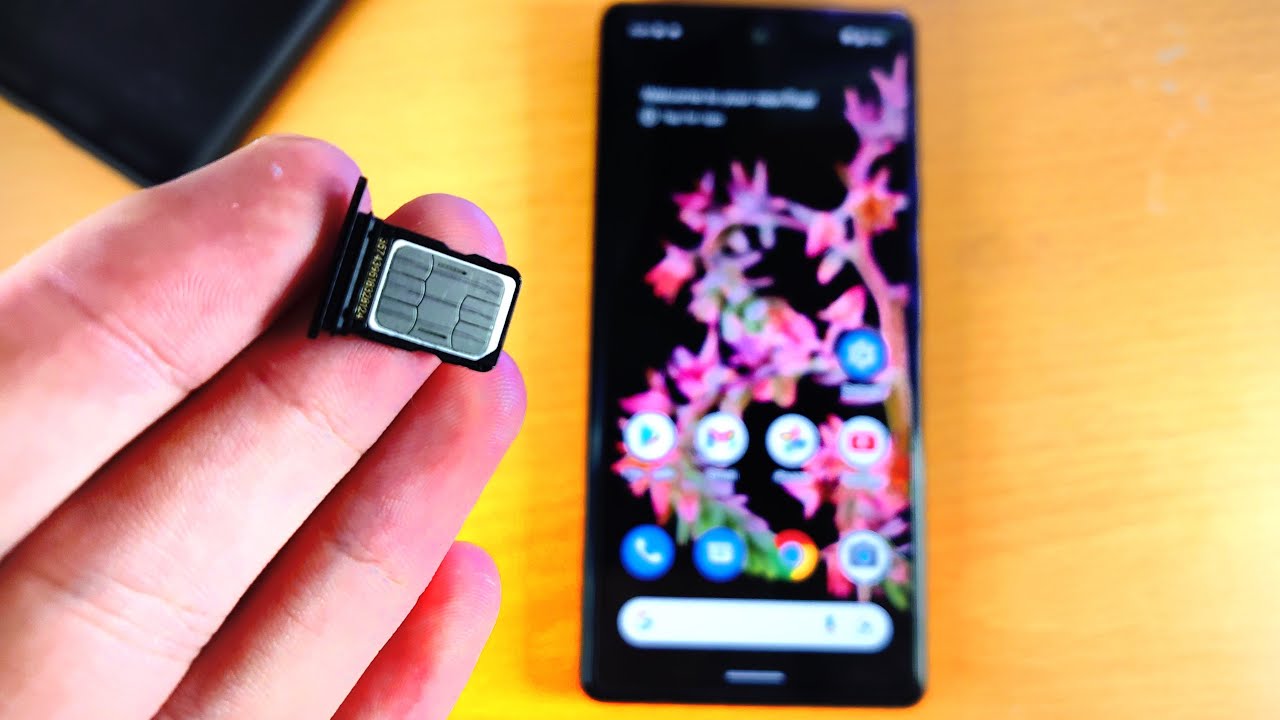
Inspect the SIM Card Tray: With the SIM card tray in hand, take a moment to familiarize yourself with its design and the positioning of the SIM card slot. This inspection will provide you with a clear understanding of how the SIM card should be inserted into the tray in the subsequent steps.
By successfully ejecting the SIM card tray from your Nexus 6, you have completed a critical phase in the process of preparing your device for SIM card installation. With the tray now accessible, you are ready to proceed to the next step and insert your SIM card securely, enabling your Nexus 6 to harness the power of seamless connectivity.
Step 3: Insert the SIM Card
With the SIM card tray successfully ejected from your Nexus 6, the next pivotal step is to insert the SIM card into the tray. This process ensures that the SIM card is securely positioned within the device, laying the foundation for seamless connectivity and communication capabilities. Follow the detailed instructions below to navigate this step with precision and confidence.
-
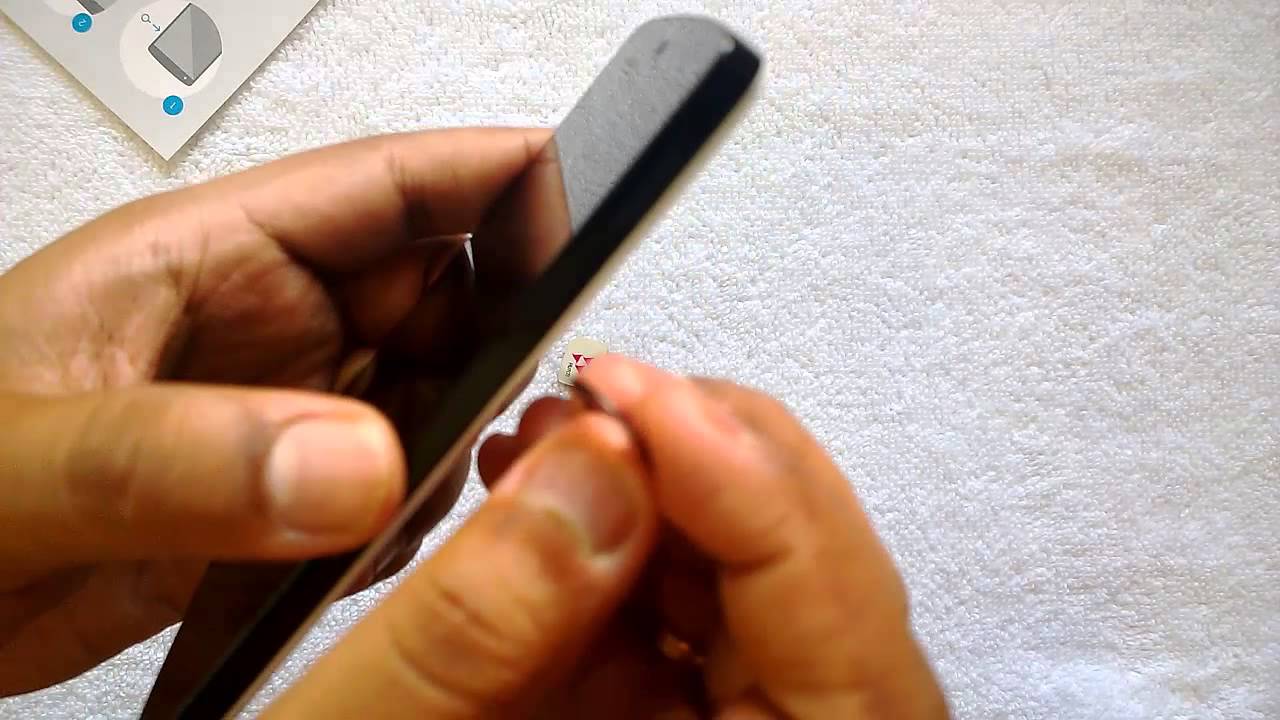
Prepare the SIM Card: Before proceeding, ensure that the SIM card is readily available. Take a moment to inspect the SIM card and identify its unique design, which includes a notched corner that aligns with the SIM card tray.
-
Position the SIM Card: Orient the SIM card in alignment with the corresponding slot within the SIM card tray. The notched corner of the SIM card should be positioned to match the designated area within the tray, ensuring a proper fit.
-
Carefully Insert the SIM Card: With the SIM card correctly positioned, gently place it into the designated slot within the SIM card tray. Apply light pressure to ensure that the SIM card is seated securely within the tray, maintaining proper alignment throughout the process.
-
Verify the Alignment: Once the SIM card has been inserted, take a moment to verify that it is positioned correctly within the tray. Ensure that the notched corner of the SIM card aligns seamlessly with the corresponding area within the tray, indicating a proper fit.
-
Handle with Care: Throughout the insertion process, handle the SIM card with care to prevent any damage to its surface or internal components. Avoid bending or applying excessive pressure to the SIM card, as this could compromise its functionality.
By successfully inserting the SIM card into the tray of your Nexus 6, you have accomplished a critical phase in the process of establishing connectivity on your device. With the SIM card securely in place, you are now prepared to reinsert the SIM card tray and finalize the installation process, setting the stage for a seamless and reliable communication experience on your Nexus 6.
Step 4: Reinsert the SIM Card Tray
With the SIM card securely inserted into the tray of your Nexus 6, the final step in the SIM card installation process involves reinserting the SIM card tray into its designated slot within the device. This critical step ensures that the SIM card is properly integrated into the Nexus 6, allowing for seamless connectivity and communication capabilities. Follow the detailed instructions below to navigate this step with precision and confidence.
-
Align the SIM Card Tray: Before reinserting the SIM card tray, take a moment to align it correctly with the slot on the device. Ensure that the tray is positioned in the proper orientation, allowing for a smooth and secure insertion process.
-
Carefully Place the SIM Card Tray: With the SIM card tray aligned with the slot, gently guide it back into the designated position within the Nexus 6. Apply light pressure to ensure that the tray slides smoothly into place, maintaining alignment with the device's structure.
-
Verify the Secure Fit: Once the SIM card tray has been reinserted, take a moment to verify that it is securely positioned within the device. Ensure that the tray sits flush with the Nexus 6, indicating a proper fit and seamless integration.
-
Power On the Device: With the SIM card tray successfully reinserted, power on your Nexus 6 to initiate the device's activation process. As the device boots up, it will recognize the newly installed SIM card, enabling you to access mobile networks and communication services.
-
Test Connectivity: After the device has powered on, verify that the SIM card installation was successful by testing the connectivity features of your Nexus 6. Make a test call, send a message, or access mobile data to ensure that the device is seamlessly connected to the mobile network.
By successfully reinserting the SIM card tray into your Nexus 6, you have completed the final phase of the SIM card installation process. With the tray securely in place, your device is now fully equipped to harness the power of seamless connectivity, enabling you to stay connected and engaged in today's fast-paced world.
This comprehensive guide has equipped you with the knowledge and confidence to handle your Nexus 6's SIM card installation process with ease, empowering you to make the most of your device's communication capabilities. Whether you're setting up your device for the first time or replacing an existing SIM card, the step-by-step instructions provided in this guide ensure that you can seamlessly manage your Nexus 6's SIM card, setting the stage for a reliable and efficient communication experience.
Conclusion
In conclusion, the process of inserting a SIM card into your Nexus 6 is a fundamental aspect of optimizing your device for seamless connectivity and communication. By following the step-by-step instructions outlined in this comprehensive guide, you have gained the knowledge and confidence to effortlessly manage your Nexus 6's SIM card, whether it's for initial setup or SIM card replacement.
Understanding the importance of locating the SIM card tray, safely ejecting the tray, inserting the SIM card, and reinserting the tray is essential for ensuring a smooth and successful installation process. By adhering to the detailed instructions provided, you have effectively equipped your Nexus 6 to harness the power of mobile networks, enabling you to make calls, send messages, and access mobile data with ease.
Furthermore, the careful handling and precise execution of each step underscore the significance of proper SIM card management. By exercising caution and attention to detail, you have safeguarded your device and the SIM card from potential damage, ensuring a seamless and reliable communication experience.
As you power on your Nexus 6 and verify the successful installation of the SIM card, you can take pride in your ability to navigate this essential aspect of device setup. Your Nexus 6 is now primed to keep you connected wherever you go, empowering you to stay engaged and informed in today's dynamic and interconnected world.
By mastering the process of SIM card installation, you have unlocked the full potential of your Nexus 6, enabling it to serve as a reliable communication hub that seamlessly connects you to the people and information that matter most. Whether it's staying in touch with loved ones, accessing vital information on the go, or leveraging mobile connectivity for productivity, your Nexus 6 is now fully equipped to support your communication needs.
In essence, the successful installation of a SIM card into your Nexus 6 marks a pivotal step in optimizing your device for connectivity, underscoring your ability to seamlessly integrate essential components into your digital lifestyle. With your newfound expertise in managing the Nexus 6's SIM card, you are well-prepared to make the most of your device's communication capabilities, ensuring that you can stay connected and engaged in today's fast-paced and interconnected world.