Introduction
Inserting a SIM card into your Moto E is a fundamental step in setting up your device for communication. The Subscriber Identity Module (SIM) card serves as the key to accessing your mobile network, enabling you to make calls, send texts, and connect to the internet. Whether you're a new Moto E user or simply need a refresher on the process, this step-by-step guide will walk you through the seamless procedure of inserting a SIM card into your device.
Understanding the significance of the SIM card in your Moto E is essential. This small, yet crucial, component is what allows your device to identify itself to the mobile network, ensuring that you have access to the full range of services offered by your carrier. Without a properly inserted SIM card, your Moto E would be unable to connect to the network, rendering it unable to make calls or access mobile data.
By following the steps outlined in this guide, you can ensure that your SIM card is securely and correctly inserted into your Moto E, allowing you to fully harness the capabilities of your device. Whether you're a tech-savvy individual or someone who is new to the world of smartphones, this guide is designed to provide clear and concise instructions that anyone can follow.
Now, let's delve into the step-by-step process of inserting a SIM card into your Moto E, ensuring that you can seamlessly integrate your device into the mobile network and enjoy all the features it has to offer.
Step 1: Locate the SIM Card Tray
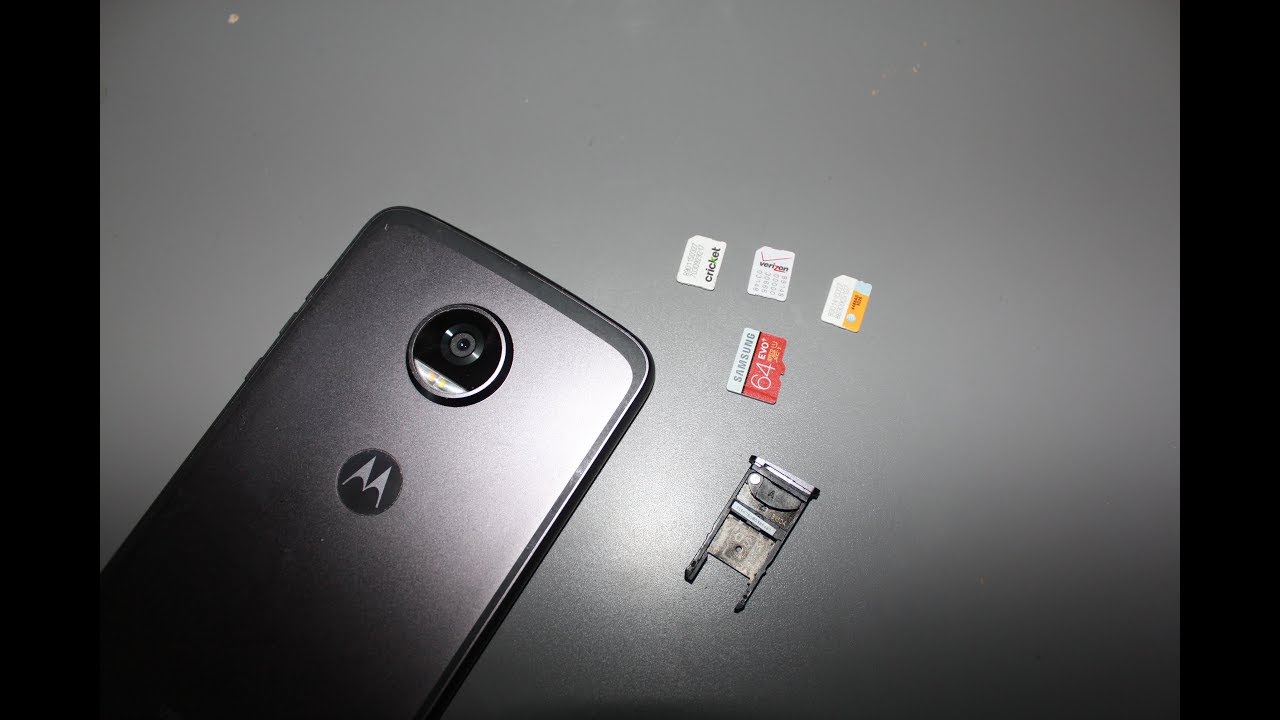
Locating the SIM card tray is the initial step in the process of inserting a SIM card into your Moto E. The SIM card tray is a small, discreet component of the device that houses the SIM card and facilitates its connection to the mobile network. To begin, you will need to identify the precise location of the SIM card tray on your Moto E.
The SIM card tray is typically located on the side of the device. On the Moto E, it is commonly positioned on the left-hand side, though the exact placement may vary slightly depending on the specific model of the device. To locate the SIM card tray, you can start by examining the sides of your Moto E, looking for a small, recessed slot that is designed to hold the SIM card.
Once you have identified the SIM card tray, you will notice a tiny pinhole adjacent to it. This pinhole is designed to accommodate the SIM eject tool, a small, specialized tool that is essential for removing the SIM card tray from the device. The presence of this pinhole serves as a key indicator of the location of the SIM card tray, allowing you to easily pinpoint its position on your Moto E.
By successfully locating the SIM card tray, you have completed the first crucial step in the process of inserting a SIM card into your Moto E. With the SIM card tray now identified, you are ready to proceed to the next step, which involves using the SIM eject tool to access the SIM card tray and prepare it for the insertion of the SIM card.
Understanding the precise location of the SIM card tray is essential for ensuring a smooth and efficient insertion process. By familiarizing yourself with the physical layout of your device and locating the SIM card tray, you have taken the initial step towards seamlessly integrating your Moto E with the mobile network, setting the stage for the subsequent steps in the SIM card insertion process.
Step 2: Insert the SIM Eject Tool
Inserting the SIM eject tool is a crucial step in the process of preparing the SIM card tray for the insertion of the SIM card. The SIM eject tool, a small and specialized instrument provided with your Moto E, is designed to facilitate the safe removal of the SIM card tray from the device, allowing for the seamless placement of the SIM card. This tool plays a pivotal role in ensuring that the SIM card is securely and correctly inserted, enabling your Moto E to establish a connection with the mobile network.
To begin, locate the SIM eject tool that was included in the packaging of your Moto E. This tool is typically a slender, metallic pin with a pointed end, specifically designed to fit into the pinhole adjacent to the SIM card tray. Once you have the SIM eject tool in hand, carefully insert the pointed end of the tool into the pinhole next to the SIM card tray. Apply gentle pressure to ensure that the tool is securely inserted into the pinhole.
As you insert the SIM eject tool into the pinhole, you will feel a slight resistance, indicating that the tool has engaged with the internal mechanism of the device. This action triggers the release of the SIM card tray, allowing it to be easily removed from the Moto E. It is important to exercise caution and precision when using the SIM eject tool to avoid any damage to the device or the SIM card tray.
By successfully inserting the SIM eject tool into the pinhole, you have initiated the process of unlocking the SIM card tray, setting the stage for the subsequent steps in the SIM card insertion process. With the SIM eject tool securely in place, you are now prepared to carefully remove the SIM card tray from your Moto E, paving the way for the next phase of the insertion procedure.
Understanding the significance of the SIM eject tool and its role in the SIM card insertion process is essential for ensuring a smooth and efficient experience. By following these instructions and effectively inserting the SIM eject tool, you have positioned yourself to seamlessly progress to the next step, which involves removing the SIM card tray from your Moto E in preparation for the insertion of the SIM card.
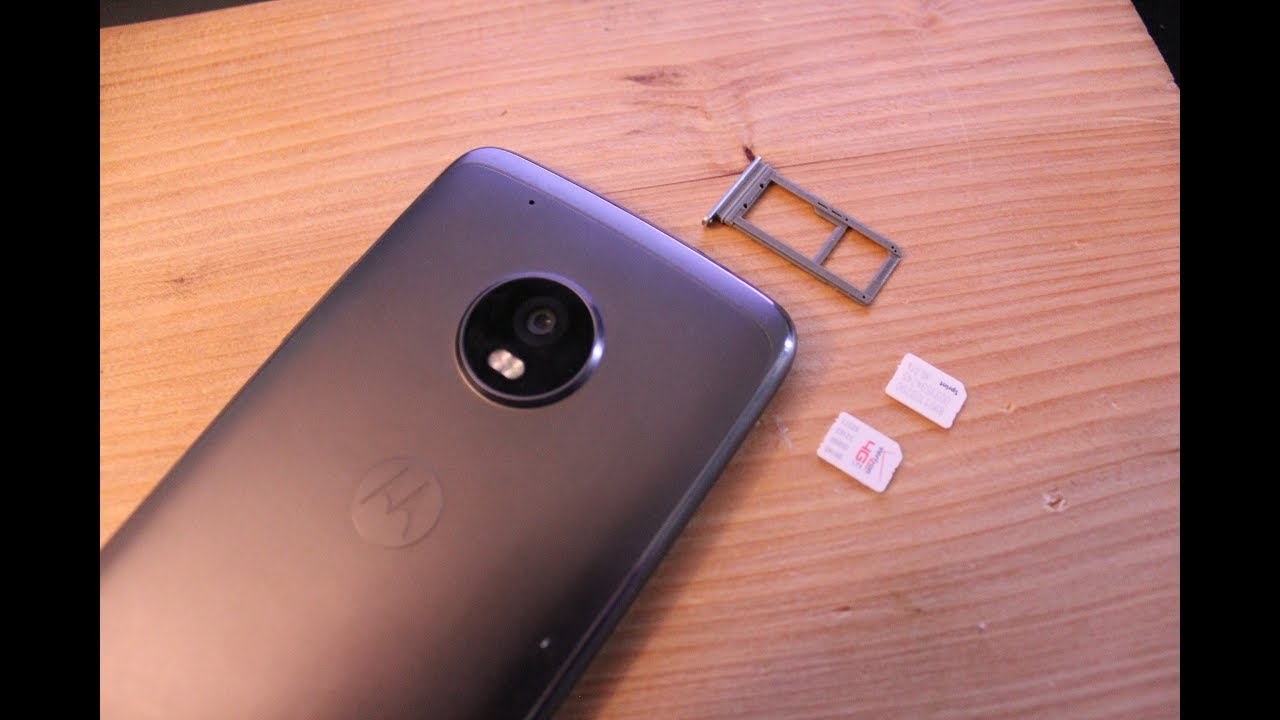
Step 3: Remove the SIM Card Tray
Removing the SIM card tray from your Moto E is a pivotal step in the process of inserting a SIM card into your device. Once the SIM eject tool has been securely inserted into the pinhole adjacent to the SIM card tray, you are ready to carefully remove the tray from your device.
To begin, apply gentle and consistent pressure to the SIM eject tool, ensuring that it remains securely inserted into the pinhole. Slowly push inward with the tool, maintaining a steady and controlled approach to avoid causing any damage to the device. As you exert pressure on the SIM eject tool, you will feel a subtle release within the device, indicating that the SIM card tray is disengaging from its locked position.
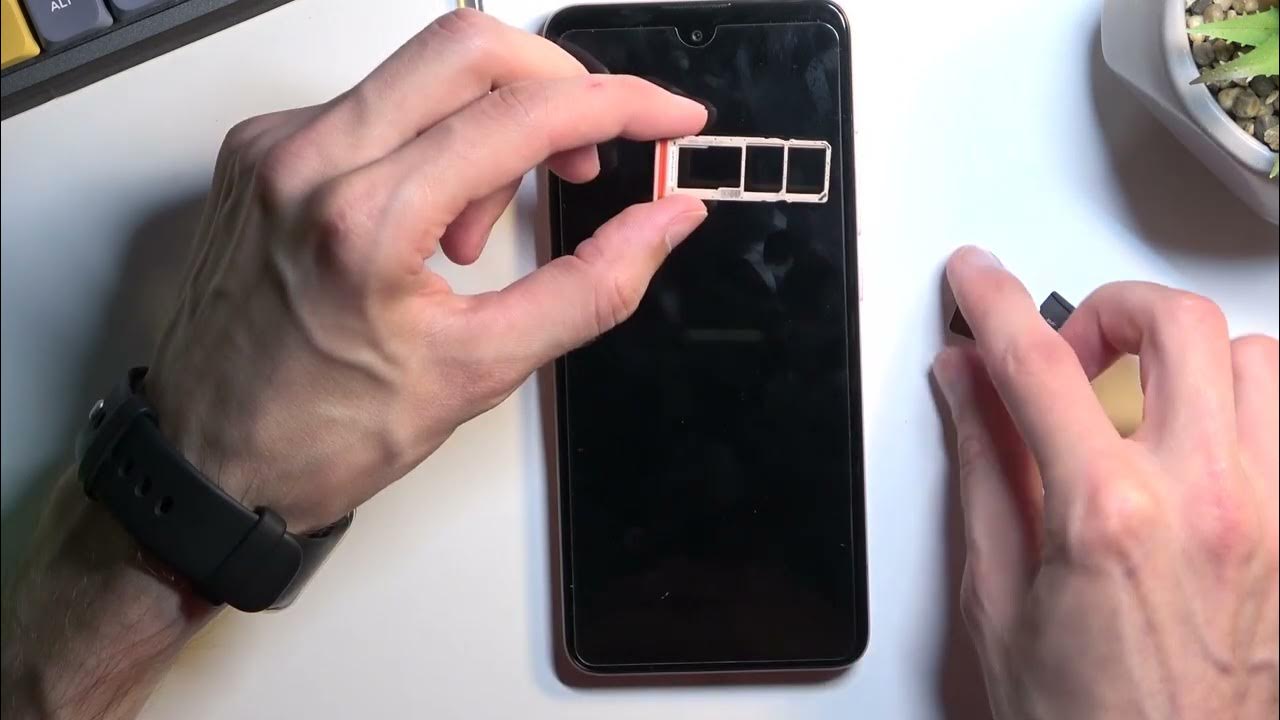
As the SIM card tray begins to dislodge, continue to exert gentle pressure until the tray is partially ejected from the device. At this point, you can carefully remove the SIM eject tool from the pinhole, ensuring that the tray remains stable and does not fall out of the device. With the tray partially extended, use your fingers to gently and steadily pull the tray out of the Moto E, taking care to maintain a level and controlled approach.
Once the SIM card tray has been fully removed from the device, place it on a flat and stable surface, ensuring that it remains secure and free from any obstructions. Take a moment to inspect the tray, confirming that it is undamaged and free from any debris that may interfere with the insertion of the SIM card.
By successfully removing the SIM card tray from your Moto E, you have completed a critical phase of the SIM card insertion process, setting the stage for the subsequent step, which involves placing the SIM card into the tray. With the tray now accessible, you are well-positioned to seamlessly progress to the next phase, ensuring that the SIM card is securely and correctly inserted into your device.
Understanding the precise steps involved in removing the SIM card tray is essential for ensuring a smooth and efficient insertion process. By following these instructions and carefully removing the tray from your Moto E, you have positioned yourself to seamlessly progress to the next step, setting the stage for the successful insertion of the SIM card into your device.
Step 4: Place the SIM Card in the Tray
Placing the SIM card in the tray is a pivotal step in the process of inserting a SIM card into your Moto E. With the SIM card tray now accessible and removed from the device, you are ready to proceed with securely positioning the SIM card within the tray.
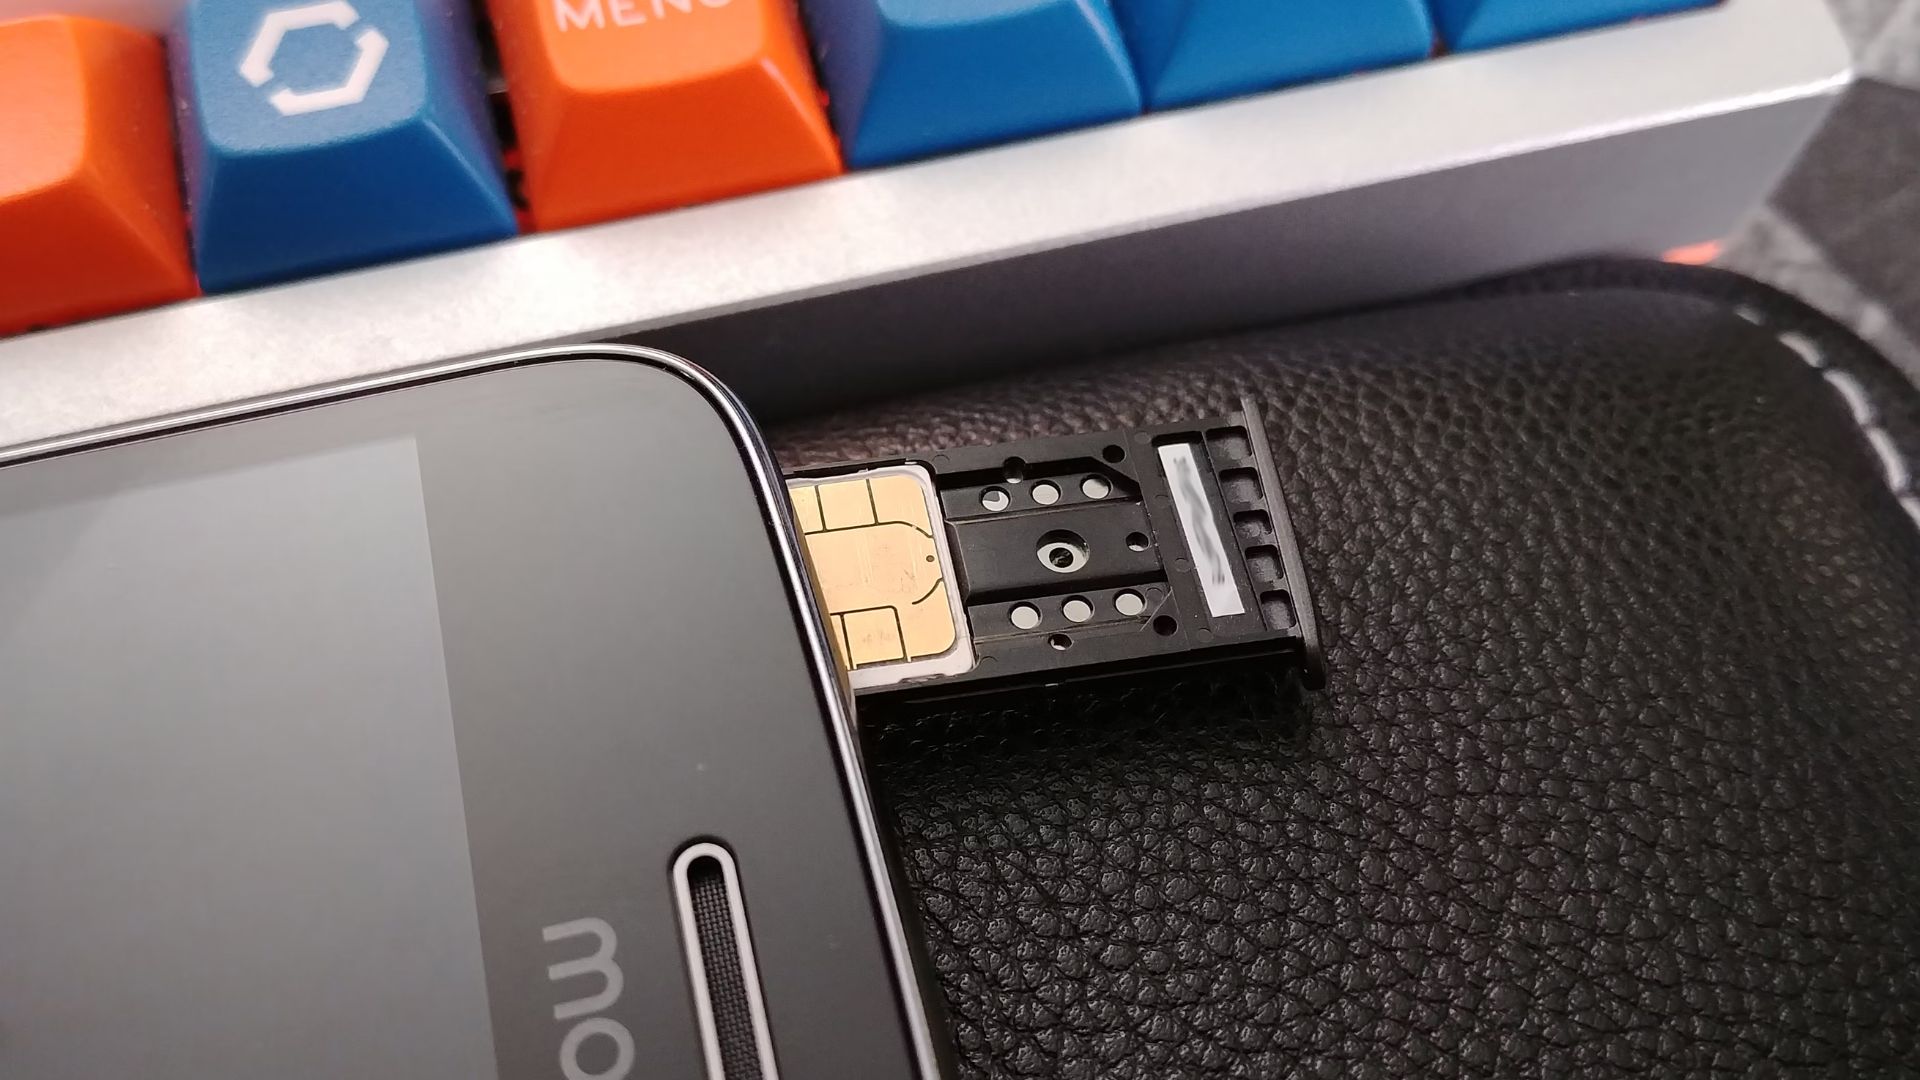
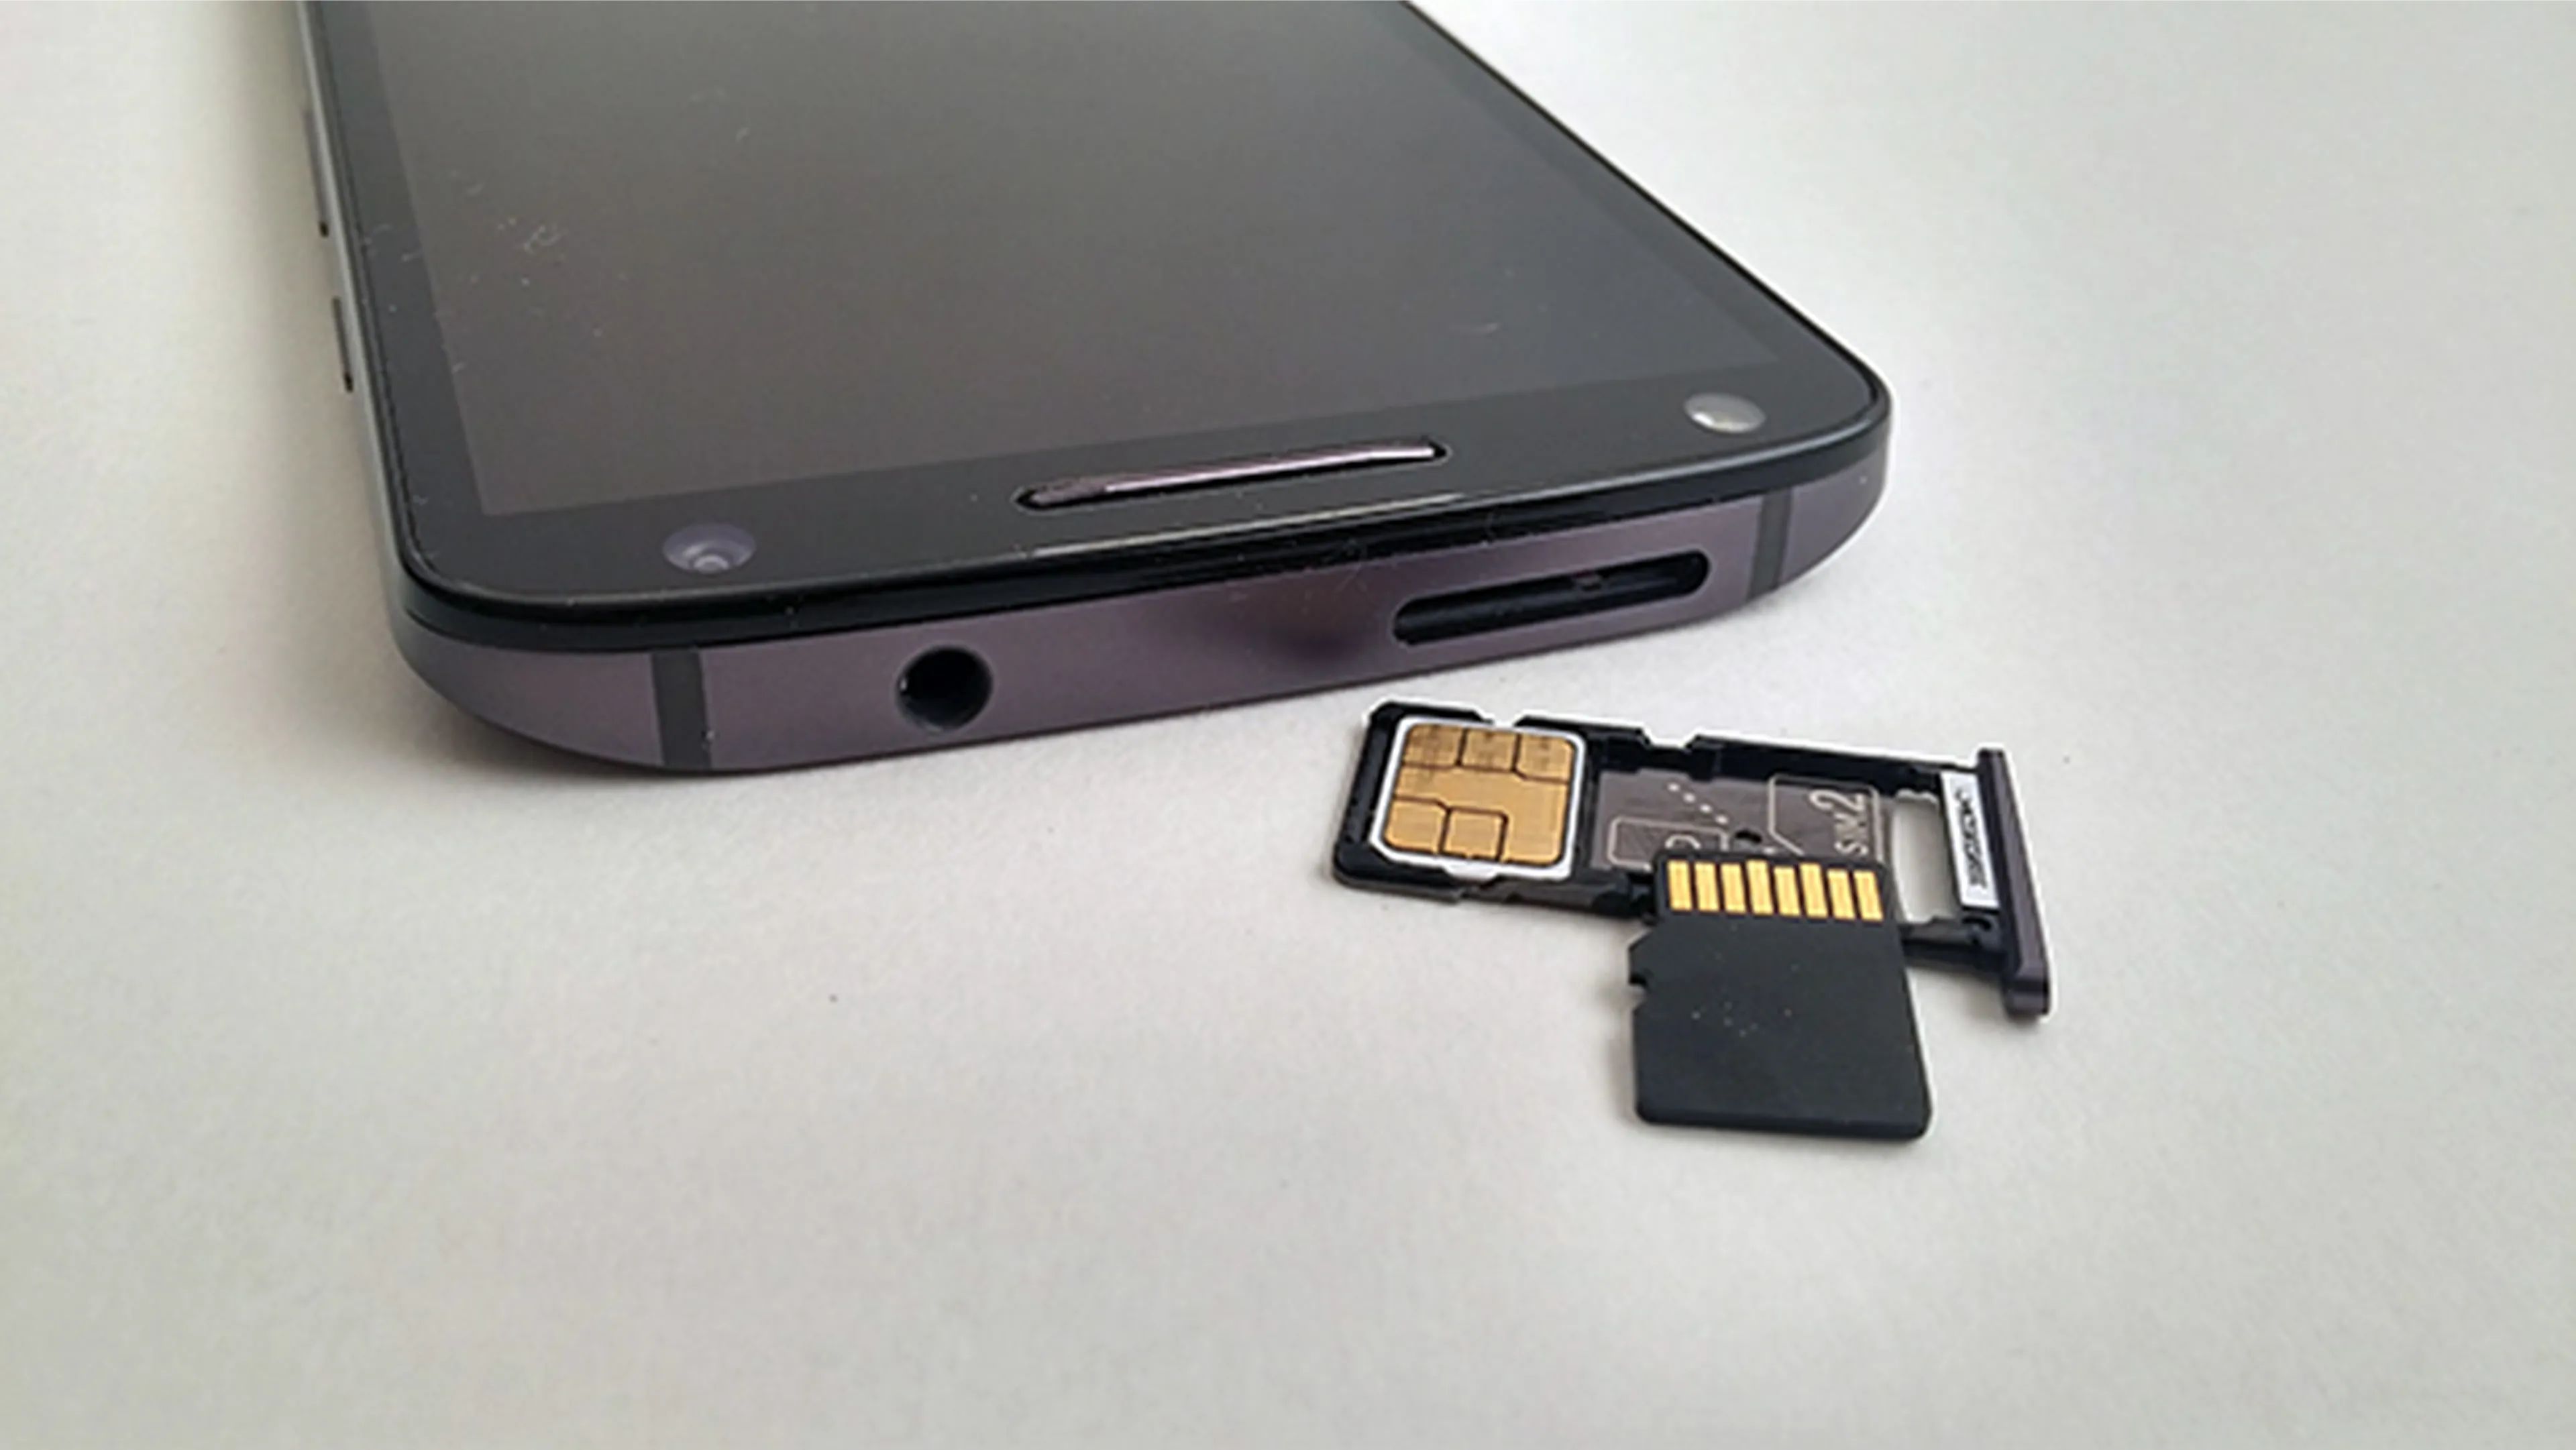
To begin, carefully inspect the SIM card and the tray to ensure that they are free from any debris or damage. The SIM card is a small, rectangular chip that contains vital information and serves as the key to connecting your Moto E to the mobile network. It is essential to handle the SIM card with care, avoiding any bending or scratching that may compromise its functionality.
Next, examine the SIM card tray to identify the designated area for the placement of the SIM card. On the tray, you will notice a small, rectangular slot that corresponds to the size and shape of the SIM card. Align the SIM card with this slot, ensuring that it fits snugly and securely without any forceful manipulation.
When positioning the SIM card in the tray, take note of the orientation of the card. Most SIM cards have a corner that is diagonally cut or marked with a specific symbol to indicate the correct alignment. Align the SIM card in accordance with the markings on the tray, ensuring that it is positioned correctly to facilitate a seamless connection with the device.
Once the SIM card is aligned with the slot on the tray, gently press down on the card to ensure that it is firmly seated. Exercise caution and precision to avoid applying excessive force that may damage the SIM card or the tray. The goal is to securely position the SIM card within the tray, creating a stable and reliable connection that enables your Moto E to access the mobile network.
With the SIM card now securely placed in the tray, take a moment to verify that it is properly aligned and seated. Inspect the tray to ensure that the SIM card is flush with the surface, indicating that it has been correctly positioned. This meticulous approach helps to guarantee that the SIM card is ready for insertion back into your Moto E, setting the stage for the final step in the process.
By successfully placing the SIM card in the tray, you have completed a critical phase of the SIM card insertion process, ensuring that the card is securely and correctly positioned for reinsertion into your Moto E. With the SIM card now in place, you are well-prepared to seamlessly progress to the next step, which involves reinserting the SIM card tray into your device, finalizing the insertion process and enabling your Moto E to establish a connection with the mobile network.
Step 5: Reinsert the SIM Card Tray
Reinserting the SIM card tray into your Moto E marks the final step in the process of inserting a SIM card into your device. With the SIM card securely positioned within the tray, you are now ready to carefully reintroduce the tray back into your Moto E, allowing the device to establish a connection with the mobile network.
To begin, take the SIM card tray with the inserted SIM card and ensure that it is free from any debris or obstructions. Carefully inspect the tray to confirm that the SIM card is securely positioned within the designated slot, aligned properly, and seated flush with the surface. This meticulous examination helps to guarantee that the SIM card is ready for reinsertion into your Moto E.
Next, align the SIM card tray with the corresponding slot on the side of your Moto E. When aligning the tray, take note of the orientation and ensure that it is positioned correctly to facilitate a smooth and secure fit. Avoid applying excessive force or misaligning the tray, as this may result in difficulty inserting the tray into the device.
Once the tray is properly aligned, gently and steadily insert it back into the Moto E, ensuring that it glides smoothly into place. Exercise caution and precision to avoid any resistance or obstruction during the insertion process. The goal is to seamlessly reintroduce the tray, allowing it to fit snugly and securely within the device without any forceful manipulation.
As the SIM card tray is reinserted into your Moto E, you will feel a subtle click or resistance, indicating that the tray is securely in place. Take a moment to verify that the tray is flush with the side of the device, confirming that it has been correctly inserted. This careful observation ensures that the tray is securely positioned, finalizing the insertion process and allowing your Moto E to establish a connection with the mobile network.
By successfully reinserting the SIM card tray into your Moto E, you have completed the final step of the SIM card insertion process, ensuring that the tray, with the securely placed SIM card, is seamlessly integrated back into the device. With the tray now securely in place, your Moto E is ready to establish a connection with the mobile network, enabling you to make calls, send texts, and access mobile data with ease.
This comprehensive guide has equipped you with the knowledge and expertise to seamlessly insert a SIM card into your Moto E, empowering you to fully harness the capabilities of your device and stay connected on the go.
Conclusion
Congratulations! By following this step-by-step guide, you have successfully inserted a SIM card into your Moto E, ensuring that your device is fully equipped to establish a connection with the mobile network. The process of inserting a SIM card is a fundamental aspect of setting up your Moto E, and your meticulous approach has ensured that the SIM card is securely and correctly positioned within the device.
As you reflect on the completion of this process, it's important to recognize the significance of the SIM card in enabling your Moto E to access the full range of mobile services. The SIM card serves as the gateway to the mobile network, allowing you to make calls, send texts, and connect to the internet with ease. By following the steps outlined in this guide, you have not only gained practical knowledge but also empowered yourself to seamlessly integrate your device into the mobile network.
Your attention to detail in locating the SIM card tray, using the SIM eject tool, removing the tray, placing the SIM card, and reinserting the tray has ensured that the entire process was executed with precision. This level of care and thoroughness is essential for guaranteeing that your Moto E is fully optimized to deliver a seamless and reliable mobile experience.
As you embark on your journey with your Moto E, equipped with a securely inserted SIM card, you can now explore the myriad features and capabilities that the device has to offer. Whether it's staying connected with friends and family, accessing online resources on the go, or utilizing the diverse array of apps and services, your Moto E is now primed to deliver a comprehensive mobile experience.
By familiarizing yourself with the process of inserting a SIM card into your Moto E, you have not only gained valuable insights into the technical aspects of the device but also demonstrated a proactive approach to optimizing its functionality. This hands-on experience serves as a foundation for your continued exploration and utilization of your Moto E, empowering you to make the most of its capabilities.
As you proceed with using your Moto E, remember that the successful insertion of the SIM card is just one aspect of your device's potential. Embrace the possibilities, stay curious, and continue to explore the diverse features and functionalities that make your Moto E a valuable companion in your day-to-day activities.
With the SIM card securely in place, your Moto E is now ready to embark on a seamless and reliable mobile journey, connecting you to the world around you and empowering you to stay engaged, informed, and connected. Enjoy the experience, and make the most of your Moto E as it accompanies you on your daily adventures.
Happy exploring with your Moto E!