Introduction
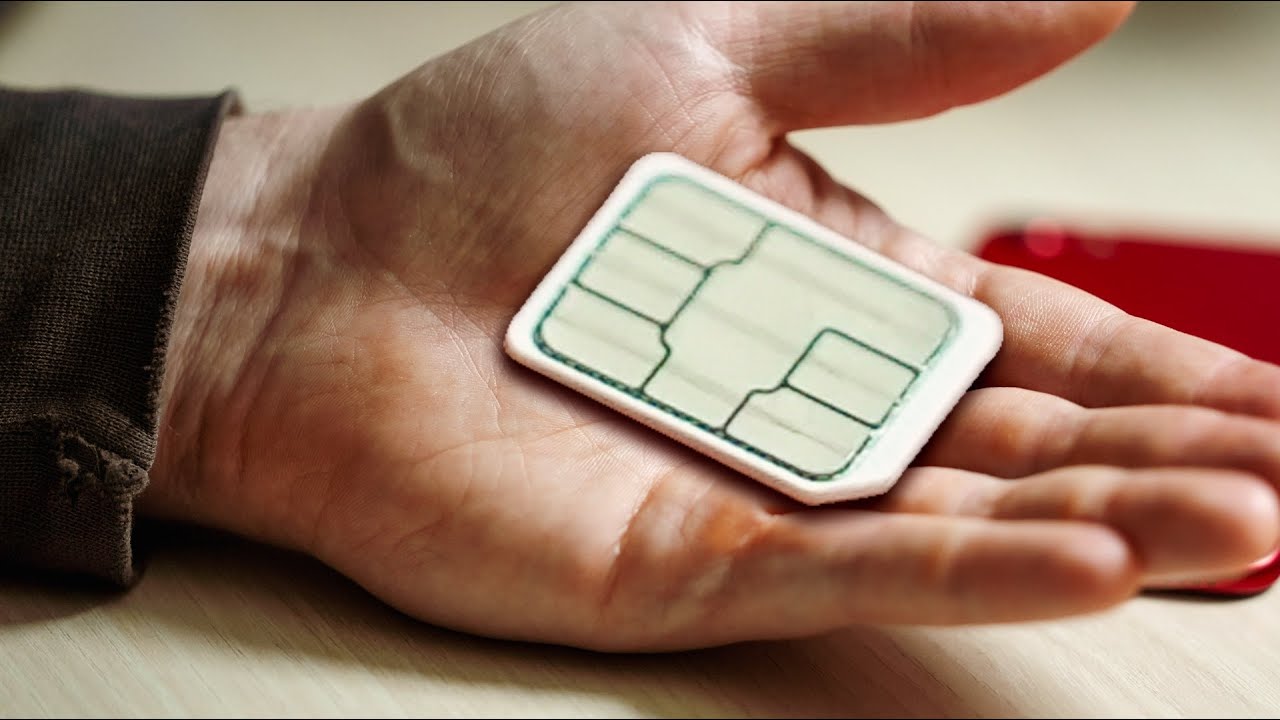
Inserting a SIM card into your iPhone XR is a fundamental step in setting up your device for communication and connectivity. The SIM card, short for Subscriber Identity Module, is a small, removable card that stores your phone number and connects you to your wireless service provider's network. It's essential for making calls, sending text messages, and accessing mobile data.
The process of inserting a SIM card into your iPhone XR is relatively straightforward, but it's crucial to follow the correct steps to avoid any potential damage to the device or the SIM card itself. In this guide, we will walk you through the step-by-step process of inserting a SIM card into your iPhone XR, ensuring that you can seamlessly activate your device and begin enjoying its full range of features.
Whether you're setting up a new iPhone XR for the first time or replacing an existing SIM card, this guide will provide you with the necessary instructions and insights to complete the process with confidence. By the end of this guide, you will have a clear understanding of how to locate the SIM card tray, eject the tray, insert the SIM card, and re-insert the tray into your iPhone XR. Let's embark on this journey to seamlessly integrate your SIM card with your iPhone XR and unlock its full potential.
Step 1: Locate the SIM card tray
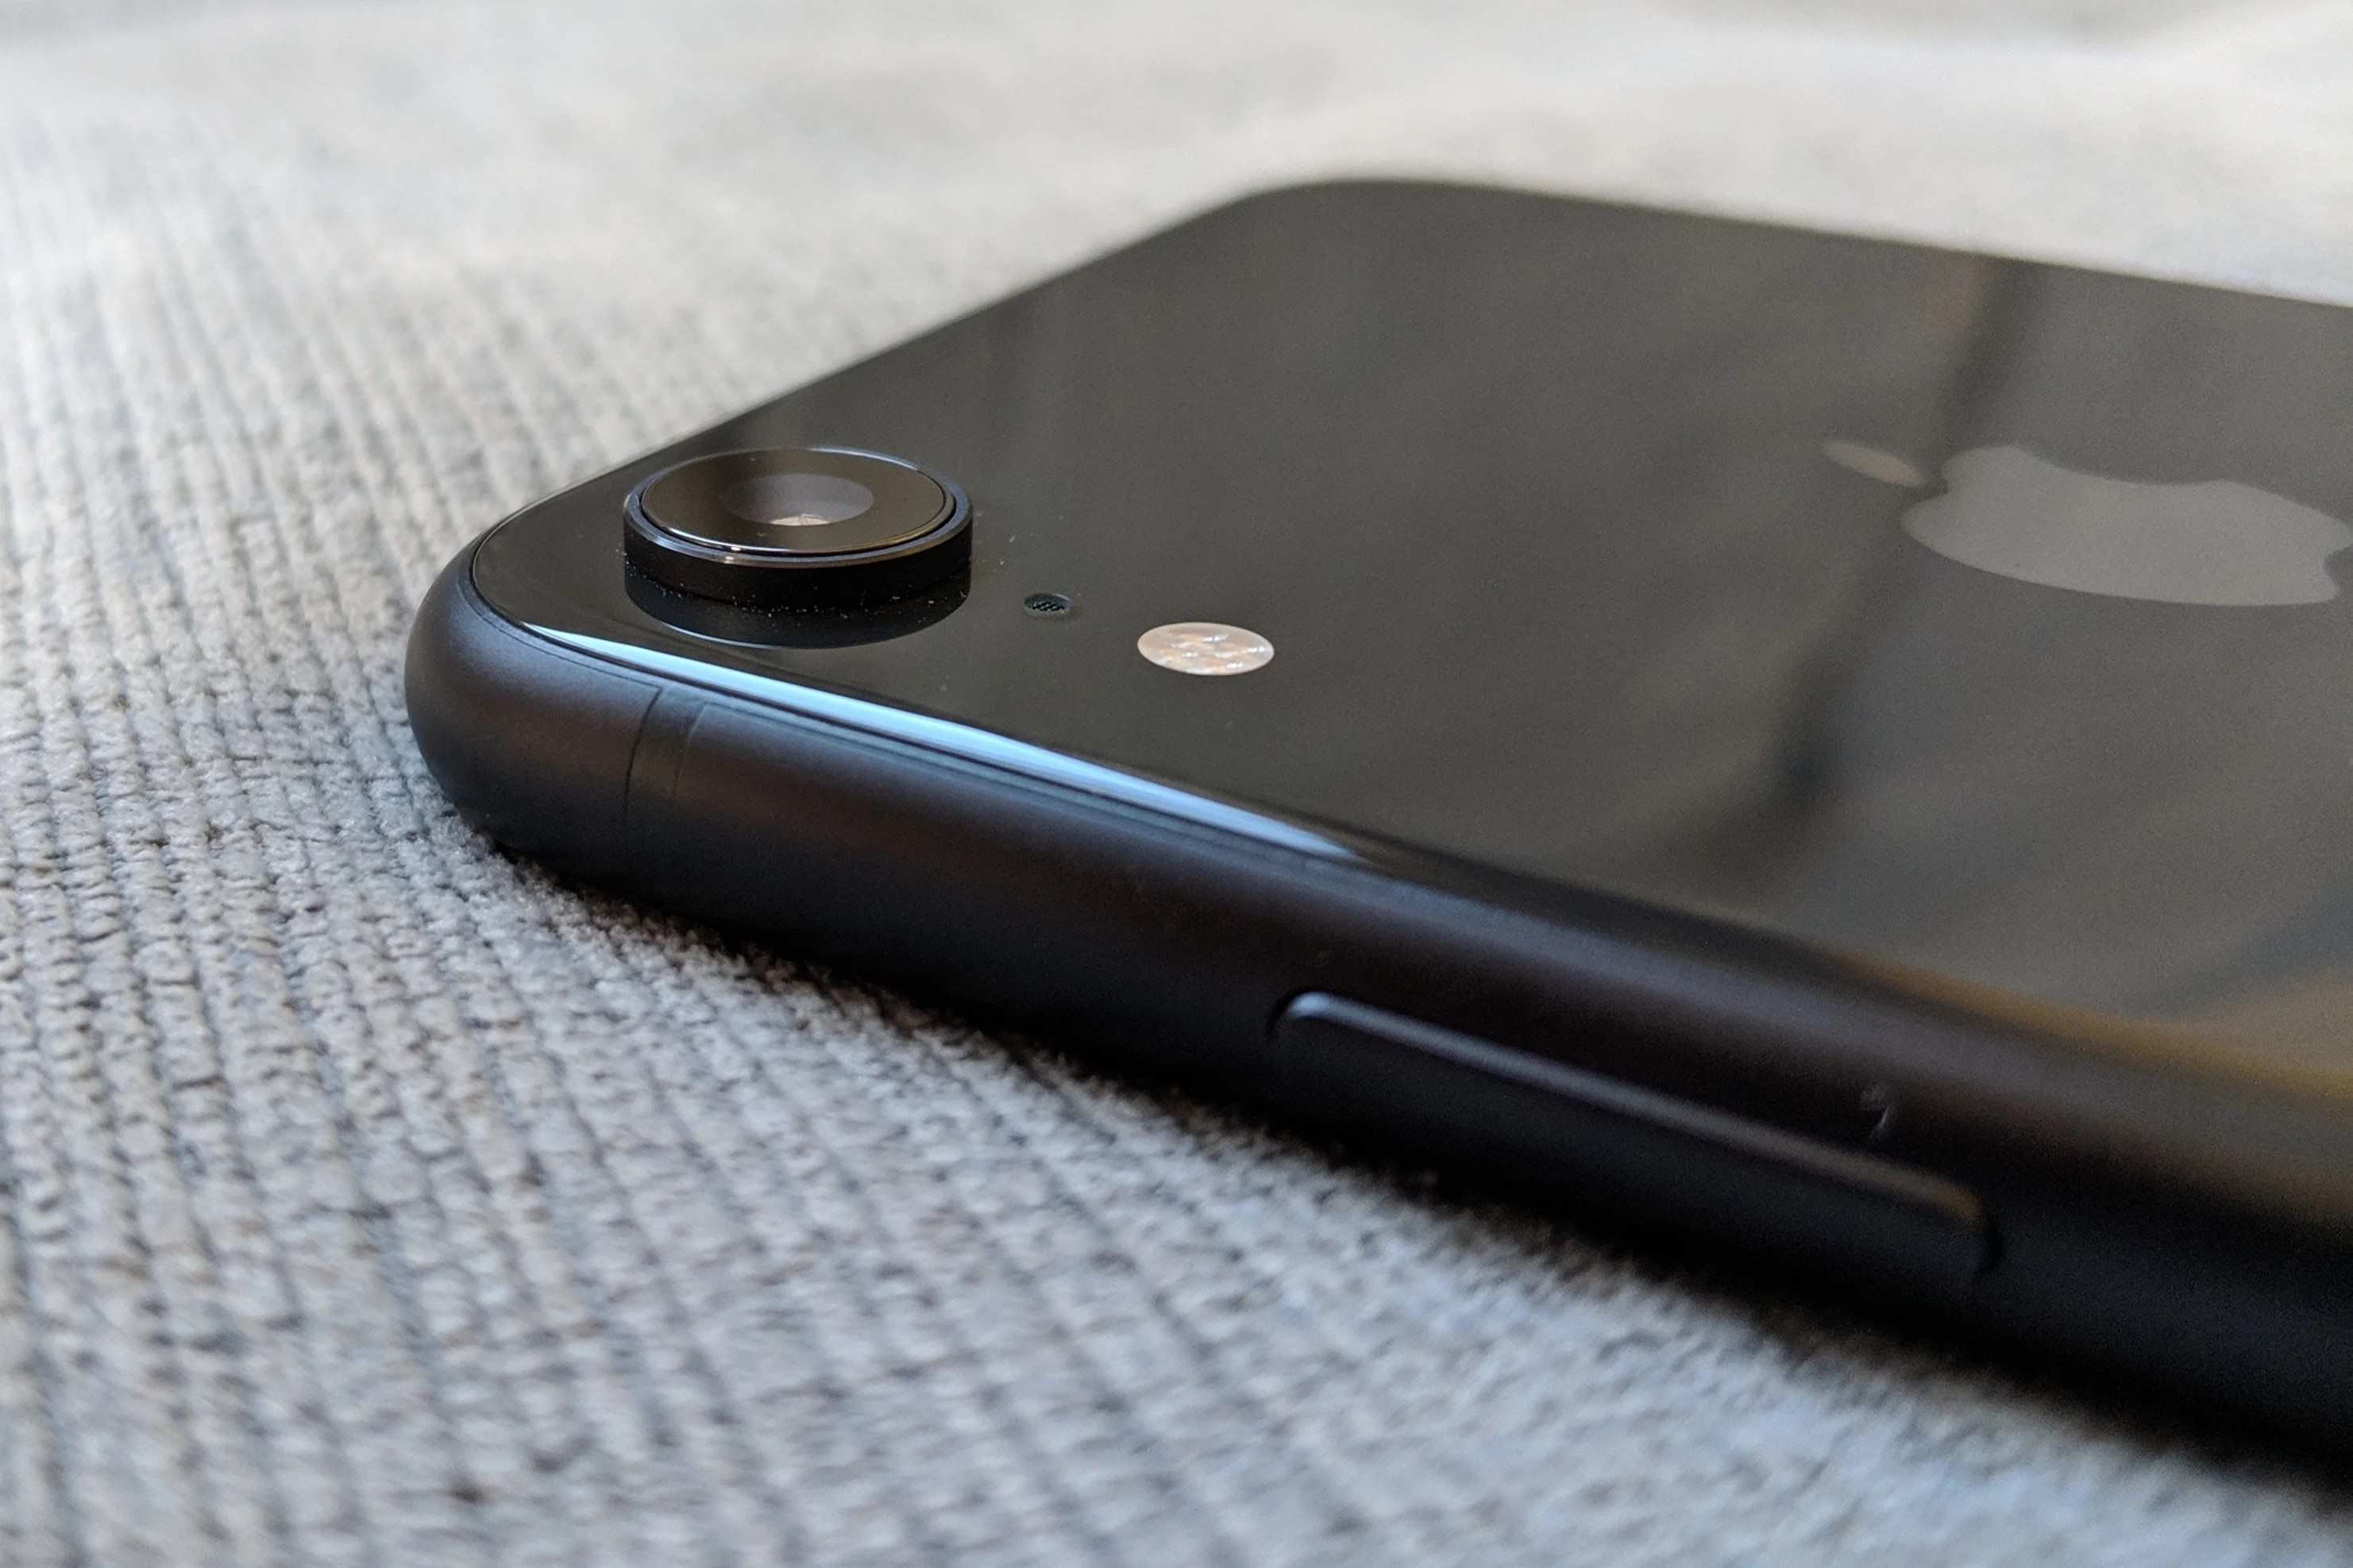
The first step in inserting a SIM card into your iPhone XR is to locate the SIM card tray. The SIM card tray is a small, rectangular slot typically located on the right-hand side of the device. To easily identify the location of the SIM card tray, you can look for a small pinhole, which is the tray's ejection port. This pinhole is specifically designed to accommodate the SIM card ejection tool that comes with your iPhone XR.
Upon locating the SIM card tray, it's important to handle your device with care and ensure that it is powered off. This precautionary measure helps prevent any potential damage to the device or the SIM card during the insertion process. By powering off your iPhone XR, you create a safe environment for handling the SIM card tray and the SIM card itself.
The precise location of the SIM card tray may vary slightly depending on the model and design of your iPhone XR, but it is typically situated towards the lower half of the right-hand side of the device. It's important to note that the SIM card tray is distinct from the volume buttons and the side button on the same side of the device. This differentiation allows for easy identification and prevents any confusion during the SIM card insertion process.
As you locate the SIM card tray, take a moment to familiarize yourself with its position and the surrounding features of your iPhone XR. This initial step sets the stage for a smooth and successful SIM card insertion process, ensuring that you can proceed with confidence as you prepare to activate your device for communication and connectivity.
By carefully following these instructions and taking the time to locate the SIM card tray, you are laying the foundation for a seamless SIM card insertion experience. With the SIM card tray in sight, you are now ready to proceed to the next step and prepare for the ejection of the tray, a crucial stage in the process of inserting a SIM card into your iPhone XR.
Step 2: Eject the SIM card tray
Ejecting the SIM card tray is a pivotal step in the process of inserting a SIM card into your iPhone XR. This step requires precision and caution to ensure that the SIM card tray is safely removed from the device, allowing for the seamless insertion of the SIM card.
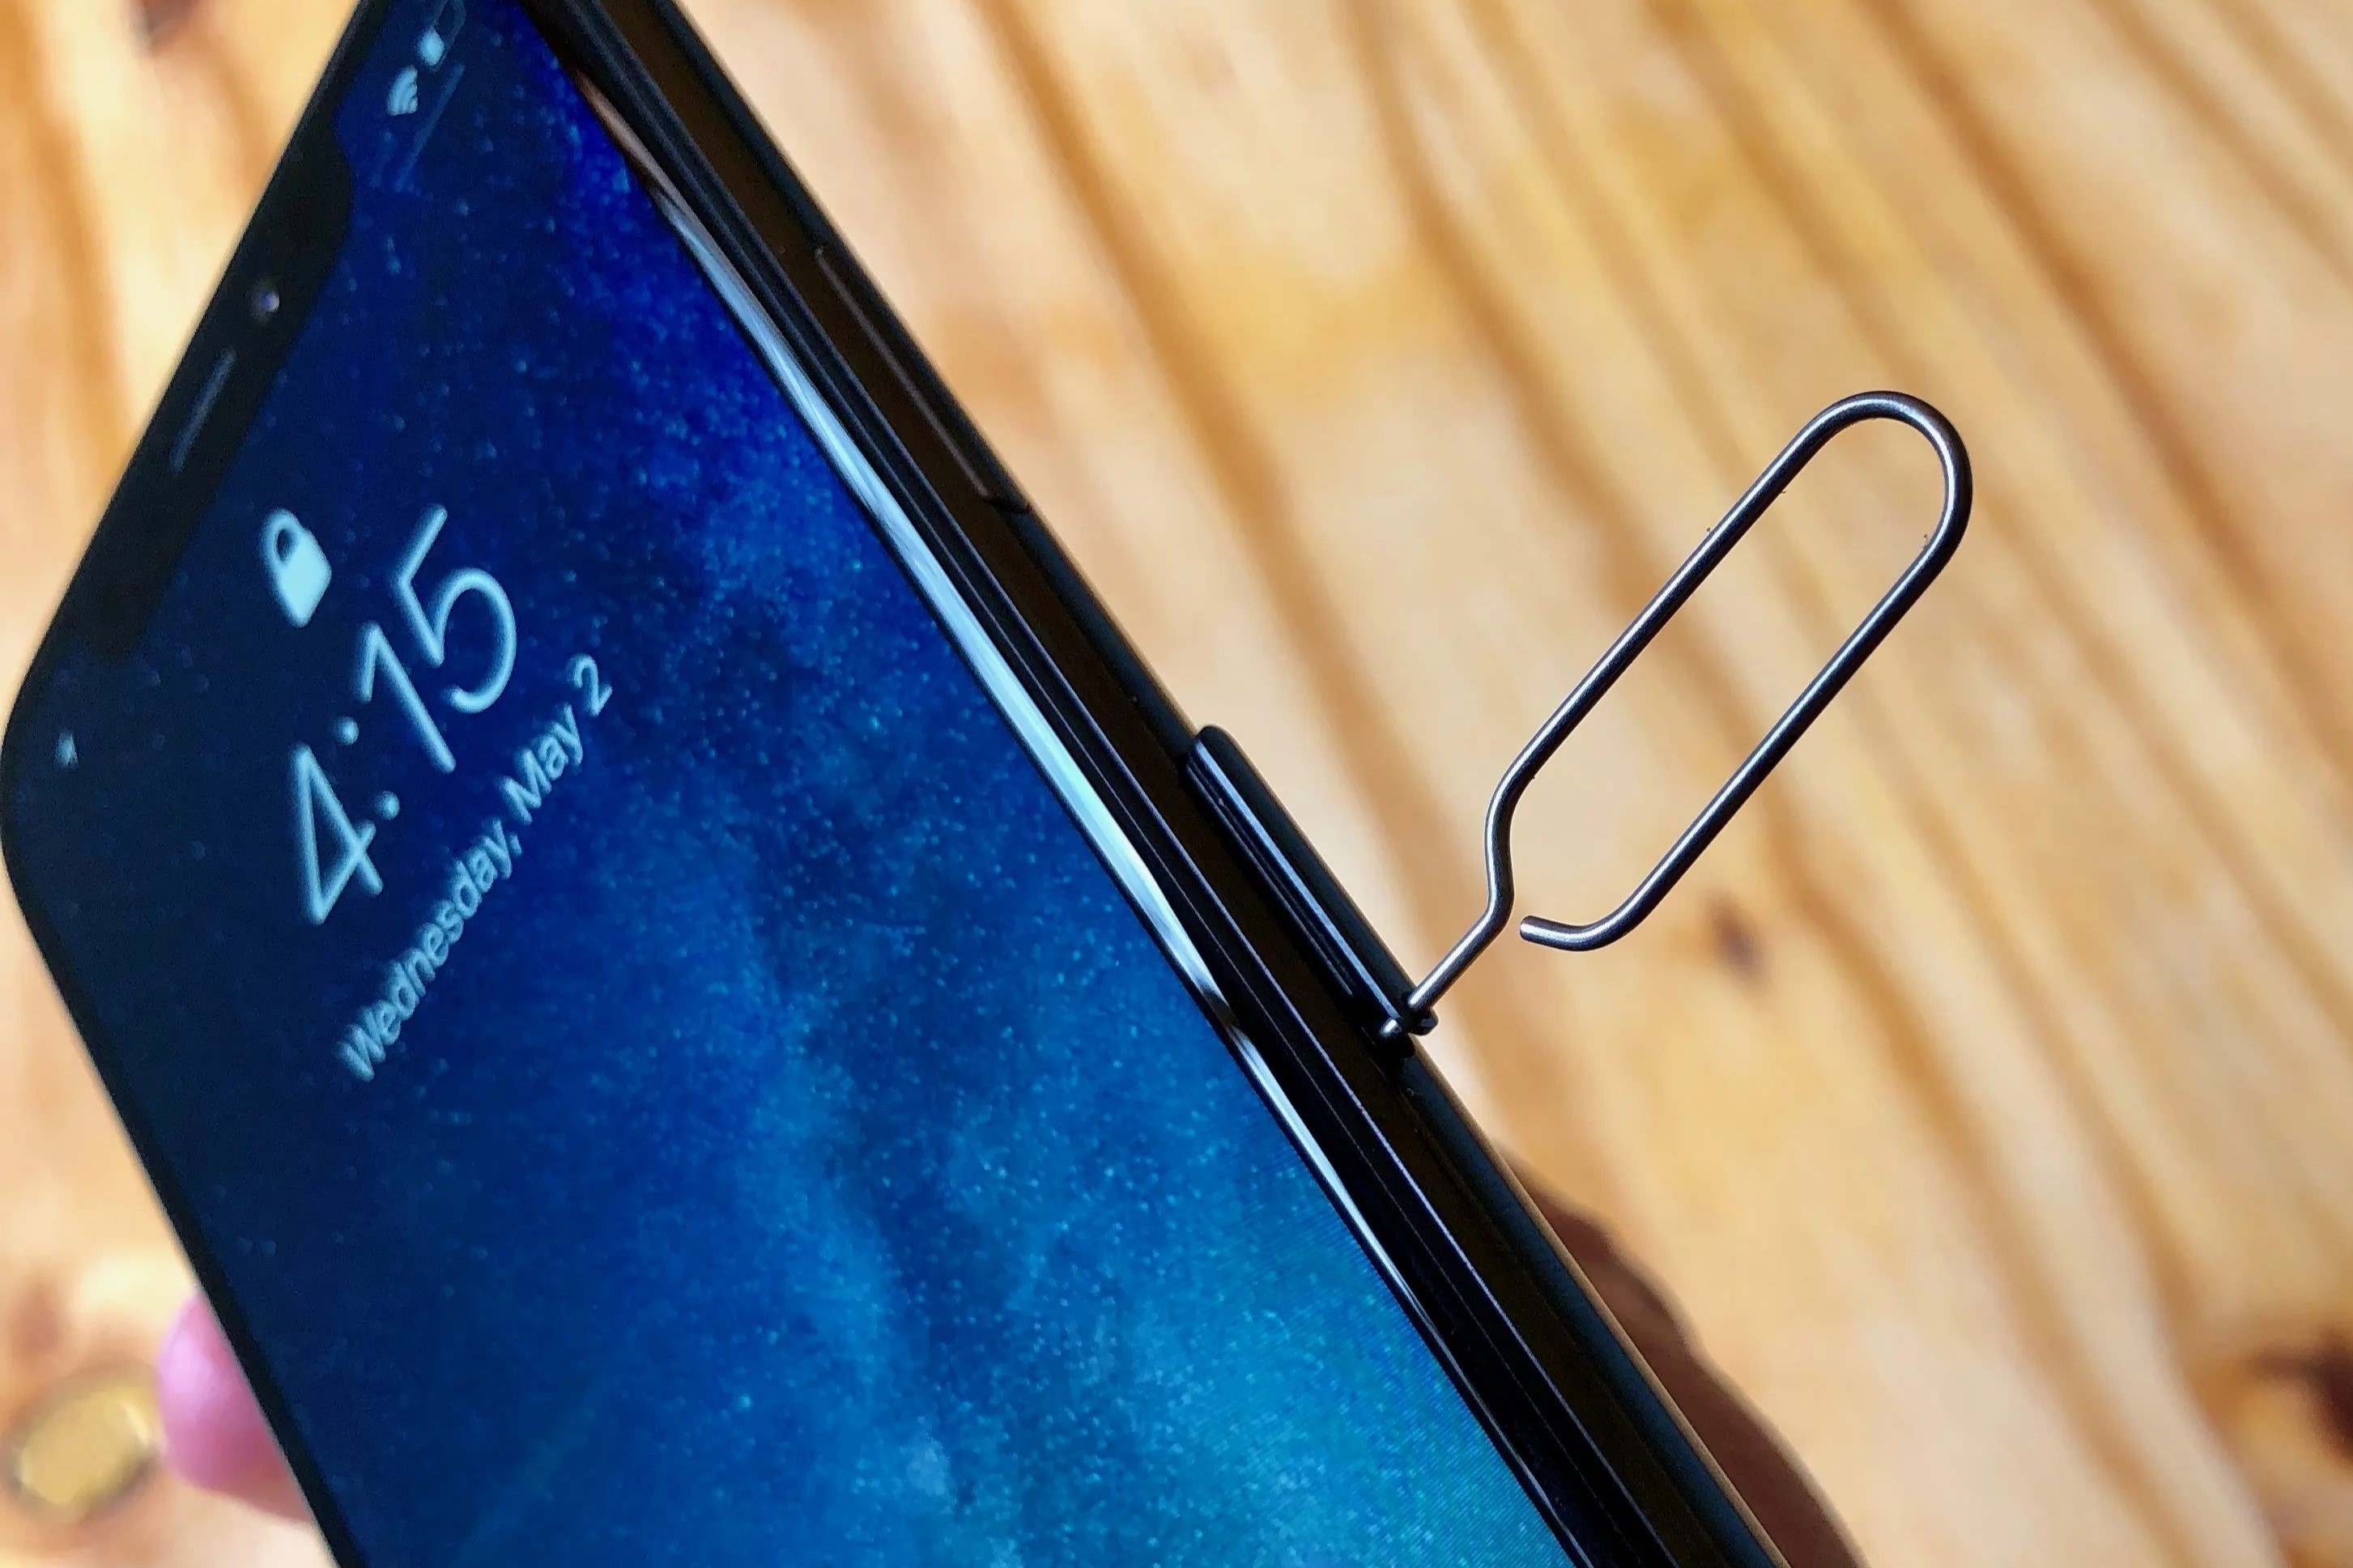
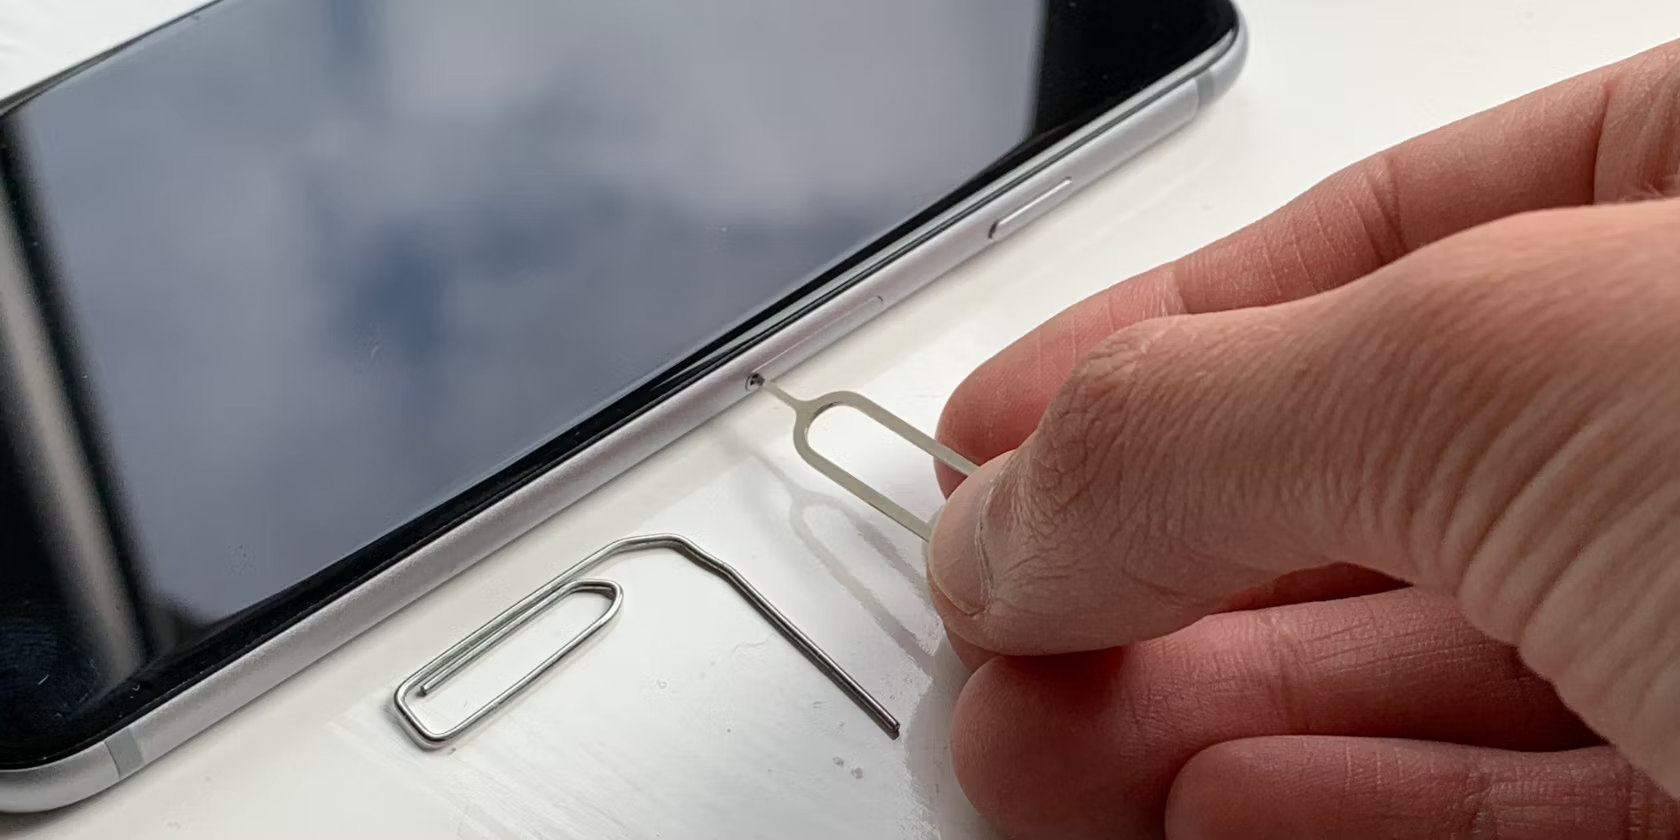
To initiate the ejection process, you will need the SIM card ejection tool that is included with your iPhone XR. This small, metallic tool is specifically designed to fit into the pinhole located next to the SIM card tray. By utilizing the SIM card ejection tool, you can safely and effectively eject the SIM card tray without causing any damage to the device.
Begin by inserting one end of the SIM card ejection tool into the pinhole adjacent to the SIM card tray. Apply gentle pressure to the tool, ensuring that it is inserted straight into the pinhole. As you exert pressure, you will feel a slight resistance, indicating that the tool has engaged with the internal mechanism responsible for ejecting the SIM card tray.
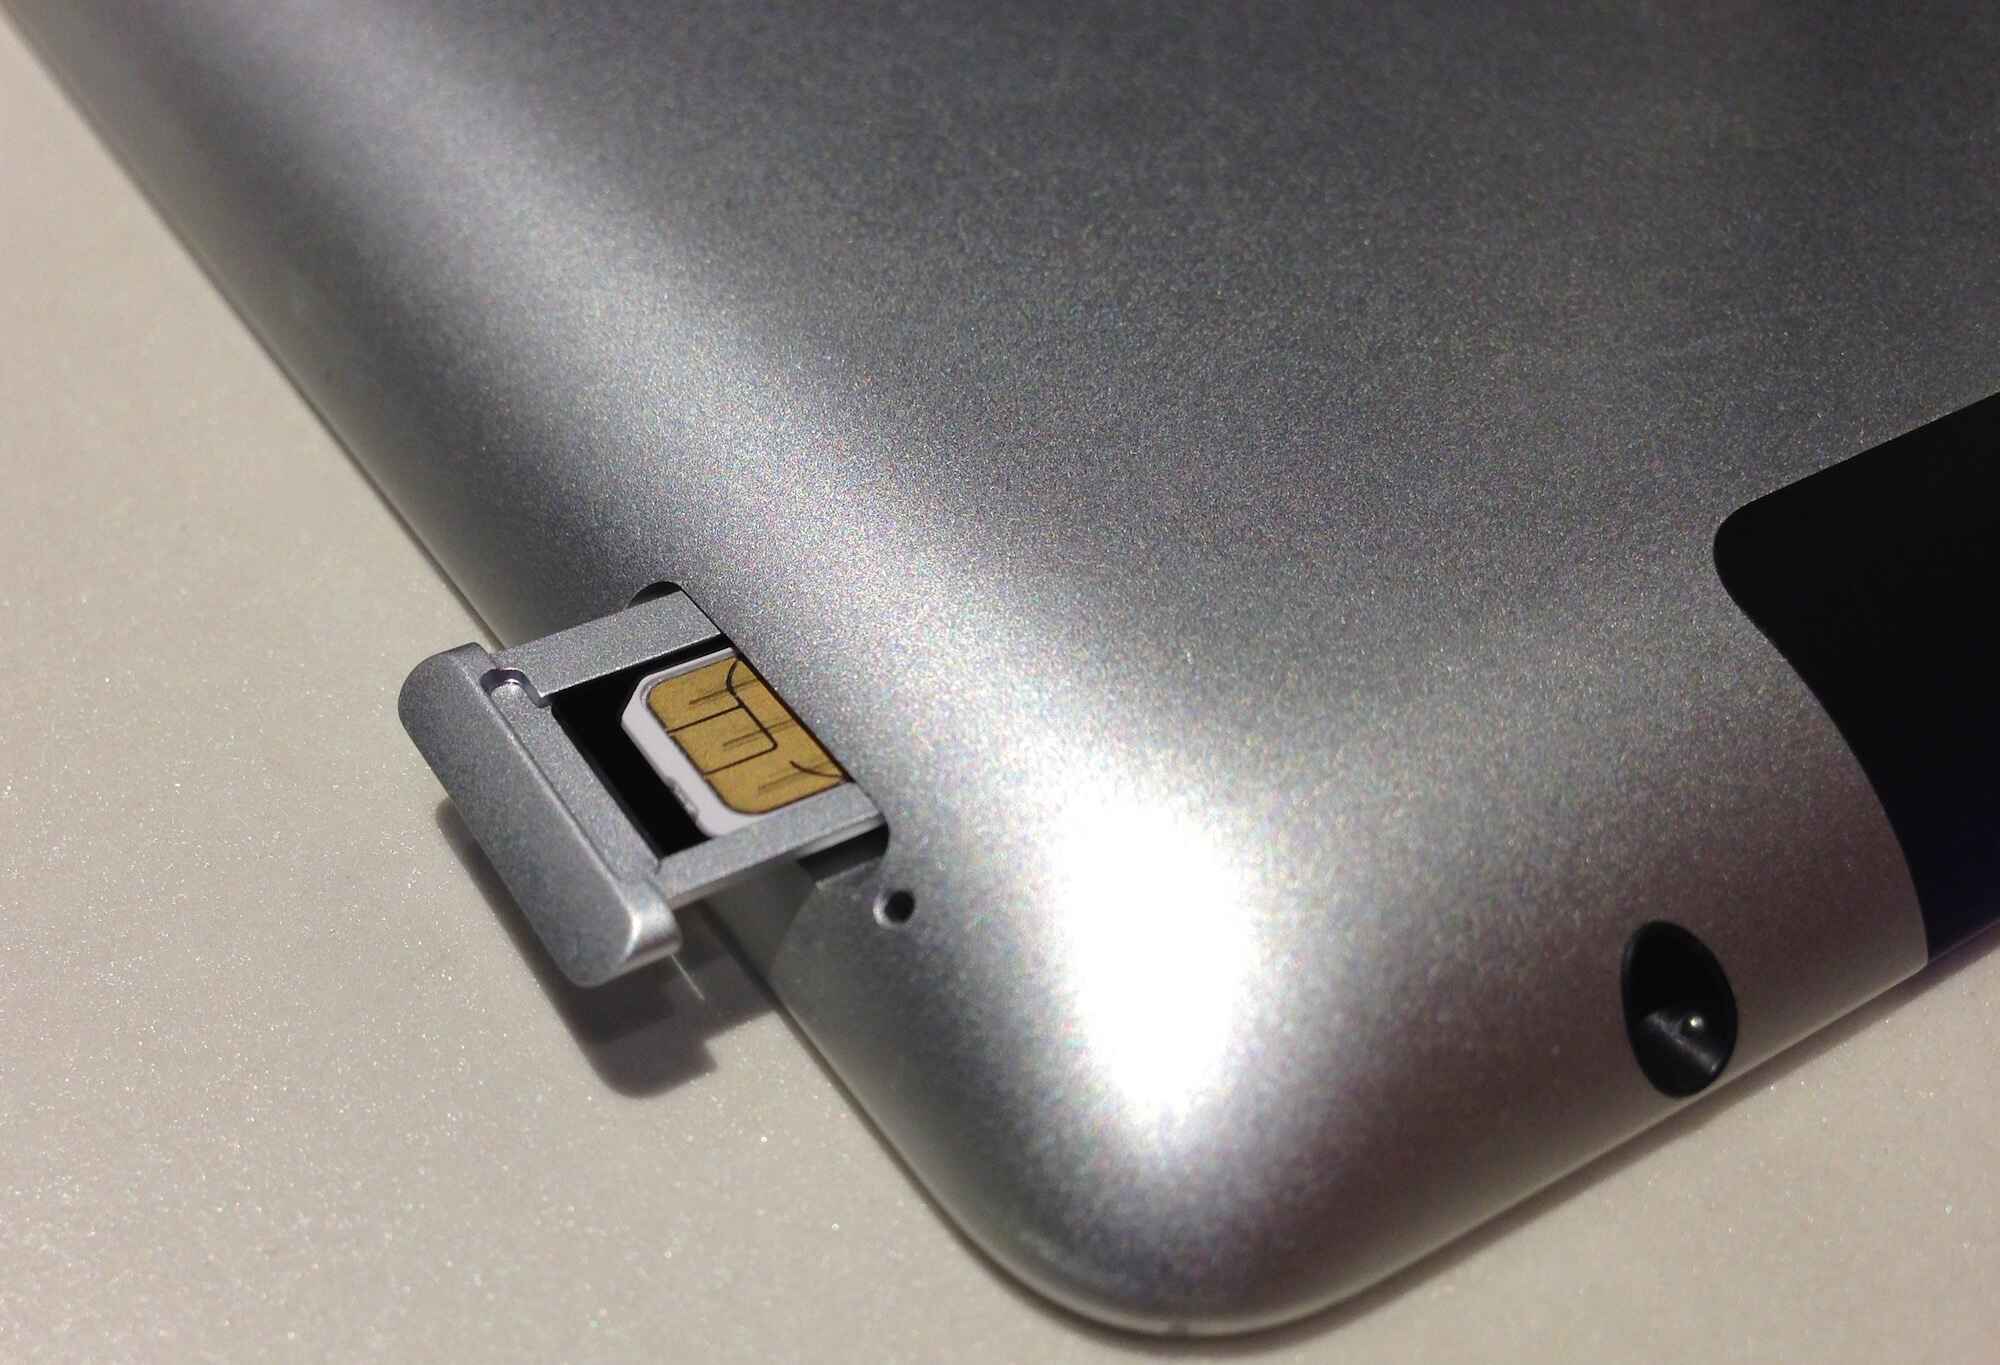
Once the tool is securely inserted, exert a steady and even pressure to activate the ejection mechanism. As a result, the SIM card tray will gradually protrude from the iPhone XR, allowing for easy access and removal. It's important to exercise patience and avoid applying excessive force during this process, as doing so may lead to damage to the device or the SIM card tray.
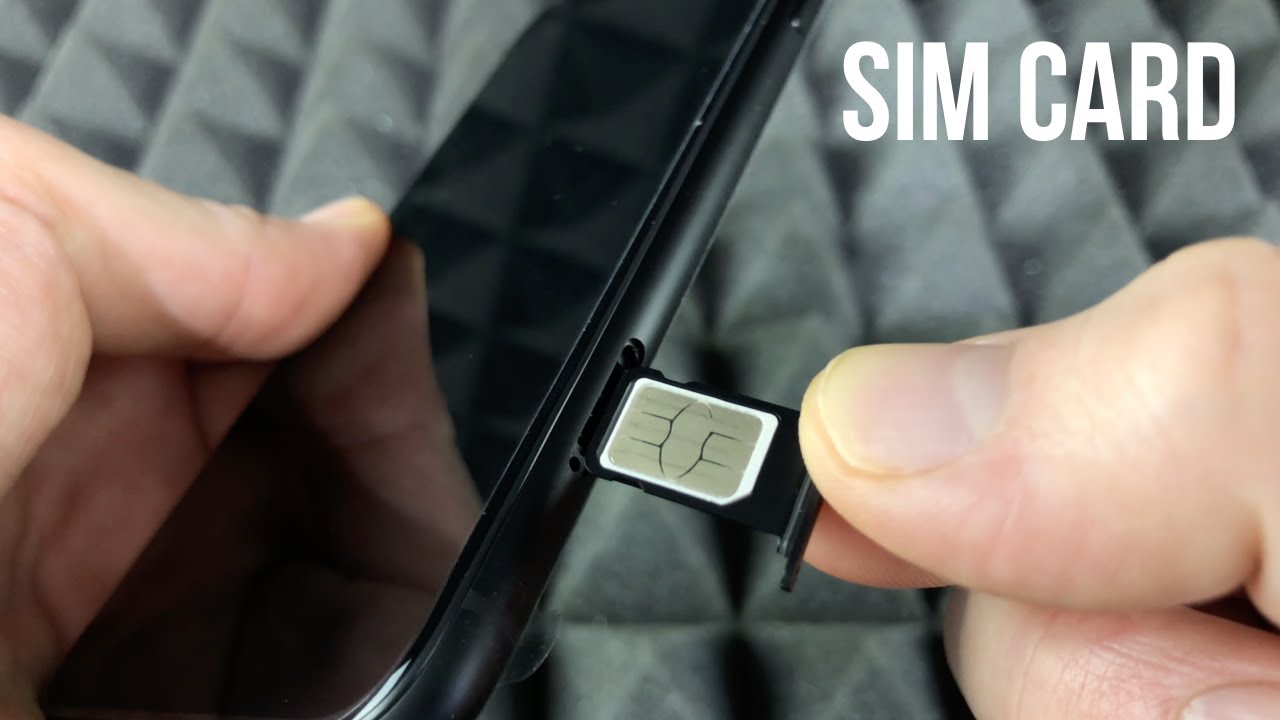
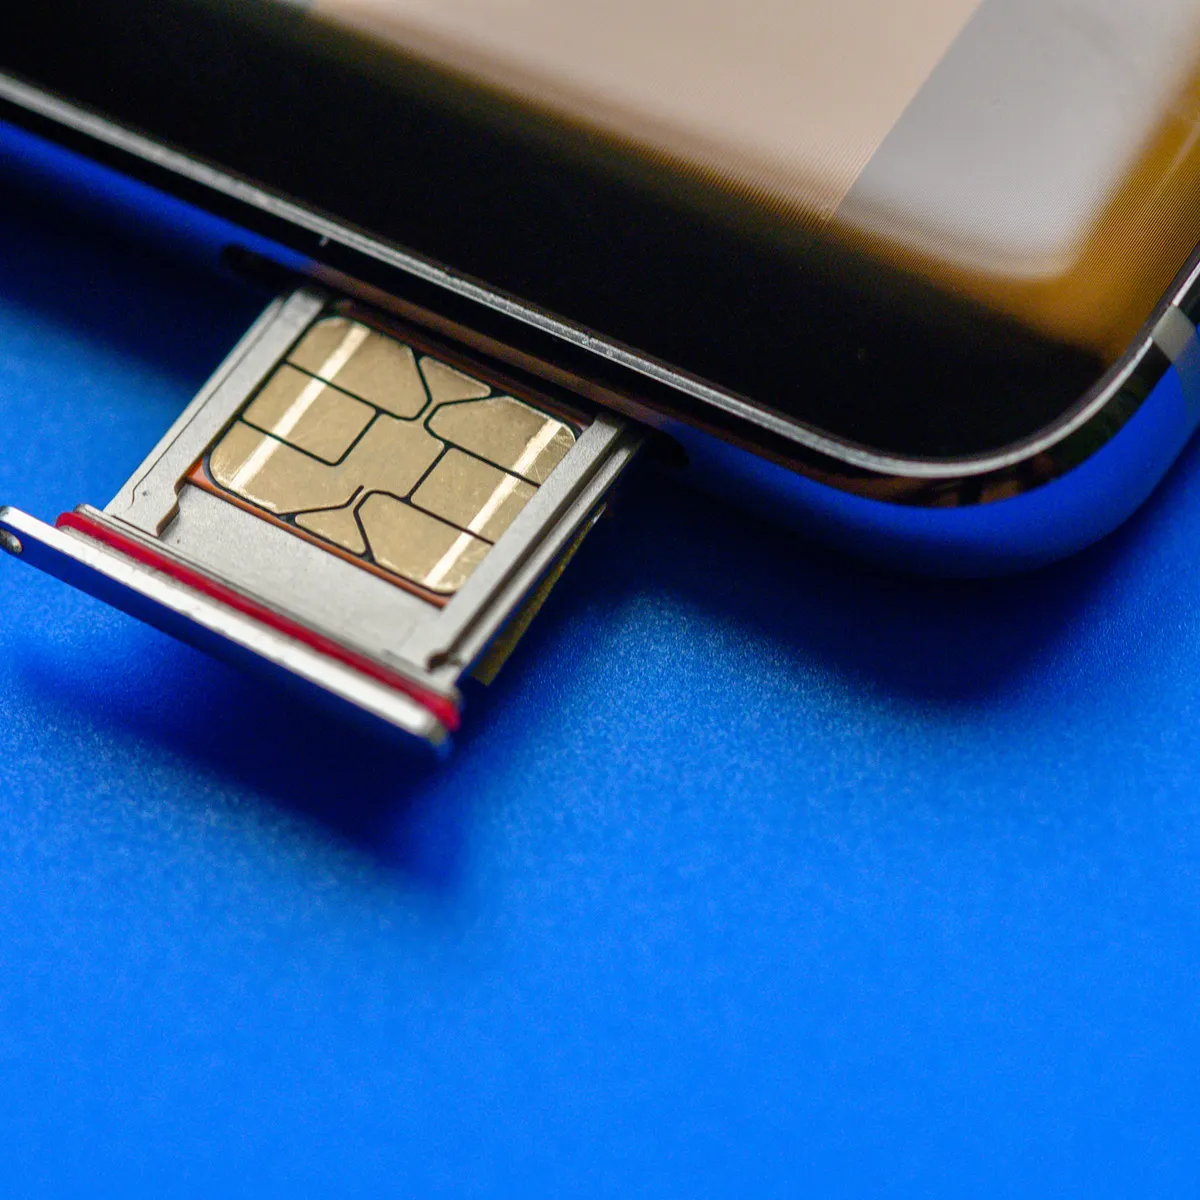
Upon successfully ejecting the SIM card tray, carefully remove it from the device, taking note of its orientation and the position of the existing SIM card, if applicable. By handling the SIM card tray with care, you can ensure that it remains free from any potential damage or misalignment, preserving its functionality for the subsequent steps in the SIM card insertion process.
With the SIM card tray in hand, you have completed the crucial step of ejecting the tray from your iPhone XR. This sets the stage for the next phase of the process, which involves the careful insertion of the SIM card into the tray. As you proceed to the following step, you can approach the insertion process with confidence, knowing that you have successfully prepared the SIM card tray for the seamless integration of your SIM card into your iPhone XR.
Step 3: Insert the SIM card
With the SIM card tray successfully ejected from your iPhone XR, you are now ready to proceed with the next pivotal step: inserting the SIM card. This phase of the process requires precision and attention to detail to ensure the seamless integration of the SIM card into your device, facilitating communication and connectivity.
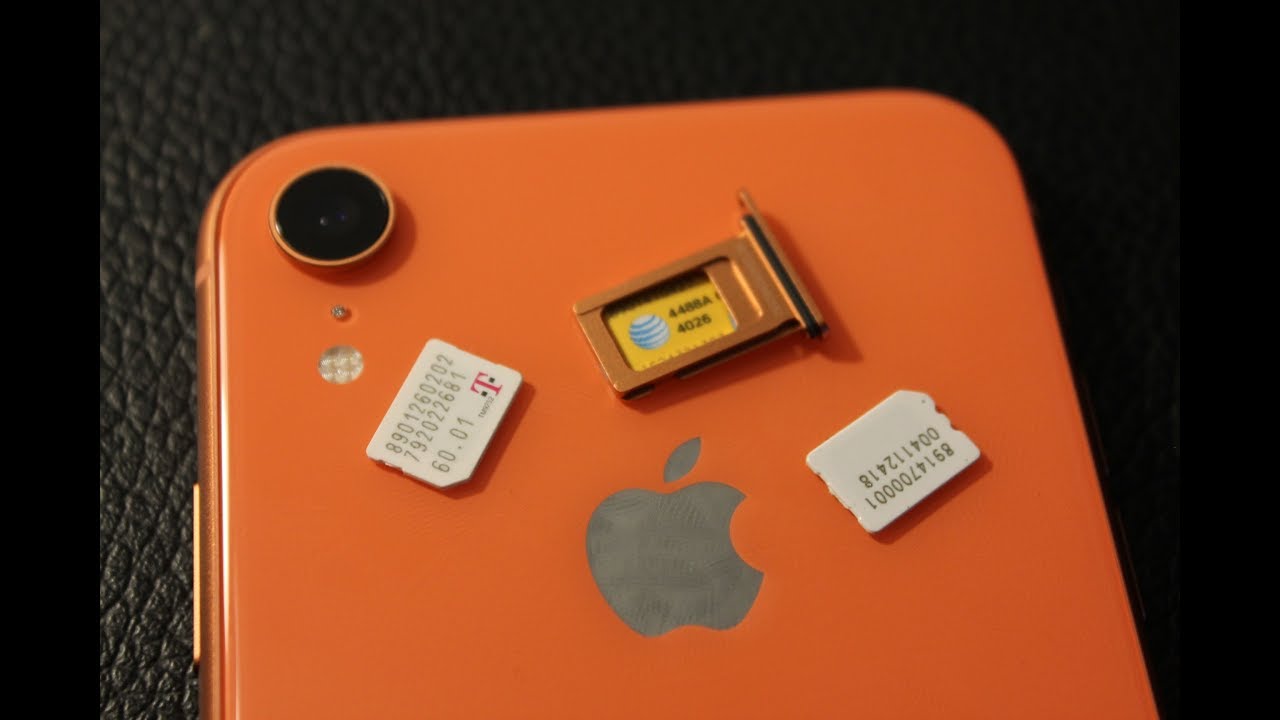
Begin by carefully removing the existing SIM card from the SIM card tray, if applicable. Take note of the orientation of the SIM card and its positioning within the tray. This observation is essential, as it provides guidance for the correct placement of the SIM card into the tray, aligning with the designated slot and ensuring optimal functionality.
Next, take the SIM card and position it in alignment with the corresponding slot within the SIM card tray. The SIM card features a unique shape with one corner angled or notched, which serves as a guide for proper orientation within the tray. Align the notched corner of the SIM card with the designated area within the tray, ensuring a seamless fit that prevents any misalignment or potential damage to the card.
Once the SIM card is aligned with the slot, gently place it into the tray, ensuring that it rests securely and uniformly within the designated area. Exercise caution to avoid applying excessive force during this process, as the delicate nature of the SIM card requires gentle handling to prevent any bending or damage to its structure.
As you insert the SIM card into the tray, take a moment to verify that it is positioned securely and uniformly. The SIM card should fit snugly within the designated slot, with no protrusions or uneven edges. This secure placement ensures that the SIM card remains firmly in position, facilitating optimal connectivity and communication capabilities for your iPhone XR.
Upon successfully inserting the SIM card into the tray, take a final moment to ensure that it is seated securely and uniformly. This attention to detail is crucial, as it guarantees that the SIM card is ready for seamless integration with your device, enabling you to activate your iPhone XR and harness its full range of communication and connectivity features.
With the SIM card securely inserted into the tray, you have completed a pivotal phase of the SIM card insertion process, setting the stage for the final step: re-inserting the SIM card tray into your iPhone XR. As you proceed to the subsequent step, you can approach the process with confidence, knowing that you have successfully positioned the SIM card for optimal functionality within your device.
Step 4: Re-insert the SIM card tray
With the SIM card securely inserted into the tray, the final step in the process of inserting a SIM card into your iPhone XR is to re-insert the SIM card tray into the device. This step is essential for securing the SIM card within your iPhone XR, enabling you to activate the device and seamlessly access its communication and connectivity features.
Begin by carefully aligning the SIM card tray with the corresponding slot on the right-hand side of your iPhone XR. Take note of the orientation of the tray, ensuring that it is positioned correctly to facilitate a smooth re-insertion process. The tray features a specific shape and size that corresponds to the slot, allowing for easy alignment and secure placement within the device.
Once the SIM card tray is aligned with the slot, gently guide it back into the device, ensuring that it fits snugly and uniformly. Exercise caution to avoid any resistance or misalignment during the re-insertion process, as a seamless fit is crucial for maintaining the integrity of the SIM card and the device itself.
As you carefully re-insert the SIM card tray, take a moment to verify that it is positioned securely within the device. The tray should fit flush with the exterior of the iPhone XR, with no protrusions or uneven edges. This secure placement ensures that the SIM card remains firmly in position, allowing for uninterrupted communication and connectivity capabilities.
After successfully re-inserting the SIM card tray, take a final moment to ensure that it is seated securely and uniformly within the device. This attention to detail is essential, as it guarantees that the SIM card is securely integrated with your iPhone XR, ready to activate and leverage its full range of communication and connectivity features.
By completing the re-insertion of the SIM card tray, you have finalized the process of inserting a SIM card into your iPhone XR. This pivotal step sets the stage for activating your device and seamlessly accessing its communication and connectivity capabilities. With the SIM card securely in place, you are now ready to power on your iPhone XR and embark on a seamless and connected experience, leveraging the full potential of your device.
With the SIM card securely inserted and the tray re-inserted into your iPhone XR, you have successfully completed the process of integrating a SIM card with your device. This accomplishment marks a crucial milestone in preparing your iPhone XR for communication, connectivity, and the full spectrum of features that enrich your mobile experience.
Conclusion
Congratulations! By following this step-by-step guide, you have successfully learned how to insert a SIM card into your iPhone XR. This essential process is the gateway to unlocking the full potential of your device, enabling seamless communication, access to mobile data, and connectivity with your wireless service provider's network.
As you navigated through the process, you gained valuable insights into the precise steps required to locate the SIM card tray, eject the tray, insert the SIM card, and re-insert the tray into your iPhone XR. Each step was carefully outlined to ensure that you could approach the SIM card insertion process with confidence and precision, ultimately leading to a seamless integration of the SIM card with your device.
By locating the SIM card tray and handling your iPhone XR with care, you set the stage for a smooth insertion process. The subsequent step of ejecting the SIM card tray, facilitated by the dedicated SIM card ejection tool, allowed for safe and efficient removal of the tray, preparing it for the insertion of the SIM card.
Inserting the SIM card into the tray required attention to detail and gentle handling to ensure that the card was positioned securely and uniformly. This crucial phase of the process set the foundation for the final step of re-inserting the SIM card tray into your iPhone XR, securing the SIM card within the device and preparing it for activation.
With the SIM card securely in place, you are now poised to power on your iPhone XR and embark on a connected and immersive mobile experience. The successful integration of the SIM card enables you to make calls, send text messages, access mobile data, and leverage a wide range of communication and connectivity features that enrich your daily life.
As you proceed with activating your iPhone XR and exploring its full spectrum of capabilities, you can take pride in having mastered the process of inserting a SIM card into your device. This foundational skill empowers you to harness the power of your iPhone XR and stay seamlessly connected in today's dynamic and interconnected world.
With the SIM card seamlessly integrated into your iPhone XR, you are now ready to embrace a world of possibilities, leveraging the device's innovative features and staying connected with ease. Whether it's staying in touch with loved ones, accessing essential information on the go, or enjoying entertainment at your fingertips, your iPhone XR, equipped with a securely inserted SIM card, is your gateway to a truly connected and enriched mobile experience.