Introduction
The Samsung Galaxy S6 is a sleek and powerful device that offers a wide range of features to enhance your mobile experience. One of the key components of the Galaxy S6 is the SIM card, which allows you to connect to your mobile network and access various communication services. Whether you're setting up your new Galaxy S6 or replacing an existing SIM card, it's essential to understand the process of inserting a SIM card correctly.
In this comprehensive tutorial, we will guide you through the step-by-step process of inserting a SIM card into your Galaxy S6. By following these instructions, you'll be able to seamlessly install a SIM card and ensure that your device is ready for use. Whether you're a tech-savvy individual or a newcomer to the world of smartphones, this tutorial will provide you with the essential knowledge to complete this task with confidence.
The process of inserting a SIM card may seem daunting at first, especially for those who are new to the Galaxy S6. However, with the right guidance and a clear understanding of the steps involved, you'll find that it's a straightforward and manageable task. By the end of this tutorial, you'll have the necessary skills to insert a SIM card into your Galaxy S6 effortlessly, allowing you to stay connected and make the most of your device's capabilities.
Now, let's delve into the step-by-step instructions for inserting a SIM card into your Samsung Galaxy S6. Whether you're preparing to use your device for the first time or need to replace an existing SIM card, this tutorial will equip you with the knowledge and confidence to complete the process successfully. Let's get started!
Step 1: Locate the SIM card tray
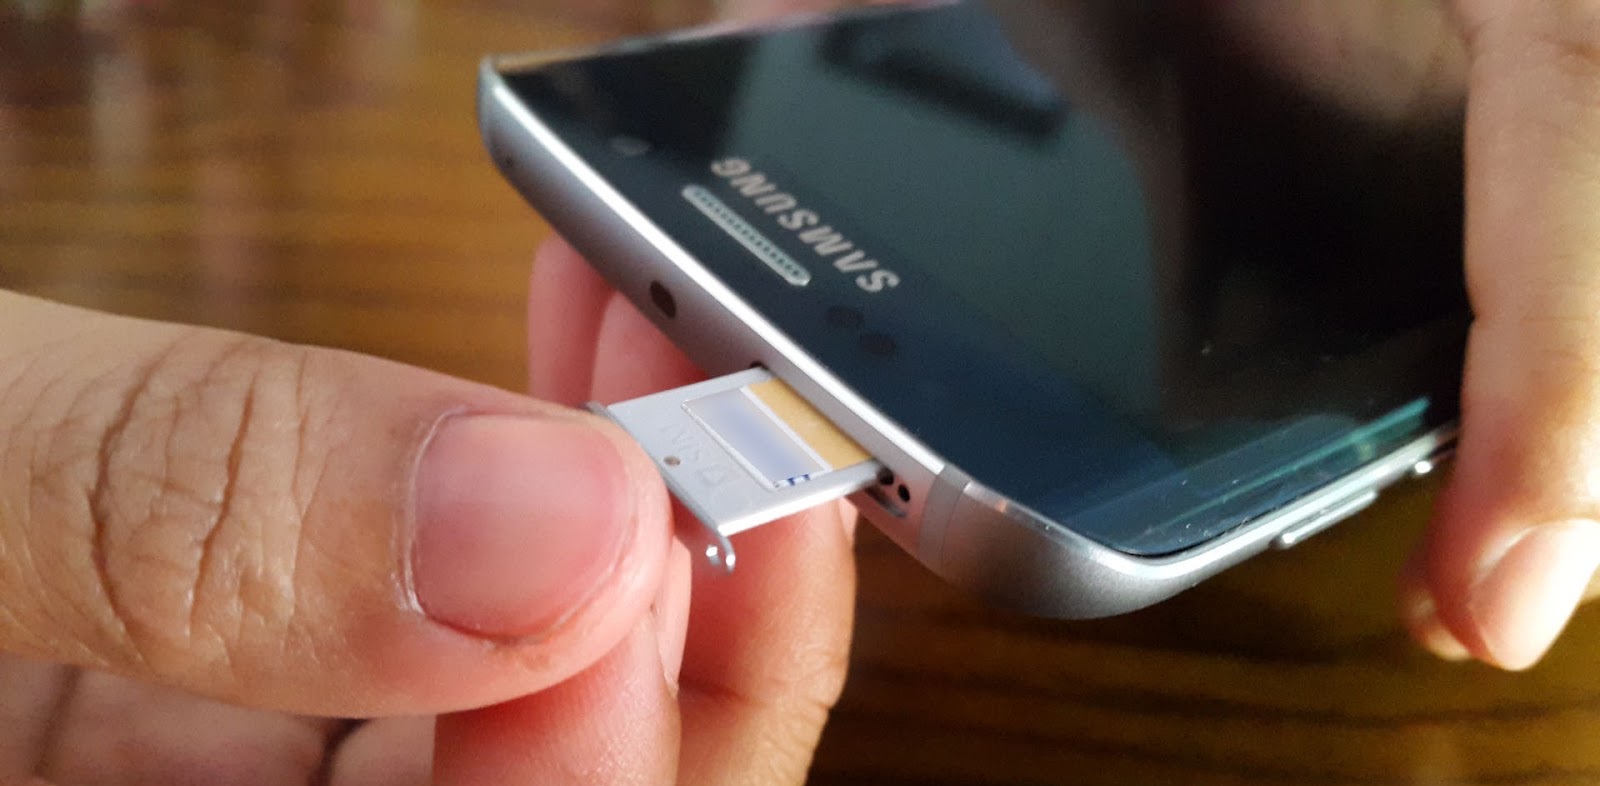
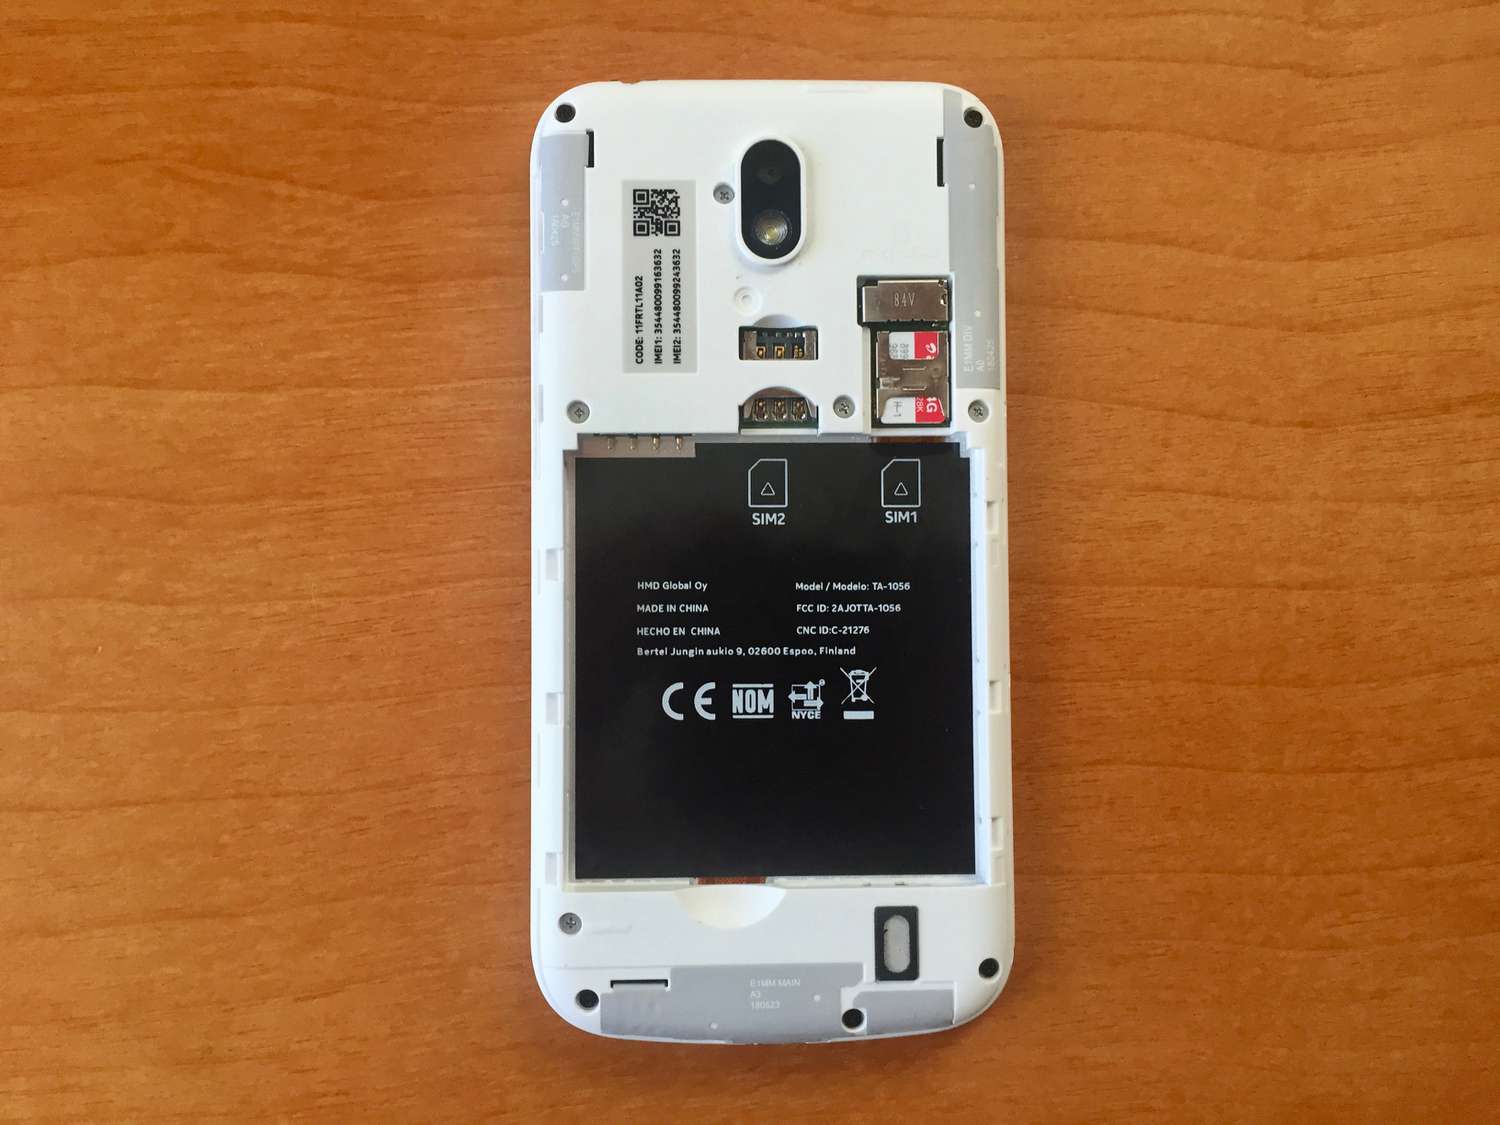
The first step in inserting a SIM card into your Samsung Galaxy S6 is to locate the SIM card tray. The SIM card tray is a small, rectangular component that houses the SIM card and is essential for establishing a connection to your mobile network. To begin this process, you'll need to identify the precise location of the SIM card tray on your device.
On the Galaxy S6, the SIM card tray is typically located on the upper edge of the device. To locate it, hold your Galaxy S6 with the screen facing upwards and the power button on the right-hand side. Direct your attention to the top edge of the device, where you'll notice a small pinhole or slot. This is the access point for the SIM card tray.
Once you've identified the pinhole or slot, you can proceed to access the SIM card tray. In some cases, the SIM card tray may be located adjacent to the pinhole, while in others, it may be positioned slightly further along the edge of the device. Take a moment to familiarize yourself with the specific location of the SIM card tray on your Galaxy S6 to ensure a smooth and efficient insertion process.
Locating the SIM card tray is the crucial first step in preparing your Galaxy S6 for the insertion of a SIM card. By identifying the precise position of the tray, you'll be ready to move on to the next steps with confidence and precision. With the SIM card tray in sight, you're now well-equipped to proceed with the subsequent steps, ultimately leading to the successful installation of your SIM card.
By taking the time to locate the SIM card tray accurately, you're setting the stage for a seamless and hassle-free experience when inserting your SIM card. With this foundational step completed, you're ready to progress to the next stage of the process, which involves ejecting the SIM card tray from your Galaxy S6.
Step 2: Eject the SIM card tray
Ejecting the SIM card tray from your Samsung Galaxy S6 is a crucial step in the process of inserting or replacing a SIM card. By following the steps outlined in this section, you'll be able to access the SIM card tray and prepare it for the insertion of your SIM card.
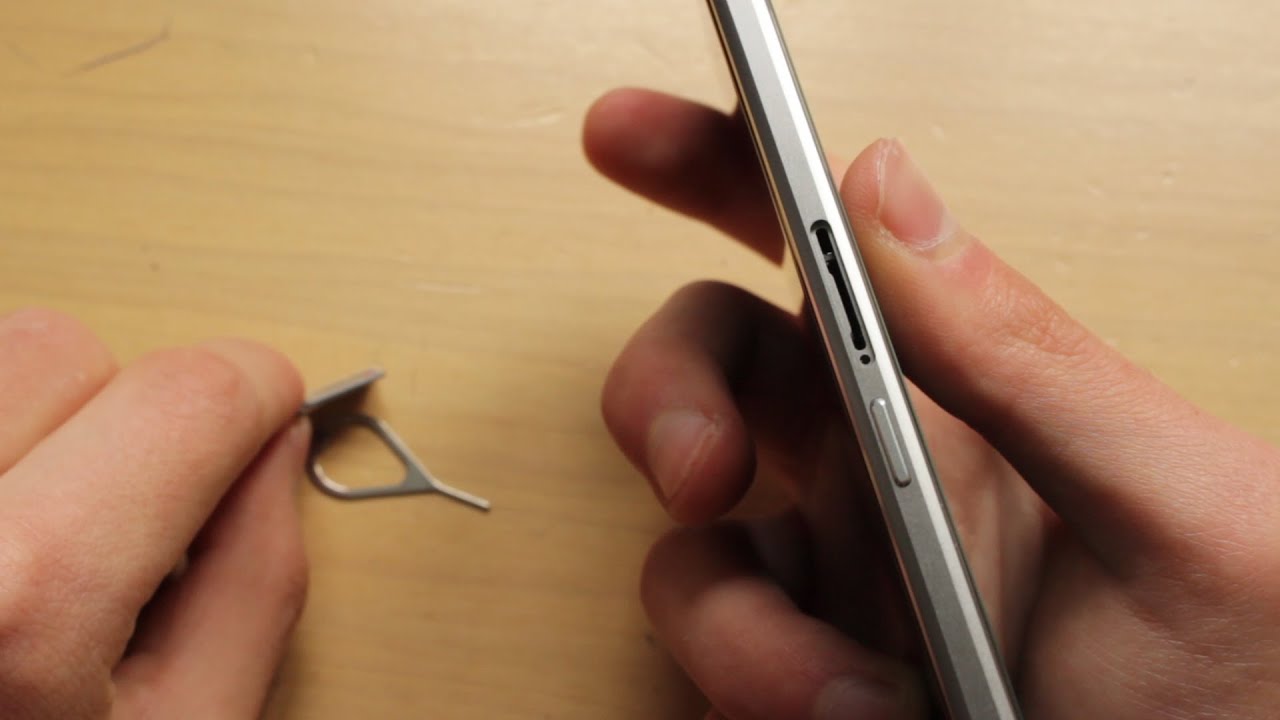
To begin the process of ejecting the SIM card tray, you'll need to locate the SIM ejection tool that was included with your Galaxy S6. This tool is typically a small, metallic pin that is specifically designed for ejecting the SIM card tray. If you can't locate the original ejection tool, a suitable alternative, such as a paperclip, can be used as a substitute.
Once you have the SIM ejection tool in hand, insert the pointed end of the tool into the pinhole or slot located near the SIM card tray. Apply gentle pressure to the tool, ensuring that it is inserted straight into the pinhole. With a steady hand, you'll feel a slight resistance as the tool makes contact with the internal mechanism of the SIM card tray.
Upon encountering this resistance, continue to exert gentle pressure on the tool, maintaining a steady and controlled approach. As you do so, you'll notice that the SIM card tray begins to disengage from its position within the device. Gradually, the tray will move outward, allowing you to access it and proceed with the next steps of the process.
As the SIM card tray emerges from the device, carefully remove it from the Galaxy S6, taking care not to apply excessive force or cause any damage to the tray or the device itself. The tray should slide out smoothly, providing you with clear access to the compartment where the SIM card will be inserted.
With the SIM card tray successfully ejected, you've completed a crucial phase of the process, setting the stage for the next step of inserting the SIM card into your Galaxy S6. This accomplishment brings you one step closer to ensuring that your device is equipped with a functional SIM card, enabling you to stay connected and make the most of your mobile experience.
By following these detailed instructions for ejecting the SIM card tray, you've taken a significant stride towards the successful installation of your SIM card. With the tray in hand and the subsequent steps in sight, you're well-positioned to proceed with confidence and precision, ultimately leading to the seamless completion of this essential task.
Step 3: Insert the SIM card
With the SIM card tray successfully ejected from your Samsung Galaxy S6, you're now ready to proceed with the next crucial step: inserting the SIM card. This step is essential for establishing a connection to your mobile network and ensuring that your device is equipped to access communication services seamlessly.
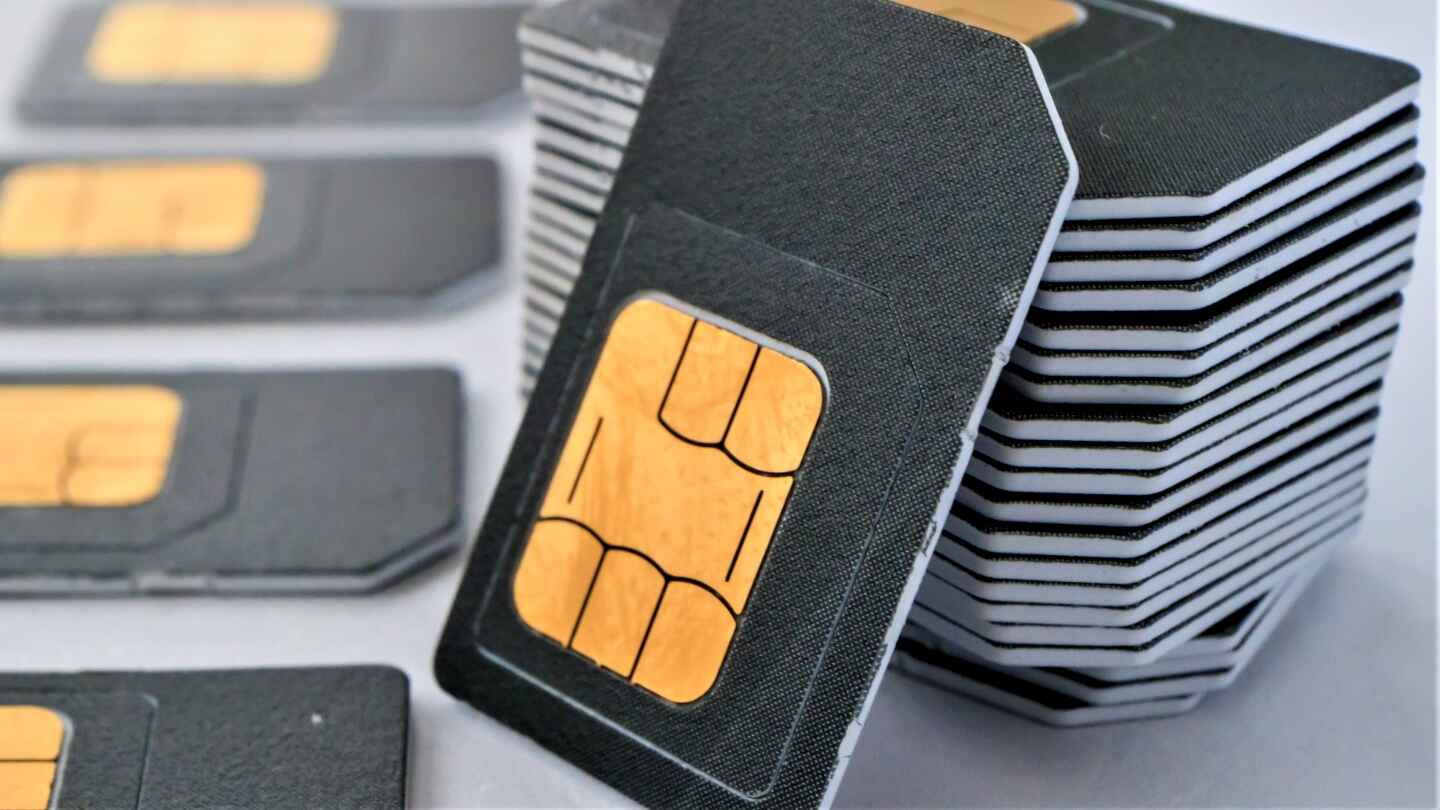
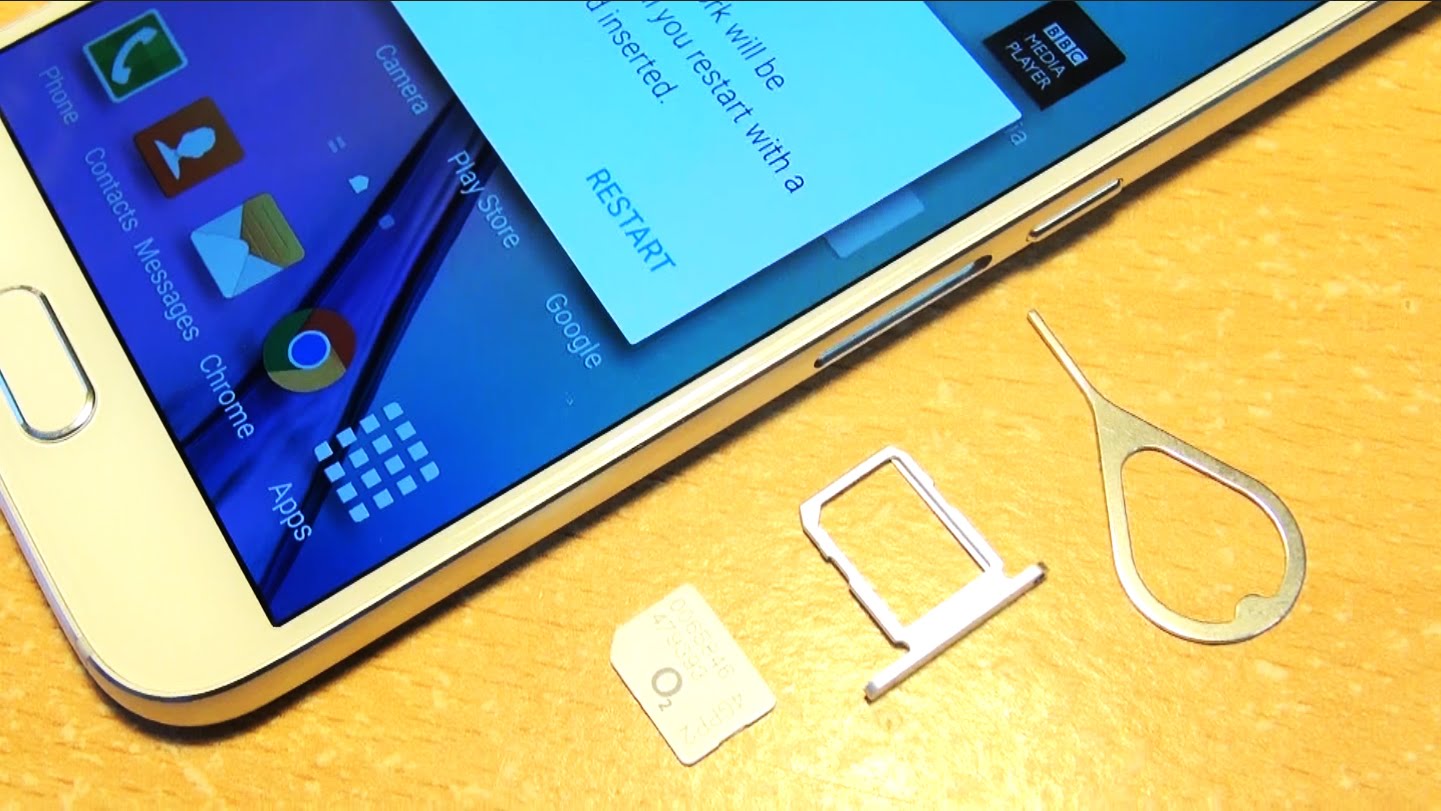
Before inserting the SIM card, take a moment to inspect the SIM card tray and familiarize yourself with its design. The tray features a small compartment that is specifically designed to accommodate the SIM card. Within this compartment, you'll notice a set of guidelines or markings that indicate the precise orientation for inserting the SIM card. These visual cues are essential for ensuring that the SIM card is positioned correctly within the tray.
Next, retrieve your SIM card and hold it with the gold contacts facing downwards. Align the SIM card with the guidelines or markings inside the compartment of the SIM card tray, ensuring that it fits snugly within the designated area. Take care to position the SIM card according to the indicated orientation, aligning it with the corresponding markings to guarantee a proper fit.
As you gently position the SIM card within the tray, you'll feel a subtle click or resistance, signifying that the card is securely in place. This tactile feedback indicates that the SIM card is correctly seated within the tray, ready to be re-inserted into your Galaxy S6.
It's important to handle the SIM card with care and precision during this process, avoiding any unnecessary bending or damage to the card's surface. By maintaining a steady and controlled approach, you can ensure that the SIM card is inserted smoothly and securely, setting the stage for the final step of re-inserting the SIM card tray into your device.
With the SIM card successfully inserted into the tray, you've achieved a significant milestone in the process of preparing your Galaxy S6 for use. This crucial step brings you one step closer to ensuring that your device is equipped with a functional SIM card, enabling you to stay connected and make the most of your mobile experience.
By following these detailed instructions for inserting the SIM card, you've taken a significant stride towards the successful installation of your SIM card. With the card securely in place within the tray, you're well-positioned to proceed with confidence and precision, ultimately leading to the seamless completion of this essential task.
Step 4: Re-insert the SIM card tray
With the SIM card securely inserted into the tray, the final step in the process of preparing your Samsung Galaxy S6 for use is to re-insert the SIM card tray into the device. This step is essential for ensuring that the SIM card is properly aligned and securely positioned within the device, allowing you to establish a seamless connection to your mobile network.
Begin by carefully aligning the SIM card tray with the corresponding slot on the edge of your Galaxy S6. Take note of the orientation of the tray, ensuring that it is positioned correctly to facilitate a smooth and hassle-free re-insertion process. By aligning the tray with precision, you can avoid any potential issues or difficulties when reintegrating it into the device.
Once the tray is aligned with the slot, gently slide it back into place, applying steady and controlled pressure to ensure a secure fit. As you guide the tray into the device, you'll feel a subtle resistance, indicating that it is being repositioned within the internal mechanism of the Galaxy S6. Continue to exert gentle pressure until the tray is fully seated, ensuring that it sits flush with the edge of the device.
As the SIM card tray is re-inserted into your Galaxy S6, take care to maintain a steady and controlled approach, avoiding any abrupt or forceful movements that may compromise the integrity of the tray or the device itself. By proceeding with caution and precision, you can complete this step with confidence, knowing that the SIM card is securely housed within the device.
Once the SIM card tray is fully re-inserted, take a moment to verify that it is positioned correctly and sits flush with the edge of the device. This visual confirmation ensures that the tray is securely in place, setting the stage for the successful activation of your SIM card and the seamless functioning of your Galaxy S6.
With the SIM card tray securely re-inserted into your device, you have completed the final step in the process of inserting a SIM card into your Samsung Galaxy S6. This achievement signifies that your device is now equipped with a functional SIM card, allowing you to stay connected and make the most of your mobile experience.
By following the detailed instructions for re-inserting the SIM card tray, you have successfully completed the essential task of preparing your Galaxy S6 for use. With the tray securely in place and the SIM card activated, you can now enjoy the full range of communication services and connectivity features offered by your Samsung Galaxy S6.
Conclusion
In conclusion, the process of inserting a SIM card into your Samsung Galaxy S6 is a fundamental task that ensures your device is equipped with the essential components for seamless connectivity and communication. By following the step-by-step instructions outlined in this tutorial, you've gained valuable insights into the precise techniques and considerations involved in this process.
From locating the SIM card tray to successfully re-inserting it into your device, each step plays a pivotal role in preparing your Galaxy S6 for use. The careful attention to detail and the precision required at each stage underscore the importance of this task in ensuring that your device functions optimally.
Furthermore, this tutorial has provided you with the confidence and knowledge to handle the insertion of a SIM card with ease, whether you're setting up your device for the first time or replacing an existing SIM card. The guidance offered here serves as a valuable resource, empowering you to navigate this essential aspect of mobile device setup with clarity and proficiency.
By understanding the significance of each step and embracing a methodical approach, you've equipped yourself with the skills to complete this task confidently. As a result, you can now enjoy the full range of features and connectivity options offered by your Samsung Galaxy S6, knowing that your device is equipped with a functional SIM card.
It's important to recognize that the successful insertion of a SIM card is not only a technical accomplishment but also a gateway to a seamless and enriching mobile experience. With your Galaxy S6 now equipped with a functional SIM card, you're poised to explore a world of communication, entertainment, and productivity, all within the palm of your hand.
In essence, the completion of this process marks a significant milestone in your journey with the Samsung Galaxy S6, setting the stage for a fulfilling and connected experience. By mastering the art of inserting a SIM card, you've taken a proactive step towards unlocking the full potential of your device, allowing you to stay connected and engaged in today's dynamic digital landscape.