Introduction
Inserting a SIM card into your Samsung Galaxy A32 is a fundamental step in setting up your device for communication and connectivity. Whether you're a tech enthusiast or a novice user, understanding the process of inserting a SIM card can ensure a seamless transition to using your new device. The SIM card, or Subscriber Identity Module, is a small, essential component that allows your smartphone to connect to a mobile network, enabling you to make calls, send messages, and access mobile data.
In this tutorial, we will guide you through the step-by-step process of inserting a SIM card into your Galaxy A32, ensuring that you can effortlessly complete this task and begin enjoying the full functionality of your device. By following these instructions, you will be able to successfully install your SIM card and avoid potential issues that may arise from improper installation.
The process of inserting a SIM card may seem daunting at first, especially for those who are new to the world of smartphones. However, with our detailed guidance, you will gain the confidence to complete this task with ease. Whether you have just purchased a new Galaxy A32 or are considering upgrading to this sleek and powerful device, understanding how to insert a SIM card is an essential skill that will empower you to make the most of your smartphone experience.
Now, let's embark on this tutorial and ensure that you are equipped with the knowledge and skills to insert a SIM card into your Galaxy A32 effortlessly. By the end of this tutorial, you will be ready to take full advantage of the connectivity and communication features that your device has to offer. Let's get started!
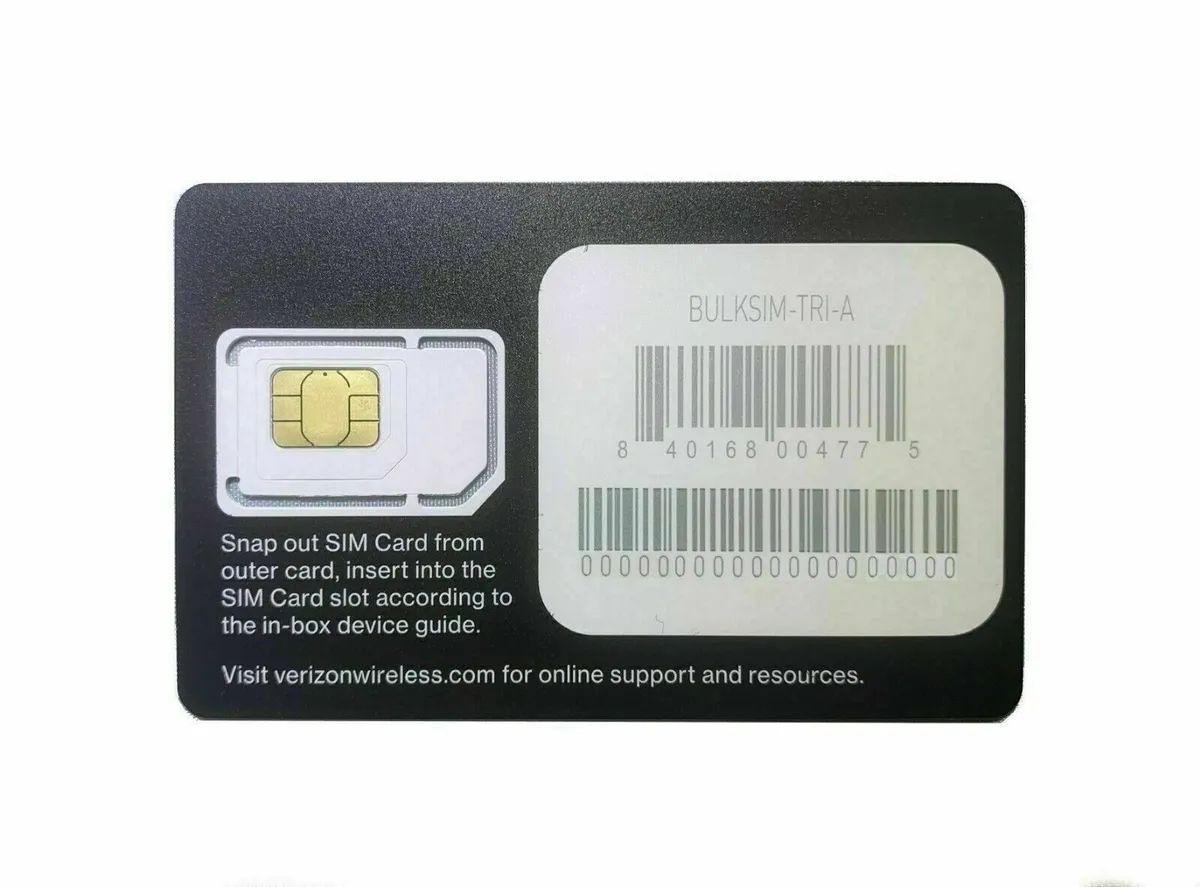
Step 1: Locate the SIM card tray
Locating the SIM card tray is the initial step in the process of inserting a SIM card into your Samsung Galaxy A32. The SIM card tray is a small, discreet component of the device that houses the SIM card and facilitates its connection to the mobile network. To begin, you will need to identify the precise location of the SIM card tray on your Galaxy A32.
-
Turn Off Your Device: Before proceeding, it is advisable to power off your Galaxy A32 to prevent any potential damage to the device or the SIM card during the installation process. Ensure that the device is completely powered down before proceeding to the next step.
-
Identify the SIM Card Tray Slot: The SIM card tray slot is typically located on the side of the device. On the Samsung Galaxy A32, the SIM card tray is commonly positioned on the upper-left side of the phone. Look for a small pinhole or a tray with a tiny indentation, indicating the presence of the SIM card tray.
-
Use the Ejection Tool: The Galaxy A32 comes with a specialized ejection tool designed to facilitate the removal of the SIM card tray. This tool is often included in the package when you purchase the device. Alternatively, you can use a small, unfolded paperclip as a makeshift ejection tool. Insert the ejection tool or paperclip into the pinhole or indentation on the SIM card tray slot.
-
Apply Gentle Pressure: Once the ejection tool is inserted into the pinhole, apply gentle pressure to initiate the ejection mechanism. This will cause the SIM card tray to partially protrude from the slot, allowing you to grasp and remove it carefully.
By following these steps, you will successfully locate the SIM card tray on your Samsung Galaxy A32, setting the stage for the subsequent steps in the process of inserting a SIM card. With the SIM card tray in hand, you are now ready to proceed to the next phase of this tutorial, which involves ejecting the SIM card tray from the device.
Step 2: Eject the SIM card tray
Ejecting the SIM card tray from your Samsung Galaxy A32 is a crucial step in the process of inserting a SIM card. This step requires precision and care to ensure that the SIM card tray is safely removed from the device, allowing for the seamless insertion of the SIM card. Let's delve into the detailed process of ejecting the SIM card tray from your Galaxy A32.
-
Gently Remove the SIM Card Tray: With the SIM card tray partially protruding from the slot, carefully grasp the exposed edge of the tray and pull it out of the device. It's essential to exercise caution and avoid applying excessive force, as this could potentially damage the SIM card tray or the device itself.
-
Inspect the SIM Card Tray: Upon removing the SIM card tray, take a moment to inspect it for any signs of damage or debris. Ensure that the tray is clean and free from any obstructions that could hinder the successful insertion of the SIM card.
-
Retrieve the Ejection Tool: As the SIM card tray is now removed from the device, safely set it aside and retrieve the ejection tool or the unfolded paperclip that was used to initiate the ejection process. This tool will be instrumental in the subsequent step of inserting the SIM card into the tray.
-
Prepare the SIM Card: Before proceeding to insert the SIM card into the tray, ensure that the SIM card is readily accessible and free from any defects. Take a moment to familiarize yourself with the orientation of the SIM card, noting the positioning of the notched corner that aligns with the tray.
By meticulously following these steps, you will successfully eject the SIM card tray from your Samsung Galaxy A32, preparing it for the next phase of the installation process. With the SIM card tray in hand and the SIM card ready for insertion, you are now poised to proceed to the subsequent step, which involves inserting the SIM card into the tray.
Now that you have successfully completed the process of ejecting the SIM card tray from your Galaxy A32, let's move on to the next step, where we will guide you through the meticulous process of inserting the SIM card into the tray.
Step 3: Insert the SIM card
Inserting the SIM card into the SIM card tray of your Samsung Galaxy A32 is a pivotal step that requires precision and attention to detail. By following the steps outlined below, you can ensure a seamless and successful insertion of the SIM card, enabling your device to establish connectivity with the mobile network.
-
Position the SIM Card: With the SIM card tray in hand, carefully identify the designated area where the SIM card will be placed. Note the orientation of the tray and the positioning of the SIM card slot, ensuring that you align the SIM card correctly to fit within the designated space.
-
Align the Notched Corner: When inserting the SIM card into the tray, it is crucial to align the notched corner of the SIM card with the corresponding notch within the tray. This ensures that the SIM card is positioned in the correct orientation, allowing for a secure fit within the tray.
-
Gently Place the SIM Card: Holding the SIM card between your fingertips, gently place it into the designated slot within the SIM card tray. Exercise caution to avoid applying excessive force, ensuring that the SIM card fits snugly within the tray without any misalignment or protrusion.
-
Verify the Placement: After inserting the SIM card into the tray, take a moment to verify that it is securely positioned within the designated slot. Ensure that the SIM card lies flat within the tray, with no visible signs of misalignment or instability.
-
Handle with Care: Throughout the process of inserting the SIM card, it is essential to handle the card and the tray with care, avoiding any abrupt movements or unnecessary pressure. This will help prevent potential damage to the SIM card and ensure a smooth installation process.
By meticulously following these steps, you will successfully insert the SIM card into the SIM card tray of your Samsung Galaxy A32, setting the stage for the final phase of this tutorial: reinserting the SIM card tray into the device.
Now that you have completed the crucial step of inserting the SIM card, let's proceed to the final phase of this tutorial, where we will guide you through the process of reinserting the SIM card tray into your Galaxy A32.
Step 4: Reinsert the SIM card tray
Reinserting the SIM card tray into your Samsung Galaxy A32 is the final step in the process of installing a SIM card, culminating in the seamless integration of the SIM card with your device. This step requires precision and care to ensure that the SIM card tray is securely placed back into the device, allowing for uninterrupted connectivity and communication capabilities. Let's delve into the detailed process of reinserting the SIM card tray into your Galaxy A32.
-
Align the SIM Card Tray: With the SIM card securely positioned within the tray, carefully align the tray with the corresponding slot on the side of your Galaxy A32. Ensure that the tray is oriented in the correct position, with the exposed edge facing outward and the ejection mechanism aligned with the designated slot.
-
Gently Insert the Tray: Holding the SIM card tray between your fingertips, gently guide it back into the slot on the device. Exercise caution to avoid applying excessive force, ensuring that the tray smoothly glides into place without any resistance. Ensure that the tray is inserted in a level position, aligning it with the contours of the device.
-
Verify the Placement: After reinserting the SIM card tray, take a moment to verify that it is securely positioned within the device. Ensure that the tray fits snugly into the slot, with no protrusions or misalignments. Gently press on the tray to ensure that it is fully seated within the device.
-
Power On Your Device: Once the SIM card tray is securely reinserted, power on your Samsung Galaxy A32 to initiate the device's startup sequence. As the device powers up, it will detect the presence of the SIM card, allowing you to proceed with the setup and activation process.
By meticulously following these steps, you will successfully reinsert the SIM card tray into your Samsung Galaxy A32, finalizing the installation of the SIM card and preparing your device for seamless connectivity and communication. With the SIM card tray securely in place and the device powered on, you are now ready to enjoy the full functionality of your Galaxy A32.
Now that you have completed the comprehensive process of inserting and reinserting the SIM card tray, you are equipped with the knowledge and skills to seamlessly manage the SIM card installation process on your Samsung Galaxy A32. Congratulations on successfully completing this essential task, empowering you to make the most of your device's communication and connectivity features.
Conclusion
Congratulations on successfully completing the comprehensive tutorial on inserting a SIM card into your Samsung Galaxy A32. By following the step-by-step instructions outlined in this tutorial, you have gained the knowledge and confidence to seamlessly manage the installation process, ensuring that your device is equipped for seamless connectivity and communication.
Understanding the intricacies of inserting a SIM card is a fundamental skill that empowers you to make the most of your smartphone experience. With the SIM card securely installed in your Galaxy A32, you are now poised to enjoy the full range of communication and connectivity features that your device has to offer.
The process of inserting a SIM card may initially seem daunting, especially for those who are new to the world of smartphones. However, by carefully following the detailed guidance provided in this tutorial, you have successfully navigated each step of the installation process, setting the stage for a seamless transition to using your device.
As you power on your Galaxy A32, the device will detect the presence of the SIM card, allowing you to proceed with the setup and activation process. From making calls to sending messages and accessing mobile data, your device is now ready to connect to the mobile network, enabling you to stay connected with ease.
It's important to note that the skills and knowledge you have acquired in this tutorial extend beyond the immediate task of inserting a SIM card. By familiarizing yourself with the intricacies of your device, you are better equipped to manage various aspects of smartphone usage, setting the stage for a fulfilling and seamless user experience.
As you embark on your journey with the Samsung Galaxy A32, remember that you have the foundational knowledge to manage essential tasks and optimize the functionality of your device. Whether you are a tech enthusiast or a novice user, the ability to navigate the installation process with confidence is a valuable skill that enhances your overall smartphone experience.
With the SIM card securely installed and your device powered on, you are now ready to explore the full potential of your Samsung Galaxy A32. From staying connected with friends and family to accessing a world of information at your fingertips, your device is poised to enrich your digital lifestyle in countless ways.
As you continue to explore the features and capabilities of your Samsung Galaxy A32, remember that the knowledge and skills you have gained in this tutorial serve as a solid foundation for managing essential tasks and maximizing the potential of your device. Enjoy your journey with the Galaxy A32 and make the most of its powerful communication and connectivity features.