Introduction
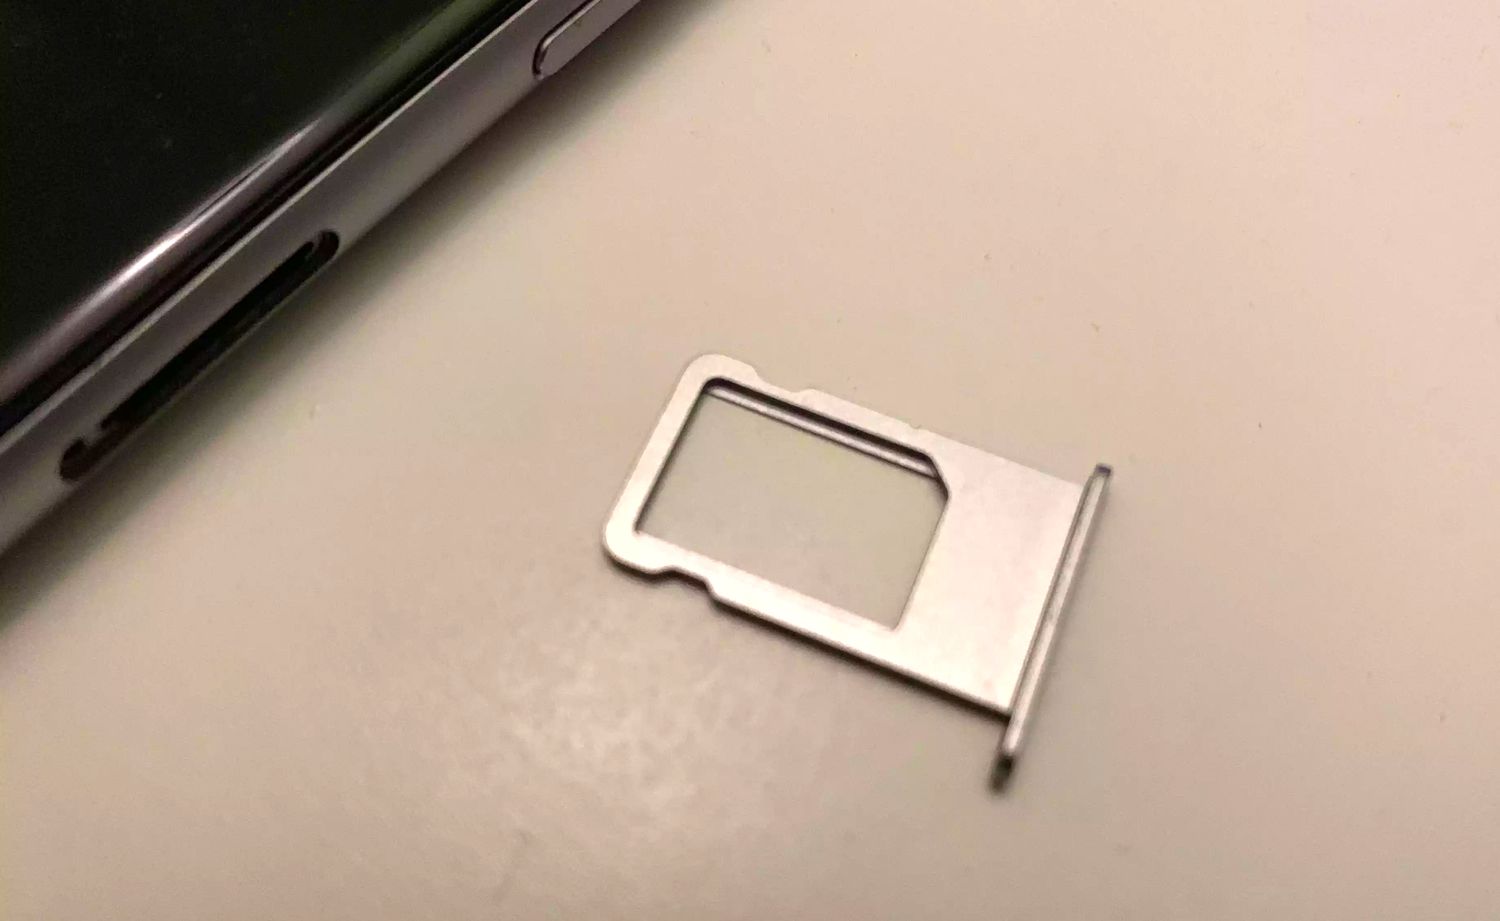
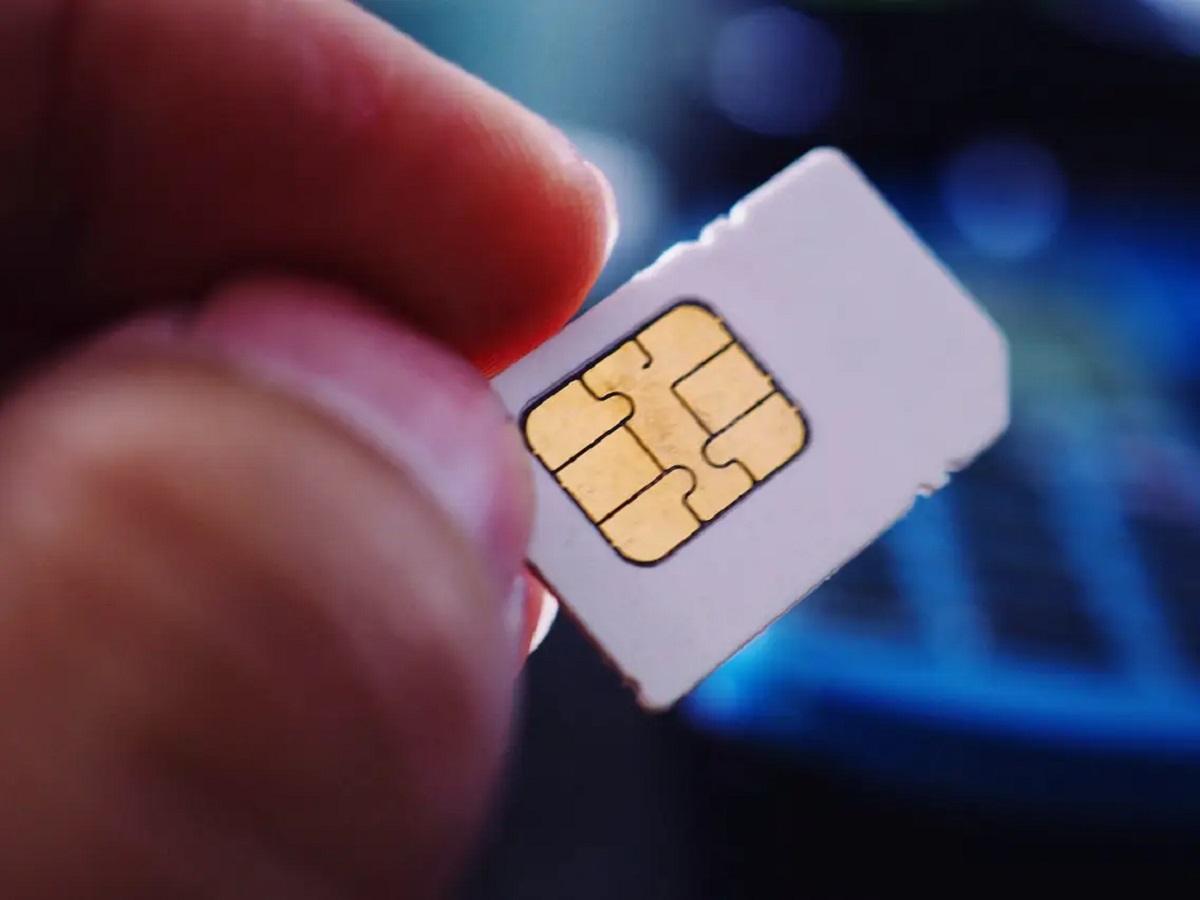
When transitioning to a new iPhone, one of the essential tasks is importing contacts from your SIM card. This process ensures that your valuable contacts are seamlessly transferred to your new device, allowing you to stay connected with friends, family, and colleagues without any disruption. Importing contacts from a SIM card to an iPhone is a straightforward procedure, and this tutorial will guide you through the simple steps to accomplish this task effortlessly.
Whether you've recently upgraded to a new iPhone or are switching from an Android device to an iPhone, importing contacts from your SIM card is a crucial step in setting up your new device. By following the steps outlined in this tutorial, you can ensure that all your important contacts are readily available on your iPhone, enabling you to communicate and stay in touch with ease.
The process of importing contacts from a SIM card to an iPhone is not only practical but also time-saving. It eliminates the need to manually input each contact, sparing you from the tedious task of entering names, phone numbers, and other details individually. By leveraging the import feature, you can swiftly transfer your contacts to your iPhone, streamlining the setup process and allowing you to focus on enjoying your new device.
In the following sections, we will delve into the specific steps required to import contacts from a SIM card to your iPhone. By carefully following these instructions, you can seamlessly migrate your contacts and ensure that your iPhone is fully equipped with all the essential contact information. Let's embark on this straightforward yet essential process to import your contacts and make the most of your iPhone experience.
Step 1: Accessing the Contacts App
Accessing the Contacts app on your iPhone is the first step towards importing contacts from your SIM card. This process is simple and can be completed in a few quick taps, allowing you to seamlessly initiate the contact importation process.
To begin, unlock your iPhone by entering your passcode or using Face ID or Touch ID. Once you are on the home screen, look for the "Contacts" app icon, which typically features a silhouette of a person. The app may be located in a variety of places on your home screen, depending on your personal app arrangement. If you are unable to locate the Contacts app on the home screen, you can utilize the search feature by swiping down from the middle of the screen and typing "Contacts" in the search bar at the top of the screen.
After locating the Contacts app, tap on the icon to open the app. Upon opening the app, you will be greeted by the Contacts interface, which displays your existing contacts, including names, phone numbers, and additional details. This interface serves as the central hub for managing and organizing your contacts, allowing you to perform various actions, including importing contacts from your SIM card.
Once you have accessed the Contacts app, you are now ready to proceed to the next step of importing contacts from your SIM card to your iPhone. This initial step lays the foundation for seamlessly transferring your contacts and ensures that you are well-prepared to carry out the subsequent steps with ease.
By successfully navigating to the Contacts app, you have taken the first crucial step in the process of importing contacts from your SIM card to your iPhone. With the Contacts app readily accessible, you are now poised to move forward and initiate the importation process, effectively ensuring that your valuable contacts are seamlessly transferred to your new iPhone.
Accessing the Contacts app is a fundamental aspect of setting up your iPhone and ensuring that all your essential contacts are readily available on your device. With this step completed, you are now prepared to proceed to the next stage of importing contacts from your SIM card, bringing you one step closer to fully utilizing your iPhone's capabilities and staying connected with your contacts.
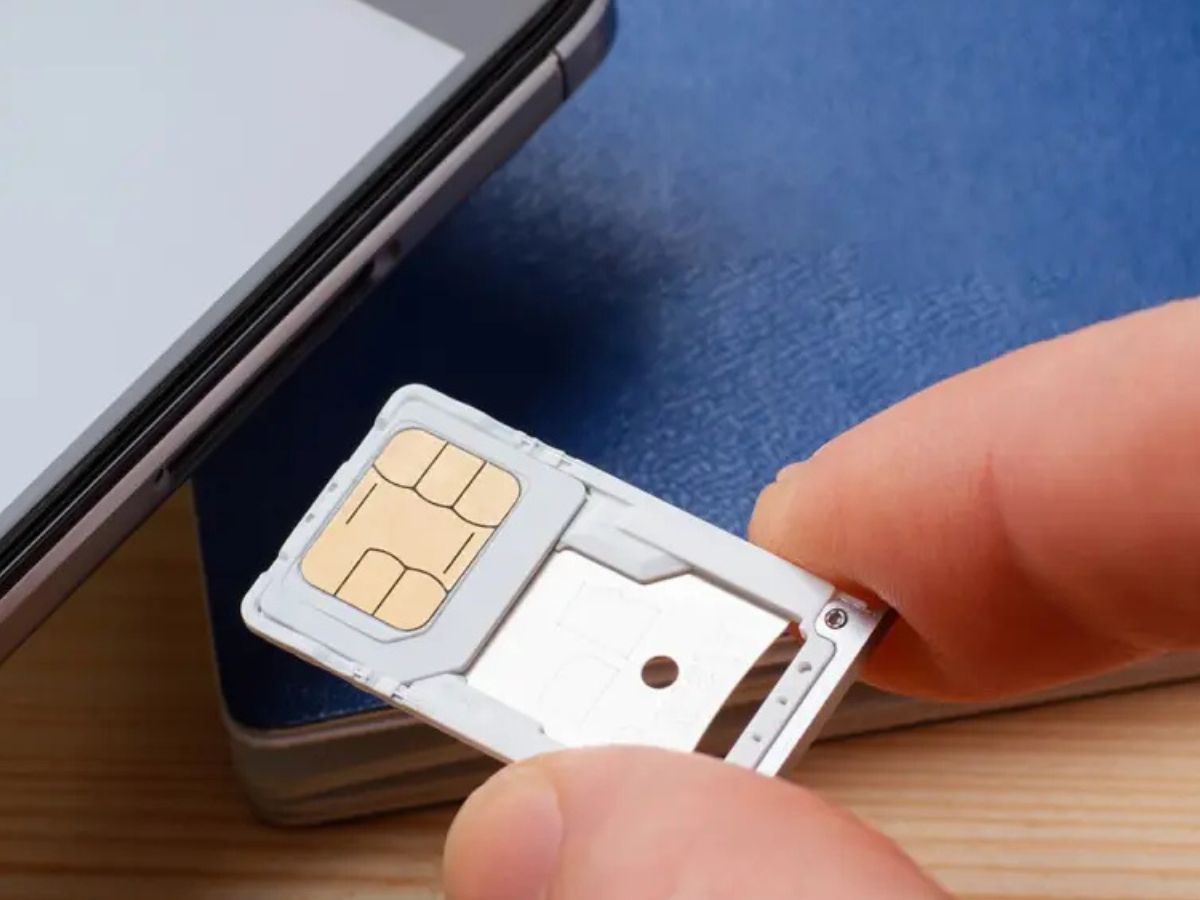
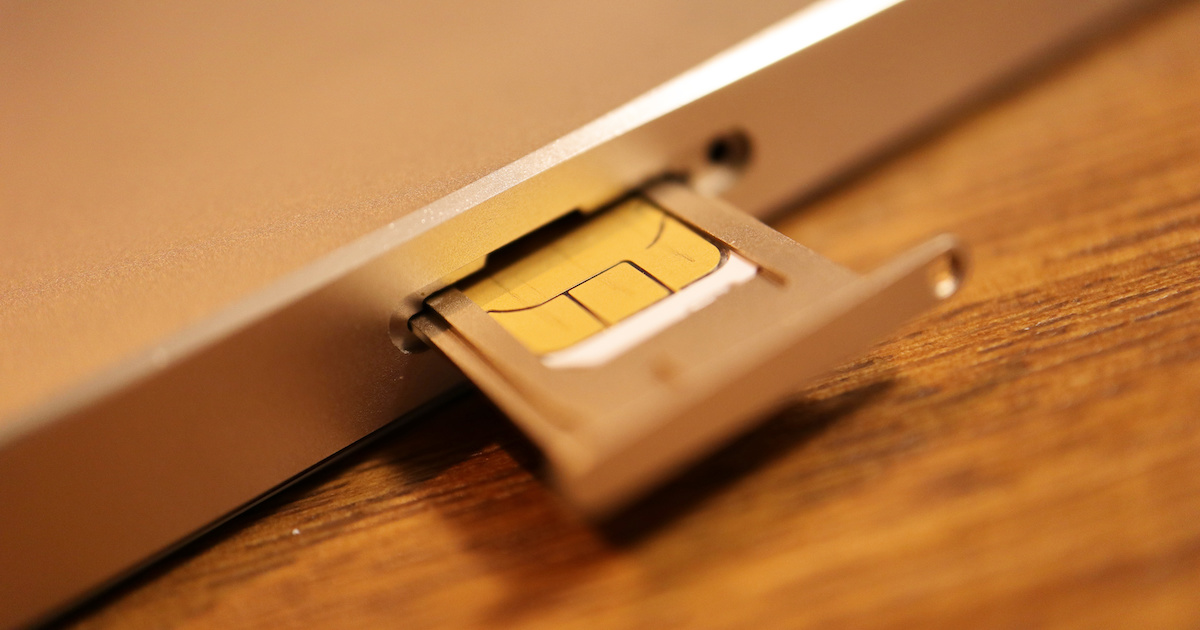
Step 2: Importing Contacts from SIM Card
Importing contacts from your SIM card to your iPhone is an essential process that ensures a seamless transition of your valuable contacts to your new device. Once you have accessed the Contacts app on your iPhone, the next step involves importing contacts from your SIM card with just a few simple taps.
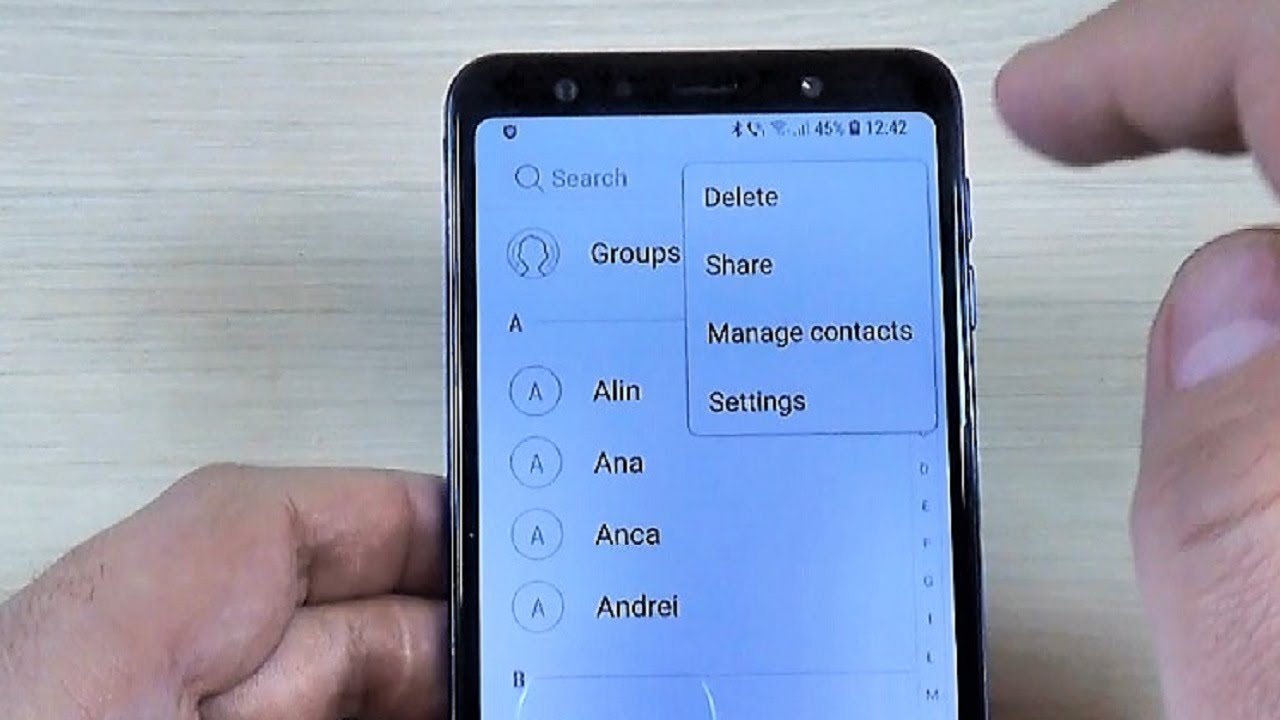
To initiate the importation process, tap on the "Settings" app on your iPhone's home screen. The Settings app is represented by a gear icon and serves as the central location for customizing various aspects of your device. Upon opening the Settings app, scroll down and locate the "Contacts" option. Tap on "Contacts" to access the Contacts settings menu, where you will find the "Import SIM Contacts" option.
After tapping on "Import SIM Contacts," your iPhone will prompt you to select the destination for the imported contacts. Typically, you will have the option to import contacts to your iCloud account or directly to your iPhone. Select the desired destination based on your preference and existing contact management practices.
Once you have chosen the destination, the import process will commence, and your iPhone will swiftly transfer the contacts from your SIM card to the designated location. This seamless transfer ensures that all the contact details, including names and phone numbers, are accurately imported to your iPhone, ready for immediate use.
It is important to note that the time required for the import process may vary based on the number of contacts being transferred. However, the efficiency of this process ensures that your contacts are swiftly imported, allowing you to proceed with utilizing your iPhone without delay.
Upon the completion of the import process, you will receive a confirmation message indicating that the contacts from your SIM card have been successfully imported to your chosen destination. This confirmation serves as a reassurance that the importation was carried out effectively, and your contacts are now readily available on your iPhone.
By following these straightforward steps, you have successfully imported your contacts from your SIM card to your iPhone, ensuring that your essential contact information is seamlessly transferred to your new device. With this vital step completed, you are now equipped with all your important contacts, ready to communicate and stay connected with ease using your iPhone.
Step 3: Confirming the Import
After successfully importing your contacts from the SIM card to your iPhone, it is essential to confirm the completion of the import process. This step ensures that all your valuable contacts have been seamlessly transferred and are readily accessible on your iPhone, allowing you to proceed with confidence in utilizing your device for communication and staying connected with your contacts.
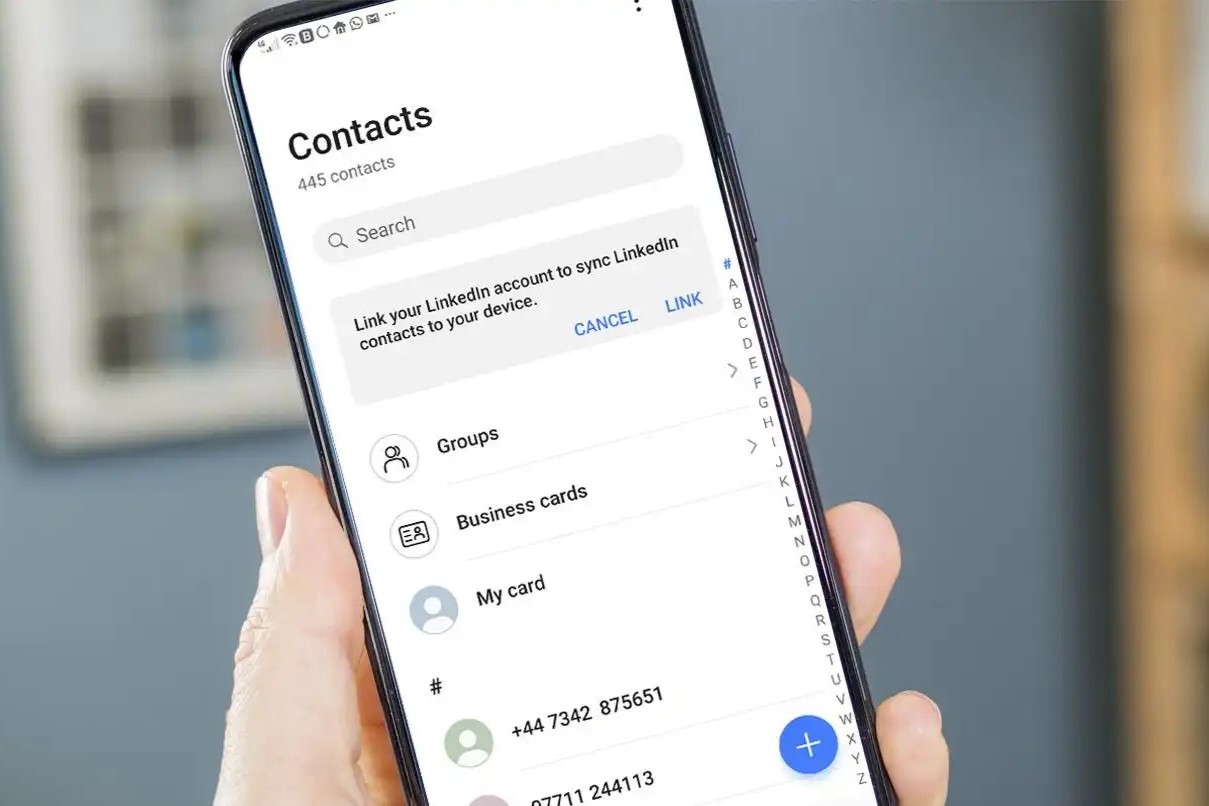
To confirm the import of your contacts, navigate back to the Contacts app on your iPhone. Upon opening the app, you will be able to view the imported contacts, which will now be integrated with your existing contact list. Scroll through the contacts to verify that all the essential details, including names, phone numbers, and any additional information, have been accurately transferred from the SIM card to your iPhone.
As you review the imported contacts, take a moment to ensure that the contact information appears complete and accurate. This includes verifying that each contact's name and associated phone number are correctly displayed, allowing you to recognize and communicate with your contacts without any discrepancies or errors.
In addition to visually confirming the imported contacts within the Contacts app, consider initiating a test call or message to a few contacts to validate that the contact details are fully functional. By placing a test call or sending a message to a recently imported contact, you can ensure that the contact information is accurate and that you can seamlessly communicate with the imported contacts without any issues.
Furthermore, it is advisable to cross-reference the imported contacts with your SIM card or any backup sources to confirm that all the desired contacts have been successfully transferred. This cross-referencing process provides an extra layer of assurance, ensuring that no contacts have been overlooked during the importation process.
Upon confirming the successful import of your contacts, you can proceed with confidence, knowing that your iPhone is fully equipped with all the essential contact information. This confirmation step serves as a final check to guarantee that the importation was carried out effectively, and your contacts are seamlessly integrated into your iPhone's contact management system.
By diligently confirming the import of your contacts, you can rest assured that your iPhone is primed for seamless communication and connectivity, allowing you to make the most of your device and stay in touch with your contacts effortlessly.
Conclusion
In conclusion, the process of importing contacts from a SIM card to an iPhone is a fundamental task that ensures a seamless transition of essential contact information to your new device. By following the simple yet crucial steps outlined in this tutorial, you have successfully completed the process and equipped your iPhone with all the valuable contacts stored on your SIM card.
Importing contacts from a SIM card to an iPhone not only streamlines the setup process but also eliminates the need for manual entry of each contact, saving you time and effort. This straightforward process allows you to swiftly migrate your contacts, ensuring that you can seamlessly communicate and stay connected with your friends, family, and colleagues without any disruptions.
The accessibility and user-friendly interface of the Contacts app on the iPhone, coupled with the intuitive importation process, make it convenient for users to manage and transfer their contacts effortlessly. By leveraging the import feature within the Contacts app, you can ensure that all your important contacts are readily available on your new iPhone, enabling you to make the most of your device from the moment you start using it.
Furthermore, confirming the successful import of your contacts provides an added layer of assurance, allowing you to verify that all the essential contact details have been seamlessly transferred to your iPhone. This confirmation step ensures that you can proceed with confidence, knowing that your iPhone is fully equipped with the complete set of contacts from your SIM card.
As you embark on your journey with your new iPhone, the completion of the contact importation process serves as a foundational step in setting up your device for seamless communication and connectivity. With your contacts readily available on your iPhone, you can navigate the digital landscape with ease, staying connected and engaging with your contacts effortlessly.
In essence, the process of importing contacts from a SIM card to an iPhone underscores the seamless integration and user-centric approach that Apple devices offer. By embracing this intuitive process, you have successfully prepared your iPhone for a seamless communication experience, ensuring that you can effortlessly connect with your contacts and make the most of your device from the very beginning.