Introduction
The Samsung Galaxy S6 is a sleek and powerful mobile device that offers users the convenience of a SIM card for connectivity. Whether you're looking to upgrade your SIM card or troubleshoot connectivity issues, understanding how to extract the SIM card from your Samsung Galaxy S6 is essential. This guide will walk you through the simple and hassle-free process, ensuring that you can handle this task with ease.
The SIM card, or Subscriber Identity Module, is a small, portable memory chip used in mobile phones to store information such as user identity, location, phone number, and more. It plays a crucial role in connecting your device to the mobile network, allowing you to make calls, send messages, and access mobile data.
By following the steps outlined in this guide, you will be able to safely and efficiently extract the SIM card from your Samsung Galaxy S6. Whether you're a first-time user or a seasoned smartphone enthusiast, this process is designed to be straightforward and accessible to all. So, let's dive in and explore the easy steps to extract the SIM card from your Samsung Galaxy S6.
Step 1: Power off the Samsung Galaxy S6
Before beginning the process of extracting the SIM card from your Samsung Galaxy S6, it is crucial to power off the device. This step ensures the safety of both the device and the SIM card, preventing any potential damage during the extraction process.
To power off your Samsung Galaxy S6, locate the power button, which is typically situated on the right-hand side of the device. Press and hold the power button until the power-off menu appears on the screen. Depending on the software version of your device, you may need to swipe or tap on the screen to power off the device.
Once the power-off menu is displayed, select the "Power off" option to initiate the shutdown process. Your Samsung Galaxy S6 will then power down, indicating that it is safe to proceed with the SIM card extraction.
By ensuring that the device is powered off before extracting the SIM card, you minimize the risk of causing any damage to the SIM card or the device itself. This simple yet essential step sets the stage for a smooth and trouble-free SIM card extraction process, allowing you to proceed with confidence and peace of mind.
Now that your Samsung Galaxy S6 is powered off, you are ready to move on to the next step in the SIM card extraction process. With the device safely powered down, you can proceed with locating the SIM card tray and preparing to eject the SIM card tray in readiness for the extraction of the SIM card.
Taking the time to power off your device demonstrates a responsible approach to handling your Samsung Galaxy S6 and ensures that the SIM card extraction process is carried out without any unnecessary complications. With your device powered off and your focus on the next step, you are well on your way to successfully extracting the SIM card from your Samsung Galaxy S6.
Step 2: Locate the SIM card tray
Locating the SIM card tray on your Samsung Galaxy S6 is the next crucial step in the process of extracting the SIM card. The SIM card tray houses the SIM card and is designed for easy access, allowing users to insert, remove, or replace the SIM card as needed. By identifying the precise location of the SIM card tray on your device, you can proceed with confidence, knowing that you are on the right path to completing the extraction process successfully.
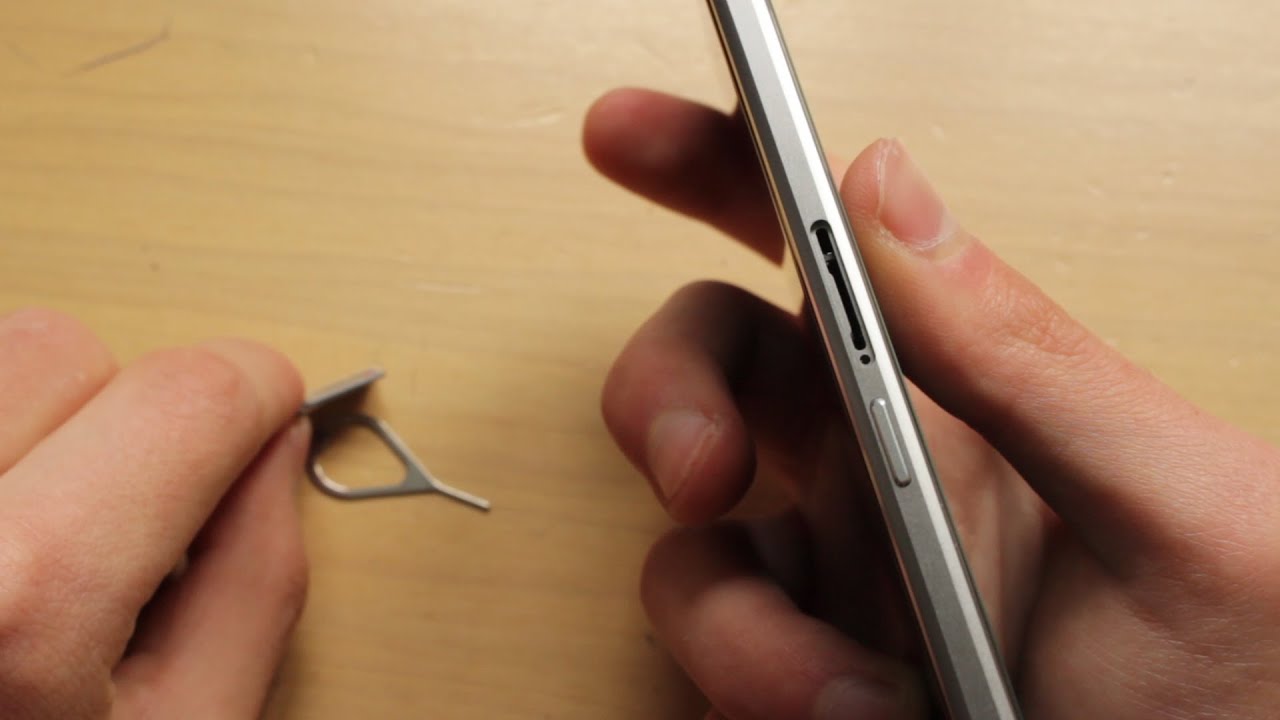
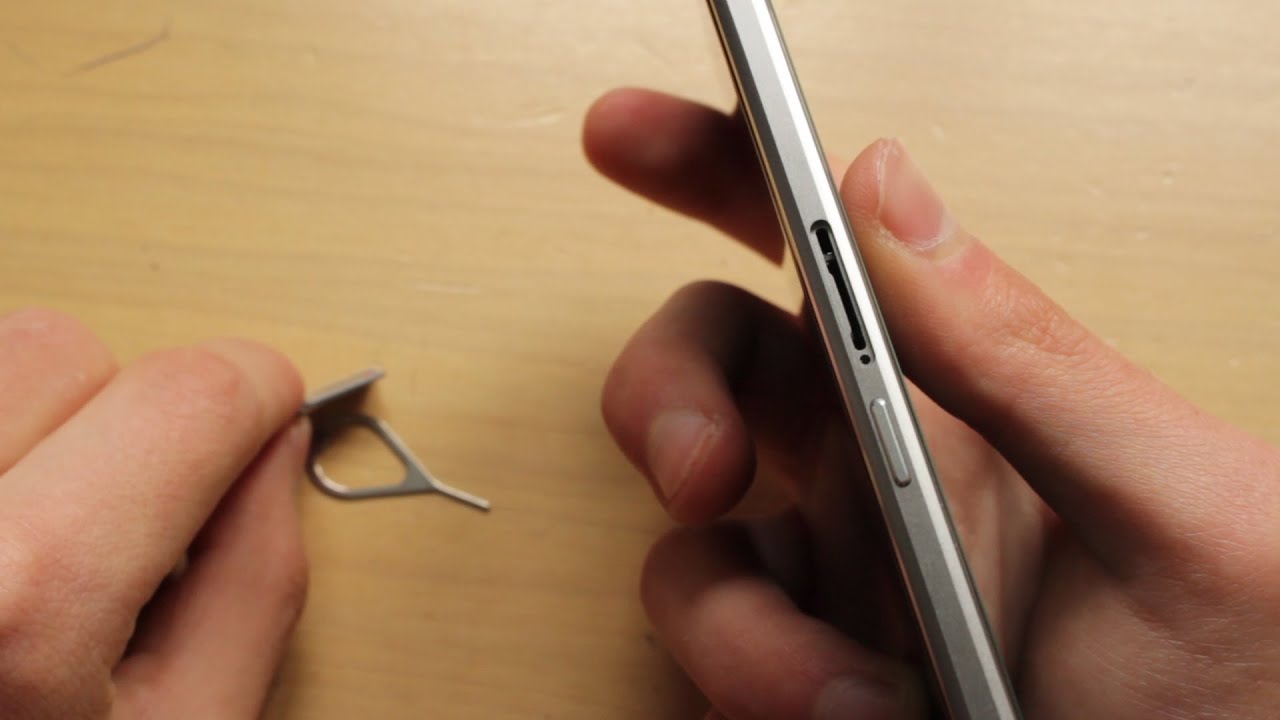
To locate the SIM card tray on your Samsung Galaxy S6, you will need to visually inspect the exterior of the device. The SIM card tray is typically positioned on the upper edge of the device, either on the left-hand side or the right-hand side, depending on the specific model of the Samsung Galaxy S6. It is important to note that the SIM card tray may be located adjacent to the volume buttons or the power button, so a careful examination of the device's exterior is essential.
Once you have identified the general area where the SIM card tray is located, you can proceed to look for the small pinhole that serves as the entry point for the SIM card ejection tool. This pinhole is a distinctive feature of the SIM card tray and is designed to accommodate the SIM card ejection tool, allowing you to initiate the ejection mechanism and access the SIM card.
When locating the SIM card tray, it is recommended to ensure that the device is positioned under proper lighting, as this will facilitate the identification of the tray and the pinhole. Additionally, you may refer to the user manual or online resources provided by Samsung to obtain visual aids or diagrams illustrating the precise location of the SIM card tray on your specific model of the Samsung Galaxy S6.
By meticulously examining the exterior of your Samsung Galaxy S6 and identifying the SIM card tray and the associated pinhole, you are one step closer to successfully extracting the SIM card from your device. This careful attention to detail ensures that you can proceed with confidence, knowing that you have located the essential components required for the next phase of the SIM card extraction process.
With the SIM card tray successfully located, you are now prepared to move on to the subsequent step, which involves ejecting the SIM card tray to access the SIM card housed within. This pivotal stage in the extraction process brings you closer to completing the task at hand, allowing you to seamlessly remove the SIM card from your Samsung Galaxy S6.
Step 3: Eject the SIM card tray
After successfully locating the SIM card tray on your Samsung Galaxy S6, the next crucial step in the process of extracting the SIM card is to eject the SIM card tray. This step allows you to access the SIM card housed within the tray, paving the way for the seamless removal of the SIM card from your device.
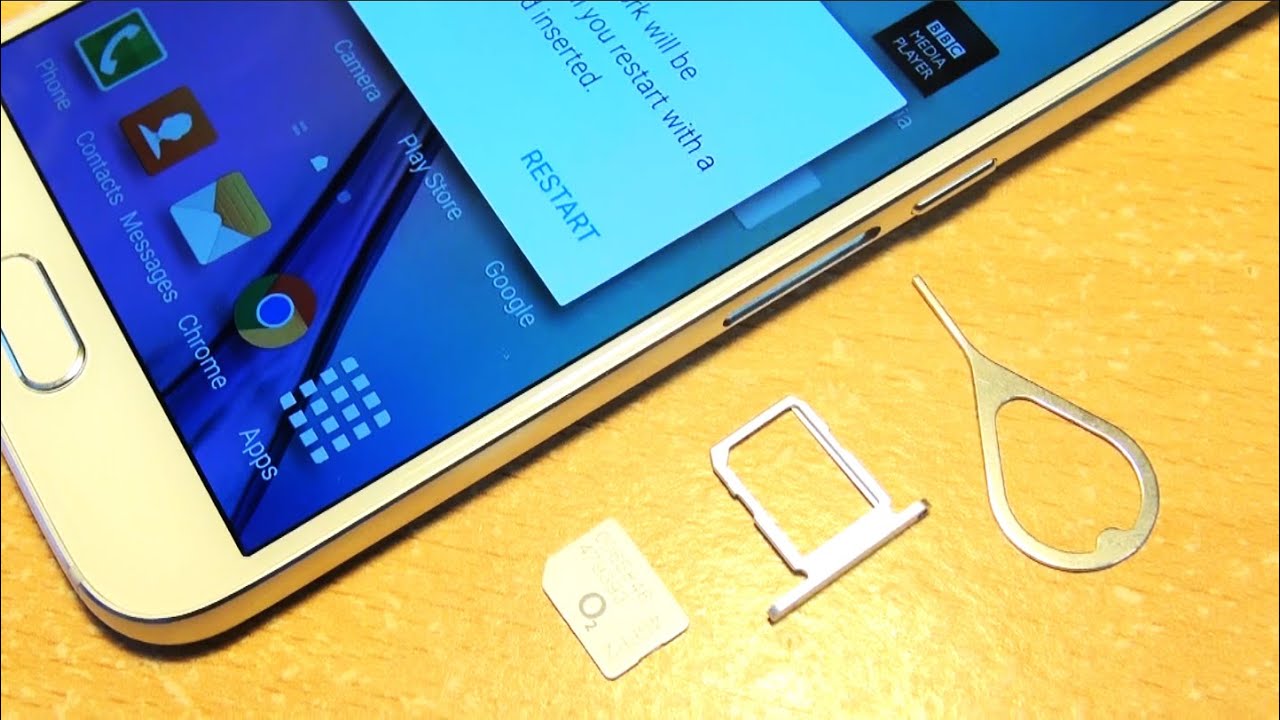
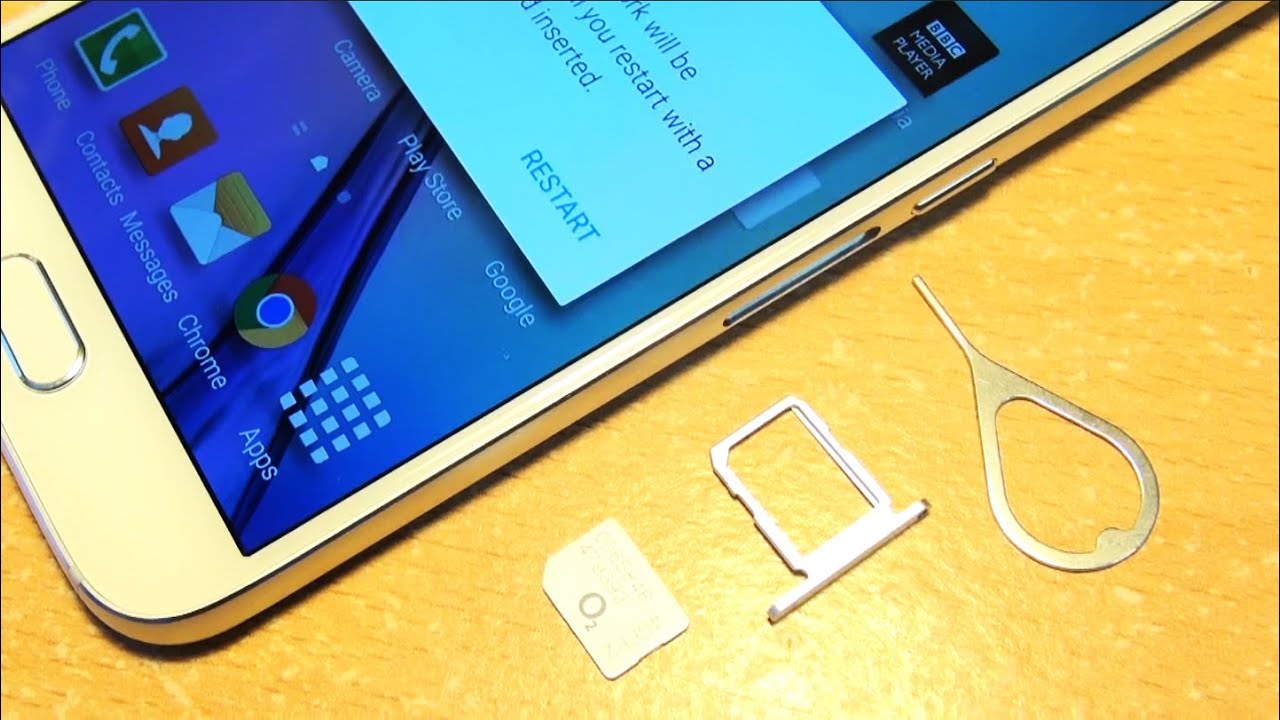
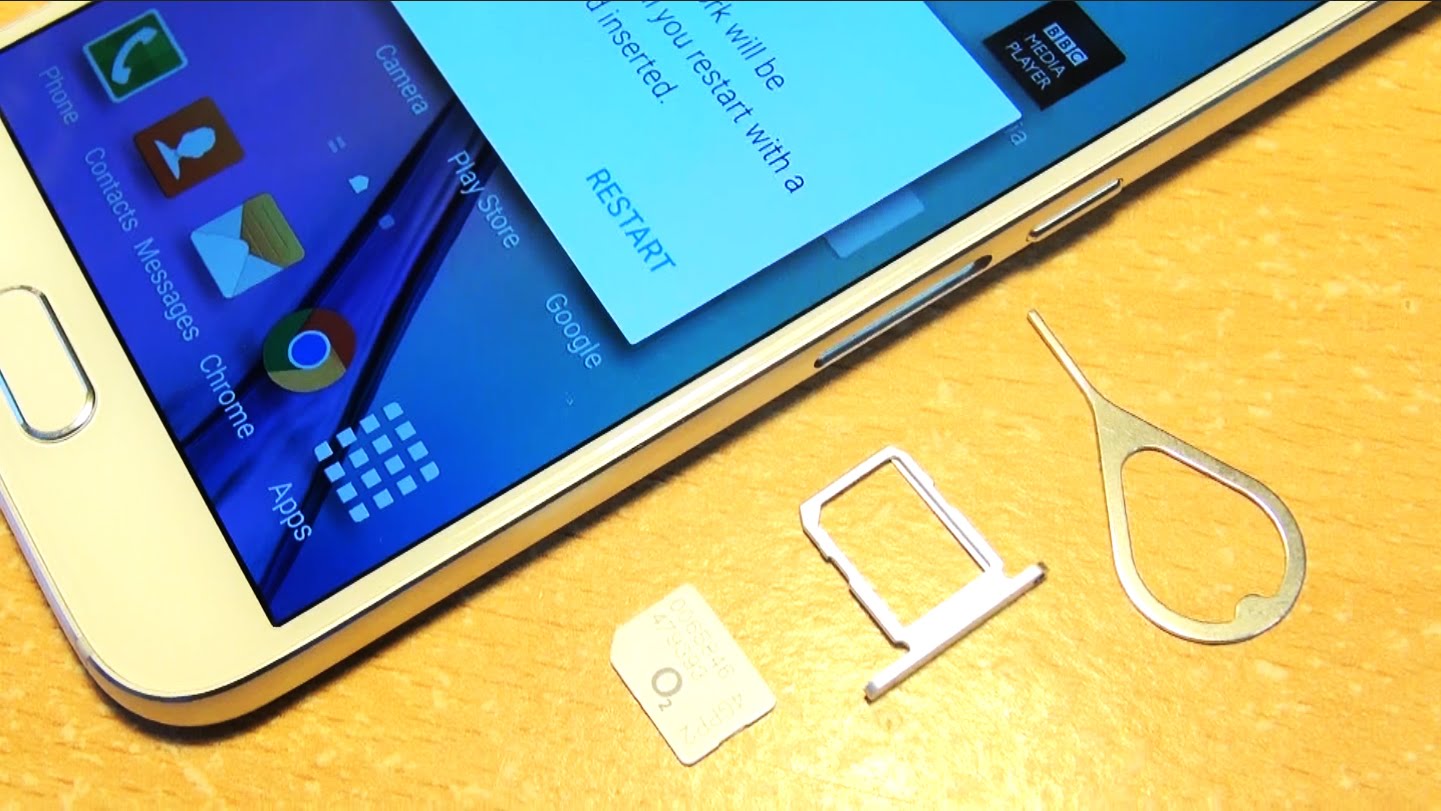
To eject the SIM card tray, you will need to utilize the SIM card ejection tool provided by Samsung. This specialized tool is designed to fit into the pinhole located adjacent to the SIM card tray, initiating the ejection mechanism and allowing you to safely remove the tray from the device.
Begin by retrieving the SIM card ejection tool from the packaging of your Samsung Galaxy S6 or any additional accessories that were included with your device. The SIM card ejection tool is typically a small, metallic pin with a pointed end, specifically crafted for the purpose of ejecting the SIM card tray.
Once you have the SIM card ejection tool in hand, carefully insert the pointed end of the tool into the pinhole located near the SIM card tray. Apply gentle and consistent pressure to the tool, ensuring that it is inserted straight into the pinhole without any lateral movement. This action will activate the ejection mechanism, causing the SIM card tray to protrude slightly from the device.
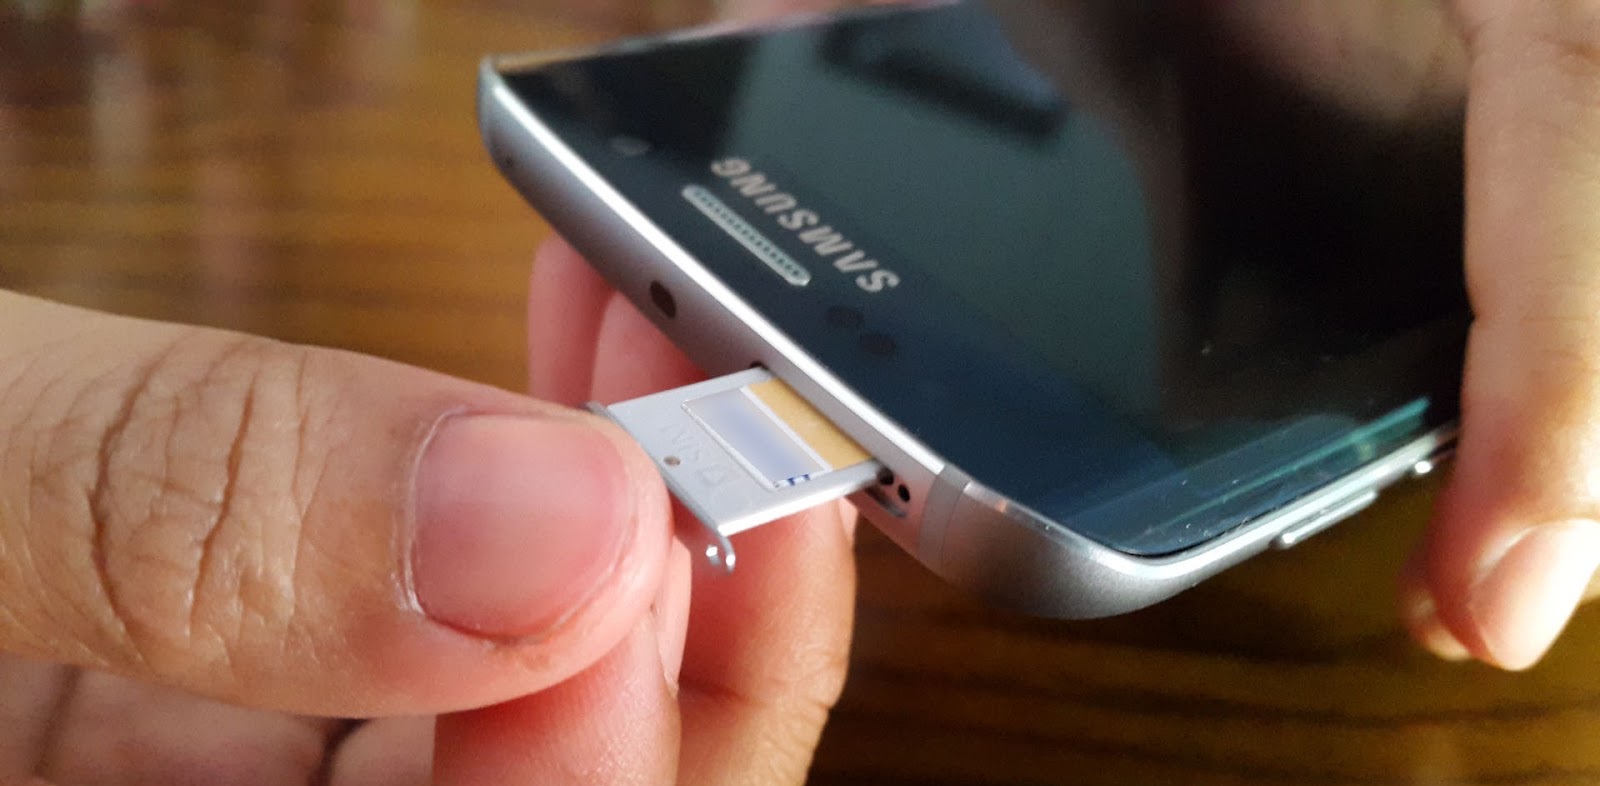
With the SIM card tray partially ejected, use your fingers to carefully and steadily pull the tray out of the device. Exercise caution to avoid applying excessive force or causing any damage to the tray or the device itself. The SIM card tray should slide out smoothly, allowing you to access the SIM card positioned within the tray.
As the SIM card tray is fully extended, take a moment to inspect the position of the SIM card within the tray. Note the orientation of the SIM card and its placement within the tray, as this will be essential for the subsequent step of removing the SIM card from the tray.
By successfully ejecting the SIM card tray from your Samsung Galaxy S6, you have reached a pivotal stage in the SIM card extraction process. This accomplishment brings you one step closer to safely removing the SIM card from your device, allowing you to proceed with confidence and precision.
With the SIM card tray now accessible, you are ready to advance to the next step, which involves removing the SIM card from the tray. This critical phase in the extraction process will enable you to complete the task at hand, ensuring that you can handle the SIM card with care and expertise.
Step 4: Remove the SIM card
With the SIM card tray successfully ejected from your Samsung Galaxy S6, the next crucial step in the SIM card extraction process is to remove the SIM card from the tray. This step requires careful handling and attention to detail to ensure that the SIM card is safely and effectively separated from the tray, allowing for seamless replacement or troubleshooting as needed.
Begin by gently examining the position of the SIM card within the tray. Note the orientation of the SIM card and its alignment within the designated slot on the tray. Most SIM cards feature a distinctive notch or corner that indicates the correct positioning for insertion into the tray. This visual cue will guide you in identifying the correct orientation for removing the SIM card from the tray.
Using your fingertips, carefully grasp the SIM card positioned within the tray. Apply gentle and steady pressure to slide the SIM card out of its slot. Exercise caution to avoid bending or damaging the SIM card during this process. The SIM card should slide out smoothly, facilitated by the precise alignment within the tray.
As you remove the SIM card from the tray, take a moment to inspect the card for any signs of damage or wear. Check the metal contacts on the back of the SIM card for any debris or discoloration, as these may affect the card's functionality and connectivity. If necessary, use a soft, dry cloth to gently clean the metal contacts, ensuring optimal performance when reinserting the SIM card into the device.
Once the SIM card has been successfully removed from the tray, store it in a safe and secure location. It is advisable to place the SIM card in a designated holder or protective case to prevent loss or damage. Additionally, take note of the specific SIM card details, such as the phone number associated with the card and any relevant identification numbers, for future reference.
By effectively removing the SIM card from the tray, you have completed a crucial phase in the SIM card extraction process. This accomplishment signifies your ability to handle the SIM card with precision and care, ensuring that it remains in optimal condition for future use. With the SIM card safely removed, you can proceed with confidence, knowing that you have successfully completed the extraction process for your Samsung Galaxy S6.
Conclusion
In conclusion, the process of extracting the SIM card from your Samsung Galaxy S6 is a straightforward and essential task that empowers you to manage your device's connectivity with ease. By following the simple steps outlined in this guide, you can confidently navigate the extraction process, ensuring that you handle the SIM card and device with care and expertise.
The initial step of powering off the Samsung Galaxy S6 sets the stage for a safe and trouble-free extraction process. By ensuring that the device is powered down, you minimize the risk of causing any damage to the SIM card or the device itself, laying a solid foundation for the subsequent steps.
Locating the SIM card tray is a critical phase that requires attention to detail. By identifying the precise location of the tray and the associated pinhole, you set the stage for the successful ejection and removal of the SIM card. This careful examination of the device's exterior ensures that you proceed with confidence, knowing that you are on the right path to completing the extraction process.
Ejecting the SIM card tray with the designated tool allows you to access the SIM card housed within the tray, bringing you closer to completing the extraction process. This step requires precision and gentle handling to ensure that the tray is safely removed from the device, setting the stage for the subsequent extraction of the SIM card.
Removing the SIM card from the tray demands careful attention to detail and gentle handling to ensure that the card is safely separated from the tray. By following the recommended techniques, you can effectively remove the SIM card and store it securely for future use, ensuring that it remains in optimal condition.
Overall, the process of extracting the SIM card from your Samsung Galaxy S6 is designed to be accessible to all users, regardless of their level of experience with mobile devices. By approaching the extraction process with patience and precision, you can successfully manage the SIM card and device connectivity, ensuring a seamless and hassle-free experience.
As you navigate the process of extracting the SIM card from your Samsung Galaxy S6, remember to handle the SIM card and device with care, prioritizing safety and attention to detail. By following the steps outlined in this guide, you can confidently manage the SIM card extraction process, empowering you to maintain optimal connectivity and functionality for your Samsung Galaxy S6.


