Introduction
In today's fast-paced world, mobile devices have become an integral part of our daily lives. From communication to entertainment and productivity, smartphones have revolutionized the way we interact with the digital realm. With the rapid advancements in technology, mobile devices now come equipped with sophisticated features, one of which is the fingerprint sensor.
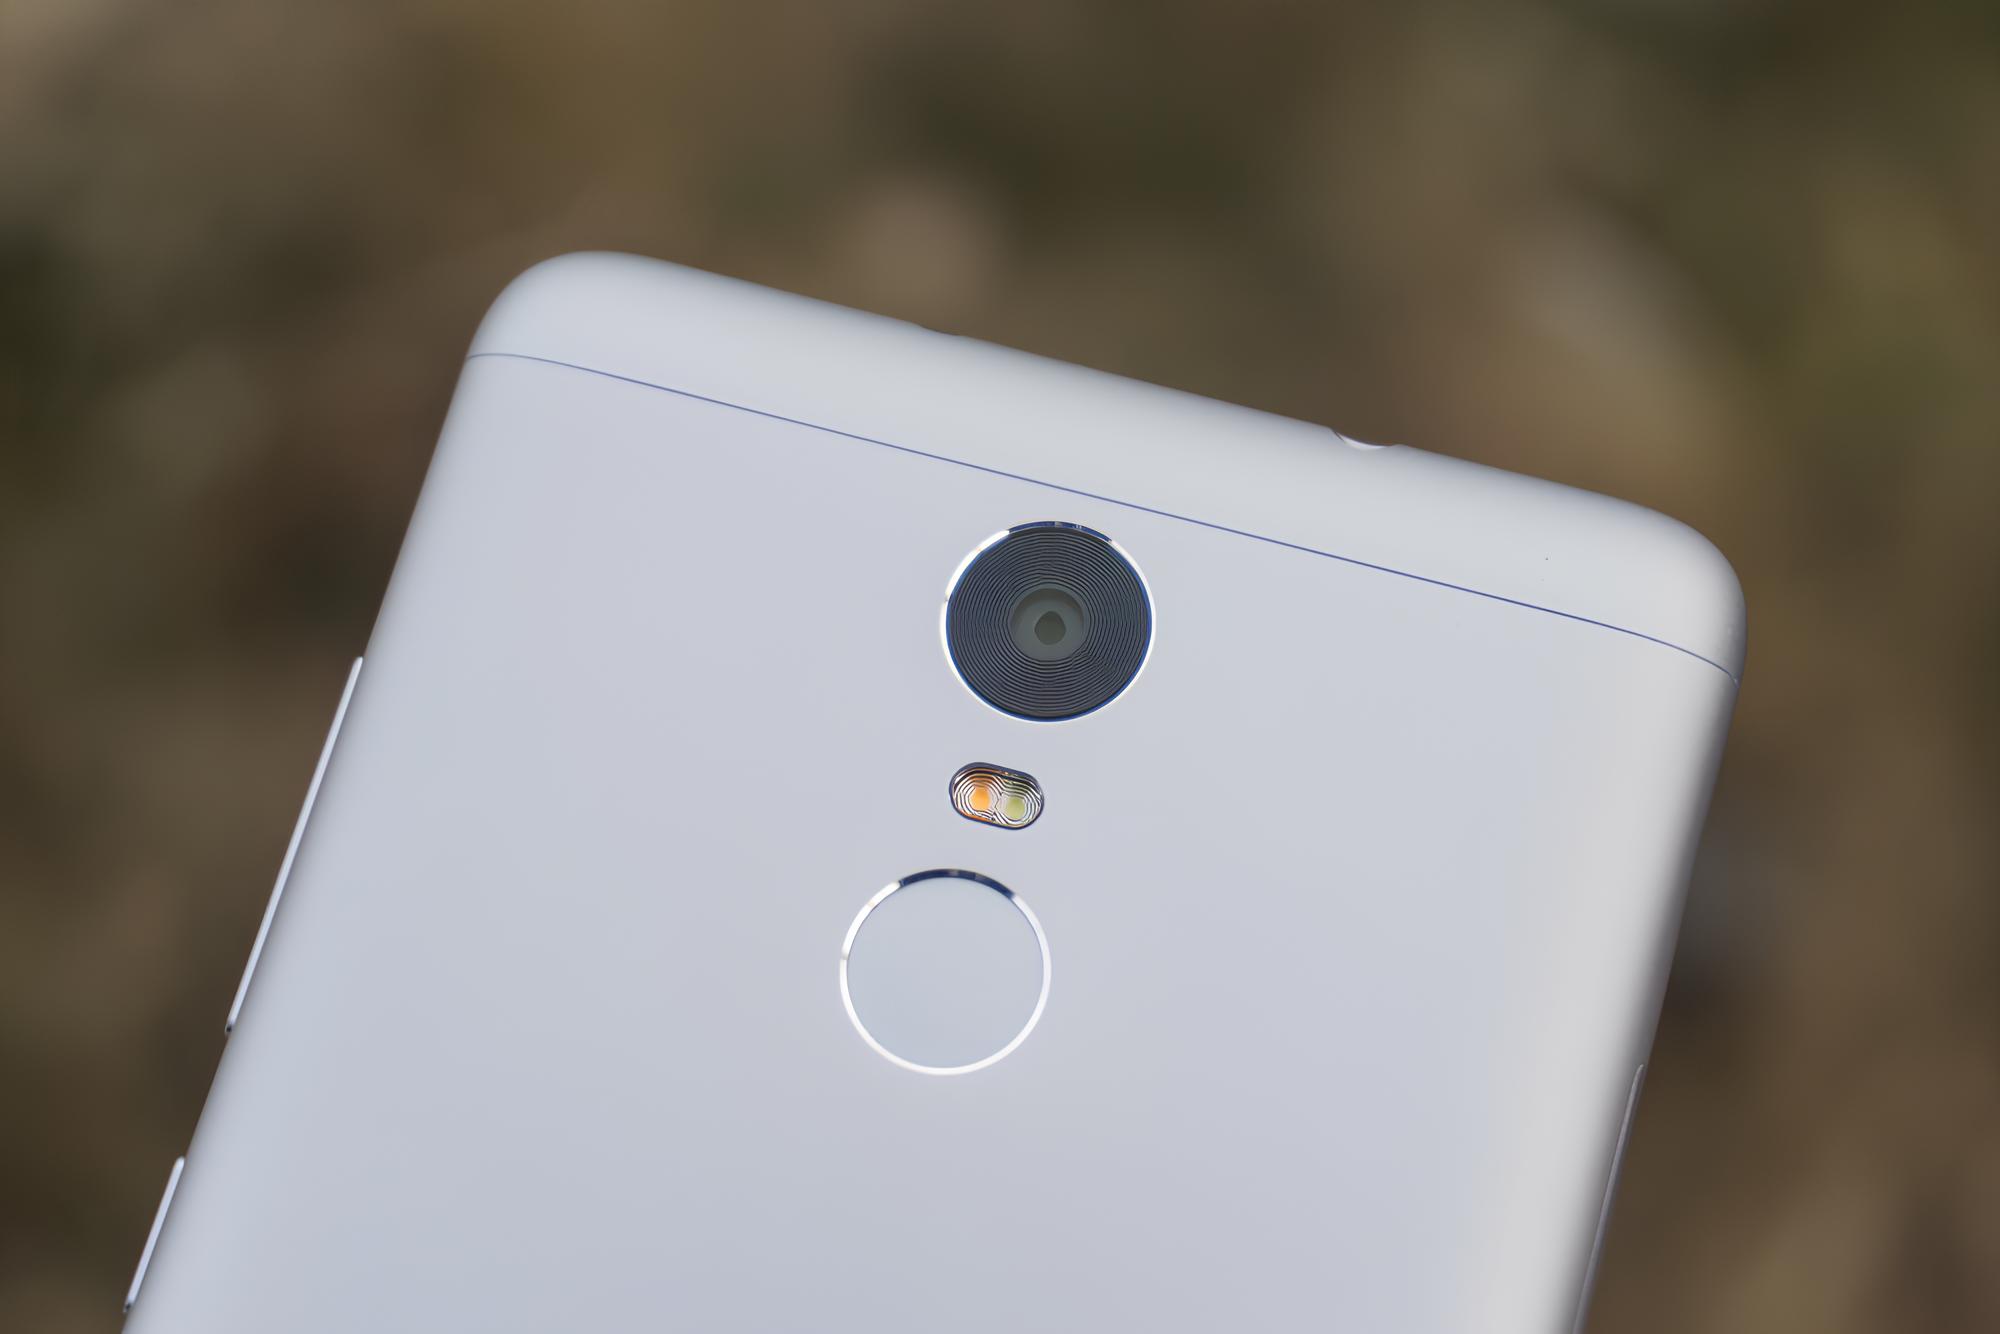
The fingerprint sensor, a cutting-edge security feature, offers a convenient and secure way to unlock your device, authenticate app access, and make secure payments. Redmi Note 3, a popular smartphone model, boasts a reliable and responsive fingerprint sensor that enhances the overall user experience.
In this comprehensive guide, we will walk you through the process of enabling the fingerprint sensor on your Redmi Note 3. Whether you're a tech enthusiast or a novice user, this step-by-step tutorial will equip you with the knowledge and confidence to leverage this advanced security feature effectively.
So, without further ado, let's delve into the world of biometric authentication and unlock the potential of your Redmi Note 3's fingerprint sensor.
Step 1: Setting up the Fingerprint Sensor
Setting up the fingerprint sensor on your Redmi Note 3 is a straightforward process that begins with accessing the device's settings. Follow these simple steps to initiate the setup:
-
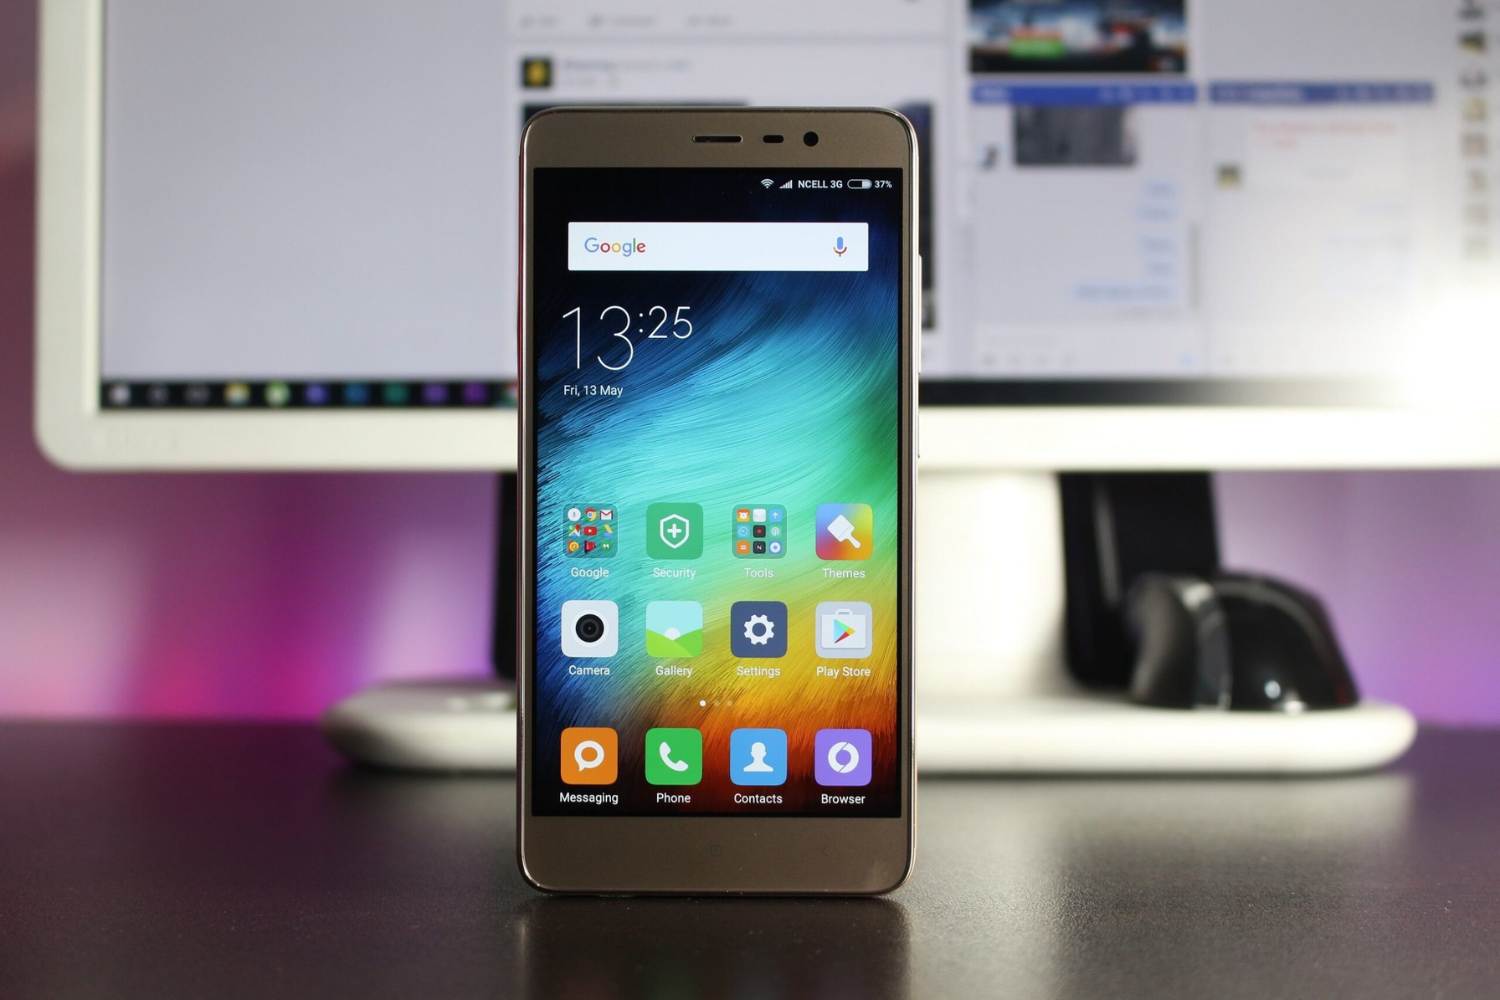
Accessing Settings: Start by unlocking your Redmi Note 3 using the traditional PIN, pattern, or password. Once on the home screen, locate and tap on the "Settings" icon, typically represented by a gear or cogwheel symbol.
-
Navigating to Security Settings: Within the Settings menu, scroll down and select "Security" or "Security & Privacy," depending on your device's specific layout.
-
Selecting Fingerprint: Under the Security settings, tap on "Fingerprint" or "Fingerprint Scanner" to initiate the setup process.
-
Entering Security Credentials: If prompted, you may need to enter your existing PIN, pattern, or password to proceed with the fingerprint setup. This is a security measure to ensure authorized access to sensitive settings.
-
Initiating Fingerprint Setup: Once inside the Fingerprint settings, you will find the option to "Add Fingerprint" or "Enroll Fingerprint." Tap on this option to commence the setup process.
-
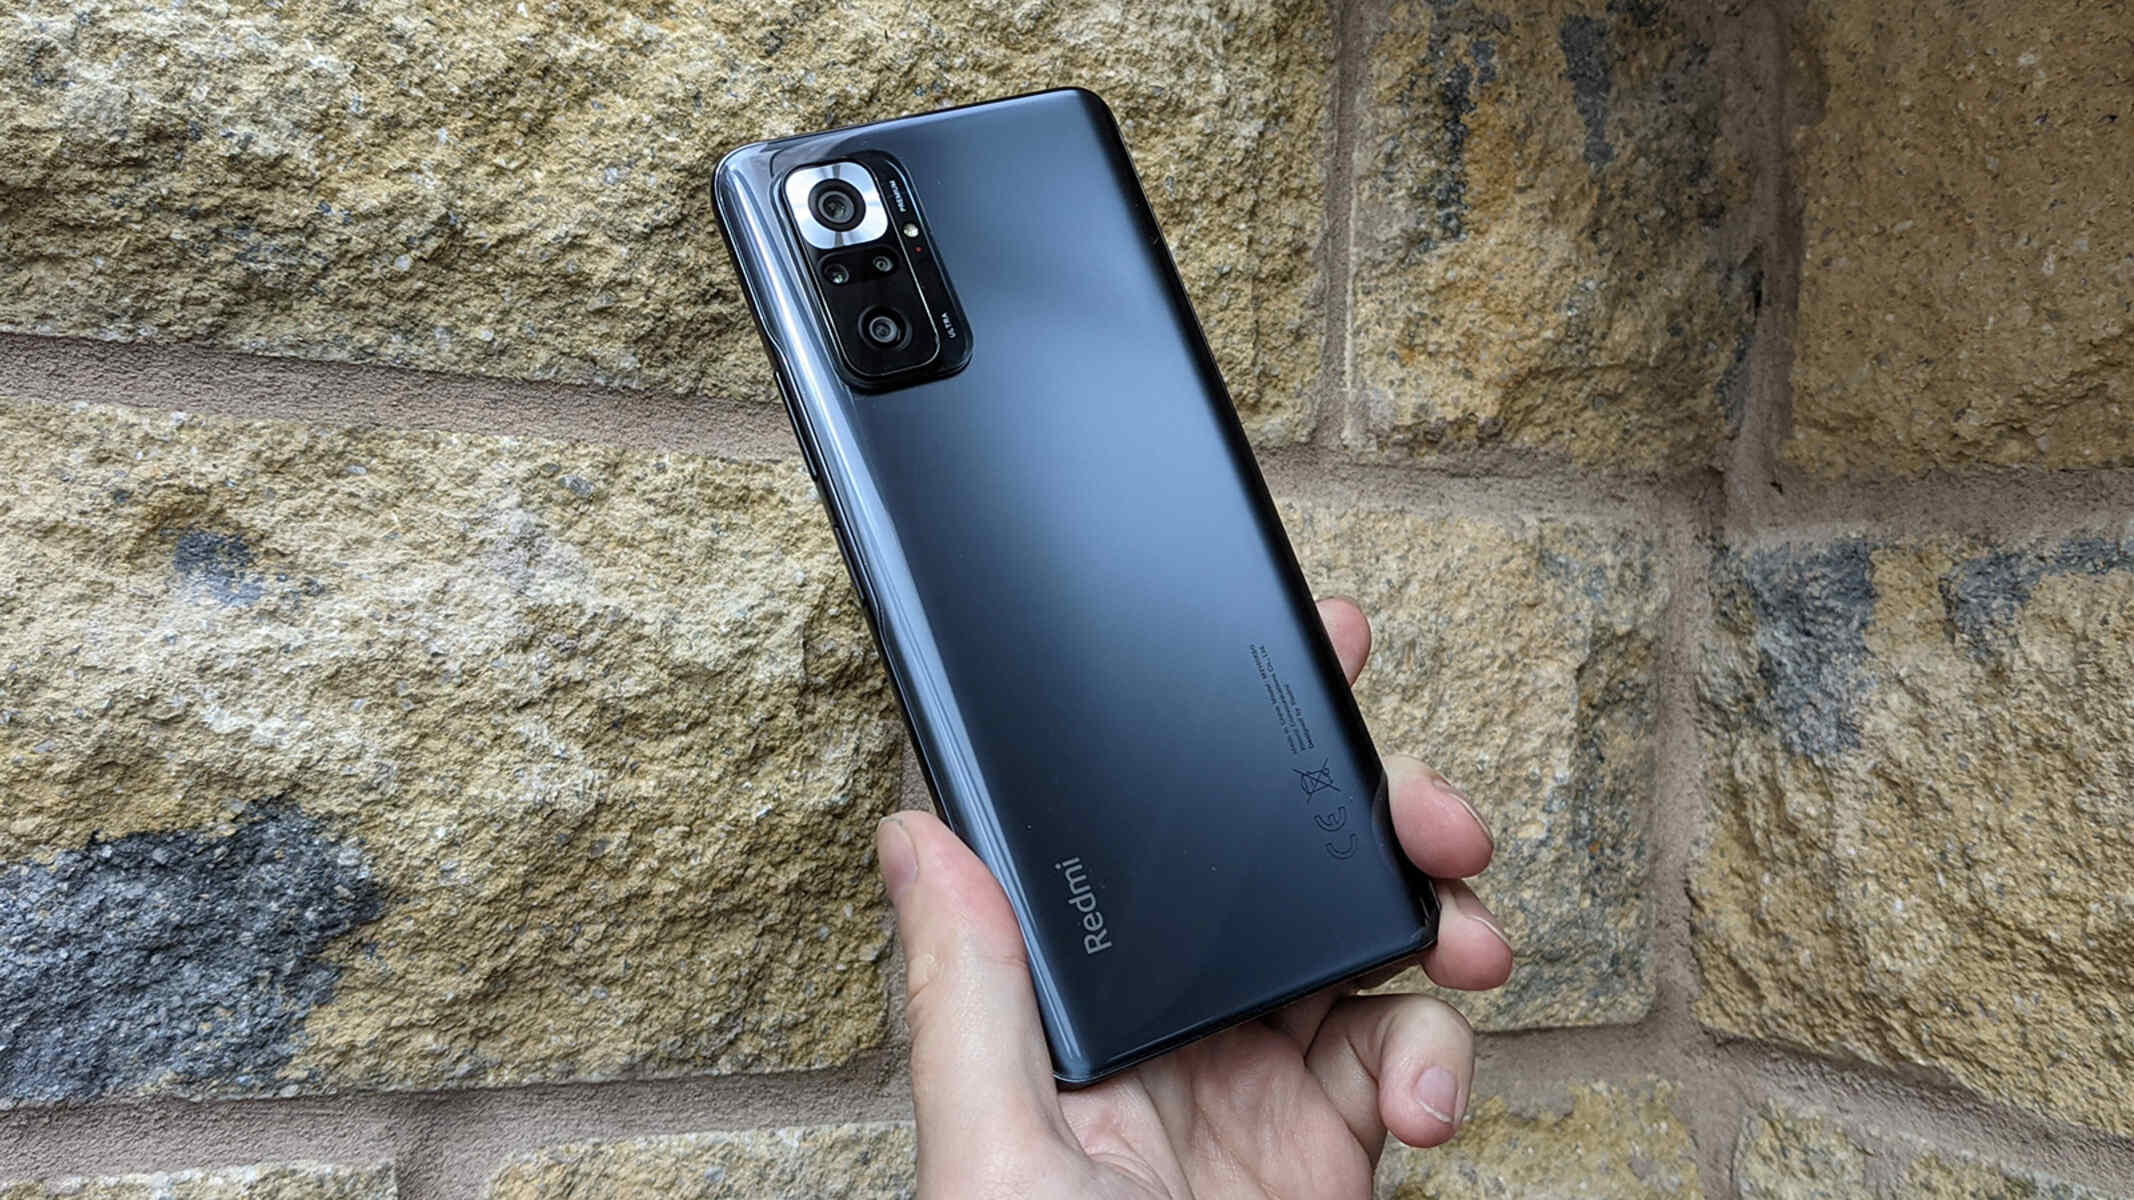
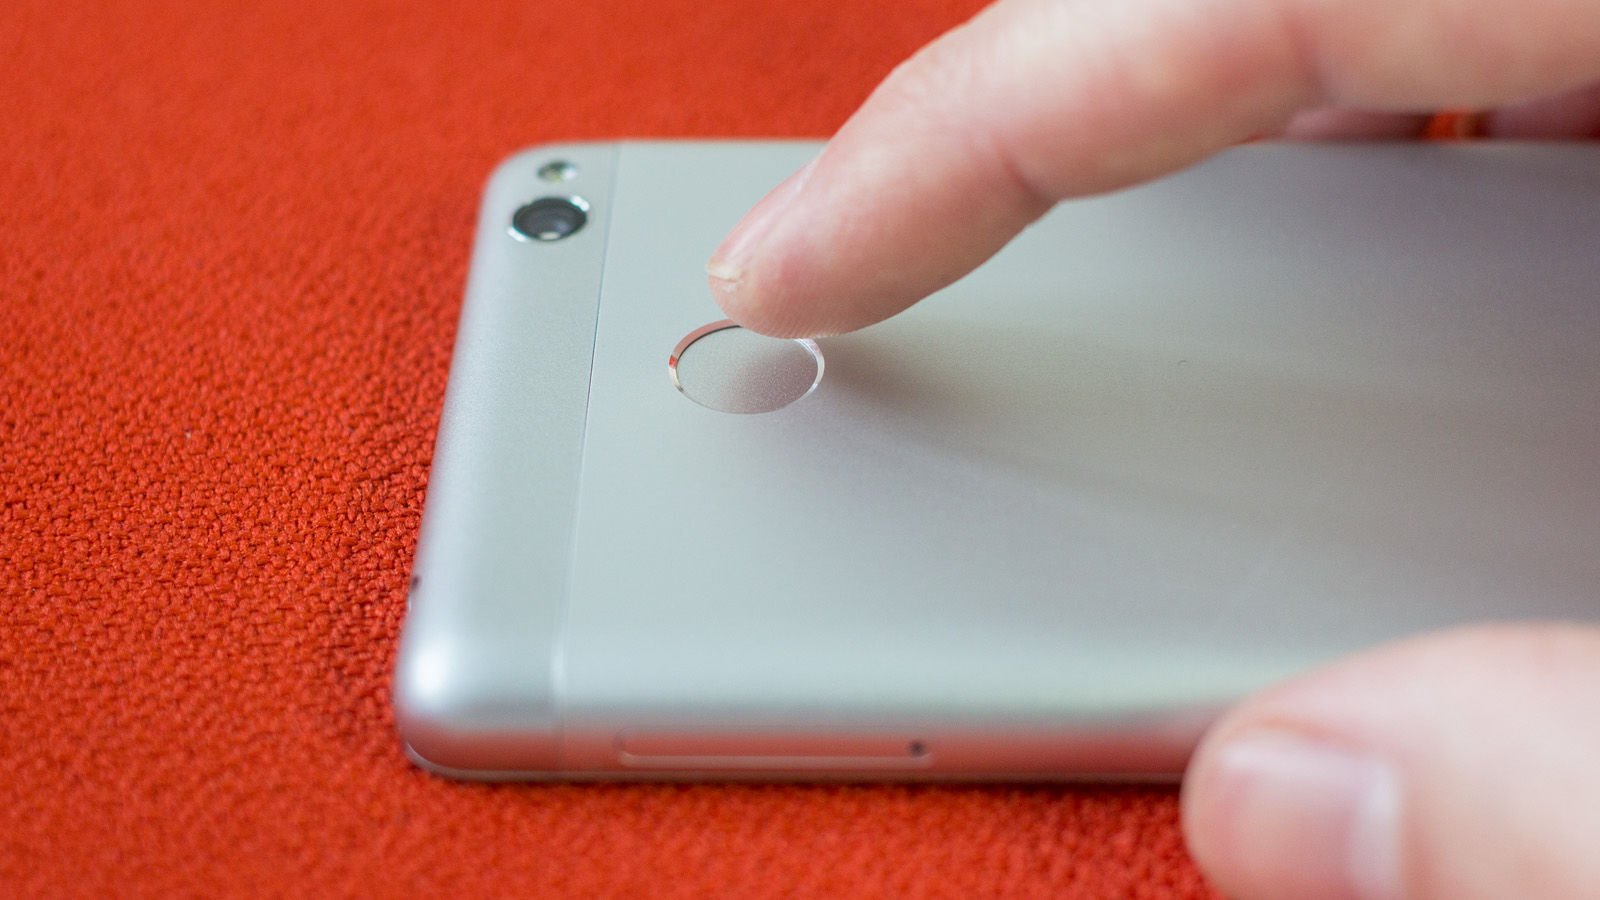
Positioning Your Finger: Follow the on-screen instructions to place your finger on the sensor located on the back of the device. Ensure that you cover the entire sensor area and adjust the positioning as guided to capture different angles of your fingerprint.
-
Completing the Setup: After successfully capturing your fingerprint, the setup process will prompt you to add additional fingerprints if desired. Once you've completed this step, your fingerprint will be securely stored and ready for use.
By following these steps, you can seamlessly set up the fingerprint sensor on your Redmi Note 3, enhancing the security and accessibility of your device. This biometric authentication method offers a convenient and secure way to unlock your device and access protected features with just a touch of your finger.
Step 2: Adding Fingerprint
Adding your fingerprint to the Redmi Note 3's biometric system is a pivotal step in enhancing the security and convenience of your device. This process ensures that your unique fingerprint becomes the key to unlocking your smartphone and accessing sensitive information. Here's a detailed walkthrough of how to add your fingerprint:
-
Accessing Fingerprint Settings: After setting up the fingerprint sensor as outlined in Step 1, navigate back to the "Fingerprint" settings within the Security menu of your Redmi Note 3.
-
Initiating Fingerprint Addition: Once inside the Fingerprint settings, you will find the option to "Add Fingerprint" or "Enroll Fingerprint." Tap on this option to commence the process of adding your fingerprint to the device's biometric database.
-
Positioning Your Finger: Follow the on-screen instructions to position your finger on the sensor located on the back of the device. It's crucial to cover the entire sensor area and adjust the positioning as guided to capture different angles of your fingerprint. This ensures that the system can accurately recognize your fingerprint from various orientations.
-
Lifting and Re-Positioning: During the fingerprint addition process, you will be prompted to lift and re-position your finger multiple times. This step is essential for capturing a comprehensive image of your fingerprint, including the ridges and unique patterns that make it distinct.
-
Completing the Addition: After successfully capturing your fingerprint from various angles, the system will prompt you to add additional fingerprints if desired. This feature is particularly useful if you want to grant access to trusted individuals, such as family members or close friends, in case of emergencies.
-
Testing the Fingerprint: Once the addition process is complete, you can test the newly added fingerprint by using it to unlock your device. This step ensures that the fingerprint has been successfully registered and can be used to authenticate access to your Redmi Note 3.
By following these steps, you can seamlessly add your fingerprint to the Redmi Note 3's biometric system, bolstering the security and accessibility of your device. This advanced security feature not only provides a secure method of unlocking your smartphone but also offers a convenient way to authenticate app access and authorize secure transactions.
Step 3: Managing Fingerprint Settings
Once you have successfully added your fingerprint to the Redmi Note 3's biometric system, it's essential to explore the various fingerprint management settings to optimize the functionality and security of this advanced feature. Managing fingerprint settings allows you to customize the behavior of the fingerprint sensor, add or remove fingerprints, and configure additional security measures. Here's a detailed overview of how to manage fingerprint settings on your Redmi Note 3:
Accessing Fingerprint Management
To begin managing the fingerprint settings, navigate back to the "Fingerprint" settings within the Security menu of your Redmi Note 3. Once inside the Fingerprint settings, you will find a range of options to tailor the behavior and security aspects of the fingerprint sensor.
Renaming Fingerprint Labels
One useful feature within the fingerprint management settings is the ability to rename fingerprint labels. This allows you to assign recognizable names to registered fingerprints, making it easier to identify and manage multiple fingerprints associated with different users or purposes. For instance, you can label a fingerprint as "Work" or "Family" to distinguish between various authorized users.
Adding Additional Fingerprints
In the fingerprint management settings, you have the option to add more fingerprints to the device's biometric database. This feature is particularly beneficial if you want to grant access to trusted individuals, such as family members or close friends, allowing them to unlock the device or access specific apps using their registered fingerprints.
Removing Registered Fingerprints
If the need arises to remove a registered fingerprint from the device, the fingerprint management settings provide a straightforward method to do so. This feature ensures that you have full control over the fingerprints stored on your Redmi Note 3, allowing you to revoke access for specific fingerprints if necessary.
Configuring Fingerprint Security
Within the fingerprint management settings, you can configure additional security measures related to fingerprint authentication. This includes options to enable or disable fingerprint unlock, app lock, and secure payment authentication using the registered fingerprints. By customizing these security settings, you can tailor the fingerprint sensor's behavior to align with your specific security preferences.
Testing Fingerprint Recognition
As part of managing the fingerprint settings, it's advisable to periodically test the recognition and responsiveness of the registered fingerprints. This ensures that the fingerprint sensor continues to accurately authenticate access and unlock the device, maintaining the overall security and convenience offered by this advanced biometric feature.
By delving into the fingerprint management settings, you can fine-tune the behavior and security aspects of the fingerprint sensor on your Redmi Note 3, empowering you to leverage this cutting-edge technology to its full potential. These customizable settings not only enhance the security of your device but also provide a seamless and personalized user experience, making the most of the innovative fingerprint sensor technology integrated into your smartphone.
Conclusion
In conclusion, enabling the fingerprint sensor on your Redmi Note 3 unlocks a world of convenience, security, and seamless user experience. By following the simple yet comprehensive steps outlined in this guide, you have empowered your device with advanced biometric authentication, elevating the overall security and accessibility of your smartphone.
The integration of a fingerprint sensor on the Redmi Note 3 not only streamlines the process of unlocking your device but also extends its functionality to secure app access and authorize transactions. This cutting-edge security feature offers a level of convenience that transcends traditional PIN or pattern-based unlocking methods, allowing you to effortlessly and securely access your device with just a touch of your finger.
Moreover, the process of adding and managing fingerprints provides a personalized and tailored approach to device security. Whether it's labeling fingerprints for specific users or purposes, adding trusted individuals' fingerprints, or configuring additional security measures, the fingerprint management settings empower you to customize the behavior of the sensor to align with your unique security preferences.
As technology continues to evolve, biometric authentication methods such as fingerprint sensors are becoming increasingly prevalent in the realm of mobile devices. The seamless integration of this advanced feature into the Redmi Note 3 exemplifies Xiaomi's commitment to enhancing user experience through innovative and secure technologies.
By embracing the potential of the fingerprint sensor on your Redmi Note 3, you have not only fortified the security of your device but also embraced a more intuitive and effortless way of interacting with your smartphone. The convenience of unlocking your device and authorizing secure transactions with a simple touch reflects the convergence of cutting-edge technology and user-centric design, ultimately enhancing your overall mobile experience.
In essence, the journey of enabling and managing the fingerprint sensor on your Redmi Note 3 signifies a step towards a more secure, personalized, and seamless mobile experience. As you continue to explore the myriad capabilities of your smartphone, the integration of biometric authentication serves as a testament to the ever-evolving landscape of mobile device security and user interaction.
With the fingerprint sensor at your fingertips, your Redmi Note 3 becomes more than just a device – it becomes a personalized, secure, and intuitive extension of your digital lifestyle.