Introduction
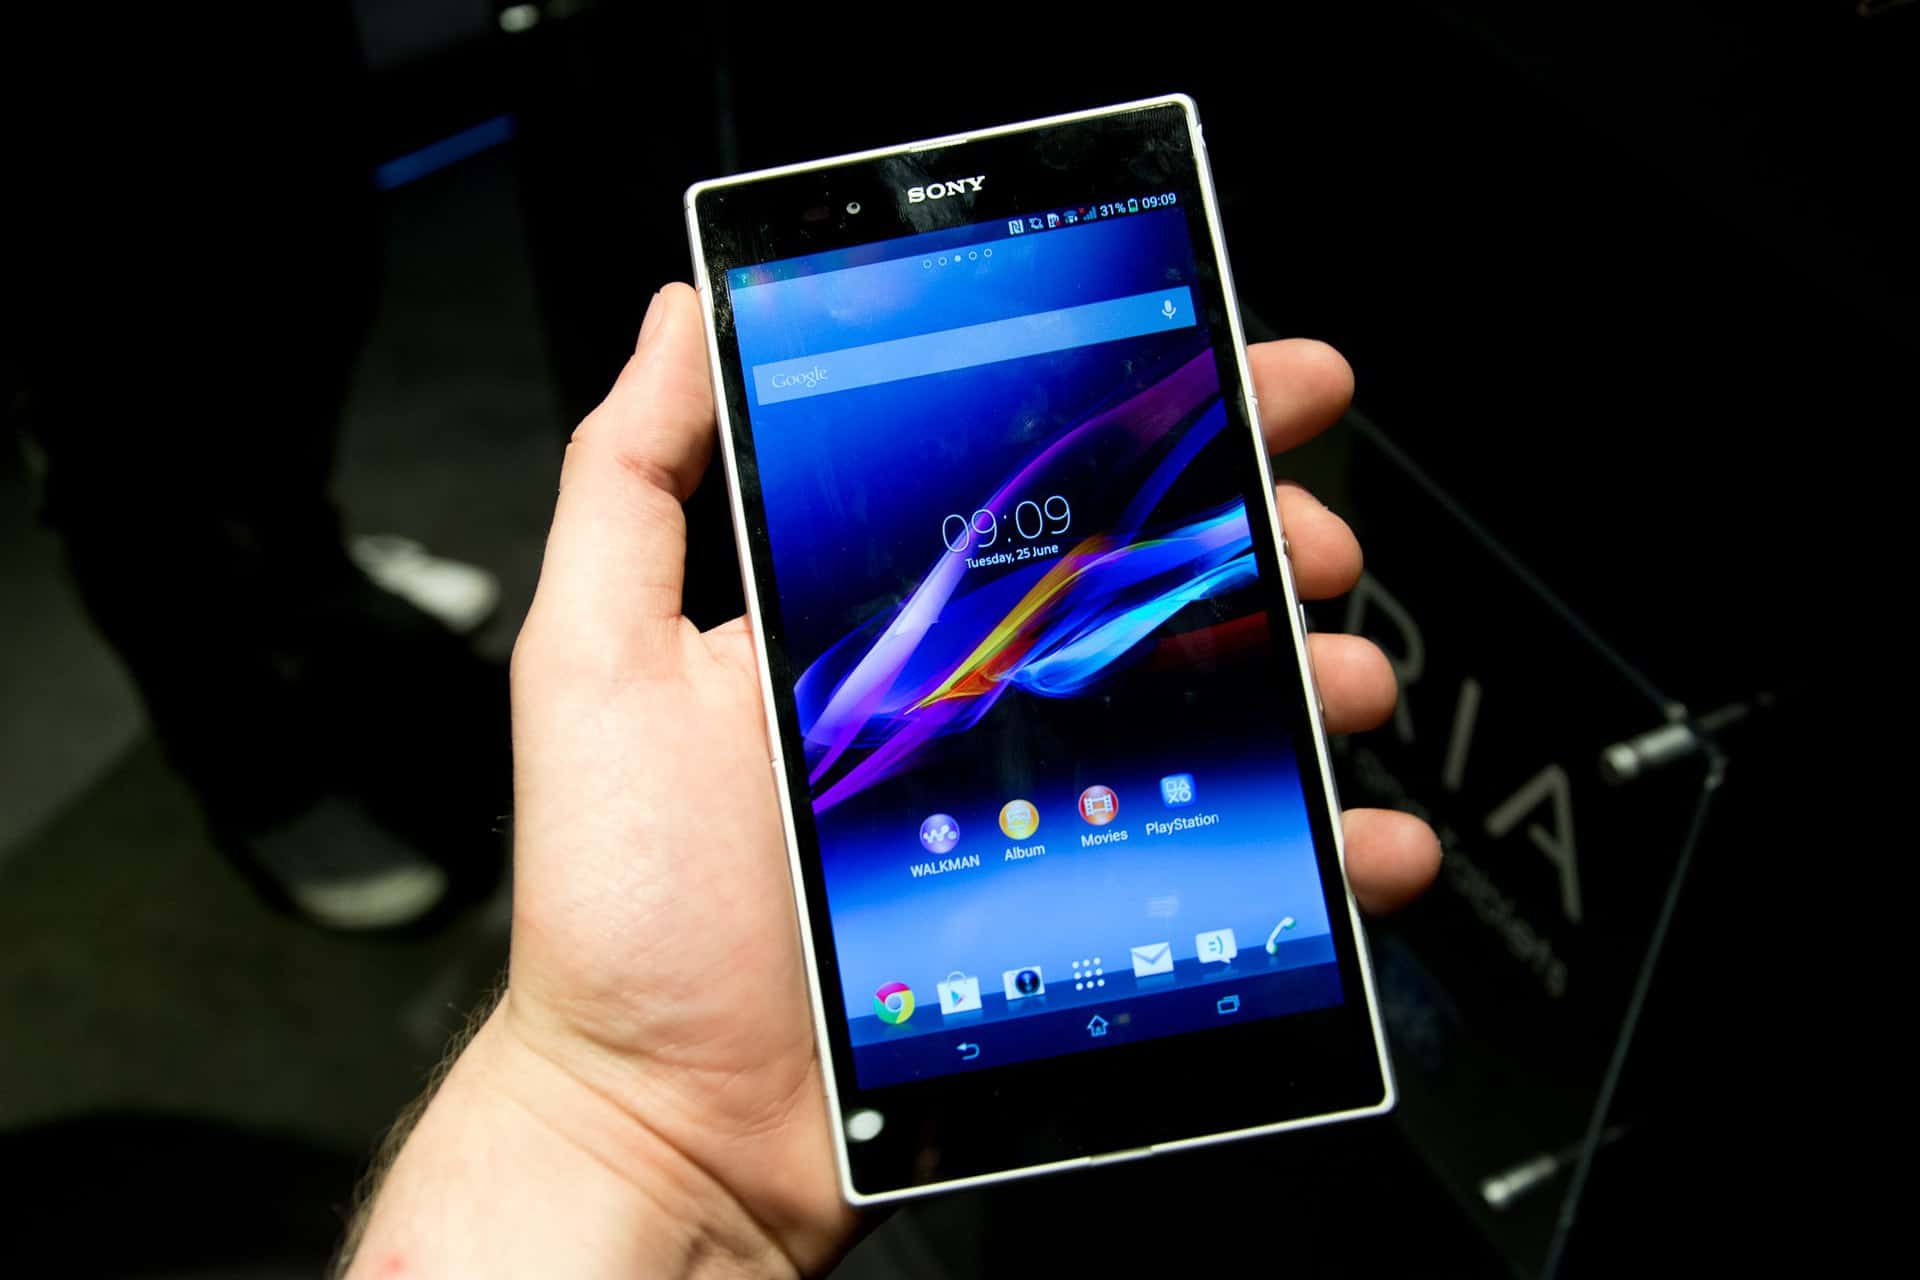
Welcome to the step-by-step guide on how to insert a SIM card into your Xperia Z. The Xperia Z is a sleek and powerful mobile device that offers a seamless user experience. Whether you're setting up your new Xperia Z or replacing an old SIM card, this guide will walk you through the process with ease.
Inserting a SIM card is a fundamental step in setting up your Xperia Z for calls, texts, and mobile data usage. The SIM card serves as the key to unlocking the full potential of your device, allowing you to stay connected with friends, family, and the digital world at large.
In this comprehensive guide, we will cover each step in detail, ensuring that you have a clear understanding of the process. By following these instructions, you'll be able to insert your SIM card correctly and avoid any potential issues that may arise from improper installation.
So, let's dive in and get your Xperia Z ready for action by inserting the SIM card correctly. Whether you're a tech enthusiast or a first-time Xperia user, this guide is designed to make the process simple and straightforward. Get ready to unlock the full potential of your Xperia Z as we embark on this step-by-step journey together.
Step 1: Locate the SIM card slot
The first step in inserting a SIM card into your Xperia Z is to locate the SIM card slot. The Xperia Z features a sleek and minimalist design, and the SIM card slot is strategically positioned to ensure easy access while maintaining the device's aesthetic appeal.
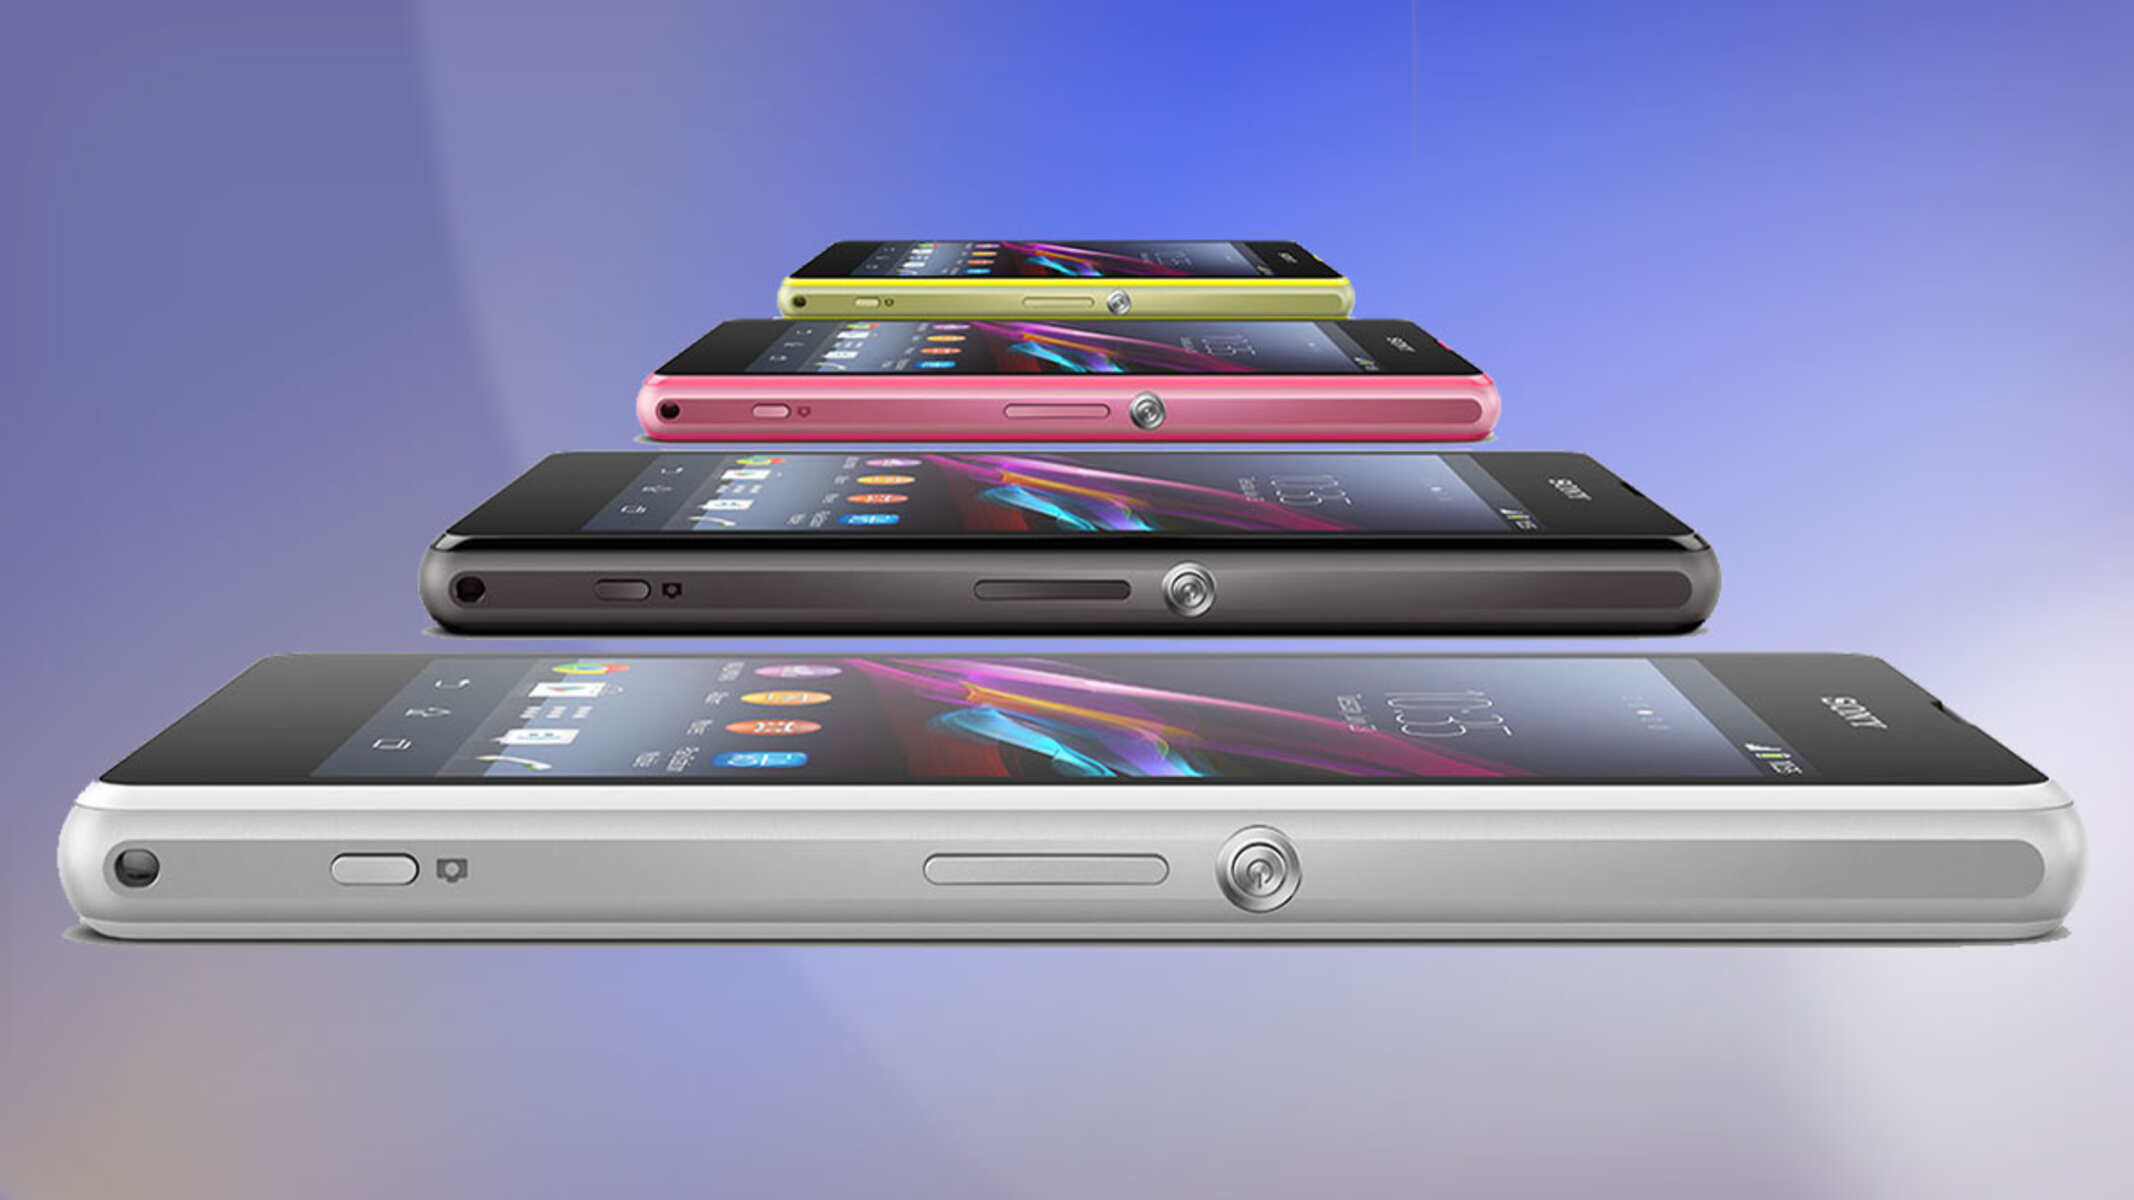
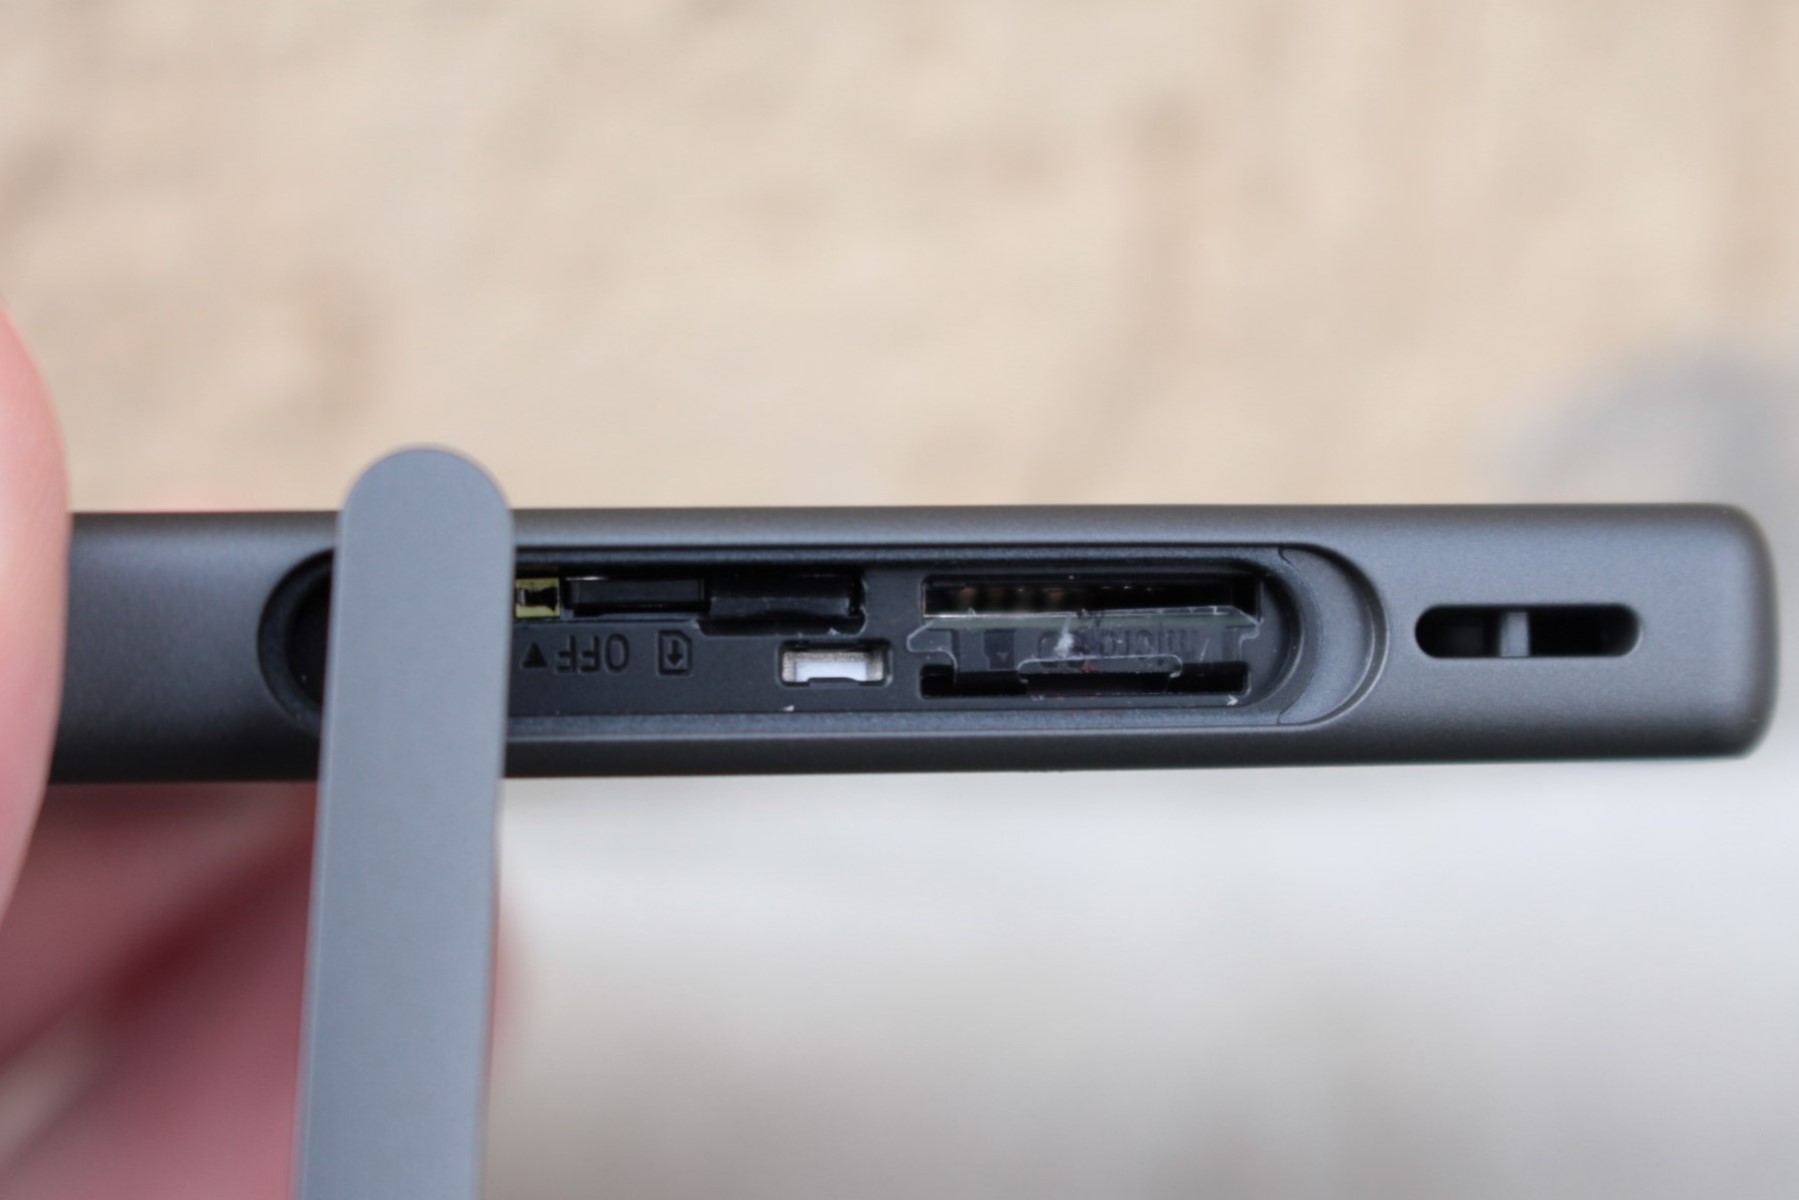
To locate the SIM card slot, you'll need to familiarize yourself with the physical layout of the Xperia Z. Start by holding the device in your hand with the screen facing you. On the right-hand side of the device, you'll find a small, discreet flap that blends seamlessly with the device's overall design. This flap is designed to protect the SIM card slot and ensure that it remains securely in place.
Gently run your finger along the edge of the device until you locate the flap. Once you've identified the flap, you'll notice a small indentation or groove that allows you to easily open it. Using your fingernail or a small, pointed object, such as the SIM card removal tool that may have come with your Xperia Z, carefully open the flap by applying gentle pressure to the indentation.
As you open the flap, you'll reveal the SIM card slot, which is designed to accommodate the SIM card securely. The placement of the SIM card slot ensures that it is easily accessible without compromising the Xperia Z's sleek and modern design.
Locating the SIM card slot is the first step in the process of inserting a SIM card into your Xperia Z. By familiarizing yourself with the device's physical layout and identifying the discreet flap that conceals the SIM card slot, you're well on your way to successfully completing this essential task. With the SIM card slot now located, we can proceed to the next step in the process: ejecting the SIM card tray.
Step 2: Eject the SIM card tray
Ejecting the SIM card tray is a crucial step in the process of inserting a SIM card into your Xperia Z. The SIM card tray serves as the gateway to securely housing the SIM card within the device, ensuring a stable connection and seamless functionality. To eject the SIM card tray, follow these detailed steps:
-
Prepare the SIM card removal tool: Before proceeding, ensure that you have the SIM card removal tool that may have come with your Xperia Z. If you don't have the removal tool, a small, pointed object such as a paperclip can be used as an alternative. The removal tool is designed to safely eject the SIM card tray without causing any damage to the device.
-
Insert the removal tool: Take the SIM card removal tool and gently insert it into the small pinhole located next to the SIM card slot. Apply light pressure to the pinhole until you feel a slight resistance. This indicates that the removal tool has engaged with the internal mechanism of the SIM card tray.
-
Eject the SIM card tray: Once the removal tool is inserted and engaged with the internal mechanism, exert a gentle but firm outward pressure to eject the SIM card tray from the device. The tray will slide out smoothly, allowing you to access the compartment where the SIM card will be placed.
-
Remove the SIM card tray: Carefully pull the SIM card tray out of the device, ensuring that you handle it with care to avoid any damage. The tray is designed to slide out easily, providing convenient access to the compartment where the SIM card will be inserted.
By following these steps, you'll successfully eject the SIM card tray from your Xperia Z, setting the stage for the next phase of the process: inserting the SIM card. Ejecting the SIM card tray is a straightforward yet essential step that ensures the proper installation of the SIM card, laying the foundation for seamless connectivity and communication on your Xperia Z. With the SIM card tray now ejected, we can proceed to the next step: inserting the SIM card.
Step 3: Insert the SIM card
Now that the SIM card tray has been successfully ejected from your Xperia Z, it's time to proceed with the next crucial step: inserting the SIM card. This step is essential for establishing a secure connection between your device and the mobile network, enabling you to make calls, send texts, and access mobile data. Follow the detailed instructions below to ensure a smooth and accurate insertion of the SIM card:
-
Prepare the SIM card: Before inserting the SIM card, ensure that it is compatible with your Xperia Z. The SIM card should be the appropriate size and format, typically a nano-SIM for the Xperia Z. Additionally, check that the gold contacts on the SIM card are clean and free from any debris or damage, as these contacts facilitate the connection between the SIM card and the device.
-
Align the SIM card: Take the SIM card and carefully align it with the designated area on the SIM card tray. The tray is designed to accommodate the SIM card in a specific orientation, ensuring that it fits securely and maintains the correct position for optimal functionality.
-
Place the SIM card: Once the SIM card is aligned with the tray, gently place it into the designated slot, ensuring that it fits smoothly and securely. The SIM card should slide into the slot with minimal resistance, indicating that it is positioned correctly for insertion.
-
Secure the SIM card tray: After the SIM card has been inserted into the tray, carefully slide the tray back into the device until it is fully seated. Ensure that the tray is aligned with the slot and moves smoothly into place, securing the SIM card within the device.
By following these steps, you have successfully inserted the SIM card into your Xperia Z, laying the foundation for seamless connectivity and communication. The proper insertion of the SIM card is essential for ensuring that your device can access the mobile network and utilize essential communication features. With the SIM card securely in place, you are now ready to proceed to the next step: reinserting the SIM card tray.
Step 4: Reinsert the SIM card tray
With the SIM card securely inserted into your Xperia Z, the next step is to reinsert the SIM card tray back into the device. This final phase of the process ensures that the SIM card is properly housed within the device, ready to facilitate seamless connectivity and communication. Follow the detailed instructions below to successfully reinsert the SIM card tray:
-
Position the SIM card tray: Take the SIM card tray, ensuring that it is oriented correctly for reinsertion into the device. The tray should align with the slot in a specific orientation, allowing for a smooth and secure fit.
-
Align the tray with the slot: Carefully align the SIM card tray with the slot on the side of the device, ensuring that it is positioned correctly for insertion. The tray should slide into place with minimal resistance, indicating that it is aligned properly.
-
Slide the tray into the device: Gently slide the SIM card tray back into the device, ensuring that it moves smoothly and securely into place. The tray should fit snugly, aligning with the slot to ensure that the SIM card remains securely housed within the device.
-
Ensure proper seating: Once the SIM card tray is fully inserted, ensure that it is seated securely within the device. The tray should be flush with the device's exterior, maintaining a seamless and integrated appearance.
By following these steps, you have successfully reinserted the SIM card tray into your Xperia Z, ensuring that the SIM card is securely housed within the device. This final step completes the process of inserting a SIM card into your Xperia Z, setting the stage for seamless connectivity and communication. With the SIM card tray securely in place, your device is now ready for the next phase: turning on the Xperia Z.
Now that the SIM card tray has been reinserted, your Xperia Z is primed and ready for action. The SIM card is securely housed within the device, allowing you to take full advantage of its communication capabilities. With the SIM card installation process complete, you can now power on your Xperia Z and begin enjoying the benefits of seamless connectivity and communication.
Step 5: Turn on the Xperia Z
After successfully inserting the SIM card and reinserting the SIM card tray, the final step in the process is to power on your Xperia Z. Turning on the device will initiate the startup sequence, allowing you to access its features and functionalities. Follow the detailed instructions below to power on your Xperia Z:
-
Press and hold the power button: Located on the right-hand side of the device, the power button is used to turn the Xperia Z on and off. Press and hold the power button until you see the device's screen illuminate, indicating that it is powering on.
-
Wait for the startup sequence: Once the power button has been pressed, the Xperia Z will begin its startup sequence. During this process, the device will display the Xperia logo and initiate the system boot-up. Allow the device a few moments to complete the startup sequence.
-
Set up your Xperia Z: Upon successfully powering on the device, you will be prompted to set up your Xperia Z. This may include language selection, Wi-Fi network connection, and other initial setup steps. Follow the on-screen instructions to configure your device according to your preferences.
-
Verify SIM card recognition: As the device completes the startup sequence, it will recognize the inserted SIM card and establish a connection with the mobile network. You may see a signal indicator on the screen, indicating that the Xperia Z has successfully detected the SIM card and is ready for use.
-
Access communication features: With the Xperia Z powered on and the SIM card recognized, you can now access the device's communication features, including making calls, sending texts, and utilizing mobile data. The successful startup of your Xperia Z marks the completion of the SIM card insertion process, ensuring that your device is ready to keep you connected and engaged.
By following these steps, you have successfully powered on your Xperia Z, completing the process of inserting a SIM card and preparing the device for seamless communication and connectivity. With the device now powered on, you can begin exploring its features and enjoying the benefits of staying connected with friends, family, and the digital world at large.
Conclusion
Congratulations! You have successfully completed the process of inserting a SIM card into your Xperia Z. By following this step-by-step guide, you have ensured that your device is ready to deliver seamless connectivity, communication, and access to mobile data. The proper installation of the SIM card is a fundamental step in setting up your Xperia Z for optimal functionality, and you have accomplished this task with precision and confidence.
As you reflect on the journey of inserting the SIM card into your Xperia Z, it's important to recognize the significance of this process. The SIM card serves as the gateway to the mobile network, enabling you to make calls, send texts, and access the internet while on the go. By ensuring that the SIM card is correctly inserted and securely housed within the device, you have set the stage for a smooth and reliable communication experience.
Furthermore, the step-by-step instructions provided in this guide have empowered you to take control of the setup process, allowing you to familiarize yourself with the physical layout of your Xperia Z and confidently navigate the essential task of inserting a SIM card. This hands-on approach not only enhances your understanding of the device but also instills a sense of accomplishment as you witness the successful completion of each step.
With the SIM card now in place and your Xperia Z powered on, you are poised to explore the full range of features and capabilities that the device has to offer. Whether you're making your first call, sending your first text, or accessing your favorite apps, the proper installation of the SIM card ensures that you can fully immerse yourself in the digital world with confidence and ease.
As you embark on your journey with your Xperia Z, remember that the successful insertion of the SIM card is just the beginning. Your device is now equipped to keep you connected, informed, and entertained, empowering you to make the most of every moment in today's fast-paced, interconnected world.
So, take a moment to celebrate your achievement, knowing that you have successfully prepared your Xperia Z for the exciting experiences that lie ahead. With the SIM card securely in place, your device is ready to be your trusted companion, keeping you connected and engaged as you navigate the digital landscape with confidence and ease.