Introduction
Welcome to our comprehensive guide on how to load your Chime Card at a Western Union location. Chime Card is a popular prepaid debit card that offers a convenient way to manage your finances. While Chime Card provides various avenues for adding funds, such as direct deposit and mobile check deposits, some users may prefer to load their cards in person. Western Union, a reputable money transfer service provider, offers a convenient option for Chime Card users to deposit funds.
In this guide, we will walk you through the step-by-step process of loading your Chime Card at a Western Union location. You will learn how to find a Western Union location near you, check for Chime Card availability, gather the necessary information, approach the Western Union agent, provide the required details, and pay the desired amount. We will also guide you on how to get the MTCN (Money Transfer Control Number) code, load your Chime Card via the Chime app, and confirm the transaction.
By following this guide, you will be able to successfully load your Chime Card at a Western Union location and have access to your funds in no time. So, let’s get started!
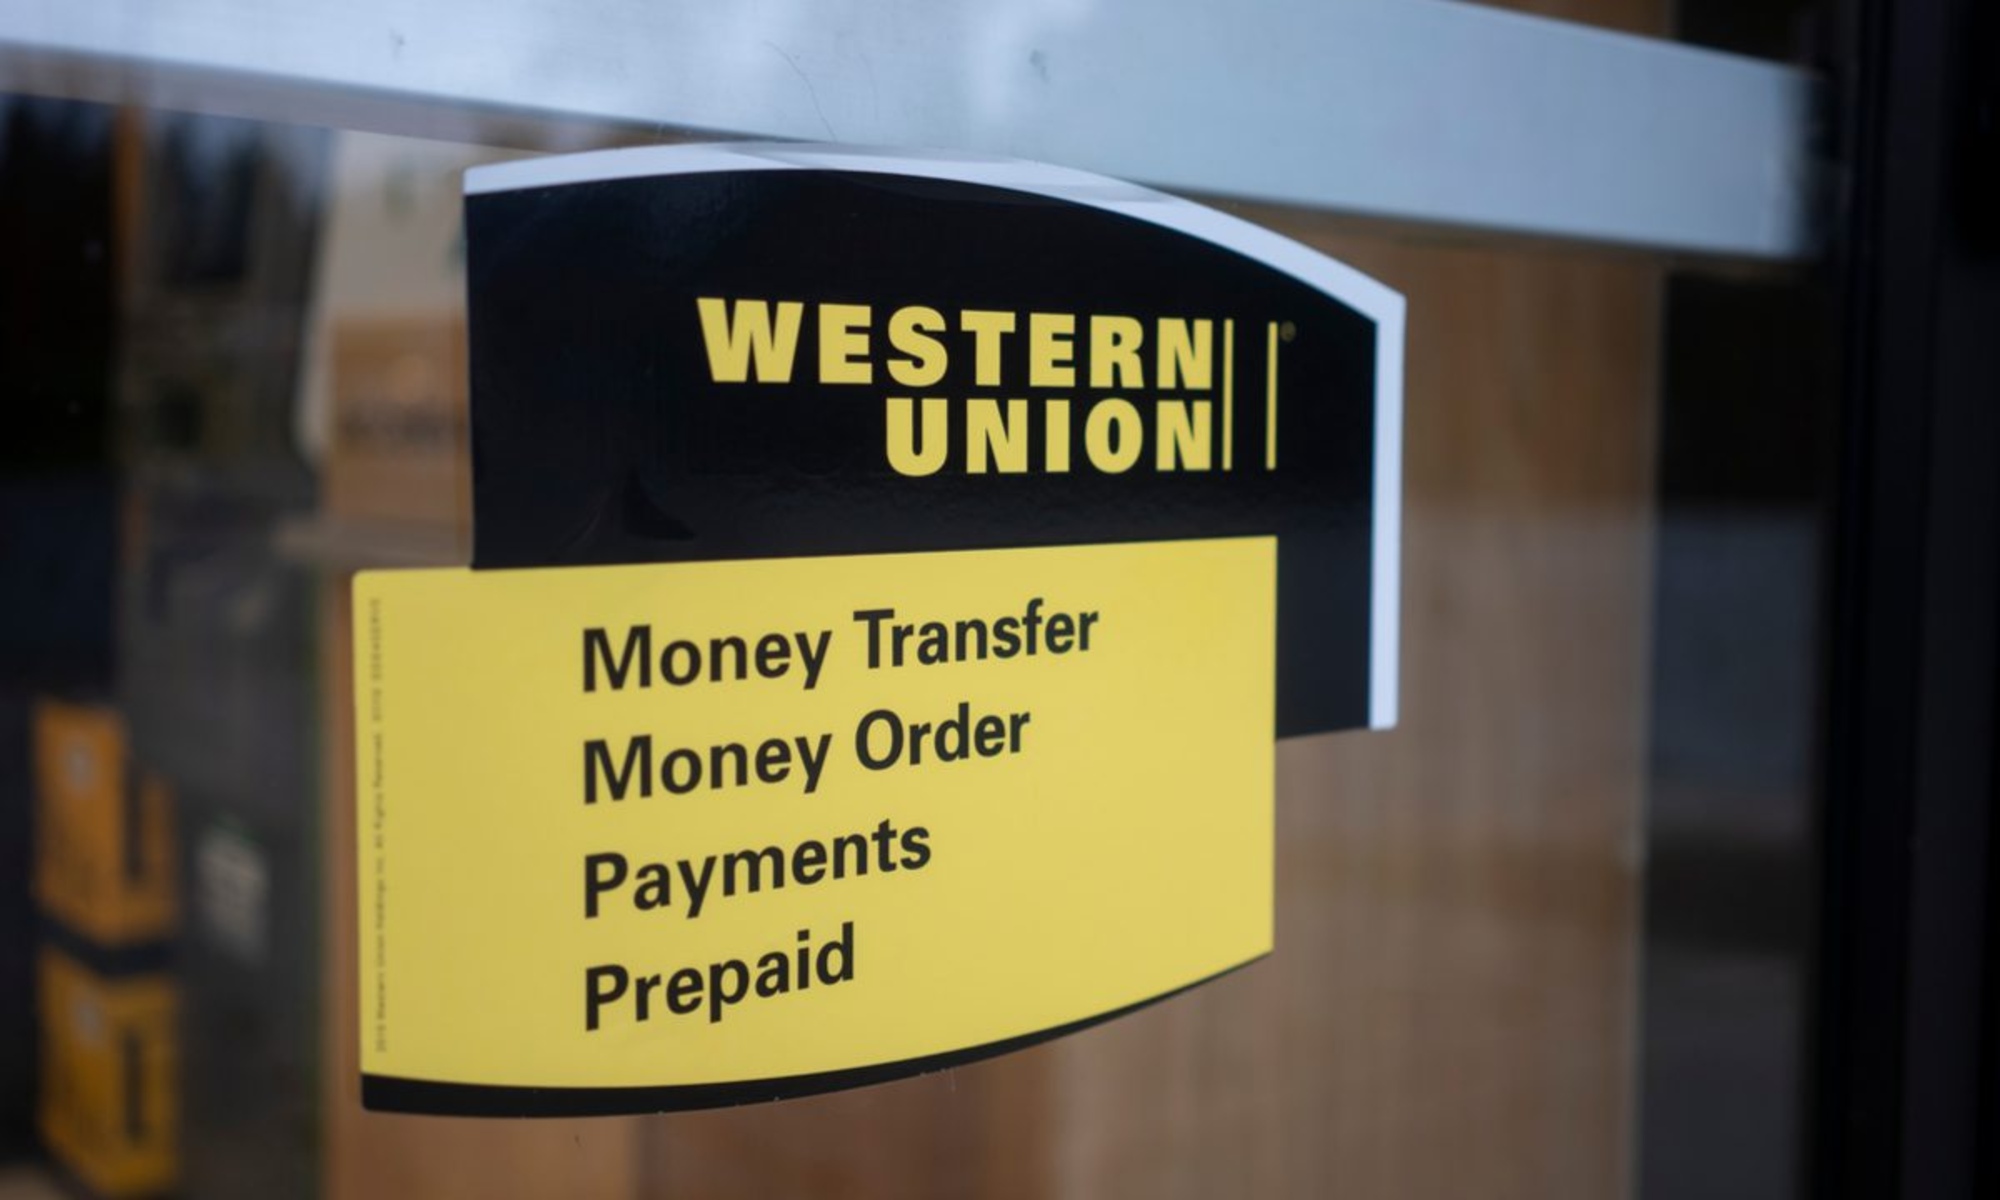
Step 1: Find a Western Union location
The first step in loading your Chime Card at a Western Union location is to find a nearby Western Union branch. Fortunately, Western Union has an extensive network of locations, making it convenient for users to access their services.
To find a Western Union location, you have a few options:
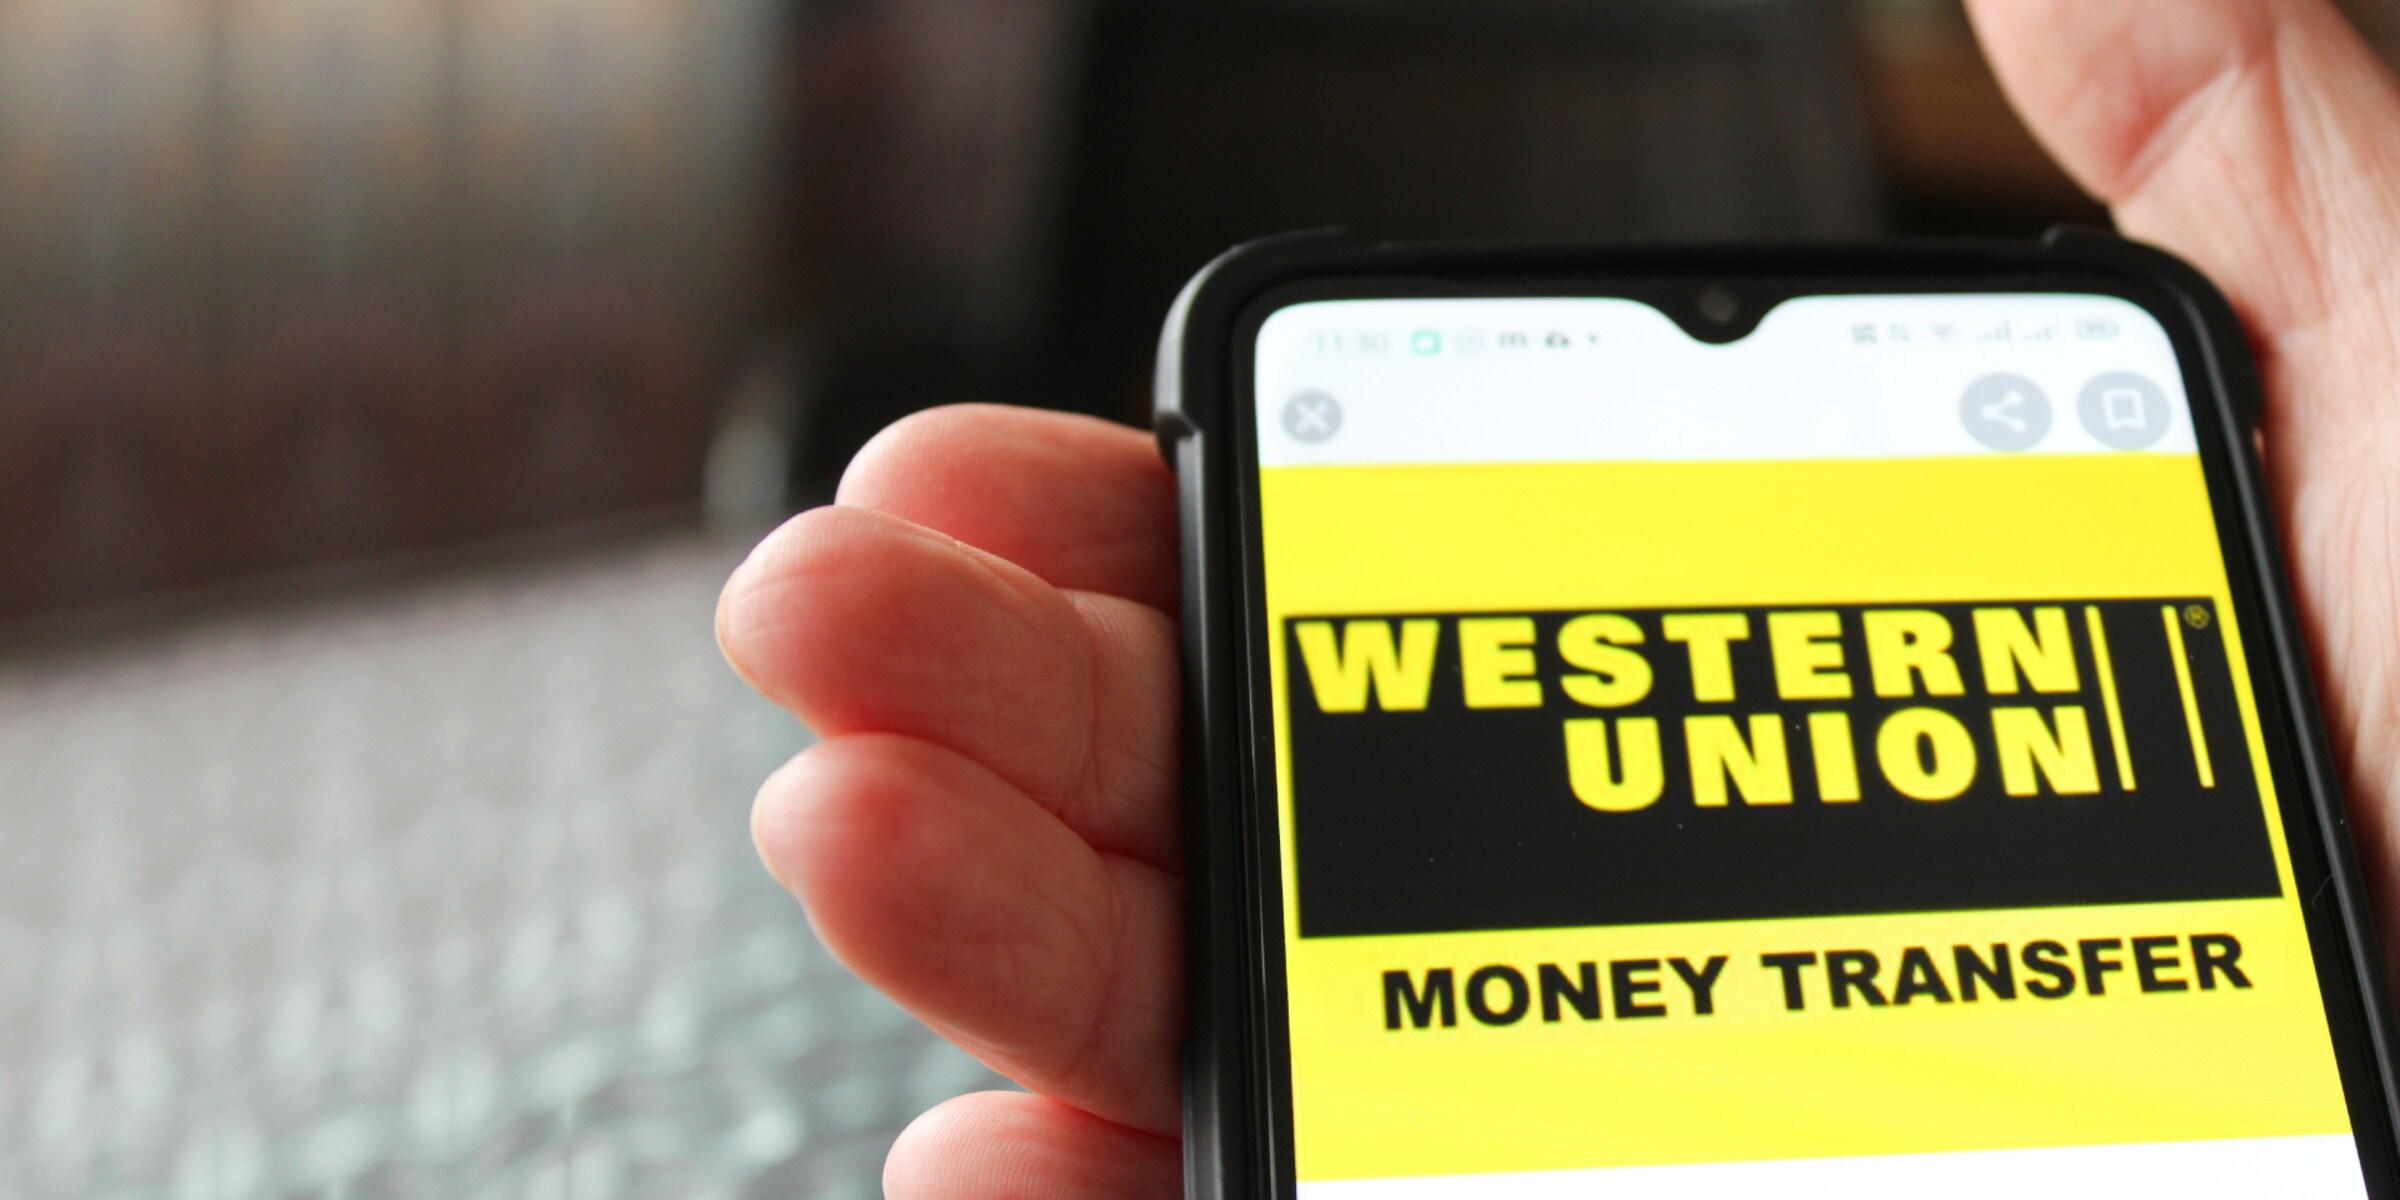
- Visit the Western Union website: You can start by visiting the official Western Union website and use their location finder tool. Simply enter your address, city, or ZIP code, and the tool will provide you with a list of nearby Western Union branches.
- Use the Western Union mobile app: If you prefer the convenience of using your mobile device, you can download the Western Union app from your app store. The app allows you to search for nearby locations and provides additional features such as tracking transfers and checking exchange rates.
- Contact Western Union customer service: If you’re having trouble finding a location through the website or app, you can reach out to Western Union customer service. They will be able to assist you in finding the nearest branch to your location.
Once you have identified a Western Union location that is convenient for you, make note of the address and any specific instructions or operating hours that may be relevant.
With the first step completed, you are now ready to proceed to the next step, which is checking for Chime Card availability at the selected Western Union location.
Step 2: Check for Chime Card availability
After finding a Western Union location near you, the next step is to determine if they offer the option to load funds onto your Chime Card. While Western Union is widely used for money transfer services, not all locations may support Chime Card transactions.
To check for Chime Card availability at a specific Western Union location, you have a couple of options:
- Contact the Western Union location: You can call the Western Union branch directly and inquire about their ability to load funds onto a Chime Card. The staff should be able to provide you with information on whether or not they offer this service.
- Check the Western Union website or app: If you have access to the internet, you can visit the Western Union website or use their mobile app to search for the selected location and see if Chime Card loading is listed as one of their available services. This can save you time and ensure that you only visit a location that can accommodate your needs.
It is recommended to check for Chime Card availability before heading to the Western Union location to ensure a smooth transaction. If Chime Card loading is not available at your desired location, you may need to explore alternative options or visit another Western Union branch that does support Chime Card transactions.
Once you have confirmed that the selected Western Union location offers Chime Card loading, you can now proceed to gather the necessary information for the transaction, which we will guide you through in the next step.
Step 3: Gather required information
Before heading to the Western Union location to load your Chime Card, it is important to gather the necessary information to ensure a smooth and efficient transaction. Having all the required details handy will save you time and make the process hassle-free.
Here are the key pieces of information you will need to gather:
- Chime Card details: Make sure you have your Chime Card with you. Take note of the card number, expiration date, and the name associated with the card. This information will be required during the transaction.
- Personal identification: As with any monetary transaction, you will need to present valid identification. Bring a government-issued ID such as a driver’s license, passport, or national ID card. The name on your identification must match the name on your Chime Card.
- Receiver name: If you are loading the Chime Card for someone else, you will need the recipient’s full name as it appears on their Chime Card. This is important to ensure that the funds are allocated to the correct cardholder.
- Transaction amount: Decide on the amount you want to load onto your Chime Card. Ensure you have enough funds for the desired transaction, as well as any applicable fees charged by Western Union.
- Extra documentation: In certain cases, Western Union may require additional documentation, such as proof of address or proof of income. It is advisable to check with the specific Western Union location beforehand to determine if any additional documents are needed.
By gathering all the required information before your visit to the Western Union location, you will be well-prepared for the transaction and avoid any unnecessary delays or complications. With the necessary information in hand, you are now ready to proceed to the next step: approaching the Western Union agent.
Step 4: Approach the Western Union agent
Now that you have all the necessary information for loading your Chime Card, it’s time to approach the Western Union agent at the selected location. The Western Union agent is trained to handle various transactions and will assist you in the process of adding funds to your Chime Card.
When you arrive at the Western Union location, look for a designated counter or an agent wearing a Western Union badge. Approach them politely and let them know that you would like to load your Chime Card. They may ask you to wait for a moment if there are other customers ahead of you.
While waiting, be sure to have your Chime Card, personal identification, and any additional required documents ready. This will help expedite the process and ensure a smooth experience. Stay patient and attentive, as the agent will call you when it’s your turn.
It’s important to approach the agent confidently and clearly communicate your intention to load your Chime Card. Feel free to ask any questions or seek clarification if you have any doubts or concerns. The Western Union agent is there to assist you and guide you through the process.
Remember to retain any receipts or documentation provided by the agent during the transaction. These documents can serve as proof of the transaction and may be needed for future reference or inquiries.
By approaching the Western Union agent with clarity and confidence, you are ready to proceed to the next step: providing the necessary details for the transaction.
Step 5: Provide the necessary details
Once you have approached the Western Union agent, it’s time to provide them with the necessary details to load funds onto your Chime Card. The agent will guide you through the process and ensure that all required information is accurately provided.
Here are the key details you will need to provide:
- Chime Card information: Present your Chime Card to the agent. They may need to visually verify the card number, expiration date, and the name associated with the card. Provide this information when requested.
- Personal identification: Hand over your valid identification document to the agent. They will need to verify your identity before proceeding with the transaction. Ensure that the name on your identification matches the name on your Chime Card.
- Receiver name (if applicable): If you are loading the Chime Card for someone else, provide the agent with the full name of the recipient as it appears on their Chime Card. This ensures that the funds are correctly allocated to the intended recipient.
- Transaction amount: Communicate the amount you wish to load onto your Chime Card to the agent. Be sure to mention any specific currency if it is different from the local currency.
Listen carefully to the agent’s instructions and provide the details accurately. Double-check the information you provide to ensure it is correct, as any inaccuracies can lead to complications or delays in the transaction.
If the agent requires any additional documentation, such as proof of address or proof of income, provide it as requested. Having these documents ready beforehand can save you time and ensure a seamless transaction.
Once you have provided all the necessary details to the Western Union agent, they will proceed with processing your transaction. This brings us to the next step: paying the desired amount.
Step 6: Pay the desired amount
After providing the necessary details to the Western Union agent, the next step in loading your Chime Card is to pay the desired amount for the transaction. The agent will guide you through the payment process and provide you with options to complete the payment.
Here are several ways you can pay the desired amount:
- Cash payment: The most common method of payment at a Western Union location is cash. You can hand over the cash amount to the agent, who will count and verify it before proceeding with the transaction.
- Debit or credit card payment: Some Western Union locations may accept debit or credit card payments. If this option is available, simply provide your card to the agent and follow the instructions to complete the payment securely.
- Bank account transfer: In select cases, Western Union may offer the option to transfer funds directly from your bank account. To utilize this payment method, you will need to provide the necessary banking details to the agent and provide any requested documentation for authentication.
It is important to note that certain payment methods may incur additional fees or have specific processing times. The agent will inform you of any associated charges or required waiting periods, if applicable.
Ensure that you have the correct amount of money or a sufficient balance in your account to cover the desired transaction amount. It is always prudent to double-check the payment amount before proceeding to avoid any errors.
Once you have made the payment, the agent will provide you with a receipt as proof of the transaction. Keep this receipt in a safe place, as it may be needed for verification purposes or in case of any issues arising after the transaction.
With the payment completed, you have successfully taken the next step to load your Chime Card at a Western Union location. The next step is to obtain the MTCN (Money Transfer Control Number) code, which we will cover in the following step.
Step 7: Get the MTCN code
After completing the payment for your Chime Card load at the Western Union location, the next step is to obtain the MTCN (Money Transfer Control Number) code. The MTCN is a unique tracking number assigned to each transaction and is essential for tracking and confirming the transfer of funds.
The Western Union agent will provide you with the MTCN code, which you should keep safe and secure. The MTCN code is typically printed on the receipt or provided to you verbally. It is important to note down or remember this code, as you will need it in the subsequent steps of verifying the loaded balance on your Chime Card.
If the agent has not provided the MTCN code automatically, be sure to ask for it before leaving the Western Union location. They will understand the importance of the code and will provide it to you upon request.
It is vital to keep your MTCN code confidential and share it only with authorized recipients. Do not disclose the MTCN code to anyone who is not involved in the transaction or whom you do not trust.
The MTCN code serves as a reference point throughout the process of loading funds onto your Chime Card. It allows you to track the progress of the transaction and confirm that the funds have been successfully deposited into your account.
With the MTCN code in hand, you are now ready to proceed to the next step, which involves loading the funds onto your Chime Card via the Chime app. We will guide you through this process in the following step.
Step 8: Load the Chime Card via Chime app
Once you have obtained the MTCN code from the Western Union transaction, the next step is to load the funds onto your Chime Card using the Chime mobile app. The Chime app provides a convenient and secure way to manage your Chime Card balance.
To load your Chime Card via the Chime app, follow these steps:
- Open the Chime mobile app: Launch the Chime app on your smartphone or mobile device. If you haven’t already downloaded the app, you can find it on the App Store for iOS devices or Google Play Store for Android devices.
- Log in to your Chime account: Enter your username and password to access your Chime account. If you haven’t created an account yet, you can sign up for one within the app.
- Navigate to the load funds section: Once you have logged into your Chime account, navigate to the section within the app dedicated to loading funds onto your Chime Card. This section may have different names, such as “Add Money” or “Load Card”.
- Enter the MTCN code: In the load funds section, enter the MTCN code provided by the Western Union agent. This code is essential for confirming the transfer of funds to your Chime Card.
- Follow the prompts: The Chime app will guide you through the necessary steps to complete the loading process. Depending on your specific Chime Card and app version, you may be required to enter additional details such as the transaction amount and other security measures to ensure the safety of your funds.
Follow the instructions provided by the Chime app and ensure that you enter the correct details. Double-check the transaction amount and confirm that it matches the amount you loaded onto your Chime Card at the Western Union location.
Once you have completed the necessary steps in the Chime app, the funds will be loaded onto your Chime Card. The Chime app may provide a confirmation or receipt for your reference. Be sure to verify that the loaded balance on your Chime Card matches the intended transaction amount.
By using the Chime app to load your Chime Card, you can conveniently manage your card balance and access your funds anytime and anywhere.
With the funds successfully loaded onto your Chime Card via the Chime app, you are now ready to move on to the next step: confirming the transaction and waiting for the funds to be available.
Step 9: Confirm the transaction
After loading your Chime Card via the Chime app, it is important to confirm the transaction to ensure that the funds have been successfully transferred. Confirming the transaction will provide you with peace of mind and the assurance that your Chime Card balance reflects the loaded amount.
To confirm the transaction, follow these steps:
- Check the Chime app: Open the Chime app on your smartphone or mobile device and navigate to the section that displays your Chime Card balance.
- Verify the loaded balance: Take a moment to verify that the loaded balance matches the transaction amount you entered in the Chime app. Confirm that the funds have been successfully added to your Chime Card.
- Review transaction history: Within the Chime app, access the transaction history for your Chime Card. This will allow you to see the details of the transaction, including the date, time, and amount loaded onto your Chime Card. Ensure that the transaction is accurately reflected in your transaction history.
If you notice any discrepancies or issues with the loaded balance or transaction details, it is important to contact Chime customer support immediately. They will be able to assist you in resolving any concerns or problems you may encounter during the confirmation process.
By confirming the transaction, you can have peace of mind knowing that the funds have been successfully loaded onto your Chime Card. This brings us to the next step: waiting for the funds to be available for use.
Step 10: Wait for the funds to be available
After confirming the transaction and verifying the loaded balance on your Chime Card, the next step is to wait for the funds to be available for use. The time it takes for the funds to be fully processed and accessible will depend on various factors, including Western Union and Chime’s processing times.
Typically, funds loaded onto your Chime Card through Western Union should become available within a few minutes to a few hours. However, in some cases, it may take longer due to factors such as network delays or additional security checks.
During the waiting period, it is important to be patient and refrain from attempting to use the funds until they are fully available. Trying to access the funds prematurely may result in declined transactions or complications.
To ensure a smooth and timely availability of the loaded funds, consider the following:
- Stay connected: Keep your Chime app or online account accessible so you can check the status of your Chime Card balance periodically. This will allow you to see when the funds become available for use.
- Monitor your notifications: Enable push notifications on your Chime app to receive updates and alerts regarding your Chime Card balance. You may receive a notification when the funds are processed and ready for use.
- Refer to the Chime support resources: If you have any questions or concerns regarding the availability of your loaded funds, consult the Chime support resources. They will be able to provide you with the most accurate and up-to-date information regarding your specific Chime Card and transaction.
By waiting for the funds to be fully available, you can ensure that you can use the loaded amount without any issues. Once the waiting period is over and the funds are accessible, you can proceed to use your Chime Card as desired.
With this step completed, you have successfully waited for the funds to be available on your Chime Card. The next step will guide you on how to verify the loaded balance, ensuring that the correct amount has been added to your Chime Card.
Step 11: Verify the loaded balance
The final step in the process of loading your Chime Card at a Western Union location is to verify the loaded balance. Verifying the balance ensures that the correct amount has been successfully added to your Chime Card and allows you to confidently use the funds for your financial needs.
To verify the loaded balance, follow these steps:
- Open the Chime app or access your Chime account online using a web browser.
- Navigate to the section that displays your Chime Card balance.
- Take a moment to carefully review the balance displayed. Ensure that it matches the amount you intended to load onto your Chime Card through the Western Union transaction.
- Compare the loaded balance with the previous balance or transaction history to confirm that the funds have been successfully added.
If you notice any discrepancies or inconsistencies, it is important to contact Chime customer support immediately. They will be able to assist you in resolving any issues with the loaded balance and ensure that the correct amount is reflected on your Chime Card.
Verifying the loaded balance not only ensures the accuracy of the transaction but also provides you with confidence in using your Chime Card for your financial activities. It allows you to have a clear understanding of the available funds and make informed decisions regarding your spending or saving goals.
With the loaded balance successfully verified, you have completed all the necessary steps to load your Chime Card at a Western Union location. The funds are now available for you to use for various transactions and purchases.
Congratulations! You can now enjoy the convenience and benefits of having your Chime Card loaded with funds through Western Union. Remember to manage your Chime Card responsibly and monitor your transactions for a safe and secure financial experience.
Conclusion
loading your Chime Card at a Western Union location is a straightforward process that provides a convenient way to add funds to your card. By following the step-by-step guide outlined in this article, you can successfully complete the transaction and have access to your funds in no time.
We began by finding a nearby Western Union location and checking for Chime Card availability. We then discussed the importance of gathering the necessary information, approaching the Western Union agent, and providing the required details to complete the transaction smoothly.
Next, we covered the payment process and emphasized the significance of obtaining the MTCN code, which is essential for tracking the transaction. We also highlighted the importance of confirming the transaction to verify the loaded balance on your Chime Card.
After confirming the transaction, we discussed the waiting period for the funds to become available and the significance of verifying the loaded balance to ensure accuracy. By following these steps, you can have confidence in the funds loaded onto your Chime Card and use them for your financial needs.
Loading your Chime Card at a Western Union location provides the flexibility and convenience of managing your finances in person. However, it’s important to note that Chime offers alternative methods for loading funds, such as direct deposit and mobile check deposits, which may also be suitable for your needs.
We hope this guide has been helpful in navigating the process of loading your Chime Card at a Western Union location. As with any financial transaction, it’s important to exercise caution and follow the instructions provided by authorized personnel.
With your Chime Card successfully loaded, you can now enjoy the benefits of seamless transactions and easy access to your funds. Take advantage of the features and services offered by Chime to make the most of your prepaid debit card and enhance your financial management experience.