Introduction
Smart contracts have revolutionized the world of blockchain technology by offering a secure and automated way to carry out transactions and agreements. One of the most popular platforms for deploying smart contracts is Ethereum. Ethereum allows developers to create and deploy decentralized applications (Dapps) that utilize smart contracts for various purposes, such as crowdfunding, voting systems, and supply chain management.
Deploying a smart contract on Ethereum may seem intimidating at first, but with the right guidance, you can easily navigate the process. In this article, we will guide you through the steps involved in deploying a smart contract on the Ethereum network. By the end of this guide, you will have a solid understanding of the key concepts and tools required to deploy your own smart contract.
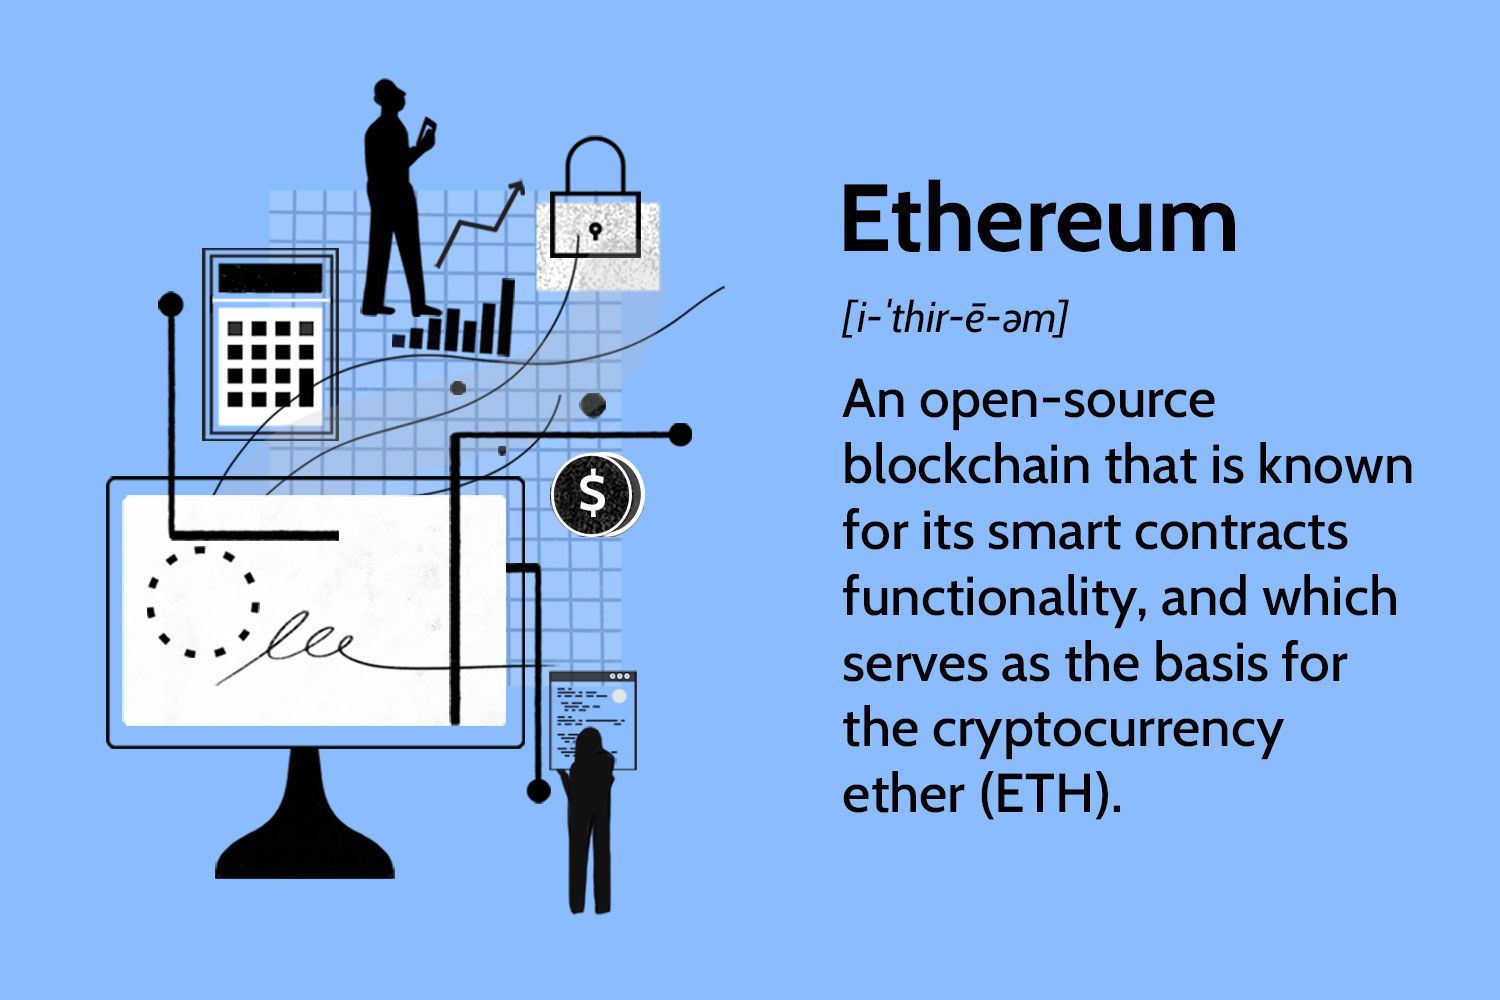
Before diving into the technical aspects of deploying a smart contract, it’s important to have a basic understanding of blockchain technology and Ethereum. Blockchain is a decentralized and distributed ledger that records transactions across multiple computers, making it transparent, secure, and resistant to tampering. Ethereum, on the other hand, is a blockchain platform that supports the execution of smart contracts and provides developers with a programmable environment.
To successfully deploy a smart contract on Ethereum, you will need a development environment, knowledge of a programming language such as Solidity, and access to an Ethereum network for testing and deployment, such as the Ethereum Testnet. This guide assumes that you have a basic understanding of programming and are familiar with the Ethereum ecosystem.
In the following sections, we will walk you through the step-by-step process of setting up a development environment, writing the smart contract code, compiling the contract, deploying it on the Ethereum Testnet, and finally, interacting with the deployed contract. Let’s get started!
Prerequisites
Before you begin deploying a smart contract on Ethereum, there are a few prerequisites you should have in place:
- Basic understanding of blockchain and Ethereum: It’s important to have a fundamental understanding of how blockchain technology works and the role Ethereum plays in enabling smart contract deployment.
- Development Environment: You will need a development environment to write and test your smart contract code. One popular choice is Remix, a web-based IDE specifically designed for Ethereum smart contract development. Alternatively, you can set up a local development environment using tools like Truffle and Ganache.
- Programming Language: Solidity is the most commonly used programming language for developing smart contracts on Ethereum. Familiarize yourself with the basics of Solidity, such as data types, functions, and control structures.
- Ethereum Testnet Account: To deploy and test your smart contract, you will need an account on the Ethereum Testnet. The Testnet is a separate network from the Ethereum mainnet and allows developers to experiment without using real Ether.
- Ethereum Testnet Faucet: To obtain test Ether for your Testnet account, you can use an Ethereum Testnet faucet. These faucets distribute a small amount of test Ether to developers for free. Some popular Testnet faucets include Ropsten, Kovan, and Rinkeby faucets.
- Wallet Software: To interact with your deployed smart contract and send transactions, you will need a wallet software that supports Ethereum. MetaMask is a popular choice that allows you to manage your Ethereum accounts and interact with Dapps directly in your browser.
By ensuring that you have these prerequisites in place, you will be well-prepared to dive into the process of deploying your smart contract on Ethereum. Let’s move on to the next section, where we’ll guide you through setting up a development environment.
Step 1: Setting up a Development Environment
Before you can start writing and deploying your smart contract on Ethereum, you need to set up a development environment. There are several options available for this, but we will focus on two popular choices: Remix and Truffle.
Remix: Remix is a web-based Integrated Development Environment (IDE) provided by Ethereum. It offers a user-friendly interface that allows you to write, compile, and deploy smart contracts directly in your web browser. To use Remix, simply navigate to the Remix website and you’re ready to start coding.
Truffle: Truffle is a development framework that simplifies the process of building, testing, and deploying smart contracts. It provides a suite of tools that make it easier to manage your project, compile your contracts, and interact with the Ethereum network. To install Truffle, you will need Node.js and npm (Node Package Manager) installed on your computer. Once you have them set up, you can install Truffle globally by running the command npm install -g truffle in your terminal.
Both Remix and Truffle have their own advantages, so choose the one that aligns with your development preferences and requirements.
Once you have your development environment set up, you are ready to start writing your smart contract code. In the next section, we will guide you through the process of writing a smart contract using Solidity, the programming language for Ethereum smart contracts.
Step 2: Writing the Smart Contract
Now that you have your development environment set up, it’s time to write the code for your smart contract. Smart contracts are written in Solidity, which is a statically-typed programming language specifically designed for Ethereum.
To get started, open your preferred code editor and create a new file with a .sol extension. This file will contain your smart contract code. In this example, let’s create a basic smart contract that represents a simple voting system.
First, you need to define the contract using the contract keyword, followed by the name of your contract. For our voting system, let’s call it Voting.
Next, you can declare the state variables of your contract. These variables will hold the data related to the voting system. For example, you may want to keep track of the candidates and their vote counts. Here’s an example:
contract Voting {
    mapping(string => uint256) public votesReceived;
    string[] public candidateList;

    constructor(string[] memory candidateNames) {
        candidateList = candidateNames;
    }

    // Rest of the contract code...
}
In our example, we have a mapping votesReceived that maps candidate names (strings) to their vote counts (uint256). We also have a candidateList array that holds the list of candidates.
Next, you can define the functions for interacting with the smart contract. For example, you may want to have a function to cast a vote for a candidate. Here’s an example:
function voteForCandidate(string memory candidate) public {
    require(validCandidate(candidate), "Invalid candidate");
    votesReceived[candidate] += 1;
}
In this function, we use the require statement to validate that the candidate is valid (exists in the candidate list). If the candidate is valid, we increment their vote count by 1.
Feel free to add more functions and logic to suit your specific requirements. Once you have finished writing your smart contract code, save the file with a .sol extension.
In the next section, we will learn how to compile the smart contract and generate the bytecode and ABI (Application Binary Interface) needed to deploy the contract on the Ethereum network.
Step 3: Compiling the Smart Contract
After writing your smart contract code, the next step is to compile it into bytecode that can be executed on the Ethereum Virtual Machine (EVM). To compile your smart contract, you can use tools like Remix or the Truffle development framework.
If you’re using Remix, simply copy and paste your smart contract code into the editor, and Remix will automatically compile it for you. You can see the compiled bytecode and other details in the “Compile” tab of the Remix IDE.
If you’re using Truffle, navigate to your project’s root directory in the terminal and run the command truffle compile. Truffle will compile your smart contract and store the compiled artifacts in the “build/contracts” directory of your project.
Regardless of the tool you choose, the output of the compilation process includes two important artifacts: the bytecode and the Application Binary Interface (ABI).
The bytecode is the machine-readable code that represents your smart contract. It is a series of hexadecimal characters that will be deployed to the Ethereum network. The ABI, on the other hand, is a JSON representation of the contract’s interface. It defines the functions and their inputs and outputs, allowing other applications to interact with the deployed contract.
Once your smart contract is successfully compiled, you can proceed to the next step of deploying it on the Ethereum Testnet.
In the next section, we will guide you through the process of deploying your smart contract on the Ethereum Testnet.
Step 4: Deploying the Smart Contract on the Ethereum Testnet
After compiling your smart contract code, the next step is to deploy it on the Ethereum Testnet. The Ethereum Testnet is a separate network from the Ethereum mainnet and allows you to test and deploy your smart contracts without using real Ether.
To deploy your smart contract, you will need an account on the Ethereum Testnet. If you don’t have one, you can create a new account using tools like MetaMask or MyEtherWallet. Once you have your Testnet account, you will need some test Ether to cover the deployment costs.
There are several Testnet faucets available that distribute test Ether to developers for free. Some popular Testnet faucets include Ropsten, Kovan, and Rinkeby faucets. Visit one of these faucets and follow the instructions to obtain the test Ether for your Testnet account.
With your Testnet account set up and test Ether in hand, you can now deploy your smart contract. The deployment process can vary depending on the development tool you are using.
If you are using Remix, go to the “Run” tab and select the appropriate environment (e.g., Injected Web3 if you’re using MetaMask) from the Environment dropdown. Connect your Testnet account to Remix and click on the “Deploy” button to initiate the deployment process.
If you are using Truffle, you can leverage the Truffle migration scripts to deploy your smart contract. Migration scripts are JavaScript files that specify the deployment steps for your smart contracts. You can define a new migration script or modify the existing ones in the “migrations” directory of your project. Once you have your migration scripts set up, run the command truffle migrate --network <network_name> in the terminal to deploy your smart contract to the desired Testnet.
During the deployment process, your smart contract bytecode and constructor arguments (if any) will be sent to the Testnet, and a transaction will be created. You can monitor the deployment status and transaction details using tools like Etherscan.
Once the deployment is successful, you will receive a contract address. This address represents the location of your deployed smart contract on the Ethereum Testnet. You can use this address to interact with your smart contract and call its functions.
Now that your smart contract is deployed on the Ethereum Testnet, you can proceed to the final step of interacting with it.
In the next section, we will guide you through the process of interacting with your deployed smart contract.
Step 5: Interacting with the Smart Contract
Now that your smart contract is deployed on the Ethereum Testnet, you can start interacting with it by calling its functions and reading its state data. There are several ways to interact with a deployed smart contract, but we’ll focus on using web3.js, a popular JavaScript library for Ethereum development.
First, you need to include the web3.js library in your HTML file or import it into your JavaScript code. You can download the library from the official Ethereum GitHub repository or use a Content Delivery Network (CDN) to include it in your project.
Once you have web3.js set up, you need to connect to the Ethereum Testnet using your Testnet account. This can be done by creating a new instance of the web3 object and specifying the provider URL of the Testnet (e.g., using Infura) and your Testnet account’s private key or using the MetaMask browser extension.
With the web3 object instantiated, you can load the contract’s ABI (Application Binary Interface) and address. The ABI is the JSON representation of the contract’s interface, and the address is the location of the deployed contract on the Ethereum Testnet.
Using the contract’s ABI and address, you can create a new instance of the contract using the web3 object. This will allow you to interact with the contract’s functions and retrieve its state data. You can call the functions of the smart contract using the instance’s methods.
For example, if you have a voting smart contract with a function called voteForCandidate that takes a candidate’s name as an argument, you can call this function using the contract instance’s methods property. Here’s an example:
contractInstance.methods.voteForCandidate("Candidate A").send({ from: yourAccountAddress })
    .on('receipt', function(receipt) {
        // Handle the success event
    })
    .on('error', function(error) {
        // Handle the error event
    });
After calling a function, you can listen for the receipt event to handle a successful transaction or listen for the error event to handle any errors that occur during the transaction.
In addition to calling functions, you can also retrieve the contract’s state data by calling its getter functions. The contract instance provides methods for retrieving the state data, which can include variables like vote counts or other information stored in the contract.
By interacting with the deployed smart contract, you can modify its state, retrieve information, and perform various other operations defined by your contract’s functions. This allows you to build powerful decentralized applications on the Ethereum platform.
With this final step completed, you have successfully deployed and interacted with a smart contract on the Ethereum Testnet. Through this process, you have gained valuable experience and a deeper understanding of how smart contracts function on the Ethereum network.
Now that you are equipped with this knowledge, you can begin implementing your own smart contract solutions and explore the boundless possibilities of decentralized applications.
Conclusion
Deploying a smart contract on the Ethereum network is an exciting and rewarding experience. By following the steps outlined in this guide, you have learned how to set up a development environment, write a smart contract in Solidity, compile it, deploy it on the Ethereum Testnet, and interact with it using web3.js.
Smart contracts provide a decentralized and secure way to execute agreements and perform transactions, revolutionizing various industries and applications. Ethereum, with its robust infrastructure and vast developer community, offers a powerful platform for deploying and running smart contracts.
Throughout the process, it is important to pay attention to the details, thoroughly test your contract, and ensure its security before deploying it on the Ethereum network. Additionally, keep in mind the gas costs associated with deploying and interacting with smart contracts. Gas fees are paid in Ether and can vary depending on the complexity and efficiency of your code.
Remember, deploying a smart contract is just the beginning. Continuously iterating and improving your contract based on user feedback and changing requirements is essential for maintaining a successful decentralized application. Stay updated with the latest advancements in the Ethereum ecosystem and leverage the tools and frameworks available to streamline your development process.
By gaining proficiency in deploying smart contracts on the Ethereum network, you have acquired a valuable skill set that can open up numerous opportunities in the blockchain industry. Whether you are developing your own DApp, contributing to an existing project, or exploring innovative use cases, your knowledge of smart contract deployment will be invaluable.
Embrace the potential of smart contracts and Ethereum, and let your creativity and expertise shape the decentralized future.


