Introduction
Welcome to the world of smart contracts and Ethereum! In this article, we will explore the fundamentals of smart contracts and how to create and deploy them using the Ethereum platform. Whether you are an aspiring blockchain developer or simply curious about this revolutionary technology, this guide will provide you with a comprehensive introduction to smart contracts and their implementation in Ethereum.
Smart contracts have gained significant attention in recent years due to their potential to revolutionize various industries, including finance, supply chain management, and decentralized applications (dApps). These self-executing contracts leverage blockchain technology to automate and enforce the terms of an agreement without the need for intermediaries.
Ethereum, known as the second-largest cryptocurrency by market capitalization, is not only a digital currency but also a decentralized platform that enables the creation and execution of smart contracts. It provides developers with a robust and flexible environment to build and deploy decentralized applications.
This article assumes a basic understanding of blockchain technology but no prior knowledge of smart contracts or Ethereum development. We will walk you through the entire process, from setting up your development environment to writing, deploying, and interacting with a smart contract.
Throughout this guide, we will be using Solidity, the programming language specifically designed for Ethereum smart contract development. Solidity is statically typed, supports inheritance and complex user-defined types, and has a syntax similar to JavaScript. Don’t worry if you haven’t worked with Solidity before; we will explain the key concepts and guide you through the code examples.
By the end of this article, you will have a solid understanding of how smart contracts work, how to write them in Solidity, and how to deploy and interact with them in the Ethereum network. So, let’s dive into the exciting world of smart contracts and Ethereum development!
What is a Smart Contract?
A smart contract is a self-executing agreement with the terms of the contract directly written into code. It is stored and executed on a blockchain platform, such as Ethereum. Unlike traditional contracts that rely on intermediaries, smart contracts automatically validate, enforce, and execute the agreed-upon terms without the need for a middleman.
Smart contracts facilitate secure and transparent transactions between parties by eliminating the need for trust or reliance on third parties. The contract is executed automatically once the predefined conditions in the code are met. This removes the potential for human error, bias, or manipulation, ensuring a fair and reliable outcome.
The code of a smart contract is immutable and transparent, meaning it cannot be altered once deployed on the blockchain. This immutability ensures that all parties involved can trust that the contract will be executed exactly as intended, without any modifications or tampering.
Smart contracts can be used in a wide range of applications, including financial transactions, supply chain management, decentralized applications (dApps), digital identity verification, and more. They enable automated and trustless interactions on the blockchain, offering a more efficient and secure way of conducting business.
One of the key benefits of smart contracts is their ability to eliminate intermediaries. Traditional contracts often require the involvement of lawyers, notaries, or other intermediaries to ensure compliance and resolve disputes. Smart contracts, on the other hand, remove the need for intermediaries by automatically executing the terms encoded in the contract. This not only saves costs but also streamlines the entire process.
Additionally, smart contracts provide transparency. As the code is stored on the blockchain, it can be accessed and verified by anyone. This makes the execution of the contract and the data it produces open to scrutiny and reduces the potential for fraud or manipulation.
Overall, smart contracts have the potential to revolutionize various industries by simplifying complex processes, reducing costs, increasing transparency, and providing a more secure and efficient way of conducting business.
What is Ethereum?
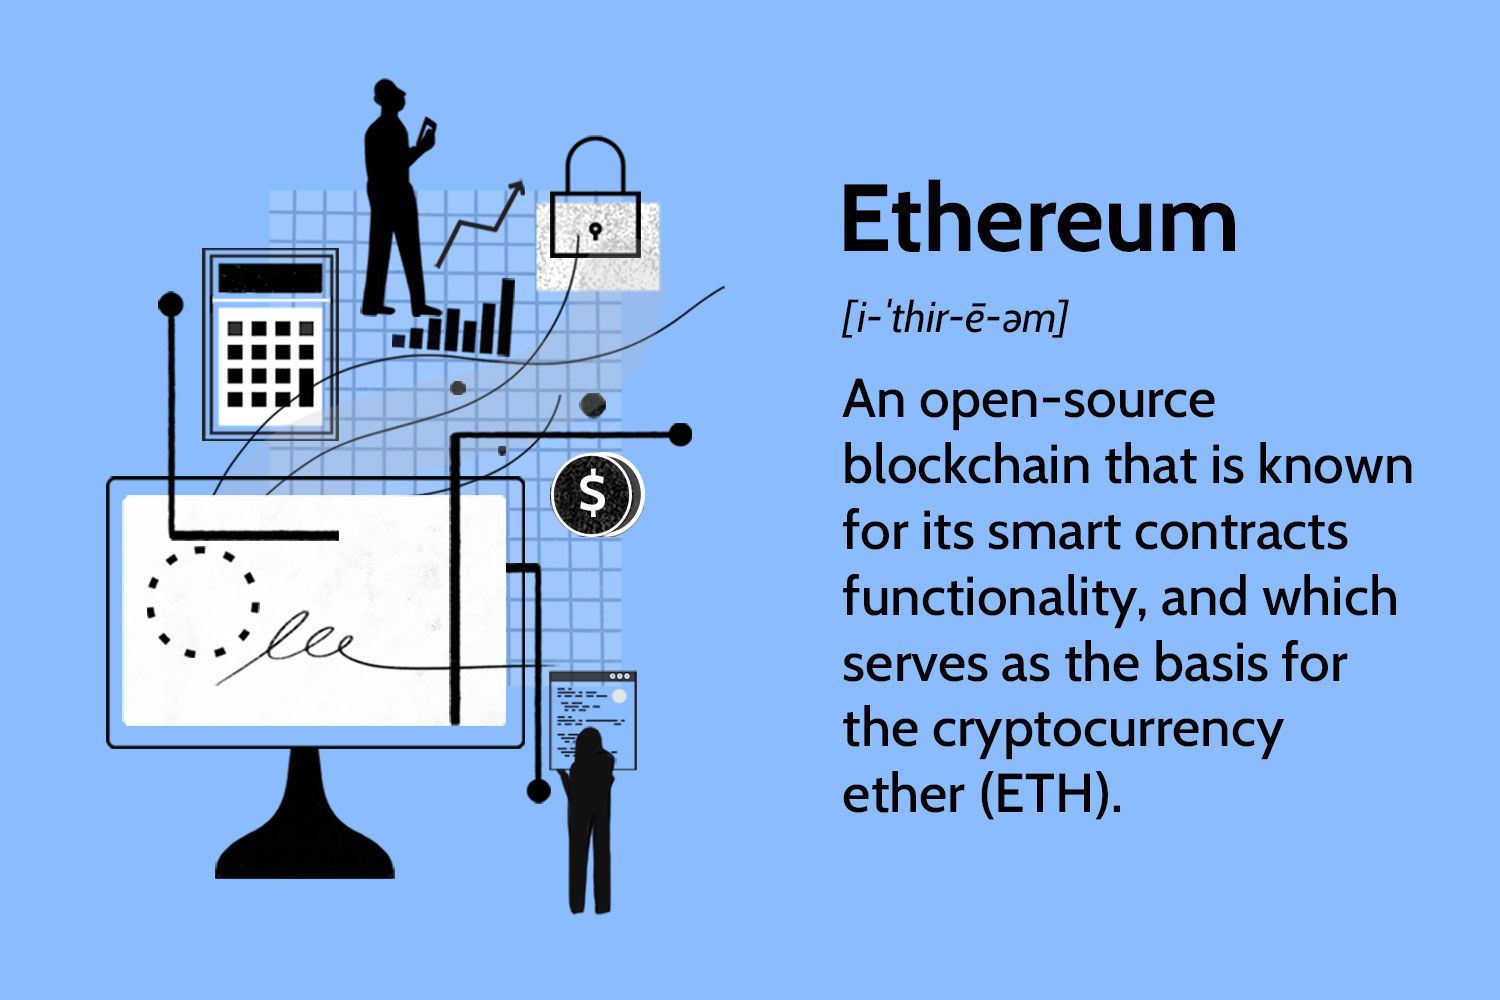
Ethereum is an open-source blockchain platform that enables the creation and deployment of smart contracts. It was proposed by Vitalik Buterin in 2013 and launched in 2015. While Bitcoin revolutionized digital currency, Ethereum expanded the scope of blockchain technology by introducing a decentralized platform for executing programmable contracts.
At its core, Ethereum is a global, decentralized network of nodes that run the Ethereum Virtual Machine (EVM). The EVM is a runtime environment that executes smart contracts, enabling developers to create decentralized applications (dApps) that can interact with the Ethereum network.
Ethereum has its own native cryptocurrency called Ether (ETH). Ether is used as a medium of exchange within the Ethereum network and is also required to execute smart contracts. It serves to incentivize participants and pay for the computational resources needed to run decentralized applications.
One of the key features of Ethereum is its ability to support Turing-complete programming. This means that developers can write smart contracts in programming languages that are capable of performing any computation that a Turing machine can. The most commonly used language for smart contract development in Ethereum is Solidity, which we will explore later in this guide.
Ethereum employs a consensus mechanism called Proof of Stake (PoS), which is being transitioned from its current Proof of Work (PoW) system. PoS allows Ethereum holders to stake their Ether and become validators in the network. Validators are responsible for validating transactions and securing the network, and in return, they receive rewards in the form of transaction fees and newly minted Ether.
The Ethereum platform has witnessed significant growth since its inception. It has become the foundation for countless decentralized applications, ranging from decentralized finance (DeFi) protocols to non-fungible tokens (NFTs) and other innovative use cases. Ethereum’s ability to execute smart contracts securely and efficiently has made it a critical infrastructure for the blockchain industry.
Furthermore, Ethereum offers the ability to create and participate in decentralized autonomous organizations (DAOs). DAOs are organizations governed by programmable rules encoded in smart contracts, allowing for decentralized decision-making and resource management.
In summary, Ethereum is a decentralized blockchain platform that enables the execution of smart contracts and the creation of decentralized applications. It offers a wide range of possibilities for developers and has become a vital platform for the growth of the blockchain ecosystem.
Setting up the Development Environment
Before we dive into creating smart contracts on Ethereum, we need to set up our development environment. Setting up the right tools and dependencies will ensure a smooth development experience and enable us to write, compile, and deploy our smart contracts effectively.
The following steps will guide you through the process of setting up your Ethereum development environment:
- Install Node.js: Node.js is a JavaScript runtime that allows us to run JavaScript code outside of a web browser. It is essential for running various tools and libraries needed for Ethereum development. Visit the official Node.js website and download the appropriate installer for your operating system. Once installed, you can verify the installation by opening a terminal and running the command
node -v. - Install a Code Editor: You will need a code editor to write your smart contract code. Popular choices include Visual Studio Code, Atom, and Sublime Text. Choose the one that you are most comfortable with or explore different options to find the editor that suits your needs.
- Install an Ethereum Client: To interact with the Ethereum network, we need an Ethereum client. The most commonly used client for development purposes is Ganache. Ganache provides a personal Ethereum blockchain that allows us to deploy and test our smart contracts locally. Visit the Ganache website and download the appropriate version for your operating system.
- Install Truffle: Truffle is a popular development framework for Ethereum that provides a suite of tools for smart contract development, testing, and deployment. Open a terminal and run the command
npm install -g truffleto install Truffle globally on your system. - Connect to MetaMask: MetaMask is a browser extension that allows you to interact with Ethereum dApps directly from your web browser. Install the MetaMask extension in your preferred browser and create a new Ethereum wallet. Once your wallet is set up, connect MetaMask to your local Ganache network by importing one of the accounts provided by Ganache.
With these tools and dependencies in place, you are ready to start developing smart contracts on Ethereum. In the next sections, we will explore the Solidity programming language and walk through the process of writing, compiling, deploying, and interacting with our first smart contract. So let’s get hands-on and dive into the exciting world of Ethereum smart contract development!
Understanding Solidity
Solidity is the programming language specifically designed for writing smart contracts on the Ethereum platform. It is a statically-typed language with syntax similar to JavaScript and influences from other languages such as C++, Python, and JavaScript. In this section, we will explore the key concepts and features of Solidity.
Contract: In Solidity, a contract represents the fundamental building block of a smart contract. It is similar to a class in object-oriented programming and contains state variables, functions, and modifiers. Contracts are used to define the behavior and properties of an object or a system on the Ethereum blockchain.
State Variables: State variables are variables that hold permanent data within a contract. They represent the state of the contract and can be of different data types, including integers, booleans, strings, and custom-defined types. State variables are stored on the blockchain and retain their value between function calls.
Functions: Functions define the behavior of a smart contract. They can be called internally within the contract or externally by other contracts or accounts. Functions can modify the state of the contract, read data from the blockchain, and interact with other contracts. Solidity supports different types of functions, including constructors, external functions, internal functions, and public functions.
Events: Events allow contracts to communicate with the outside world. They are used for emitting information that can be listened to by external systems or dApps. Events represent the occurrence of specific actions or changes within a contract and can be subscribed to by external applications.
Modifiers: Modifiers are used to modify the behavior of functions within a contract. They are similar to function decorators in other programming languages and allow for code reusability and contract-wide checks or validations. Modifiers are typically used to enforce access control, input validation, or other conditions before executing a function.
Inheritance: Solidity supports multiple inheritance, allowing contracts to inherit properties and functionalities from other contracts. Inheritance promotes code reuse and improves the organization and maintainability of the codebase. Contracts can inherit from both abstract and concrete contracts.
These are just a few of the core concepts of Solidity. The language offers many more features and functionalities to support complex smart contract development, including libraries, interfaces, enums, and structs. Understanding these concepts is essential for writing secure and efficient smart contracts on the Ethereum platform.
Now that we have a basic understanding of Solidity, we can proceed to the next section, where we will dive into writing the code for our first smart contract. So let’s roll up our sleeves and start putting our Solidity knowledge into practice!
Writing the Smart Contract Code
Now that we have a good grasp of Solidity, it’s time to start writing the code for our smart contract. In this section, we will go through the process of writing a simple smart contract that demonstrates the basic functionalities of Solidity.
Before we dive into the code, let’s define our smart contract’s purpose. Let’s assume we want to create a basic voting system where users can vote for their favorite candidate. Each user can cast a single vote, and the contract will keep track of the vote count for each candidate.
Here’s an example of how the smart contract code might look:
pragma solidity ^0.8.0;

contract VotingSystem {
    struct Candidate {
        uint256 id;
        string name;
        uint256 voteCount;
    }

    mapping(uint256 => Candidate) public candidates;
    mapping(address => bool) public voters;

    constructor(string[] memory candidateNames) {
        for (uint256 i = 0; i < candidateNames.length; i++) {
            candidates[i+1] = Candidate(i+1, candidateNames[i], 0);
        }
    }

    function vote(uint256 candidateId) public {
        require(!voters[msg.sender], "You have already voted.");
        require(candidateId > 0 && candidateId <= candidates.length, "Invalid candidate.");

        voters[msg.sender] = true;
        candidates[candidateId].voteCount++;
    }
}
Let’s break down the code:
pragma solidity ^0.8.0; – This line specifies the version of Solidity we are using. It ensures that the code is compatible with the specified version and any later compatible versions.
struct Candidate {…} – This code block defines the Candidate struct, which represents a candidate in the voting system. It contains an ID, name, and vote count for each candidate.
mapping(uint256 => Candidate) public candidates; – This line declares a mapping called candidates, which maps a candidate ID to a Candidate struct. It allows us to store and access candidate information efficiently.
mapping(address => bool) public voters; – This line declares a mapping called voters, which maps an address to a boolean value. It keeps track of whether an address has already voted.
constructor(string[] memory candidateNames) {…} – This is the constructor function, which is called when the contract is deployed. It takes an array of candidate names as an argument and initializes the candidates mapping with the provided names and initial vote count of 0.
function vote(uint256 candidateId) public {…} – This function allows users to vote for a candidate. It checks if the user hasn’t already voted, validates the candidate ID, updates the vote count of the selected candidate, and marks the user as voted.
Feel free to modify and enhance the code to suit your specific requirements and use cases. Once you are satisfied with the code, we can move on to the next section, where we will compile and deploy our smart contract on the Ethereum network.
Compiling the Smart Contract
After writing the smart contract code, the next step is to compile it into a format that the Ethereum Virtual Machine (EVM) can understand. In this section, we will explore the process of compiling the smart contract using the Truffle development framework.
Truffle provides a suite of tools that simplifies the development, testing, and deployment of smart contracts on Ethereum. One of the key components of Truffle is the Solidity compiler, which is responsible for taking our Solidity code and transforming it into bytecode that can be executed on the Ethereum network.
To compile our smart contract, we can follow these steps:
- Open a terminal: Launch your preferred terminal or command prompt.
- Navigate to the project directory: Use the
cdcommand to navigate to the directory where your smart contract file is located. - Run the Truffle compile command: In the terminal, run the command
truffle compile. Truffle will automatically detect and compile the smart contracts in the contracts directory of your project.
Once the compilation process is complete, Truffle will generate compiled bytecode and ABI (Application Binary Interface) files for each smart contract. The bytecode represents the machine-readable form of the contract that can be deployed on the Ethereum network, while the ABI specifies the contract’s interface and function signatures, making it easier to interact with the contract from external applications.
The compiled contract artifacts can be found in the build/contracts/ directory of your Truffle project. You will typically find a JSON file for each compiled contract that contains important information such as the contract’s name, bytecode, ABI, and other metadata.
Compiling the smart contract is a crucial step in the development process, as it ensures that the contract is correctly translated into bytecode and ready for deployment on the Ethereum network. With the contract compiled, we can now proceed to the next section, where we will learn how to deploy the smart contract onto the Ethereum network.
Deploying the Smart Contract
Now that we have compiled our smart contract, the next step is to deploy it onto the Ethereum network. Deploying a smart contract involves creating a transaction that contains the contract’s bytecode and deploying it to an Ethereum network, either the mainnet or a test network. In this section, we will explore how to deploy the smart contract using the Truffle development framework and Ganache local blockchain.
To deploy the smart contract, follow these steps:
- Launch your Ganache local blockchain: Open Ganache and start your local blockchain. This will provide us with a local Ethereum network to deploy and test our smart contract.
- Configure Truffle to connect to Ganache: In your Truffle project, open the truffle-config.js file (or truffle.js if you are using an older version of Truffle) and ensure that the network configuration points to your Ganache local blockchain. By default, Ganache runs on
localhost:7545, so you can use the following configuration:
module.exports = {
    networks: {
        development: {
            host: "localhost",
            port: 7545,
            network_id: "*" // Match any network id
        }
    }
};- Run the Truffle migration: In your terminal, navigate to your Truffle project directory and run the command
truffle migrate. Truffle will execute the migration scripts and deploy the compiled smart contract to the connected Ethereum network.
After running the migration, Truffle will display the contract’s address on the Ethereum network, allowing you to verify that it has been successfully deployed. The migration process also ensures that the contract is deployed in a way that is reproducible and can be easily tracked.
When deploying the smart contract to a live Ethereum network, it is crucial to consider the gas fees associated with the deployment. Gas fees are the cost of computational resources required to execute the transaction and deploy the smart contract. The deployment cost will depend on the complexity of the contract and the current gas price on the Ethereum network.
By deploying the smart contract, we have made it available on the Ethereum network for others to interact with. In the next section, we will explore how to interact with the deployed smart contract and perform actions like voting or reading data from it.
Interacting with the Smart Contract
Now that our smart contract is deployed on the Ethereum network, we can interact with it to perform actions and retrieve data. In this section, we will explore how to interact with our deployed smart contract using JavaScript and the web3.js library.
To interact with the smart contract, follow these steps:
- Set up web3.js: Install the web3.js library in your project by running the command
npm install web3in your terminal. Then, import the library in your JavaScript code usingconst Web3 = require('web3');. - Create a web3 instance and connect to the Ethereum network: Use the
Web3constructor and specify the provider URL, which is typically the address of your local Ganache blockchain or an Ethereum node. For example:
const web3 = new Web3('http://localhost:7545');- Load the smart contract: Use the
web3.eth.Contractmethod to instantiate a contract object. Pass in the contract’s ABI (Application Binary Interface) located in the compiled contract artifacts and the contract’s address on the Ethereum network. For example:
const contractABI = require('./build/contracts/VotingSystem.json').abi;
const contractAddress = '0x123abc...'; // Your contract address
const contract = new web3.eth.Contract(contractABI, contractAddress);- Interact with the smart contract: Use the methods of the contract object to interact with the smart contract’s functions and retrieve data. For example, to call the
votefunction, you can use:
contract.methods.vote(candidateId).send({ from: userAddress })
    .then((receipt) => {
        console.log('Vote successful!', receipt);
    })
    .catch((error) => {
        console.error('Error voting:', error);
    });
Replace candidateId with the desired candidate’s ID and userAddress with the Ethereum address of the user performing the vote. You can also use the contract’s methods to read data from the smart contract, such as retrieving the vote count for a particular candidate.
Remember to handle errors and asynchronous operations appropriately when interacting with the smart contract.
Interacting with the smart contract using web3.js provides a convenient way to perform actions and retrieve data from the deployed contract. However, please note that web3.js has undergone changes and updates over time, so make sure to consult the official documentation for the version you are using to ensure compatibility and accurate usage.
In the next section, we will explore how to test our smart contract’s functionality to ensure it behaves as intended.
Testing the Smart Contract
Testing our smart contract is a crucial step in the development process to ensure that it functions as intended and handles various scenarios correctly. In this section, we will explore how to write tests for our smart contract using the Truffle testing framework.
Truffle provides a testing framework that allows us to write automated tests to verify the behavior of our smart contract. These tests can cover different scenarios and edge cases, ensuring that our contract functions correctly under various conditions. Here’s how we can write tests for our smart contract:
- Create a new test file: In your Truffle project directory, navigate to the
test/directory and create a new JavaScript test file. For example, let’s name itVotingSystem.test.js. - Import necessary dependencies: In the test file, import the required dependencies such as
assertfrom thechaiassertion library and the smart contract artifacts. For example:
const VotingSystem = artifacts.require('VotingSystem');
const { assert } = require('chai');- Write test cases: Inside the test file, write individual test cases using the
itfunction provided by Truffle. Each test case should have a descriptive name and a function that contains the test logic. For example:
contract('VotingSystem', (accounts) => {
    let votingSystem;

    beforeEach(async () => {
        votingSystem = await VotingSystem.new(['Candidate 1', 'Candidate 2']);
    });

    it('should allow a user to vote for a candidate', async () => {
        const candidateId = 1;

        const voteTx = await votingSystem.vote(candidateId, { from: accounts[0] });

        assert.equal(voteTx.receipt.status, true, 'Vote transaction should succeed');
        // Additional assertions to verify the contract state or emitted events
    });
});
In this example, we define a test case that checks whether a user can vote for a specific candidate. We deploy a new instance of the VotingSystem contract with two candidates before each test case to ensure a fresh state for each test.
We then invoke the vote function of the smart contract using votingSystem.vote and specify the candidate ID and the address of the user performing the vote. We assert that the transaction was successful by checking the status of the transaction receipt.
You can add additional assertions to test various aspects of your smart contract, such as checking the updated vote count, verifying emitted events, or testing edge cases.
To run the tests, open a terminal in your project directory and run the command truffle test. Truffle will execute the defined tests and provide feedback on the results.
Writing tests for our smart contract gives us confidence that our code behaves as intended and adheres to the specified requirements. It allows us to catch any issues or bugs early in the development process.
In the next section, we will summarize the key points covered in this guide and provide some additional resources for further learning.
Conclusion
In this comprehensive guide, we have covered the fundamental aspects of creating and deploying smart contracts on the Ethereum platform. We started by understanding the concept of smart contracts and their potential to revolutionize various industries. We then delved into Ethereum, the decentralized platform that enables the execution of smart contracts and facilitates the creation of decentralized applications.
We explored the process of setting up a development environment, including installing necessary tools such as Node.js, a code editor, Ganache, and Truffle. With the environment ready, we dived into understanding Solidity, the programming language used for Ethereum smart contract development. We learned about contracts, state variables, functions, events, modifiers, and inheritance – the key building blocks of writing smart contracts.
Next, we wrote the code for a simple voting system smart contract to demonstrate the concepts learned. We compiled the contract using the Truffle framework and deployed it to the Ethereum network, utilizing a local Ganache blockchain for testing purposes. We then explored how to interact with the deployed contract using JavaScript and the web3.js library.
Furthermore, we discussed the importance of testing smart contracts and walked through writing tests using the Truffle testing framework. Testing our contracts ensures their integrity, reliability, and functionality under different scenarios.
In conclusion, the world of smart contracts and Ethereum is constantly evolving, offering exciting opportunities for innovation and disruption. By leveraging the concepts and techniques covered in this guide, you are well-equipped to embark on your journey into Ethereum smart contract development.
Remember, continued learning and practice are key to mastering smart contract development. Stay updated with the latest developments in Ethereum and Solidity, explore real-world use cases, and experiment with more complex contracts. With persistence and dedication, you can become a proficient developer in this ever-evolving landscape.
Additional Resources:
- Solidity Documentation
- Ethereum Official Website
- Truffle Documentation
- web3.js Documentation
- OpenEthereum (formerly Parity Ethereum)
Now it’s time to embark on your Ethereum journey and bring your innovative ideas to life with smart contracts. Happy coding!