Introduction
Keyboard shortcuts are a handy tool for increasing productivity and efficiency while working on a computer. They allow users to perform various tasks with a simple combination of keys, eliminating the need to navigate through menus or use the mouse.
One commonly used feature in many applications is the Find and Replace dialog box, which allows users to search for specific text and replace it with something else. Whether you’re editing a document, coding a webpage, or working with a spreadsheet, the ability to quickly find and replace text can save a significant amount of time.
In this article, we will delve into the world of keyboard shortcuts and explore the much-needed convenience of accessing the Find and Replace dialog box with a simple key combination. We’ll discuss the importance of keyboard shortcuts, provide an overview of the Find and Replace dialog box, and reveal the coveted shortcut that opens the dialog box directly to the Replace tab.
So, if you’re ready to elevate your efficiency and streamline your work process, let’s dive in and discover the keyboard shortcut that will revolutionize how you search and replace text.
The Importance of Keyboard Shortcuts
Keyboard shortcuts play a vital role in enhancing productivity and workflow efficiency. They provide a faster and more streamlined way to perform various tasks, eliminating the need to navigate through menus or use the mouse. Here are a few reasons why keyboard shortcuts are essential:
- Time-Saving: Using keyboard shortcuts can significantly reduce the time it takes to perform common actions. Instead of moving your hand to the mouse and clicking through menus, you can simply press a key combination to get the job done. This time-saving advantage becomes particularly crucial in repetitive tasks or in applications where speed is of the essence.
- Efficiency: Keyboard shortcuts allow you to work more efficiently by reducing the cognitive load associated with manual navigation. With a well-executed shortcut, you can quickly access features and perform actions without interrupting your train of thought or workflow. This efficiency gain is especially beneficial for power users or professionals who rely heavily on specific software applications.
- Reduced Strain: Relying solely on the mouse for navigation and action execution can lead to repetitive strain injuries (RSIs) or cumulative trauma disorders. Keyboard shortcuts provide a way to minimize mouse usage, thus reducing the strain on your wrists, arms, and fingers. By incorporating shortcuts into your daily routine, you can mitigate the risk of physical discomfort or long-term harm.
- Accessibility: Keyboard shortcuts make computer operations more accessible to individuals with mobility impairments or physical disabilities. For those with limited dexterity or difficulties using a mouse, using keyboard shortcuts can level the playing field and empower them to navigate and interact with applications more effectively.
As technology continues to advance, keyboard shortcuts remain a fundamental tool for optimizing productivity and user experiences. The ability to perform tasks with minimal effort and maximum speed can transform your workflow, allowing you to accomplish more in less time.
Now that we understand the importance of keyboard shortcuts, let’s explore one specific shortcut that will revolutionize your ability to find and replace text within applications that support this invaluable feature.
Overview of the Find and Replace Dialog Box
The Find and Replace dialog box is a powerful tool found in various applications, including word processors, text editors, web browsers, and spreadsheet software. It allows users to search for specific text within a document or file and replace it with another set of text. Understanding the layout and functionality of this dialog box is essential to effectively utilize its capabilities.
Typically, the Find and Replace dialog box consists of several sections that allow users to input search criteria and specify the replacement text. Here is a general overview of the common elements you will find in this dialog box:
- Find What: This field allows you to enter the text you want to find within the document or file. You can input a single word, a phrase, or even special characters depending on the application’s capabilities.
- Replace With: This field is used to enter the text you want to replace the found occurrences with. It can be a single word, a phrase, or any desired content.
- Match Case: By enabling this option, you instruct the application to consider letter case when searching for the specified text. For example, if you are searching for “apple” with this option turned on, it will only find instances where “apple” appears in lowercase.
- Match Whole Word: Enabling this option ensures that only whole words matching your search criteria are found and replaced. For example, if you search for “cat,” it will not find instances where “category” is present unless you disable this option.
- Direction: This feature lets you choose the direction of the search process. You can search forwards from the current cursor position, backwards from the cursor position, or even specify a range within the document or file.
- Additional Options: Depending on the application, you may find additional options such as searching within specific document sections, limiting the search to specific formatting styles, or using regular expressions for more advanced search patterns.
The Find and Replace dialog box is a versatile tool that can significantly expedite the process of locating and replacing text within your documents or files. Whether you’re proofreading a document, updating code, or making edits to a spreadsheet, understanding how to utilize the Find and Replace feature efficiently can save you valuable time and effort.
Now that we have an understanding of the Find and Replace dialog box, let’s take a closer look at the specific tab that allows us to perform targeted replacements: the Replace tab.
The Find Tab
The Find tab is a crucial component of the Find and Replace dialog box. It enables users to search for specific text within a document or file. By utilizing the Find tab, you can quickly locate instances of a particular word, phrase, or set of characters. Let’s explore the key features and functionality of the Find tab:
- Find What: This field allows you to enter the text you want to search for within the document or file. It could be a single word, a phrase, or even special characters based on the application’s capabilities.
- Match Case: Enabling this option ensures that the search is case-sensitive. If you’re searching for “apple” with this option turned on, it will only find instances where “apple” appears as lowercase “apple” and not uppercase or mixed case variations.
- Match Whole Word: When this option is enabled, the search will only return exact whole word matches. For example, if you search for “cat,” it will not find instances where “category” is present unless you disable this option.
- Direction: This feature lets you choose the direction of the search process. You can search forward from the current cursor position, backward from the cursor position, or specify a specific range within the document or file to search within.
- Find Next: Once you’ve specified your search criteria, clicking the “Find Next” button initiates the search process. The application will locate the next occurrence of the specified text, and you can continue finding subsequent instances by clicking “Find Next” again.
- Additional Options: Depending on the application, you may come across additional options such as searching within specific sections of the document, limiting the search to specific formatting styles, or utilizing regular expressions for more advanced search patterns.
The Find tab provides a user-friendly interface that allows you to locate specific text within a document or file efficiently. Whether you’re proofreading, searching for references, or performing content updates, using the Find tab can save you time and ensure accuracy in your work.
Now that we have examined the Find tab, let’s delve into the essential features and functions of the Replace tab, which allows you to perform targeted replacements of the found text.
The Replace Tab
The Replace tab is an integral part of the Find and Replace dialog box. It enables users to not only locate specific text within a document or file but also replace it with different content. The Replace tab provides a convenient way to perform targeted replacements, saving time and effort when editing or updating your documents. Let’s explore the key features and functionality of the Replace tab:
- Find What: This field displays the searched text from the Find tab. It shows the word, phrase, or characters you are currently searching for within the document or file.
- Replace With: This field allows you to enter the text you want to replace the found occurrences with. It can be a single word, a phrase, or any desired content you wish to substitute in place of the found text.
- Replace: Clicking the “Replace” button initiates the replacement process. The application locates the next occurrence of the search text and replaces it with the content you specified in the “Replace With” field. You can continue replacing subsequent instances by clicking the “Replace” button again.
- Replace All: If you want to replace all occurrences of the search text in one go, the “Replace All” button is your go-to option. It replaces all instances of the specified text with the content provided in the “Replace With” field throughout the entire document or file.
- Direction: Similar to the Find tab, the Replace tab also allows you to choose the search direction, searching forward or backward from the current cursor position or within a specified range of the document or file.
- Match Case: Enabling this option ensures that the replacement process considers the letter case when searching for the specified text. For example, if you’re replacing “apple” with this option turned on, it will only replace instances where “apple” appears as lowercase “apple” and not uppercase or mixed case variations.
- Match Whole Word: When this option is enabled, the replacement process only occurs on exact whole word matches. This means that partial matches or instances where the search text is part of a larger word will not be replaced unless you disable this option.
- Additional Options: Depending on the application, you may find additional options such as limiting replacements to specific sections of the document, selecting specific formatting styles to modify, or utilizing regular expressions for more advanced replacement patterns.
The Replace tab empowers you to perform targeted replacements within your documents or files, allowing you to quickly update or modify content to meet your specific needs. Whether you’re editing a report, making changes to code, or updating data in a spreadsheet, the Replace tab streamlines the process and ensures accuracy in your modifications.
Now that we have explored the functionality of the Replace tab, it’s time to uncover the keyboard shortcut that opens the Find and Replace dialog box directly to the Replace tab, further enhancing your productivity and efficiency.
Which Keyboard Shortcut Opens the Find and Replace Dialog Box to the Replace Tab?
Now that we understand the importance of keyboard shortcuts and have explored the functionality of the Find and Replace dialog box, it’s time to reveal the keyboard shortcut that opens the dialog box directly to the Replace tab. This shortcut provides a quick and convenient way to access the Replace functionality without the need to navigate through multiple menus or options.
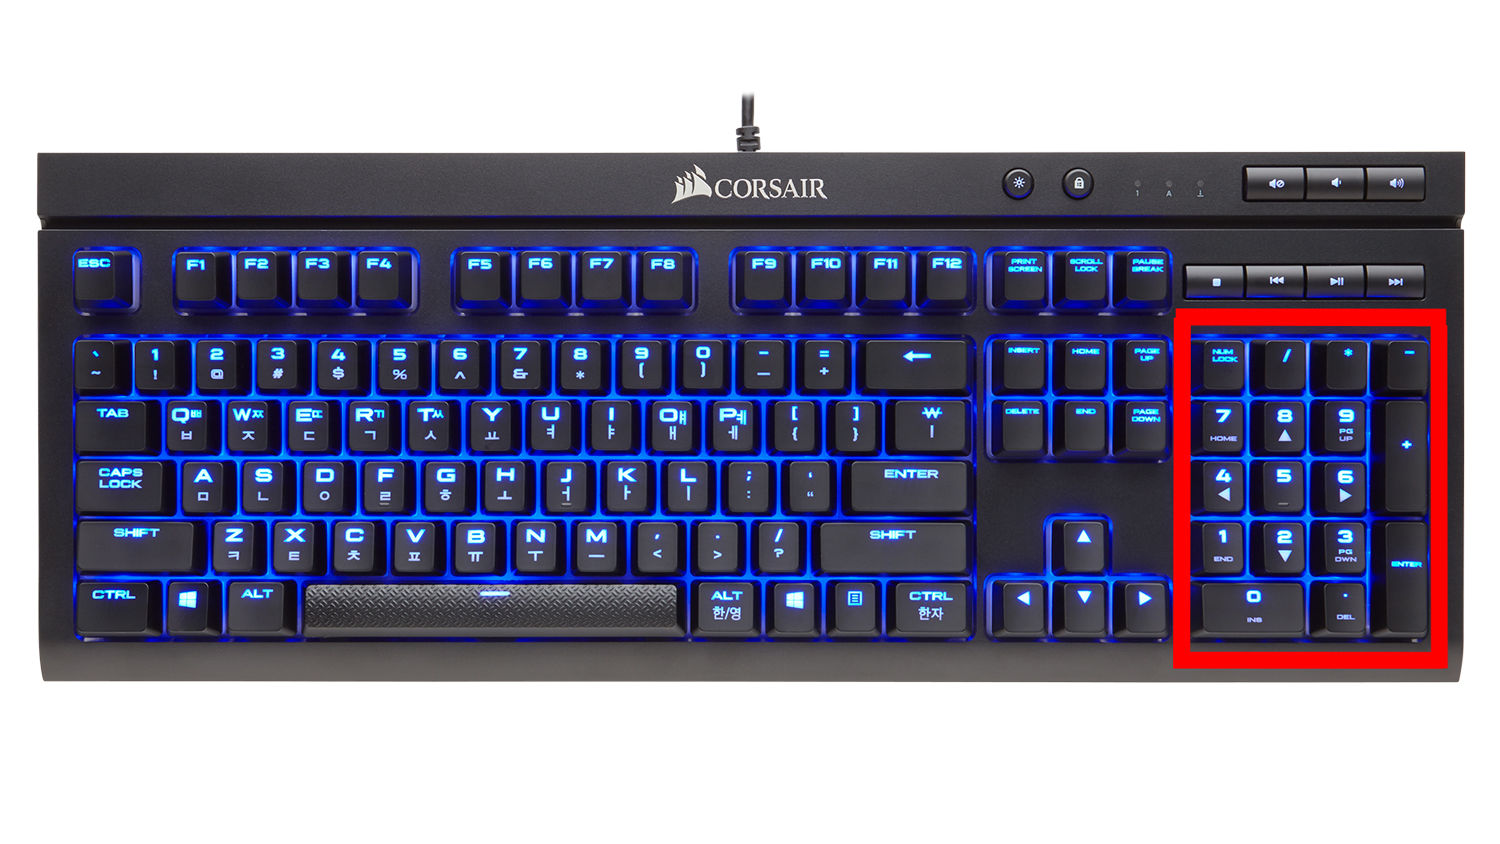
The universally recognized keyboard shortcut that opens the Find and Replace dialog box to the Replace tab is Ctrl + H.
By pressing and holding the Ctrl key on your keyboard and then pressing the H key, you can instantly open the Find and Replace dialog box in many applications. You will be directly taken to the Replace tab, where you can specify your search and replacement criteria.
Using this keyboard shortcut can significantly streamline your workflow when it comes to finding and replacing text within your documents or files. It saves you the hassle of manually navigating through menus or searching for the appropriate options, allowing you to focus on the task at hand.
It’s worth noting that while Ctrl + H is the standard keyboard shortcut for opening the Find and Replace dialog box to the Replace tab, it’s always a good idea to consult the documentation or help files of the specific application you’re working with. Some applications may have variations or additional keyboard shortcuts that provide similar functionality.
Now that you know the keyboard shortcut, let’s move on to understanding how to use it effectively in your daily work.
How to Use the Keyboard Shortcut
Now that we have uncovered the keyboard shortcut to open the Find and Replace dialog box to the Replace tab, let’s dive into the steps on how to use this shortcut effectively:
- Step 1: Activate the text editor or application: Make sure the text editor or application that you want to work with is open and active on your screen. This keyboard shortcut works within applications that support the Find and Replace functionality.
- Step 2: Select the text: If you have a specific portion of text that you want to search and replace, select it using your mouse or by using the appropriate keyboard shortcuts. This step is optional if you want to search and replace all occurrences of a particular word or phrase within the document or file.
- Step 3: Press the Ctrl + H keys: Simultaneously press and hold the Ctrl key on your keyboard and then press the H key. This action triggers the opening of the Find and Replace dialog box directly to the Replace tab.
- Step 4: Specify the search and replacement criteria: In the Replace tab of the dialog box, input the text you wish to find in the “Find What” field. Then, enter the replacement text in the “Replace With” field.
- Step 5: Choose additional options: Depending on the application, there may be additional options you can select to refine your search and replacement process. These options could include enabling or disabling case sensitivity, restricting replacements to whole words, or specifying the search direction.
- Step 6: Perform the replacement: Once you have set the desired search and replacement criteria, you can initiate the replacement process. Click the “Replace” button to replace one instance at a time or the “Replace All” button to replace all occurrences throughout the entire document or file.
- Step 7: Review and finalize: After performing the replacements, review the changes made to ensure accuracy. If necessary, make further modifications or adjustments before finalizing the updates.
By following these steps, you can utilize the keyboard shortcut effectively to open the Find and Replace dialog box to the Replace tab. This enables you to quickly and efficiently search and replace specific text within your documents or files, saving you valuable time and effort.
Now that you know how to use the keyboard shortcut, you can incorporate this technique into your workflow and experience the enhanced productivity it brings.
Conclusion
Keyboard shortcuts are a valuable asset for enhancing productivity and efficiency in various applications. The Find and Replace dialog box, which allows users to search for specific text and replace it with another, is a particularly useful feature. By understanding how to access the Find and Replace dialog box quickly and efficiently, users can save time and streamline their workflow.
In this article, we explored the importance of keyboard shortcuts and their role in improving productivity. We discussed the functionality of the Find and Replace dialog box, providing an overview of its different tabs and options. Furthermore, we revealed the coveted keyboard shortcut, Ctrl + H, that opens the Find and Replace dialog box directly to the Replace tab, simplifying the process of searching and replacing text.
By utilizing this keyboard shortcut, users can effortlessly access the Replace tab, input their search and replacement criteria, and perform targeted replacements. This method eliminates the need for navigating through menus, resulting in more efficient and focused work sessions.
Remember, while Ctrl + H is the standard keyboard shortcut for opening the Find and Replace dialog box to the Replace tab, it’s always beneficial to consult the documentation or help files of the specific application for any variations or additional shortcuts.
In conclusion, mastering keyboard shortcuts like Ctrl + H empowers users to leverage the full potential of the Find and Replace functionality within their preferred applications. By utilizing these shortcuts, individuals can expedite the process of finding and replacing text, leading to increased productivity and a smoother workflow.


