Introduction
When it comes to maximizing the performance of your graphics card, proper power connection is essential. Whether you’re a gaming enthusiast or a professional graphic designer, ensuring that you plug in your GPU (Graphics Processing Unit) to the PSU (Power Supply Unit) correctly can make all the difference in terms of performance and stability.
With the increasing power requirements of modern GPUs, it’s important to understand the GPU power connector and how to properly connect it to the PSU. Failure to do so can lead to issues such as poor performance, system instability, and even damage to your graphics card.
In this article, we will explore the importance of properly plugging in your GPU to the PSU and provide step-by-step instructions on how to do it. We’ll also discuss connecting a single GPU as well as connecting multiple GPUs to a PSU. Additionally, we’ll share some troubleshooting tips to help you address common GPU power connection issues.
By the end of this article, you’ll have a clear understanding of the importance of proper GPU power connection and the necessary knowledge to ensure your GPU is plugged in correctly for optimal performance and reliability.
Importance of Properly Plugging in GPU to PSU
Properly plugging in your GPU to the PSU is of utmost importance for several reasons.
First and foremost, it ensures that your graphics card receives the necessary power to perform at its best. GPUs require a significant amount of power to run demanding applications and games smoothly. If the power connection is faulty or incorrect, it can lead to inadequate power delivery, resulting in reduced performance and potential instability.
Moreover, a proper GPU power connection helps prevent potential damage to your graphics card. Insufficient or inconsistent power supply can cause voltage fluctuations, which can negatively impact the longevity and functionality of your GPU. By ensuring a secure and correct power connection, you minimize the risk of damaging your valuable graphics card.
Another crucial reason to plug in your GPU to the PSU properly is the prevention of system crashes and instability. When a graphics card doesn’t receive enough power or the power connection is loose, it can result in system crashes, freezes, or sudden shutdowns. These issues not only disrupt your workflow but can also lead to data loss and other complications.
Furthermore, a properly connected GPU allows for efficient energy consumption. Modern GPUs are designed to operate in an energy-efficient manner, maximizing performance while minimizing power draw. When the power connection is set up correctly, the GPU can optimize its power usage and contribute to a more eco-friendly computing experience.
Finally, a secure and accurate power connection provides peace of mind. Knowing that your GPU is receiving the required power and functioning as intended can alleviate worries about performance issues or potential damage. This allows you to focus on your tasks without unnecessary concern or distractions.
Ensuring a proper GPU power connection is crucial for optimal performance, stability, and longevity of your graphics card. In the following sections, we will delve into the details of how to correctly plug in your GPU to the PSU, whether you are using a single GPU or multiple GPUs.
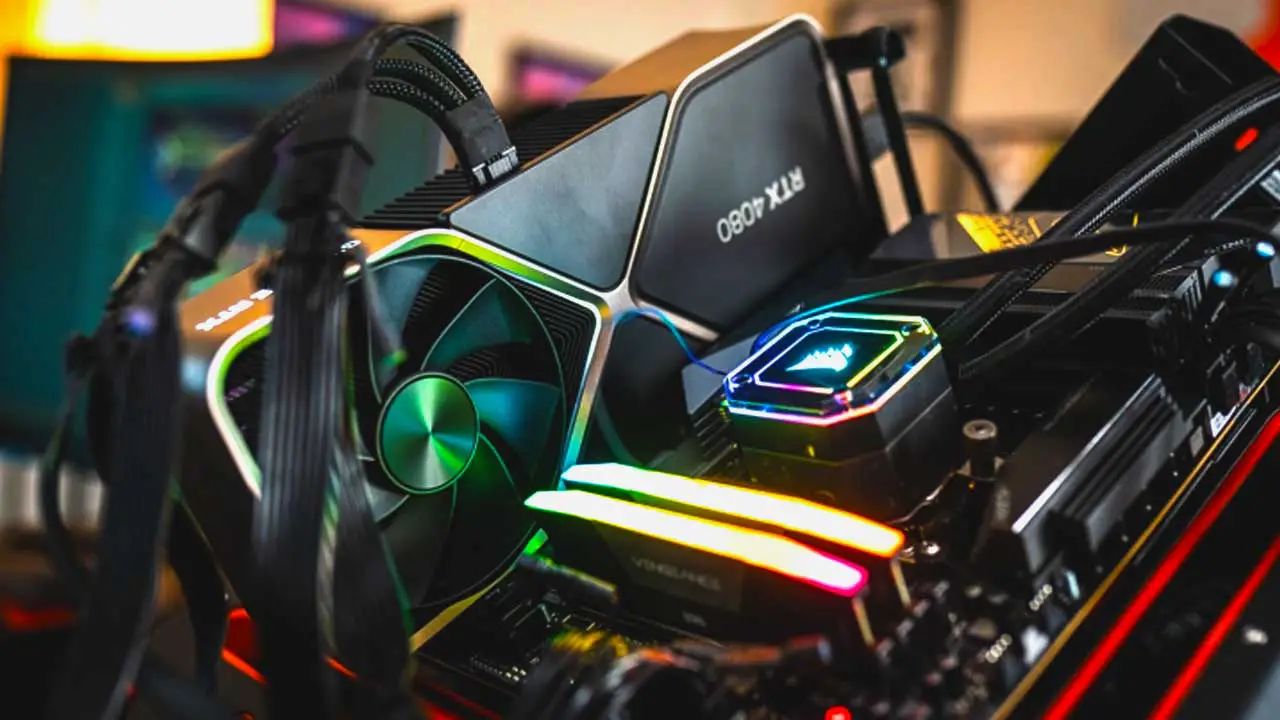
Understanding the GPU Power Connector
Before we dive into how to plug in your GPU to the PSU, it’s essential to understand the GPU power connector and its various types.
Most modern graphics cards require a direct power connection from the PSU to supplement the power provided by the motherboard’s PCIe slot. This is done through a dedicated power connector on the graphics card. The most common types of GPU power connectors are:
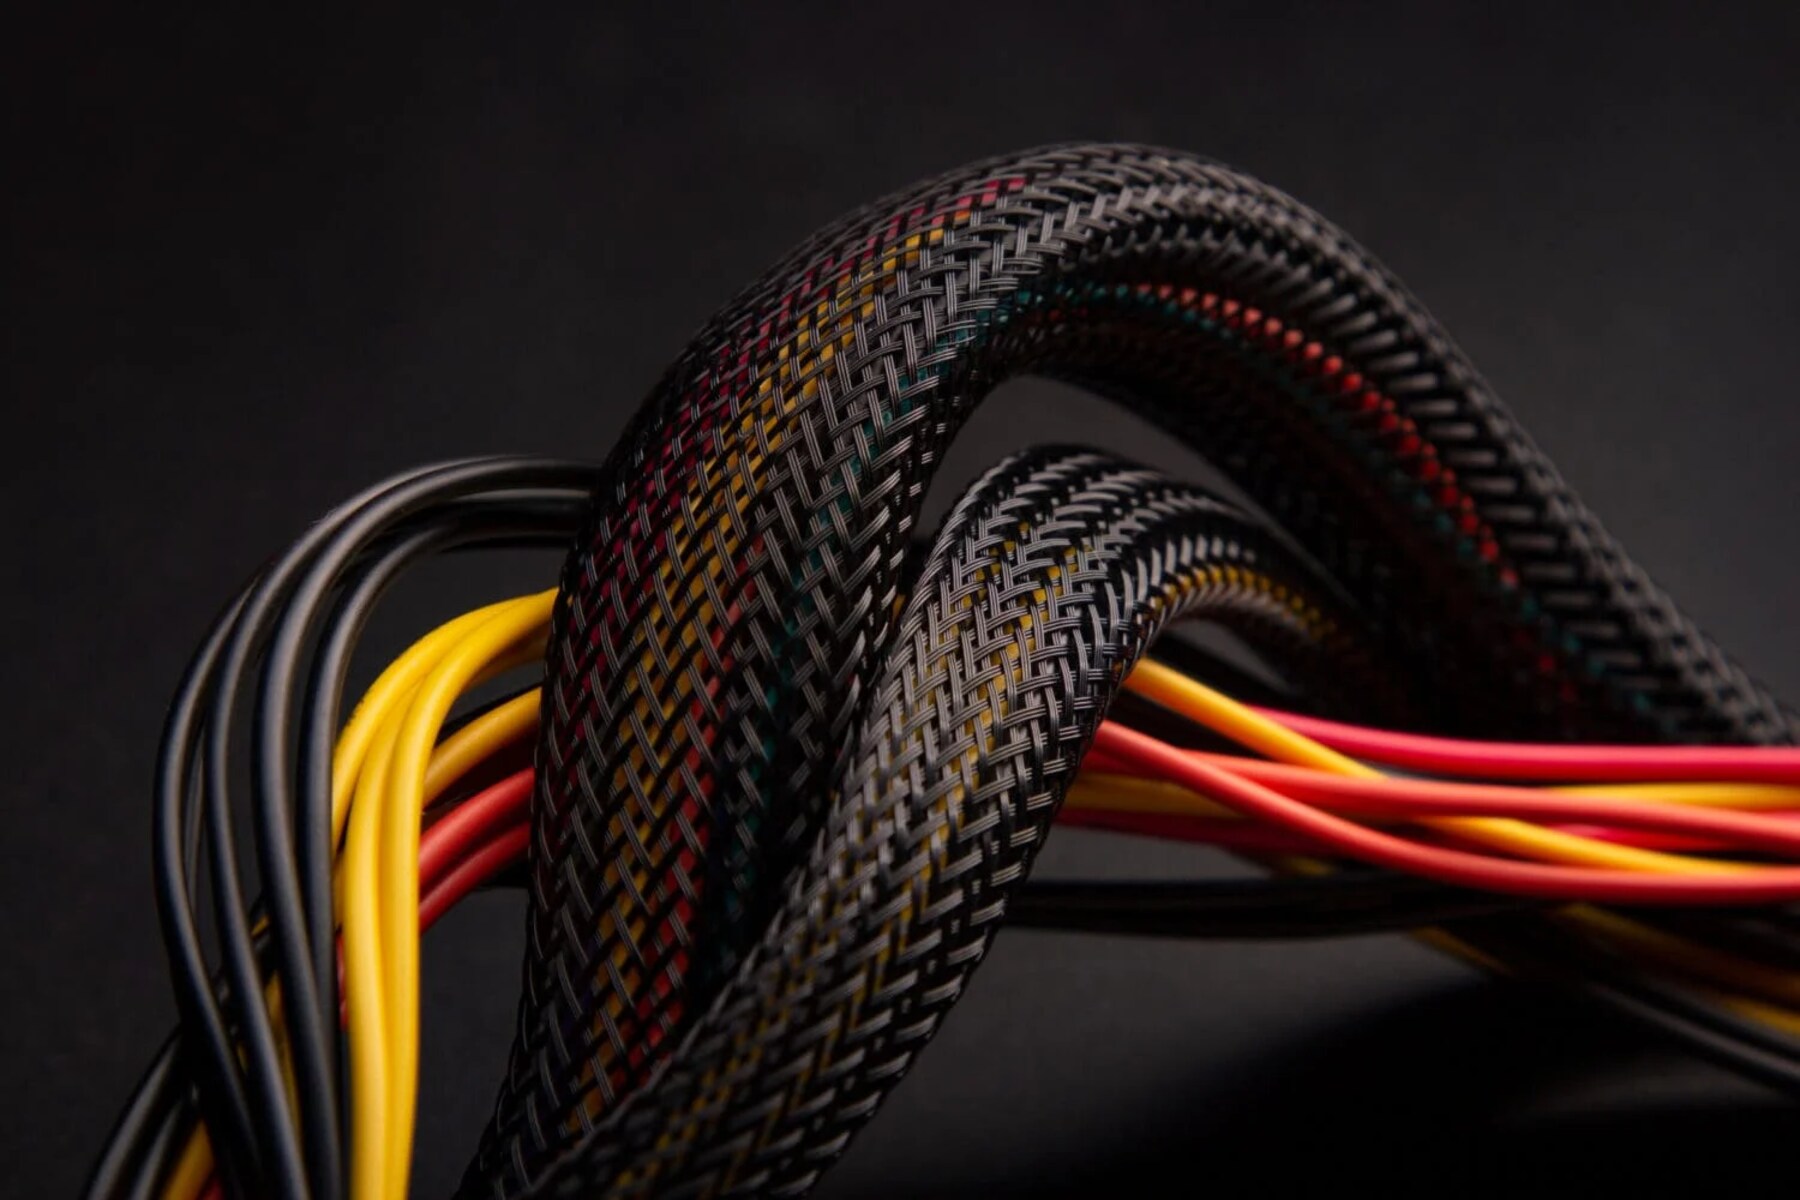
- 6-pin PCIe power connector: This connector features six pins and is commonly found on mid-range and older graphics cards. It provides up to 75 watts of additional power.
- 8-pin PCIe power connector: This connector has eight pins and is typically found on high-end graphics cards. It offers up to 150 watts of additional power.
- 6+2-pin PCIe power connector: This connector is a combination of a 6-pin and a 2-pin connector, allowing it to be used as either a 6-pin or an 8-pin connector depending on your graphics card’s requirements.
It’s important to check the power requirements of your specific graphics card to determine the type and number of required power connectors. This information can usually be found in the manufacturer’s specifications or documentation.
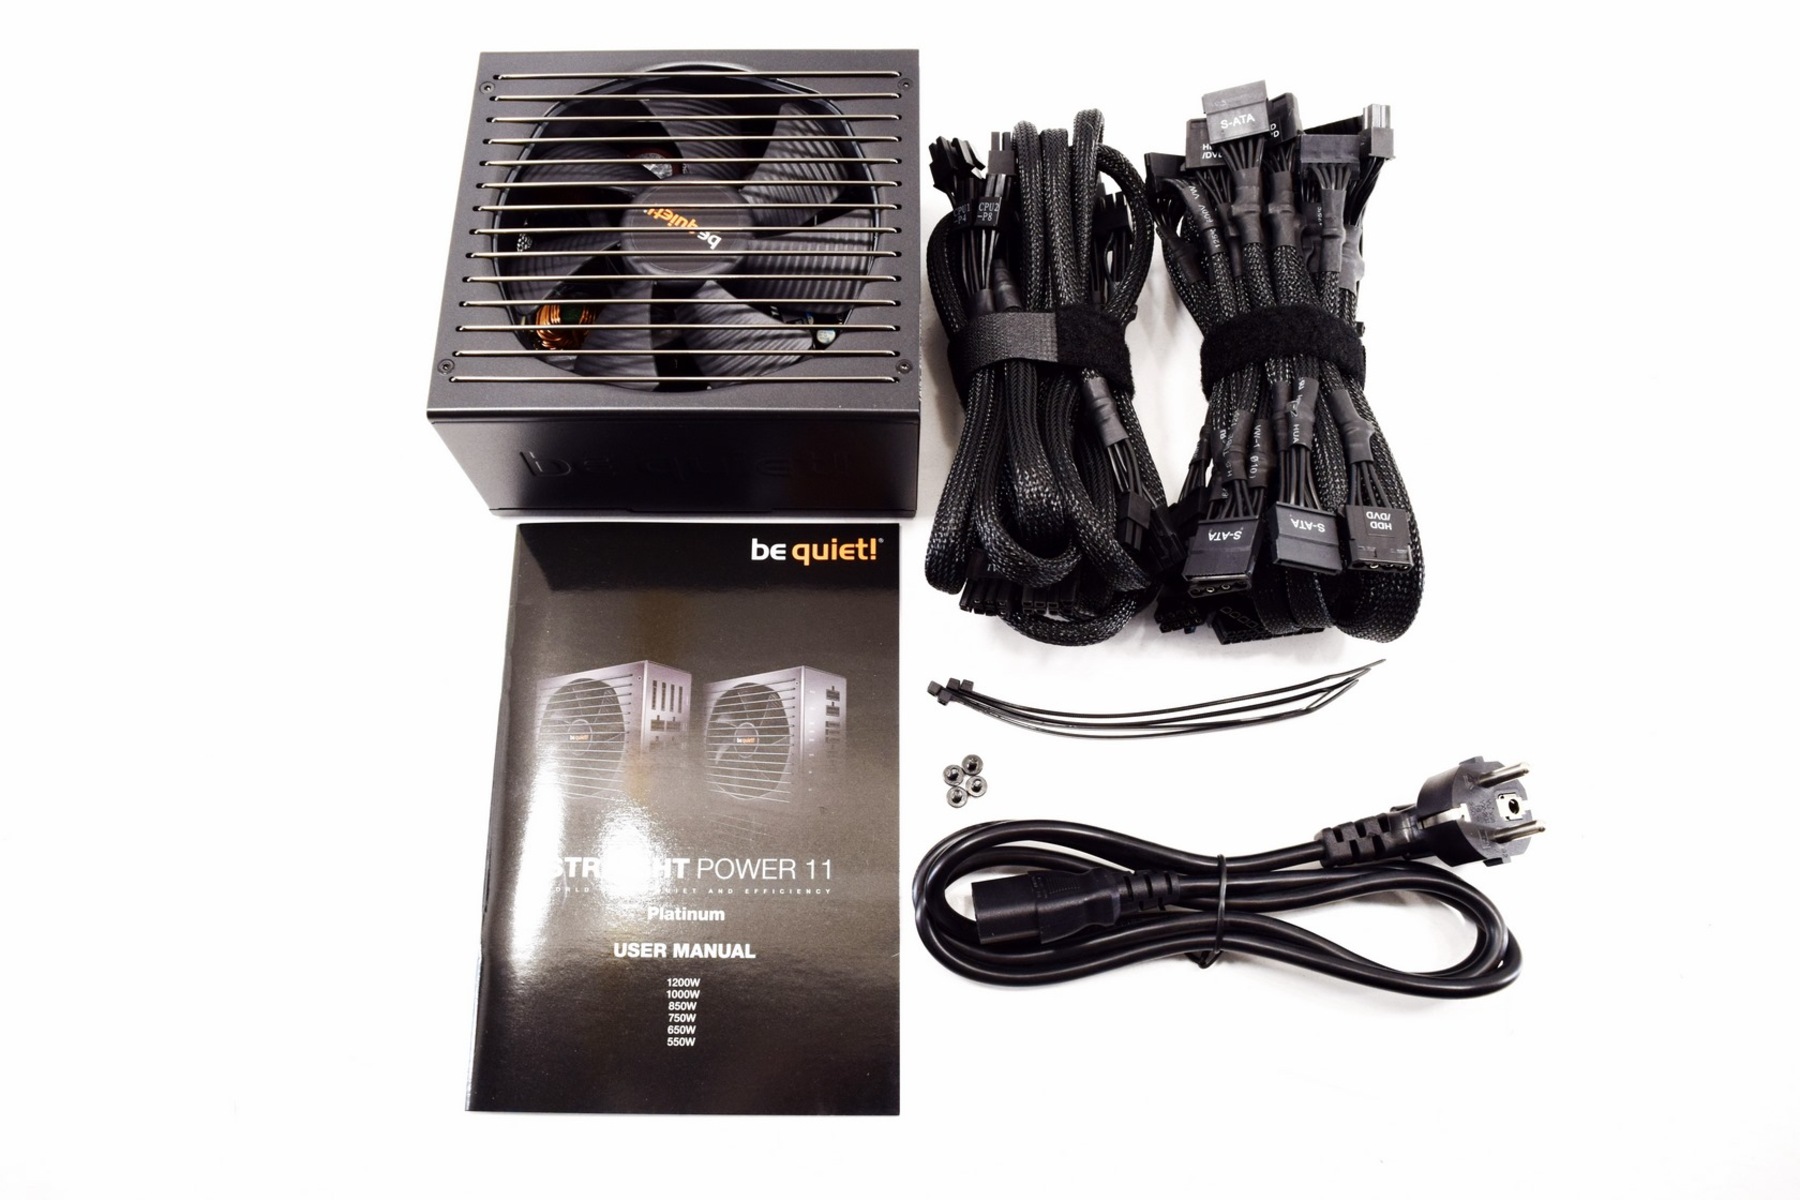
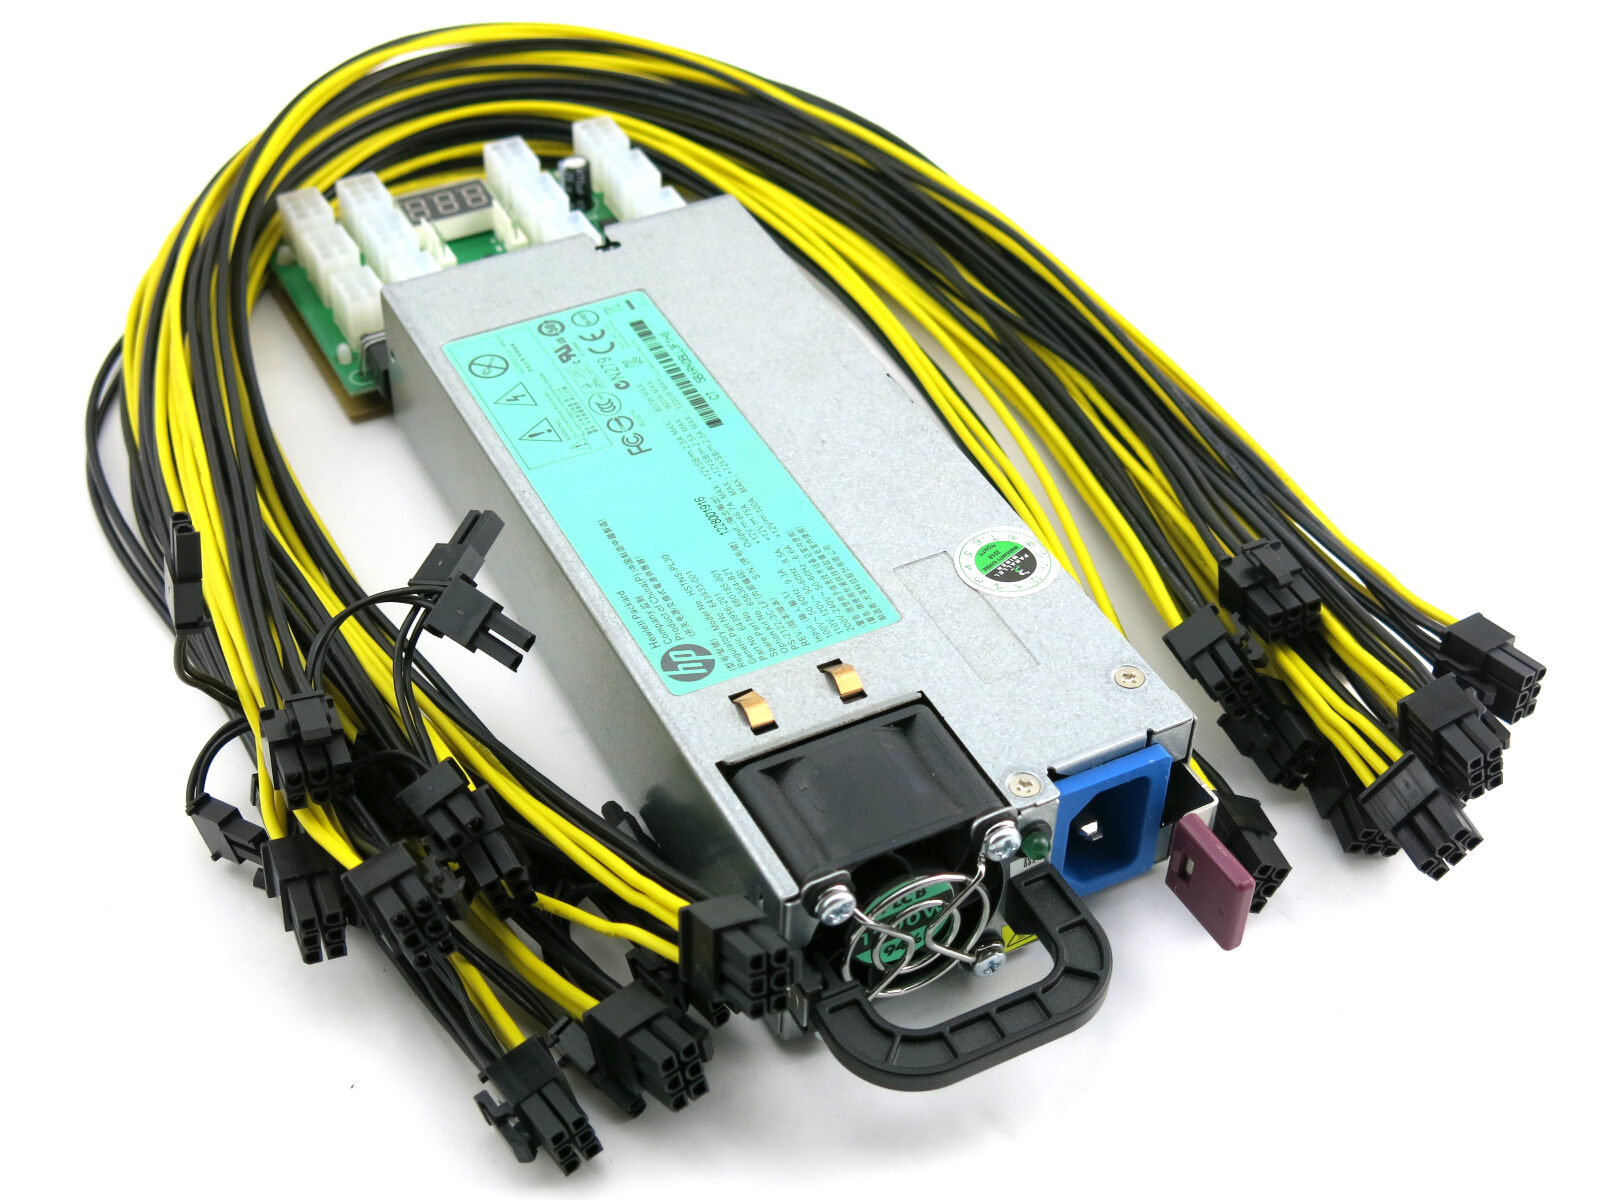
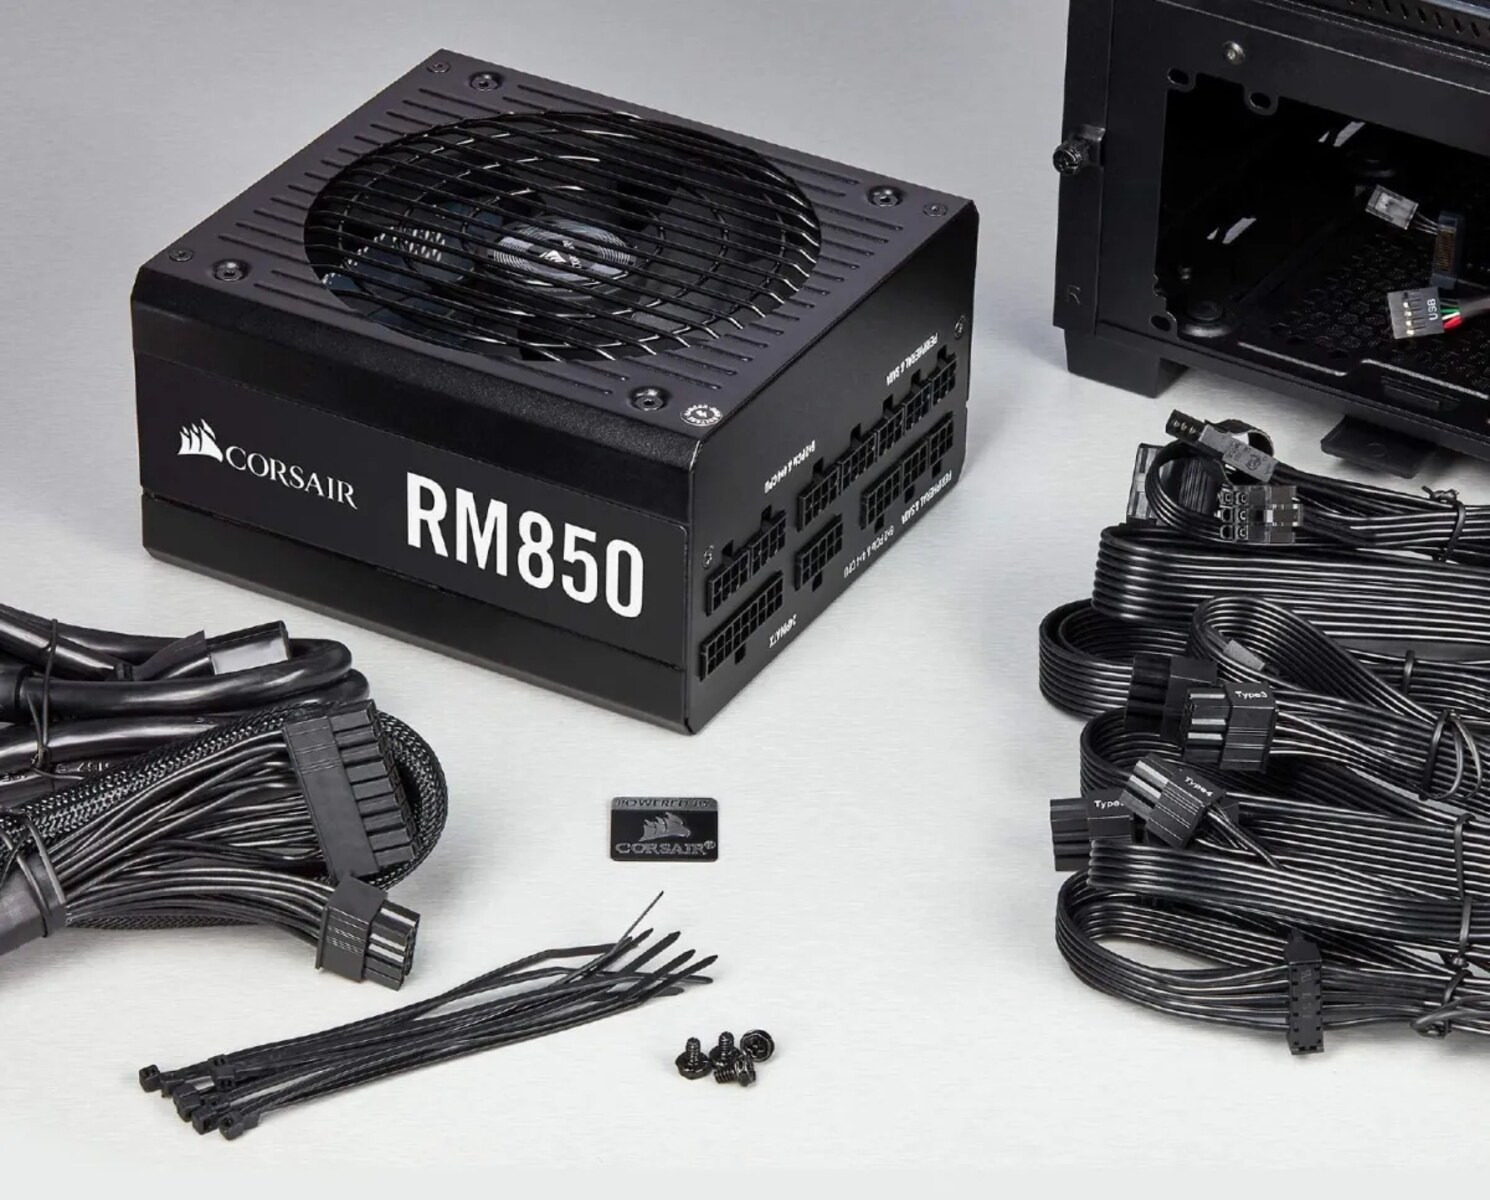
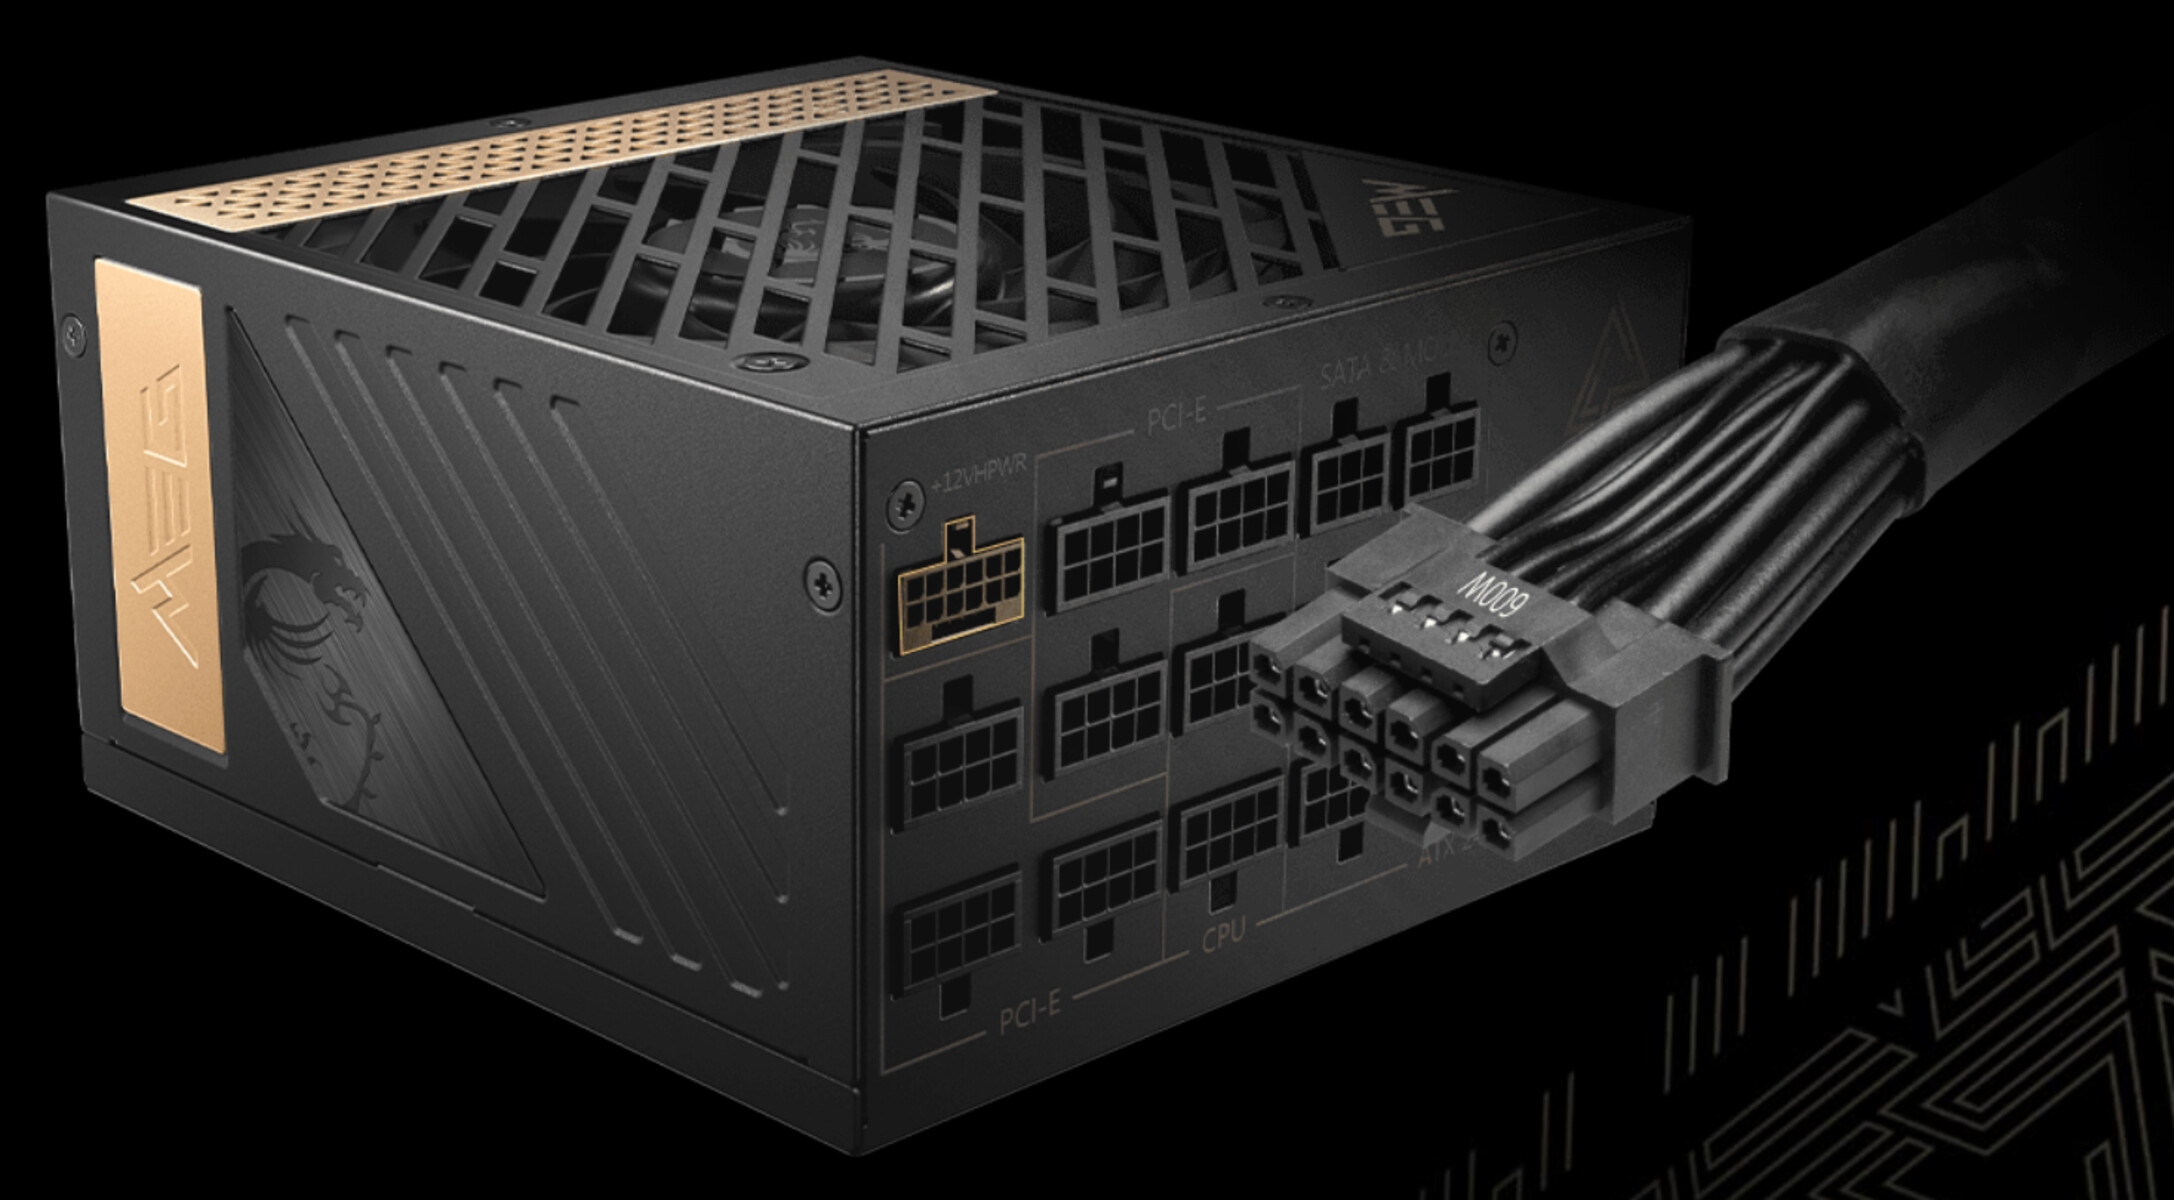
In addition to the power connectors on the graphics card, you’ll also need to consider the available power connectors on your PSU. Most modern PSUs come equipped with a variety of PCIe power connectors to accommodate different graphics cards. These connectors are typically labeled as PCIe or VGA connectors and can be either 6-pin or 8-pin.
Now that you have a basic understanding of the GPU power connector and its variations, let’s move on to the step-by-step process of plugging in your GPU to the PSU.
Steps to Plug in the GPU to the PSU
Plugging in your GPU to the PSU correctly involves a few simple steps. Follow the instructions below to ensure a proper and secure connection:
- Power off your computer and disconnect it from the power source. This is crucial for your safety and to prevent any potential damage during the installation process.
- Locate the PCIe power connectors on your PSU. These connectors are usually labeled as PCIe or VGA and are either 6-pin or 8-pin.
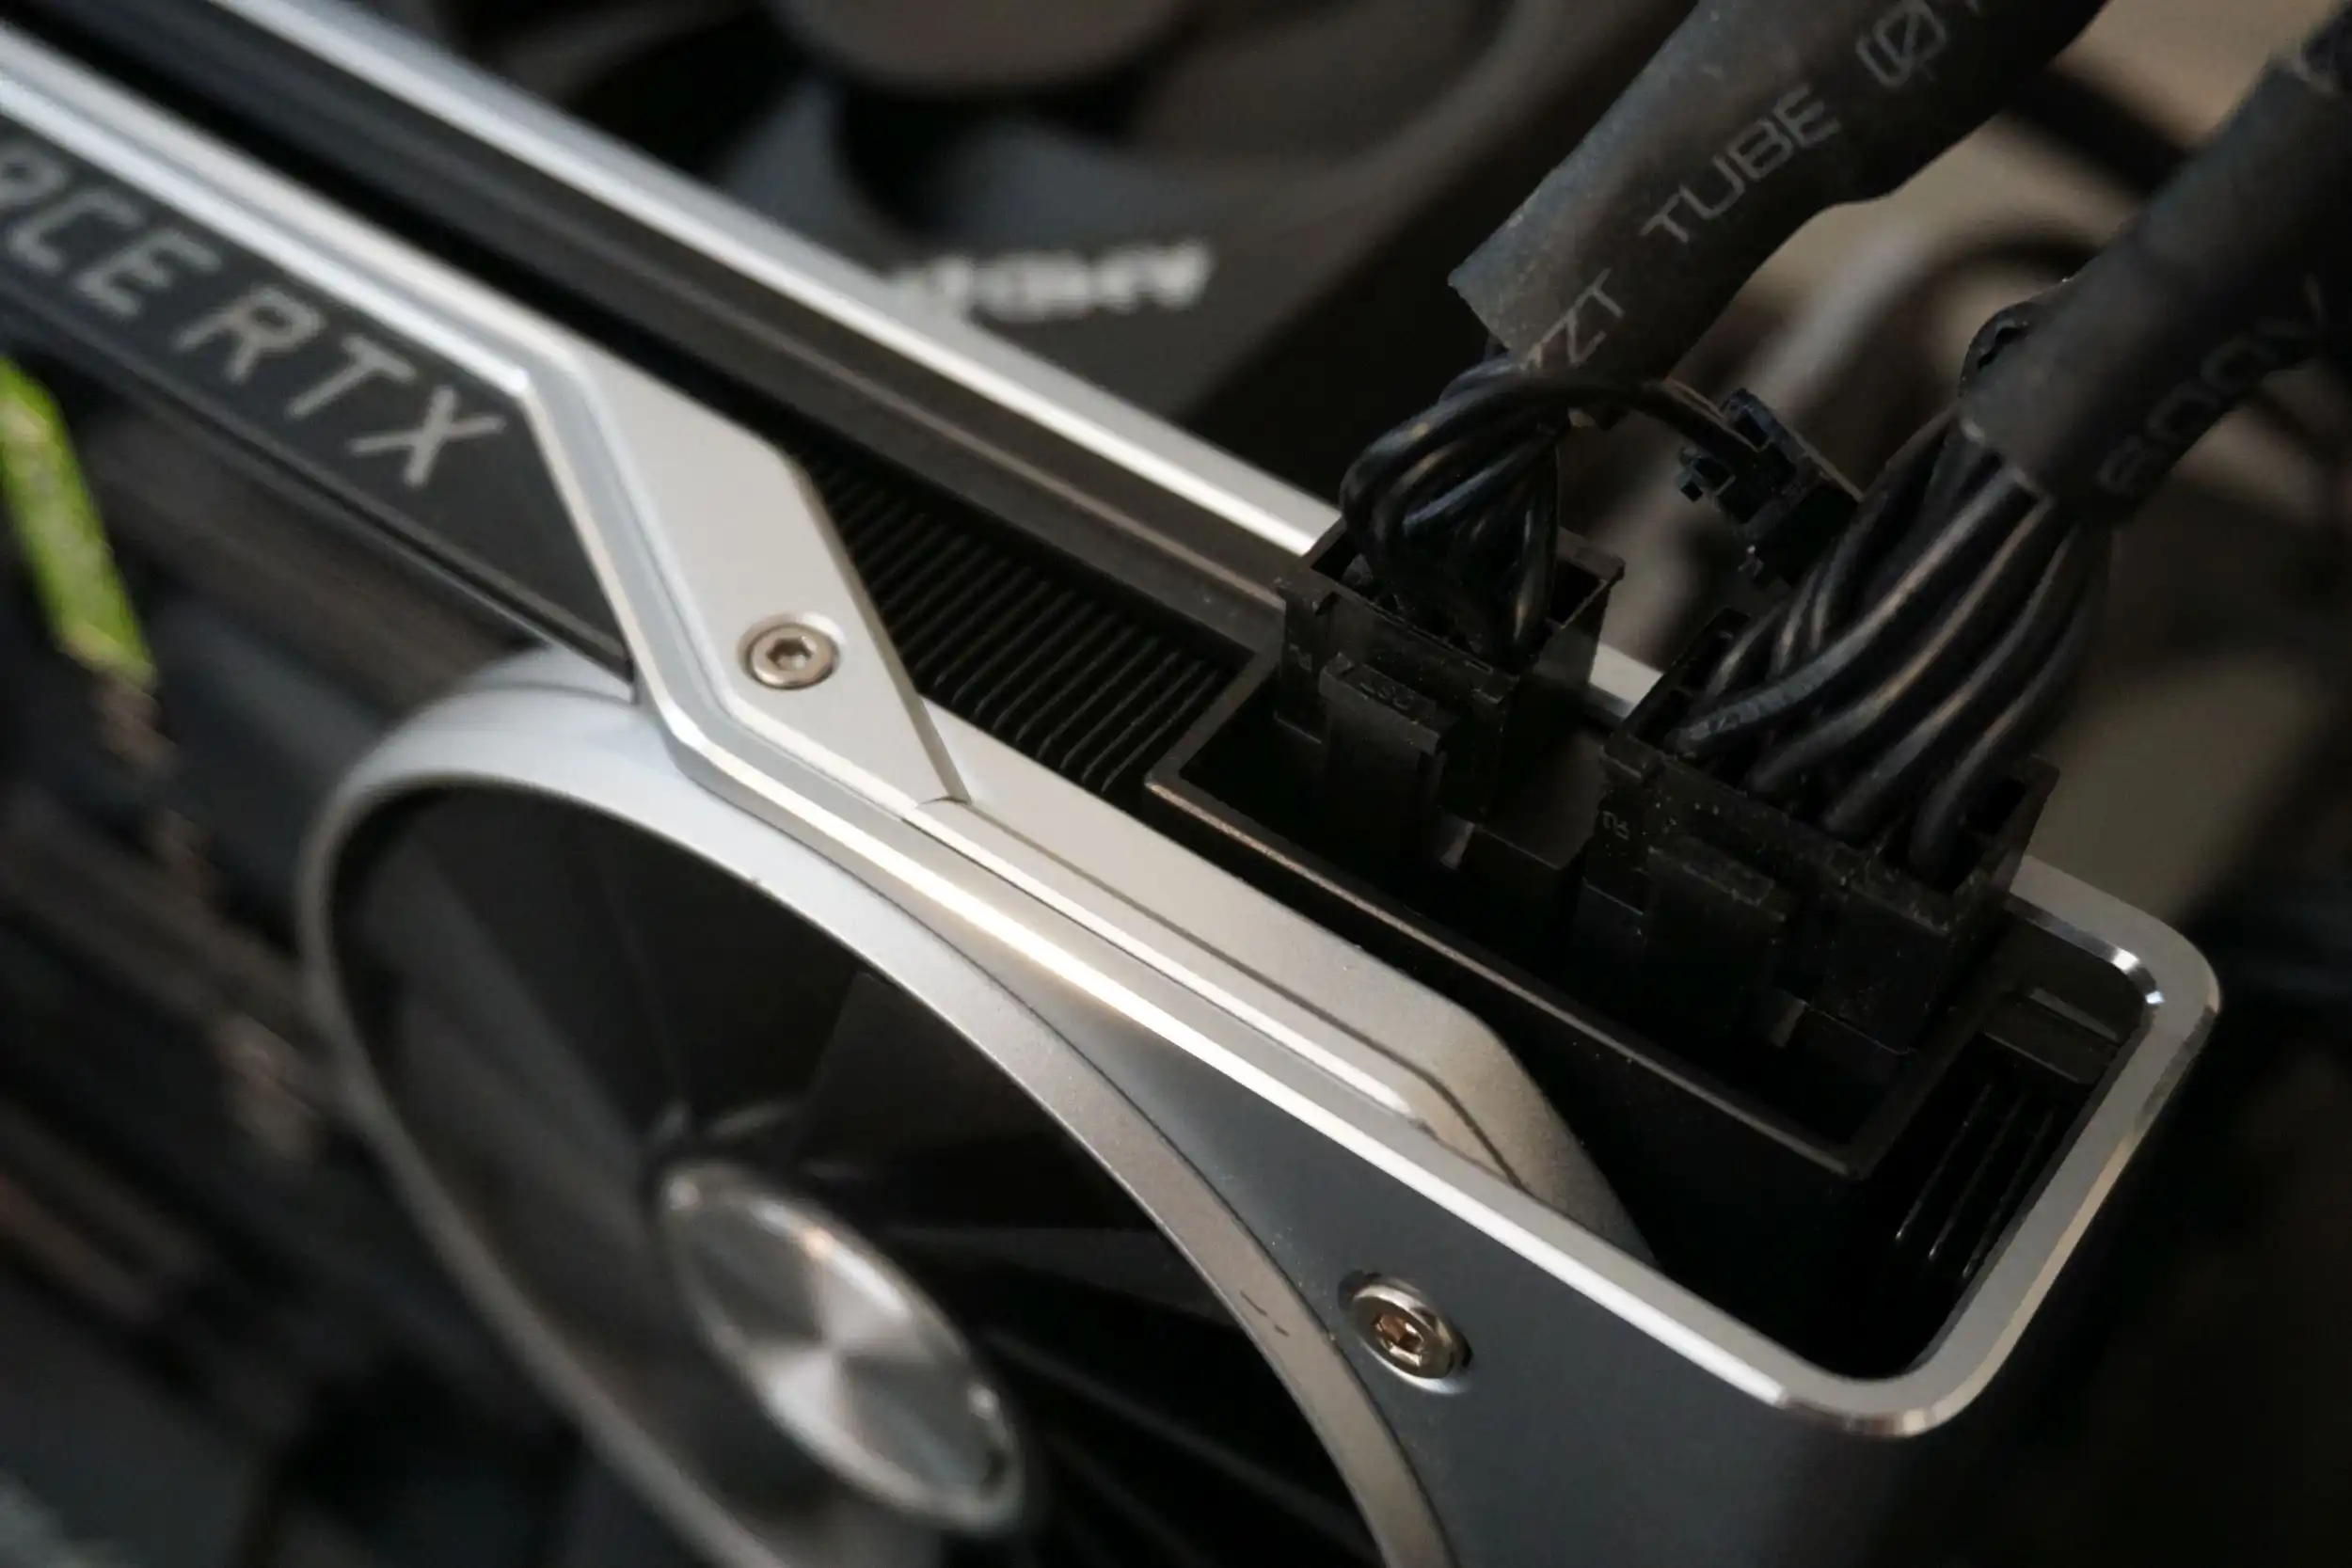
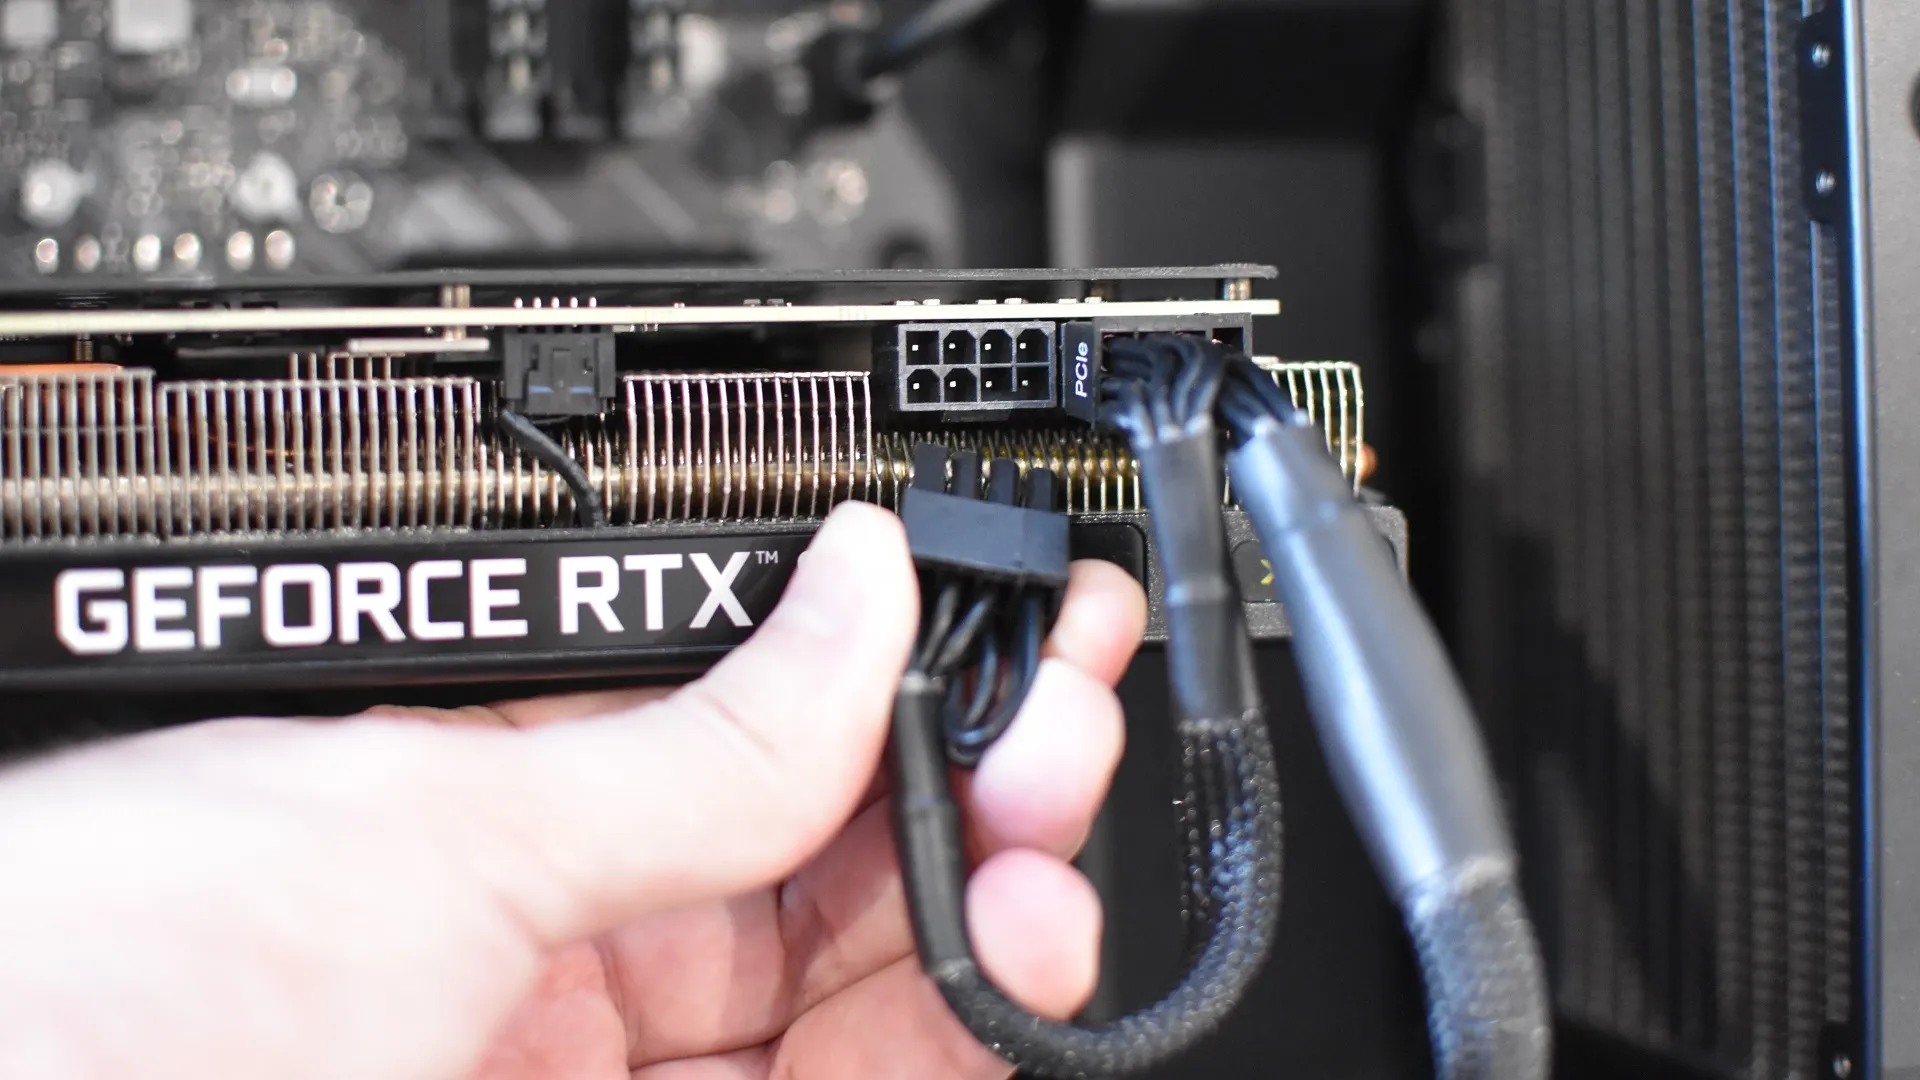
- Identify the GPU power connectors on your graphics card. Depending on your card, you may have a 6-pin, 8-pin, or a combination of both.
- Take note of the power requirements of your specific graphics card. Refer to the manufacturer’s specifications or documentation to determine the number and type of power connectors needed.
- Connect the appropriate power cables from the PSU to the GPU power connectors. Ensure that the connectors are inserted firmly and securely.
- Double-check the connections to make sure they are properly aligned and securely fastened. Loose connections can lead to power delivery issues and instability.
- Once all the power connections are secure, you can now connect your computer to the power source and power it on.
- After the computer has booted up, you can verify if the GPU is receiving adequate power. Check the GPU’s temperature and performance using monitoring software or the manufacturer’s utility program.
It’s worth noting that the steps above are general guidelines, and the specific process may vary depending on your graphics card and PSU. Always consult the manufacturer’s documentation for any specific instructions or precautions.
Now that you know how to plug in a single GPU to the PSU, let’s explore the steps involved in connecting multiple GPUs for those who require additional graphics processing power.
Connecting a Single GPU to a PSU
If you have a single GPU and want to connect it to your PSU, follow these steps:
- Ensure that your PSU has sufficient power capacity to handle your GPU. Check the GPU’s power requirements and make sure your PSU can provide enough power.
- Power off your computer and unplug it from the power source.
- Locate the PCIe power connectors on your PSU. These connectors are typically labeled as PCIe or VGA connectors.
- Identify the power connectors on your graphics card. Depending on your GPU model, you may have a 6-pin, 8-pin, or a combination of both.
- Connect the appropriate power cables from the PSU to the GPU power connectors. Make sure the connectors are fully inserted and securely fastened.
- Double-check the connections to ensure they are aligned correctly and firmly attached.
- Once all the connections are secure, you can plug your computer back into the power source.
- Power on your computer and check if the GPU is functioning properly. Monitor its temperature and performance to ensure it is receiving adequate power.
Remember to consult your graphics card and PSU manuals for any specific instructions or precautions.
Connecting a single GPU to the PSU is generally straightforward. However, if you plan to use multiple GPUs for increased graphics processing power, the process becomes slightly more complex. The next section will guide you through the steps involved in connecting multiple GPUs to a PSU.
Connecting Multiple GPUs to a PSU
If you have multiple GPUs and want to connect them to your PSU, follow these steps:
- Ensure that your PSU has sufficient power capacity to handle all the GPUs. Each GPU will require its own power connectors, so make sure your PSU has enough PCIe power connectors to accommodate all the graphics cards.
- Power off your computer and disconnect it from the power source.
- Identify the PCIe power connectors on your PSU. These connectors are typically labeled as PCIe or VGA, and you will need one for each GPU.
- Examine the power requirements of each GPU. Depending on the models you have, you may need a combination of 6-pin and 8-pin power connectors for each card.
- Connect the appropriate power cables from the PSU to each GPU power connector. Ensure that each connector is inserted fully and securely.
- Double-check all the connections to make sure they are aligned correctly and tightly fastened.
- Once all the power connections are secure, you can plug your computer back into the power source.
- Power on your computer and check if all the GPUs are functioning properly. Monitor their temperatures and performance to ensure they are receiving adequate power.
Connecting multiple GPUs to a PSU requires careful planning to ensure that each card receives the necessary power. Additionally, make sure that the PSU has enough PCIe power connectors and sufficient wattage to handle the increased power demands.
It’s worth noting that some high-end GPUs may require additional power through connectors such as SATA or Molex. Refer to the manufacturer’s specifications for your specific GPU model to determine if any extra power connections are needed.
Always consult the manuals or documentation provided with your graphics cards and PSU for any specific instructions or precautions when connecting multiple GPUs.
By following these steps, you can successfully connect multiple GPUs to your PSU and harness the increased graphics processing power for gaming or demanding tasks.
Tips for Troubleshooting GPU Power Connection Issues
While connecting your GPU to the PSU, you may encounter some common power connection issues. Here are some tips to help you troubleshoot and resolve those problems:
- Check the power cables: Ensure that all power cables are firmly connected to both the PSU and the GPU. Loose connections can result in insufficient power delivery or intermittent power supply. Reconnect the cables and make sure they are securely fastened.
- Verify power supply capacity: Confirm that your PSU has enough wattage to support your GPU’s power requirements. If the PSU is underpowered, your GPU may not receive enough power, leading to performance issues or system instability. Consider upgrading to a higher wattage PSU if necessary.
- Inspect the power connectors: Examine the power connectors on both the PSU and the GPU for any signs of damage or debris. Clean any dust or debris and ensure that the pins are not bent or damaged. A faulty power connector can result in inconsistent power delivery or no power at all.
- Try different power connectors: If you have multiple available power connectors on your PSU, try using a different connector for your GPU. It’s possible that a specific connector may be faulty, and using another one may resolve the power connection issue.
- Upgrade your PSU: If you have upgraded your GPU or added additional components to your computer system, it is possible that your current PSU may no longer be sufficient. Consider upgrading to a higher wattage PSU to ensure consistent power supply to all components.
- Update drivers and BIOS: Outdated drivers or BIOS firmware can sometimes cause power-related issues. Make sure to keep your GPU drivers and system BIOS up to date. Check the manufacturer’s website for the latest updates and install them accordingly.
- Seek professional assistance: If you have tried all the troubleshooting tips and are still experiencing power connection issues with your GPU, it may be best to seek professional assistance. Contact your GPU manufacturer’s support or consult with a computer technician who can diagnose and resolve the issue.
Remember to always take precautions when working with computer components and power connections. Ensure that your computer is turned off and unplugged from the power source before making any changes or inspecting the power connections.
By following these troubleshooting tips, you can effectively diagnose and resolve common GPU power connection issues and enjoy a smooth and reliable computing experience.
Conclusion
Properly plugging in your GPU to the PSU is crucial for optimal performance, stability, and longevity of your graphics card. By ensuring a secure and accurate power connection, you can maximize your GPU’s potential and minimize the chances of power-related issues.
In this article, we discussed the importance of properly plugging in your GPU to the PSU and understanding the GPU power connector. We provided step-by-step instructions for connecting a single GPU and multiple GPUs to a PSU, along with troubleshooting tips for common power connection issues.
Remember to always consult the manufacturer’s documentation for specific instructions and precautions. Double-check all power connections, ensure your PSU can handle the power requirements, and keep your drivers and BIOS up to date.
With a proper GPU power connection, you can enjoy smooth gaming experiences, flawlessly render graphic-intensive projects, and maintain the reliability and longevity of your graphics card.
Now that you have a comprehensive understanding of how to plug in your GPU to the PSU, you can confidently assemble your computer system and unleash the full potential of your graphics card.