Introduction
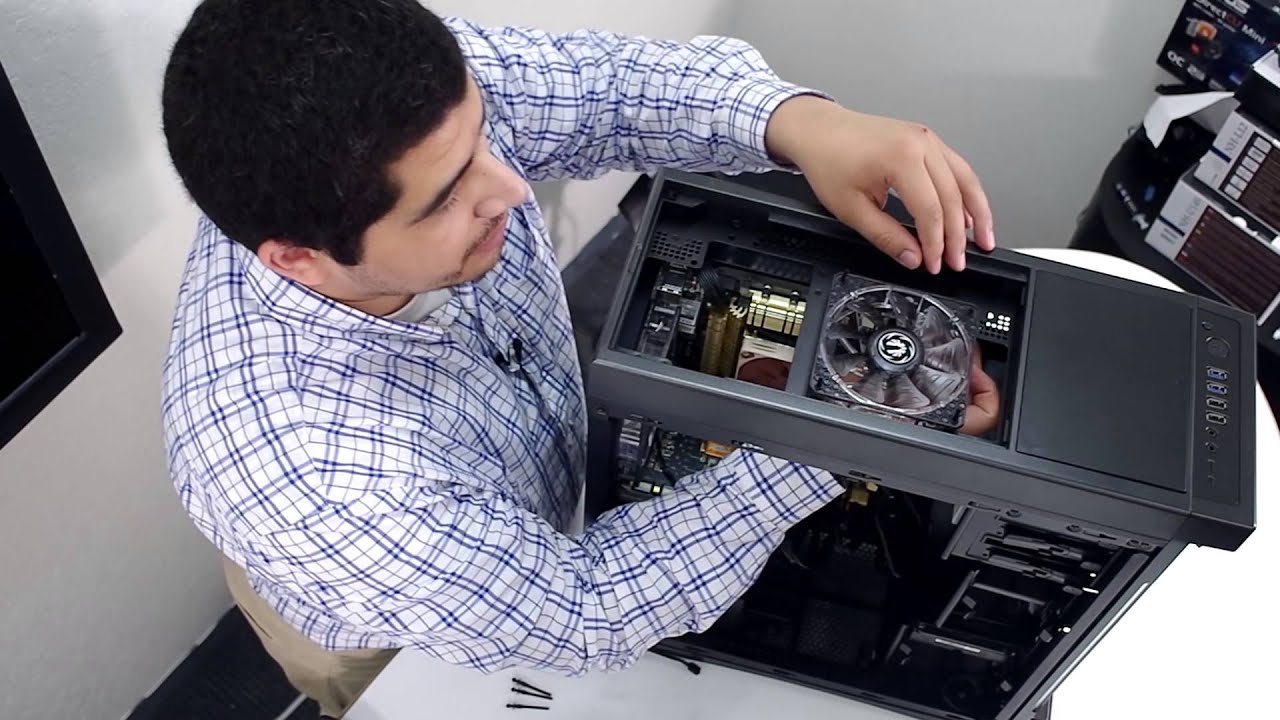
Welcome to our guide on where to connect the pump power header to the PSU. If you’re a seasoned PC builder or a newbie looking to build your first system, understanding the different components and their connections is essential. The pump power header is one such component that plays a critical role in the functionality of liquid cooling systems.
When it comes to liquid cooling, the pump is responsible for circulating the coolant through all the components, ensuring efficient heat dissipation. To power the pump, you need to connect it to a suitable power source on your power supply unit (PSU). However, determining the appropriate connection for the pump power header can be confusing for many, especially with the various PSU and pump configurations available.
In this guide, we’ll delve into the importance of the pump power header, the different types you may encounter, and provide a step-by-step guide on how to connect it to the PSU effectively. By the end of this article, you’ll have a clear understanding of where to connect the pump power header, ensuring your liquid cooling system operates smoothly and efficiently.
Whether you’re using an all-in-one (AIO) liquid cooler or a custom water cooling loop, understanding the pump power header connection is crucial for proper system functionality. Let’s jump into the details of why the pump power header is important in the next section.
Why is the pump power header important?
The pump power header is a crucial component in a liquid cooling system, as it is responsible for providing power to the pump that circulates the coolant. Without a properly functioning pump, the entire cooling system would be rendered useless, leading to potential overheating of components and decreased performance.
Here are some key reasons why the pump power header is important:
- Efficient coolant circulation: The pump power header ensures the pump receives the necessary power to circulate the coolant effectively. This is essential for transferring heat away from the CPU, GPU, and other components, allowing them to operate at optimal temperatures.
- Maintaining system stability: A reliable pump power connection ensures stable coolant flow, preventing any potential disruptions in the cooling system. By maintaining a consistent flow rate, the pump power header helps to maintain system stability and prevent overheating.
- Extended component lifespan: By keeping the components cool, the pump power header plays a vital role in extending their lifespan. Overheating can lead to premature failure or reduced performance of critical components, such as the CPU and GPU. The pump power connection ensures that heat is efficiently carried away, preserving the longevity and reliability of these components.
- Noise reduction: Optimal cooling can help reduce fan speeds, resulting in quieter operation. A properly functioning pump ensures efficient coolant circulation, leading to improved cooling performance and potentially allowing for lower fan speeds.
- Easy control and monitoring: Some pump power headers offer additional features, such as PWM (Pulse Width Modulation) control, which allows for fine-tuning of the pump speed. This enables users to adjust the pump’s performance based on their cooling needs, whether they require maximum cooling power or a quieter operation.
Understanding the importance of the pump power header is vital for anyone building or upgrading a liquid cooling system. In the next section, we will discuss the different types of pump power headers you may encounter.
Types of pump power headers
When it comes to pump power headers, there are several types that you may encounter depending on the specific liquid cooling system you are using. Each type has its own characteristics and requirements. Understanding the different types will help ensure you make the correct connection to your power supply unit (PSU) for optimal performance.
Here are the most common types of pump power headers:
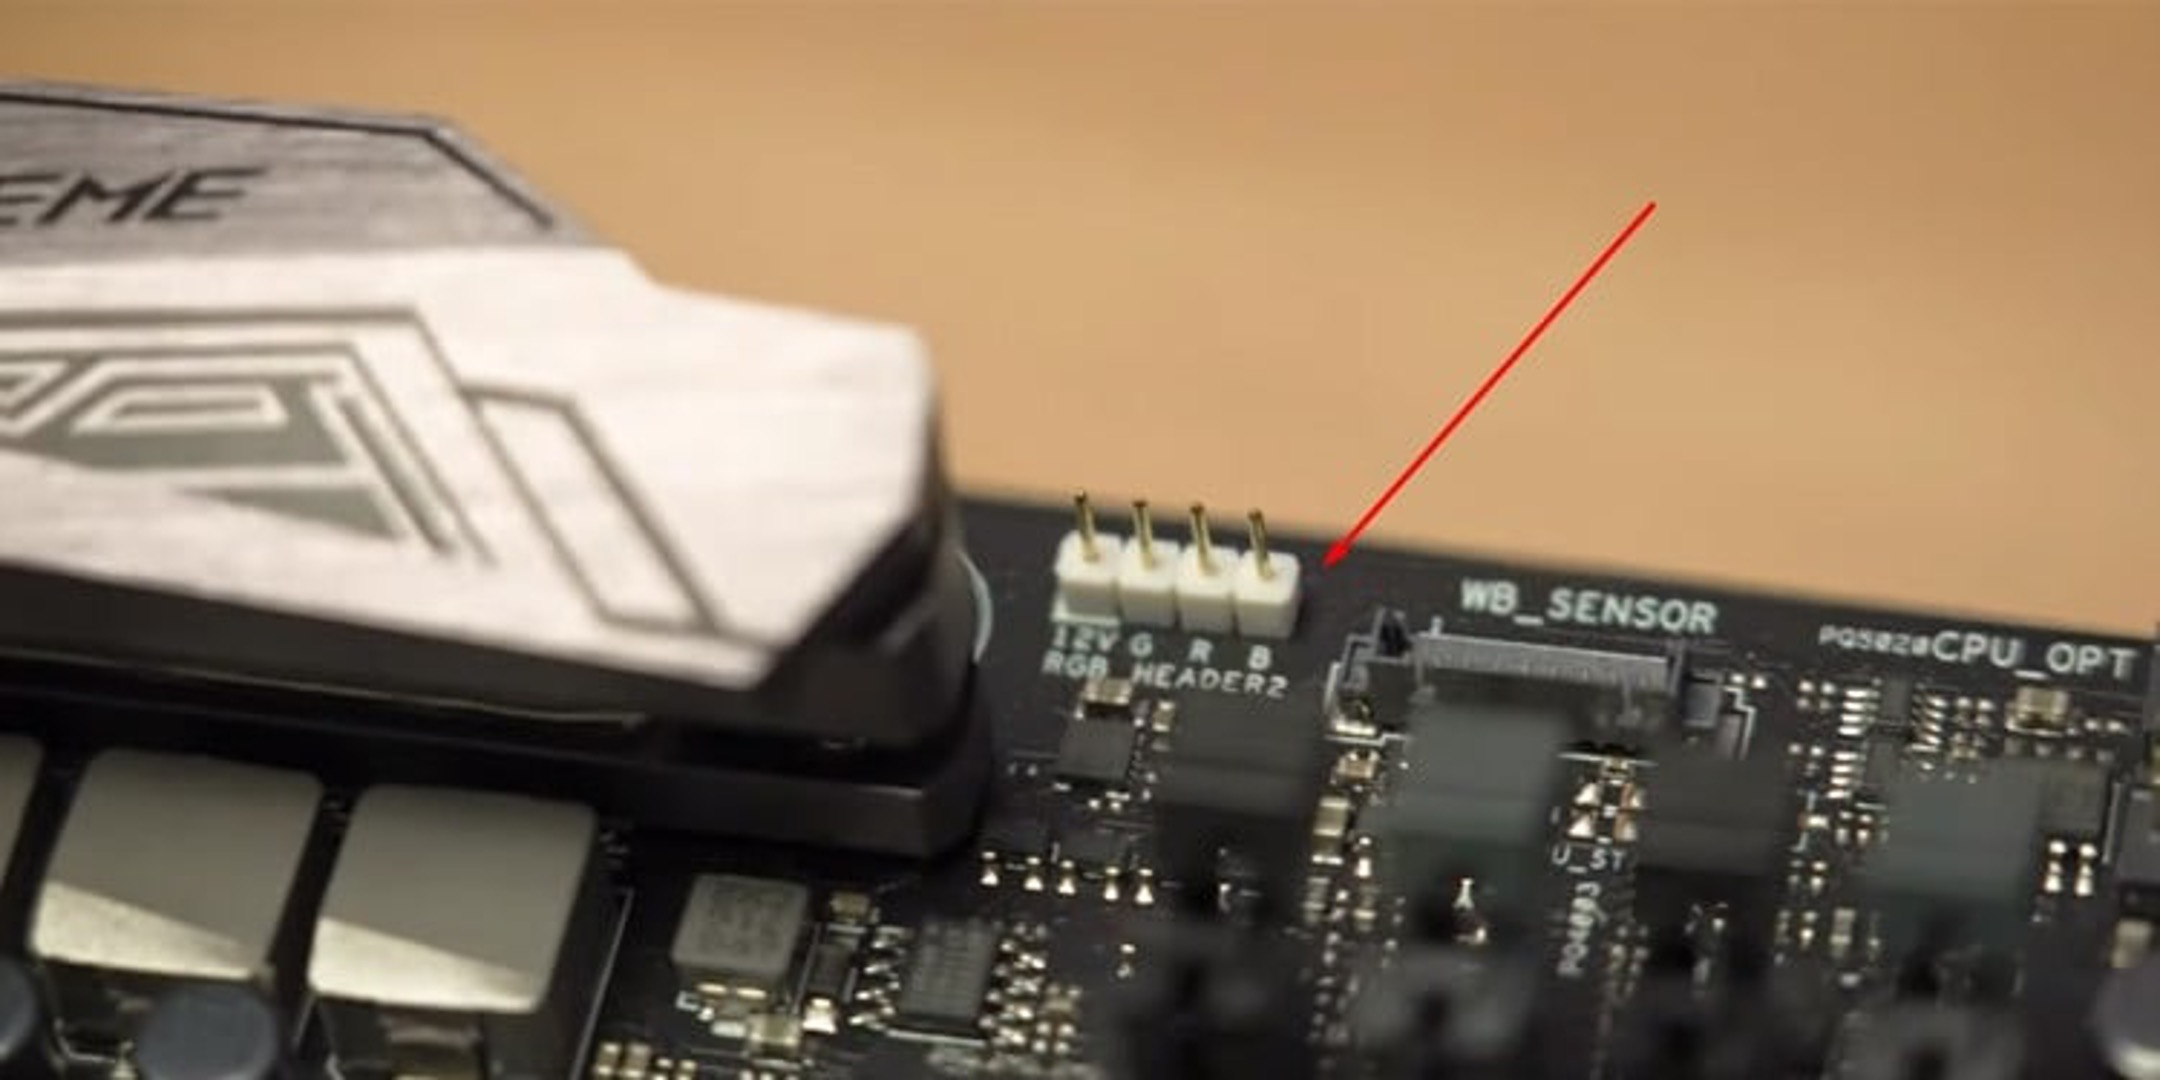
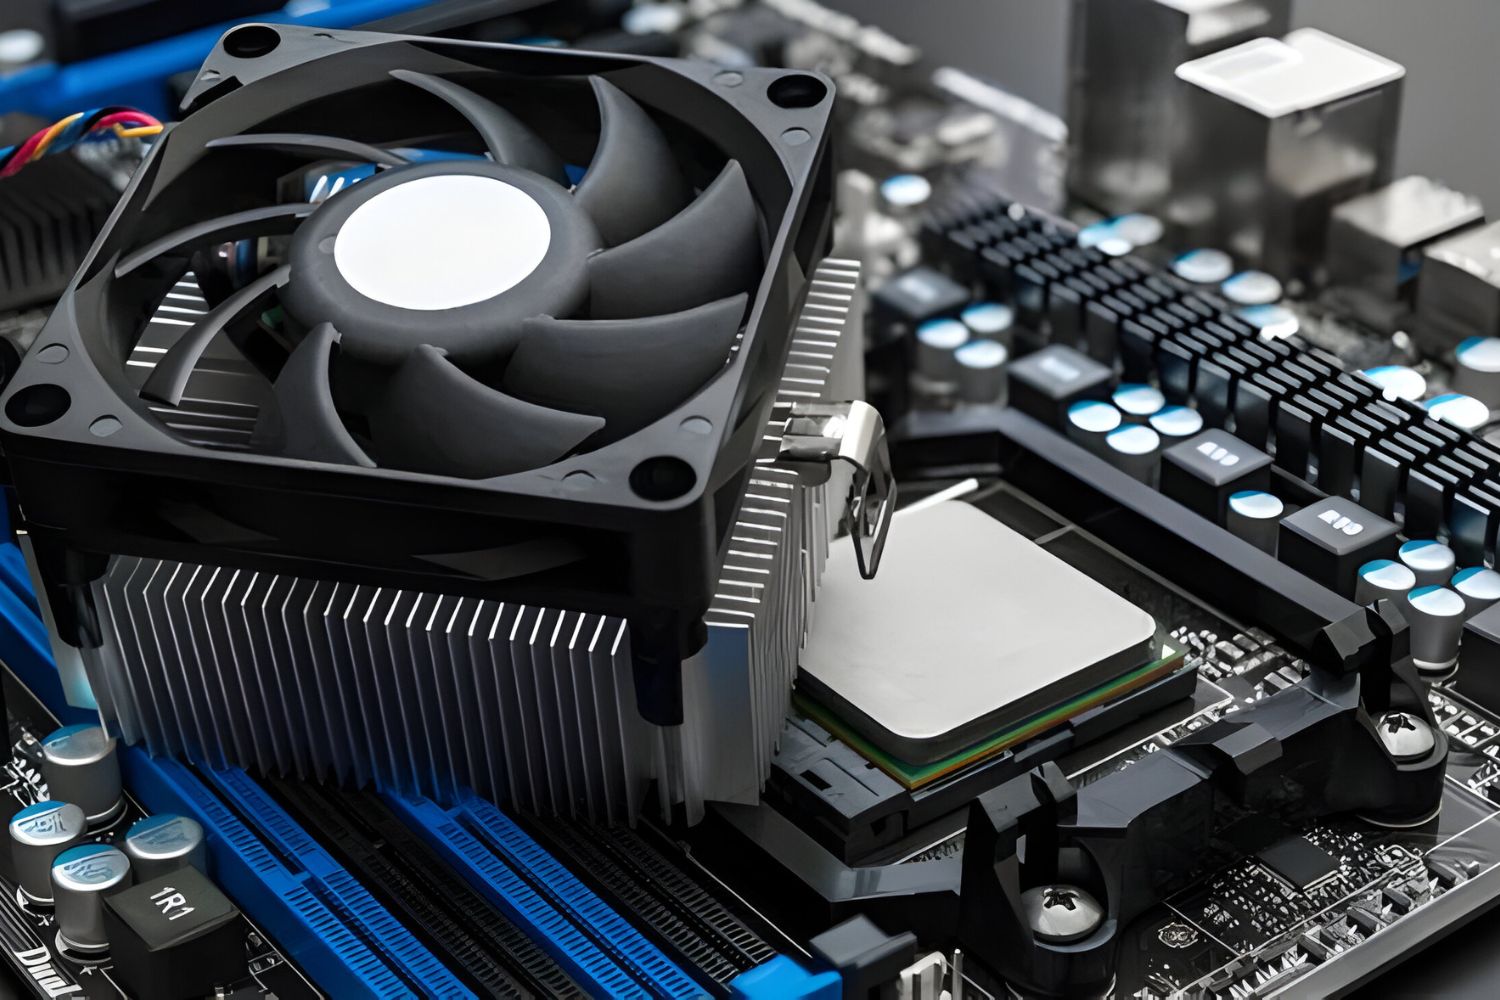
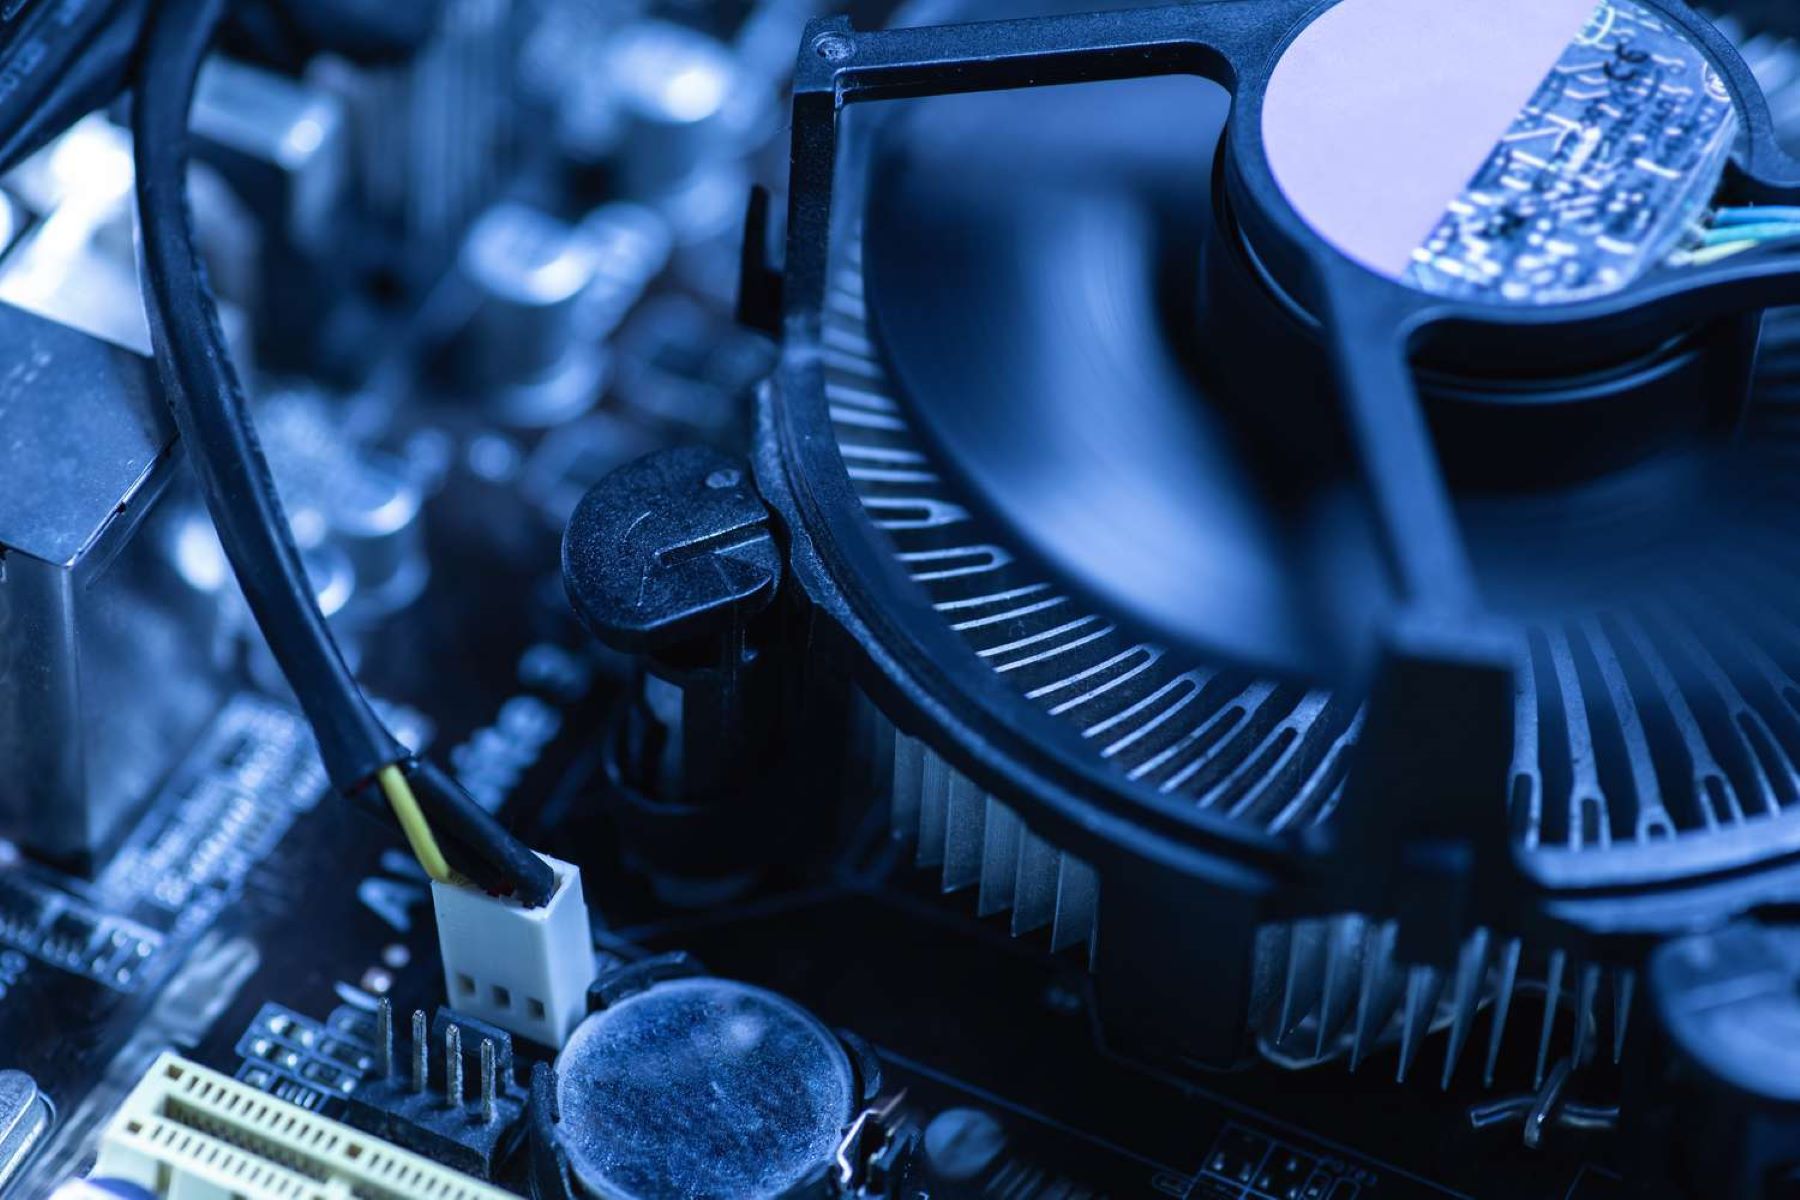
- 3-pin pump power header: This type of pump power header consists of three pins and is commonly found in older liquid cooling systems or budget-friendly all-in-one (AIO) coolers. The three pins typically provide the necessary power and ground connection for the pump. The speed of the pump is not directly adjustable with a 3-pin header, as it runs at a fixed rate.
- 4-pin pump power header: The 4-pin pump power header, also known as a PWM (Pulse Width Modulation) header, is the most common type found in modern liquid cooling systems. It is compatible with both PWM and DC (Direct Current) pumps. The additional pin allows for more advanced controls, such as adjusting the pump speed based on temperature or system load. The 4-pin header provides power, ground, and control signal connections.
- Molex pump power connector: Some liquid cooling systems, particularly older models or certain custom water cooling setups, may use a Molex pump power connector. This type of connection utilizes a 4-pin Molex connector, commonly used for powering various devices in a computer system. The Molex connector provides power directly from the PSU, and the pump runs at a fixed speed without any control or monitoring capabilities.
- SATA pump power connector: Another type of pump power connector is the SATA connector. Similar to the Molex connector, the SATA connector is widely used for powering various components in a computer system. It provides a reliable power source for the pump, usually found in newer AIO coolers or specific liquid cooling setups that utilize this type of connection.
When connecting your pump power header to the PSU, it is essential to identify the type of connection your system requires. This information can usually be found in the manufacturer’s documentation or by consulting the system specifications. With the understanding of the different types of pump power headers, let’s move on to the next section, where we will provide a step-by-step guide on connecting the pump power header to the PSU.
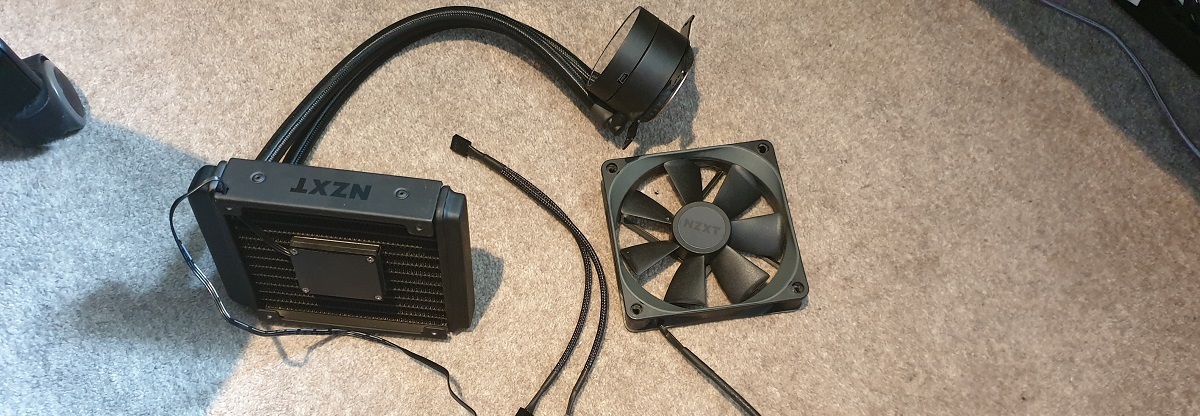
Connecting the pump power header to the PSU
Connecting the pump power header to the power supply unit (PSU) is a crucial step in setting up your liquid cooling system. Depending on the type of pump power header you have and the connectors available on your PSU, the process may vary slightly. However, the overall concept remains the same.
Here is a general step-by-step guide on connecting the pump power header to the PSU:
- Identify the pump power header: Locate the pump power header on your liquid cooling system. It is usually labeled as “PUMP” or “PUMP FAN” and can be found near the area where the pump is installed.
- Ensure power supply is switched off: Before making any connections, ensure that the power to your system is switched off and unplugged from the wall outlet. This step is crucial for your safety during the installation process.
- Identify the appropriate connector on your PSU: Depending on the type of pump power header you have, you will need to identify the corresponding connector on your PSU. This could be a 3-pin or 4-pin fan connector, a Molex connector, or a SATA connector.
- Connect the pump power header: Take the appropriate connector from your PSU and plug it into the pump power header on your liquid cooling system. Ensure that the connection is secure and properly aligned. Double-check the pins or slots to ensure a proper fit before applying any force.
- Secure the connections: Once the pump power header is connected to the PSU, use zip ties or cable management solutions to secure the cables and prevent them from interfering with other components or obstructing airflow.
- Check for any additional connections: Depending on your specific liquid cooling system, there may be additional connectors for controlling the pump speed or monitoring its status. Refer to the manufacturer’s documentation to identify if any further connections are required.
- Double-check the connections: Before powering on your system, double-check all the connections to ensure they are secure and properly aligned. This step is crucial to avoid any potential damage or malfunctions.
- Power on your system: Once you have completed the connection of the pump power header to the PSU and confirmed all other connections, you can proceed to power on your system. Monitor the pump’s operation and ensure it is functioning correctly.
It’s important to note that the steps above provide a general guideline. Always consult the documentation provided by the liquid cooling system manufacturer for specific instructions and compatibility information. Now that you have successfully connected the pump power header to the PSU, we will address common issues and troubleshooting in the next section.
Step-by-step guide to connecting the pump power header to the PSU
Connecting the pump power header to the power supply unit (PSU) is a crucial step in setting up your liquid cooling system. Follow this step-by-step guide to ensure a smooth and successful connection:
- Locate the pump power header: Identify the pump power header on your liquid cooling system. It is typically labeled as “PUMP” or “PUMP FAN” and can usually be found near the area where the pump is installed.
- Switch off the power supply: Before making any connections, be sure to switch off the power supply and unplug it from the wall outlet. This is an important safety measure to prevent any accidents during the installation process.
- Identify the appropriate PSU connector: Depending on the type of pump power header you have, you will need to locate the corresponding connector on your PSU. This could be a 3-pin or 4-pin fan connector, a Molex connector, or a SATA connector. Refer to the PSU’s user manual or manufacturer’s documentation for assistance if needed.
- Connect the pump power header: Take the appropriate connector from your PSU and carefully plug it into the pump power header on your liquid cooling system. Ensure the connection is secure and properly aligned. Do not force the connector if it doesn’t fit; check if you’ve chosen the correct connector before proceeding.
- Secure the cable connections: After connecting the pump power header to the PSU, use zip ties or cable management solutions to secure the cables in place. This will prevent any interference with other components and ensure proper airflow within the system.
- Check for additional connections: Depending on your specific liquid cooling system, there may be additional connectors for controlling the pump speed or monitoring its status. Refer to the manufacturer’s documentation to identify if any further connections are required and connect them accordingly.
- Double-check the connections: Before powering on your system, double-check all the connections to ensure they are secure and properly aligned. Confirm that the pump power header is firmly connected to the PSU and that all other necessary connections are in place.
- Power on your system: Once you have completed the connection of the pump power header to the PSU and verified all other connections, you can proceed to power on your system. Monitor the operation of the pump to ensure it is functioning correctly.
Remember to consult the documentation provided by the liquid cooling system manufacturer for specific instructions and compatibility information. Following this step-by-step guide will help you successfully connect the pump power header to the PSU, ensuring optimal performance of your liquid cooling system.
Common issues and troubleshooting
While connecting the pump power header to the power supply unit (PSU) is a relatively straightforward process, there are some common issues that may arise. It’s important to be aware of these issues and how to troubleshoot them to ensure the proper functioning of your liquid cooling system:
- Loose connections: One common issue is a loose connection between the pump power header and the PSU. Ensure that all connections are securely plugged in and properly aligned. If the connection feels loose, try reinserting the connector and ensuring a firm connection.
- Incompatibility: Another issue that may arise is incompatibility between the pump power header and the PSU connector. Double-check the specifications and compatibility requirements of both components to ensure they are compatible. If there are compatibility issues, you may need to use an adapter or contact the manufacturer for further assistance.
- Power supply issues: Sometimes, the issue may lie with the power supply itself. Check if the PSU is providing the appropriate voltage and amperage to power the pump. Verify that the PSU is functioning correctly and consider testing the system with a different PSU to rule out any power-related problems.
- Incorrect speed control: If you have a PWM-controlled pump, check the speed control settings in your BIOS or through dedicated software. Ensure that the pump speed is set correctly according to your cooling requirements. Incorrect speed control settings may result in inadequate cooling or excessive noise.
- Faulty pump: In some cases, the pump itself may be faulty. If you have checked all the connections, verified compatibility, and ensured proper power supply, but the pump is still not functioning, it is possible that the pump itself is defective. Contact the manufacturer or the vendor for further assistance or possible replacement.
- Overheating issues: If, after connecting the pump power header, you notice overheating issues or inadequate cooling performance, there may be a problem with the liquid cooling system as a whole. Check for any blockages or leaks in the system, ensure proper coolant level, and confirm that the pump is running at the appropriate speed. Consult the manufacturer’s documentation or seek professional help if necessary.
If you encounter any issues during the connection process or while using your liquid cooling system, troubleshooting is key. Refer to the system’s documentation, reach out to the manufacturer’s support team, or consult online forums for guidance and assistance specific to your particular setup. By understanding common issues and troubleshooting steps, you can effectively address and resolve any problems that may arise with your pump power header and ensure efficient operation of your liquid cooling system.
Conclusion
Connecting the pump power header to the power supply unit (PSU) is a crucial step in setting up a liquid cooling system. Understanding the importance of the pump power header and successfully making the correct connection ensures efficient coolant circulation, system stability, extended component lifespan, noise reduction, and easy control and monitoring.
In this guide, we discussed the importance of the pump power header in a liquid cooling system and explored the different types of pump power headers you may encounter. We provided a step-by-step guide to help you connect the pump power header to the PSU effectively. Additionally, we addressed common issues and troubleshooting tips to overcome any problems that may arise during the connection process.
Remember to always refer to the documentation provided by the liquid cooling system manufacturer for specific instructions and compatibility information. Troubleshooting any issues that may arise during the connection process is key in ensuring the proper functionality of your liquid cooling system.
Now that you have a solid understanding of where to connect the pump power header to the PSU, you can confidently set up your liquid cooling system and enjoy the benefits of efficient and effective cooling for your PC components.