Introduction
When it comes to manufacturing and production, technology has made great strides in recent years, paving the way for innovative and efficient solutions. One such technological advancement that has gained significant attention is 3D printing. Also known as additive manufacturing, 3D printing is revolutionizing the way we create and produce objects.
Unlike traditional manufacturing methods that involve subtractive processes like cutting or drilling, 3D printing builds objects layer by layer, using a digital file as a guide. This process has opened up a world of possibilities, allowing for the creation of complex and intricate designs that were once deemed impossible or too costly to produce.
With its ability to print a wide range of materials, including plastics, metals, and even food, 3D printing has found applications in various industries, such as healthcare, aerospace, automotive, and consumer products. From prototyping to custom manufacturing, this technology has the potential to disrupt conventional production methods and facilitate on-demand manufacturing.
In this article, we will explore the fascinating world of 3D printing, delving into its intricacies and uncovering the step-by-step process behind it. We will also examine the different types of 3D printing technologies, the materials used, and the post-processing techniques involved. So, let’s dive in and unravel the fascinating world of 3D printing.
What is 3D Printing?
At its core, 3D printing is an additive manufacturing process that allows the creation of three-dimensional objects from a digital model. It takes a digital design, slices it into thin layers, and then builds these layers one by one to form a physical object. This groundbreaking technology has gained immense popularity due to its versatility, precision, and cost-effectiveness.
Unlike traditional manufacturing methods, such as injection molding or CNC machining, which require the removal of material to create an object, 3D printing adds material layer by layer, enabling highly complex designs to come to life with ease. This additive process not only reduces waste but also offers the freedom to create intricate shapes, internal structures, and customized products.
One of the key advantages of 3D printing is its ability to fabricate objects on-demand. This means that products can be created as they are needed, eliminating the need for bulk production and minimizing inventory costs. Additionally, the digital nature of 3D printing allows for easy customization and rapid prototyping, enabling designers and engineers to iterate quickly and efficiently.
Over the years, 3D printing has expanded its capabilities and materials, making it suitable for a wide range of applications. From manufacturing prototypes and functional parts to creating intricate jewelry and artistic sculptures, the possibilities are virtually endless.
The growth and accessibility of 3D printing have also led to the emergence of community-driven platforms, where individuals can share and download digital designs, further democratizing the manufacturing process. This has given rise to a new wave of innovation and creativity, as anyone with access to a 3D printer can bring their ideas to life.
In the following sections, we will explore the intricacies of the 3D printing process, the different technologies involved, and its numerous applications in various industries. So, let’s continue our journey into the world of 3D printing and discover the fascinating possibilities it offers.
How Does 3D Printing Work?
Understanding the process behind 3D printing is essential to grasp the intricacies of this innovative technology. The basic workflow of 3D printing involves three main steps: creating a digital design, converting it into printable instructions, and then executing the printing process.
The first step in 3D printing is creating a digital design using computer-aided design (CAD) software. This software allows designers to model their ideas in a virtual environment, manipulating shapes, dimensions, and textures. Once the design is complete, it can be saved as a standard file format, such as STL (Standard Tessellation Language) or OBJ (Object) file, which contains the geometric data needed for the printing process.
After the design is ready, the next step is to prepare it for 3D printing. This involves converting the design into a printable format known as a slicer file. Slicer software analyzes the digital model and slices it into thin layers, determining the precise path and instructions for the 3D printer. These instructions include details like layer height, printing speed, and support structures if needed. The slicer file is then saved in a format recognizable by the specific 3D printer being used.
Once the design is sliced, it is time to execute the printing process. The 3D printer reads the instructions from the slicer file and begins building the object layer by layer. Depending on the printing technology, the printer may use different materials, such as plastic filament, resin, or metal powders.
The printing process varies depending on the type of 3D printing technology used. Some common technologies include:
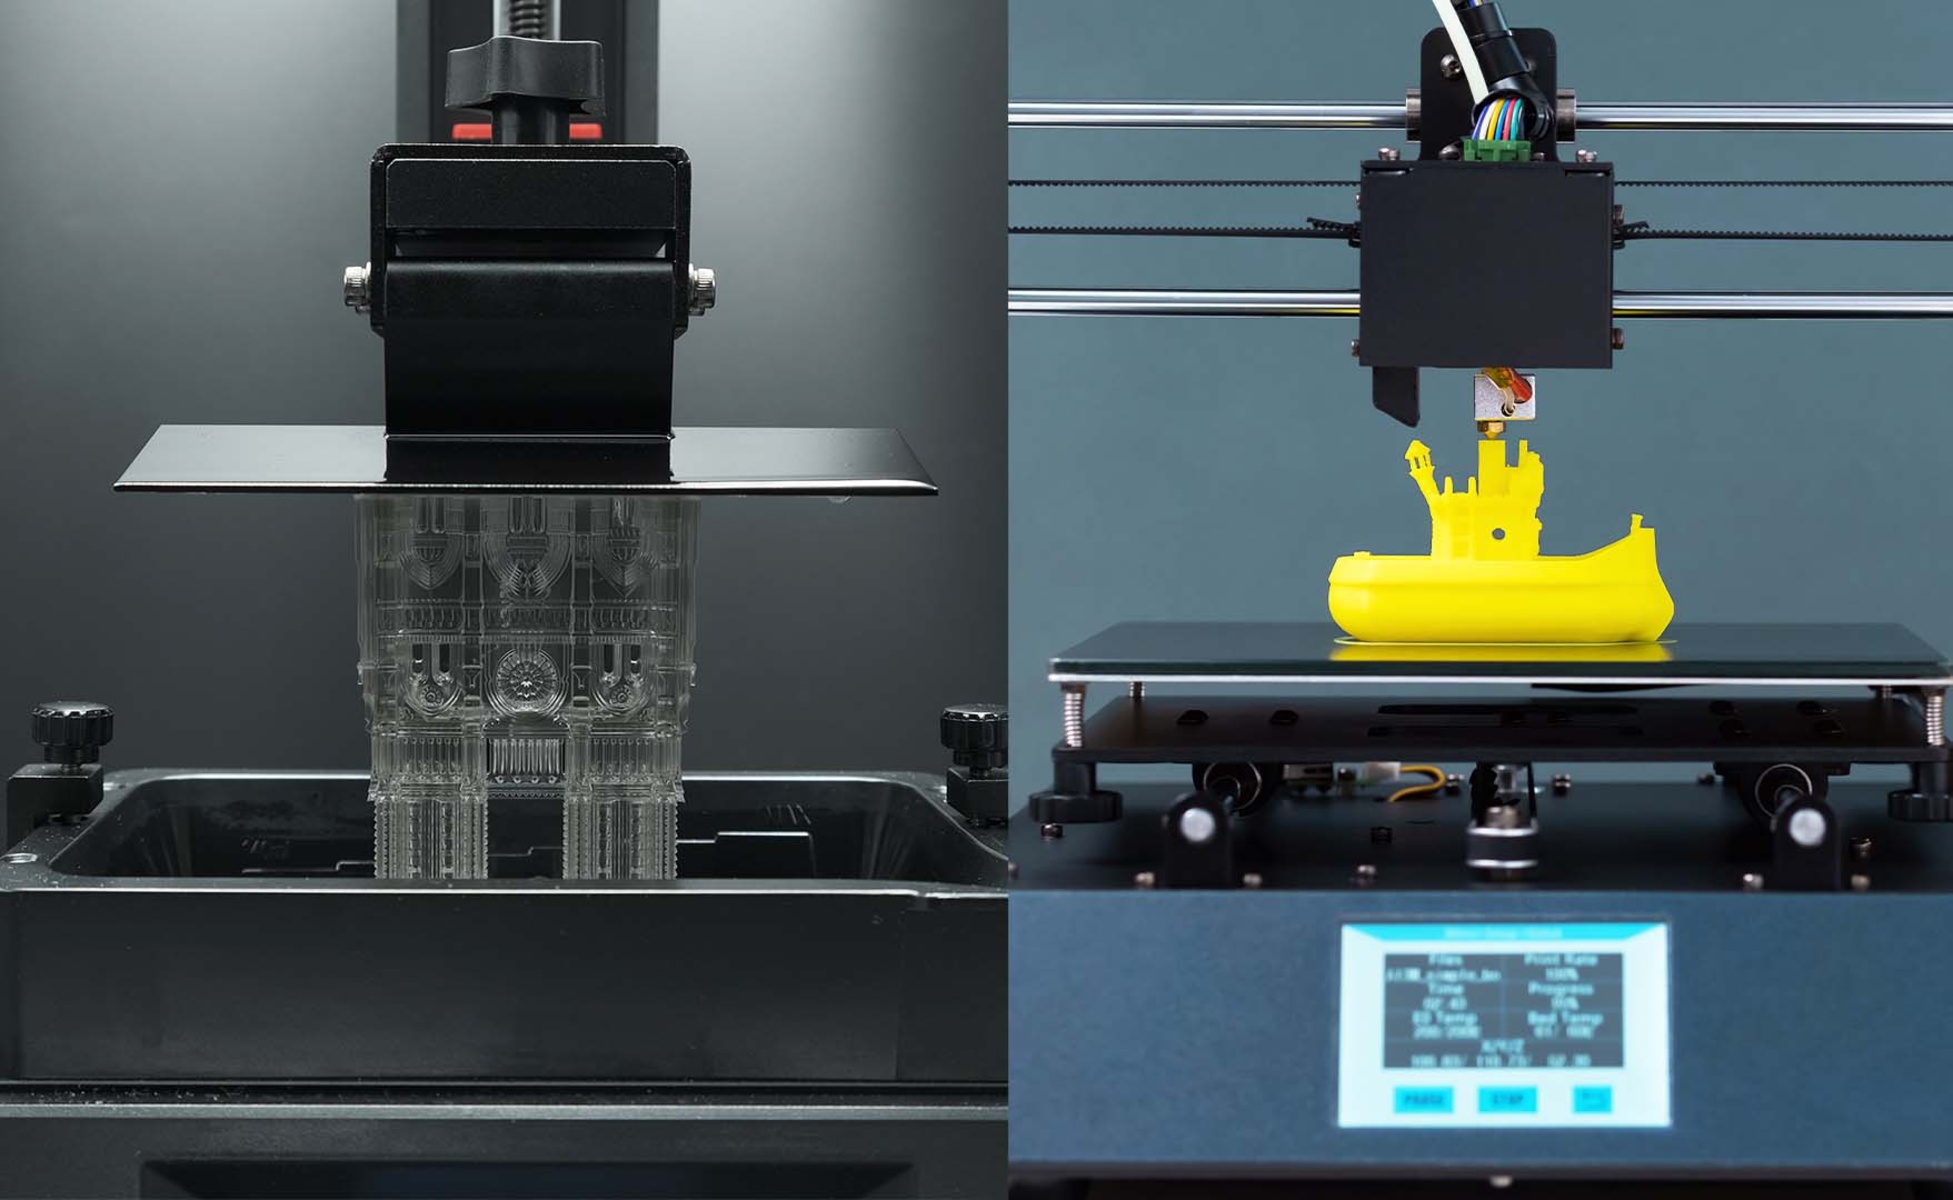
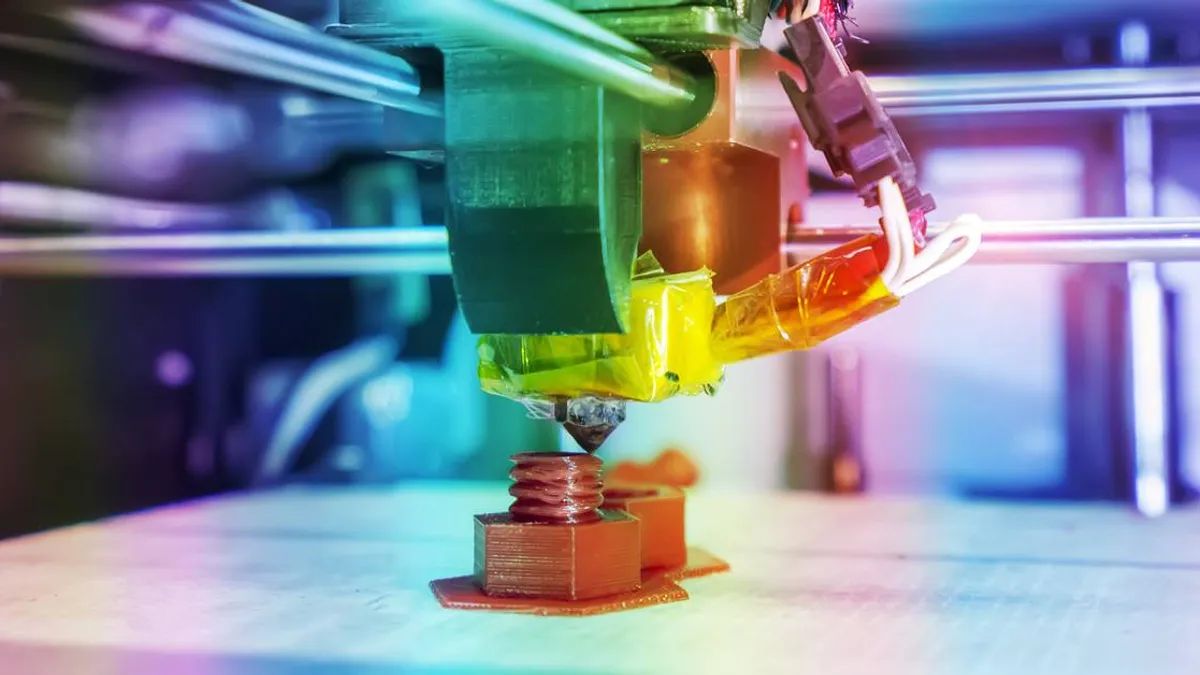
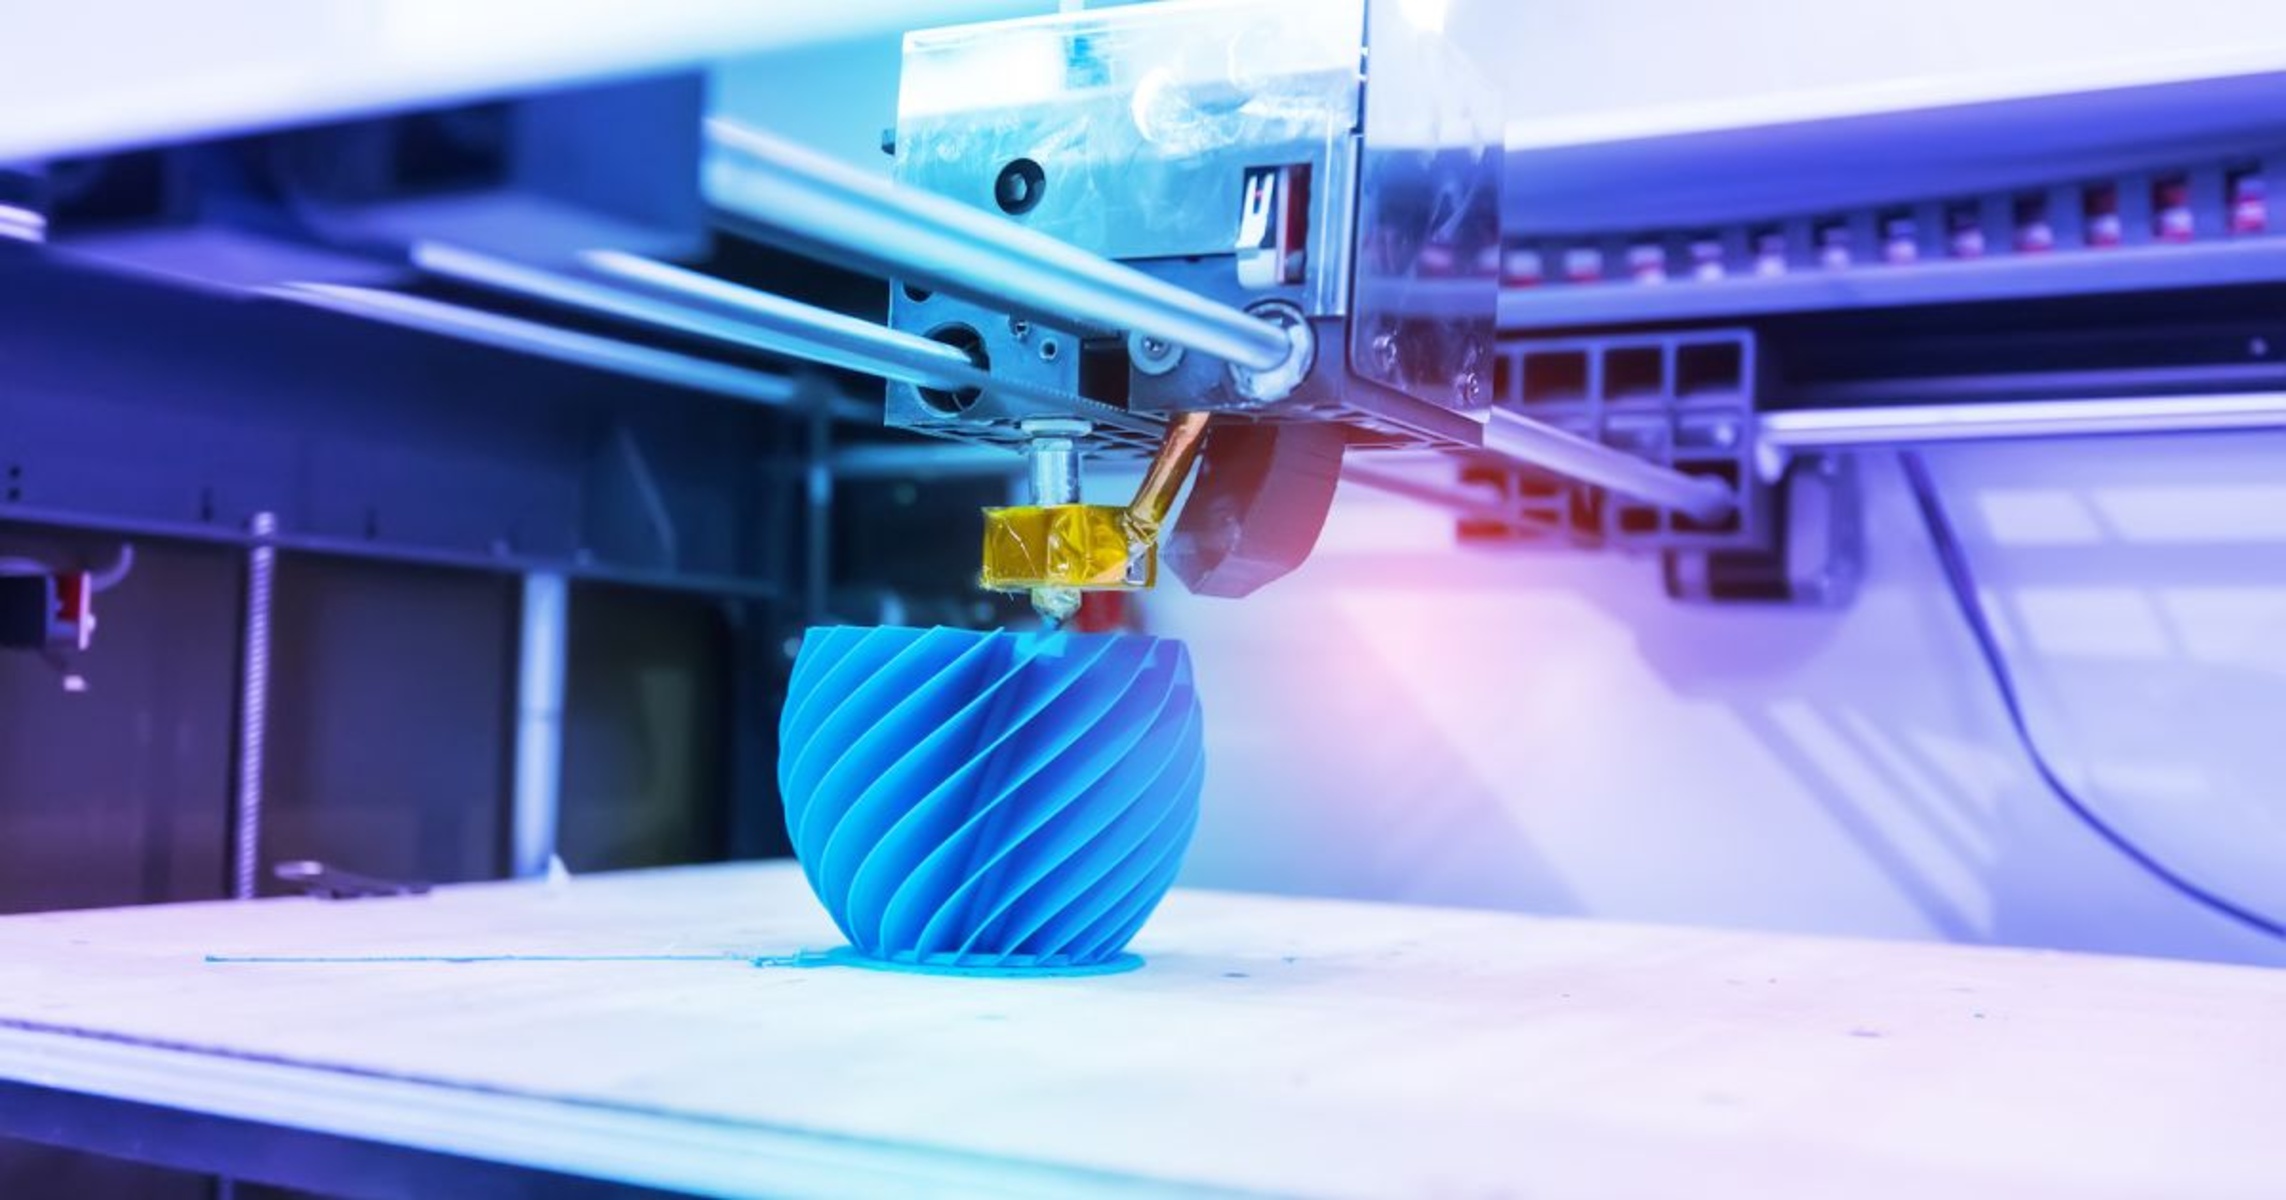
- Fused Deposition Modeling (FDM): This technology melts and extrudes plastic filament through a heated nozzle, which is then deposited layer by layer to create the object.
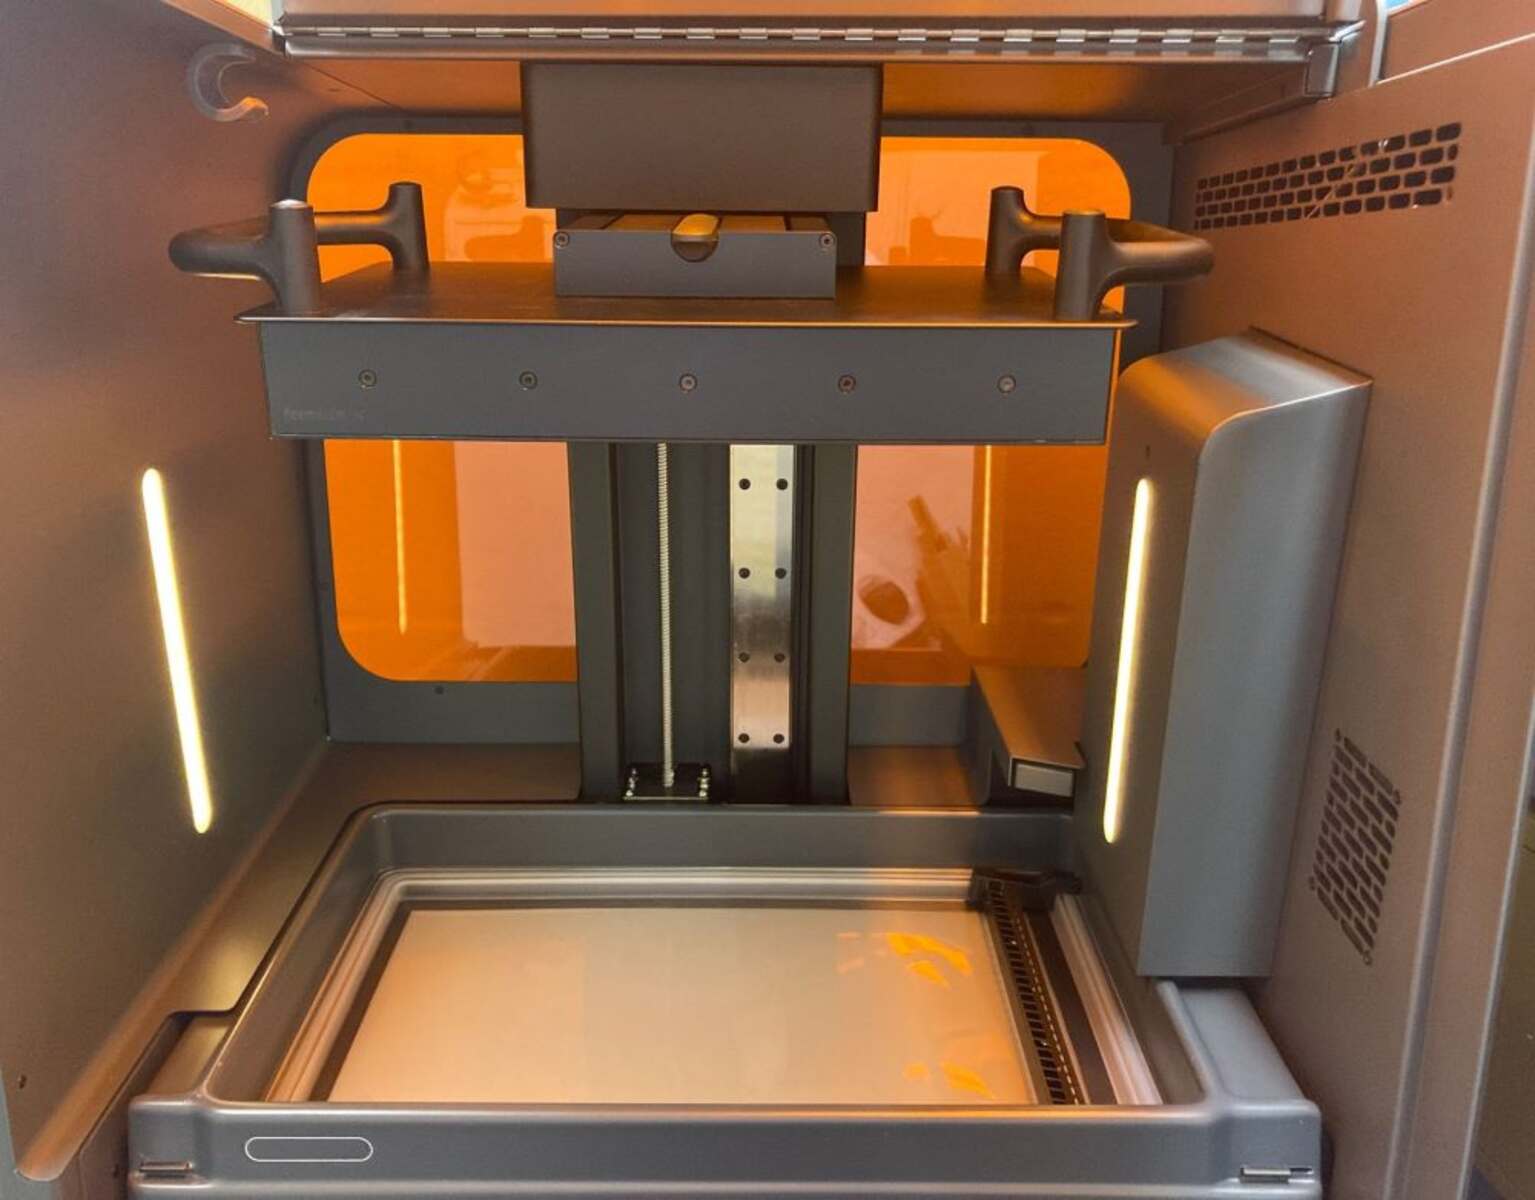
- Stereolithography (SLA): SLA printers use a liquid resin that is cured by a focused laser or ultraviolet light, solidifying the resin and creating the object layer by layer.
- Selective Laser Sintering (SLS): SLS printers use a laser to selectively fuse powdered materials, such as nylon or metal, layer by layer, forming the final object.
- Direct Metal Laser Sintering (DMLS): This technology uses a high-powered laser to selectively fuse metal powders, creating strong and precise metal parts.
Throughout the printing process, the printer precisely controls the movements and temperature to ensure accuracy and adherence to the design. Once the printing is complete, the object may require post-processing, such as removing support structures, sanding, or surface finishing, to achieve the desired final appearance.
The possibilities of 3D printing are limitless, from manufacturing prototypes and functional parts to creating intricate jewelry and artistic sculptures. In the following sections, we will explore the different types of 3D printing technologies, the materials used, and take a closer look at the step-by-step process involved in bringing digital designs to life through 3D printing.
Types of 3D Printing Technologies
3D printing encompasses a variety of technologies, each with its own unique strengths and applications. Let’s explore some of the most common types of 3D printing technologies:
- Fused Deposition Modeling (FDM): FDM is one of the most widely used 3D printing technologies. It works by extruding a continuous filament of thermoplastic material, such as ABS or PLA, through a heated nozzle. The nozzle moves in a controlled manner, depositing the material layer by layer to create the object. FDM printers are known for their affordability, ease of use, and versatility.
- Stereolithography (SLA): SLA printers utilize a liquid resin that is solidified layer by layer using a UV laser. The laser selectively cures the resin, creating precise and high-resolution objects. SLA technology is popular in the production of detailed prototypes, jewelry, and dental models, where accuracy and fine details are crucial.
- Selective Laser Sintering (SLS): SLS printers use a laser to selectively fuse powdered materials, such as nylon or TPU (thermoplastic polyurethane), layer by layer. This technology allows for the creation of complex geometries and is particularly suitable for functional prototypes, end-use parts, and low-volume manufacturing. SLS offers a wide range of material options and excellent mechanical properties.
- Digital Light Processing (DLP): DLP printers are similar to SLA printers in that they use liquid resin that is cured layer by layer. However, instead of a laser, DLP printers use a projector to expose entire layers of the object simultaneously. This results in faster print times compared to SLA, making it suitable for rapid prototyping and small-scale production.
- Polyjet: Polyjet technology works by jetting tiny droplets of liquid photopolymer onto a build platform. Each layer is cured using UV light, resulting in highly detailed and smooth surfaces. Polyjet printers can produce objects with varying material properties, colors, and even multiple materials in a single print. This technology is widely used in industries such as automotive, consumer goods, and healthcare.
- Direct Metal Laser Sintering (DMLS): DMLS printers use a high-powered laser to selectively fuse metal powders, layer by layer, to create fully dense metal parts. This technology is highly regarded for its ability to produce complex, high-strength, and heat-resistant metal components. DMLS is widely used in aerospace, automotive, and medical industries for manufacturing complex parts with intricate internal structures.
These are just a few examples of the various 3D printing technologies available today. Each technology offers different capabilities, materials, and levels of precision, allowing for a wide range of applications across industries.
Now that we have explored the different types of 3D printing technologies, let’s move on to the next section, where we will discuss the process of preparing a design for 3D printing.
Preparing the Design for 3D Printing
Before a design can be brought to life through 3D printing, it needs to be carefully prepared and optimized for the printing process. This involves several steps to ensure that the digital model translates into a successful physical object:
1. Designing with 3D Printing in Mind: When creating a design for 3D printing, it is essential to consider the capabilities and limitations of the chosen printing technology. Designs should be optimized for additive manufacturing, focusing on aspects like structural integrity, support requirements, and printability. Designers should also take into account factors such as overhangs, wall thickness, and tolerance to ensure the model can be printed accurately and efficiently.
2. File Preparation: Once the design is complete, it needs to be saved in a compatible file format recognized by the 3D printer. The most common file formats for 3D printing are STL (Standard Tessellation Language) and OBJ (Object). These formats contain the geometric data required to slice the design into printable layers.
3. Slicing: Slicing software takes the digital model and divides it into thin horizontal layers. This process determines the toolpath and instructions for the 3D printer, including layer height, print speed, infill density, and support structures if necessary. Slicing software allows designers to preview the print, make adjustments, and optimize settings to achieve the desired results.
4. Orientation and Support Structures: Choosing the right orientation for the design is critical to ensure successful 3D printing. Parts with complex geometries or overhangs may require support structures to prevent sagging or toppling during printing. Support structures act as temporary scaffolding and can be easily removed after printing. Optimizing the placement of the design and support structures can minimize the need for excessive supports and contribute to better print quality.
5. Print Settings: Setting the appropriate print parameters is crucial to achieving the desired outcome. These parameters include layer height, print speed, print temperature, infill density (the amount of material inside the object), and shell thickness. Fine-tuning these settings can impact the strength, surface finish, and overall quality of the printed object.
6. Preparing the Printer: Before initiating the print, it is important to ensure that the 3D printer is properly calibrated and prepared. This includes ensuring the print bed is level, the nozzle is clean, and the filament or resin is loaded correctly. Proper maintenance and upkeep of the printer can contribute to consistent and reliable prints.
By following these steps and taking the time to prepare the design, designers and engineers can maximize the chances of a successful 3D print. In the next section, we will discuss the different materials used in 3D printing and how to choose the right one for your project.
Choosing the Right Materials for 3D Printing
The choice of materials used in 3D printing plays a crucial role in determining the strength, durability, and appearance of the final printed object. With a wide range of materials available, it is important to understand their properties and suitability for different applications. Here are some commonly used materials in 3D printing:
1. Plastics: Plastics are the most common materials used in 3D printing. They offer a wide range of properties, including flexibility, rigidity, transparency, and heat resistance. Popular plastic filaments include ABS (Acrylonitrile Butadiene Styrene), PLA (Polylactic Acid), PETG (Polyethylene Terephthalate Glycol), and Nylon. Plastics are often used for prototyping, functional parts, and consumer products.
2. Metals: Metal 3D printing is gaining prominence for its ability to produce strong and durable parts. Materials such as stainless steel, titanium, aluminum, and Inconel can be printed using techniques like selective laser melting (SLM) or direct metal laser sintering (DMLS). Metal 3D printing finds applications in aerospace, medical, and automotive industries where high strength and precision are required.
3. Resins: Resin-based 3D printing, such as stereolithography (SLA) or digital light processing (DLP), offers excellent surface finish and high detail. Resins come in various formulations, including standard, flexible, castable, and biocompatible. They are commonly used for dental models, jewelry, and intricate prototypes.
4. Composites: Composite materials combine multiple components to achieve specific properties. For instance, carbon fiber reinforced filaments offer high strength and rigidity, while wood-filled filaments provide a unique aesthetic. Composite materials are widely used in industries requiring lightweight, strong, and impact-resistant parts.
5. Ceramics: Ceramic 3D printing enables the production of intricate and heat-resistant objects. Ceramic powders, such as alumina or zirconia, can be sintered or heated to high temperatures to achieve the desired finished product. Ceramic 3D printing finds applications in architecture, electronics, and biomedical devices.
Choosing the right material for a 3D printing project depends on several factors, including the specific application, mechanical properties needed, and budget. It is important to consider factors such as strength, flexibility, temperature resistance, surface finish, and post-processing requirements when selecting a material.
Additionally, it is crucial to understand the compatibility of the chosen material with the 3D printer being used. Not all printers can handle all materials, so it is essential to ensure that the equipment can support the chosen material type and its specific requirements, such as nozzle temperature or build chamber conditions.
By carefully considering the properties and characteristics of different materials, designers and engineers can make informed decisions and select the most suitable material for their 3D printing projects.
In the next section, we will delve into the step-by-step process of 3D printing, from loading the design to post-processing and finishing.
The 3D Printing Process Step by Step
The 3D printing process involves several steps that transform a digital design into a physical object. Let’s explore the step-by-step process of 3D printing:
1. Design Creation: The first step is to create a digital design using computer-aided design (CAD) software. The design can be an original creation or downloaded from online repositories. The design must be saved in a compatible file format, such as STL or OBJ.
2. Slicing and Preparation: The next step is to import the digital design file into slicing software. The software analyzes the design and slices it into numerous thin layers, generating a set of instructions for the 3D printer. This process includes adjusting printer settings, such as layer height and infill density.
3. 3D Printer Setup: Once the design is sliced, it’s time to prepare the 3D printer. This includes leveling the print bed, ensuring the proper filament or resin is loaded, and calibrating the printer settings. Adequate printer setup is crucial to ensure the accuracy and quality of the printed object.
4. Printing: With the 3D printer properly set up, the printing process begins. The printer starts by heating the filament or resin to its melting point. For FDM printers, the heated nozzle deposits molten material layer by layer, following the instructions from the slicer software. For resin-based printers like SLA or DLP, the UV light cures the liquid resin layer by layer to create the desired object.
5. Layer-by-Layer Building: As the printing process continues, each layer of the object is built upon the previous layer. The printer moves the print head (or build platform, in the case of resin-based printers) with precision to deposit or cure the material according to the instructions received from the slicer software. This sequential layering gradually transforms the digital model into a physical object.
6. Support Structures (If Required): Certain designs may require support structures to be printed alongside the main object. These structures provide temporary scaffolding to ensure overhangs and complex geometries can be successfully printed. Once the printing is complete, the support structures can be removed using tools or dissolved in a specific solvent, depending on the material used.
7. Post-Processing: After the printing is finished, the printed object may require post-processing to achieve the desired final appearance. This can include removing support structures, sanding the surface for smoothness, applying finishes or coatings, or performing any necessary assembly or additional detailing to improve the overall aesthetics and functionality of the object.
The precise length of the 3D printing process can vary depending on factors such as the size and complexity of the object, the chosen printing technology, and the desired level of detail and quality. However, understanding the step-by-step process helps navigate the world of 3D printing and bring digital designs to life.
In the next section, we will explore the post-processing techniques and finishing touches that can enhance the final appearance of 3D printed objects.
Post-Processing and Finishing
Once the 3D printing process is complete, the printed object may require post-processing and finishing to achieve the desired final appearance and functionality. Post-processing techniques can improve the surface quality, remove support structures, and enhance the overall aesthetics of the object. Let’s explore some common post-processing steps:
1. Support Removal: If the 3D printed object includes support structures, they need to be carefully removed. Support structures are necessary for printing overhangs or complex geometries, but they are not part of the final design. Depending on the material used, supports can be removed by hand, using tools, or dissolved with solvents.
2. Sanding and Smoothing: Sanding the surface of the 3D printed object can help achieve a smoother finish. Coarse sandpaper is used initially to remove visible layer lines, followed by finer grits to refine the surface texture. Smoothing techniques, such as acetone vapor polishing for ABS prints, can also enhance the surface appearance and give it a more polished look.
3. Priming and Painting: Applying a coat of primer can help fill in minor imperfections and surface irregularities, creating a smoother canvas for painting or further finishing. Painting the 3D printed object can enhance its appearance, add color, and provide protection. Acrylic paints are commonly used, and techniques such as airbrushing or hand-painting can be employed to achieve the desired effect.
4. Finishing Touches: Depending on the intended use or aesthetic requirements, additional finishing touches may be necessary. This can include applying clear coatings or varnishes for added protection and durability, adding decals or stickers, or incorporating other decorative elements to enhance the overall look.
5. Assembly and Integration: For multi-part designs, post-processing may involve assembling individual printed components. This can be achieved through techniques such as solvent welding, mechanical fastening, or adhesives to ensure a secure and functional final product. Integration may also involve adding non-printed components or incorporating electronic elements if necessary.
6. Quality Control: Post-processing is also an opportunity to perform quality control checks on the 3D printed object. Inspecting the dimensions, tolerances, and functionality of the printed parts can help identify any issues or errors that may need to be corrected or adjusted for future prints.
It is important to note that post-processing and finishing techniques can vary depending on the material used and the desired outcome. Experimentation, practice, and understanding the characteristics of the printing material can guide the selection of appropriate post-processing steps for the best results.
By implementing these post-processing techniques and finishing touches, 3D printed objects can be transformed into professional, visually appealing, and functional prototypes or end-use products.
In the next section, we will explore the wide-ranging applications of 3D printing across various industries.
Applications of 3D Printing
3D printing has revolutionized various industries, offering innovative solutions and opening up new possibilities. Its versatility, customization capabilities, and on-demand manufacturing are transforming traditional manufacturing processes. Let’s explore some of the key applications of 3D printing:
1. Prototyping: 3D printing has greatly transformed the prototyping process, allowing designers to quickly iterate and test their ideas. It enables the creation of functional prototypes that closely resemble the final product, helping to identify design flaws, improve functionality, and streamline the product development cycle.
2. Automotive Industry: The automotive industry benefits from 3D printing in various ways. It enables the production of complex components and parts with lightweight designs, helping to improve fuel efficiency and reduce overall vehicle weight. It also facilitates rapid prototyping of car parts and allows for customized manufacturing and low-volume production for spare parts.
3. Aerospace and Defense: 3D printing plays a vital role in the aerospace and defense sectors. It allows for the creation of lightweight and highly complex parts with excellent strength-to-weight ratios. 3D printing also enables the production of custom tools, fixtures, and jigs, reducing lead times and costs associated with traditional manufacturing methods.
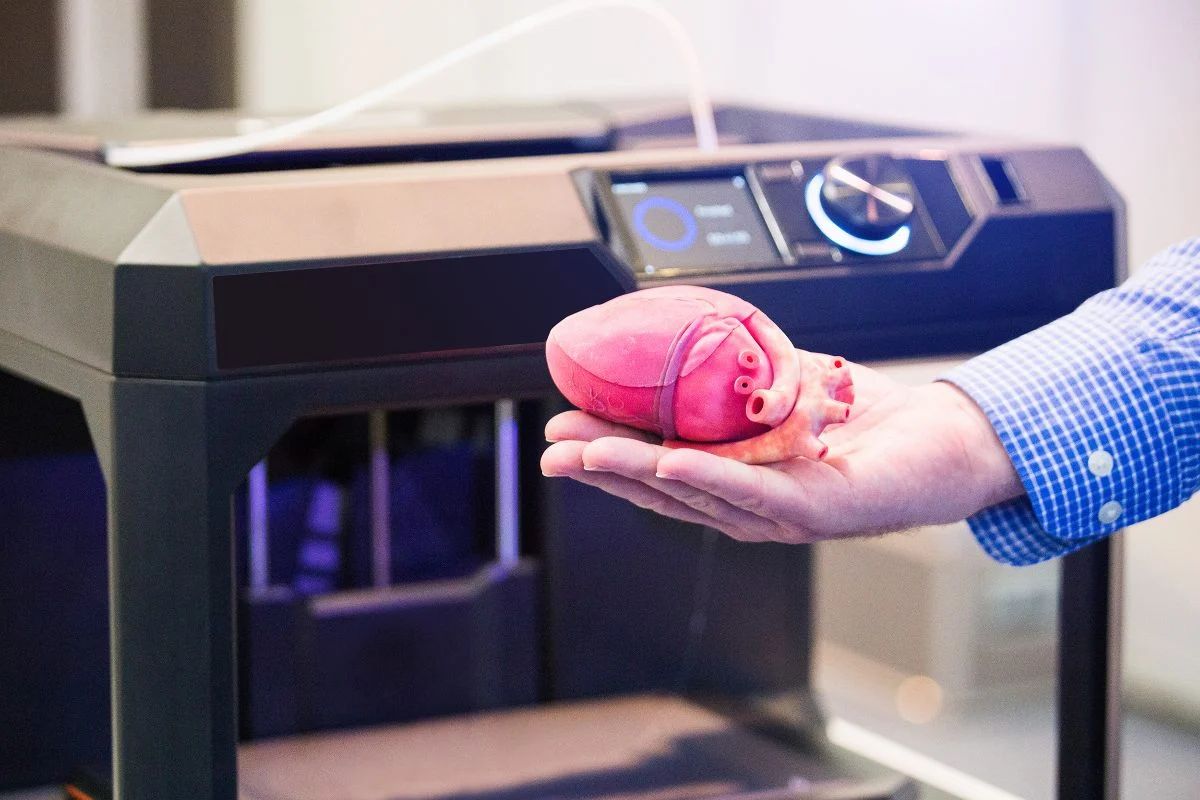
4. Healthcare: In the healthcare industry, 3D printing is revolutionizing patient-specific care. It enables the creation of accurate anatomical models for surgical planning, customized implants, prosthetics, and orthotics. 3D printing also supports the development of bioprinting, where living cells and tissues are printed to create functional organs or tissues for transplantation or drug testing.
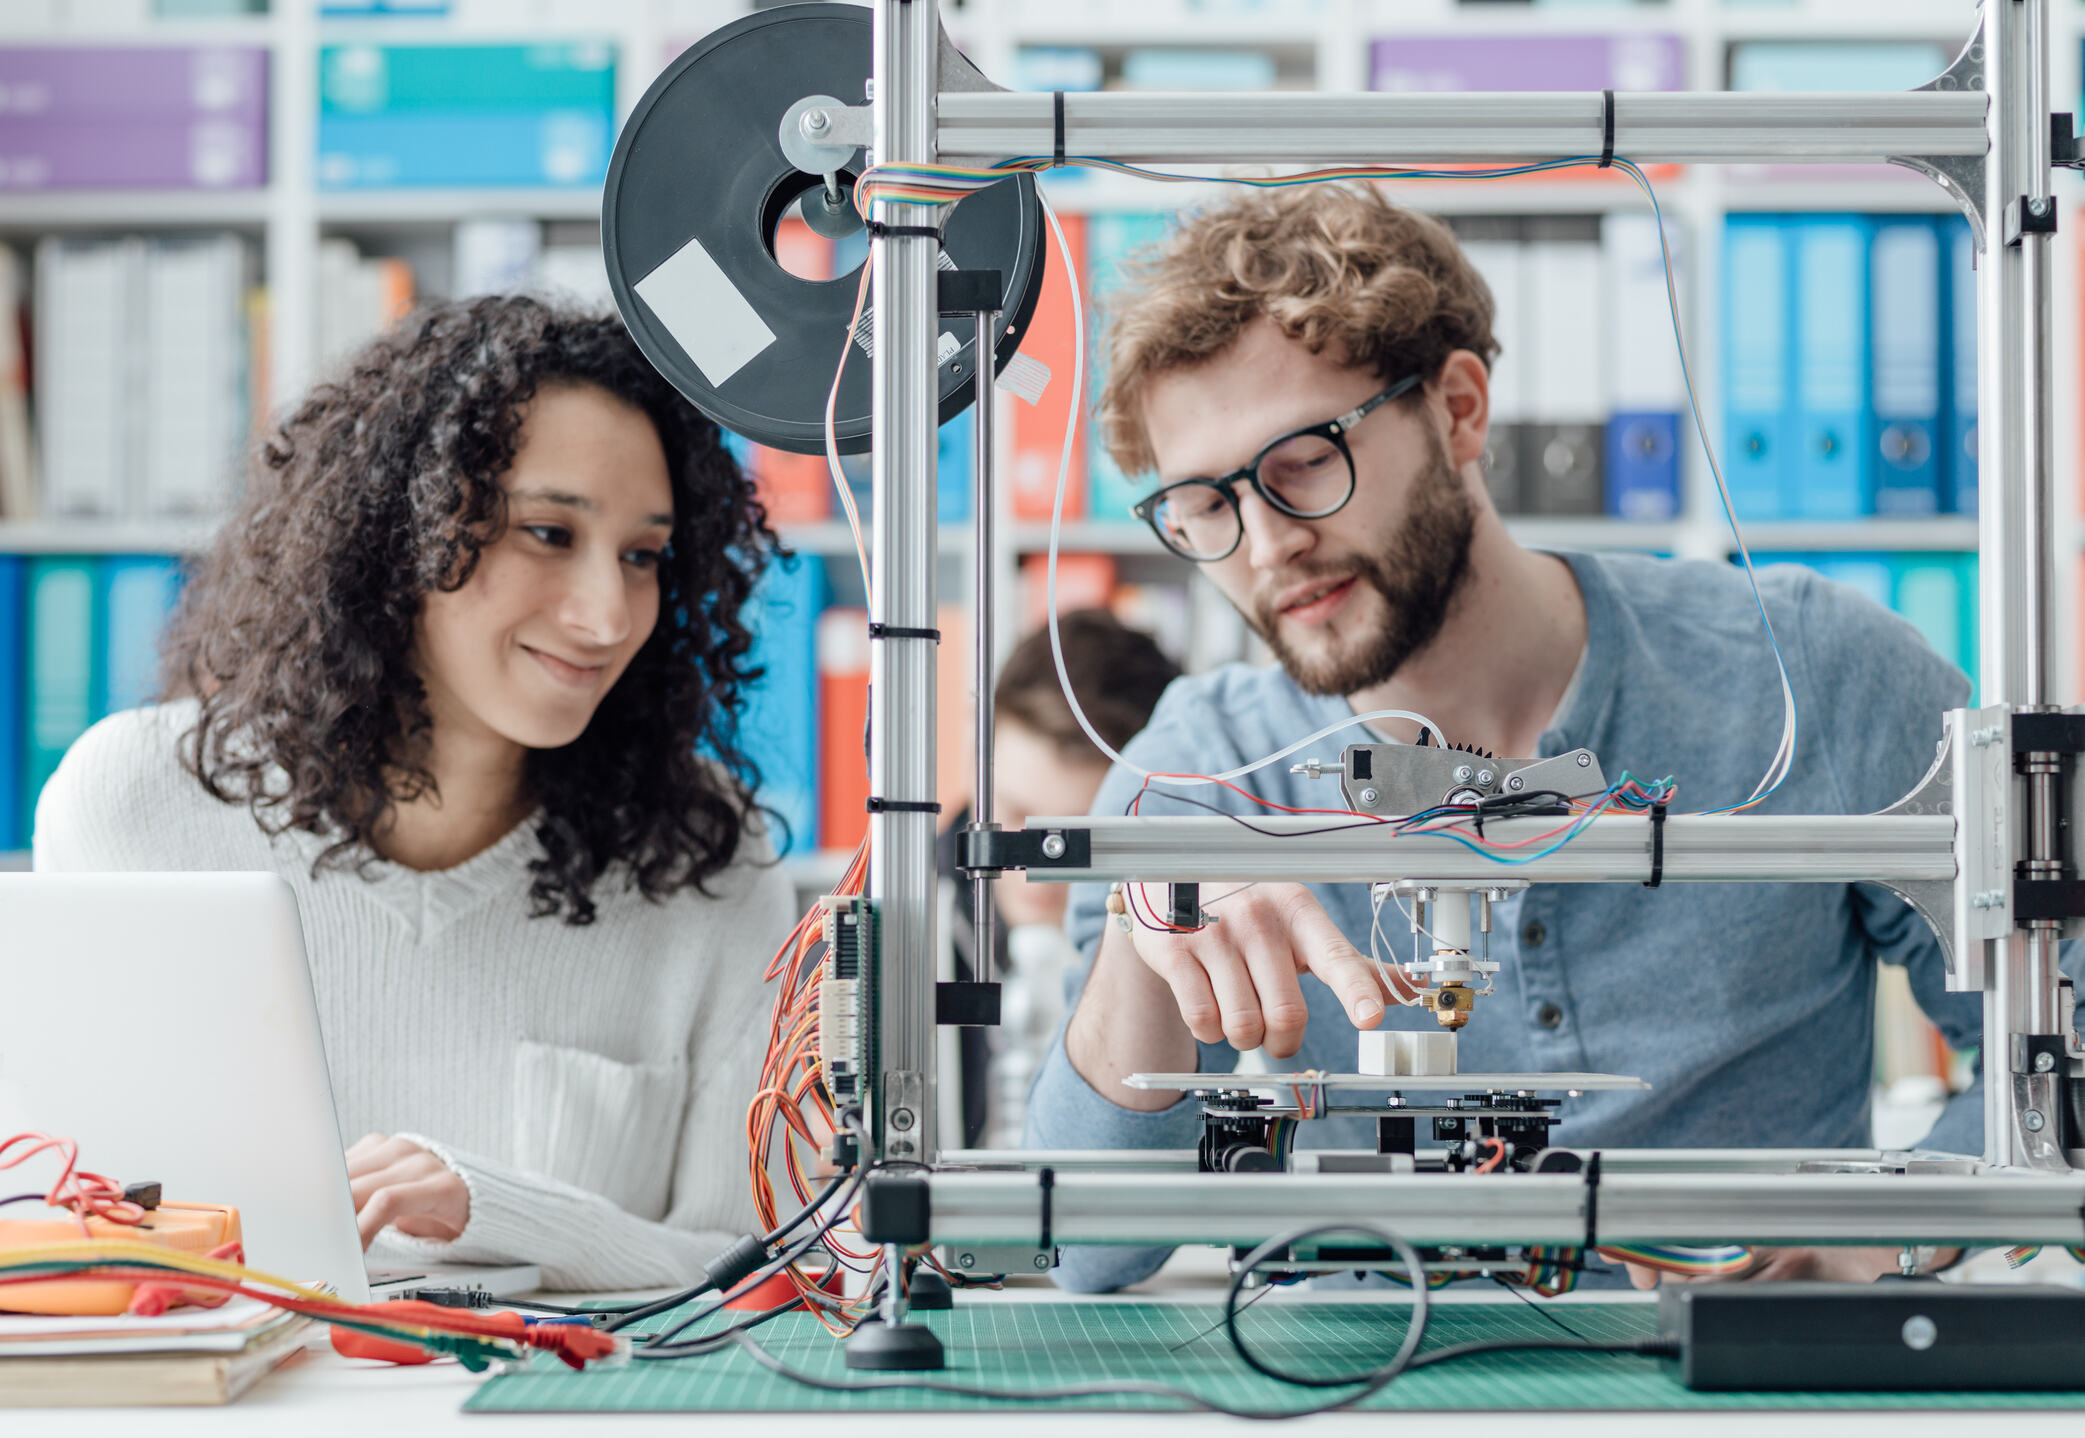
5. Education and Research: 3D printing has found its way into classrooms and research labs, providing hands-on experience and promoting innovation. It allows students to visualize, design, and bring their ideas to life, enhancing understanding and engagement in various subjects. Research institutions utilize 3D printing for rapid prototyping, creating specialized equipment, and conducting experiments.
6. Architecture and Construction: 3D printing is making waves in architecture and construction, enabling the creation of intricate and customized building components. It offers the possibility to construct complex structures with less material waste and shorter construction times. Architects and designers are exploring the use of 3D printing to build prototypes, scale models, and even full-scale buildings.
7. Consumer Products: 3D printing has opened up new opportunities for customized consumer products. From personalized jewelry and accessories to customized phone cases and home decor, individuals can now have unique items created specifically for them. 3D printing provides the flexibility to easily tailor products to individual preferences and requirements.
These are just a few examples of the wide-ranging applications of 3D printing. As technology continues to advance, new industries and sectors will embrace this innovative technology, unlocking even more possibilities.
In the next section, we will discuss the advantages and limitations of 3D printing, providing a balanced view of its capabilities and challenges.
Advantages and Limitations of 3D Printing
3D printing brings numerous advantages to the manufacturing and production landscape, but it also has its limitations. Understanding these aspects is crucial for harnessing the full potential of this innovative technology. Let’s examine the advantages and limitations of 3D printing:
Advantages:
- Design Flexibility: 3D printing enables incredible design freedom, allowing the creation of complex geometries and customized objects that would be challenging or impossible with traditional manufacturing methods.
- Rapid Prototyping: 3D printing speeds up the prototyping process, enabling quick iteration and testing of design ideas before committing to expensive tooling or production processes.
- On-Demand Manufacturing: 3D printing offers the ability to produce objects on-demand, reducing the need for large inventories and opening up possibilities for localized production and customization.
- Reduced Waste: Unlike subtractive manufacturing methods, 3D printing is an additive process that generates minimal waste, as only the required material is used to build the object.
- Customization and Personalization: 3D printing allows for easy customization and personalization, making it possible to create unique products tailored to individual preferences or specific requirements.
Limitations:
- Cost: Compared to traditional manufacturing methods, 3D printing can be more expensive, particularly for large-scale production or for certain high-performance materials.
- Print Speed: 3D printing can be a time-consuming process, especially for complex or large objects, which may require several hours or even days to print.
- Material Limitations: While the range of available materials is expanding, 3D printing still has limitations in terms of material properties, such as strength, durability, or heat resistance, which may not match those of traditional manufacturing materials.
- Post-Processing Requirements: 3D printed objects often require post-processing and finishing to achieve the desired final appearance and functionality, adding time and effort to the overall production process.
- Design Constraints: Although 3D printing offers design freedom, certain geometries or structures may pose challenges, such as overhangs that require support structures or limitations in achieving highly smooth surfaces.
It is important to consider these advantages and limitations when deciding to incorporate 3D printing into a manufacturing or product development process. Despite its limitations, 3D printing continues to evolve, and ongoing advancements promise to overcome many of these challenges.
In the final section, we will provide a brief summary and closing remarks on the fascinating world of 3D printing.
Conclusion
3D printing has revolutionized the manufacturing industry, offering a wide range of benefits and transforming the way we create objects. From rapid prototyping to on-demand manufacturing, this innovative technology has opened up new possibilities for customization, design flexibility, and sustainability.
We explored the step-by-step process of 3D printing, starting from creating a digital design to the final post-processing and finishing touches. Various 3D printing technologies, such as FDM, SLA, SLS, and DMLS, provide unique capabilities and material options to cater to different applications and requirements.
Additionally, we discussed the importance of choosing the right materials for 3D printing and how they impact the properties and performance of the final printed object. Plastics, metals, resins, and composites offer diverse options, each suited for specific applications across industries.
We also touched upon the numerous applications of 3D printing, showcasing its value in prototyping, automotive, aerospace, healthcare, education, architecture, and consumer products. The ability to create complex geometries, personalized designs, and customized solutions opens up endless opportunities for innovation and creativity.
While 3D printing brings numerous advantages, it also has its limitations, such as cost, print speed, material constraints, and post-processing requirements. These considerations must be taken into account while integrating 3D printing into manufacturing processes.
Overall, 3D printing continues to shape the manufacturing landscape, driving advancements in various industries and enabling individuals to bring their ideas to life. As technology progresses, we can expect further improvements in speed, materials, and capabilities, expanding the horizons for this innovative technology.
With its potential to transform traditional manufacturing, accelerate innovation, and provide sustainable solutions, 3D printing offers an exciting future filled with endless possibilities.


