Introduction
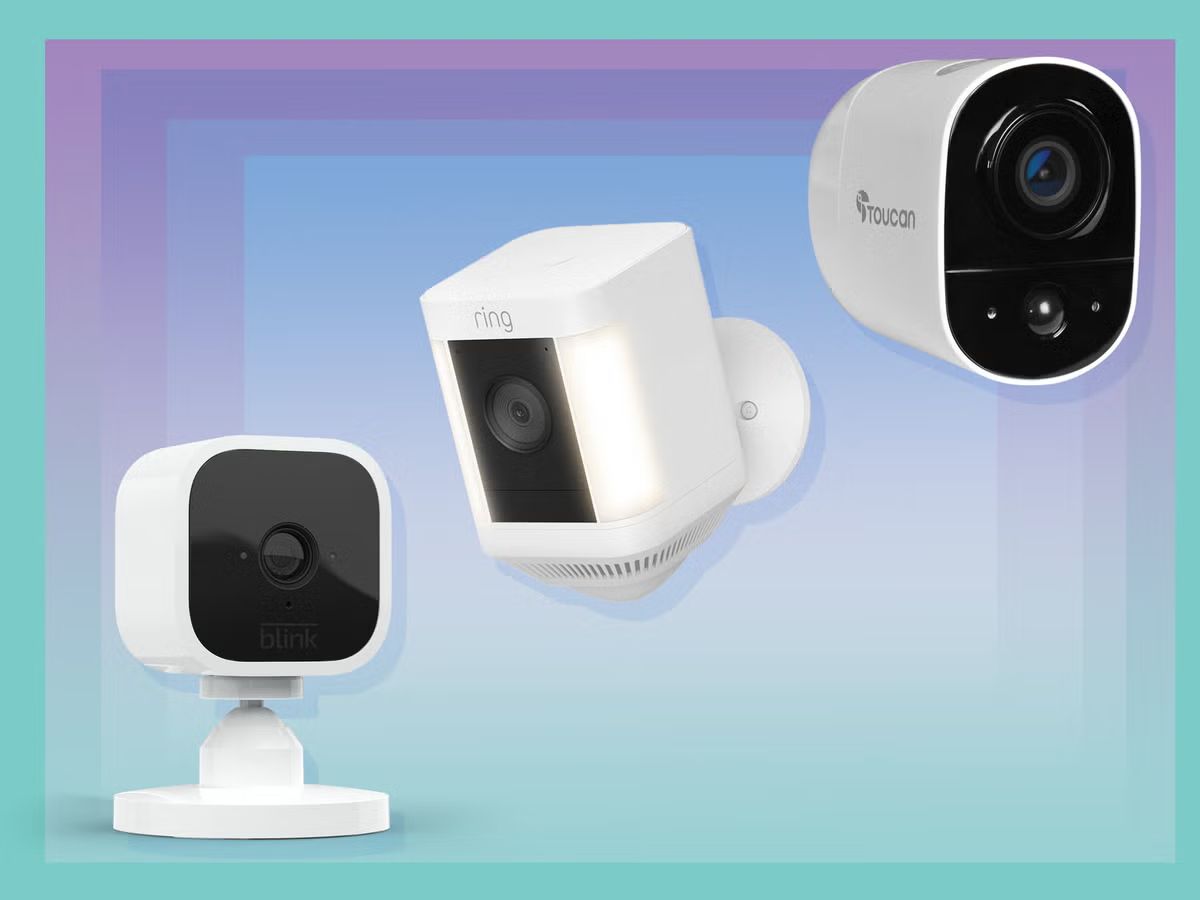
Welcome to the world of IP webcams! In this digital era, where technology is advancing at an incredible pace, IP webcams have become a popular choice for video surveillance, home security, and remote monitoring. Whether you want to keep an eye on your property, monitor your baby’s room, or simply have a live video feed of a specific location, an IP webcam can provide you with the convenience and flexibility you need.
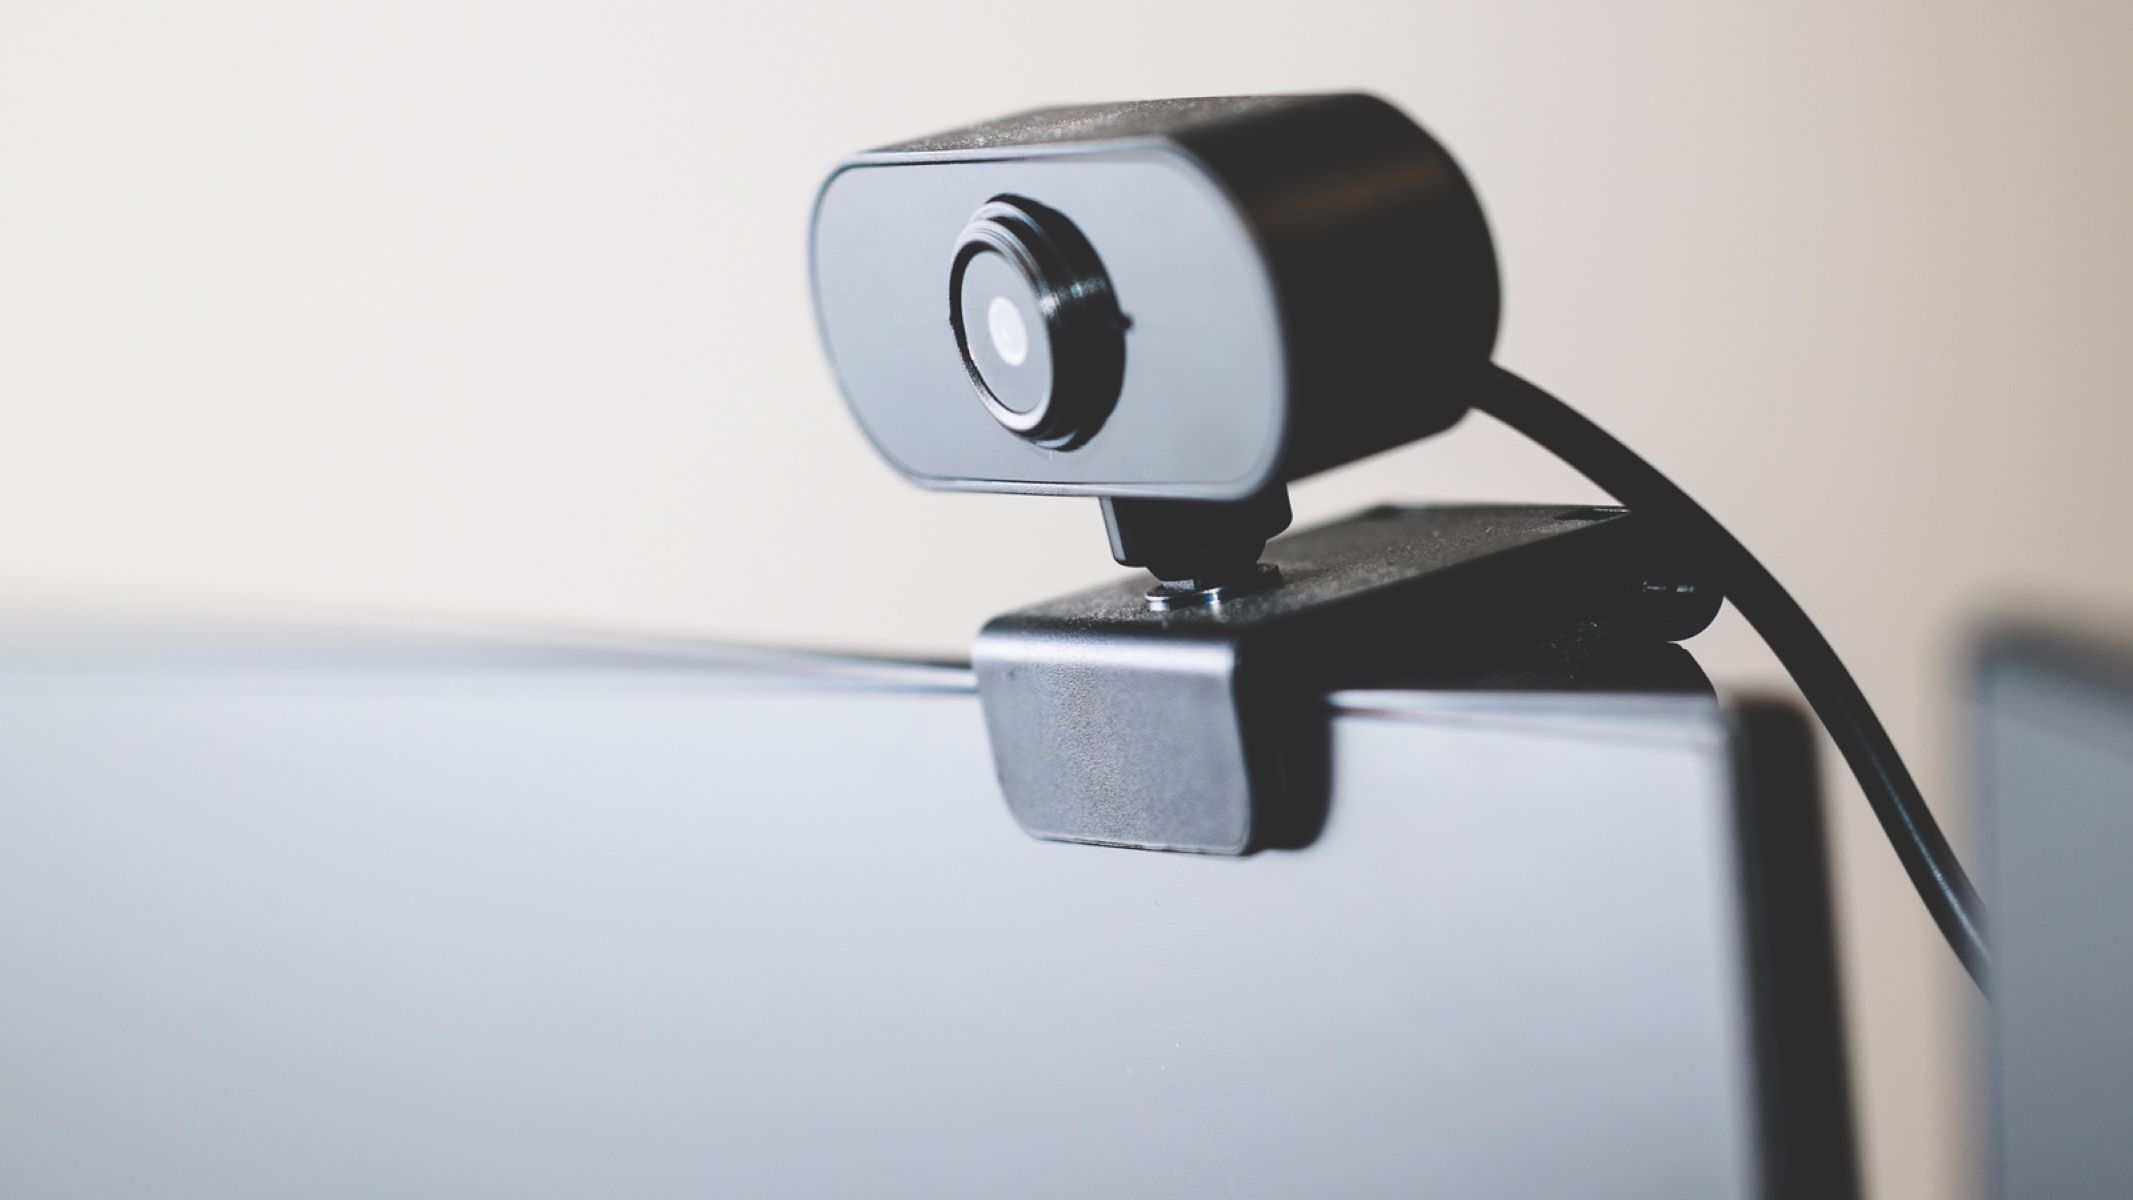
An IP webcam, short for Internet Protocol webcam, is a camera that connects to your local network or the internet, allowing you to access live or recorded video streams from anywhere using a web browser or a dedicated app. It offers various features such as motion detection, night vision, two-way audio, and even cloud storage for video recordings.
In this guide, we will explore how to use an IP webcam effectively and make the most out of its capabilities. We will cover everything from installing the IP webcam app on your device to accessing the camera’s live feed through a web browser. We will also discuss how to use the IP webcam with third-party applications and how to adjust the camera settings to suit your needs.
Additionally, we will dive into the world of streaming video from the IP webcam, whether it’s for personal use or live streaming on popular platforms. We will also explore using the IP webcam as a security camera, discussing best practices for placement, monitoring, and recording. And finally, we will address common troubleshooting issues that you may encounter along the way.
So, whether you’re a homeowner looking to enhance your security system, a parent wanting to keep an eye on your child, or a live streamer in need of a reliable webcam, this guide will provide you with all the information you need to get started with IP webcams. Let’s dive in!
Installing the IP Webcam App
To begin using your IP webcam, the first step is to install the IP webcam app on your device. The IP webcam app is available for both Android and iOS devices, and it can be easily downloaded from the respective app stores.
If you have an Android device, follow these steps:
- Open the Google Play Store on your device.
- Search for “IP Webcam” in the search bar.
- Select the IP Webcam app from the search results.
- Tap on the “Install” button to begin the installation process.
- Once the app is installed, tap on the “Open” button to launch it.
If you have an iOS device, follow these steps:
- Open the App Store on your device.
- Search for “IP Webcam” in the search bar.
- Select the IP Webcam app from the search results.
- Tap on the “Get” button to download and install the app.
- Once the app is installed, tap on the app icon to launch it.
After installing the IP webcam app on your device, you are now ready to configure and connect your IP webcam. Make sure your device is connected to the same network as your IP webcam for seamless communication.
Please note that the steps mentioned above may vary slightly depending on your device and operating system version. It’s always recommended to check the app store for the most up-to-date instructions if you encounter any difficulties during the installation process.
Connecting your Device to the Same Network
In order to access and control your IP webcam, it’s important to ensure that your device is connected to the same network as the camera. This allows for seamless communication and access to the camera’s live feed and settings.
To connect your device to the same network as the IP webcam, follow these steps:
- Go to the settings menu on your device.
- Select the Wi-Fi or network settings option.
- Scan for available Wi-Fi networks and select the one that corresponds to your home or office network.
- Enter the network password if prompted.
- Once connected to the network, ensure that your device has a stable internet connection.
It’s important to note that if you’re connecting the IP webcam to a local network, make sure that the camera is also connected to the same network. This can typically be done by connecting the IP webcam to your router using an Ethernet cable or by setting up a wireless connection using the camera’s built-in Wi-Fi capabilities.
Once your device and IP webcam are connected to the same network, you’re now ready to configure the IP webcam app to access the camera’s live feed and settings. The app will provide you with step-by-step instructions on how to connect to your IP webcam and start using it.
Connecting your device to the same network as the IP webcam is vital for a smooth and uninterrupted experience. It ensures that you can seamlessly access the camera’s features and control it from your device, whether you’re at home, in the office, or on the go.
Remember to consult the IP webcam app’s documentation or user manual for specific instructions on connecting your device to the same network, as the steps may vary slightly depending on the app and your device’s operating system.
Configuring the IP Webcam App
Once you have installed the IP webcam app and connected your device to the same network as the camera, it’s time to configure the app to ensure optimal performance and customization options.
When you open the IP webcam app on your device, you will be greeted with a setup wizard or a home screen with various settings and options. Here are the key configurations you should consider:
- Camera Selection: If you have multiple IP webcams connected to the same network, make sure to select the camera you want to configure from the app’s camera selection menu.
- Video Resolution: Choose the desired video resolution for your camera. Higher resolutions offer better video quality, but they may result in increased bandwidth usage.
- Orientation: Set the camera’s orientation, whether it’s landscape or portrait mode, depending on your preference and how you plan to use the camera.
- Audio Settings: Enable or disable audio recording and adjust the audio source and volume levels. This is particularly useful if you want to communicate through the camera or monitor sounds from the surrounding area.
- Security Options: Set up password protection and encryption to ensure the privacy and security of your camera’s live feed and recordings.
- Motion Detection: Configure motion detection settings to receive alerts or start recording when motion is detected within the camera’s field of view.
- Notification Settings: Customize the app’s notification preferences, such as receiving push notifications or email alerts for specific events.
- Cloud Storage Integration: If your IP webcam app offers cloud storage options, link your account and configure the settings to automatically store and access video recordings in the cloud.
It’s important to explore all the available configuration options in the IP webcam app and experiment with different settings to find the setup that best suits your needs. Don’t forget to save and apply the changes after making any configurations.
Keep in mind that the configuration options may vary depending on the specific IP webcam app you’re using. Refer to the app’s user manual or documentation for detailed instructions on configuring the app’s settings.
By properly configuring the IP webcam app, you can optimize the camera’s performance, customize its functionality, and ensure that it aligns with your specific requirements for video monitoring, security, and remote access.
Accessing the IP Webcam through a Web Browser
One of the major advantages of an IP webcam is the ability to access its live feed and settings through a web browser on any device connected to the same network. This allows for easy monitoring and control without the need for installing additional apps or software.
To access your IP webcam through a web browser, follow these steps:
- Ensure that your device is connected to the same network as the IP webcam.
- Open a web browser of your choice (such as Google Chrome, Mozilla Firefox, or Safari) on your device.
- Type in the IP address of your IP webcam in the address bar. The IP address can typically be found in the IP webcam app’s settings or documentation.
- Press Enter or Return to load the IP webcam’s web interface.
- You will be presented with a login page or dashboard that allows you to view the live feed, adjust camera settings, and access other features and functionalities of the IP webcam.
Once you have successfully accessed the IP webcam through the web browser, you can explore various options and settings specific to the camera. These may include adjusting video quality, enabling motion detection, configuring recording schedules, and even controlling pan, tilt, and zoom functionalities for cameras that support it.
It’s important to note that the web interface and available features may vary depending on the IP webcam brand and model you’re using. Refer to the camera’s user manual or online documentation for detailed information on accessing and using the web interface.
Additionally, some IP webcam apps may offer the option to generate a unique URL or QR code that can be easily shared with others. This allows friends, family, or colleagues to access the camera’s live feed through their own web browsers, even if they are not connected to the same network.
Accessing the IP webcam through a web browser provides a convenient and versatile way to monitor and control your camera. It allows you to access its features and settings from any device with a web browser, without the need for additional software or apps.
Using the IP Webcam with Third-Party Applications
While the IP webcam app provides a comprehensive set of features and functionality, you may also want to explore using your IP webcam with third-party applications to further enhance its capabilities. Third-party apps can offer additional features, integration with other devices, and compatibility with popular services or platforms. Here are some ways you can utilize your IP webcam with third-party applications:
- Video Surveillance Software: There are various video surveillance software options available that allow you to integrate your IP webcam with a more robust surveillance system. These applications often offer advanced features like video recording, motion detection, and multi-camera management.
- Home Automation Systems: If you have a home automation system like SmartThings, Home Assistant, or Alexa, you can integrate your IP webcam into the system to control and monitor your camera using voice commands or automation routines.
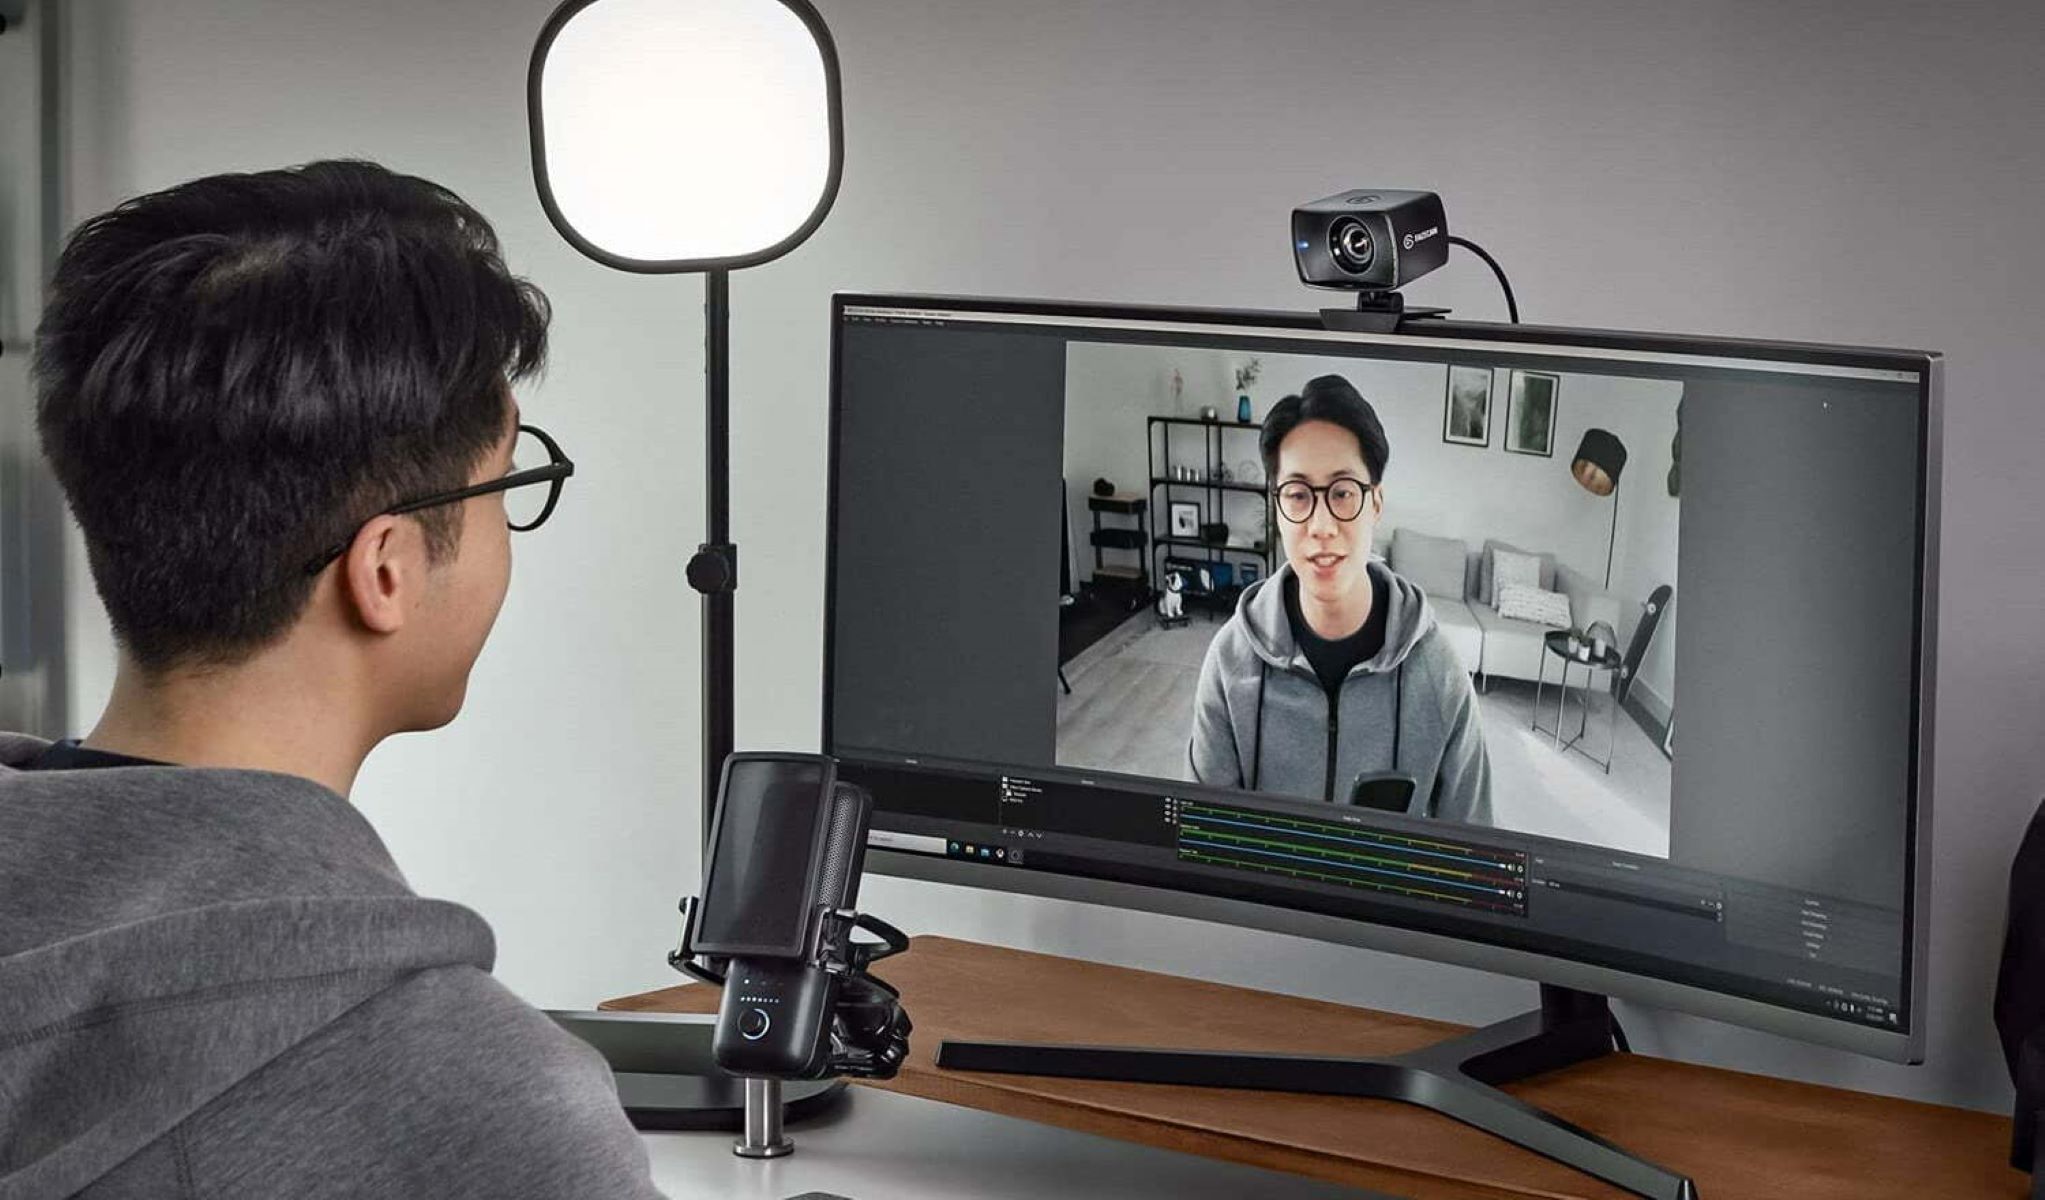
- Video Streaming Platforms: With the increasing popularity of live streaming, you can connect your IP webcam to platforms like YouTube Live, Twitch, or Facebook Live to broadcast your camera’s feed to a wider audience.
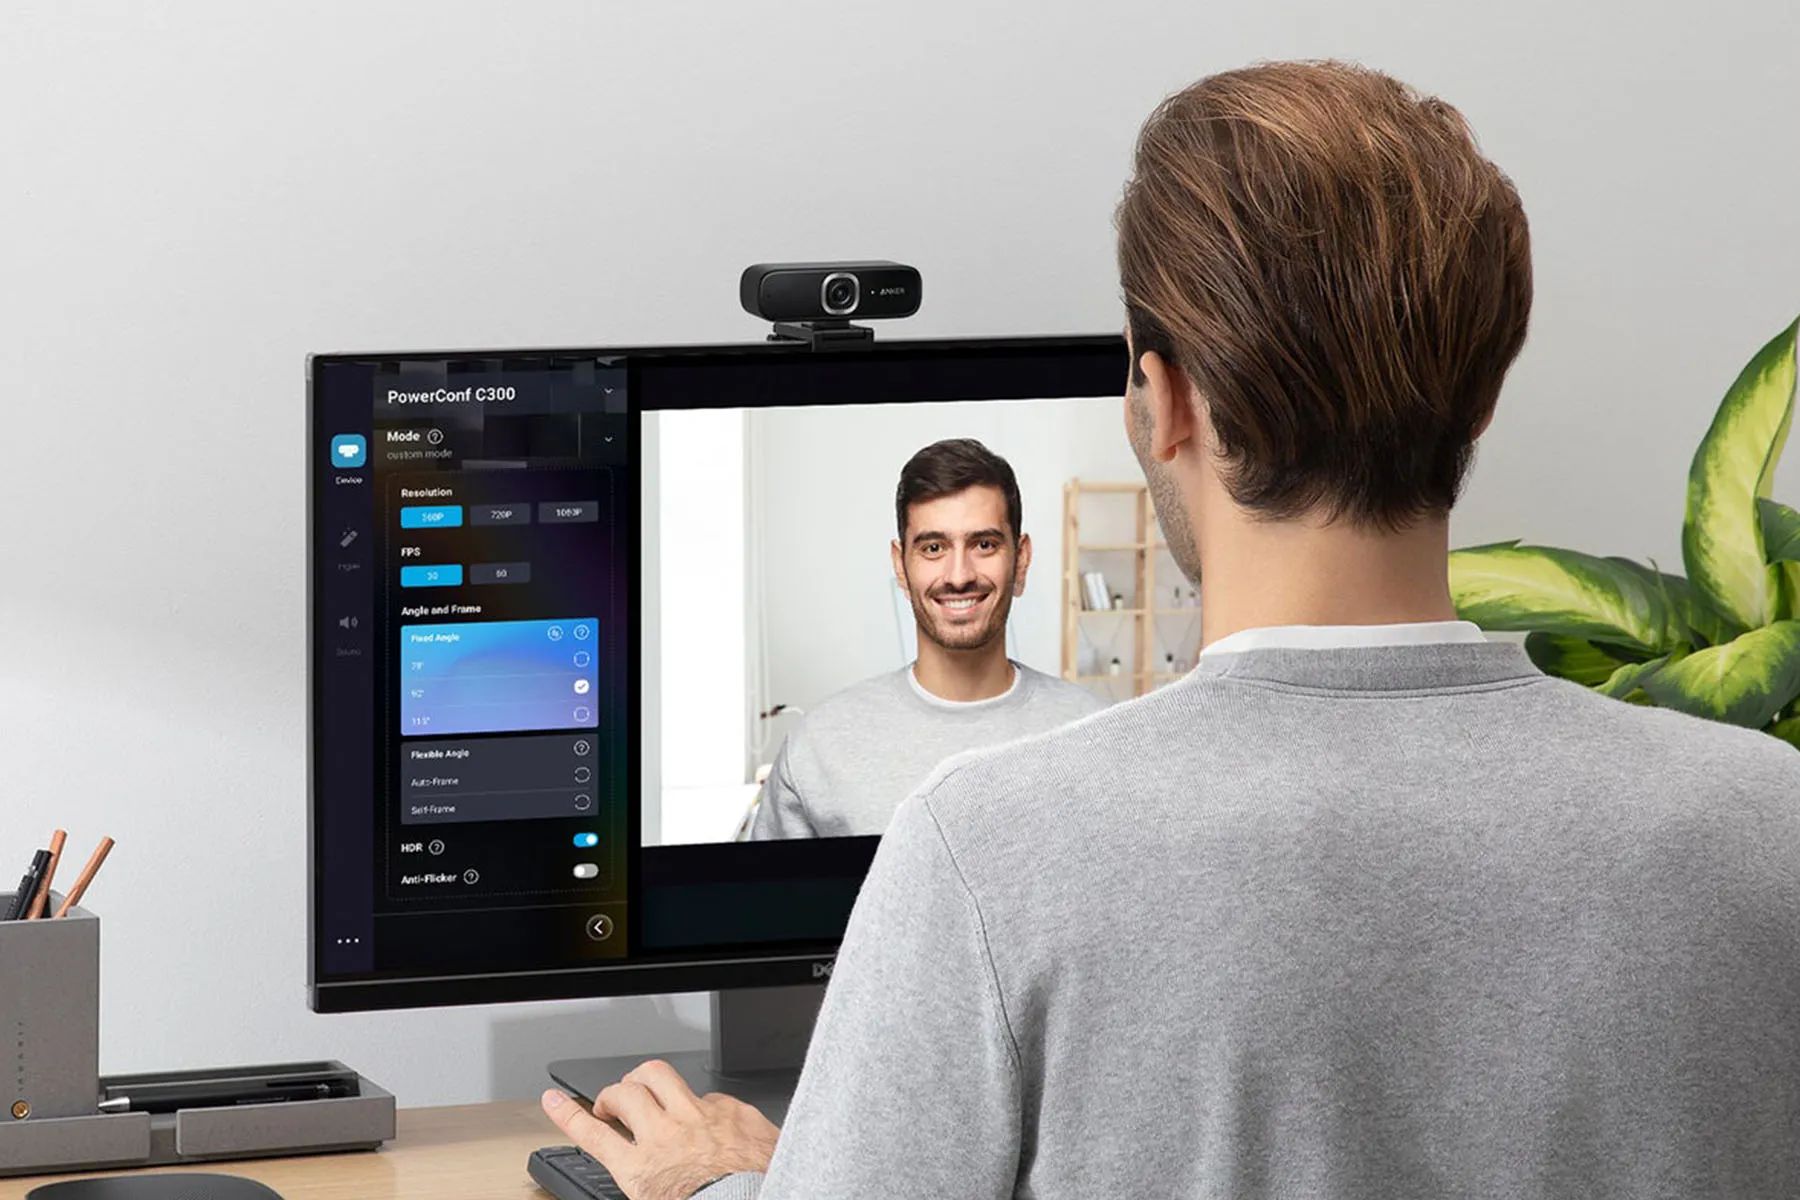
- Messaging and Communication Apps: Some messaging and communication apps like Skype, Zoom, or Slack allow you to use your IP webcam as a video input device during video calls or conferences, providing a higher-quality alternative to built-in webcams.
- IP Webcam Viewer Apps: There are also dedicated IP webcam viewer apps available that can offer additional features, improved user interfaces, and enhanced compatibility with different camera models.
When using third-party applications with your IP webcam, make sure to check the compatibility and requirements of the specific app. Some apps may require certain camera protocols, authentication methods, or specific versions of the IP webcam app to function properly.
It’s important to explore and experiment with different third-party applications to find the ones that best meet your needs and match your preferred workflow. These applications can provide added functionality and convenience, making your IP webcam even more versatile and adaptable to your specific requirements.
Remember to consult the documentation or user manual of the third-party application for instructions on how to connect your IP webcam and utilize its features within the respective app.
Adjusting the Camera Settings
Adjusting the camera settings of your IP webcam allows you to fine-tune its performance and customize it according to your specific preferences and requirements. Here are some key camera settings that you can consider:
- Video Resolution: Choose the desired video resolution for your camera. Higher resolutions offer better video quality, but they may also result in increased bandwidth usage.
- Frame Rate: Adjust the frame rate of the camera to optimize the smoothness of the recorded video. Higher frame rates result in smoother video playback, but they may require more storage space.
- Exposure: Control the exposure settings to adjust the amount of light captured by the camera. This is particularly useful in challenging lighting conditions, such as low light or bright sunlight.
- Focus: Fine-tune the focus settings to ensure that the camera captures clear and sharp images. This is especially important if you’re using the camera for surveillance or monitoring purposes.
- White Balance: Set the white balance to accurately represent colors in different lighting conditions. This helps ensure that the camera captures images with true-to-life colors.
- Zoom and Pan/Tilt: If your IP webcam supports zoom or pan/tilt functionalities, adjust these settings to control the camera’s field of view. This allows you to capture specific areas or objects of interest.
- Audio Settings: Enable or disable audio recording, adjust the microphone sensitivity, and configure audio sources to capture clear and accurate audio alongside the video feed.
- Motion Detection: Fine-tune the motion detection settings to customize how the camera detects and responds to movement within its field of view. This can include adjusting sensitivity levels, setting up specific zones, or defining actions triggered by motion.
- Privacy and Security: Configure privacy settings such as disabling recording or live streaming in certain situations or setting up password protection to restrict access to the camera’s feed.
It’s important to note that the availability and specific options for adjusting camera settings may vary depending on the brand and model of your IP webcam. Refer to the camera’s user manual or online documentation for detailed information on the available settings and how to adjust them.
Take some time to experiment with different settings and find the configuration that works best for your specific use case. Fine-tuning the camera settings can help you optimize the performance and results of your IP webcam, ensuring that it delivers the desired video quality and functionality.
Streaming Video from the IP Webcam
One of the key features of an IP webcam is the ability to stream live video footage over a local network or the internet. Streaming video allows you to view the camera’s feed in real-time from any device connected to the same network or from a remote location. Here’s how you can stream video from your IP webcam:
- Local Network Streaming: To stream video from your IP webcam over a local network, ensure that your device is connected to the same network as the camera. Open the IP webcam app on your device, access the camera’s settings, and look for the streaming options. Enable the streaming function and note down the provided local IP address and port number. Open a web browser or a dedicated media player on any device connected to the same network, enter the IP address and port number, and start viewing the live video feed.
- Remote Streaming: If you want to access the camera’s live video feed from a remote location, you will need to configure port forwarding on your router and set up a dynamic DNS service. Port forwarding allows external access to your IP webcam’s streaming port, while a dynamic DNS service provides a static hostname that can be used instead of the changing IP address assigned by your internet service provider. Once you have set up port forwarding and dynamic DNS, use the provided hostname and port number in a web browser or a dedicated media player to remotely stream the video feed.
- Streaming with Third-Party Applications: Many third-party apps and platforms support streaming from IP webcams. You can take advantage of these applications by configuring the streaming settings in your IP webcam app and then connecting it to the desired third-party app. This allows you to stream the video feed to popular platforms like YouTube, Twitch, or Facebook Live, or use dedicated IP webcam viewer apps that offer advanced streaming features and support.
Streaming video from your IP webcam allows you to monitor a location or keep an eye on your property in real-time. It provides flexibility and convenience, whether you’re at home, in the office, or traveling. Additionally, the ability to stream video remotely enables you to stay connected and have access to the camera’s feed from anywhere in the world.
Make sure to consult the IP webcam app’s documentation and the specific requirements of the streaming platform or application you’re using for detailed instructions on how to set up and stream video from your IP webcam.
Using the IP Webcam as a Security Camera
An IP webcam can serve as an effective security camera, helping you monitor and protect your home, office, or any other location of interest. With its features like live video streaming, motion detection, and remote access, you can enhance the security of your premises. Here are some tips on using your IP webcam as a security camera:
- Placement: Position your IP webcam in a strategic location that provides optimal coverage of the area you want to monitor. Consider factors such as the camera’s field of view, potential blind spots, and areas of interest, such as entrances, windows, or high-traffic spots.
- Camera Settings: Configure the camera settings to suit your security needs. Enable motion detection to receive alerts or start recording when any movement is detected. Adjust sensitivity levels and define specific areas or zones to focus on for accurate motion detection.
- Remote Access: Set up remote access to your IP webcam so that you can monitor the live video feed and access the camera’s settings from anywhere using a web browser or a dedicated app. This allows you to stay connected and keep an eye on your property even when you’re not physically present.
- Recording and Storage: Determine how you want to handle video recording and storage. You can choose to record continuously or based on motion detection events. Consider using network-attached storage (NAS), local storage, or cloud storage options for storing video footage for later review if needed.
- Alerts and Notifications: Configure the IP webcam app to send you alerts and notifications when specific events occur, such as motion detection or tampering. This ensures that you are promptly notified of any potential security breaches.
- Integration with Other Devices: Explore integrating your IP webcam with other security devices and systems, such as home automation systems or video surveillance software. This can provide more comprehensive security solutions and allow for centralized monitoring and control.
- Regular Maintenance: Schedule regular maintenance and checkups for your IP webcam, including firmware updates, camera cleaning, and ensuring proper power supply and connectivity. Regular maintenance helps ensure that your security camera operates effectively and provides reliable performance.
Using an IP webcam as a security camera offers flexibility, scalability, and cost-effectiveness compared to traditional CCTV systems. It allows you to have a real-time view of your property, customize security settings, and access video footage whenever needed.
Remember to familiarize yourself with local laws and regulations regarding the use of surveillance cameras to ensure compliance and respect the privacy of others.
By utilizing the features and capabilities of your IP webcam, you can significantly enhance the security and peace of mind for yourself, your family, or your business premises.
Troubleshooting Common Issues
While IP webcams are generally reliable and user-friendly, you may encounter some common issues during setup or operation. Here are troubleshooting tips for addressing these issues:
- Connection Problems: If your IP webcam is not connecting to the network, ensure that the camera and your device are connected to the same Wi-Fi network. Double-check the network settings and passwords to ensure they are entered correctly. If the problem persists, try restarting the camera and your router.
- Image Quality Issues: If you are experiencing poor image quality or blurry videos, check the camera’s focus settings. Adjust the focus to ensure that it captures clear and sharp images. Also, consider the lighting conditions in the area and make appropriate adjustments to the camera’s exposure and white balance settings.
- Motion Detection Problems: If your IP webcam does not detect motion or is sending false alerts, review the motion detection settings. Ensure that the sensitivity level is appropriately configured and that the motion detection zones cover the desired areas. Avoid placing the camera in areas with frequent moving objects that might trigger false alerts.
- Streaming or Access Issues: If you’re having trouble streaming the video feed or accessing the camera remotely, check that the port-forwarding settings are correctly configured on your router. Ensure that you have a stable internet connection, and double-check the accuracy of the IP address and port number you’re entering into the web browser or third-party application.
- Power Supply Problems: If your IP webcam is not receiving power or keeps losing power, check the power cable and connections. Ensure that the power source is providing adequate power and that the cable is not damaged. Consider using a backup power source, such as a battery or an uninterruptible power supply (UPS), to ensure continuous operation.
- Software or App Issues: If you are experiencing issues with the IP webcam app or third-party applications, ensure that you are using the latest version of the app. Check for any available updates and install them. If the problem persists, try uninstalling and reinstalling the app to resolve any software glitches.
If you continue to experience issues with your IP webcam despite troubleshooting efforts, it is recommended to consult the camera’s user manual or contact the manufacturer’s support for further assistance. They can provide specific guidance tailored to the camera model and help resolve any technical issues you may encounter.
Remember that patience and persistence are often key when troubleshooting technical issues. By following the troubleshooting tips and seeking appropriate support, you can overcome common problems and ensure optimal performance from your IP webcam.
Conclusion
IP webcams offer a versatile and convenient solution for video surveillance, home security, and remote monitoring. By following the installation instructions, connecting your device to the same network, and configuring the camera settings, you can take full advantage of the features and functionalities of your IP webcam.
Whether you’re using it to monitor your home, keep an eye on your baby, or enhance the security of your property, an IP webcam provides flexibility, accessibility, and customization options to suit your specific needs.
Streaming video from your IP webcam allows you to view the live feed in real-time, whether it’s on your local network or remotely. Adjusting the camera settings helps optimize its performance and tailor it to your requirements, while using third-party applications expands the capabilities and integrations of your IP webcam.
As with any technology, troubleshoot common issues that may arise, such as connectivity problems, image quality issues, or streaming difficulties. By following troubleshooting tips and seeking assistance when needed, you can ensure smooth operation and maximize the benefits of your IP webcam.
Remember, the security and privacy of others should always be respected when using an IP webcam, and it’s important to comply with local laws and regulations governing the use of surveillance cameras.
Whether you’re a homeowner, a small business owner, or a tech enthusiast, harnessing the power of an IP webcam can bring peace of mind, convenience, and improved security to your life. Enjoy the flexibility and capabilities that an IP webcam offers, and maximize its potential to suit your unique needs.


