Introduction
Welcome to the world of 3D scanning! In today’s era of advanced technology, 3D scanning has gained tremendous popularity in various industries such as architecture, engineering, manufacturing, and even healthcare. One of the most powerful and user-friendly 3D scanners available in the market is the Cyclops 3D Scanner.
With its cutting-edge features and exceptional accuracy, the Cyclops 3D Scanner has revolutionized the way we capture and digitize real-world objects. Whether you’re a hobbyist looking to create intricate 3D models or a professional seeking to streamline your design process, this scanner is the perfect tool for you.
In this article, we will explore the functionalities of the Cyclops 3D Scanner, learn how to set it up and calibrate it, and discover the best practices for achieving accurate scans. We will also walk through the process of exporting and processing the scanned data using 3D modeling software. By the end of this article, you will have a comprehensive understanding of how to utilize the Cyclops 3D Scanner to its full potential.
So, whether you’re a beginner venturing into the world of 3D scanning or an experienced user looking for tips and tricks, let’s dive in and unleash the true power of the Cyclops 3D Scanner.
What is the Cyclops 3D Scanner?
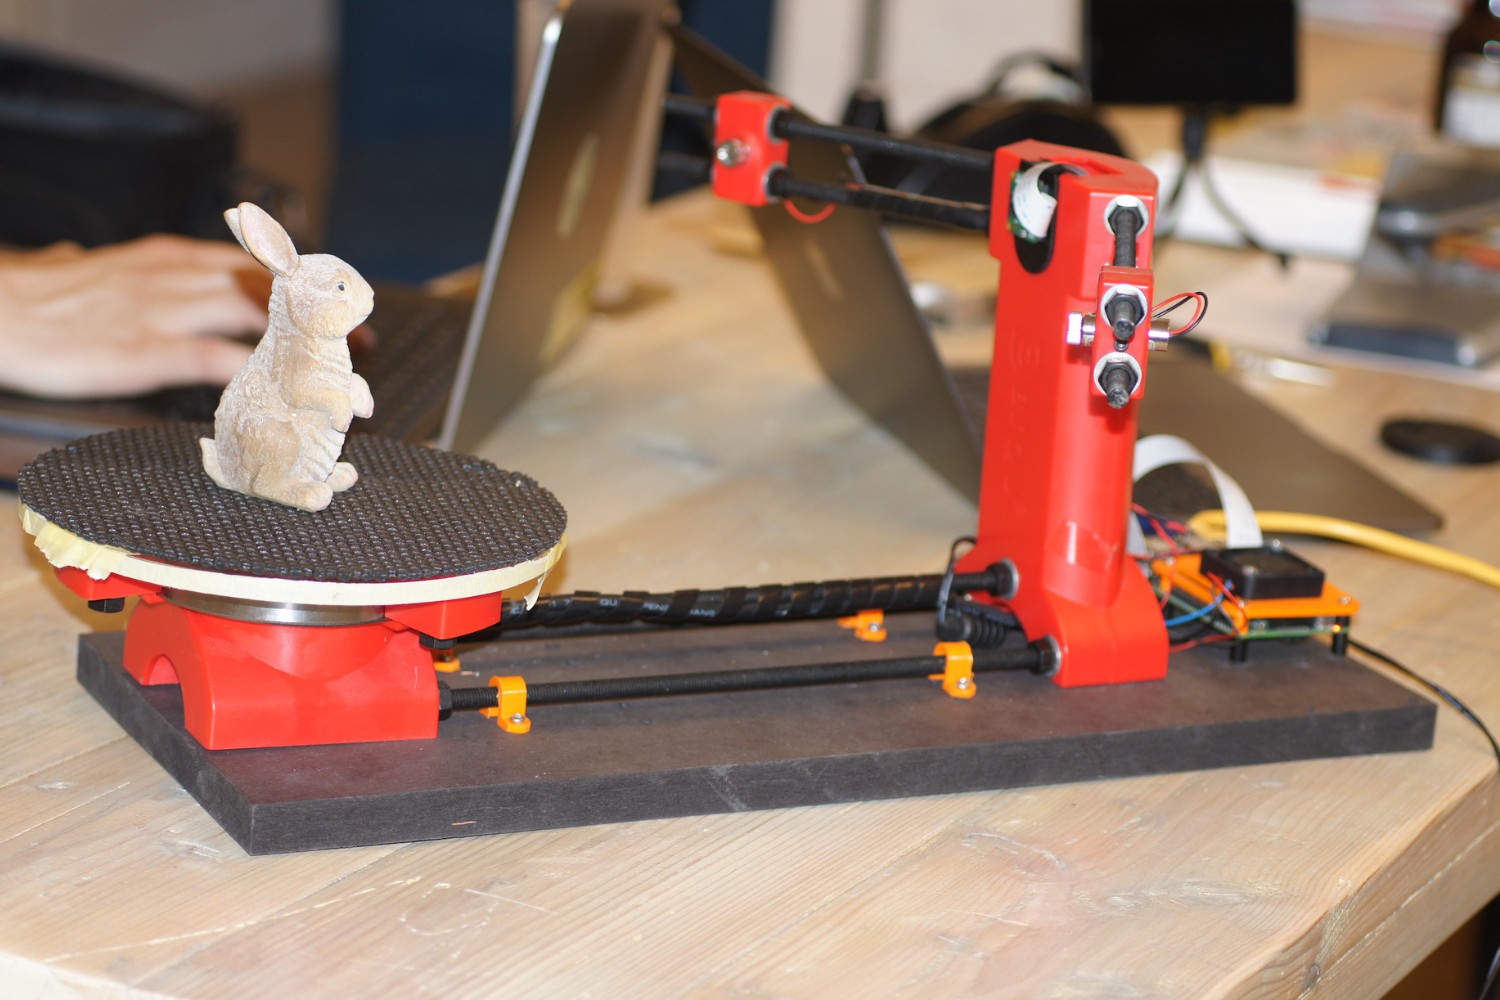
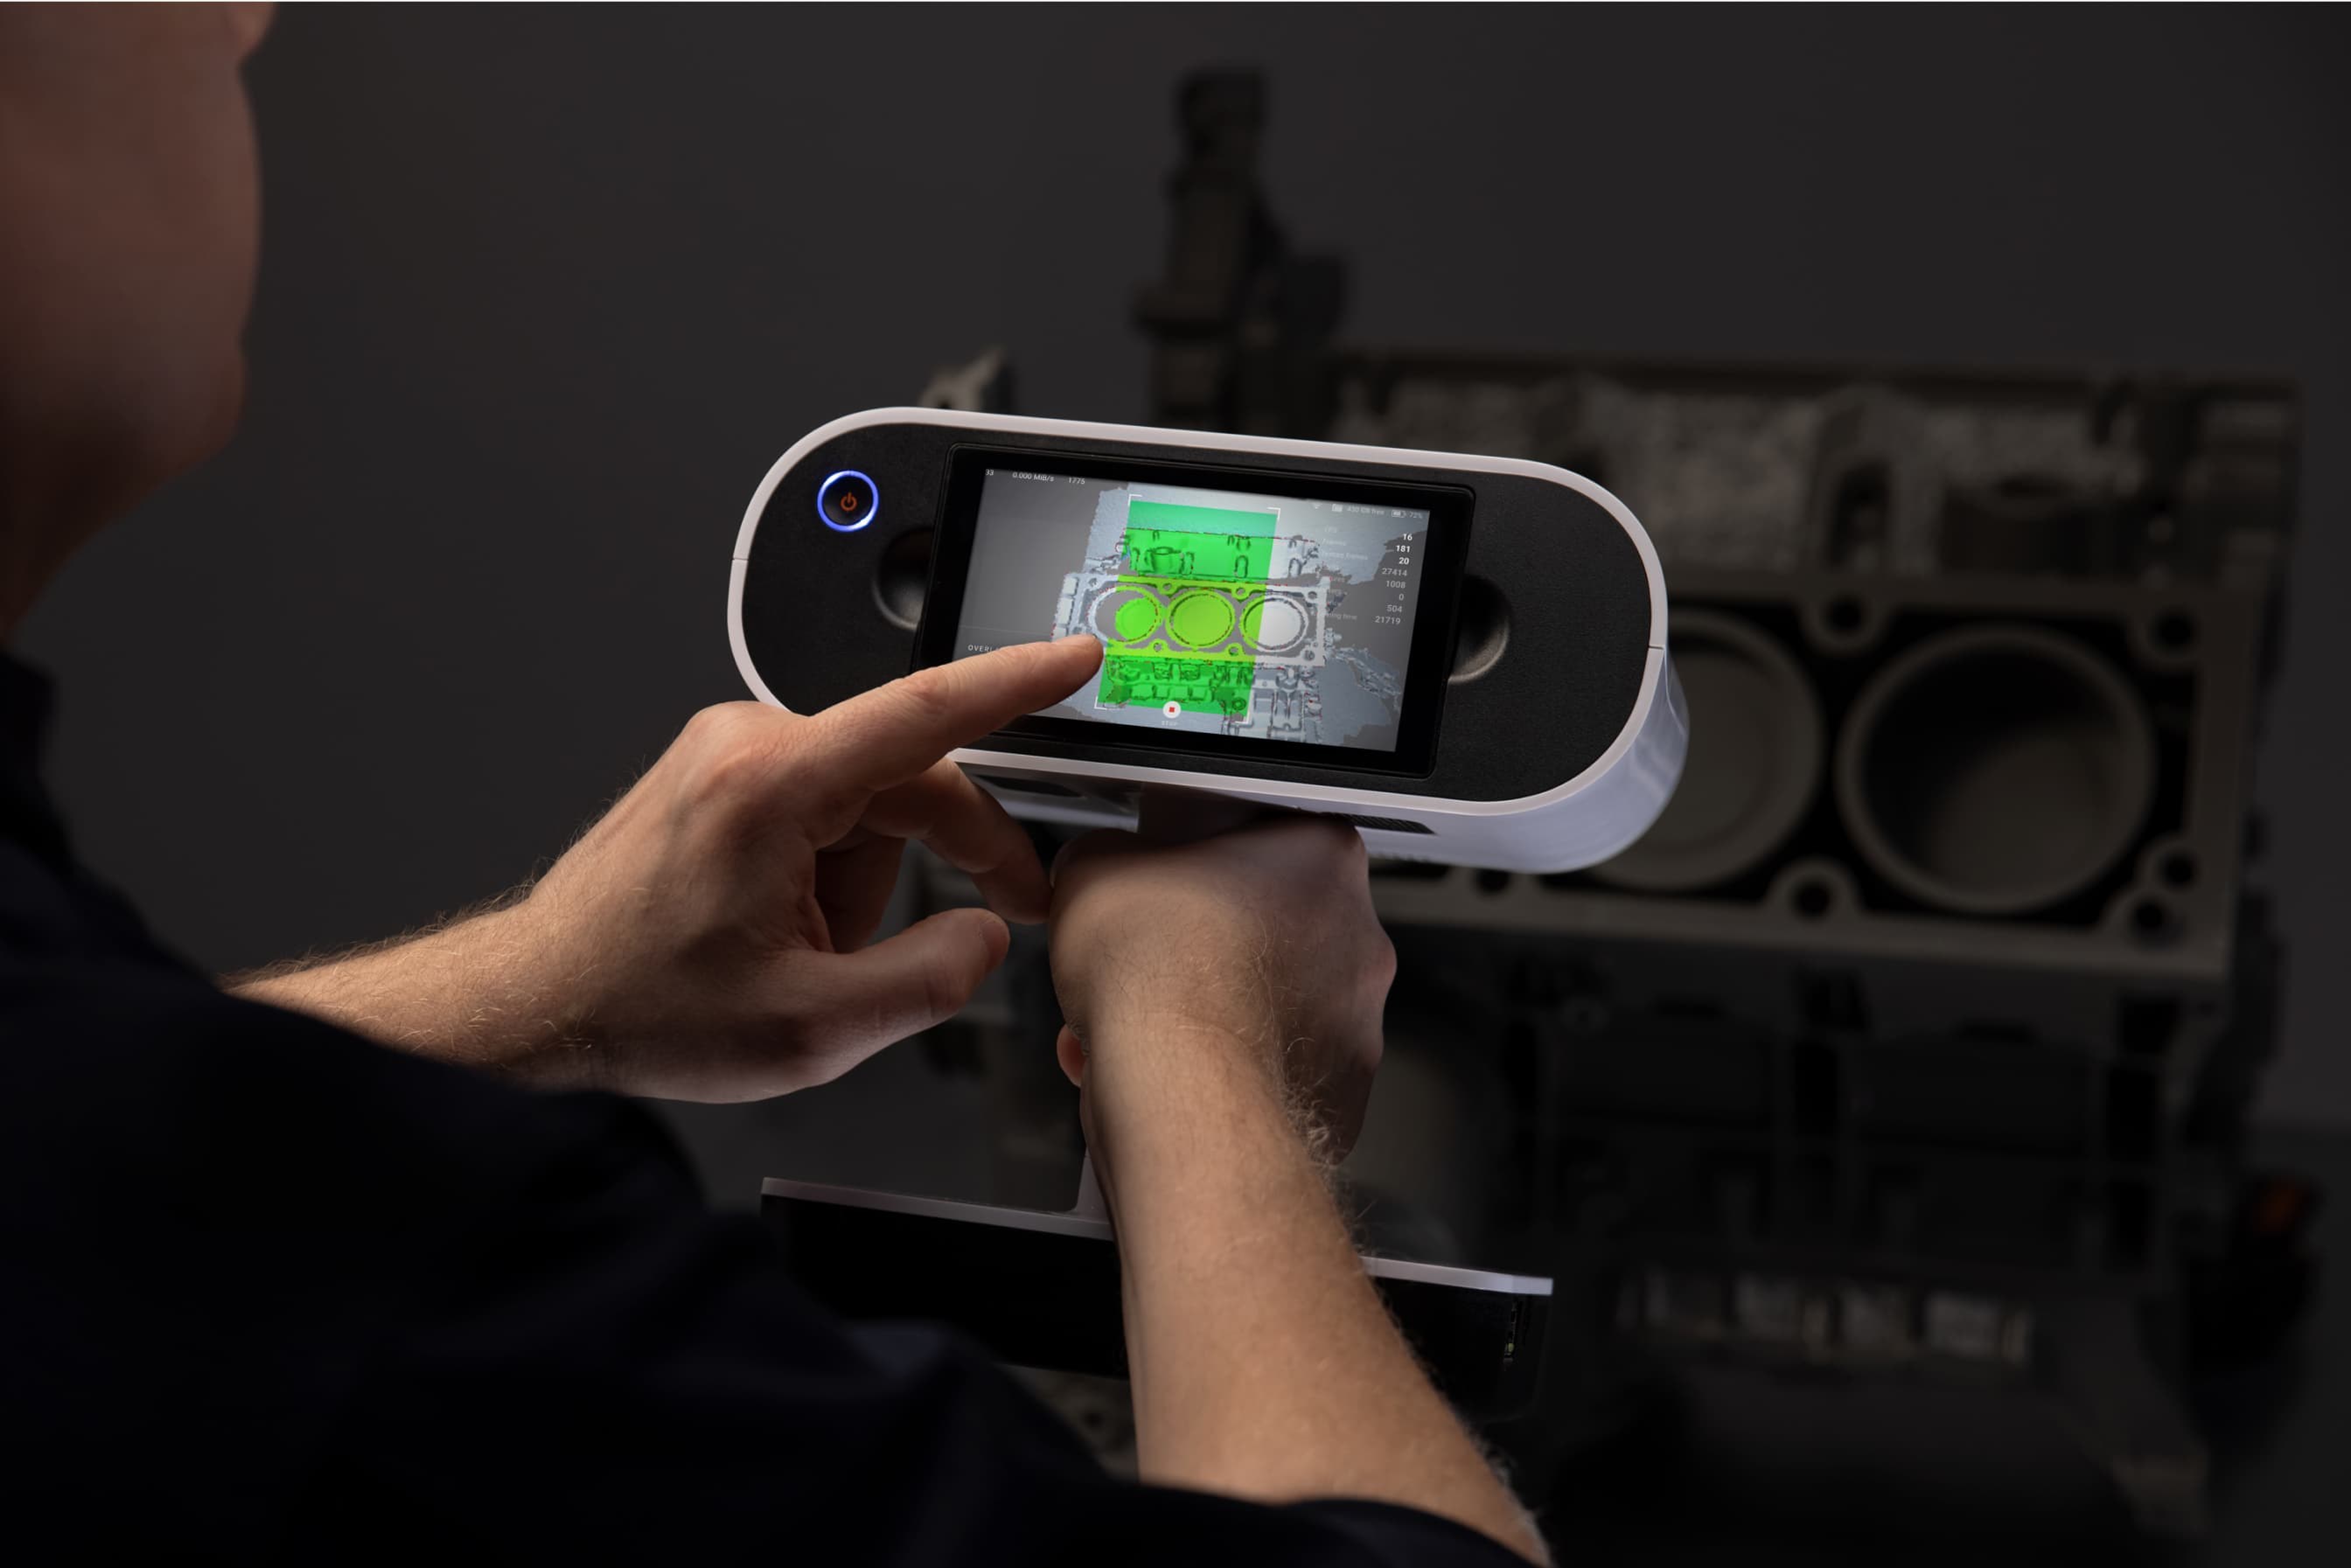
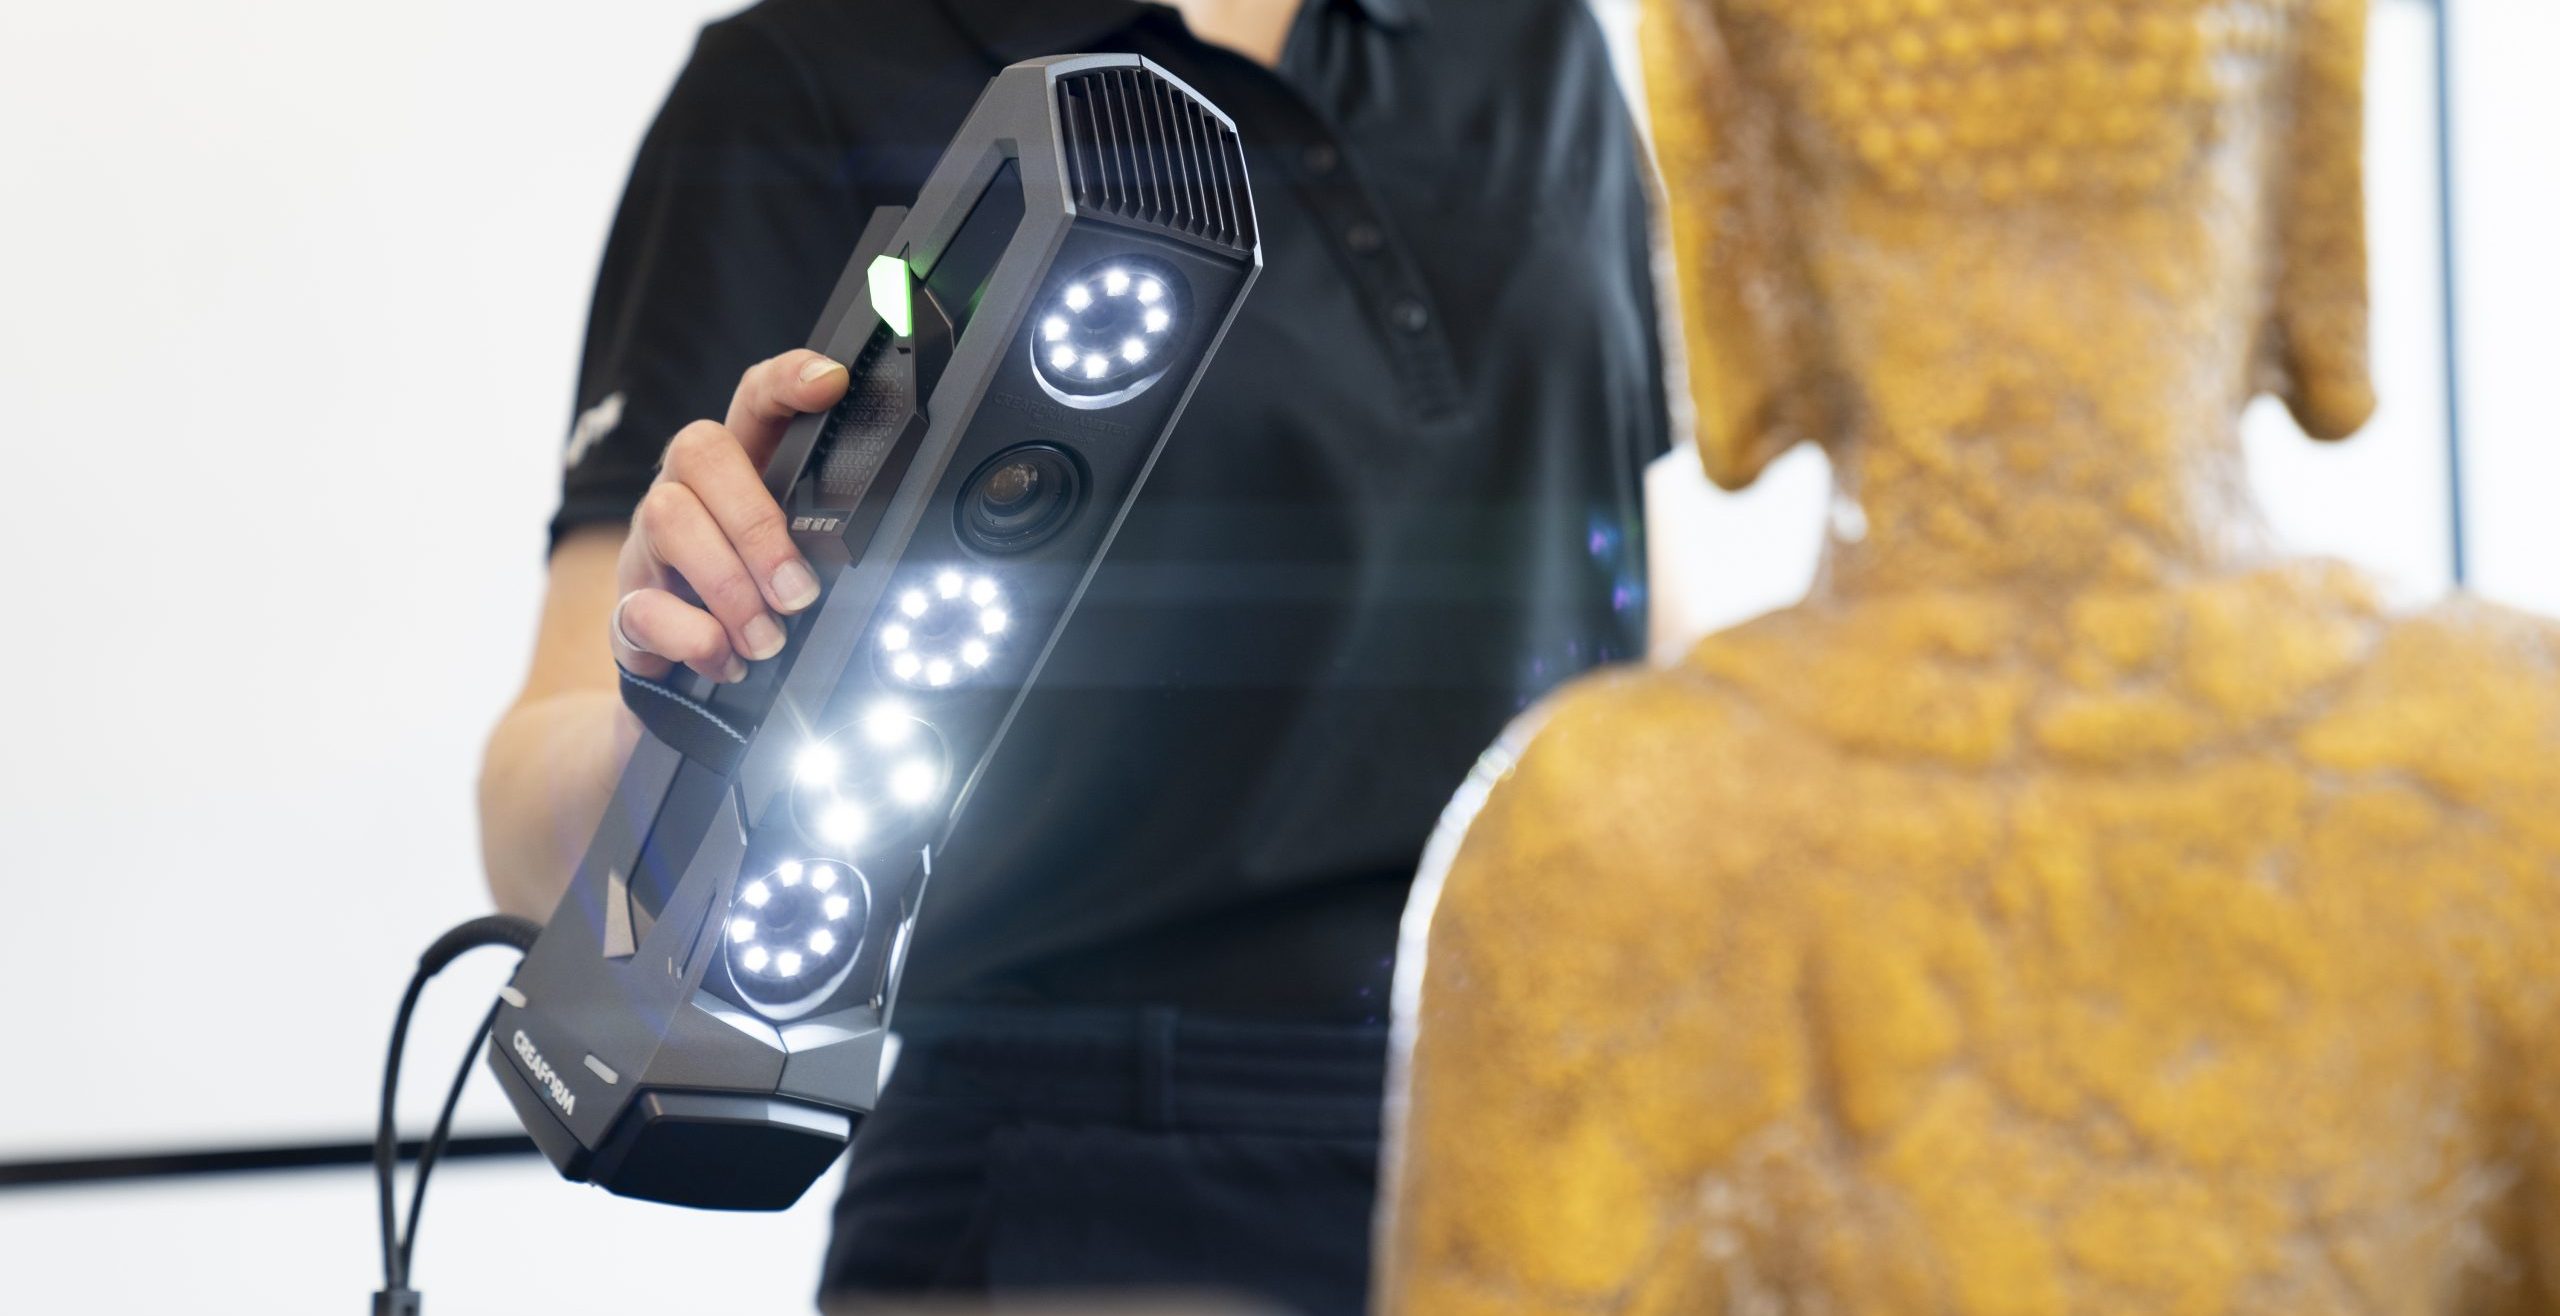
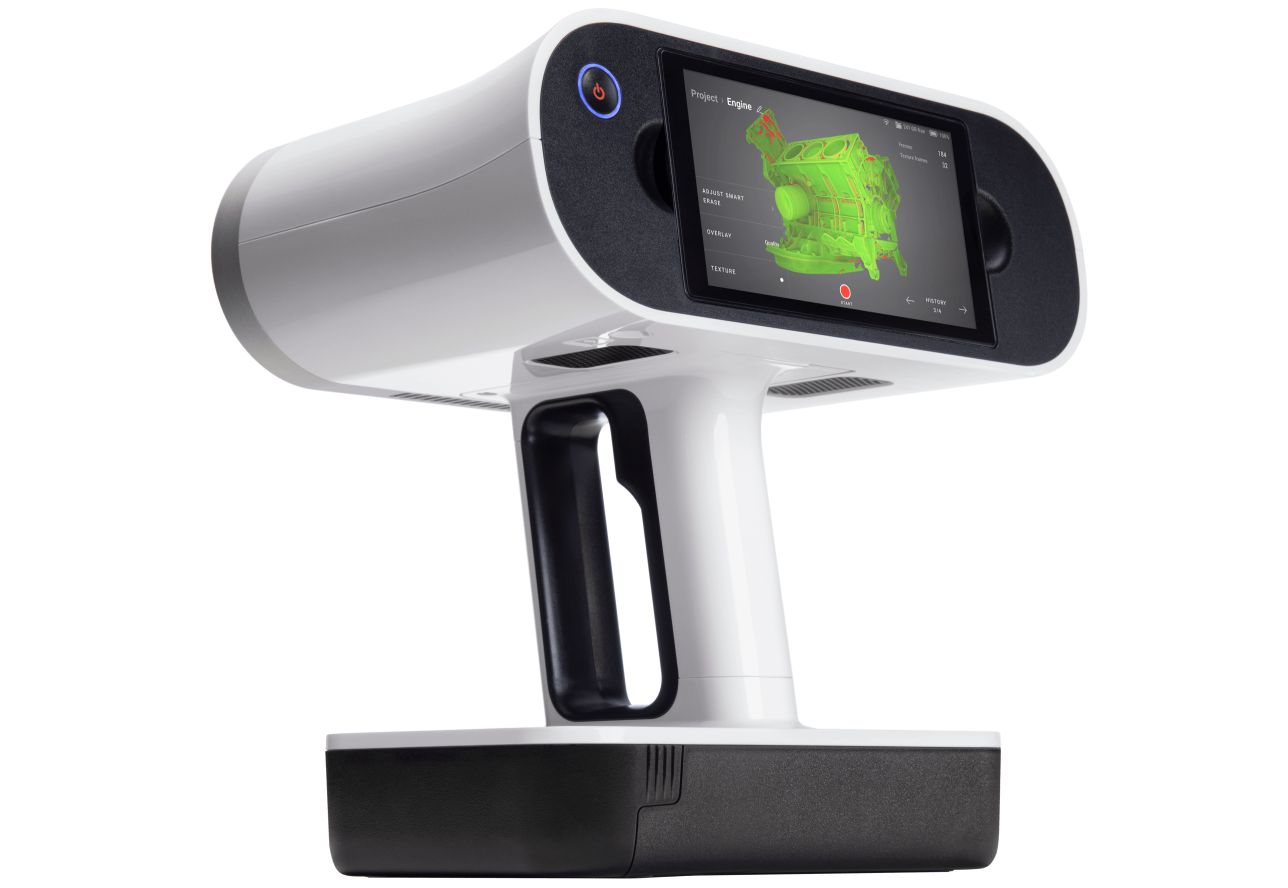
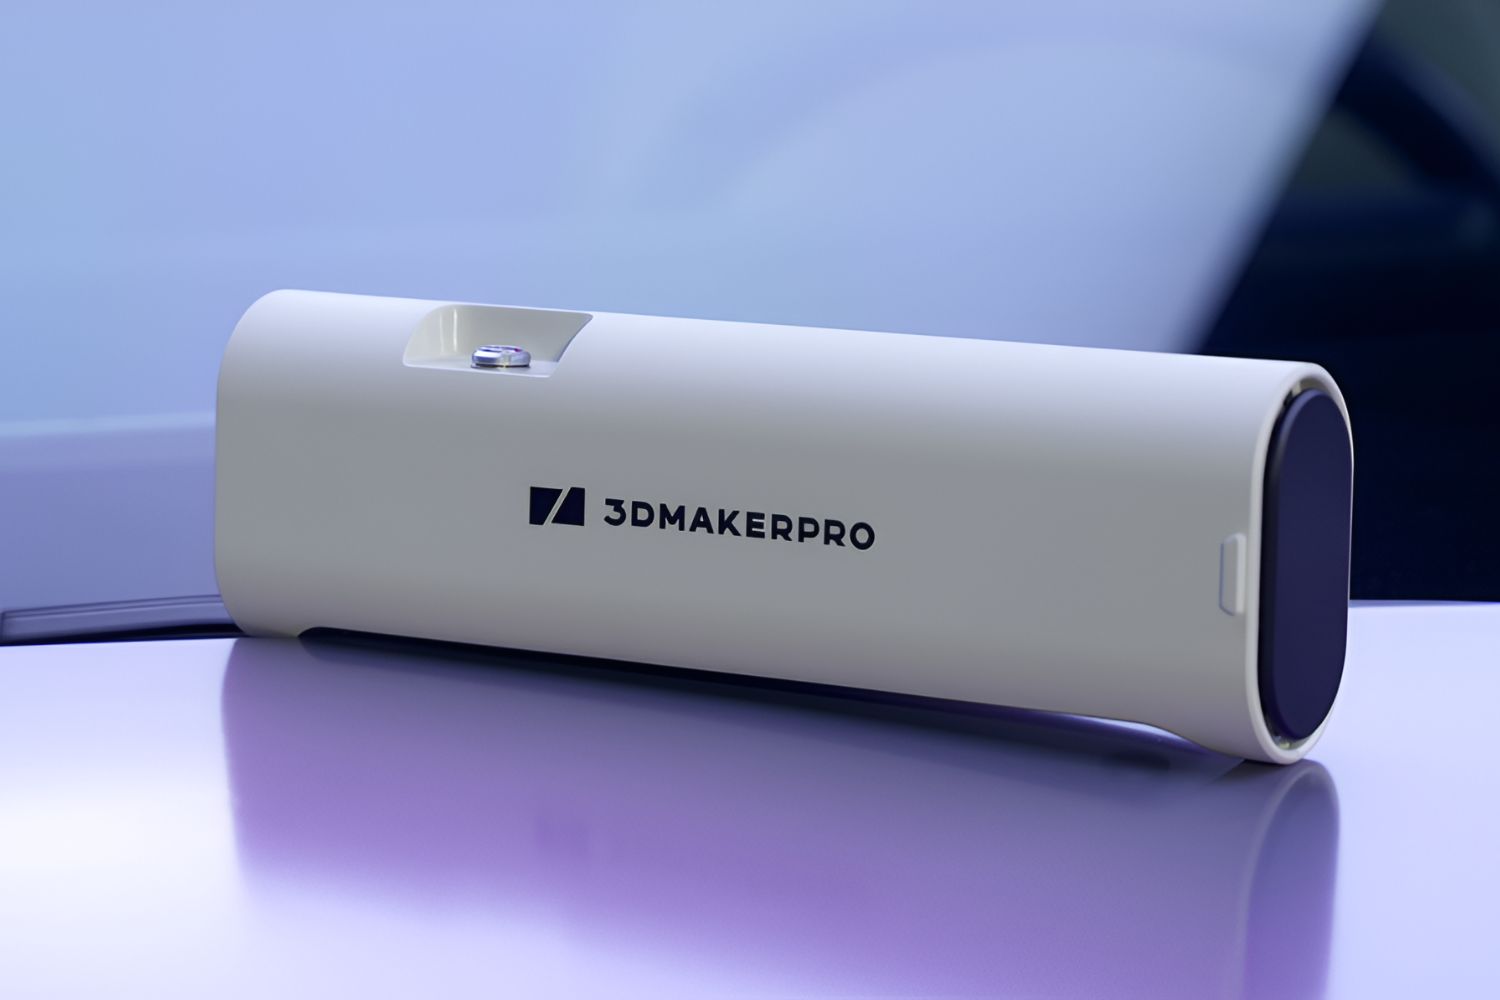
The Cyclops 3D Scanner is a state-of-the-art device that uses structured light technology to capture precise and detailed 3D scans of physical objects. It is a compact, handheld scanner that combines ease of use with high accuracy, making it suitable for a wide range of applications.
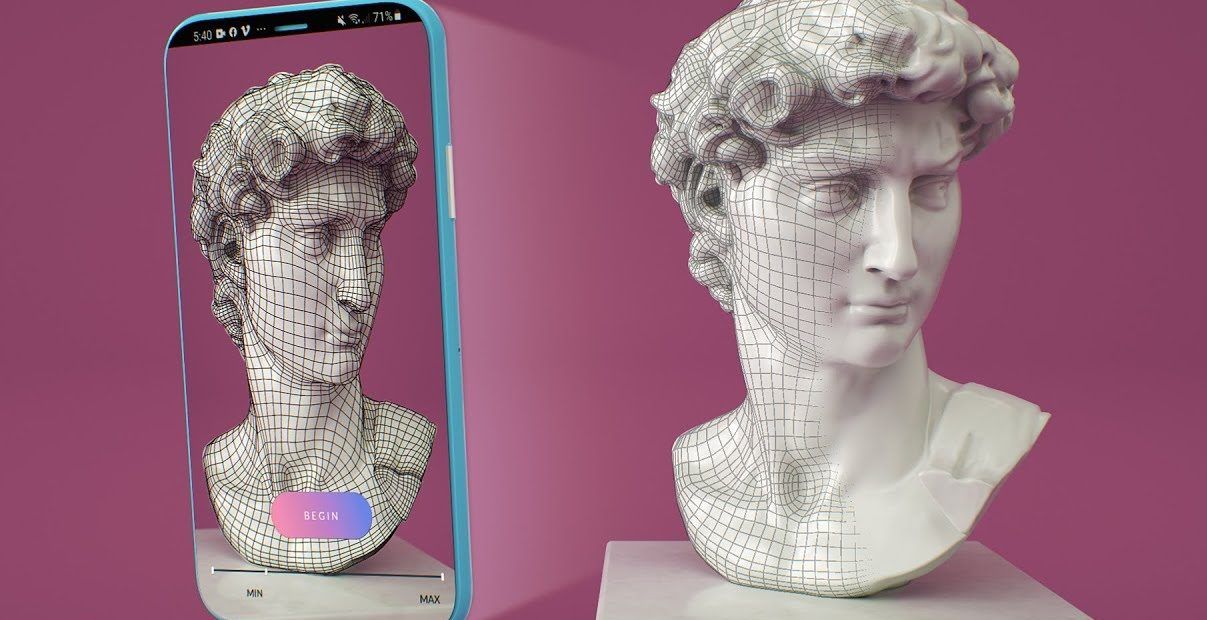
Structured light technology involves projecting a series of patterns onto an object and then capturing the deformation of these patterns as they wrap around the object’s surface. The Cyclops 3D Scanner utilizes advanced algorithms to precisely calculate the object’s shape and create a digital representation of it.
One of the standout features of the Cyclops 3D Scanner is its portability. Its compact design allows for easy handling, enabling you to scan objects of various sizes and shapes with ease. Whether you’re scanning small figurines for a 3D printing project or large industrial components for quality control, the Cyclops 3D Scanner provides the flexibility you need.
Not only does the Cyclops 3D Scanner excel in terms of portability, but it also delivers exceptional accuracy. With a high-resolution camera and advanced depth sensor, it captures intricate details and ensures precise measurements in every scan. The scanner is capable of capturing up to 1 million points per second, guaranteeing a high level of precision in your 3D models.
The Cyclops 3D Scanner is compatible with both Windows and Mac operating systems, allowing users to seamlessly integrate it into their existing workflows. The scanner is easy to set up and intuitive to use, making it accessible to users of all levels of expertise.
The applications of the Cyclops 3D Scanner are diverse and far-reaching. Architects and designers can use it to quickly capture accurate measurements of buildings or landscapes for architectural visualization or virtual reality applications. Industrial manufacturers can leverage the scanner for quality control, ensuring precise dimensions of components and detecting any defects. Artists and hobbyists can utilize the scanner to create detailed 3D models for their creative projects.
Overall, the Cyclops 3D Scanner is a powerful tool that brings the world of 3D scanning to your fingertips. Its exceptional accuracy, portability, and user-friendly interface make it a versatile choice for professionals and enthusiasts alike.
Benefits of Using a Cyclops 3D Scanner
The Cyclops 3D Scanner offers a multitude of benefits that make it a valuable tool for a variety of industries. Whether you’re an architect, engineer, designer, or hobbyist, here are some key advantages of using the Cyclops 3D Scanner:
- Accuracy: The Cyclops 3D Scanner utilizes advanced structured light technology to capture highly accurate 3D data. With its high-resolution camera and depth sensor, it can capture intricate details with precision, ensuring that your models are faithful representations of the scanned objects.
- Portability: The compact and handheld design of the Cyclops 3D Scanner makes it highly portable. You can easily take it with you to different locations and scan objects of varying sizes and shapes. This portability allows for greater flexibility and convenience in your scanning projects.
- Time-saving: Traditional methods of capturing 3D data can be time-consuming and labor-intensive. The Cyclops 3D Scanner drastically reduces the time required for scanning by quickly capturing millions of data points per second. This saves you valuable time, allowing you to focus on other aspects of your project.
- Versatility: The Cyclops 3D Scanner offers versatility in terms of the types of objects it can scan. From small intricate objects to large-scale structures, the scanner can handle a wide range of subjects. This versatility makes it suitable for various industries, including architecture, manufacturing, and art.
- User-friendly interface: The Cyclops 3D Scanner is designed with a user-friendly interface, making it accessible to both beginners and experienced users. The intuitive controls and straightforward setup process ensure a smooth scanning experience, allowing you to quickly capture high-quality 3D models.
- Compatibility: The Cyclops 3D Scanner is compatible with both Windows and Mac operating systems, enabling seamless integration into your existing workflows. It can be easily connected to your computer, allowing you to transfer and process scanned data efficiently.
- Cost-effective: Compared to other 3D scanning technologies, the Cyclops 3D Scanner offers a cost-effective solution without compromising on accuracy and quality. Its affordable price point makes it accessible to a wide range of users, making 3D scanning more accessible than ever before.
Overall, the Cyclops 3D Scanner provides a range of benefits, including superior accuracy, portability, time-saving capabilities, versatility, user-friendliness, compatibility, and cost-effectiveness. These advantages make it an excellent choice for anyone looking to explore the world of 3D scanning and bring their creative ideas to life.
Getting Started
Before you can start using the Cyclops 3D Scanner, there are a few key steps you need to take to ensure a successful scanning experience. Here’s a guide to help you get started:
- Read the User Manual: Familiarize yourself with the user manual provided by the manufacturer. This will give you a deeper understanding of the scanner’s features, functionalities, and recommended settings.
- Prepare the Environment: Find a well-lit area without excessive shadows or reflections. Ensure that the object you wish to scan is placed on a stable surface, as any movement during scanning may affect the accuracy of the results.
- Install the Software: The Cyclops 3D Scanner comes with its dedicated software. Install the software on your computer following the instructions provided. Make sure your operating system meets the minimum requirements for the software.
- Connect the Scanner: Connect the Cyclops 3D Scanner to your computer using the supplied USB cable. Ensure that the connection is secure and that the scanner is recognized by your computer.
- Verify Firmware: Check if the scanner has the latest firmware installed. If not, download and install the latest firmware version from the manufacturer’s website. This ensures that you have access to all the latest features and improvements.
- Calibrate the Scanner: Calibration is a crucial step to ensure accurate scans. Follow the instructions provided in the user manual or software interface to calibrate the Cyclops 3D Scanner properly. This step compensates for any errors and ensures precise measurements.
- Set Scan Parameters: Adjust the scan parameters in the software to meet your specific requirements. These parameters include resolution, scanning speed, and color options. Experiment with different settings to find the optimal balance between speed and accuracy.
- Practice Scanning: Start with simple objects to practice scanning techniques and familiarize yourself with the scanner’s operation. As you gain confidence and experience, you can move on to more complex subjects.
Remember to take your time and be patient as you learn to use the Cyclops 3D Scanner. Practice and experimentation will help you achieve the best results. By following these initial steps, you will be well on your way to mastering the art of 3D scanning with the Cyclops 3D Scanner.
Set Up and Calibration
The set-up and calibration process is an essential step in ensuring accurate and reliable scans with the Cyclops 3D Scanner. Properly setting up and calibrating the scanner will significantly impact the quality of your results. Here’s a step-by-step guide to help you through the process:
- Secure the Scanner: Place the Cyclops 3D Scanner on a stable surface. Ensure that it is secure and won’t move during the scanning process. Stability is vital to prevent any unwanted vibrations or distortions that could affect the accuracy of your scans.
- Connect the Power: Connect the power adapter to the scanner and plug it into a wall socket. Ensure that the power supply is stable and reliable throughout the scanning process. This step will ensure that the scanner operates at its best performance.
- Attach Calibration Panels: The Cyclops 3D Scanner typically comes with calibration panels. These panels help the scanner establish a reference point for accurate measurements. Follow the instructions in the user manual to attach the calibration panels securely to the scanner.
- Position the Object: Place the object you want to scan on a clean surface. Ensure that it is positioned properly and that all areas you wish to capture are visible to the scanner. This step is critical to achieving a complete scan of the object.
- Adjust the Camera Settings: Access the camera settings in the software and configure them according to the environmental conditions. You may need to adjust factors such as exposure, white balance, and focus to ensure optimal image quality. Experimenting with different settings can help you find the best configuration for your specific scanning requirements.
- Calibration Process: Start the calibration process as instructed in the software. This usually involves capturing images of the calibration panels from different angles. Follow the on-screen prompts and capture the images as accurately as possible. This step ensures that the scanner’s measurements are precise and accurate.
- Confirm Calibration: Once the calibration process is complete, the software will analyze the captured images and confirm whether the calibration was successful. If calibration is successful, you can proceed with the scanning process. If not, repeat the calibration process and carefully follow the instructions.
Remember, proper set-up and calibration are crucial for obtaining accurate 3D scans. It’s important to follow the instructions provided by the manufacturer closely and be patient during the process. Investing time in proper set-up and calibration will reward you with high-quality scans and reliable results when using the Cyclops 3D Scanner.
Connecting the Scanner to Your Computer
Once your Cyclops 3D Scanner is set up and calibrated, the next step is to connect it to your computer. Properly connecting the scanner ensures that you can transfer the scanned data and control the scanning process efficiently. Here’s a guide to help you connect your Cyclops 3D Scanner to your computer:
- USB Connection: The Cyclops 3D Scanner connects to your computer via a USB cable. Ensure that the USB cable is securely plugged into the scanner’s USB port. Verify that the other end of the cable is inserted correctly into an available USB port on your computer.
- Check Connections: Once the scanner is connected, check the connections to ensure they are secure. Loose connections may lead to data transfer issues or interrupted scans. If necessary, reseat the USB cable to ensure a stable connection.
- Driver Installation: If the Cyclops 3D Scanner requires specific drivers, follow the manufacturer’s instructions to install them on your computer. The drivers enable your computer to recognize and communicate with the scanner. Make sure you download and install the latest drivers available for your specific operating system.
- Software Interaction: Launch the scanning software on your computer. Ensure that the software is compatible with your operating system and that it recognizes the scanner. The software will typically display a prompt or notification when the scanner is successfully connected.
- Scanner Detection: In the software, ensure that the scanner is detected and recognized. Some software may require you to select the Cyclops 3D Scanner from a list of connected devices or provide a specific command to initiate the connection.
- Adjust Settings: Once the scanner is connected, review the settings in the software interface. Adjust the scan resolution, scanning speed, and other parameters to meet your specific requirements. Make sure to save the settings or apply them before proceeding with scanning.
- Test Connection: To ensure that the scanner is fully connected and functioning correctly, perform a test scan. Choose a simple object and initiate the scanning process. Monitor the software interface to ensure that the scanner is capturing data and displaying the scan in real-time.
Remember to follow the instructions provided by the manufacturer for connecting the Cyclops 3D Scanner to your specific computer and operating system. Properly connecting the scanner allows for seamless data transfer and control, ensuring a smooth and efficient scanning experience.
Scanning Objects with the Cyclops 3D Scanner
Now that your Cyclops 3D Scanner is set up, calibrated, and connected to your computer, it’s time to start scanning objects. The process of scanning objects with the Cyclops 3D Scanner involves capturing the shape and details of the object in 3D. Here’s a step-by-step guide to help you capture accurate and detailed scans:
- Position the Object: Place the object you want to scan on a stable surface. Ensure that it is well-lit and positioned in the center of the scanner’s field of view. This allows the scanner to capture the entire object without any obstructions.
- Adjust the Scanner Angle: Hold the Cyclops 3D Scanner at a comfortable angle and distance from the object. The scanner should be parallel to the target surface. Experiment with different angles to capture all sides and angles of the object effectively.
- Start the Scanning Process: In the scanning software, click on the “Scan” button to initiate the scanning process. Move the scanner slowly and steadily over the object’s surface. Maintain a consistent speed and smooth motion to ensure even coverage of the object.
- Overlap Scans: To ensure complete coverage and accuracy, overlap each scan by around 30% to 50%. This overlap allows the software to align the different scans and create a seamless 3D model.
- Scan Multiple Views: Capture scans of the object from different angles and orientations. Rotate the object if needed to capture all sides. This will result in a more comprehensive and detailed 3D model of the object.
- Manage Reflective Surfaces: If you are scanning objects with reflective or shiny surfaces, you may need to apply a non-reflective powder or use additional lighting techniques to minimize reflections. This ensures accurate data capture and reduces the risk of artifacts in the scan.
- Scan Support and Surrounding Areas: If the object you are scanning is connected to a support structure or has surrounding elements, make sure to capture those areas as well. This will provide context to the 3D model and enhance the overall accuracy of the scan.
- Save and Review Scans: Once you have completed the scanning process, save the scans in the desired file format. Review the scans on your computer to ensure that all areas of the object are captured accurately. If necessary, repeat the scanning process for any missed or problematic areas.
Remember, practice and experimentation are key to mastering the art of scanning objects with the Cyclops 3D Scanner. By following these steps and refining your scanning technique, you will be able to capture detailed and accurate 3D scans of a wide range of objects.
Tips for Achieving Accurate Scans
While the Cyclops 3D Scanner offers excellent accuracy and ease of use, there are a few tips and best practices that can help you achieve even more precise and detailed scans. Here are some valuable recommendations for achieving accurate scans with the Cyclops 3D Scanner:
- Stability is key: Ensure that both the scanner and the object being scanned are placed on stable surfaces. Any movement during the scanning process can introduce errors and affect the accuracy of the scans.
- Optimal lighting conditions: Adequate lighting is crucial for obtaining accurate scans. Avoid bright direct sunlight or harsh artificial lighting that may create shadows or highlights on the object. Use diffused, even lighting to minimize unwanted effects on the scanned data.
- Multiple scans from different angles: Capture scans of the object from different angles and orientations. This provides more data points and enhances the accuracy of the final 3D model. Remember to overlap each scan to ensure complete coverage and seamless alignment.
- Powdering or using non-reflective sprays: If you are scanning reflective or shiny surfaces, applying a non-reflective powder or using non-reflective sprays can improve accuracy. These treatments help minimize reflections and eliminate unwanted artifacts in the scanned data.
- Check for occluded areas: Ensure that all areas of the object are visible to the scanner. Check for occlusions or hidden parts that could result in incomplete scans. Adjust the position of the object and the scanner to capture those areas effectively.
- Avoid excessive movements: Maintain a steady and consistent scanning speed and motion. Fast or erratic movements can introduce motion blur and affect the quality and accuracy of the scans. Slow, controlled movements yield better results.
- Clean the scanner and object: Keep the scanner lens and calibration panels clean and free from debris or smudges. Any dirt or marks on the scanner or object surfaces can degrade the quality of the scans. Regularly clean and inspect the scanner to ensure optimal performance.
- Experiment with settings: Familiarize yourself with the scanner’s settings and make adjustments based on the specific requirements of your scanning project. Play around with parameters such as resolution, scanning speed, and color options to find the optimal settings for your needs.
- Review and optimize scans: After completing a scan, review the data to ensure accuracy and completeness. If necessary, use post-processing software to clean up and refine the scans for better results. Experiment with different post-processing techniques to optimize the final 3D model.
By following these tips and best practices, you can maximize the accuracy and quality of your scans with the Cyclops 3D Scanner. Each scanning project may require some experimentation and adjustments, but with practice, you will achieve professional-level results.
Exporting and Processing Scanned Data
Once you have successfully scanned an object using the Cyclops 3D Scanner, the next step is to export and process the scanned data. This allows you to transform the raw scan into a usable 3D model that can be further edited, manipulated, or prepared for various applications. Here’s a guide to help you with exporting and processing the scanned data:
- Select the desired file format: Before exporting the scanned data, decide on the file format that best suits your needs. Common file formats for 3D models include STL, OBJ, and PLY. Consider the compatibility of the chosen format with the software or application you plan to use the 3D model in.
- Export the scan: In the scanning software, look for the export or save function. Choose the desired file format and specify the location where you want to save the exported file. Make sure to give the file a meaningful name that relates to the scanned object.
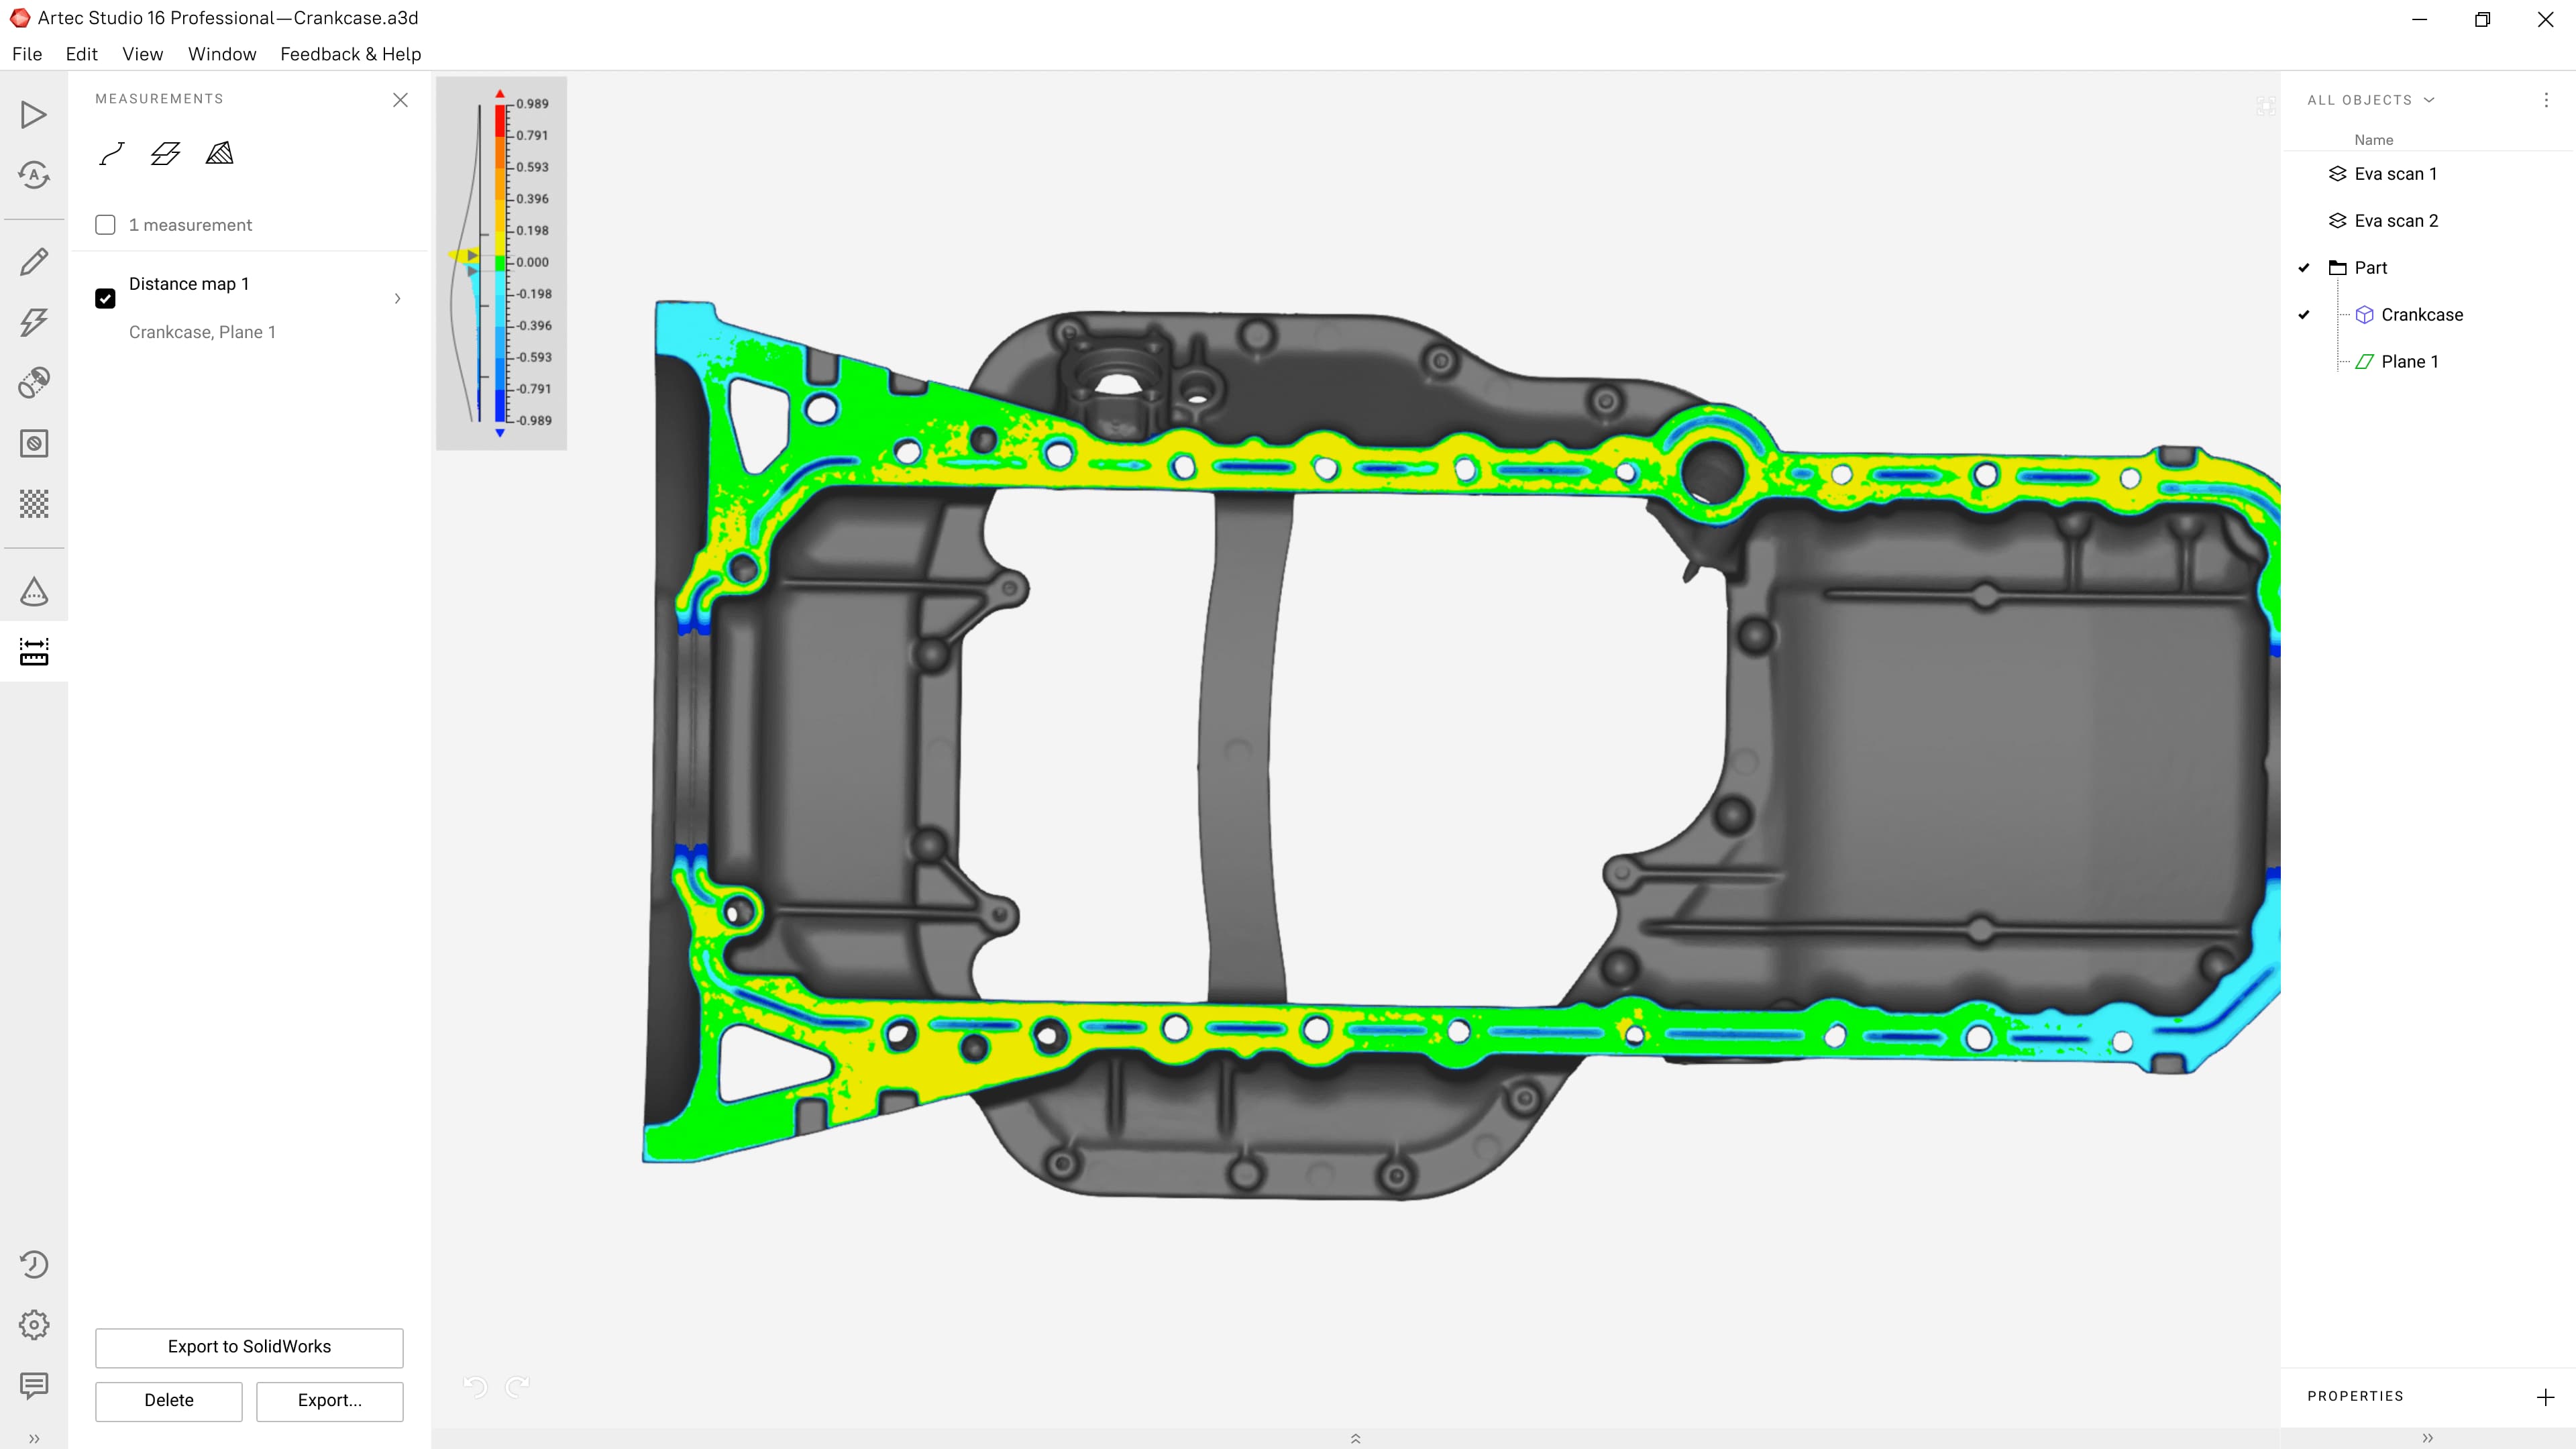
- Post-processing software: Depending on your requirements, you may need to use post-processing software to refine and optimize the exported scan. This could involve cleaning up any noise or artifacts, smoothing the geometry, or aligning multiple scans for a complete model.
- Mesh editing: If further editing is needed, you can use 3D modeling software to refine the scanned data. This allows you to fix any imperfections, fill gaps or holes, reposition or resize parts, or add additional details to the 3D model. Popular 3D modeling software options include Blender, Autodesk Fusion 360, and ZBrush.
- Texture mapping: If your scan includes color information, you may want to apply texture mapping to enhance the visual appearance of the 3D model. Texture mapping involves projecting the captured colors onto the surface of the model, providing a realistic and detailed representation of the object.
- Scale and measurements: After processing the scan, it’s important to ensure that the 3D model is scaled correctly. You can use reference measurements or known dimensions of the object to scale the model accurately. This step is crucial for applications where precise measurements or dimensional accuracy is required.
- Optimize the model: Depending on the intended use of the 3D model, you may need to optimize it for specific requirements. This could involve reducing the file size, optimizing the geometry, or preparing the model for 3D printing by adding support structures or making it watertight.
- Save and share: Once you have completed the post-processing and optimization steps, save the final 3D model in the desired file format. It is recommended to save multiple versions, preserving the original scanned data and different iterations of the edited model. This allows for flexibility and future modifications, if needed.
By following these steps and using appropriate software tools, you can efficiently export and process the scanned data from the Cyclops 3D Scanner. Whether you are using the 3D model for visualization, prototyping, or manufacturing, this post-processing stage is crucial for achieving the desired results.
Post-Processing with 3D Modeling Software
After exporting the scanned data from the Cyclops 3D Scanner, you can further refine and enhance the 3D model using dedicated 3D modeling software. This post-processing stage allows you to make adjustments, optimize the geometry, add details, and prepare the model for specific applications. Here’s a guide to post-processing the scanned data using 3D modeling software:
- Select the appropriate software: Choose a 3D modeling software that suits your needs and level of expertise. Popular options include Blender, Autodesk Fusion 360, ZBrush, and SolidWorks. Consider the specific features and capabilities of the software that will help you achieve your desired results.
- Import the scanned data: In the 3D modeling software, import the scanned data in the preferred file format (e.g., STL, OBJ, or PLY). Most software allows you to directly import these formats. Ensure that the imported model retains its scale and dimensions accurately.
- Clean up and optimize the geometry: Evaluate the geometry of the scanned model and clean up any unwanted artifacts or noise. Use tools such as mesh repair, smoothing, and decimation to optimize the geometry, ensuring a clean and accurate representation of the scanned object.
- Add missing details: If the scanned model is missing certain details or has areas that need refinement, utilize the software’s sculpting or modeling tools to add or modify those details. This could involve sculpting intricate features, refining edges, or recreating missing parts.
- Adjust the mesh topology: Depending on your requirements, you may need to adjust the topology of the mesh. This involves modifying the overall structure of the model to optimize it for specific applications, such as animation, simulation, or 3D printing.
- Create UV maps: UV mapping is the process of applying 2D textures or images onto the 3D model’s surface. Use UV mapping techniques in the software to accurately apply textures, colors, or materials to enhance the visual appearance of the model.
- Generate normals and tangents: Generate and correct the normals and tangents of the model to ensure consistent shading and lighting in different software environments or game engines. This step helps improve the visual quality and realism of the model.
- Optimize for specific applications: Depending on the intended use of the 3D model, optimize it accordingly. This may involve reducing the polygon count for real-time applications, adding support structures for 3D printing, or preparing the model for animation by rigging and weighting.
- Perform a final quality check: Before finalizing the post-processing, perform a thorough quality check. Inspect the model for any remaining imperfections, check the dimensions, validate the watertightness for 3D printing, and ensure the model meets your specific requirements.
- Save and export the final model: Once you are satisfied with the post-processing, save the final 3D model in the desired file format for future use. Consider saving multiple versions to preserve the edited model while retaining the original scanned data.
By following these steps and leveraging the capabilities of 3D modeling software, you can further refine and optimize the scanned data from the Cyclops 3D Scanner. The post-processing stage allows you to unleash your creativity, add intricate details, and prepare the model for various applications.
Troubleshooting Common Issues
While the Cyclops 3D Scanner is designed with user-friendly features, it’s not uncommon to encounter some challenges during the scanning process. Here are some common issues you may face and troubleshooting tips to help you overcome them:
- Poor Scan Quality: If you’re getting scans with low quality or missing details, verify that the object is properly positioned and well-lit. Adjust the scanner’s settings, such as resolution and exposure, to optimize the scan quality. Additionally, check for any obstructions or occlusions that may be affecting the scan.
- Scan Misalignment: If you notice misalignment or gaps between scans when capturing multiple views, ensure that you are overlapping each scan sufficiently. Make sure the calibration of the scanner is accurate and that there are no issues with the calibration panels. Check for any movements or vibrations that may be causing misalignment during the scanning process.
- Reflections or Shadows: If you’re experiencing issues with reflections or shadows on the object’s surface, try adjusting the lighting conditions or using non-reflective sprays or powders on shiny surfaces. Experiment with different lighting angles and intensities to minimize unwanted reflections or shadows.
- Scanner Connectivity: If you’re having trouble connecting the scanner to your computer, check the USB connections and ensure they are secure. Verify that the correct drivers are installed on your computer. Try using a different USB port or cable to rule out any connectivity issues. Restarting both the scanner and the computer can also help resolve connectivity problems.
- Software Compatibility: If you’re facing compatibility issues with the scanner software, ensure that it is compatible with your operating system. Check for any available software updates or patches. Reach out to the manufacturer’s support team for assistance if needed.
- Scanning Transparent or Reflective Objects: Transparent or highly reflective objects can present challenges in scanning. Consider using a matte spray or coating on transparent objects to improve scan accuracy. For reflective surfaces, try using anti-glare settings in the software, adjusting the lighting conditions, or using a polarizing filter to minimize reflections.
- Slow Scanning Speed: If the scanning process is slow, ensure that your computer meets the required specifications for the software and scanner. Close any unnecessary applications or processes running in the background that may hinder the scanner’s performance. If possible, use a high-speed USB port to improve data transfer speed.
- Incomplete Scans: If your scan is incomplete or missing certain areas, check that the object is stationary and properly positioned throughout the scanning process. Ensure there are no obstructions or occlusions that prevent the scanner from capturing the full object. Adjust the scanning angles and patterns to capture all desired areas.
Remember, troubleshooting is part of the learning process, and every scanning experience provides an opportunity to refine your technique. If you encounter persistent issues or have specific questions, consult the user manual, online forums, or reach out to the manufacturer’s support team for further assistance.
Conclusion
The Cyclops 3D Scanner is a powerful tool that opens up endless possibilities in the world of 3D scanning. With its portability, exceptional accuracy, and user-friendly interface, it empowers users from various industries and skill levels to capture detailed and precise 3D scans of real-world objects.
Throughout this article, we have explored the functionalities of the Cyclops 3D Scanner, from its set-up and calibration process to scanning objects and post-processing the scanned data. We have also provided valuable tips for achieving accurate scans and troubleshooting common issues that may arise.
By following the steps outlined in this guide, you can master the art of 3D scanning with the Cyclops 3D Scanner. Whether you’re an architect looking to create accurate 3D models of buildings, an engineer in need of precise measurements for manufacturing, or a hobbyist interested in capturing intricate details for artistic projects, the Cyclops 3D Scanner is a versatile and reliable tool.
Remember, practice and experimentation are key to achieving the best results. Take the time to familiarize yourself with the scanner, its features, and the scanning process. Be patient and open to learning from each scanning experience.
With the Cyclops 3D Scanner in your hands, you have the power to bring physical objects into the digital realm and unlock a whole new world of possibilities. So, let your creativity soar, explore new frontiers, and leverage the capabilities of the Cyclops 3D Scanner to turn your ideas into reality.


