Introduction
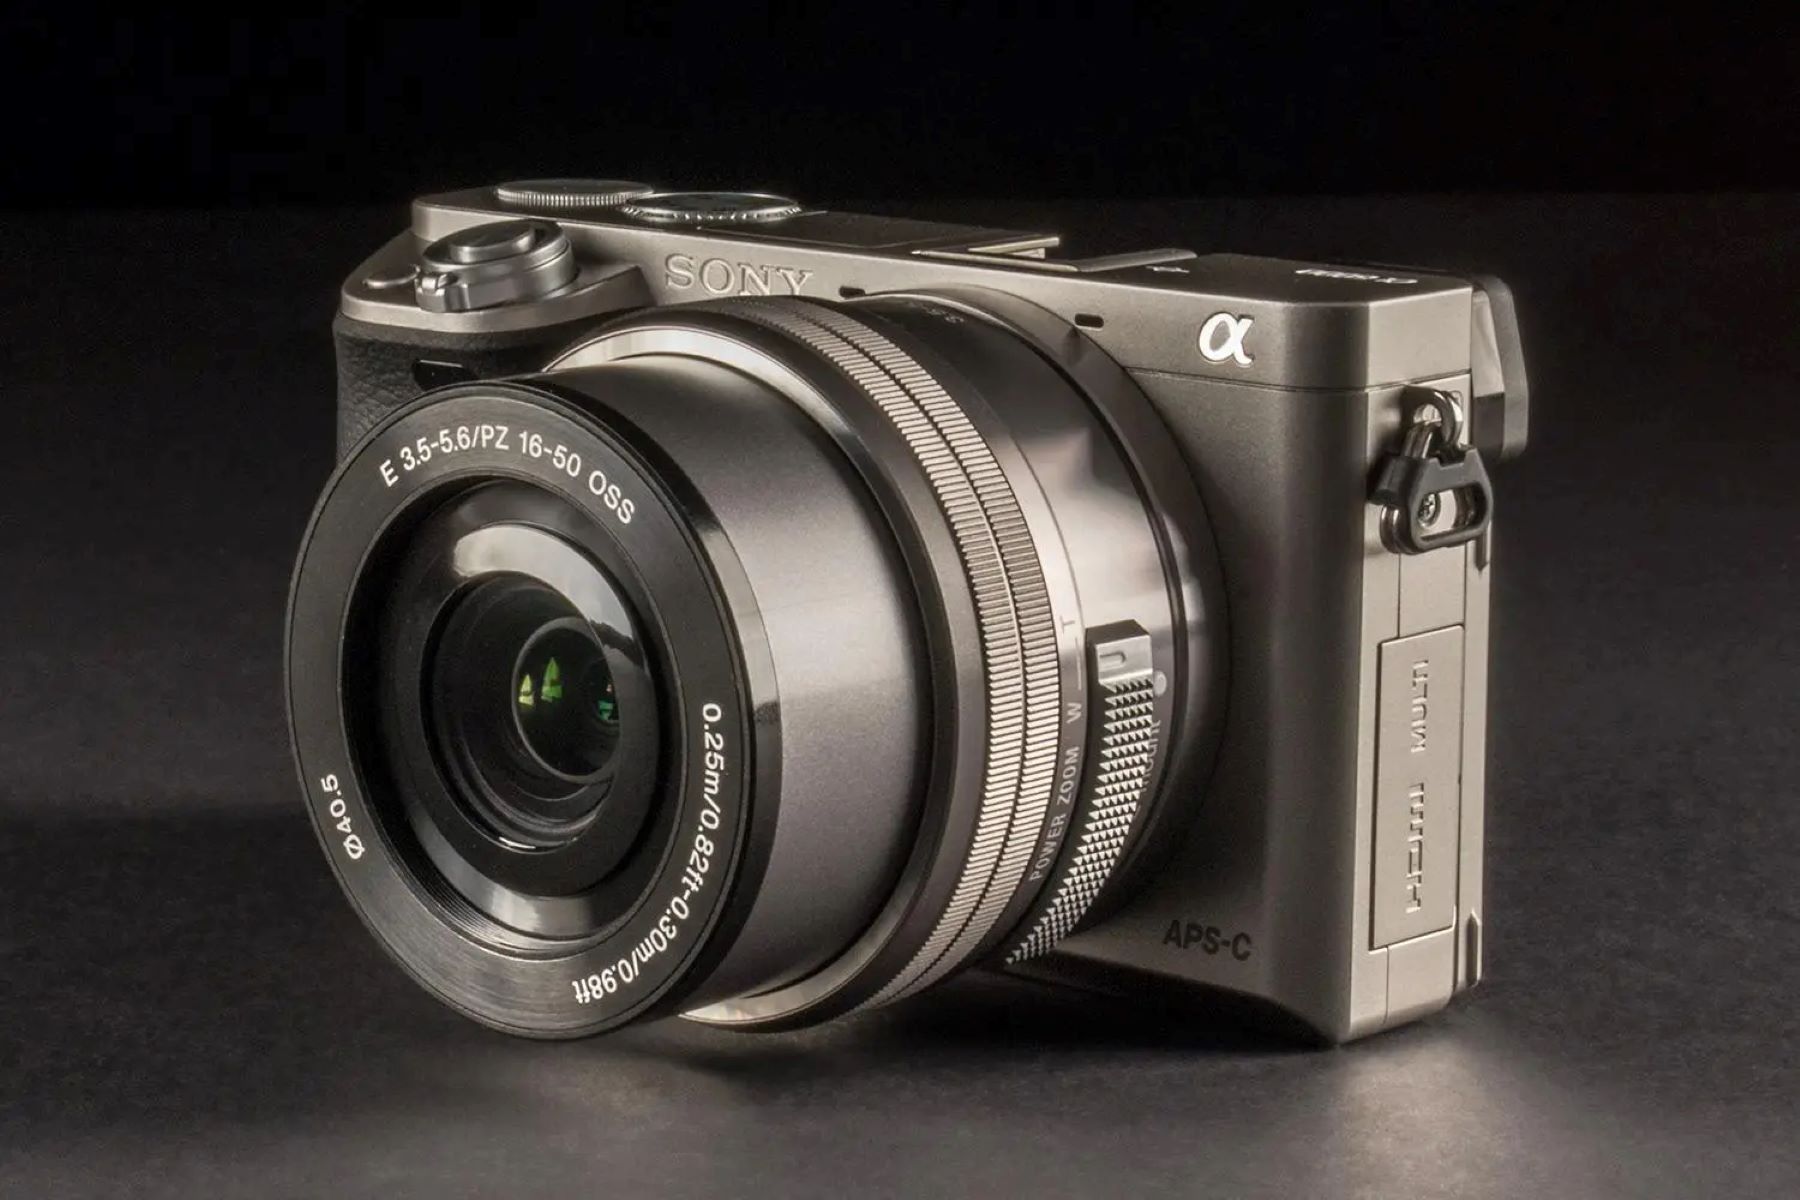
Are you tired of using a low-quality webcam for your video calls and online meetings? Then it’s time to unleash the full potential of your Sony A6000 camera and upgrade your video conferencing experience. With its exceptional image quality and versatility, the Sony A6000 can be transformed into a high-quality webcam with just a few simple steps.
Using your Sony A6000 as a webcam not only allows you to take advantage of its superior imaging capabilities but also gives you more control over your video settings, resulting in a professional-looking video output. Whether you’re a content creator, freelancer, or remote worker, this guide will walk you through the process of setting up your Sony A6000 as a webcam, so you can enjoy crystal-clear video quality for your online collaborations.
In this step-by-step guide, we will cover everything you need to know, from checking your camera settings to installing the necessary software on your computer. We will also provide troubleshooting tips to help you overcome any potential issues you may encounter along the way.
So, if you’re ready to level up your video game and impress your colleagues, friends, and family with stunning visuals during video calls, read on to learn how to use your Sony A6000 as a webcam.
Getting started
Before we dive into the process of using your Sony A6000 as a webcam, there are a few things you’ll need to have in place. Here’s what you’ll need to get started:
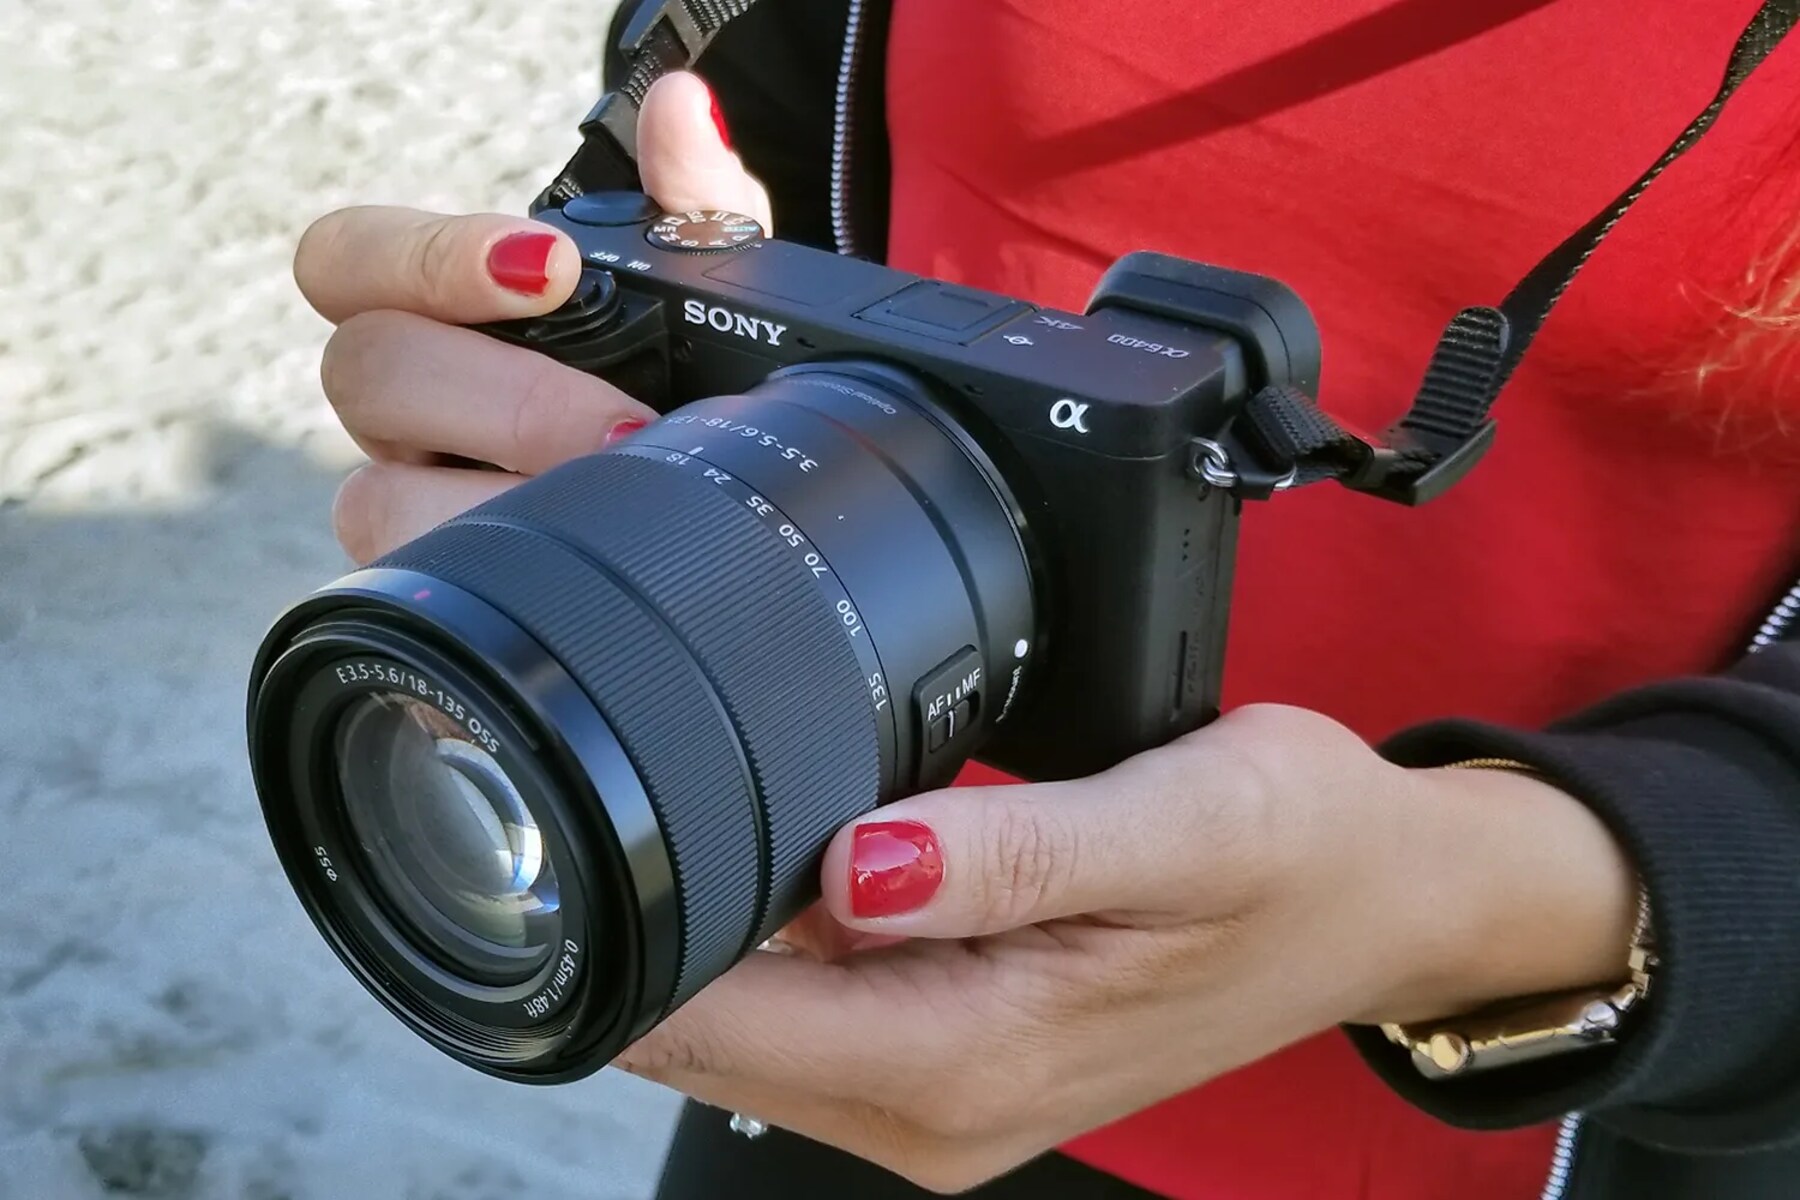
1. Sony A6000 camera: Make sure you have your Sony A6000 camera in good working condition. This guide specifically caters to the Sony A6000 model, but some steps may be applicable to other Sony camera models as well.
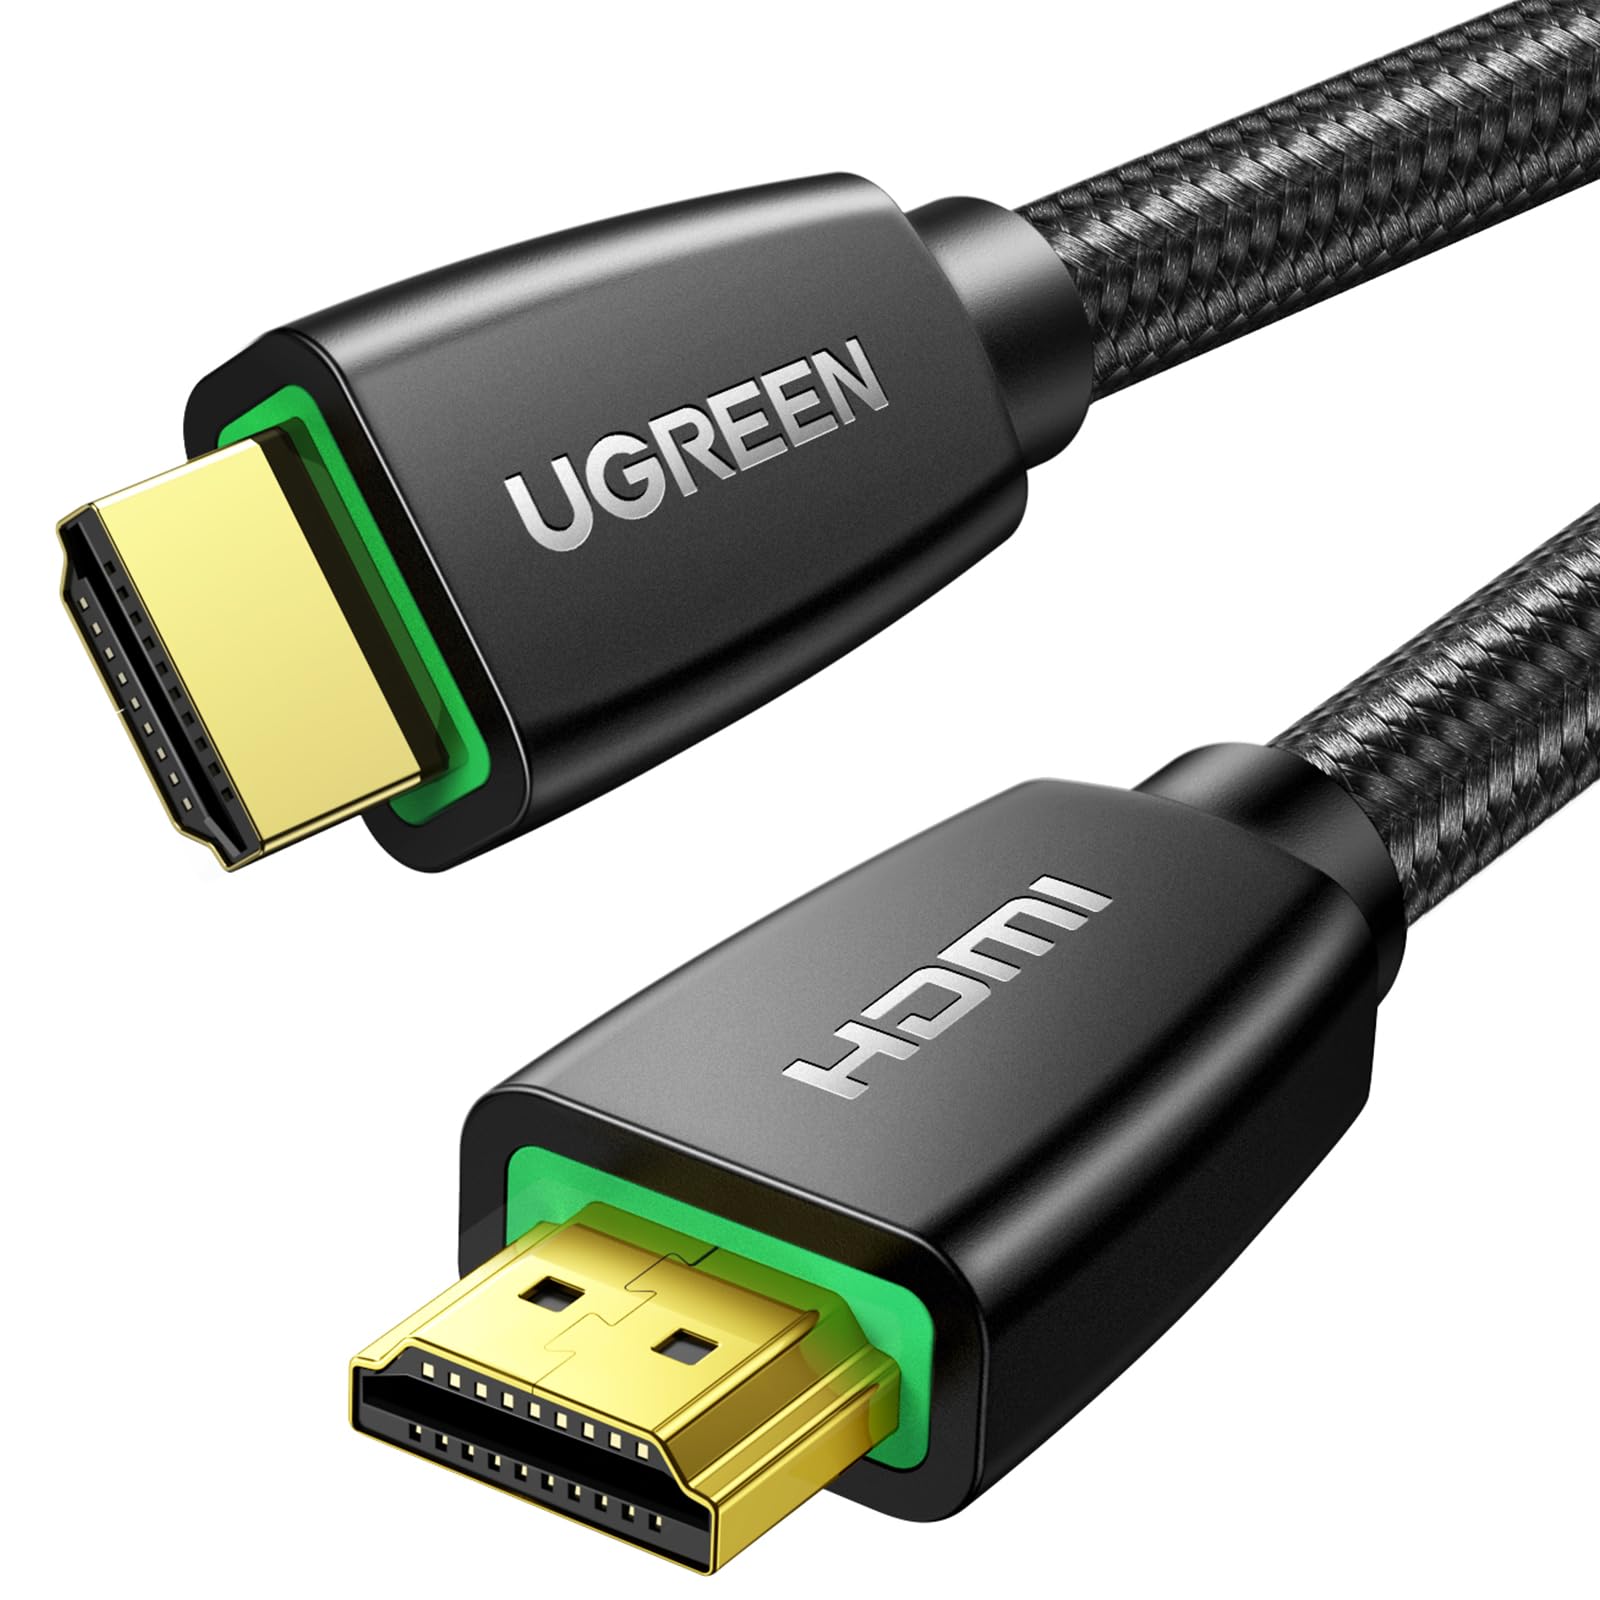
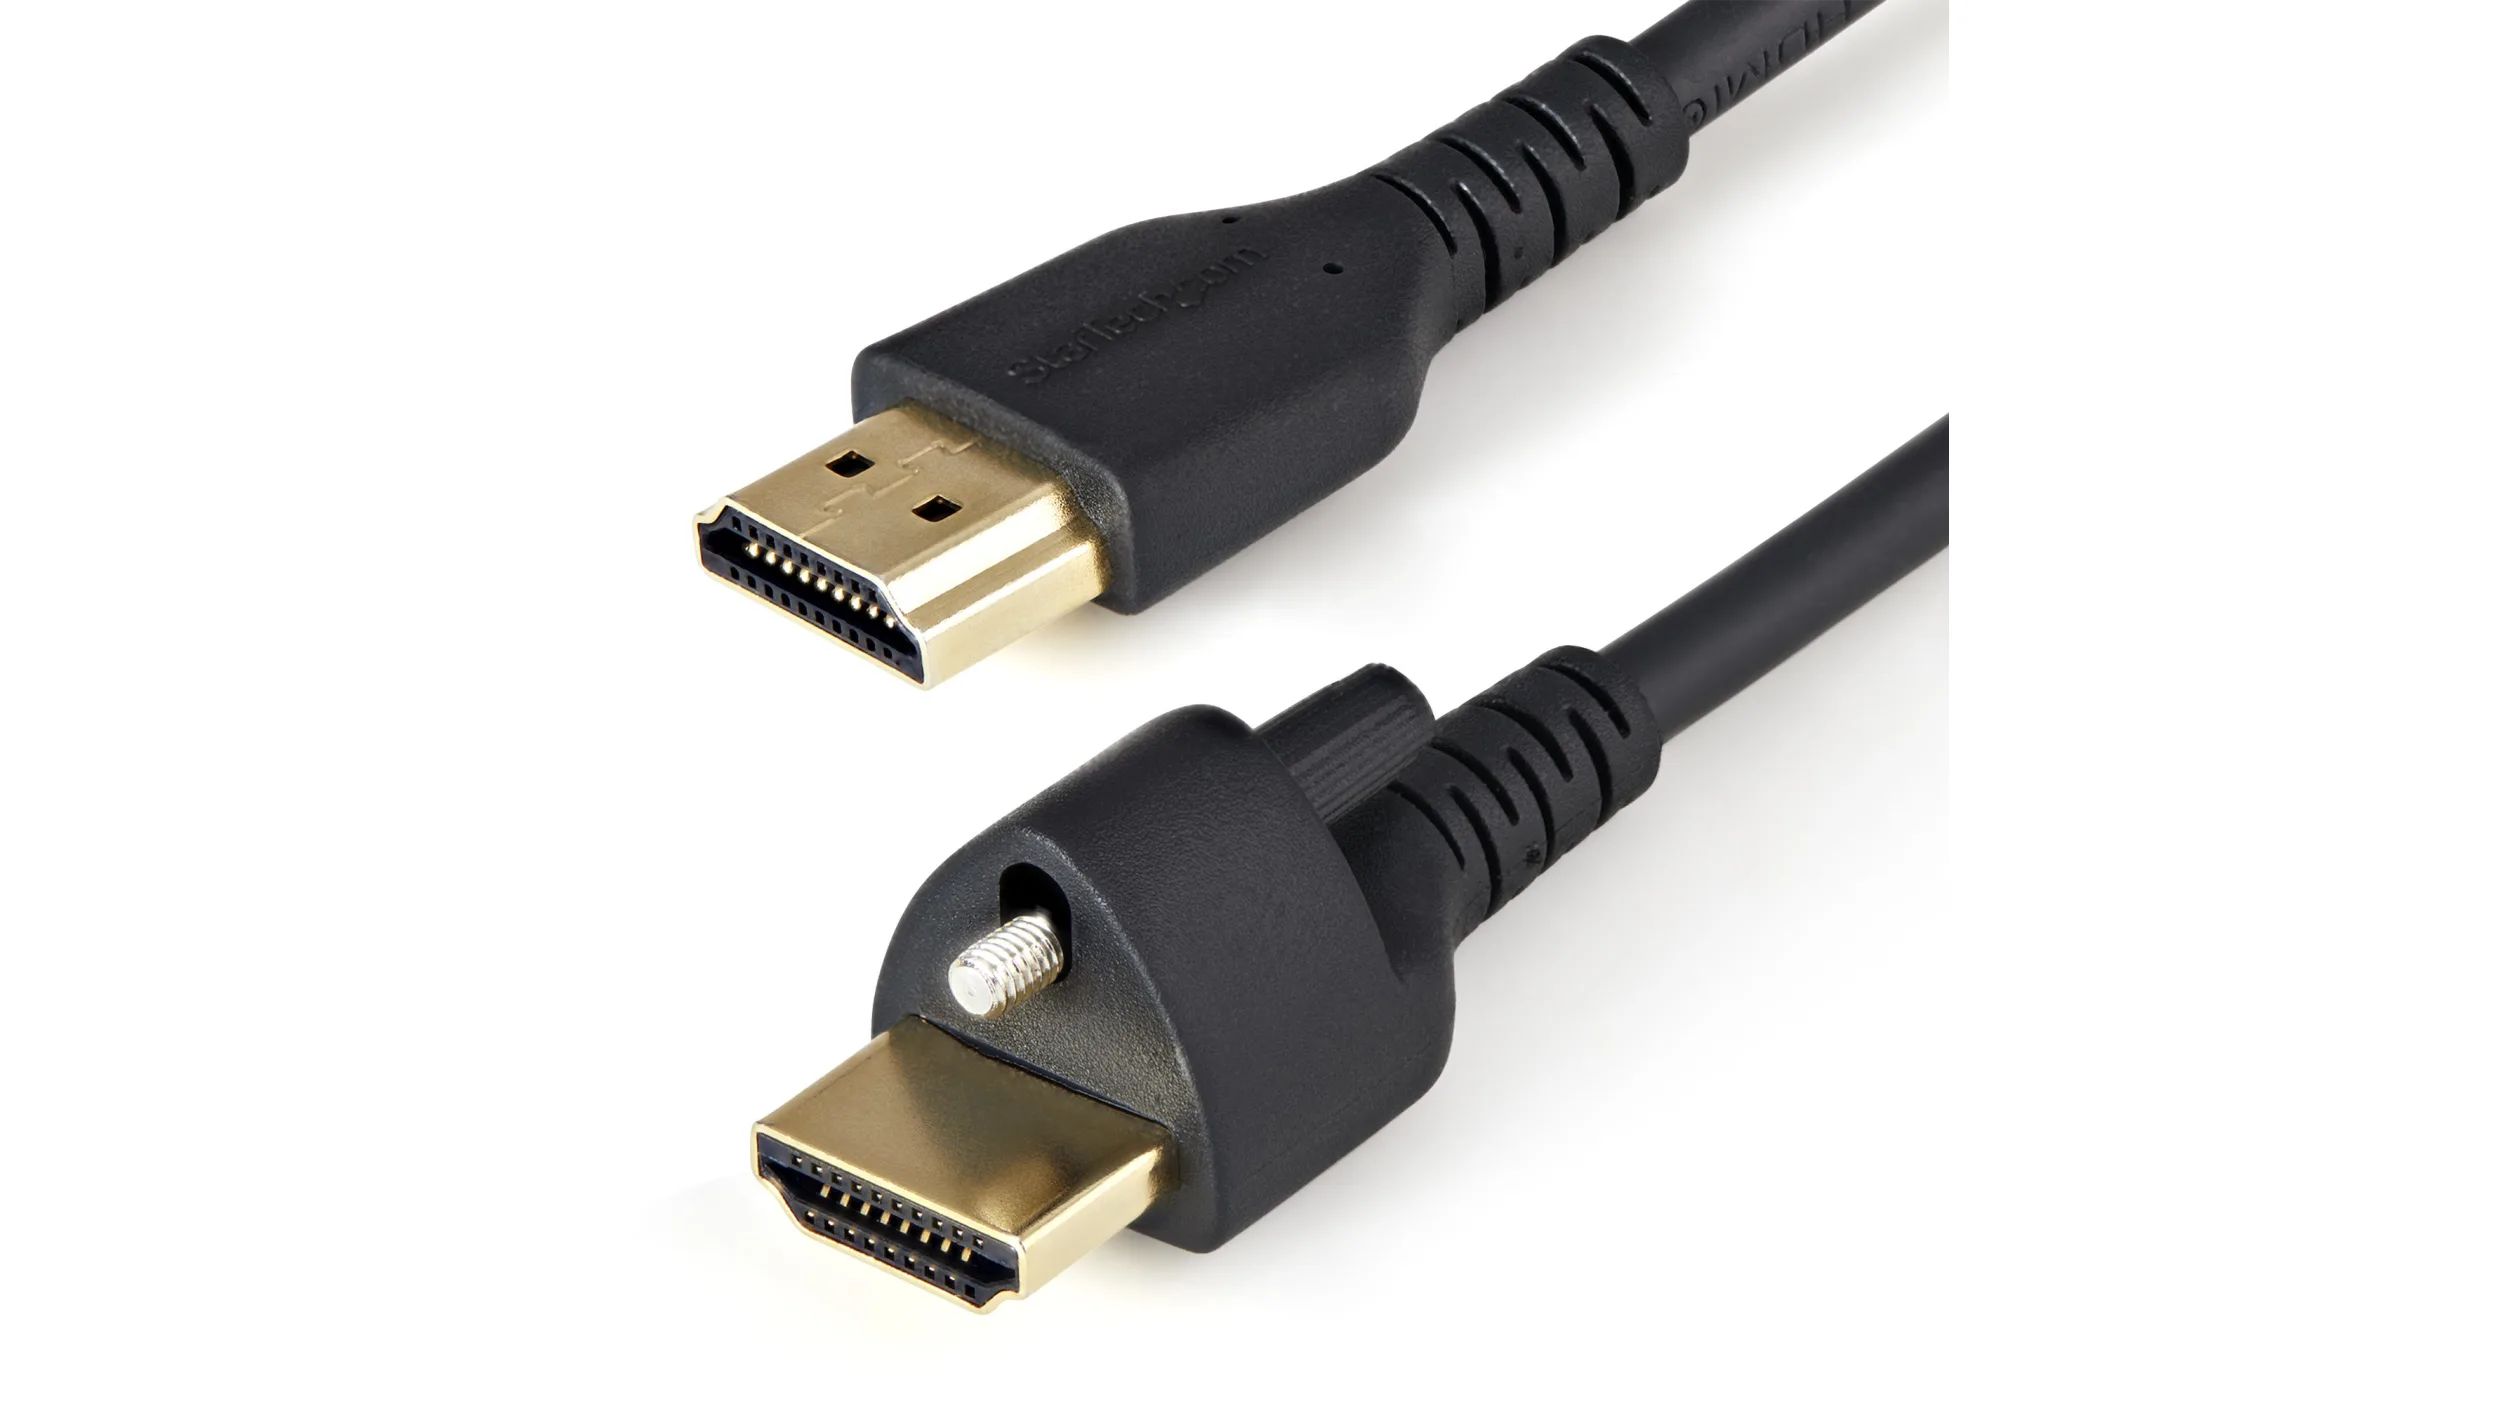
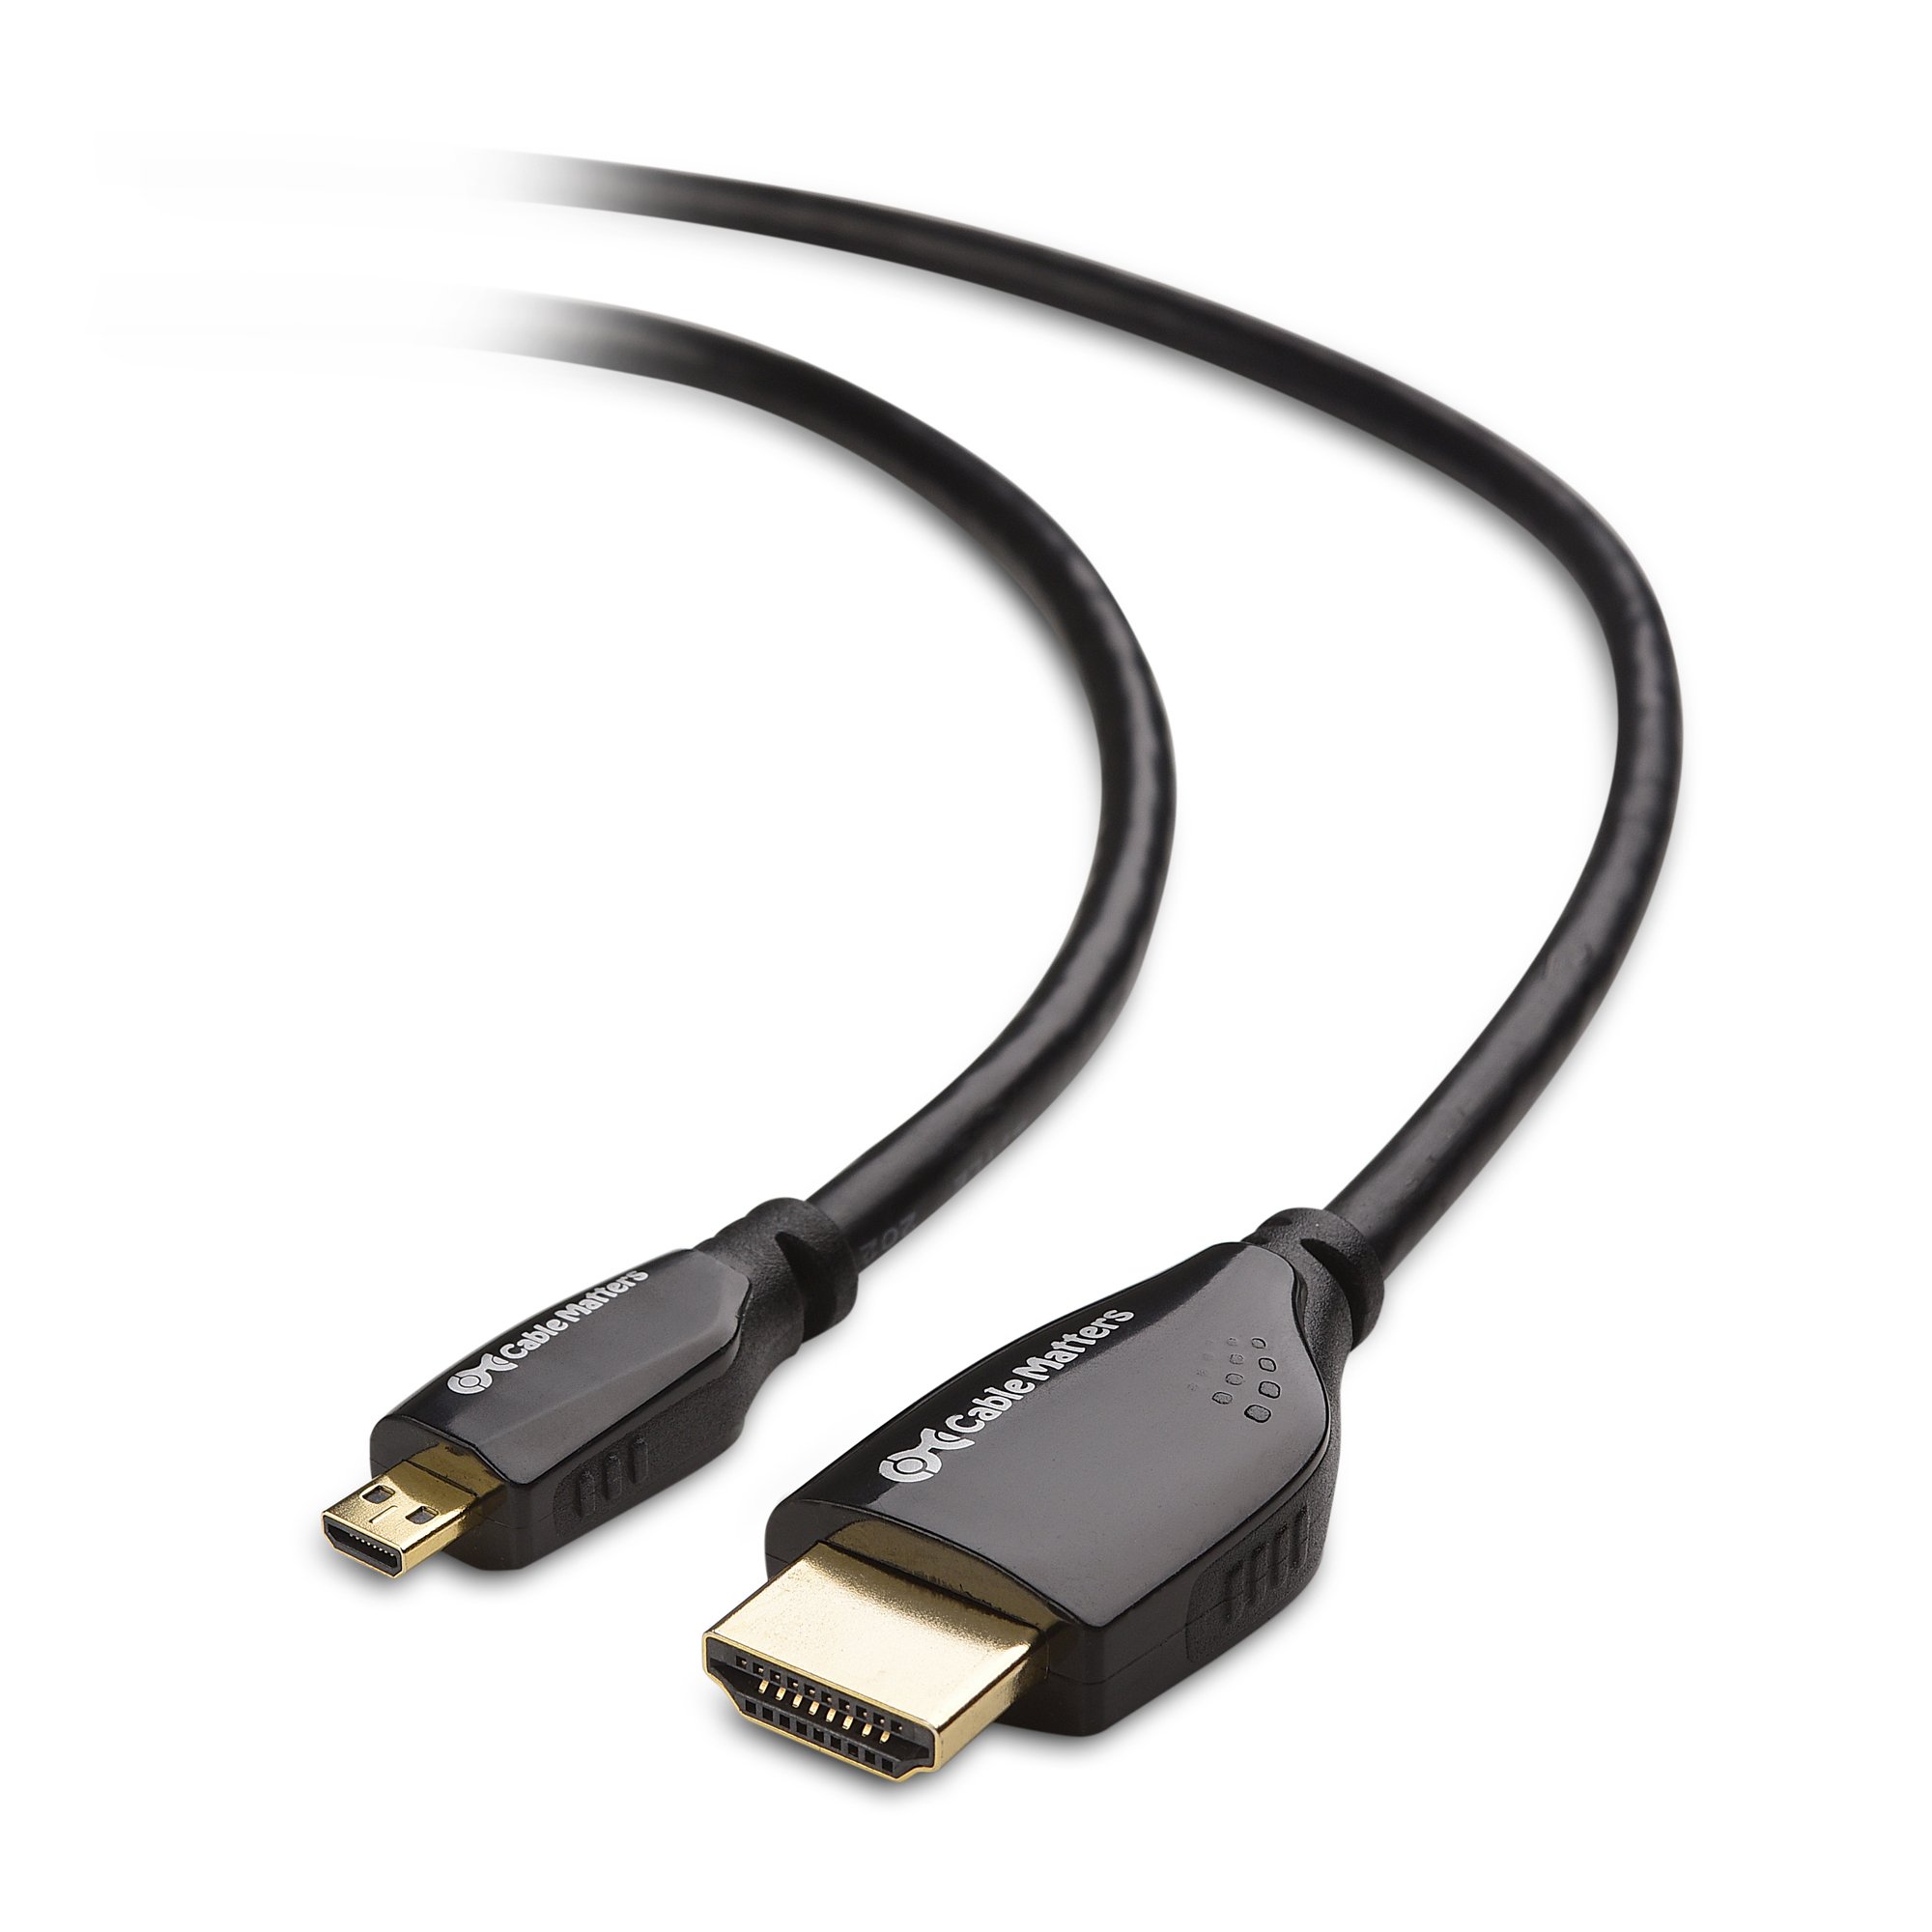
2. USB cable: You’ll need a USB cable to connect your camera to your computer. Ensure that you have a compatible USB cable, preferably the one that came with your camera.
3. Computer: You’ll need a computer or laptop with a USB port. Make sure your computer meets the minimum system requirements for video conferencing software.
4. Software: You’ll need to install specific software that allows your computer to recognize your Sony A6000 camera as a webcam. We’ll cover this in more detail later.
Once you have these items ready, you’re all set to transform your Sony A6000 into a powerful webcam. This process is relatively straightforward, but it requires some initial setup. Follow the steps outlined in this guide to ensure a smooth and successful integration of your camera with your computer.
Now that you have an idea of what you’ll need, let’s move on to the first step: checking your camera settings. It’s essential to make sure your camera is configured correctly before proceeding with the webcam setup process.
Step 1: Check your camera settings
Before connecting your Sony A6000 camera to your computer, it’s crucial to ensure that your camera settings are properly configured. This will help optimize the video quality and ensure smooth functionality when using it as a webcam. Follow these steps to check and adjust your camera settings:
- Turn on your camera: Press the power button on your Sony A6000 camera to turn it on. Make sure the battery is sufficiently charged or connect your camera to a power source.
- Access the menu: Press the “Menu” button on your camera to access the settings menu.
- Select the USB Connection: Navigate through the menu options and find the “USB Connection” or “USB Mode” setting. You will typically find this under the “Setup” or “Connection” section.
- Choose the appropriate option: In the USB Connection/USB Mode settings, select the “PC Remote” or “Mass Storage” option. The “PC Remote” option is preferred for using your camera as a webcam, as it allows for live video streaming from your camera to your computer.
- Adjust other relevant camera settings: While in the settings menu, you may also want to explore and customize other camera settings to suit your preferences. For example, you can adjust the exposure, white balance, image quality, and focus settings to achieve the desired video output.
- Save and exit the menu: Once you have made the necessary changes to your camera settings, save your changes and exit the menu.
By going through these steps, you have ensured that your Sony A6000 camera is set up correctly and ready to be connected to your computer. With the proper camera settings in place, you’re one step closer to realizing the full potential of your camera as a high-quality webcam for your video conferencing needs.
In the next step, we will guide you through the process of setting up your computer to establish a connection with your Sony A6000 camera. This will enable you to start using your camera as a webcam. Let’s move on to step 2: setting up your computer.
Step 2: Set up your computer
Now that you have checked and adjusted the camera settings on your Sony A6000, it’s time to set up your computer for the webcam functionality. Follow these steps to prepare your computer for connecting with your camera:
- Check system requirements: Ensure that your computer meets the minimum system requirements for using the Sony A6000 as a webcam. Check the documentation of the video conferencing software you plan to use to determine the necessary specifications.
- Install the latest drivers: Visit the official Sony support website and download the latest drivers for your camera model. Install the drivers on your computer to ensure seamless communication between your camera and the computer.
- Close unnecessary applications: Before connecting your camera, close any unnecessary applications running in the background. This will help optimize the performance of your computer and reduce any potential interruptions during the webcam setup process.
- Connect your camera to the computer: Use a compatible USB cable to connect your Sony A6000 camera to an available USB port on your computer. Make sure the cable connection is secure on both ends.
- Enter PC Remote mode: On your camera, switch it to “PC Remote” mode. This mode enables your computer to recognize your camera as a webcam.
- Power on and unlock your camera: Ensure that your camera is powered on and unlocked. Some cameras require you to enter your device’s pin or unlock it before it can be used as a webcam.
- Grant permissions: Once your camera is connected and recognized by your computer, you may be prompted to grant certain permissions for the camera to function as a webcam. Follow the on-screen instructions to grant the necessary permissions.
Once you have completed these steps, your computer should be ready to establish a connection with your Sony A6000 camera. In the next step, we will guide you through the installation of the necessary software to fully utilize your camera as a webcam. Let’s move on to step 3: Installing the necessary software.
Step 3: Connect your camera to your computer
Now that you have set up your computer, it’s time to connect your Sony A6000 camera to your computer using a USB cable. Follow these steps to establish a connection:
- Locate the USB port on your camera: On your Sony A6000 camera, locate the USB port. It is usually located on the side or back of the camera body.
- Connect the USB cable: Take one end of the USB cable and insert it into the USB port on your camera. Ensure that the connection is secure.
- Locate the USB port on your computer: On your computer, locate the USB port where you will plug in the other end of the USB cable. Most computers have multiple USB ports, so choose an available one.
- Connect the USB cable to your computer: Take the other end of the USB cable and insert it into the USB port on your computer. Again, make sure the connection is secure.
- Turn on your camera: Press the power button on your Sony A6000 camera to turn it on. The camera should now be recognized by your computer.
- PC Remote Mode: On your camera, select the “PC Remote” mode or a similar option that allows it to function as a webcam.
Once you have completed these steps, your Sony A6000 camera should be successfully connected to your computer. The next step will focus on installing the necessary software to enable webcam functionality. Let’s proceed to step 4: Installing the necessary software.
Step 4: Install the necessary software
To use your Sony A6000 camera as a webcam, you’ll need to install specific software on your computer. This software allows your computer to recognize and utilize your camera’s video feed for video conferencing purposes. Follow these steps to install the necessary software:
- Check official Sony support: Visit the official Sony support website and search for available webcam software for your Sony A6000 camera model. Look for software specifically designed for your camera to ensure compatibility and optimal performance.
- Download and install the software: Once you have identified the appropriate software for your camera, download it from the official Sony website. Follow the installation instructions provided, and make sure to select the correct camera model during the installation process.
- Configure software settings: Once the software is installed, open it and configure the settings according to your preferences. You may be able to adjust elements such as video resolution, frame rate, and audio settings. Take some time to explore the available options and customize them as needed.
- Test the software: After configuring the software settings, perform a test run to ensure that your camera is working correctly as a webcam. Open a video conferencing application or a webcam testing website to check the video and audio output. Make any necessary adjustments to the software settings or camera setup if needed.
By completing these steps, you have successfully installed the necessary software for your Sony A6000 camera to function as a webcam. In the next step, we will guide you through the process of configuring your camera settings to optimize the video output. Let’s continue to step 5: Configure your camera settings.
Step 5: Configure your camera settings
Now that you have the necessary software installed on your computer, it’s time to configure your Sony A6000 camera settings to optimize the video output. Follow these steps to ensure that your camera is ready to deliver the best possible image quality:
- Open the webcam software: Launch the webcam software on your computer that you installed in the previous step.
- Access camera settings: Within the webcam software, locate the camera settings or preferences menu. This may be indicated by an icon or a menu option.
- Adjust video resolution: In the camera settings, select the appropriate video resolution for your needs. Higher resolutions generally provide better image quality, but keep in mind that higher resolutions may require a stronger internet connection.
- Set desired frame rate: Choose the desired frame rate for your video feed. A higher frame rate will result in smoother motion, but it may require more processing power. Experiment with different frame rates to find the optimal balance between smoothness and performance.
- Configure focus and exposure: Explore the camera settings to adjust focus and exposure as needed. You can typically adjust these settings manually or choose an automatic mode depending on your preference and lighting conditions.
- Customize audio settings: If your camera has built-in audio capabilities, you can also configure the audio settings within the webcam software. Adjust the microphone volume, noise cancellation, and other audio parameters to ensure clear sound during video calls.
- Save your settings: Once you have made all the necessary adjustments to the camera settings, save your changes within the webcam software.
By following these steps, you have successfully configured your camera settings to optimize the video output for your Sony A6000 webcam setup. In the next step, we will guide you on how to start using your Sony A6000 as a webcam. Let’s move ahead to step 6: Start using your Sony A6000 as a webcam.
Step 6: Start using your Sony A6000 as a webcam
With your Sony A6000 camera configured and connected to your computer, you’re now ready to start using it as a high-quality webcam. Follow these steps to begin your video conferencing experience:
- Launch your preferred video conferencing software: Open the video conferencing application or software of your choice on your computer. It could be Zoom, Microsoft Teams, Google Meet, or any other platform that supports external webcams.
- Select the Sony A6000 camera as your webcam: Within the settings or preferences menu of your video conferencing software, locate the camera options. Choose the Sony A6000 camera as your preferred webcam device.
- Adjust video and audio settings: In the video conferencing software, check the video and audio settings to ensure they align with your preferences. You may have options to adjust video resolution, frame rate, and audio input/output levels.
- Position your camera: Set up your Sony A6000 camera in a suitable position for your video calls. Consider factors like lighting, background, and your positioning in the frame to create a professional and visually appealing appearance.
- Test your setup: Before joining or starting a video call, conduct a test to ensure that your camera, microphone, and audio settings are working correctly. Look for the preview or test feature within your video conferencing software to check your video and audio output.
- Join or start your video call: Once you’re confident with your setup, join or start your video call as usual. Your Sony A6000 camera will now provide you with superior image quality, making your video conferences more engaging and professional.
By following these steps, you can harness the full potential of your Sony A6000 camera as a top-notch webcam. Enjoy the enhanced video quality and stand out in your video calls, presentations, or online meetings.
If you encounter any issues during the setup or usage process, refer to the troubleshooting section in this guide or consult the official Sony support resources for assistance.
Now that your Sony A6000 camera is successfully integrated into your video conferencing setup, you can enjoy the benefits of high-quality visuals for truly immersive online communication.
Troubleshooting common issues
While setting up and using your Sony A6000 camera as a webcam, you may encounter some common issues. Here are a few troubleshooting tips to help you overcome them:
1. Camera not recognized: If your computer does not recognize your camera, try the following:
- Check the USB connection and ensure it is secure.
- Restart your computer and camera.
- Update your camera drivers and webcam software.
2. Poor video quality: If you notice a drop in video quality, consider these solutions:
- Ensure proper lighting in your surroundings.
- Adjust the camera settings for exposure, focus, and white balance.
- Check the video resolution and frame rate settings in your webcam software.
3. Audio issues: For audio-related problems, try these troubleshooting steps:
- Ensure that the correct microphone is selected in your video conferencing software.
- Adjust the microphone volume and audio settings within your webcam software.
- Check the connection of any external microphones or audio devices.
4. Lag or delay: If you experience lag or delays during video conferencing, consider the following solutions:
- Use a stable internet connection with sufficient bandwidth.
- Close any unnecessary applications or browser tabs that may be consuming resources.
- Reduce the video resolution or frame rate in your webcam software.
5. Unsupported software: If your preferred video conferencing software does not recognize your Sony A6000 as a webcam, ensure that you have installed the latest drivers and compatible webcam software. Check the official Sony support website for any updates or alternative software recommendations.
If you have attempted these troubleshooting steps and are still experiencing issues, it is recommended to consult the official Sony support resources or reach out to their customer support team for further assistance.
By addressing these common issues, you can ensure a smooth and seamless experience when using your Sony A6000 as a webcam. Stay patient, and don’t hesitate to seek help when needed in order to enjoy the full potential of your camera for your video conferencing needs.
Conclusion
Congratulations! You have successfully learned how to use your Sony A6000 camera as a webcam. By following the step-by-step instructions in this guide, you can now enjoy high-quality video output during your video conferences, online meetings, and virtual events.
Transforming your Sony A6000 into a webcam opens up a world of possibilities. You can impress your colleagues, clients, and friends with the exceptional image quality that your camera delivers. Whether you’re a content creator, freelancer, or remote worker, taking advantage of your Sony A6000 as a webcam can significantly enhance your online presence and professionalism.
Remember to check your camera settings, set up your computer correctly, install the necessary software, configure your camera settings, and troubleshoot any common issues. These steps ensure that your camera functions optimally and delivers outstanding video quality.
As you continue to use your Sony A6000 as a webcam, explore the various features and settings available to you. Experiment with different lighting setups, angles, and framing to create visually compelling video presentations.
Should you encounter any challenges along the way, refer back to this guide for troubleshooting tips or consult the official Sony support resources for further assistance.
Now, it’s time to harness the power of your Sony A6000 and make a lasting impression during all your virtual interactions. Enjoy the superior image quality and take your video conferencing experiences to the next level!


