Introduction
Using a projector with your Windows 10 device can greatly enhance your viewing experience, whether you’re giving a presentation or enjoying a movie night at home. With the ability to display content on a larger screen, projectors offer a versatile and immersive way to view your favorite media.
In this guide, we will explore how to effectively use a projector with Windows 10. We will discuss the steps required to set up the projector, connect it to your Windows 10 device, and adjust the display settings to ensure optimal performance. Additionally, we will cover troubleshooting common issues that you may encounter along the way.
Before diving into the details, it’s worth noting that projectors come in various types and models. Some may require specific cables or adapters for connectivity, while others may have unique settings or features. However, the basic steps outlined in this guide should be applicable to most projectors on the market.
Now, let’s get started on the exciting journey of using a projector with Windows 10!
Setting Up the Projector
Before connecting your projector to your Windows 10 device, you need to ensure that it is properly set up. Follow these steps to get started:
- Find a suitable location for your projector: Choose a flat surface that is easily accessible and provides an optimal viewing experience. Consider factors such as lighting conditions and the distance between the projector and the screen.
- Power on the projector: Connect the power cable to a power outlet and turn on the projector.
- Adjust the projector settings: Most projectors have settings for adjusting screen size, focus, and keystone correction. Refer to the user manual or on-screen instructions to make the necessary adjustments.
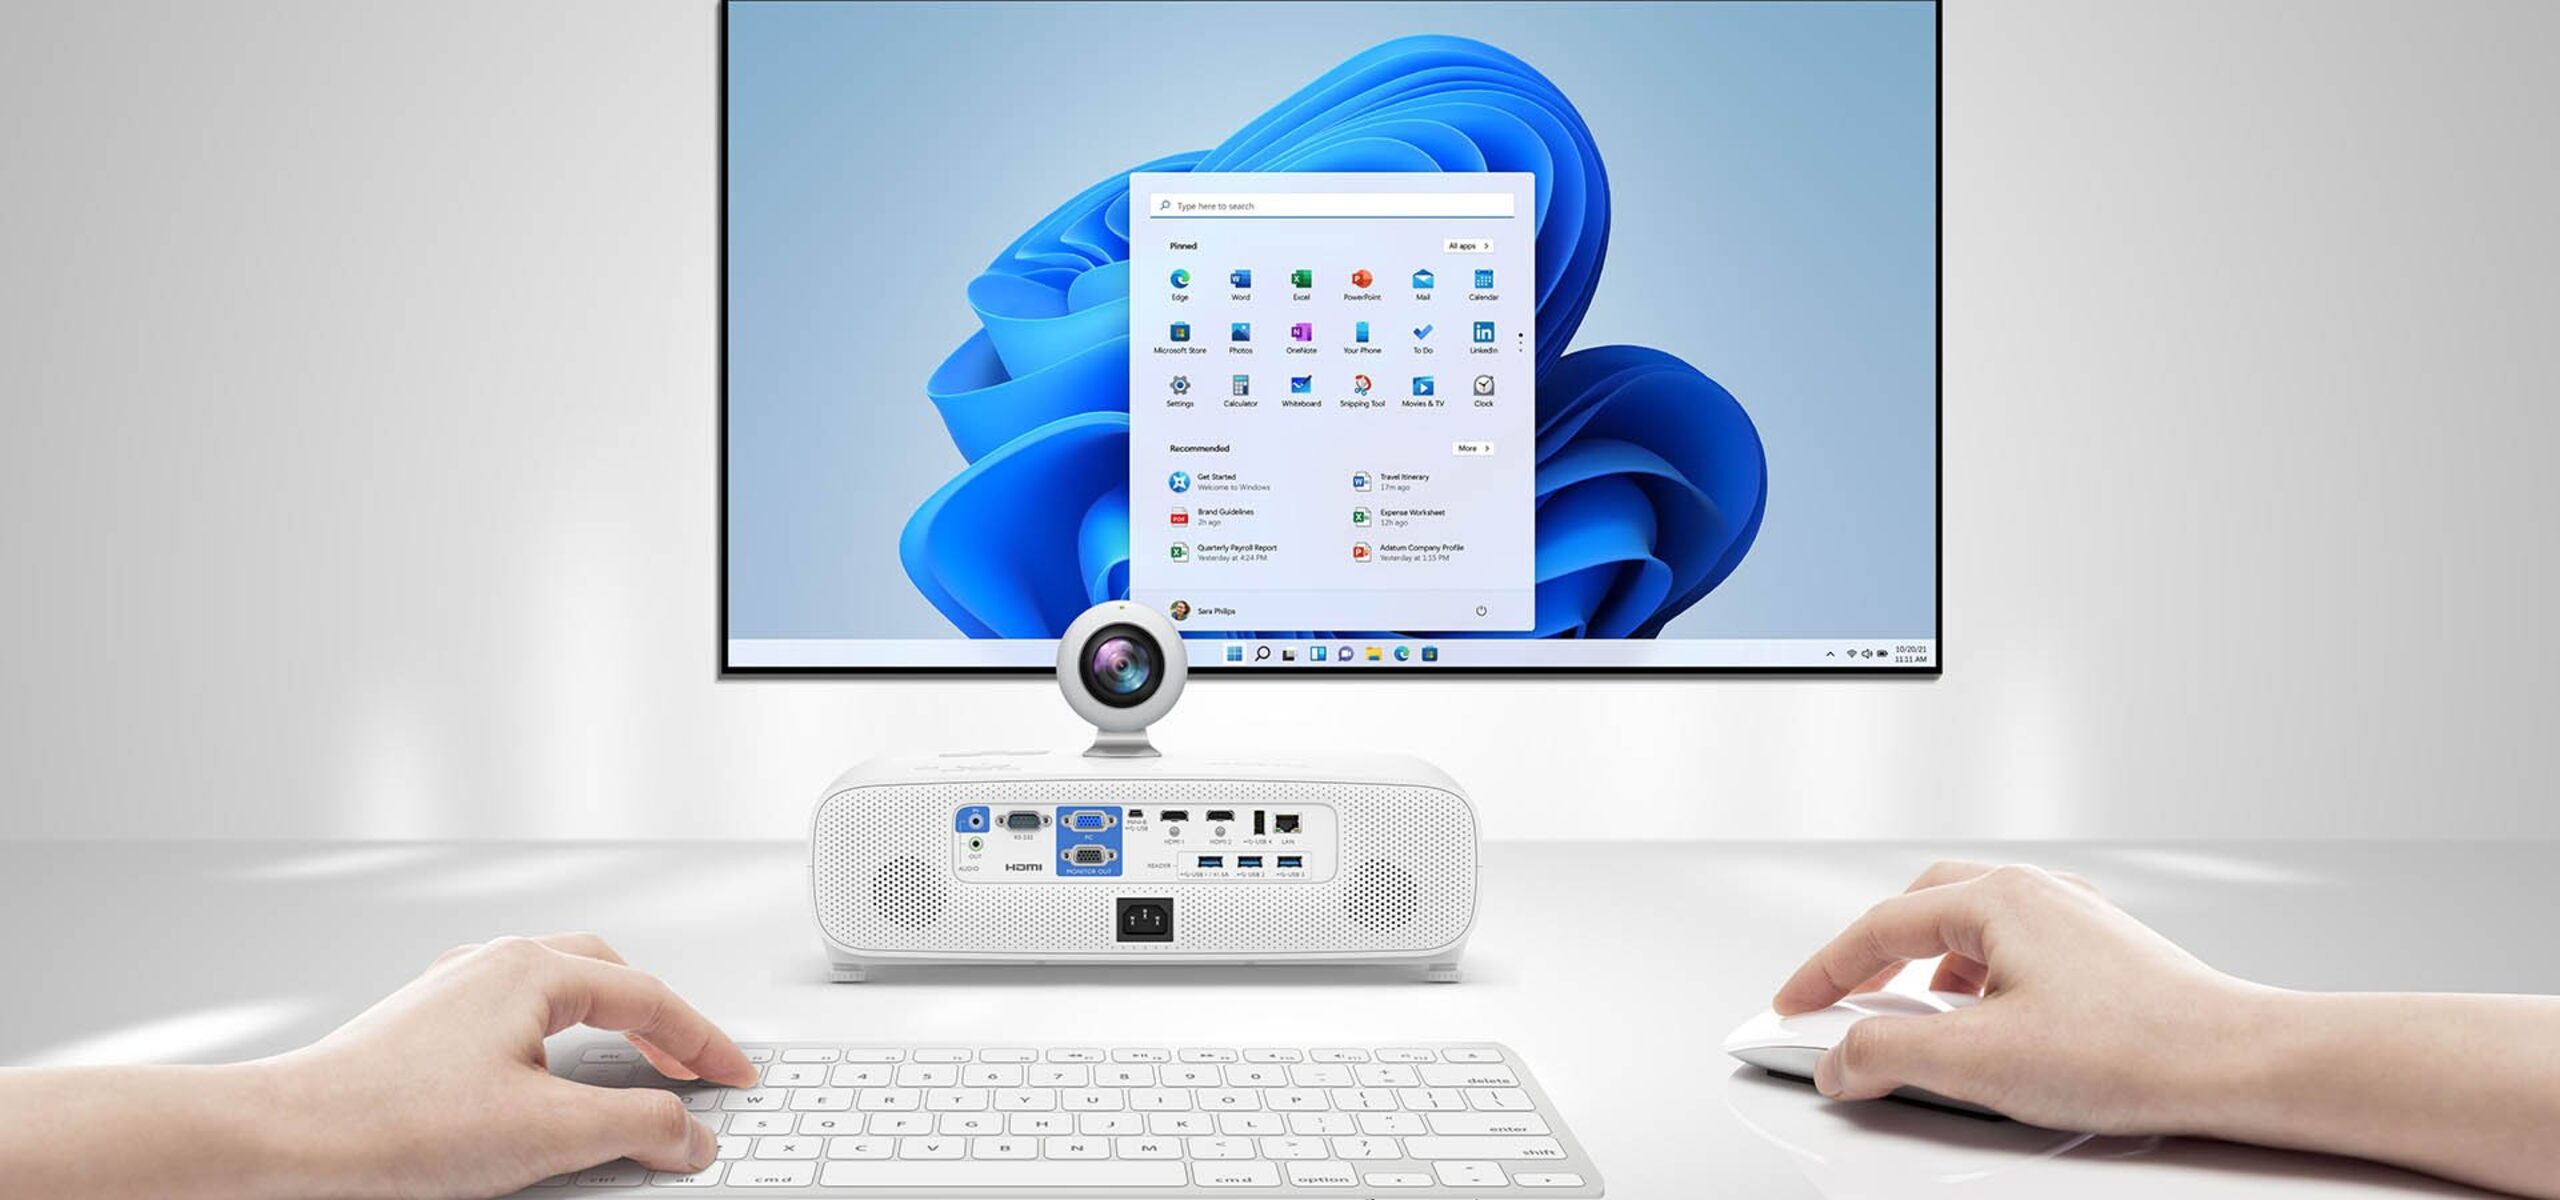
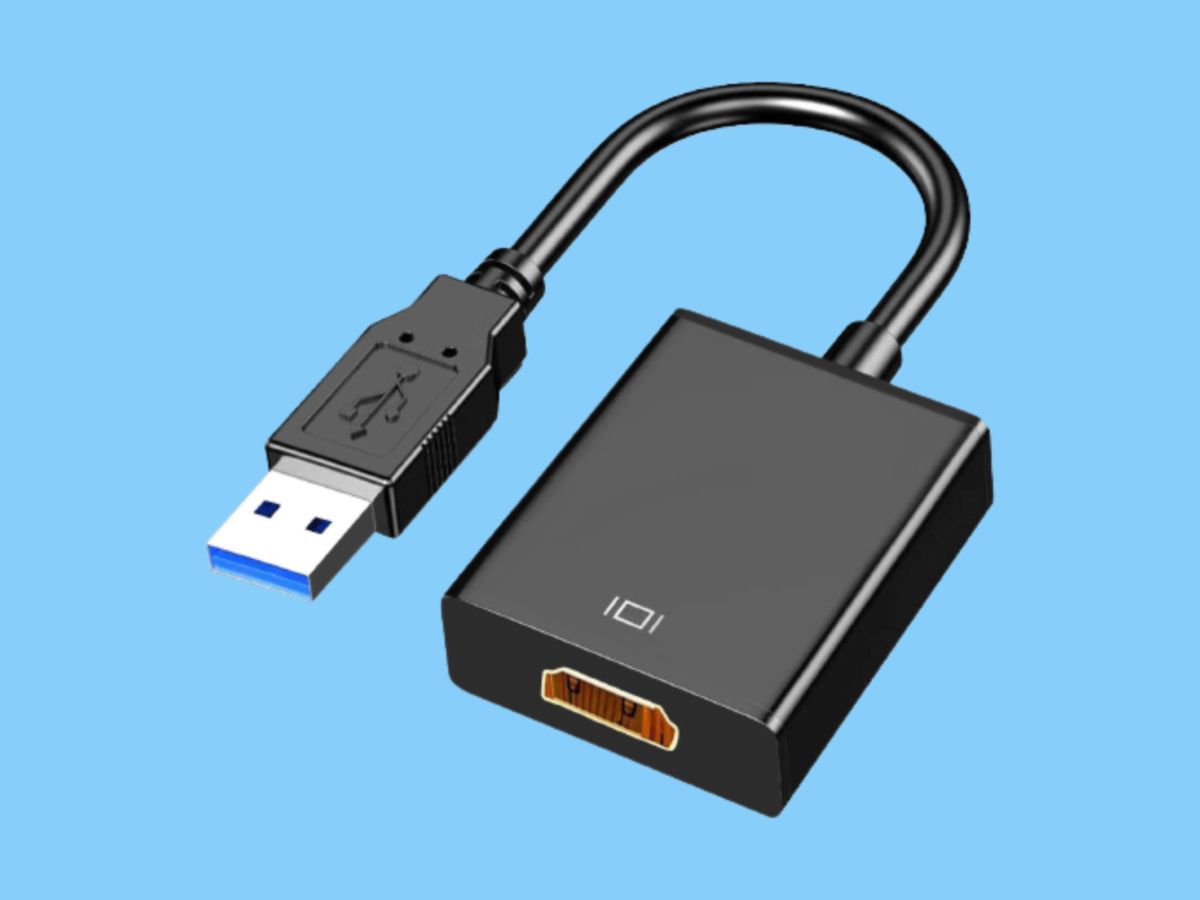
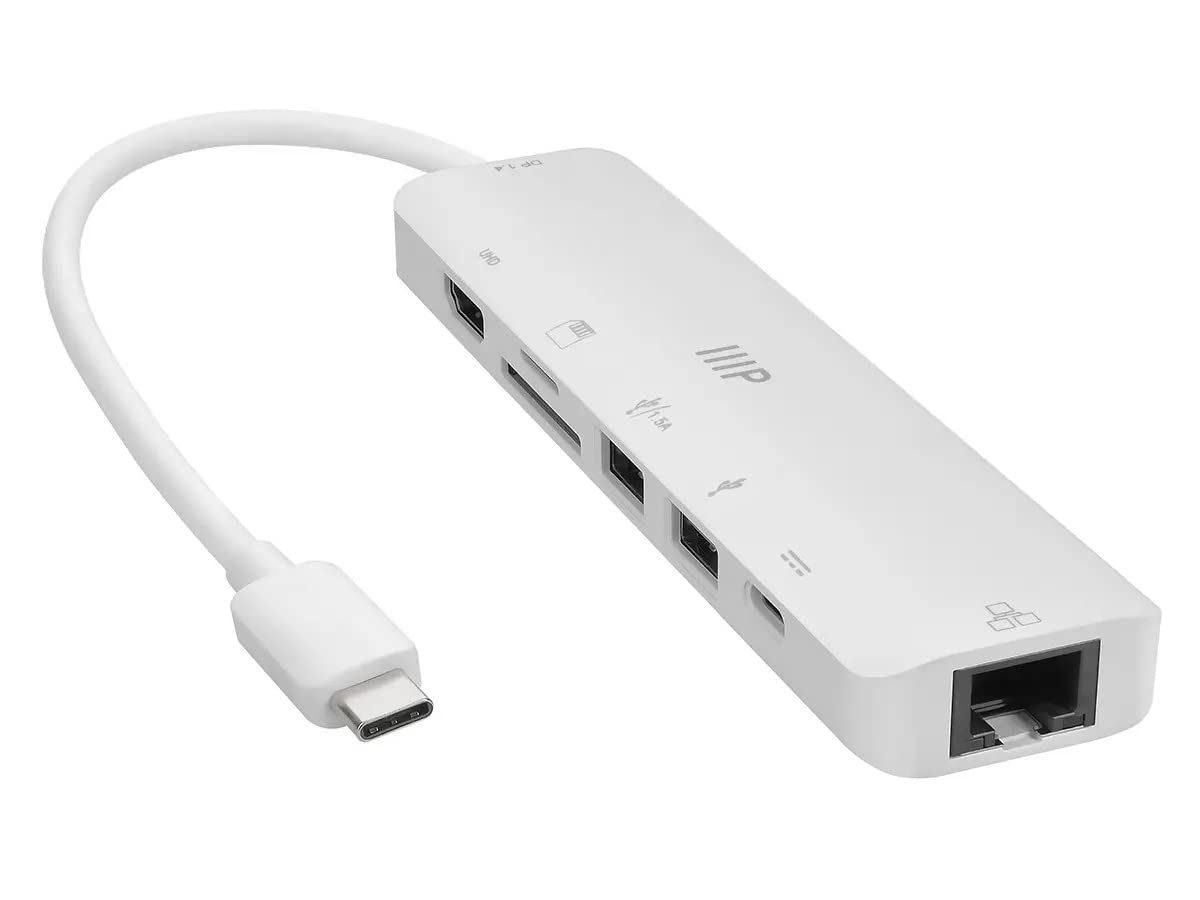
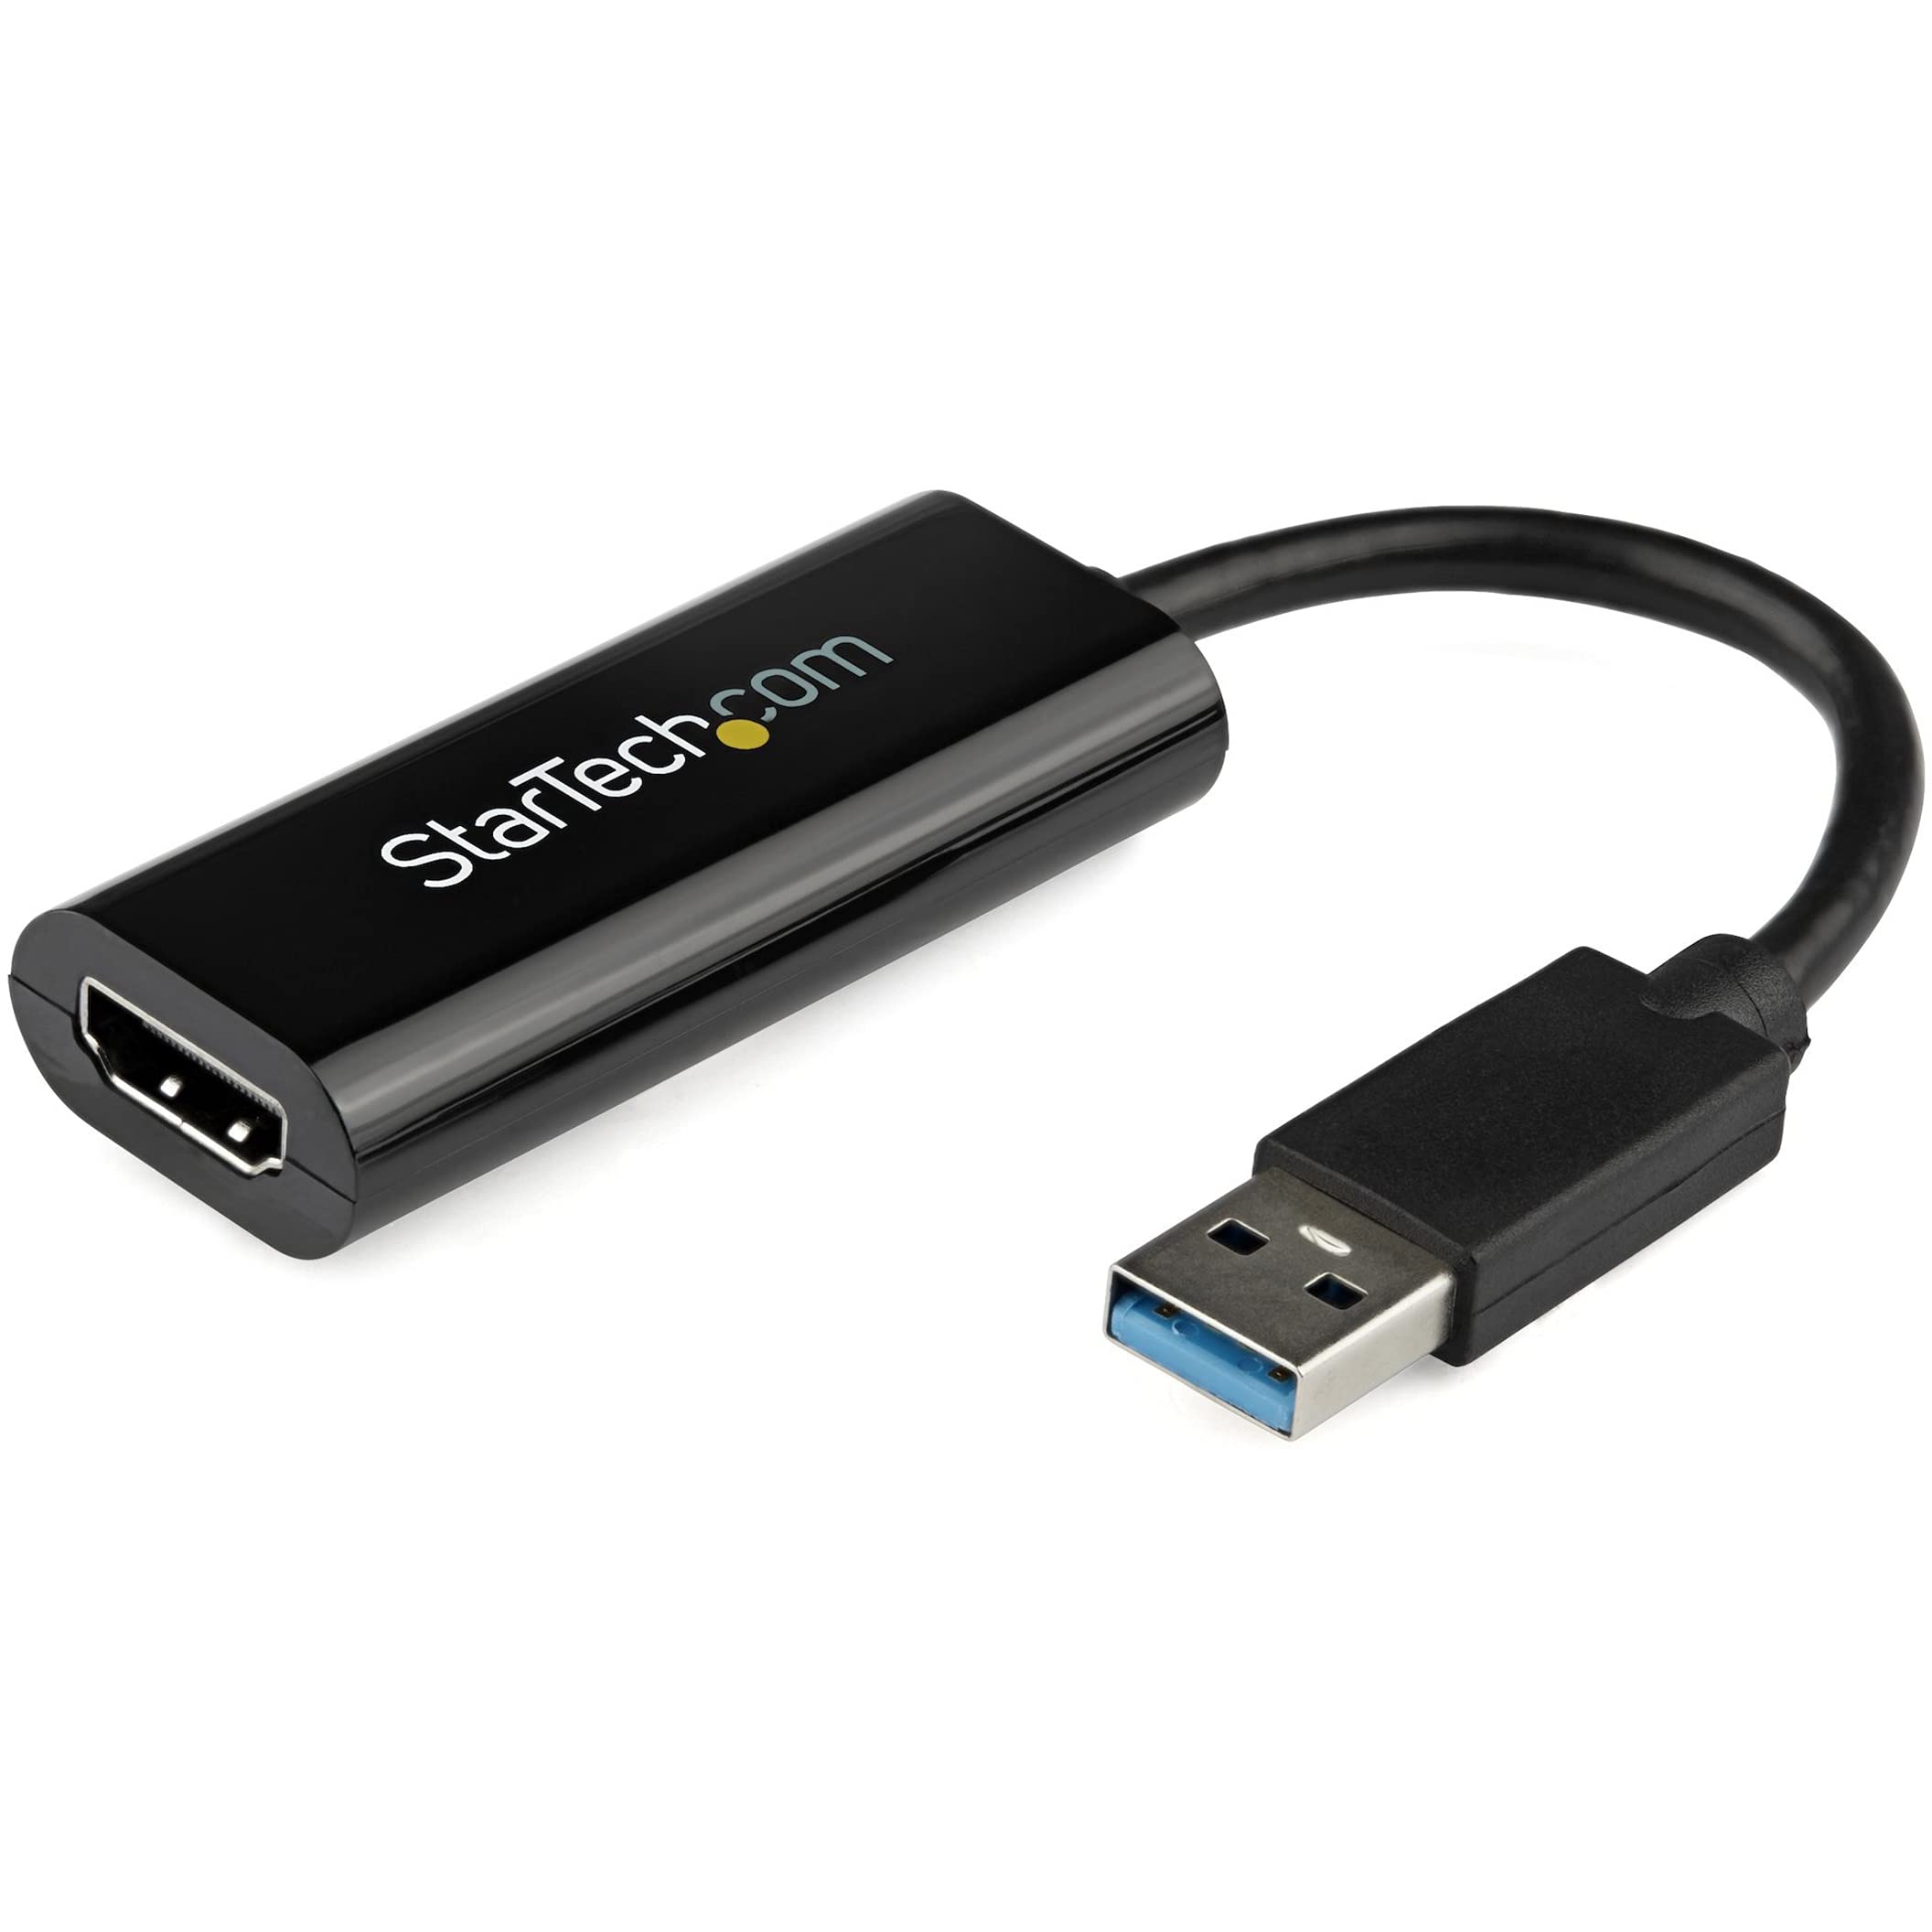
- Connect the projector to a video source: Depending on your projector’s available inputs, you can connect it using a VGA, HDMI, or DisplayPort cable. Ensure that the cable is securely connected to both the projector and your Windows 10 device.
- Power on your Windows 10 device: Turn on your Windows 10 device and wait for it to boot up.
Setting up the projector is a crucial step that ensures proper connectivity and optimal performance. By following these steps, you will be ready to connect your projector to your Windows 10 device and enjoy a larger and more immersive visual experience.
Connecting the Projector to Your Windows 10 Device
Once your projector is set up, the next step is to connect it to your Windows 10 device. Here’s how to do it:
- Ensure that your Windows 10 device is powered on and ready.
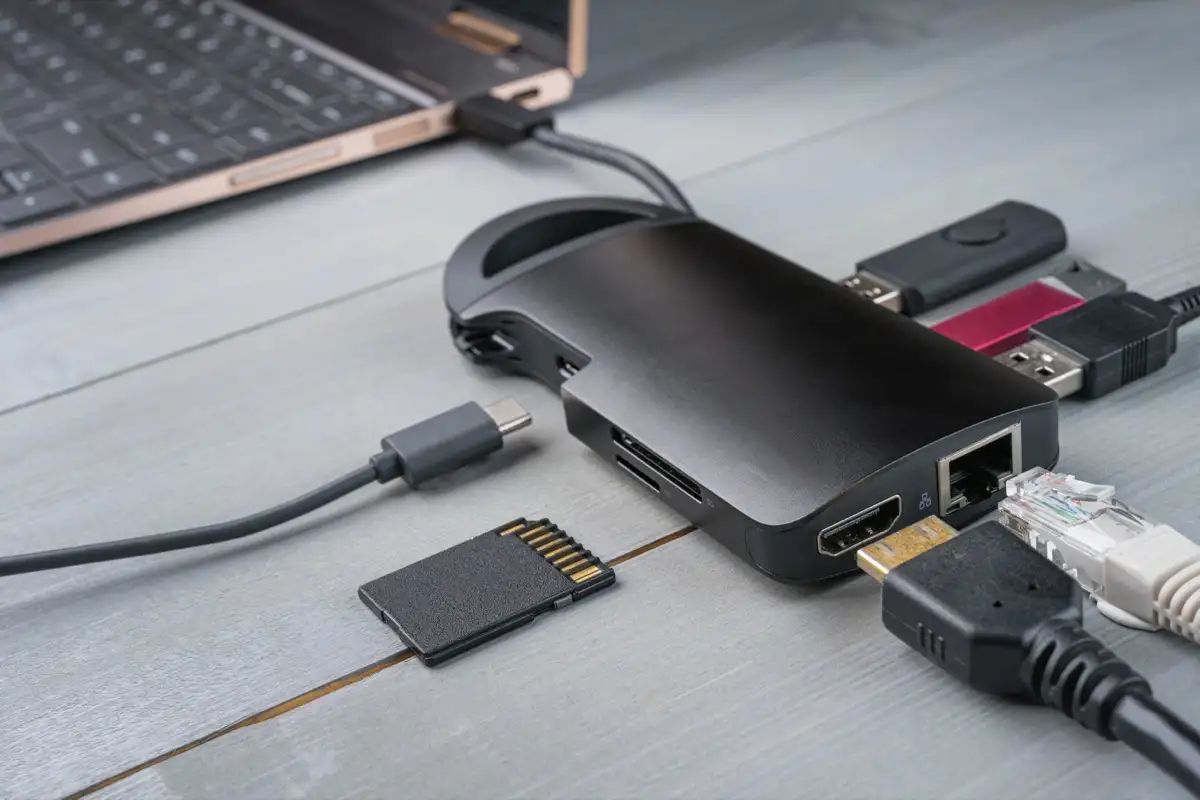
- Locate the video output port on your device: Depending on your device, it may have an HDMI, VGA, or DisplayPort output. Identify the appropriate port for your projector.
- Connect the video cable: Use the appropriate cable to connect the video output port on your Windows 10 device to the corresponding input port on the projector.
- If necessary, connect the audio cable: Some projectors do not have built-in speakers, so you may need to connect an audio cable from your Windows 10 device to the projector for sound output. Alternatively, you can connect external speakers directly to your Windows 10 device.
- Switch the input source on the projector: Use the projector’s remote or on-screen menu to select the input source that matches the cable you have connected.
- Configure the display settings on your Windows 10 device: Right-click on the desktop and select “Display settings” from the context menu. From here, you can choose the display mode (extend, duplicate, or second screen only), adjust the resolution, and set other display preferences.
Once the projector is connected to your Windows 10 device and the display settings are configured, you should see the content from your device projected onto the larger screen. Ensure that both devices are powered on and that the correct input source is selected on the projector.
By successfully connecting your projector to your Windows 10 device, you can enjoy a much bigger and more immersive viewing experience for presentations, movies, or any other media you wish to display.
Adjusting Display Settings on Windows 10
After connecting your projector to your Windows 10 device, it’s essential to adjust the display settings to ensure optimal viewing. Here are the steps to adjust the display settings:
- Right-click on the desktop and select “Display settings” from the context menu. Alternatively, you can go to the Start menu, click on the “Settings” icon, and then select “System” followed by “Display.”
- Under the “Display” settings, you will see the primary display labeled as “1” and the additional display (projector) as “2.”
- Choose the desired display mode:
- Extend: This mode allows you to use the projector as an extended screen, giving you more workspace. You can drag windows and applications between your primary display and the projector.
- Duplicate: This mode mirrors the content on your primary display onto the projector, providing an identical view on both screens.
- Second screen only: This mode turns off the display on your primary monitor and uses only the projector as the output device.
- Adjust the resolution and aspect ratio: In the display settings, you can select the desired resolution and aspect ratio for the projector. Choose the one that best matches the native resolution and aspect ratio supported by your projector for optimal image quality.
- Configure screen orientation: If the projected image appears sideways or upside down, you can adjust the screen orientation settings in the display settings. Select “Portrait” or “Landscape” orientation as per your requirement.
- Make additional display adjustments: You can adjust other settings such as brightness, contrast, and color calibration to enhance the visual quality of the projected image. Some projectors may have specific settings that you can access through their on-screen menu.
By adjusting the display settings on your Windows 10 device, you can optimize the visual output on the projector and ensure that the projected content appears as intended. Experiment with different settings to find the configuration that suits your needs and enhances your viewing experience.
Using Extended Display Mode
The extended display mode allows you to use your projector and Windows 10 device as separate screens, greatly expanding your workspace. This mode is ideal for multitasking, giving you the ability to have different applications and windows open on each screen. Here’s how to use extended display mode:
- Ensure that your projector is connected to your Windows 10 device and both are powered on.
- Open the display settings on your Windows 10 device by right-clicking on the desktop and selecting “Display settings” or by going to the Start menu, clicking on the “Settings” icon, and selecting “System” followed by “Display.”
- In the display settings, under the “Multiple displays” section, select “Extend these displays.”
- Drag and arrange the displays: You will see two screens labeled as “1” (your primary display) and “2” (the projector). Click and drag the screen icons to arrange them as per your desired positioning.
- Adjust the scale and layout: You can adjust the scale and layout settings for each display individually. This includes options such as scaling and text size to suit your preference and optimize readability.
- Open applications and windows on the extended display: To make use of the extended display, simply drag applications or windows to the projector screen. You can resize and position them as needed.
- Use the projector as an extended workspace: With extended display mode, you can have a document open on your primary display while referencing another document or web page on the projector screen. This setup is particularly useful for presentations, video editing, or any task that requires multiple windows open simultaneously.
Using extended display mode with your projector and Windows 10 device can greatly increase your productivity and provide a more immersive multitasking experience. Experiment with different application arrangements and explore the advantages of having an extended workspace.
Configuring Resolution and Aspect Ratio
Configuring the resolution and aspect ratio on your Windows 10 device is crucial to ensure that the projected image appears clear, sharp, and accurately proportioned. Here’s how you can adjust these settings:
- Access the display settings on your Windows 10 device by right-clicking on the desktop and selecting “Display settings” or by going to the Start menu, clicking on the “Settings” icon, and selecting “System” followed by “Display.”
- Scroll down to the “Resolution” section: Here, you will see a drop-down menu that lists the available resolution options for your display. Choose the resolution that matches the native resolution of your projector for optimal image quality. Higher resolutions generally result in crisper visuals.
- Adjust the aspect ratio: Most projectors support standard aspect ratios such as 4:3 or 16:9. Select the aspect ratio that corresponds to your projector’s native aspect ratio to prevent any distortion or stretching of the projected image. If unsure, consult the projector’s documentation or refer to its specifications.
- Preview and apply the resolution and aspect ratio settings: After selecting the desired resolution and aspect ratio, Windows 10 will display a preview of the changes on both your Windows 10 device and the projector. If satisfied, click on the “Apply” button to save the settings.
- Fine-tune the settings (optional): If necessary, you can make further adjustments to the screen orientation, scale, and layout in the display settings to optimize the visual output on the projector.
By configuring the resolution and aspect ratio settings on your Windows 10 device, you can ensure that the projected image appears crisp, accurately proportioned, and compatible with your projector’s capabilities. Take the time to experiment with different settings and choose the ones that provide the best visual experience for your specific setup.
Adjusting Screen Orientation
Screen orientation refers to the positioning of the projected image on the projector screen. Sometimes, you may find that the projected image appears sideways or upside down, requiring adjustment of the screen orientation settings. Here’s how you can do it on your Windows 10 device:
- Access the display settings on your Windows 10 device by right-clicking on the desktop and selecting “Display settings” or by going to the Start menu, clicking on the “Settings” icon, and selecting “System” followed by “Display.”
- Scroll down to the “Orientation” section: Here, you will find options such as “landscape,” “portrait,” or “landscape (flipped).” Select the desired screen orientation that matches the projection direction you want.
- Preview the changes: Once you select a different screen orientation, Windows 10 will display a preview of the changes on both your Windows 10 device and the projector. Ensure that the projected image now appears correctly on the screen.
- Apply the new screen orientation: If satisfied with the preview, click on the “Apply” button to save the new screen orientation settings.
- Make additional adjustments (optional): If needed, you can further fine-tune the screen orientation or other display settings to achieve the desired visual output on the projector.
Adjusting the screen orientation ensures that the projected image is displayed correctly on the screen, avoiding any discomfort or inconvenience caused by sideways or upside-down visuals. Take a moment to experiment with different screen orientations and choose the one that best suits your projection setup and viewing preferences.
Optimizing Projector Output
To ensure the best possible visual experience when using a projector with your Windows 10 device, there are several steps you can take to optimize the projector output. Consider the following tips:
- Adjust the projector’s focus and keystone: Use the focus ring to sharpen the projected image and make it clearer. If the image appears distorted, use the keystone adjustment to correct any trapezoidal effects.
- Avoid ambient light interference: Dim the lights or close curtains to minimize ambient light that can wash out the projected image. A darker environment will enhance the image’s contrast and overall visual quality.
- Set the appropriate distance: Position the projector at the correct distance from the screen to achieve optimal image size and clarity. Refer to the projector’s user manual for recommended distances based on the desired screen size.
- Ensure proper ventilation: Projectors can generate heat, so ensure sufficient ventilation around the device to prevent overheating. Blocked ventilation can affect performance and potentially damage the projector.
- Consider using external speakers: While some projectors have built-in speakers, their sound quality may be limited. For a more immersive experience, connect external speakers to your Windows 10 device or use a separate audio system for better audio output.
- Keep cables organized: Proper cable management not only reduces clutter but also prevents accidental disconnections or tripping hazards. Utilize cable ties or cable management solutions to keep everything tidy and secure.
- Regularly clean the projector lens: Dust and dirt on the projector lens can degrade image quality. Use a soft, lint-free cloth to gently clean the lens periodically to maintain optimal performance.
- Update graphics drivers: Ensure that the graphics drivers on your Windows 10 device are up to date. Outdated drivers can affect the quality of the projected image. Check the manufacturer’s website or use Windows Update to install the latest drivers.
By following these tips, you can optimize the output of your projector and enhance the overall viewing experience. Experiment with different settings and configurations to find the ideal setup for your specific needs and preferences.
Troubleshooting Common Issues
While using a projector with your Windows 10 device can be a fantastic experience, you may encounter some common issues along the way. Here are a few troubleshooting tips to help you resolve them:
- No signal or picture: If you are not seeing any signal or picture on the projector screen, double-check that the cables are securely connected. Ensure that the correct input source is selected on the projector and that your Windows 10 device is not in sleep mode or turned off.
- Poor image quality: If the projected image appears blurry or distorted, adjust the projector’s focus and keystone settings for sharper and clearer visuals. Additionally, check the resolution and aspect ratio settings on your Windows 10 device to ensure they match the native capabilities of the projector.
- No sound: If there is no audio coming from the projector, verify that the audio cable is properly connected between your Windows 10 device and the projector or external speakers. Adjust the sound settings on your device and ensure that the volume is not muted or turned down too low.
- Incompatible resolution: If the projected image appears stretched or doesn’t fit the screen properly, it may be due to an incompatible resolution or aspect ratio. Adjust the resolution and aspect ratio settings on your Windows 10 device to match the native capabilities of the projector.
- Overheating: If your projector becomes hot during prolonged use, it may be overheating. Ensure that it has proper ventilation and that the air filters are clean. Consider giving the projector a break to cool down if necessary.
- Interference: Sometimes, nearby electronic devices or wireless signals can interfere with the projector’s performance. Try moving them farther away from the projector or disable any nearby devices that may cause interference.
- Outdated drivers or firmware: Check for any available updates for your projector’s firmware and your Windows 10 device’s graphics drivers. Installing the latest updates can resolve compatibility issues and improve overall performance.
- Remote control issues: If the projector’s remote control is not functioning properly, check the batteries and ensure that the remote is pointed directly at the projector. If needed, replace the batteries or use the on-screen menu on the projector to make adjustments.
By troubleshooting these common issues, you can overcome any challenges that may arise when using a projector with your Windows 10 device. If the issues persist, consult the user manual or contact the manufacturer’s support for further assistance.
Conclusion
Using a projector with your Windows 10 device opens up a world of possibilities for presentations, entertainment, and productivity. By following the steps outlined in this guide, you can successfully set up and connect your projector to your Windows 10 device, adjust display settings, and troubleshoot common issues that may arise along the way.
Remember to choose a suitable location for your projector, adjust the focus and keystone settings for optimal image quality, and ensure proper cable connections. Take advantage of extended display mode to enhance your multitasking capabilities, configure the resolution and aspect ratio to match your projector’s capabilities, and adjust screen orientation as needed.
To optimize the projector output, consider factors such as ambient light, proper ventilation, and cable management. Regularly update your graphics drivers and clean the projector lens to maintain optimal performance. If you encounter any issues, refer to the troubleshooting tips provided in this guide.
With the right setup and proper configuration, using a projector with your Windows 10 device can provide a visually immersive experience for presentations, movies, gaming, and more. Enjoy the larger screen size, enhanced visuals, and expanded workspace that a projector offers.
So, get ready to take your viewing experience to new heights as you connect and harness the power of your Windows 10 device with a projector!


