Introduction
Welcome to the world of gaming with Logitech G300S! Whether you’re a casual gamer or a seasoned pro, having a high-quality gaming mouse can greatly enhance your gaming experience. With its ergonomic design, customizable settings, and advanced features, the Logitech G300S is a popular choice among gamers.
In this article, we will guide you through the process of setting up and using the Logitech G300S gaming mouse. We will take you through everything, from unboxing the mouse to customizing button assignments, adjusting lighting effects, and utilizing advanced settings. By the end of this guide, you’ll have a thorough understanding of how to make the most out of your Logitech G300S mouse.
Before we dive into the details, it’s worth mentioning that the Logitech G300S is compatible with both Windows and MacOS operating systems. Additionally, it offers excellent sensitivity and precision, thanks to its high-resolution optical sensor.
So, without further ado, let’s jump right in and get started with the unboxing process!
Unboxing the Logitech G300S
Before you can start using your Logitech G300S gaming mouse, you’ll need to unbox the package and familiarize yourself with its contents. Here’s what you can expect to find when you first open the box:
1. The Logitech G300S gaming mouse
2. A user manual and quick start guide
3. Additional button covers and side grips
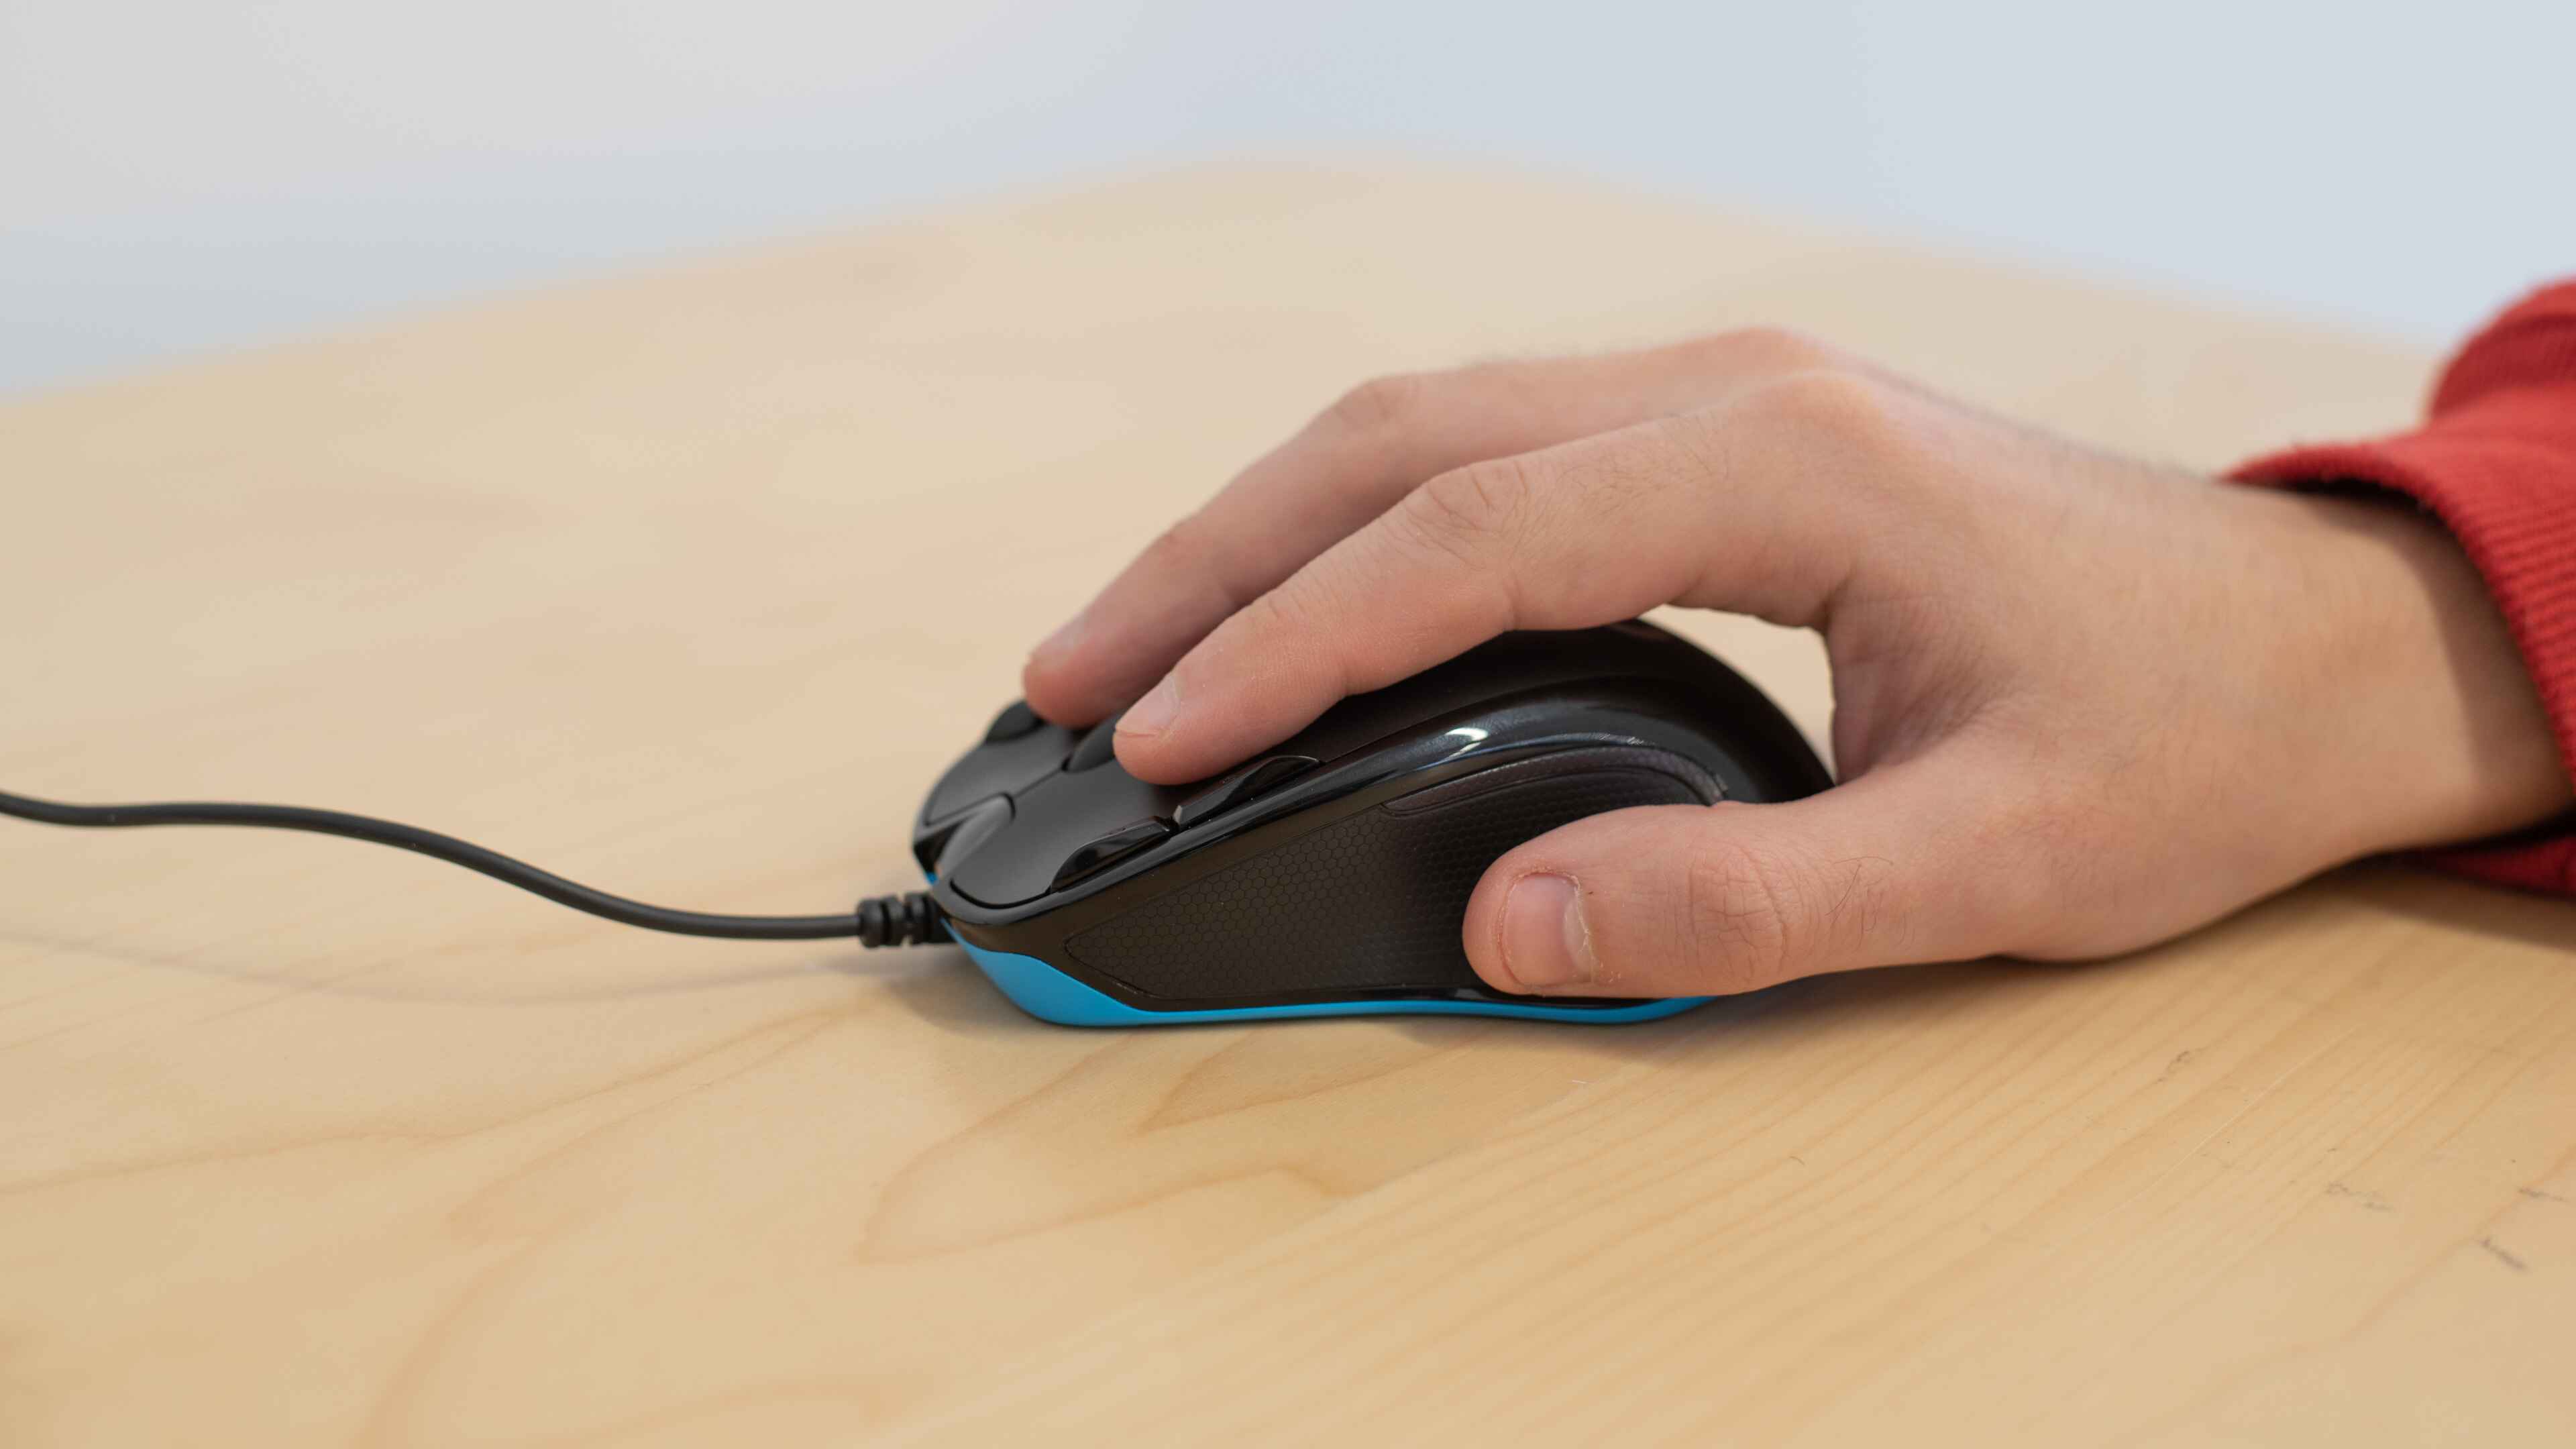
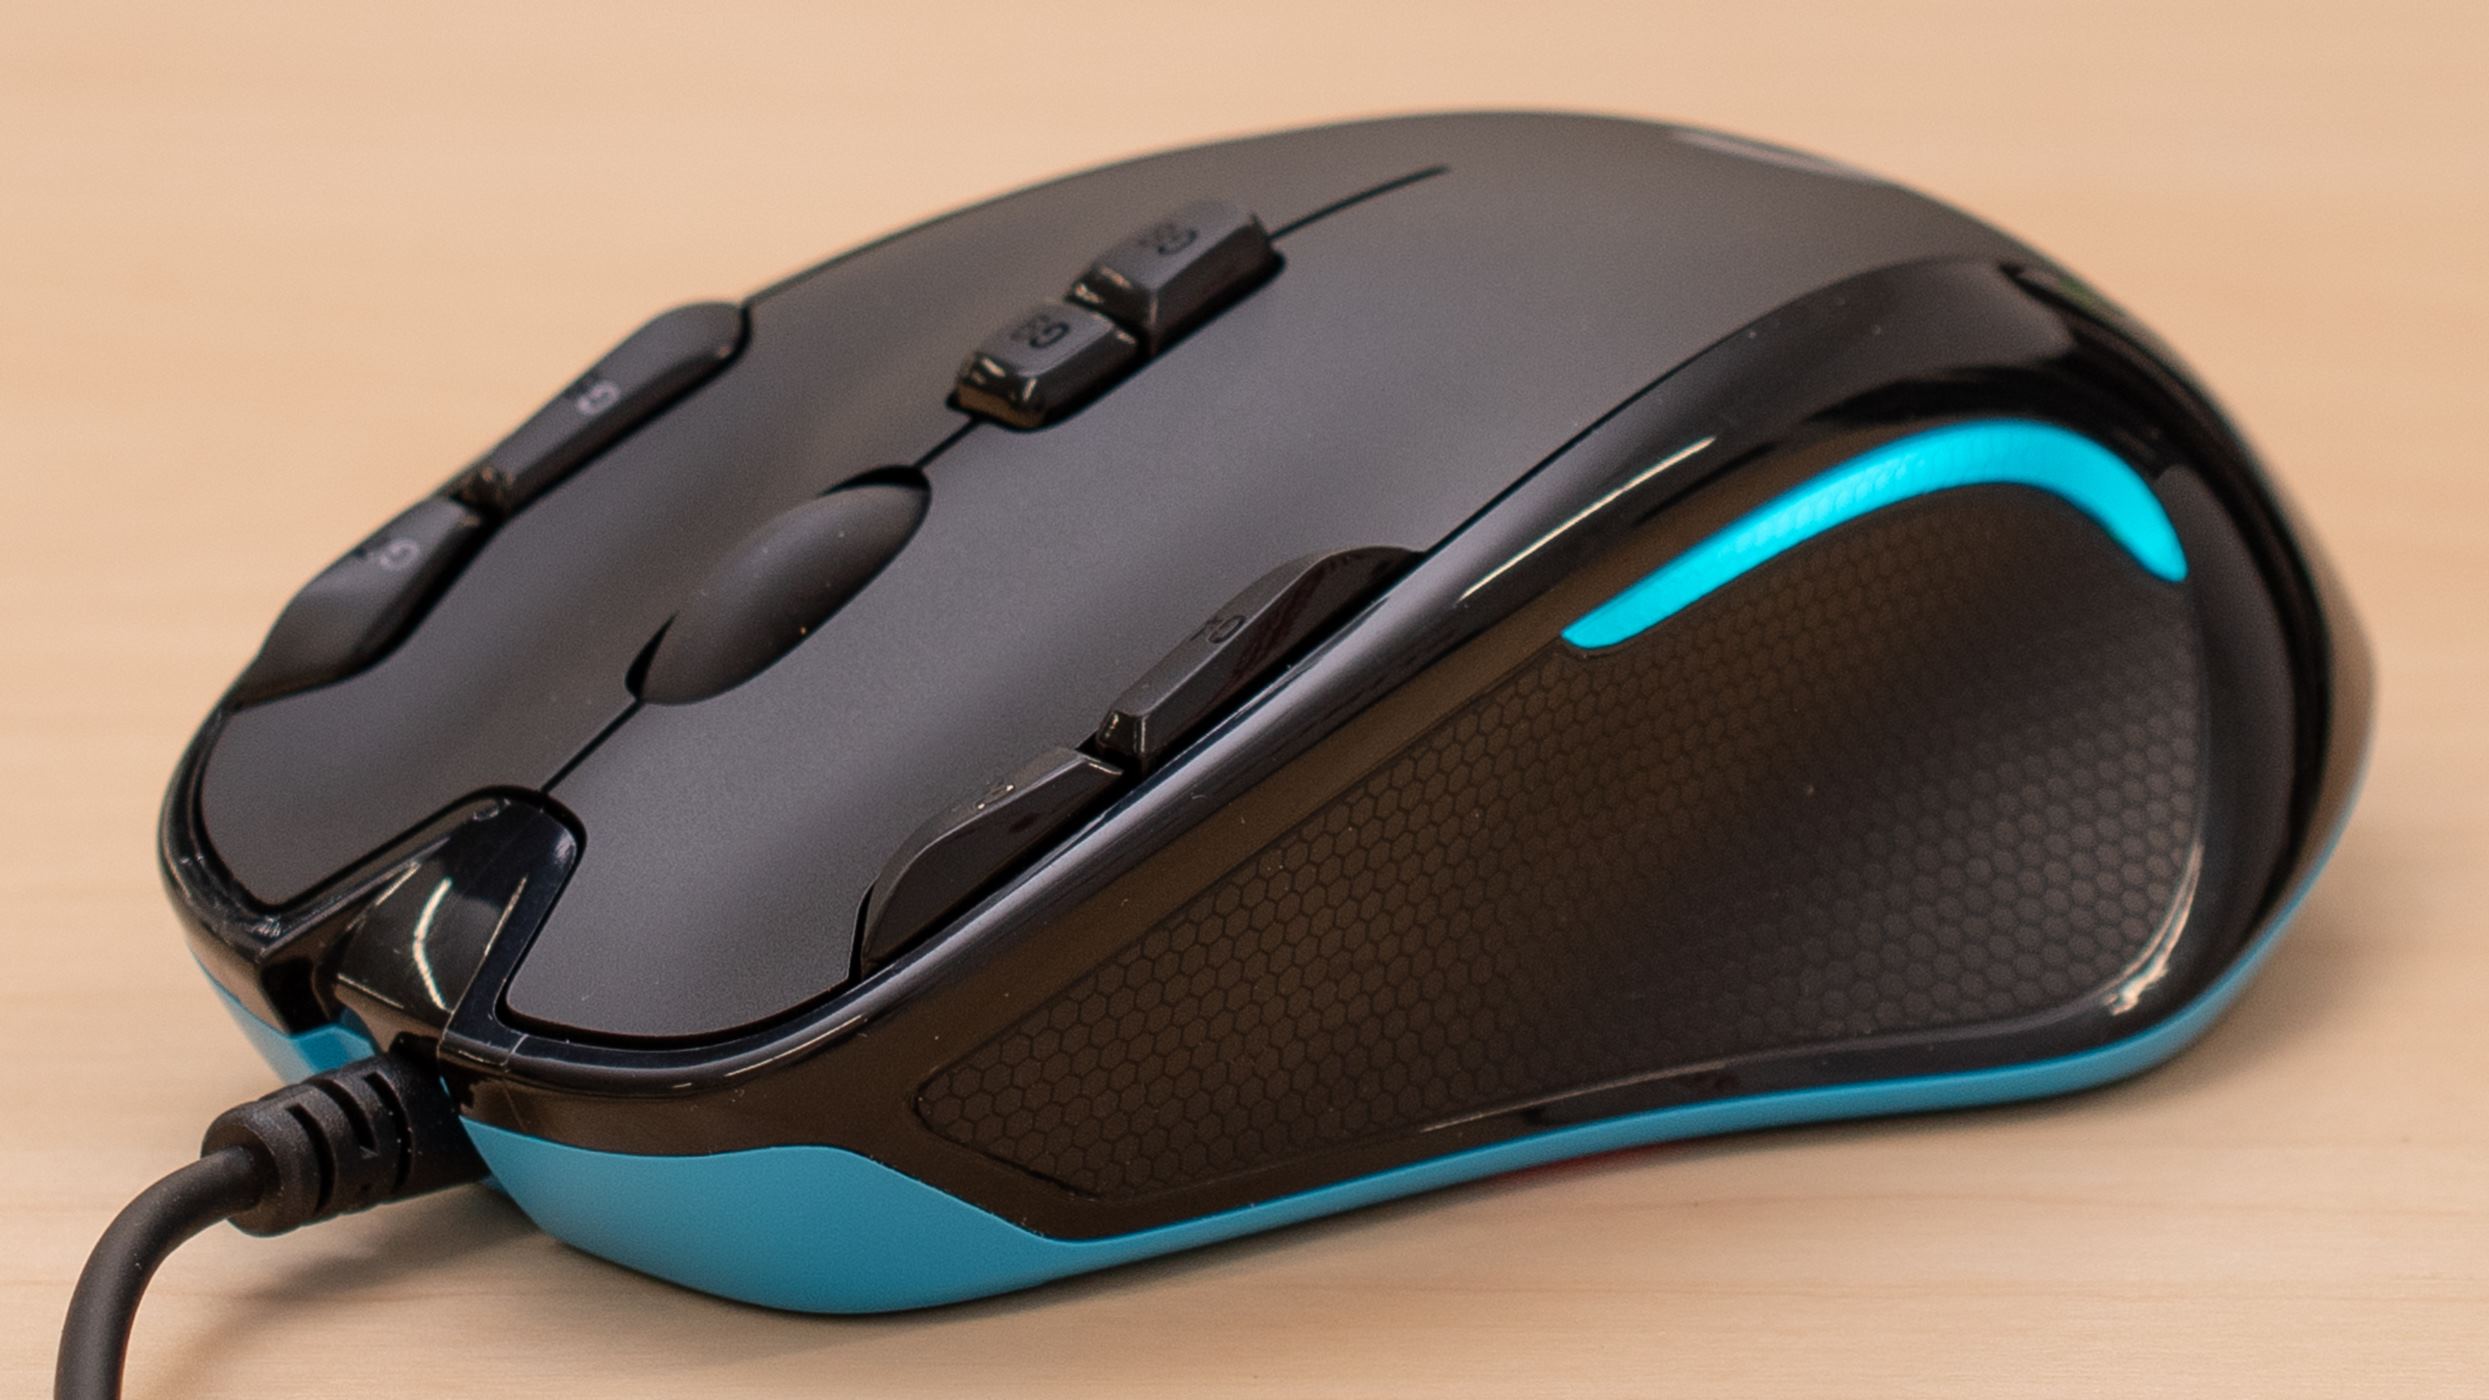
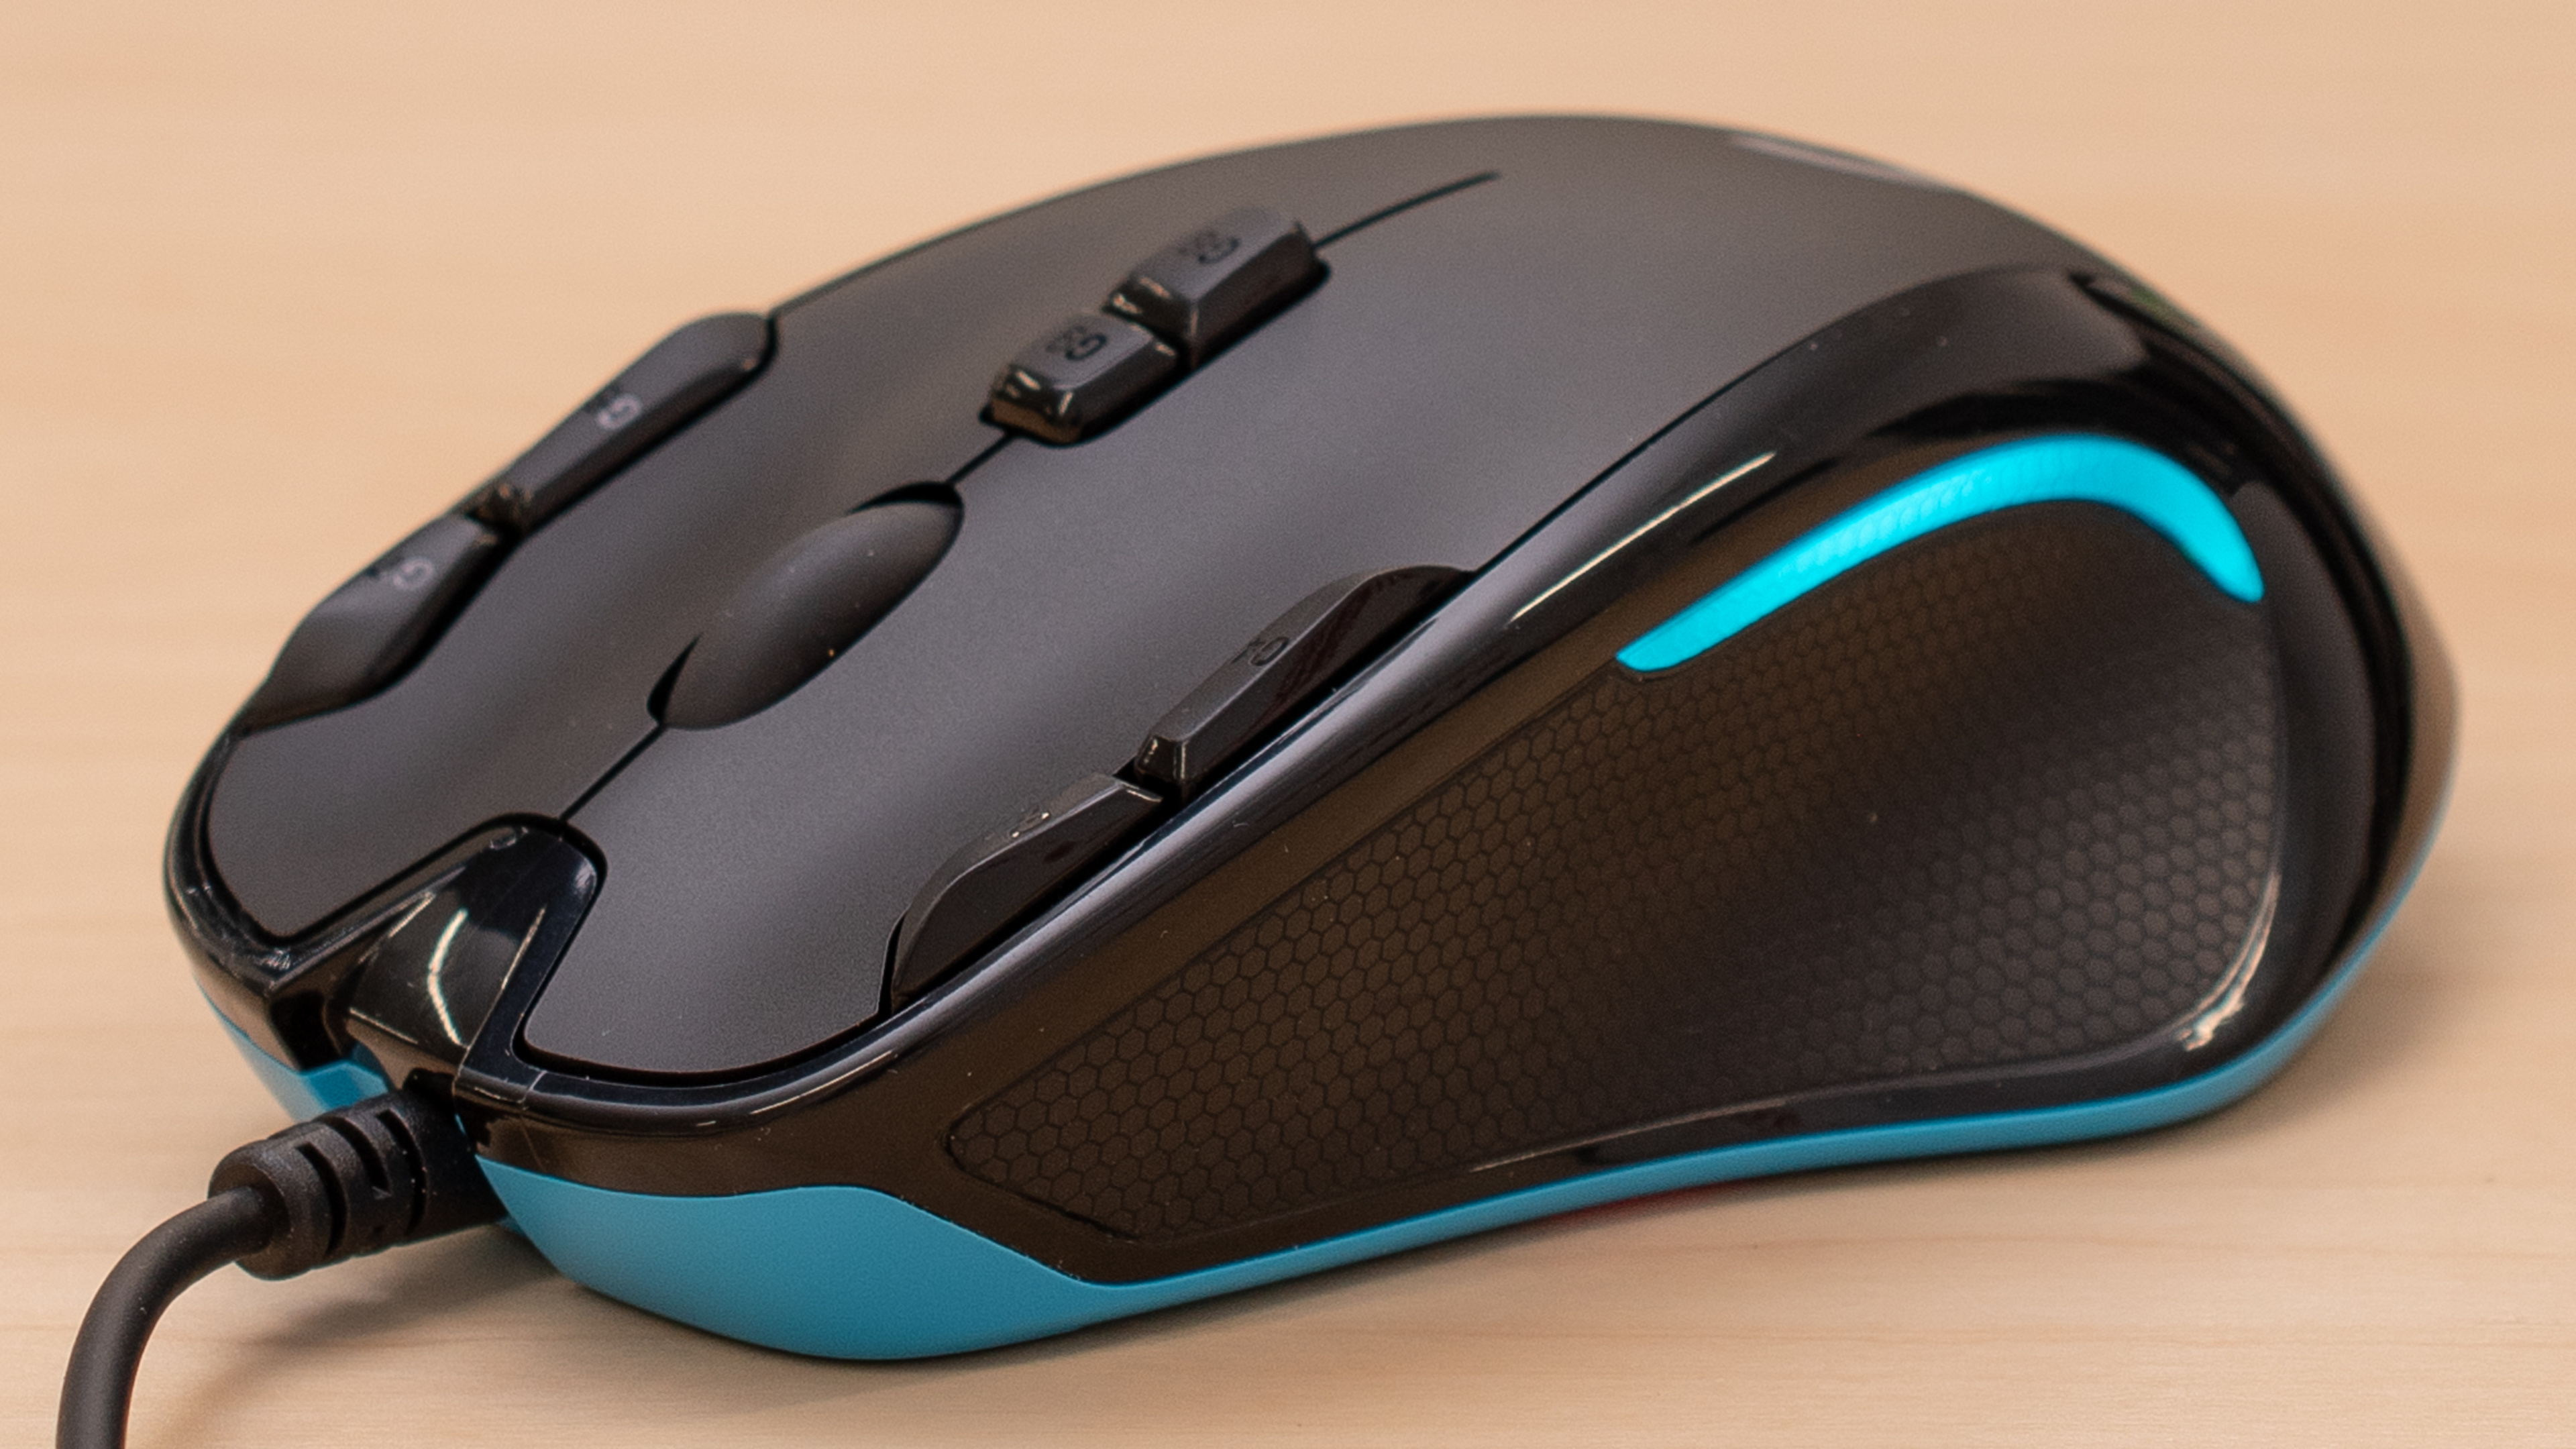
Once you have everything out of the box, take a moment to examine the mouse itself. The Logitech G300S features a sleek design with a matte finish. The ergonomic shape ensures a comfortable grip during long gaming sessions, while the customizable buttons provide quick access to various commands.
Before connecting the mouse to your computer, it’s important to ensure that your device meets the minimum system requirements. This includes having an available USB port and compatible operating system. Additionally, you will need internet access for downloading the Logitech Gaming Software, which we’ll cover in the next section.
Now that you’re familiar with what’s included and have checked your system compatibility, it’s time to connect the Logitech G300S to your computer. Grab the USB cable and plug one end into the corresponding port on the mouse, and the other end into an available USB port on your computer.
Once connected, your computer should recognize the Logitech G300S automatically, and basic functionality should be available right away. However, to access all the advanced features and customization options, you’ll need to install the Logitech Gaming Software, which we’ll discuss in the next section.
With the unboxing process complete and the mouse connected, you’re one step closer to unlocking the full potential of your Logitech G300S gaming mouse. In the next section, we’ll guide you through the installation of the Logitech Gaming Software, allowing you to customize your mouse settings to fit your gaming preferences.
Connecting the Mouse to Your Computer
Now that you have unboxed your Logitech G300S gaming mouse, it’s time to connect it to your computer and prepare it for use. Follow these simple steps to ensure a seamless connection:
1. Locate an available USB port on your computer. The Logitech G300S mouse utilizes a wired connection, so be sure to select a port that is easily accessible.
2. Take the USB cable that is included in the package and plug one end into the corresponding port on the mouse. The port is located on the front of the mouse near the bottom.
3. Insert the other end of the USB cable into the available USB port on your computer. Make sure the connection is secure to prevent any interruption in power or data transfer.
4. Once the mouse is connected, your computer should recognize it and begin installing the necessary drivers automatically. This process may take a few moments, so be patient and avoid unplugging or moving the mouse during this time.
5. After the drivers are successfully installed, you can begin using your Logitech G300S mouse. Move the mouse around to test its responsiveness and ensure that it is functioning correctly.
It’s important to note that the Logitech G300S is compatible with both Windows and MacOS operating systems. Therefore, regardless of which system you are using, you can enjoy the benefits of this mouse.
If, for any reason, your computer does not recognize the Logitech G300S or you encounter any connection issues, there are a few troubleshooting steps you can try:
● Ensure that the USB cable is securely plugged in on both ends.
● Try connecting to a different USB port on your computer.
● Restart your computer to refresh the USB connections.
● Check if there are any available updates for your operating system or drivers.
By following these steps and troubleshooting tips, you should be able to connect your Logitech G300S mouse to your computer successfully. Once connected, you can move on to installing the Logitech Gaming Software, which will unlock the full potential of your gaming mouse. We will cover this in the next section.
Installing the Logitech Gaming Software
In order to fully customize and take advantage of the advanced features of your Logitech G300S gaming mouse, you need to install the Logitech Gaming Software. This software allows you to personalize your mouse settings, program buttons, adjust DPI settings, and more. Here’s how you can install the software:
1. Open your web browser and go to the Logitech website.
2. Navigate to the Support or Downloads section of the Logitech website.
3. Search for the Logitech Gaming Software for your specific operating system (Windows or MacOS) and download the latest version.
4. Once the download is complete, locate the downloaded file and double-click on it to start the installation process.
5. Follow the on-screen instructions to install the Logitech Gaming Software on your computer. Make sure to read and accept the license agreement during the installation.
6. Once the installation is complete, launch the Logitech Gaming Software by locating it in your computer’s program files or by searching for it in the start menu.
7. Connect your Logitech G300S gaming mouse to your computer if it is not already connected.
8. The Logitech Gaming Software should detect your mouse automatically. If it doesn’t, try clicking on the “Devices” tab in the software and selecting “Add New Device”. Follow the prompts to connect your mouse.
9. You’re now ready to start customizing your Logitech G300S gaming mouse. Explore the various tabs and options in the Logitech Gaming Software to personalize your mouse to your liking. You can assign different functions to each button, adjust DPI settings, create macros, and more.
10. Once you have configured your settings, click “Apply” or “Save” to save your changes and make them active on your Logitech G300S mouse.
Installing the Logitech Gaming Software ensures that you have complete control over your Logitech G300S gaming mouse, allowing you to optimize its performance for your specific gaming needs. With the software installed, you can now move on to the next section, where we will guide you through customizing button assignments and DPI settings to enhance your gaming experience further.
Customizing Button Assignments and DPI Settings
One of the key advantages of the Logitech G300S gaming mouse is its ability to customize button assignments and DPI settings. This enables you to tailor the mouse to your preferred gaming style and enhance your performance. Here’s how you can customize these settings:
1. Launch the Logitech Gaming Software on your computer. If you haven’t installed it yet, refer to the previous section for instructions.
2. Once the software is open, locate the “Customize buttons” or “Button settings” tab. This is where you can assign specific functions to each button on the Logitech G300S.
3. Click on the button you want to customize, and a drop-down menu will appear with various options to choose from. Some common options include standard mouse functions, keyboard shortcuts, media controls, and macros.
4. Select the desired function from the drop-down menu and click “Apply” or “Save” to confirm the button assignment.
5. Repeat this process for each button you wish to customize. Experiment with different functions to find the configuration that best suits your gaming style.
In addition to customizing button assignments, the Logitech G300S allows you to adjust the DPI (dots per inch) settings. DPI determines the sensitivity of the mouse cursor, affecting how fast or slow the cursor moves across the screen. Here’s how to customize the DPI settings:
1. In the Logitech Gaming Software, navigate to the “Sensitivity settings” or “DPI settings” tab.
2. Adjust the DPI levels using the provided slider or input box. The Logitech G300S supports multiple DPI levels, allowing you to switch between different sensitivities on-the-fly.
3. Experiment with different DPI settings to find the one that feels most comfortable and responsive for your gaming needs. Higher DPI settings result in faster cursor movements, while lower DPI settings provide more control and precision.
4. Once you have customized the button assignments and DPI settings to your liking, remember to apply or save the changes in the Logitech Gaming Software.
Customizing button assignments and DPI settings on your Logitech G300S gaming mouse allows you to have a more personalized gaming experience. By assigning functions to specific buttons and adjusting DPI levels, you can streamline your gameplay and improve your overall performance. With these settings in place, you’re now ready to explore and utilize the lighting effects available on the Logitech G300S, which we’ll cover in the next section.
Adjusting Lighting Effects
The Logitech G300S gaming mouse features customizable lighting effects that add a touch of style and enhance the gaming atmosphere. By adjusting the lighting effects, you can personalize your mouse to match your gaming setup or create a unique visual experience. Here’s how you can adjust the lighting effects:
1. Open the Logitech Gaming Software on your computer and navigate to the “Lighting settings” or “RGB lighting” tab.
2. Depending on the software version, you may have different options to customize the lighting effects. Look for options such as solid color, breathing effect, color cycling, or custom lighting profiles.
3. Select the desired lighting effect from the available options. For example, if you choose the breathing effect, the mouse’s lighting will gradually fade in and out, creating a dynamic and visually appealing effect.
4. If applicable, you can also choose the color or colors you want the lighting effect to display. Some Logitech G300S models offer the ability to customize specific zones or sections of the mouse with different colors.
5. Experiment with different lighting effects and colors to find the combination that suits your preference. You can always go back and change the settings to create a new look whenever you want.
6. Once you’re satisfied with the lighting effects, apply or save the settings in the Logitech Gaming Software so that they are active on your Logitech G300S gaming mouse.
Remember that lighting effects on the Logitech G300S are customizable but may also be limited compared to other Logitech gaming mice. Keep this in mind as you explore the available options and strive to make your gaming experience more visually appealing and immersive.
It’s worth mentioning that the lighting effects on the Logitech G300S can also serve a practical purpose. For example, you can assign different colors to different profiles or DPI levels, allowing you to quickly identify which settings you’re using at a glance.
Now that you know how to adjust the lighting effects on your Logitech G300S gaming mouse, it’s time to delve into the next section, which covers creating and managing profiles to further optimize your gaming experience.
Creating and Managing Profiles
The Logitech G300S gaming mouse offers the ability to create and manage multiple profiles, allowing you to customize your mouse settings for different games or tasks. This feature is especially useful if you play a variety of games or use your mouse for different purposes. Here’s how you can create and manage profiles on your Logitech G300S:
1. Launch the Logitech Gaming Software on your computer and navigate to the “Profiles” or “Profile settings” tab.
2. Click on the “New Profile” button to create a new profile. Give the profile a name that is descriptive and easily recognizable, such as the name of the game or task it will be used for.
3. Customize the settings within the profile to your liking. This includes button assignments, DPI settings, lighting effects, and any other options available in the Logitech Gaming Software.
4. Once you have customized the settings for the profile, click “Apply” or “Save” to save the profile and make it active on your Logitech G300S mouse.
5. To switch between profiles, either use the software interface to manually select the desired profile, or set up automatic profile switching based on the game or application you’re using. This can be done through the “Profile settings” or “Automatic game detection” options in the Logitech Gaming Software.
6. You can create and manage multiple profiles to suit your needs. For example, you may have separate profiles for different games, applications, or even different users sharing the same computer.
7. If you no longer need a specific profile, you can delete it by selecting the profile in the Logitech Gaming Software and clicking on the “Delete” button. Be cautious when deleting profiles, as this action cannot be undone.
Creating and managing profiles on your Logitech G300S gaming mouse allows you to have a tailored experience for each game or task, maximizing your efficiency and comfort. With different profiles set up, you won’t need to reconfigure your mouse settings every time you switch between games or applications.
Remember to regularly save and backup your profiles, especially if you make significant changes or use your Logitech G300S on multiple computers. This way, you can easily restore and transfer your profiles without having to go through the customization process again.
Now that you understand how to create and manage profiles on your Logitech G300S gaming mouse, let’s move on to the next section, where we will dive into configuring advanced settings for even more customization and control.
Configuring Advanced Settings
The Logitech G300S gaming mouse offers a range of advanced settings that allow you to further customize and optimize your gaming experience. These settings provide you with more control, precision, and versatility. Let’s explore how you can configure these advanced settings:
1. Open the Logitech Gaming Software on your computer and navigate to the “Advanced settings” or “Performance settings” tab.
2. Adjust the polling rate to your desired setting. The polling rate refers to how many times the mouse reports its position to the computer per second. Higher polling rates result in smoother cursor movement but may consume more resources. Experiment with different polling rate options to find the balance that works best for you.
3. Customize the lift-off distance, which determines how high you need to lift the mouse before it stops tracking. Lower lift-off distances provide more accuracy during quick mouse movements, while higher lift-off distances are better for those who lift and reposition their mouse frequently.
4. If applicable, configure the angle snapping feature. Angle snapping smoothens out small, angular movements of the mouse cursor to assist with precise aiming. However, for tasks that require raw accuracy, it is generally recommended to disable angle snapping.
5. Explore other available options such as acceleration settings, scroll speed, and pointer precision. These settings allow you to fine-tune your mouse behavior to match your preferences and gaming style.
6. Take some time to test and adjust these advanced settings to find the configuration that feels most comfortable and responsive to your gaming needs. Consider experimenting with different settings based on the games or tasks you engage in frequently.
7. Once you have customized the advanced settings to your liking, remember to save or apply the changes in the Logitech Gaming Software to make them active on your Logitech G300S gaming mouse.
By configuring the advanced settings on your Logitech G300S, you can achieve optimal performance and precision during gameplay. These settings allow you to fine-tune your mouse to match your gaming preferences and improve your overall gaming experience.
When adjusting these advanced settings, take note of the effects they have on your gaming performance and comfort. It may require some trial and error to find the perfect balance for you, so feel free to experiment and make adjustments as needed.
Now that you’ve learned how to configure the advanced settings on your Logitech G300S gaming mouse, you’re ready to utilize the onboard memory feature, which allows you to take your customized settings with you wherever you go. This will be covered in the next section.
Using the Onboard Memory
The Logitech G300S gaming mouse comes with onboard memory, which allows you to save your customized settings directly onto the mouse. This feature is incredibly convenient, as it allows you to use your preferred settings on different computers without needing to install the Logitech Gaming Software. Here’s how you can utilize the onboard memory:
1. Open the Logitech Gaming Software on your computer and configure your desired settings, including button assignments, DPI settings, lighting effects, and any other customizations you wish to apply.
2. Once you have fine-tuned your settings, go to the profile management section of the software and select the profile you want to save to the onboard memory.
3. Click on the option that allows you to save the profile directly to the mouse’s onboard memory. The specific wording may vary depending on the software version, but it usually involves selecting “Save to device” or “Save profile on mouse.”
4. Follow the prompts to confirm the save action and transfer the profile to the onboard memory of your Logitech G300S gaming mouse. Make sure the mouse is connected to your computer during this process.
5. Once the profile has been saved onto the mouse, disconnect it from your computer and connect it to another computer. The customized settings and profiles will be retained on the mouse, allowing you to use your preferred configurations without needing to install the Logitech Gaming Software on the new computer.
6. It’s important to note that the onboard memory has limited storage capacity, so it’s advisable to only save essential profiles to ensure optimal performance. If you have many profiles, consider saving only the most frequently used ones onto the onboard memory.
By utilizing the onboard memory feature, you can take your customized settings with you wherever you go, without the need for additional software or configurations on different computers. This is particularly useful for gamers who frequently participate in LAN parties or travel with their gaming gear.
Keep in mind that if you make any changes to your settings or create new profiles using the Logitech Gaming Software, you’ll need to save them to the onboard memory again to update the mouse’s settings.
Now that you understand how to use the onboard memory feature of your Logitech G300S gaming mouse, we will address some common troubleshooting tips in the next section, to help you resolve any issues that may arise during your gaming experience.
Troubleshooting Common Issues
While the Logitech G300S gaming mouse is designed to provide a smooth and reliable gaming experience, there may be times when you encounter certain issues. Here are some common problems that users may face and troubleshooting tips to help you resolve them:
1. Connectivity issues: If your Logitech G300S gaming mouse is not connecting to your computer, try reconnecting the USB cable or connecting it to a different USB port. Restarting your computer may also help establish a stable connection.
2. Button unresponsiveness: If the buttons on your mouse are not responding, first check the button assignments in the Logitech Gaming Software to ensure they are properly configured. You can also try resetting the mouse to its default settings and reprogramming the buttons.
3. Tracking issues: If you experience erratic cursor movements or inconsistent tracking, check the mouse’s surface for dust or debris that may interfere with the optical sensor. Cleaning the surface and ensuring a stable and even surface for mouse movement can help resolve tracking issues.
4. Software compatibility issues: Ensure that you have the latest version of the Logitech Gaming Software installed and that it is compatible with your operating system. Check the Logitech website for any available updates or patches that may address compatibility issues.
5. Performance issues: If you notice lag or delay in mouse responsiveness, try adjusting the polling rate in the Logitech Gaming Software to a lower setting. This can help reduce the strain on system resources and improve performance.
6. Lighting or profile customization issues: If you are having trouble customizing the lighting effects or managing profiles, make sure you have the latest version of the Logitech Gaming Software installed. If the issues persist, try reinstalling the software or reaching out to Logitech customer support for further assistance.
7. Firmware updates: To ensure optimal performance and access to the latest features, periodically check for firmware updates for your Logitech G300S gaming mouse. These updates can be found on the Logitech website or within the Logitech Gaming Software.
If you encounter any issues that you are unable to resolve using the troubleshooting steps mentioned above, it is recommended to refer to the user manual or contact Logitech customer support for further assistance. They will be able to provide more specific guidance based on your unique situation.
Troubleshooting common issues on your Logitech G300S gaming mouse ensures that you can enjoy a seamless gaming experience with minimal disruptions. By following these troubleshooting tips, you can quickly resolve common problems and get back to gaming in no time.
With the troubleshooting tips covered, we have reached the end of our guide on how to use the Logitech G300S gaming mouse. By following the steps outlined in this article, you should now have a good understanding of how to set up, customize, and troubleshoot your Logitech G300S mouse, allowing you to unlock its full potential and enhance your gaming experience.
Conclusion
Congratulations! You have reached the end of our comprehensive guide on how to use the Logitech G300S gaming mouse. Throughout this article, we have covered various topics, including unboxing the mouse, connecting it to your computer, installing the Logitech Gaming Software, customizing button assignments and DPI settings, adjusting lighting effects, creating and managing profiles, configuring advanced settings, utilizing the onboard memory, and troubleshooting common issues.
By following these instructions, you should now be able to fully unleash the potential of your Logitech G300S gaming mouse. Whether you’re a casual gamer or a serious enthusiast, this mouse offers a range of customization options and advanced features that can greatly enhance your gaming experience.
Remember to experiment and fine-tune the mouse settings to your liking, discovering the configurations that work best for your gaming style and preferences. With personalization options for button assignments, DPI settings, lighting effects, and more, the Logitech G300S allows you to create a truly immersive and tailored gaming setup.
Additionally, make sure to explore the Logitech Gaming Software and keep it up to date with the latest version to access new features and optimizations. Checking for firmware updates regularly is also recommended to ensure that your mouse is running on the latest software enhancements.
If you ever encounter any issues, refer back to the troubleshooting section for guidance or reach out to Logitech’s customer support for further assistance. They are there to help you overcome any challenges and ensure that your gaming experience remains smooth and hassle-free.
Enjoy your gaming sessions with the Logitech G300S, and may it bring you many hours of precise control, customization, and gaming enjoyment. Get ready to take your gaming to the next level!