Introduction
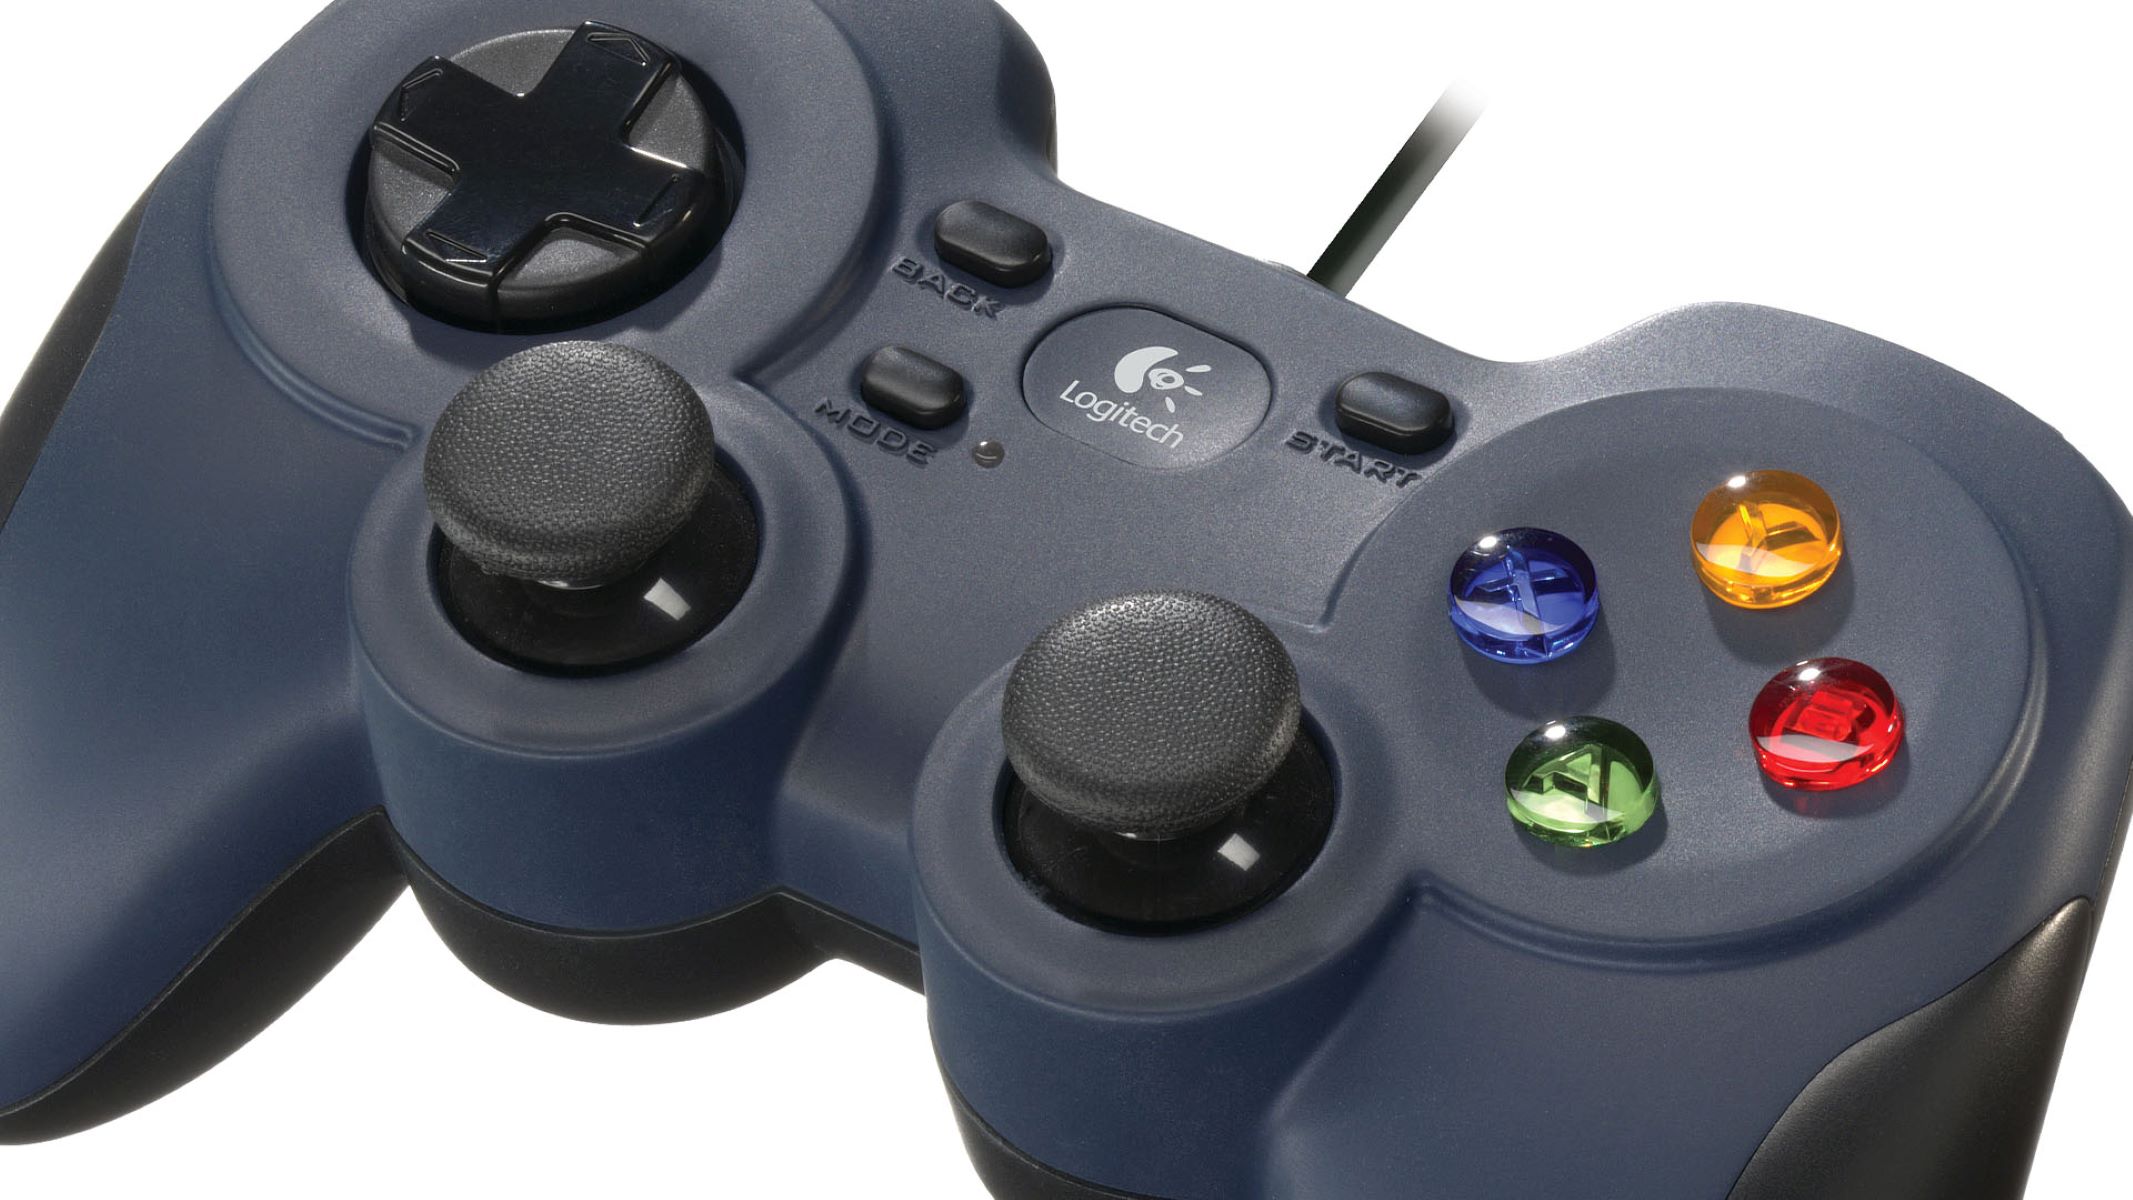
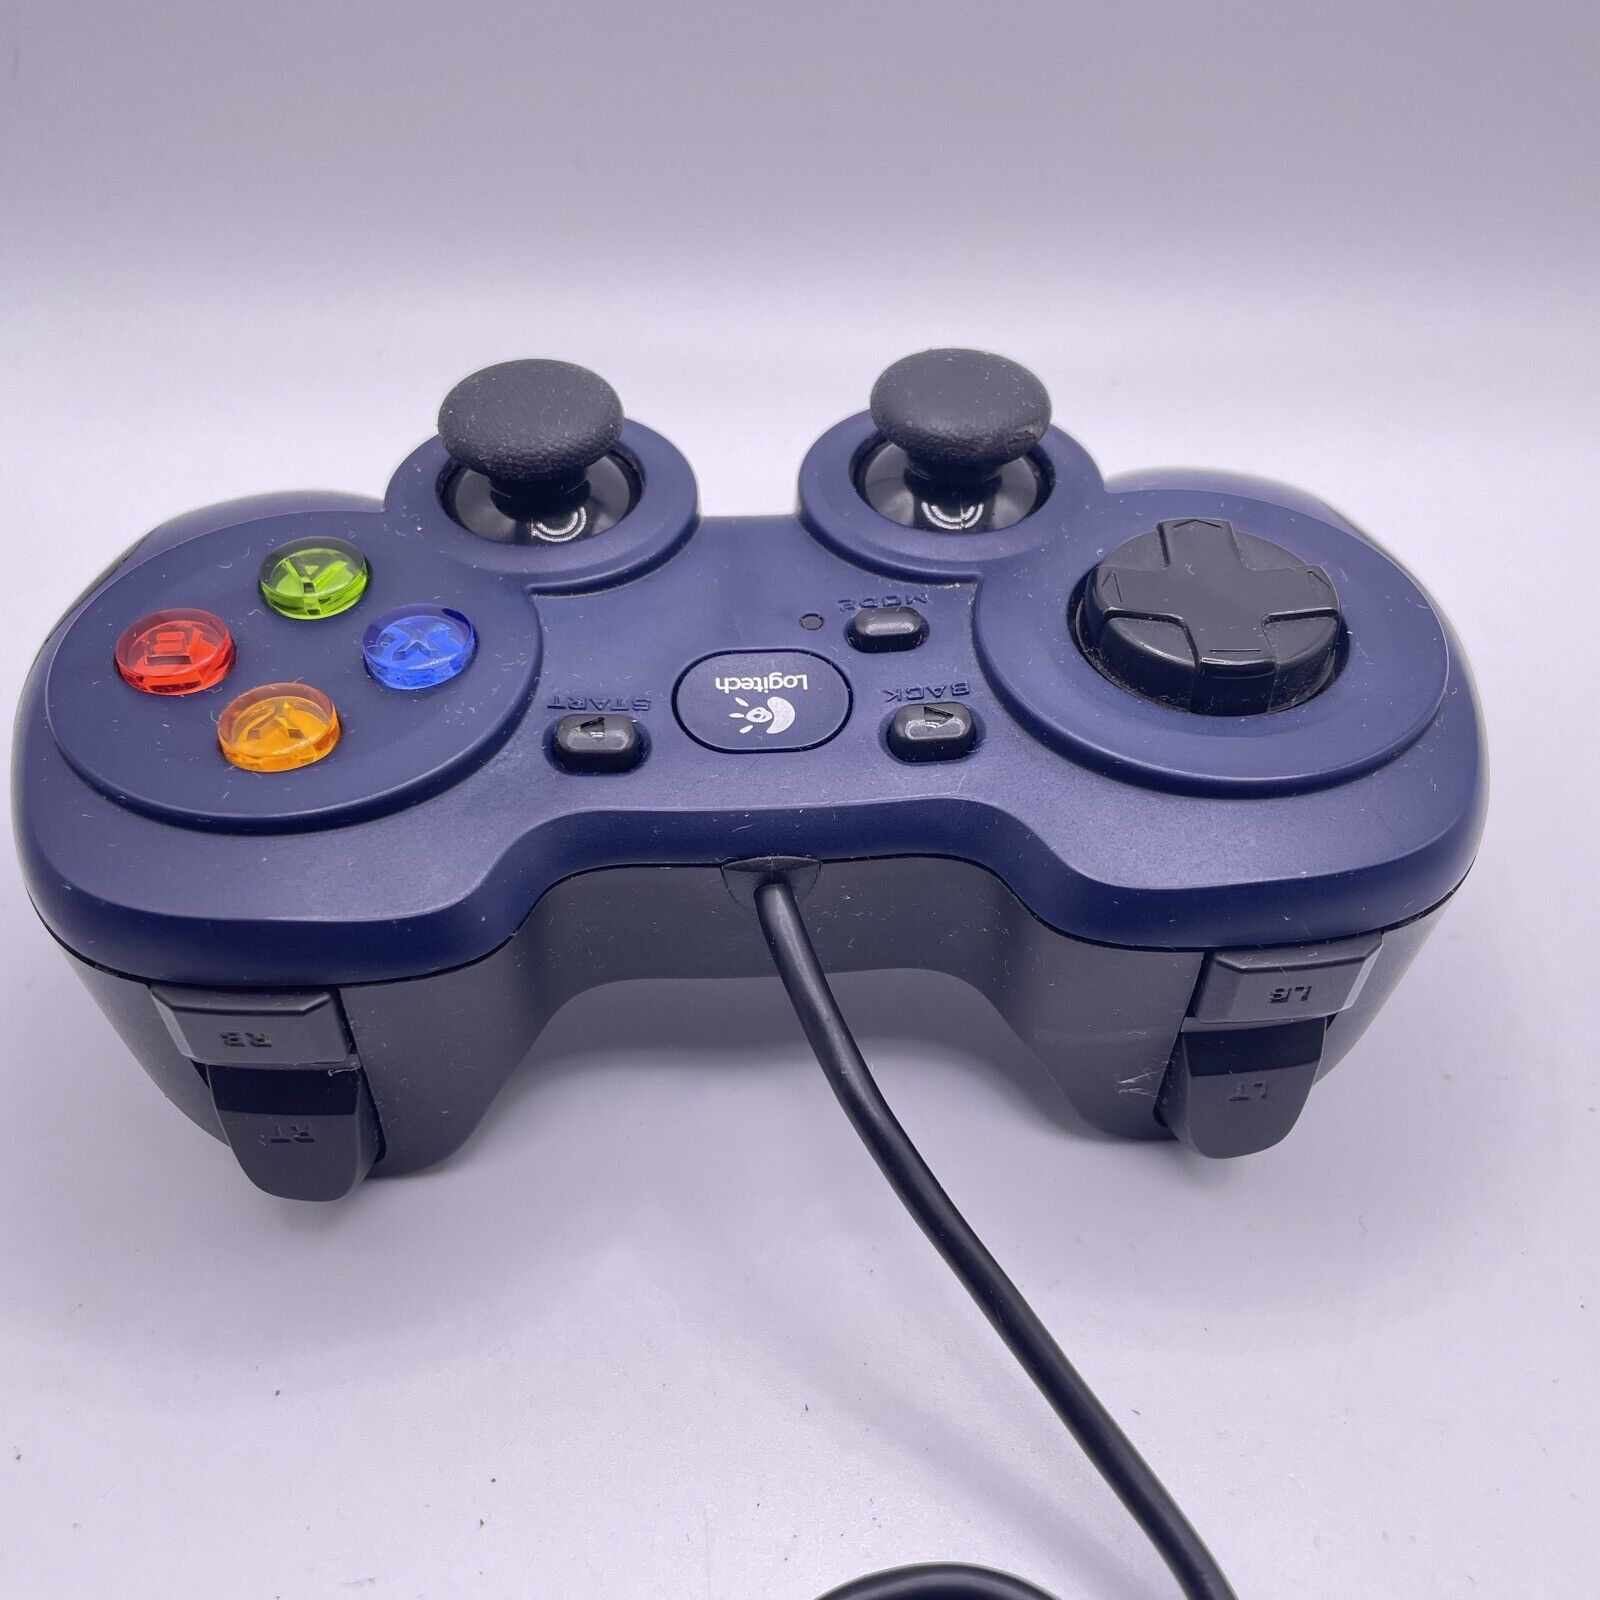
Welcome to this guide on how to use the Logitech Dual Action Controller. If you’re a gaming enthusiast who prefers using a controller for PC gaming, the Logitech Dual Action Controller is a great choice. With its ergonomic design and customizable settings, this controller offers a comfortable and immersive gaming experience.
In this article, we will walk you through the process of setting up the Logitech Dual Action Controller, connecting it to your computer, configuring the controller settings, calibrating the controller, testing it, and troubleshooting common issues that may arise.
Whether you’re a casual gamer or a dedicated gamer looking to enhance your gameplay, the Logitech Dual Action Controller can be a valuable addition to your gaming arsenal. It provides a familiar and intuitive interface, making it easier to control your characters and navigate through games.
Before we dive into the setup and configuration process, it is worth noting that the Logitech Dual Action Controller is compatible with a wide range of games for Windows and Mac systems. Whether you enjoy playing action-packed adventures, sports simulations, or racing games, this controller will elevate your gaming experience by offering precise control and responsiveness.
So, without further ado, let’s get started with the setup process and unlock the full potential of your Logitech Dual Action Controller!
Setting up the Logitech Dual Action Controller
Before you can start gaming with the Logitech Dual Action Controller, you’ll need to go through the setup process. Follow these steps to get your controller up and running:
- Firstly, ensure that your computer is turned on and running.
- Take the USB cable that came with the Logitech Dual Action Controller and plug one end into the controller itself.
- Next, locate an available USB port on your computer and insert the other end of the USB cable into it.
- Your computer should now recognize the controller and automatically install the necessary drivers. You may see a notification or prompt on your screen indicating the successful installation of the controller.
- If your computer doesn’t automatically install the drivers, you may need to visit the Logitech website and download the latest drivers specifically for the Logitech Dual Action Controller. Install them according to the instructions provided.
Once the drivers are installed, you’re ready to configure the settings for your Logitech Dual Action Controller.
Note: If you’re using a wireless version of the Logitech Dual Action Controller, you’ll need to follow the manufacturer’s instructions for connecting it to your computer via Bluetooth or a wireless receiver.
Now that the physical setup is complete, it’s time to move on to the controller settings.
Keep in mind that some games may have their own controller settings within the game’s options menu. However, for games that do not have built-in support for the Logitech Dual Action Controller, you can use Logitech’s software called “Logitech Profiler” to map controller buttons to keyboard inputs.
In the next section, we will discuss how to connect and configure your Logitech Dual Action Controller on different operating systems, including Windows and Mac.
Connecting the Controller to your computer
Once you have completed the physical setup of the Logitech Dual Action Controller, it’s time to connect it to your computer. Here are the steps to follow:
- Make sure your computer is turned on and running.
- If you haven’t done so already, plug the USB cable into the controller and the other end into an available USB port on your computer.
- Wait for your computer to recognize the controller. This may take a few moments, but you should see a notification or prompt on your screen indicating that the controller has been detected.
- If the controller is not detected automatically, you may need to install or update the drivers. Visit the Logitech website and download the appropriate drivers for the Logitech Dual Action Controller. Follow the installation instructions provided.
Once the controller is connected and recognized by your computer, you can proceed to configure its settings and customize the button mappings.
Note: If you are using a wireless version of the Logitech Dual Action Controller, you will need to follow the manufacturer’s instructions to connect it to your computer via Bluetooth or a wireless receiver.
Now that your controller is connected, it’s time to configure its settings.
In the next section, we will guide you through the process of configuring the Logitech Dual Action Controller settings to optimize your gaming experience.
Configuring the Controller settings
Once you have connected your Logitech Dual Action Controller to your computer, it’s important to configure its settings to ensure optimal performance. Here’s how you can do it:
- Launch the Logitech Profiler software on your computer. If you haven’t installed it, you can download it from the Logitech website.
- In the Logitech Profiler, you will see a list of detected controllers. Select your Logitech Dual Action Controller from the list.
- Once you have selected your controller, you can customize the settings according to your preference. This includes adjusting button mappings, sensitivity, and dead zones.
- To remap the buttons, simply click on the button you want to change and assign a new function to it. You can choose from a variety of options, such as keyboard inputs or mouse functions.
- If you prefer to have different button configurations for different games, you can create profiles within the Logitech Profiler and assign them to specific games.
- Additionally, you can adjust the sensitivity and dead zones of the controller to suit your playing style. Sensitivity determines how responsive the controller is to your input, while dead zones control the minimum movement required for the controller to register an action.
- Once you have made all the necessary adjustments, click on the “Apply” or “Save” button to save your settings.
By customizing the controller settings, you can tailor the Logitech Dual Action Controller to your gaming preferences, allowing for a personalized and comfortable gaming experience.
Now that you have configured your controller, it’s time to calibrate it to ensure precise and accurate input.
In the next section, we will guide you through the calibration process for the Logitech Dual Action Controller.
Calibrating the Controller
Calibrating your Logitech Dual Action Controller is an important step to ensure accurate and responsive gameplay. Calibration helps the controller properly interpret your inputs and eliminates any potential inaccuracies. Follow these steps to calibrate your controller:
- Go to your computer’s Control Panel and search for “Game Controllers” or “Joystick.”
- Click on the “Properties” or “Settings” button next to the Logitech Dual Action Controller.
- A new window will open with various tabs. Look for a tab labeled “Calibrate” or “Test.”
- Click on the “Calibrate” or “Test” tab to start the calibration process.
- Follow the on-screen instructions to perform the calibration. This typically involves moving the analog sticks and pressing buttons as prompted.
- During the calibration, make sure to move the analog sticks to their fullest extent and re-center them when instructed. This ensures that the controller recognizes the full range of motion.
- Once the calibration is complete, you can exit the calibration utility and close the Control Panel window.
Calibrating your Logitech Dual Action Controller helps eliminate any drift or misalignment issues, ensuring that your inputs are accurately translated into in-game actions. It is recommended to perform this calibration process periodically or if you notice any inconsistencies in your controller’s responsiveness.
Now that your controller is calibrated, it’s time to test it to ensure everything is functioning correctly.
In the next section, we will guide you through the process of testing the Logitech Dual Action Controller.
Testing the Controller
Once you have connected and configured your Logitech Dual Action Controller, it’s important to test it to ensure that all buttons and functions are working properly. Testing the controller will help you identify any issues and make any necessary adjustments. Follow these steps to test your controller:
- Launch a game that is compatible with the Logitech Dual Action Controller.
- Enter the game’s settings or options menu and look for a section related to controller settings.
- Within the controller settings, you should be able to see a list of recognized controllers. Make sure the Logitech Dual Action Controller is selected.
- Once the controller is selected, you can proceed to test each button and control. Press each button and move the analog sticks to ensure that they are being registered correctly in the game.
- If any button or control is not responding as expected, double-check the button mappings in the Logitech Profiler software to ensure they are correctly assigned.
- If the controller is still not functioning properly, you may need to recalibrate the controller or update the drivers. Refer back to the previous sections for instructions.
By testing your Logitech Dual Action Controller within a game, you can verify its functionality and make any necessary adjustments or troubleshooting. This ensures a smooth and enjoyable gaming experience without any glitches or frustrations caused by a faulty controller.
If you encounter any issues during the testing process or if the controller is not functioning as expected, proceed to the next section for troubleshooting tips.
Troubleshooting common issues with the Controller
While the Logitech Dual Action Controller is a high-quality gaming peripheral, it is not exempt from occasional issues. If you encounter any problems during the setup or usage of your controller, try the following troubleshooting steps:
- Ensure that the controller is properly connected to your computer. Check that the USB cable is securely plugged into both the controller and the USB port on your computer.
- Verify that you have installed the correct drivers for the Logitech Dual Action Controller. Visit the Logitech website to download and install the latest drivers specifically designed for your operating system.
- If the controller is wireless, make sure the batteries are properly inserted and have sufficient charge. If using a wireless receiver, ensure that it is connected and recognized by your computer.
- In the Logitech Profiler software, check the button mappings and ensure that they are correctly assigned. If the buttons are not responding as expected, remap them or reset them to default settings.
- Try calibrating the controller again to eliminate any calibration-related issues. Follow the calibration instructions outlined in the earlier section of this guide.
- If the controller is still not functioning properly, try connecting it to a different USB port on your computer. Sometimes, certain USB ports may not provide enough power or have compatibility issues.
- If none of the above steps solve the issue, try connecting the controller to a different computer. This will help determine if the problem lies with the controller itself or with your computer’s settings.
- Lastly, if none of the troubleshooting steps resolve the issue, consider contacting Logitech customer support for further assistance. They may be able to offer additional guidance or arrange for a repair or replacement if necessary.
Remember, troubleshooting can vary depending on the specific issue you’re experiencing. It’s always essential to carefully follow any provided instructions or contact customer support for more in-depth assistance.
By following these troubleshooting steps, you can overcome common issues and ensure a smooth gaming experience with your Logitech Dual Action Controller.
Conclusion
Congratulations! You have successfully learned how to set up, connect, configure, calibrate, test, and troubleshoot the Logitech Dual Action Controller for your gaming needs. With this controller, you can enjoy a more immersive and comfortable gaming experience on your PC.
Throughout this guide, we covered the step-by-step process of setting up the controller, connecting it to your computer, configuring its settings, calibrating it for precise input, testing its functionality, and troubleshooting common issues that may arise.
Remember to regularly check for driver updates from the Logitech website to ensure your controller is always up to date and compatible with the latest games and software. Additionally, take advantage of the customization options available through the Logitech Profiler software to tailor your controller settings to your liking.
Should you encounter any difficulties or need further assistance with your Logitech Dual Action Controller, always refer to the official Logitech support resources or reach out to their customer support for expert guidance.
Now, armed with your Logitech Dual Action Controller and the knowledge gained from this guide, you can immerse yourself in your favorite games with precise control and an enhanced gaming experience. So, go ahead, grab your controller, and embark on countless exciting gaming adventures!