Introduction
Welcome to the world of streaming entertainment! If you have a projector and a Firestick, you can enjoy all your favorite movies, TV shows, and more on the big screen right from the comfort of your own home. The combination of a Firestick and a projector opens up a whole new realm of cinematic experiences, transforming your living room into a home theater.
Firestick, a popular streaming device from Amazon, allows you to access a wide range of streaming platforms and apps, including Netflix, Amazon Prime Video, Hulu, and more. By connecting your Firestick to a projector, you can project the content onto a larger screen, replicating the immersive movie theater experience.
In this guide, we will walk you through the step-by-step process of setting up and using your Firestick with a projector. Whether you’re a beginner or a tech-savvy individual, this guide will provide you with all the information you need to make the most of your Firestick on the big screen.
Before we dive into the details, it’s important to note that the specific steps may vary depending on the make and model of your projector and Firestick. Make sure to consult the user manuals for both devices for any specific instructions or troubleshooting tips. Now, let’s get started!
Setting Up Your Firestick
Before you can begin using your Firestick with a projector, you’ll need to set up the device. Follow these simple steps to get started:
- Connect the power adapter to your Firestick, and plug it into an available power outlet.
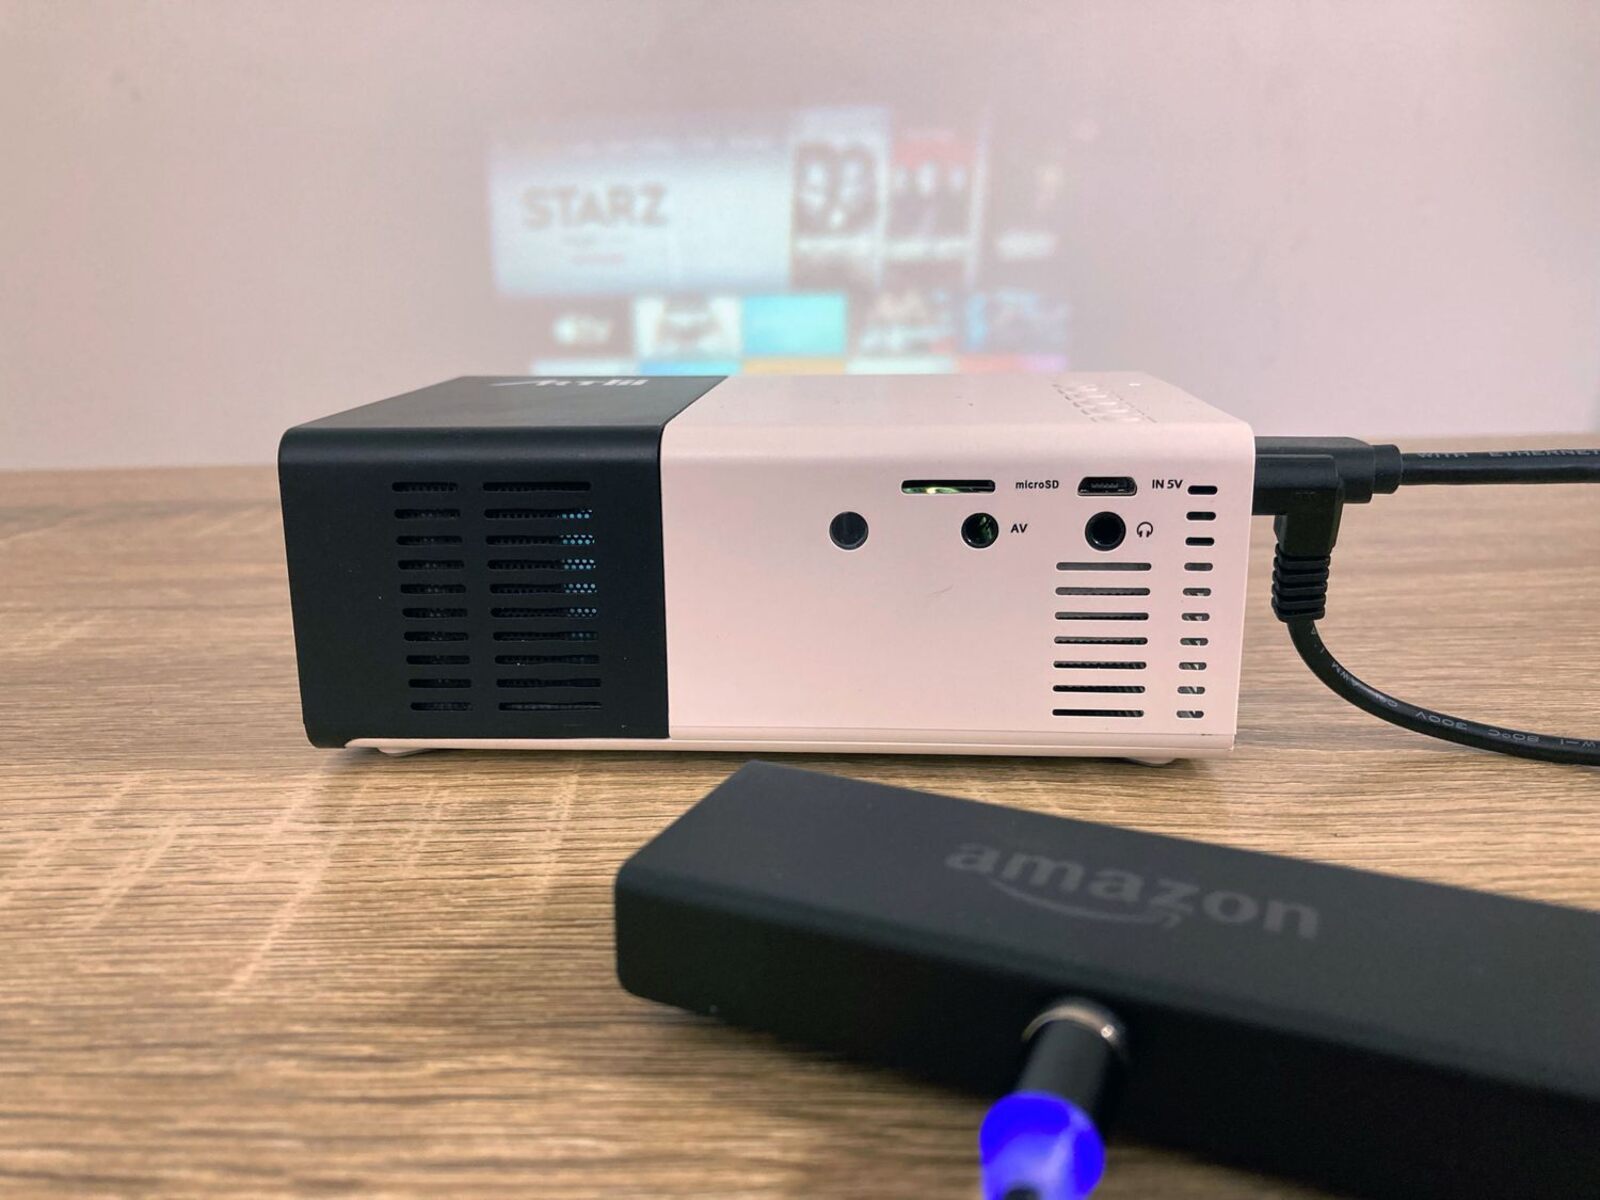
- Plug the Firestick into an HDMI port on your projector. Make sure to take note of which HDMI port you’re using, as you’ll need to switch your projector’s input accordingly.
- Power on your projector and switch the input to the HDMI port where your Firestick is connected.
Once your Firestick and projector are properly connected, you’ll need to complete the initial setup process:
- Turn on your TV and select the appropriate HDMI input to which your Firestick is connected.
- Follow the on-screen instructions to connect your Firestick to your home Wi-Fi network.
- Sign in to your Amazon account or create a new one if you don’t already have an account.
- Once signed in, you’ll be prompted to set up parental controls and other preferences. Configure these settings according to your preference.
- After completing the setup process, your Firestick is ready to use with your projector.
It’s important to note that if you’re using a Firestick 4K or Fire TV Cube, you may need to connect an additional power adapter to the device itself, as these models require more power than can be delivered solely through the HDMI connection.
Now that your Firestick is set up, let’s move on to the next steps of connecting it to your projector and adjusting the display settings.
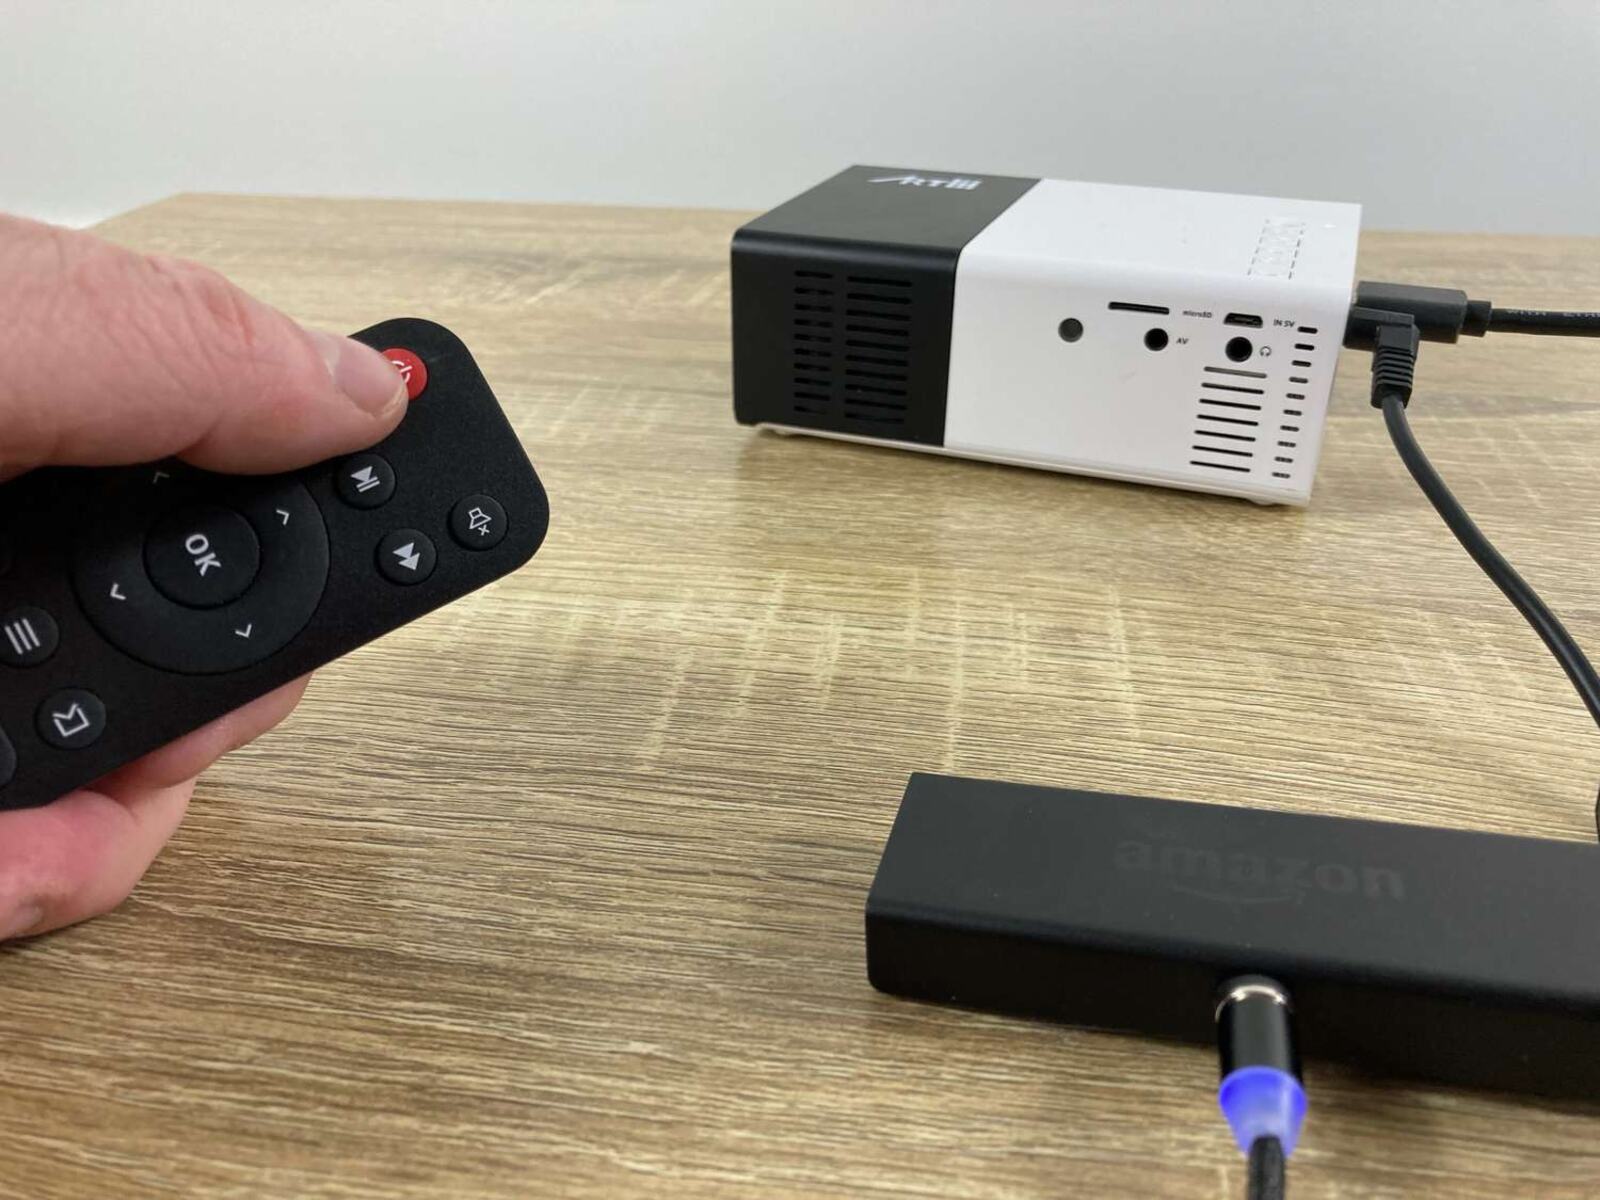
Connecting Your Firestick to the Projector
Now that your Firestick is set up, let’s move on to connecting it to your projector. Follow these steps to ensure a seamless connection:
- Make sure your projector is powered on.
- Plug the Firestick into an available HDMI port on your projector.
- Switch your projector’s input to the HDMI port where your Firestick is connected.
Once your Firestick is connected to your projector, you should see the Firestick’s loading screen on your projection screen or wall. If you don’t see any display, double-check the HDMI connection and the input settings on your projector.
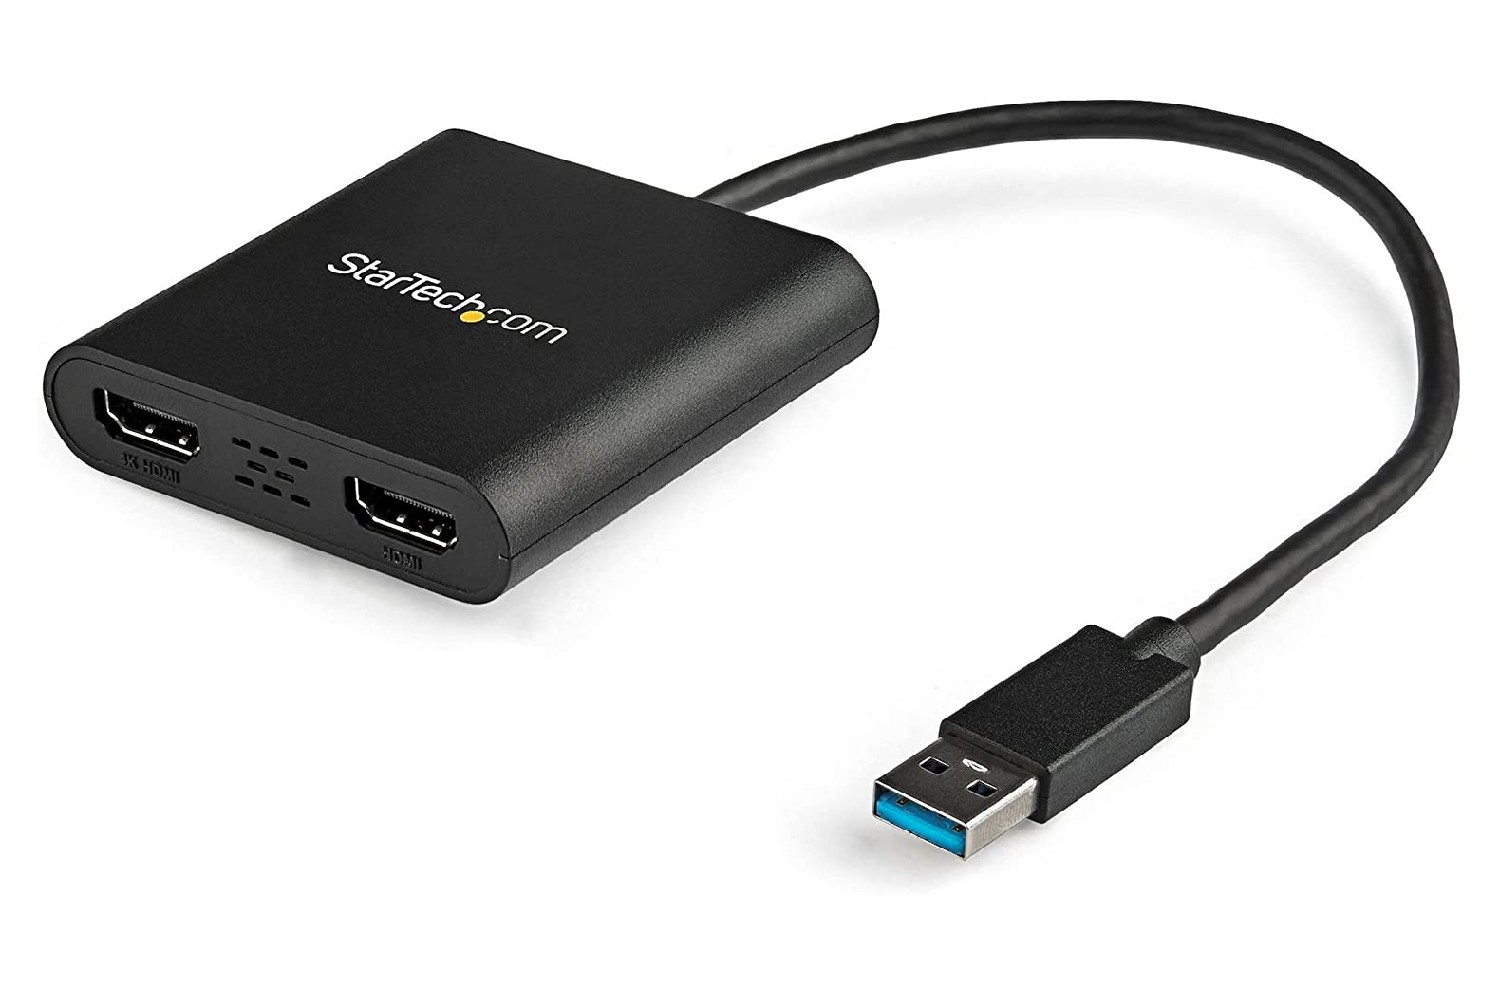
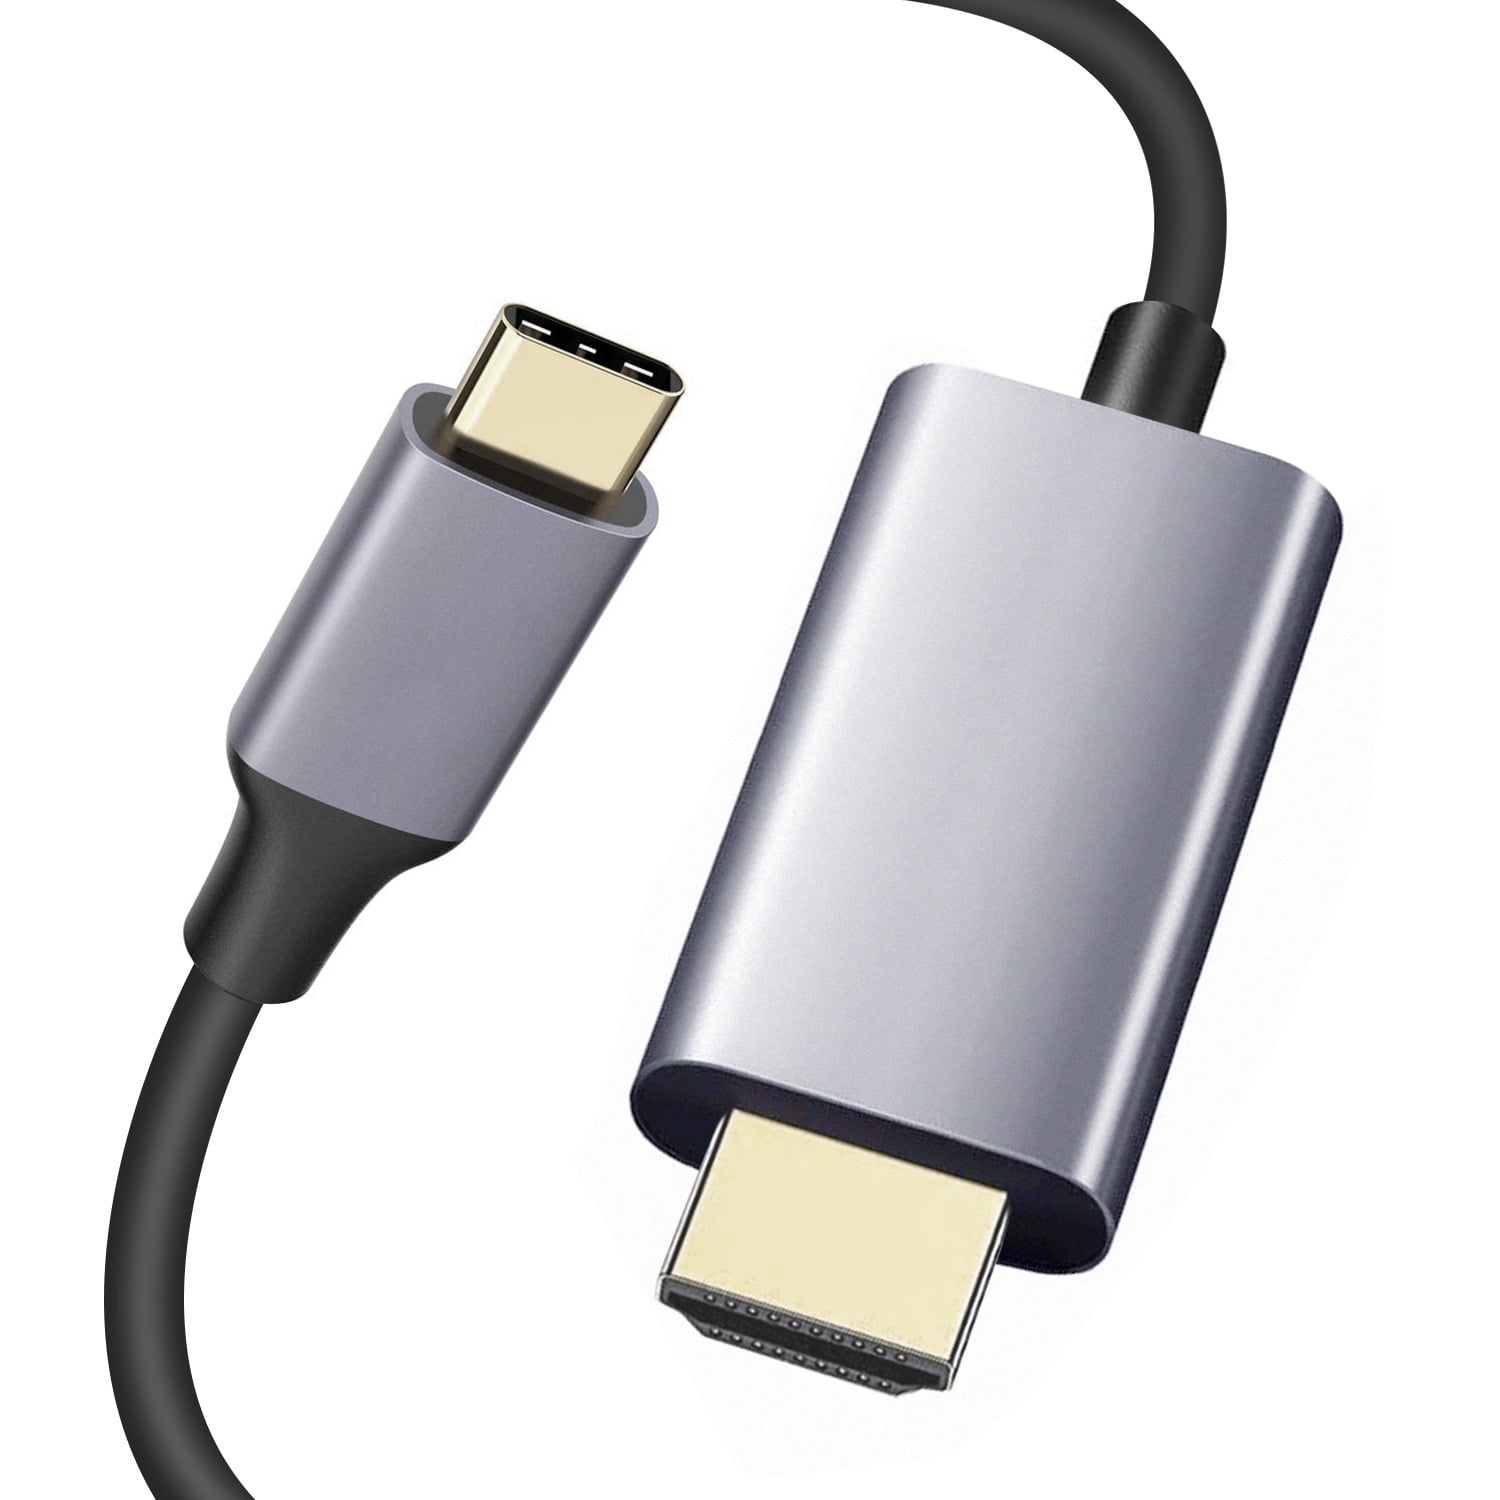
If you’re using an older projector that doesn’t have an HDMI port, don’t worry. You can use an HDMI to VGA adapter to connect your Firestick to the VGA input of your projector. Simply plug the HDMI end of the adapter into your Firestick and the VGA end into the VGA port on your projector. Then, switch the input on your projector to VGA.
In addition, make sure that your projector supports the resolution of your Firestick to ensure optimal display quality. Most projectors support the standard 1080p resolution, but if you have a Firestick 4K, you’ll need a projector that supports 4K resolution.
Now that your Firestick is successfully connected to your projector, let’s move on to adjusting the display settings to optimize your viewing experience.
Adjusting the Firestick Display Settings
After connecting your Firestick to the projector, it’s important to adjust the display settings to ensure the best possible viewing experience. Follow these steps to optimize the display settings on your Firestick:
- Go to the home screen of your Firestick by pressing the home button on your Firestick remote.
- Select “Settings” from the top menu.
- Scroll to the right and select “Display & Sounds.”
- Under the “Display” section, select “Display Resolution.”
- Choose the appropriate resolution based on the capabilities of your projector. For most projectors, 1080p will be the optimal resolution, but if you have a 4K projector, select the 4K resolution option.
- Confirm the new resolution when prompted.
In addition to adjusting the resolution, you may also want to consider adjusting other display settings, such as screen calibration and aspect ratio, to ensure that the content fits the screen properly. These settings can be found in the “Display & Sounds” section of the Firestick settings.
It’s worth noting that some projectors may have their own built-in settings that you can adjust to further enhance the display quality. Consult your projector’s user manual to explore these additional options.
Now that you’ve adjusted the display settings on your Firestick, you’re ready to start navigating and using it with your projector. Let’s move on to the next section to learn how to make the most of your Firestick on the big screen.
Navigating and Using Firestick with the Projector
Now that your Firestick is connected to your projector and the display settings are optimized, it’s time to start navigating and using the Firestick on the big screen. Here are some key tips and tricks:
1. Using the Firestick Remote: The Firestick comes with a compact remote that allows you to navigate through the menus and control playback. Use the directional buttons to move around, the select button to make a selection, and the playback controls to pause, play, fast-forward, and rewind.
2. Installing and Launching Apps: The Firestick gives you access to a variety of streaming apps. From the home screen, select the “Apps” tab to browse and install your favorite apps. Once installed, you can launch them directly from the home screen or the apps tab.
3. Searching for Content: To search for specific movies, TV shows, or apps, use the search feature on the home screen. Simply scroll to the magnifying glass icon, enter your search term using the on-screen keyboard, and select the desired result.
4. Using Alexa Voice Remote (if available): If your Firestick comes with an Alexa Voice Remote, you can use voice commands to control your device. Simply press the microphone button on the remote and speak your command or request, such as “Play Stranger Things on Netflix.”
5. Adjusting Volume and Display Settings: If your projector doesn’t have built-in speakers, you can connect external speakers to your Firestick for better audio quality. Use the volume buttons on the Firestick remote to adjust the volume. You can also use the display settings we discussed earlier to fine-tune the visual experience.
6. Customizing Your Experience: The Firestick offers various customization options to personalize your viewing experience. From the Firestick settings, you can adjust language preferences, parental controls, screen savers, and more. Explore these options to tailor the Firestick to your preferences.
With these tips in mind, you’re now equipped to navigate and use your Firestick with your projector. Sit back, relax, and enjoy your favorite movies, TV shows, and more on the big screen from the comfort of your own home.
Troubleshooting Common Issues
While using your Firestick with a projector can provide an incredible viewing experience, you may encounter some common issues along the way. Here are a few troubleshooting tips to help you overcome these challenges:
1. No Signal: If you’re not getting any signal on your projector, double-check the HDMI connection between your Firestick and the projector. Ensure that the HDMI cable is securely plugged in. You may also want to try using a different HDMI port on your projector and switching the input accordingly.
2. No Sound: If you have connected external speakers to your Firestick and there is no sound, make sure the volume on your Firestick and your speakers is turned up. Verify that the audio cables are properly connected, and if you’re using an audio receiver, ensure that it is set to the correct input source.
3. Display Issues: If the projected image doesn’t fit correctly on the screen or appears distorted, check the aspect ratio settings on your projector and adjust them accordingly. Also, ensure that the resolution settings on your Firestick match the capabilities of your projector.
4. Wi-Fi Connection Problems: If you’re experiencing issues with your Firestick connecting to your Wi-Fi network, try restarting both your router and the Firestick. Make sure your Wi-Fi network is functioning properly and that you’re within range of the router. If the problem persists, you may need to perform a factory reset on your Firestick and set it up again.
5. Remote Connectivity: If you’re having difficulties with the Firestick remote not responding or connecting, replace the batteries and try again. If that doesn’t work, unplug the Firestick and plug it back in to reset the remote. You can also try pairing the remote again by holding down the home button for 10 seconds.
If you’re still experiencing issues after trying these troubleshooting tips, consult the user manuals for both your Firestick and projector for further guidance. Additionally, you can visit the Amazon support website or reach out to customer support for assistance.
Remember, patience and persistence are key when troubleshooting. With a little troubleshooting know-how, you can quickly overcome any common issues and continue enjoying your Firestick and projector setup.
Conclusion
Using a Firestick with a projector is a fantastic way to elevate your home entertainment experience. With simple setup steps, you can enjoy all your favorite streaming content on a big screen in the comfort of your own home. By connecting your Firestick to a projector, you can replicate the immersive feel of a movie theater right in your living room.
In this guide, we covered the necessary steps to set up your Firestick with a projector, including connecting the devices, adjusting display settings, and troubleshooting common issues. By following these steps, you can ensure a seamless and enjoyable viewing experience.
Remember to explore the various navigation options available on your Firestick remote, such as voice commands with an Alexa Voice Remote, to enhance your user experience. Additionally, don’t forget to customize your settings to fit your preferences and optimize the audio and video quality for the projector setup.
Should you encounter any difficulties or have questions that are specific to your devices, always refer to the user manuals or consult customer support for assistance. Troubleshooting common issues, such as signal loss, sound problems, and Wi-Fi connectivity, can often be resolved with simple troubleshooting steps.
With your Firestick and projector combination, you can create your personalized home theater experience, enjoying your favorite movies, TV shows, and streaming content on the big screen. So grab some popcorn, dim the lights, and prepare to be immersed in a captivating cinematic experience, all from the convenience of your own home.