Introduction
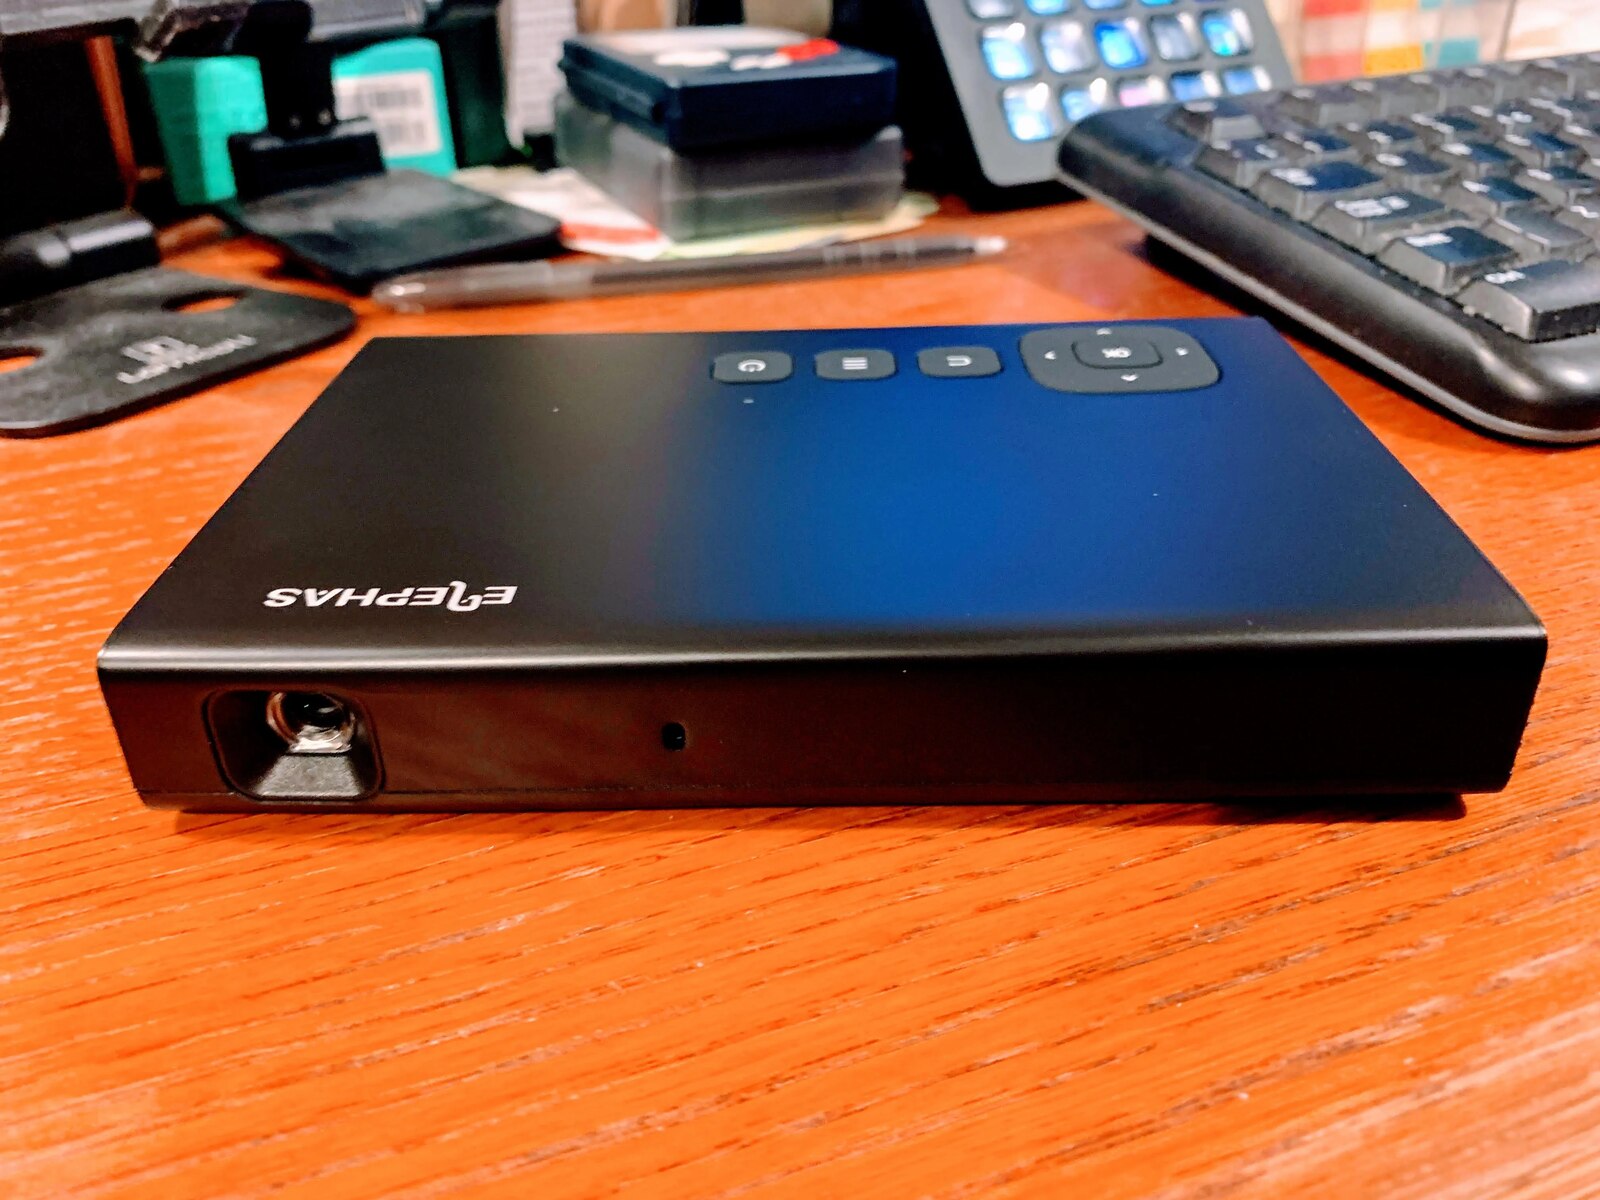
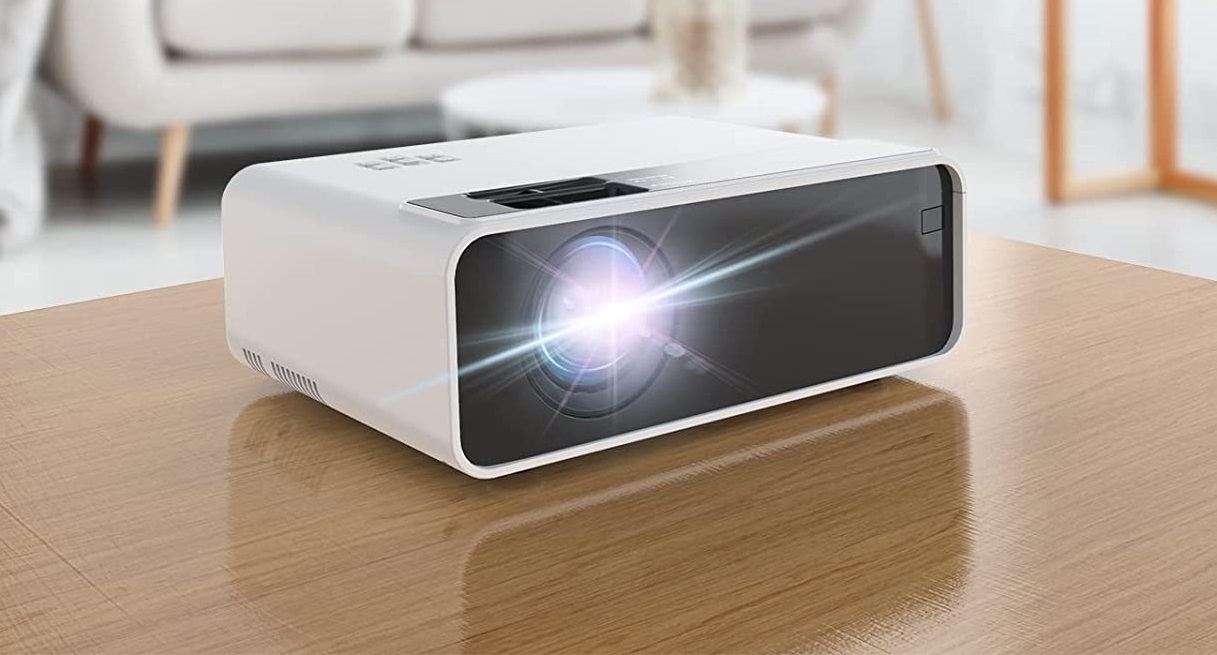
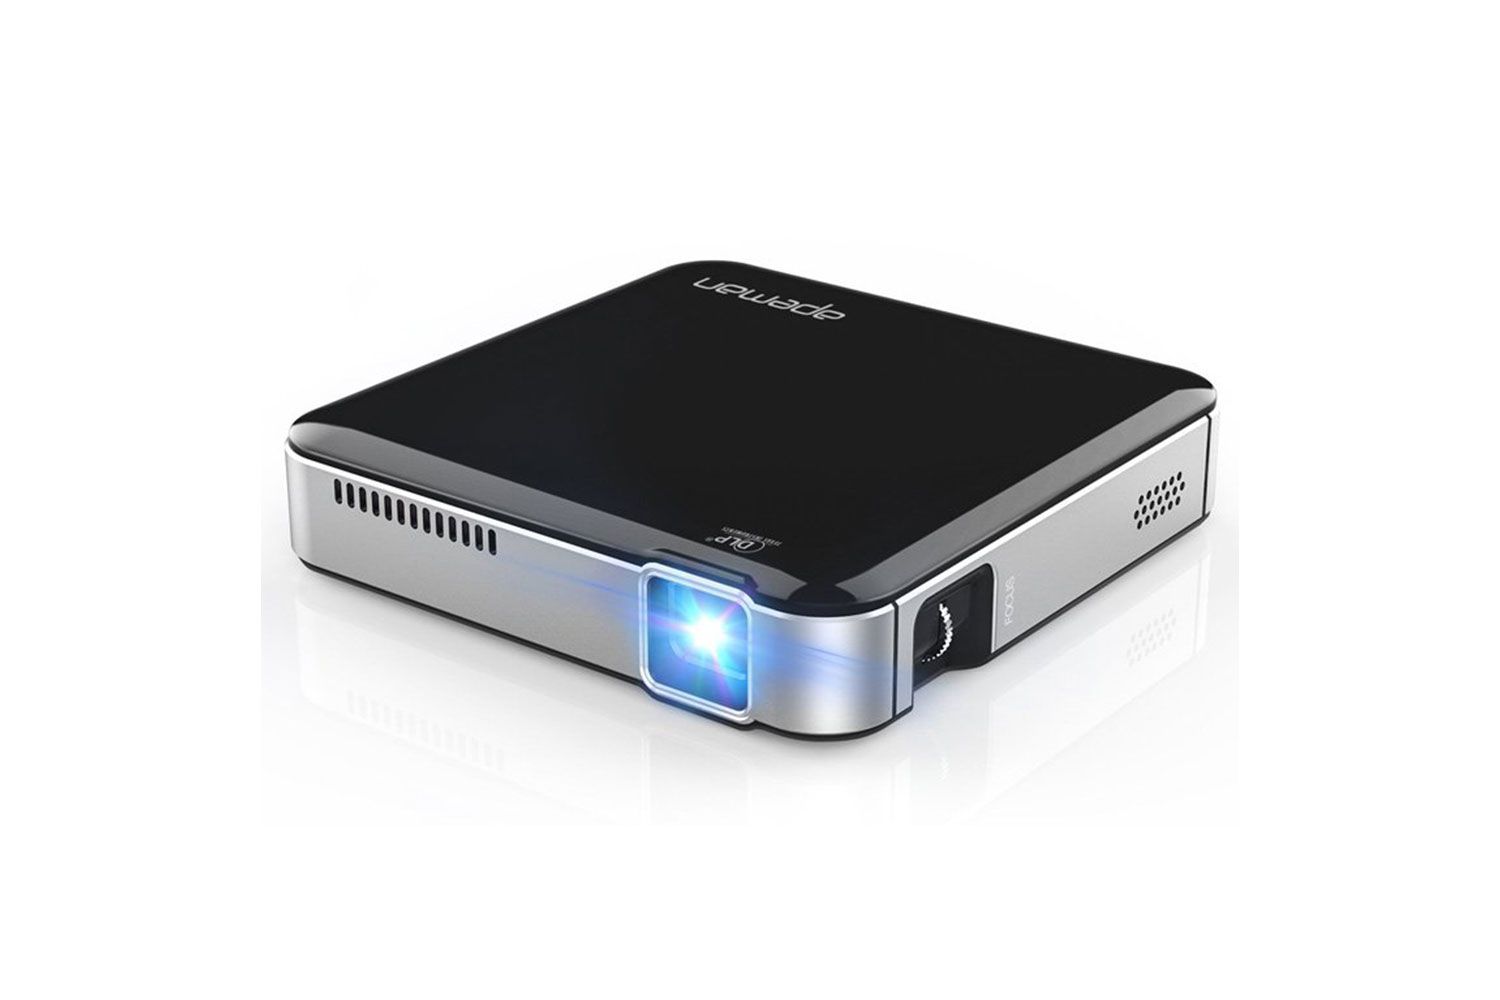
The Elephas Mini Projector is a versatile and compact device that allows you to enjoy your favorite movies, TV shows, and presentations on a big screen in the comfort of your own home or office. Whether you want to upgrade your movie night experience, showcase a presentation to clients, or simply enjoy some entertainment with friends and family, the Elephas Mini Projector is the perfect solution.
With its sleek design and user-friendly interface, this mini projector is designed to provide you with an immersive viewing experience. Its advanced features and portability make it a convenient choice for both personal and professional use. In this guide, we will walk you through everything you need to know to get started with the Elephas Mini Projector and make the most out of its functionality.
From connecting your devices to adjusting the image size and focus, we will cover all the steps necessary to ensure optimal performance. Additionally, we will guide you through setting up audio, playing content, and using the remote control effectively. By the end of this guide, you will have all the knowledge and confidence needed to enjoy a seamless and remarkable viewing experience with the Elephas Mini Projector.
Get ready to transform your entertainment and presentation capabilities with this powerful yet compact device. So, let’s dive in and explore the world of possibilities that the Elephas Mini Projector has to offer!
Getting Started
Before you begin using the Elephas Mini Projector, it’s essential to familiarize yourself with its basic setup and functionality. This section will guide you through the initial steps to ensure a smooth start.
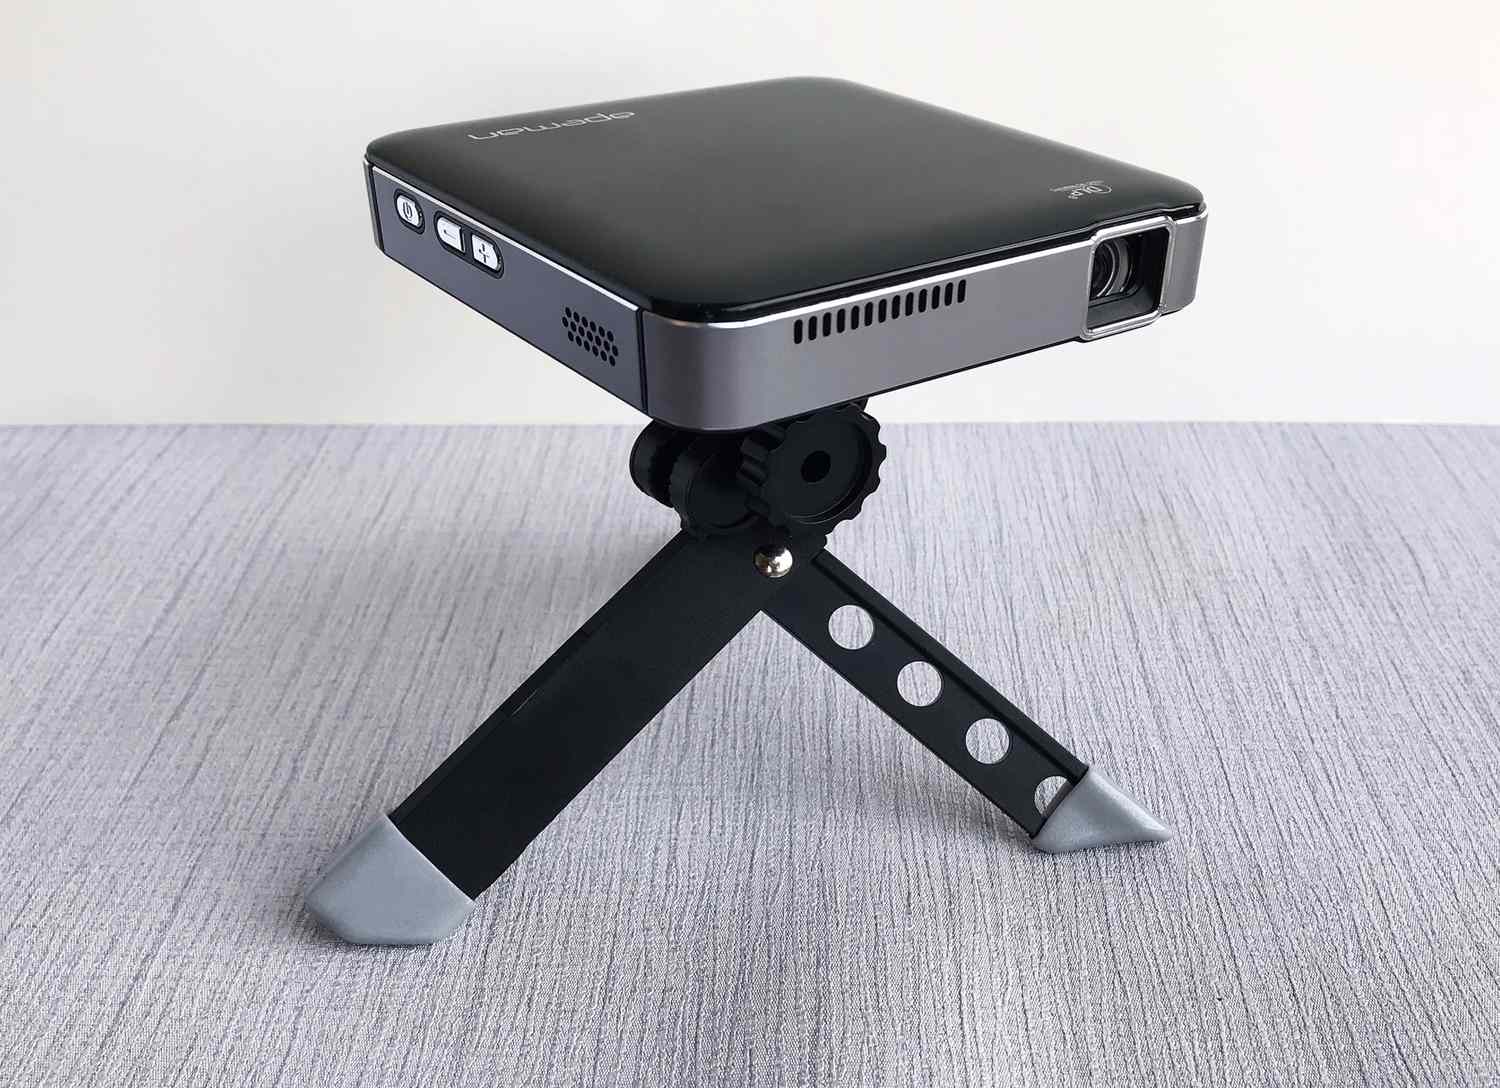
The first step is to find a suitable location for your projector. Choose a flat surface or mount it on a tripod for stability. Make sure the area is dark or dimly lit for the best viewing experience.
Next, connect the power cord to the projector and plug it into a power outlet. The projector will power on automatically once it’s connected. A power indicator light will indicate that it’s functioning correctly.
To control the projector, you can either use the buttons on the device or the included remote control. Familiarize yourself with the control options, including power, menu navigation, and volume adjustment.
Now, let’s move on to the connectivity options. The Elephas Mini Projector offers a variety of input ports, including HDMI, USB, VGA, AV, and SD card. Depending on your device, choose the appropriate cable or adapter to connect it to the projector.
Connect the HDMI cable to your laptop, game console, or other compatible device. If using other ports, ensure you have the correct adapter or cable. Once connected, power on your device and select the corresponding input source on the projector.
Lastly, adjust the projection distance and angle. The Elephas Mini Projector features a focus wheel and keystone correction function to optimize image quality. Experiment with the focus and keystone correction until the projected image appears clear and well-aligned.
Now that you’ve completed the initial setup, you’re ready to explore the full potential of the Elephas Mini Projector. In the following sections, we’ll delve into specific features and functions, so you can make the most out of your viewing experience.
Connecting Devices
The Elephas Mini Projector offers a variety of options for connecting external devices such as laptops, smartphones, gaming consoles, and more. In this section, we will guide you through the process of connecting your devices to the projector for an immersive viewing experience.
If you want to connect a laptop or computer to the projector, the most common method is through an HDMI cable. Simply connect one end of the HDMI cable to your laptop’s HDMI port and the other end to the HDMI input port on the projector. Once connected, switch the projector to the HDMI input source to view the content from your laptop on the big screen.
If your device doesn’t have an HDMI port, you can use other available options. For laptops or computers with a VGA port, connect one end of the VGA cable to your device and the other end to the VGA input port on the projector. Then, adjust the input source on the projector accordingly.
To connect a smartphone or tablet to the Elephas Mini Projector, you may need an adapter depending on your device’s port. For iPhones and iPads, you can use a Lightning to HDMI or Lightning to VGA adapter to connect to the projector. For Android devices, an MHL (Mobile High-Definition Link) adapter or USB-C to HDMI adapter may be required.
Once you have the appropriate adapter, simply connect one end to your device and the other end to the corresponding input port on the projector. Make sure to select the correct input source on the projector to display the content from your smartphone or tablet.
In addition to wired connections, the Elephas Mini Projector also supports wireless connectivity. You can connect your device to the projector using Wi-Fi or Bluetooth. To do this, make sure both the projector and your device are connected to the same Wi-Fi network. Refer to the projector’s user manual or settings menu to find the wireless connection option and follow the instructions to establish the connection.
Once your devices are connected to the Elephas Mini Projector, you can enjoy a wide range of multimedia content on a large screen. Whether you’re streaming movies, playing games, or giving presentations, the projector provides a seamless and immersive experience.
In the next section, we will discuss how to adjust the image size and focus on the Elephas Mini Projector to optimize your viewing experience.
Adjusting Image Size and Focus
One of the key features of the Elephas Mini Projector is its ability to adjust the image size and focus according to your preferences. This section will guide you through the process of achieving the desired image size and ensuring a sharp and clear projection.
To adjust the image size, you can move the projector closer or farther away from the screen or wall. The distance between the projector and the screen directly affects the size of the projected image. If you want a larger image, move the projector further away. Conversely, if you want a smaller image, bring the projector closer to the screen.
When adjusting the distance, keep in mind the recommended projection range mentioned in the projector’s user manual. This range provides optimal image clarity and focus. Experiment with different distances until you achieve your desired image size without compromising on clarity.
Once you have set the distance, you can fine-tune the image focus using the focus wheel located on the projector. Simply rotate the focus wheel until the projected image appears sharp and clear. Take your time to adjust the focus until you are satisfied with the image quality.
Another important feature to consider is keystone correction. Keystone correction allows you to adjust the trapezoidal distortion that can occur when the projector is not placed perpendicular to the screen. The Elephas Mini Projector offers keystone correction through its menu settings. Use the remote control or onboard buttons to access the keystone correction feature and make necessary adjustments to align the image properly.
It’s important to note that while adjusting the image size and focus, make sure the projector is placed on a stable surface or mounted securely on a tripod. Any movement or vibration can affect image stability and sharpness.
By properly adjusting the image size and focus on the Elephas Mini Projector, you can enjoy a visually pleasing and immersive viewing experience. In the next section, we will discuss how to set up audio for optimal sound quality.
Setting Up Audio
Along with the stunning visuals, having high-quality audio is essential to fully immerse yourself in the content you’re watching using the Elephas Mini Projector. This section will guide you through the process of setting up audio to ensure optimal sound quality.
The Elephas Mini Projector offers multiple audio connectivity options, including built-in speakers, audio-out ports, and Bluetooth capabilities. Let’s explore each of these options:
1. Built-in speakers: The projector comes equipped with built-in speakers, allowing you to enjoy audio without any additional connections. The speakers provide decent sound quality for small to medium-sized rooms. However, for a more immersive audio experience, it’s recommended to use external speakers or a soundbar.
2. Audio-out ports: The projector features 3.5mm audio-out ports that allow you to connect external speakers or headphones. Simply plug in your speakers or headphones into the audio-out port on the projector. This option gives you more control over the audio levels and allows you to enjoy enhanced sound quality.
3. Bluetooth connectivity: The Elephas Mini Projector also offers Bluetooth connectivity, which enables you to wirelessly connect compatible Bluetooth speakers or headphones. To use this feature, ensure that your Bluetooth audio device is in pairing mode and follow the projector’s instructions to establish the Bluetooth connection.
Once you have selected your preferred audio setup, make sure to adjust the audio settings on the projector. Use the remote control or onboard buttons to access the audio settings menu and adjust the volume, treble, and bass according to your preference.
If you’re connecting external speakers, ensure that the volume levels on both the projector and external speakers are properly adjusted to avoid any distortion or imbalance in sound.
It’s worth noting that the audio quality can vary depending on the quality of your speakers or headphones. Investing in good-quality audio equipment can greatly enhance your viewing experience and provide you with theater-like sound.
With the audio properly set up, you can now enjoy a complete audio-visual experience with the Elephas Mini Projector. In the next section, we will discuss how to play content on the projector using different media sources.
Playing Content
Now that you have set up the Elephas Mini Projector and adjusted the audio settings, it’s time to dive into playing your favorite content. This section will guide you through the different media sources and how to play content on the projector.
1. USB Drive: The Elephas Mini Projector has a USB port that allows you to directly connect a USB drive. Simply plug in your USB drive with your desired media files, and the projector will automatically detect and display the available content. Use the projector’s control buttons or remote control to navigate through the files and select which one to play.
2. HDMI Input: One of the most common ways to play content on the projector is by connecting external devices such as laptops, gaming consoles, or media players through the HDMI input. Simply connect your device to the projector using an HDMI cable and switch the input source on the projector to HDMI. Your device’s screen will be mirrored onto the projector, allowing you to play content directly from the connected device.
3. SD Card: The Elephas Mini Projector also supports playing content directly from an SD card. Insert your SD card into the provided slot on the projector, and it will read the files stored on the card. Navigate through the files using the control buttons or remote control and select the content you want to play.
4. Wireless Screen Mirroring: If your device supports wireless screen mirroring, you can use this feature to mirror your device’s screen to the projector. Ensure that both the projector and your device are connected to the same Wi-Fi network. Refer to the projector’s user manual or settings menu to enable the screen mirroring feature and follow the instructions to connect your device wirelessly.
Regardless of the media source you choose, the Elephas Mini Projector provides a seamless and immersive viewing experience. Navigate through your content using the projector’s controls or the remote control, and take advantage of the various playback options such as play, pause, stop, and skip.
Additionally, the projector may support certain multimedia file formats and codecs. Refer to the user manual or product specifications to ensure compatibility with your desired content. Using supported file formats and codecs will result in smooth playback without any compatibility issues.
Now that you know how to play content on the Elephas Mini Projector, let’s move on to the next section where we’ll explore how to effectively use the remote control to enhance your user experience.
Using the Remote Control
The remote control that comes with the Elephas Mini Projector allows you to conveniently navigate through the projector’s settings and control various functions without having to directly access the device. In this section, we will explore the different buttons and features of the remote control to enhance your user experience.
The remote control typically consists of basic buttons such as power, menu navigation, volume control, and playback controls. Let’s take a closer look at these buttons and their functions:
1. Power button: Pressing the power button will turn the projector on or off. It’s a convenient way to control the device without physically accessing it.
2. Menu navigation: The menu navigation buttons, often represented by arrows, allow you to navigate through the projector’s menus and settings. You can access various options such as input sources, picture settings, audio settings, and more.
3. Volume control: The volume buttons on the remote control allow you to adjust the sound level of the audio output from the projector. Increase or decrease the volume as per your preference for an optimal audio experience.
4. Playback controls: If you’re playing content from external devices or media sources, the playback controls on the remote control let you control the playback. You can play, pause, stop, rewind, or fast forward through the content with ease.
5. Input source selection: The remote control often includes buttons to directly select the input source. This allows you to switch between different sources, such as HDMI, USB, SD card, or wireless screen mirroring, without going through the projector’s menu.
It’s important to keep in mind that the remote control requires line-of-sight to the projector for optimal functionality. Ensure that there are no obstructions between the remote control and the projector’s infrared receiver.
If you misplace or damage the remote control, don’t worry. Most of the functions available on the remote can also be accessed through the projector’s onboard buttons. Refer to the user manual for instructions on using the onboard controls as an alternative.
With the remote control in your hands, you can easily navigate through the projector’s settings and control various functions without any hassle. It adds convenience and flexibility to your viewing experience with the Elephas Mini Projector.
In the next section, we will discuss some common troubleshooting tips to help you resolve any issues you may encounter while using the projector.
Troubleshooting Common Issues
While using the Elephas Mini Projector, you may encounter some common issues that can be easily resolved with a few troubleshooting steps. In this section, we will discuss some common issues and provide solutions to help you overcome them.
1. No image display: If you’re not seeing any image on the screen, ensure that all cables are securely connected and the input source is correctly selected. Check if the projector is powered on and the lens cap is removed. Adjust the focus and keystone correction to improve image clarity and alignment.
2. Poor image quality: If the projected image appears blurry or distorted, adjust the focus and keystone correction for optimal image quality. Ensure that the projector is positioned perpendicular to the screen or wall. If you’re using a non-flat surface, consider using a tripod or adjusting the projector’s angle to minimize distortion.
3. No sound or low audio volume: Make sure the audio cables are connected properly and the volume is turned up on both the projector and any external speakers or headphones. Check if the audio source is selected correctly and try adjusting the audio settings on the projector. If using Bluetooth speakers, ensure that they are paired correctly and within the transmission range of the projector.
4. Overheating: If the projector becomes hot during extended use, it may automatically shut down to prevent damage. Make sure the projector has proper ventilation and is not blocked by any objects. Clean the projector’s air vents regularly to remove any dust or debris that may impede airflow. Consider reducing the brightness settings or taking breaks between extended viewing sessions to prevent overheating.
5. Remote control issues: If the remote control is not functioning correctly, check if the batteries are inserted properly and have sufficient charge. Ensure there are no obstructions between the remote control and the projector’s infrared receiver. You can also try resetting the remote control or replacing the batteries to resolve any connectivity issues.
6. Connectivity issues: If you’re experiencing difficulty connecting external devices, check that the cables or adapters are securely attached and functional. Ensure that the input source on the projector is selected correctly for the device you’re trying to connect. If using wireless screen mirroring, ensure that both the projector and your device are connected to the same Wi-Fi network and follow the proper instructions for establishing the connection.
If the above troubleshooting steps do not resolve your issue, refer to the projector’s user manual or contact the manufacturer’s support for further assistance. They may be able to provide specific solutions tailored to your situation.
By addressing common issues and finding solutions, you can ensure a smooth and enjoyable experience with the Elephas Mini Projector. In the final section, we’ll wrap up our guide and provide a brief summary of all the information we’ve covered.
Conclusion
The Elephas Mini Projector offers a convenient and portable solution for enjoying movies, TV shows, presentations, and more on a big screen. In this guide, we have covered the essential steps to get started with the projector, including connecting devices, adjusting image size and focus, setting up audio, playing content, and using the remote control effectively.
By following the instructions provided, you can optimize your viewing experience and make the most out of the Elephas Mini Projector. Remember to choose a suitable location, connect your devices using the available ports, adjust the image size and focus, and set up audio for optimal sound quality.
You can play content from various sources such as USB drives, HDMI inputs, SD cards, and even wirelessly through screen mirroring. The remote control allows you to easily navigate through settings and control functions without directly accessing the projector.
If you encounter any issues, refer to the troubleshooting section to resolve common problems. Remember to check connections, adjust settings, and seek assistance from the manufacturer’s support when needed.
The Elephas Mini Projector provides a versatile and immersive viewing experience. Whether you’re hosting a movie night at home, delivering a presentation in the office, or enjoying entertainment on the go, this portable projector offers convenience and flexibility.
Now that you have the knowledge and understanding to effectively use the Elephas Mini Projector, it’s time to unleash its potential and create memorable experiences with friends, family, and colleagues.
So, set up your Elephas Mini Projector, sit back, and enjoy the larger-than-life entertainment it brings to your fingertips!