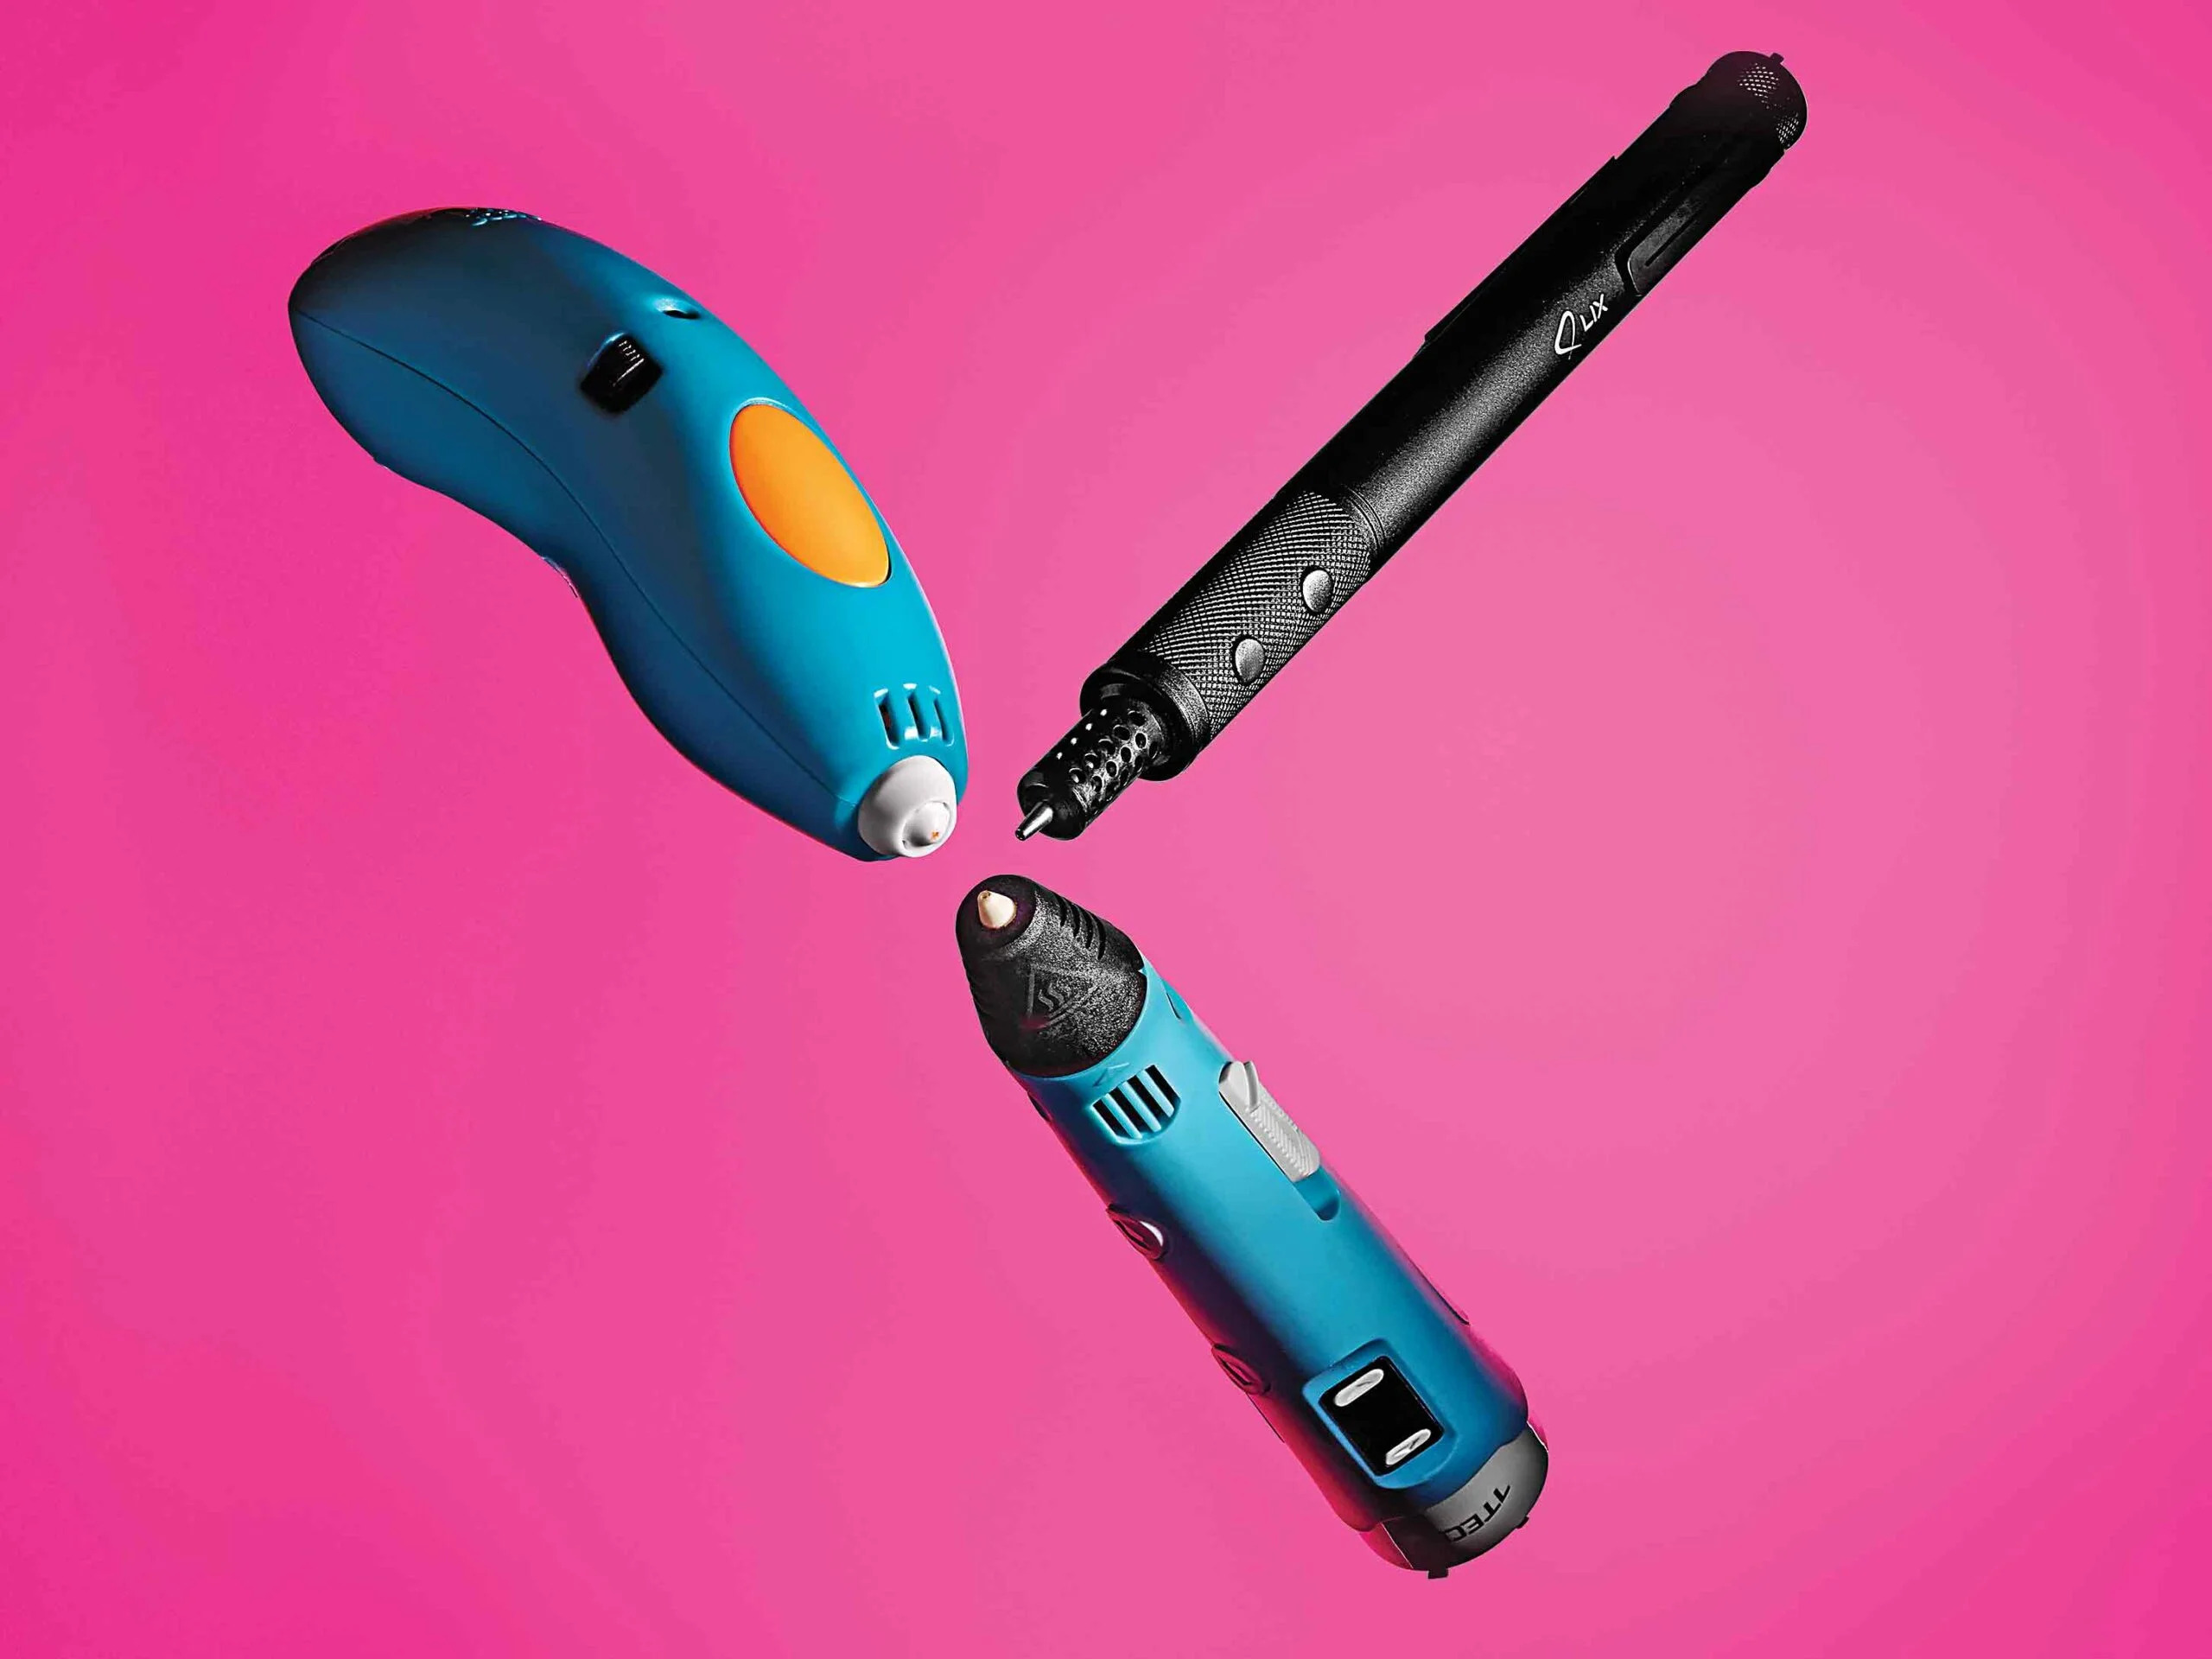
Introduction
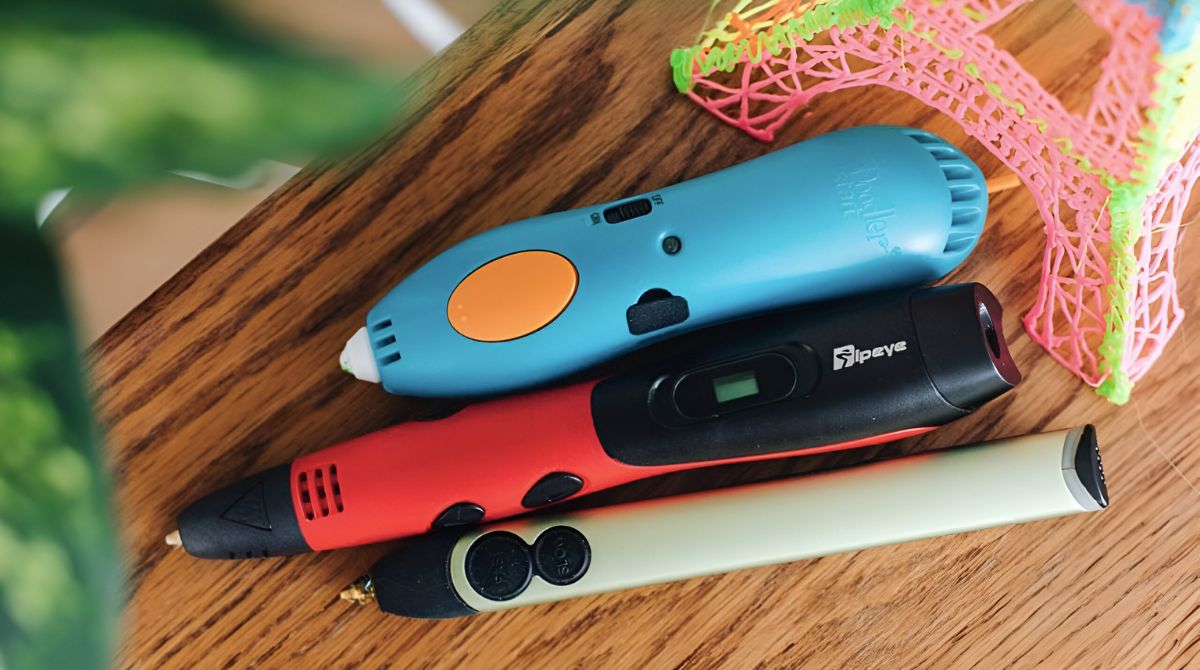
The world of 3D printing has revolutionized design and manufacturing, making it possible to create three-dimensional objects with precision and ease. While traditional 3D printers require complex software and technical skills, the introduction of 3D printing pens has opened up a whole new realm of creativity. These innovative pens allow you to draw, sketch, and create 3D objects in a more intuitive and hands-on way.
Whether you’re an artist, designer, or simply someone with a passion for DIY projects, using a 3D printing pen can be both fun and rewarding. With its ability to turn your imagination into tangible objects, the possibilities are endless. However, if you’re new to 3D printing pens, it’s important to understand the basics of how they work and how to use them properly.
In this article, we’ll guide you through the process of using a 3D printing pen, from safety precautions to troubleshooting tips. Whether you have a specific project in mind or simply want to explore the capabilities of this fascinating technology, we’re here to help you get started.
To ensure a smooth and successful experience, it is crucial to follow the instructions for your specific 3D printing pen model. While the basic concepts are similar across different pens, there may be slight variations in operation and features. Now, let’s dive in and discover the exciting world of 3D printing pens!
Safety Precautions
While using a 3D printing pen can be a thrilling experience, it’s important to prioritize safety measures to protect yourself and those around you. Here are some essential safety precautions to keep in mind:
- Read the User Manual: Before using your 3D printing pen, carefully read the user manual provided by the manufacturer. This will give you a thorough understanding of the pen’s functionalities and safety guidelines.
- Use Protective Gear: Wear protective gloves and safety glasses to shield yourself from any potential hot filament or accidental contact with the pen’s nozzle.
- Maintain a Safe Distance: Keep your hands, fingers, and other body parts a safe distance away from the heated nozzle and melting filament. This will prevent burns or injuries.
- Work in a Well-Ventilated Area: Ensure that the room you’re working in is adequately ventilated to disperse any fumes that may be emitted from the melting filament. If necessary, use a small fan or open windows to improve air circulation.
- Unplug when Not in Use: Always unplug the 3D printing pen when it’s not in use to prevent accidental activation or potential fire hazards.
- Avoid Direct Skin Contact: Direct contact with the heated nozzle can cause burns. Be cautious and avoid touching the nozzle while the pen is in operation or immediately after use.
- Keep Away from Children and Pets: 3D printing pens should be kept out of reach of children and pets, as they can be potentially hazardous if not used with proper supervision.
- Do Not Modify or Disassemble: Never attempt to modify or disassemble the 3D printing pen, as it may lead to malfunctions or electrical hazards.
- Store Properly: After use, store the pen in a safe place, away from flammable materials and out of reach of children.
By adhering to these safety precautions, you can enjoy the creative process of using a 3D printing pen while minimizing any potential risks. Now that we’ve covered the essential safety measures, let’s move on to the next section and get started with using the pen!
Getting Started
Before you begin using your 3D printing pen, it’s important to familiarize yourself with its components and ensure you have everything you need to get started. Here are the steps to help you begin:
- Prepare Your Workspace: Find a clean and well-lit area to work in. Make sure you have a stable surface to place your pen on during use.
- Gather Your Materials: Along with your 3D printing pen, you’ll need filament, which is the material used to create your 3D objects. Ensure you have enough filament of the desired color(s) and type.
- Insert the Filament: Start by inserting the filament into the pen’s filament input port. Follow the manufacturer’s instructions for your specific pen model. Securely fasten the filament to prevent it from slipping during use.
- Power On the Pen: Plug your 3D printing pen into a power source and turn it on. It may take a few moments to heat up, so refer to the manual for the required preheating time.
- Select the Temperature and Speed: Most 3D printing pens allow you to adjust the temperature and speed settings. Depending on the filament type, choose the appropriate settings to achieve the desired results. Start with lower temperatures for PLA filaments and higher temperatures for ABS filaments.
- Wait for the Pen to Reach Optimal Temperature: Allow your 3D printing pen to reach the recommended temperature before starting to use it. This ensures smooth filament flow and prevents clogging or uneven extrusion.
- Test the Pen: Once the pen is heated, test it on a piece of scrap paper or cardboard to ensure the filament is flowing properly.
With these steps, you will be ready to unleash your creativity and start using your 3D printing pen. In the next section, we’ll explore the different types of filament and help you choose the right one for your projects.
Choosing the Right Material
When it comes to using a 3D printing pen, selecting the right filament material is crucial for achieving the desired results. Different materials offer unique properties and characteristics that can impact the strength, durability, flexibility, and appearance of your creations. Here are some popular filament options to consider:
- PLA (Polylactic Acid): PLA is a biodegradable and environmentally friendly filament made from renewable resources such as corn starch or sugarcane. It is easy to use, offers vibrant colors, and has a lower melting point compared to other filaments. PLA is great for beginners and suitable for creating decorative items or prototypes.
- ABS (Acrylonitrile Butadiene Styrene): ABS is a durable and impact-resistant filament that can withstand higher temperatures. It is commonly used for functional prints, such as mechanical parts or architectural models. ABS has a higher melting point than PLA, so make sure your 3D printing pen can reach the required temperature.
- PETG (Polyethylene Terephthalate Glycol): PETG is a versatile filament that combines the best features of PLA and ABS. It offers durability, flexibility, and ease of use. PETG has excellent layer adhesion and is suitable for a wide range of applications, from simple designs to engineering projects.
- Flexible Filament: For projects that require flexibility or elasticity, flexible filaments such as TPU (Thermoplastic Polyurethane) or TPE (Thermoplastic Elastomer) are ideal. These filaments can be used to create objects like phone cases, shoe soles, or wearable accessories.
- Wood or Metal-infused Filament: If you want to give your creations a unique and realistic appearance, consider using wood or metal-infused filaments. These filaments mix PLA or ABS with wood or metal particles, resulting in prints that resemble real wood or metal.
Before purchasing filament, check the compatibility with your 3D printing pen and ensure that it is the correct diameter. Most pens support 1.75mm or 3mm filament, so make sure to choose accordingly.
Now that you have an understanding of the different filament options available, you can choose the right material that suits your project requirements. In the next section, we will learn how to load the filament into your 3D printing pen.+
Loading the Filament
Before you can start creating with your 3D printing pen, you need to load the filament into the pen. The process may vary slightly depending on the model of your pen, so it’s important to consult the user manual for specific instructions. However, here is a general guide to help you load the filament:
- Prepare the Filament: Cut the end of the filament at a slight angle to create a pointed tip. This will make it easier to insert the filament into the pen’s filament input port.
- Insert the Filament: Locate the filament input port on your 3D printing pen. It is usually located at the back or the top of the pen. Gently insert the filament into the port until you feel resistance. Push it further until the filament is securely in place.
- Feed the Filament: Depending on your pen, there may be a feeding mechanism or a button to activate the filament feed. Follow the instructions for your specific model to feed the filament into the pen’s internal mechanism.
- Wait for Filament to Flow: Once the filament is loaded, your pen will need a few moments to heat up and melt the filament. This may vary depending on the pen, so refer to the manual for the recommended waiting time.
- Test the Flow: To ensure the filament is flowing properly, you can test it on a piece of scrap paper or cardboard. Start by gently applying pressure to the pen’s extrusion button or trigger, and observe if the filament begins to flow smoothly.
During the loading process, it’s important to avoid forcing the filament or inserting it too far into the pen. This could lead to clogging or misalignment. If you encounter any difficulties, consult your user manual or seek guidance from the manufacturer.
Now that you have successfully loaded the filament into your 3D printing pen, you’re one step closer to bringing your creations to life. In the next section, we’ll explore the controls of the pen and how to use them effectively.
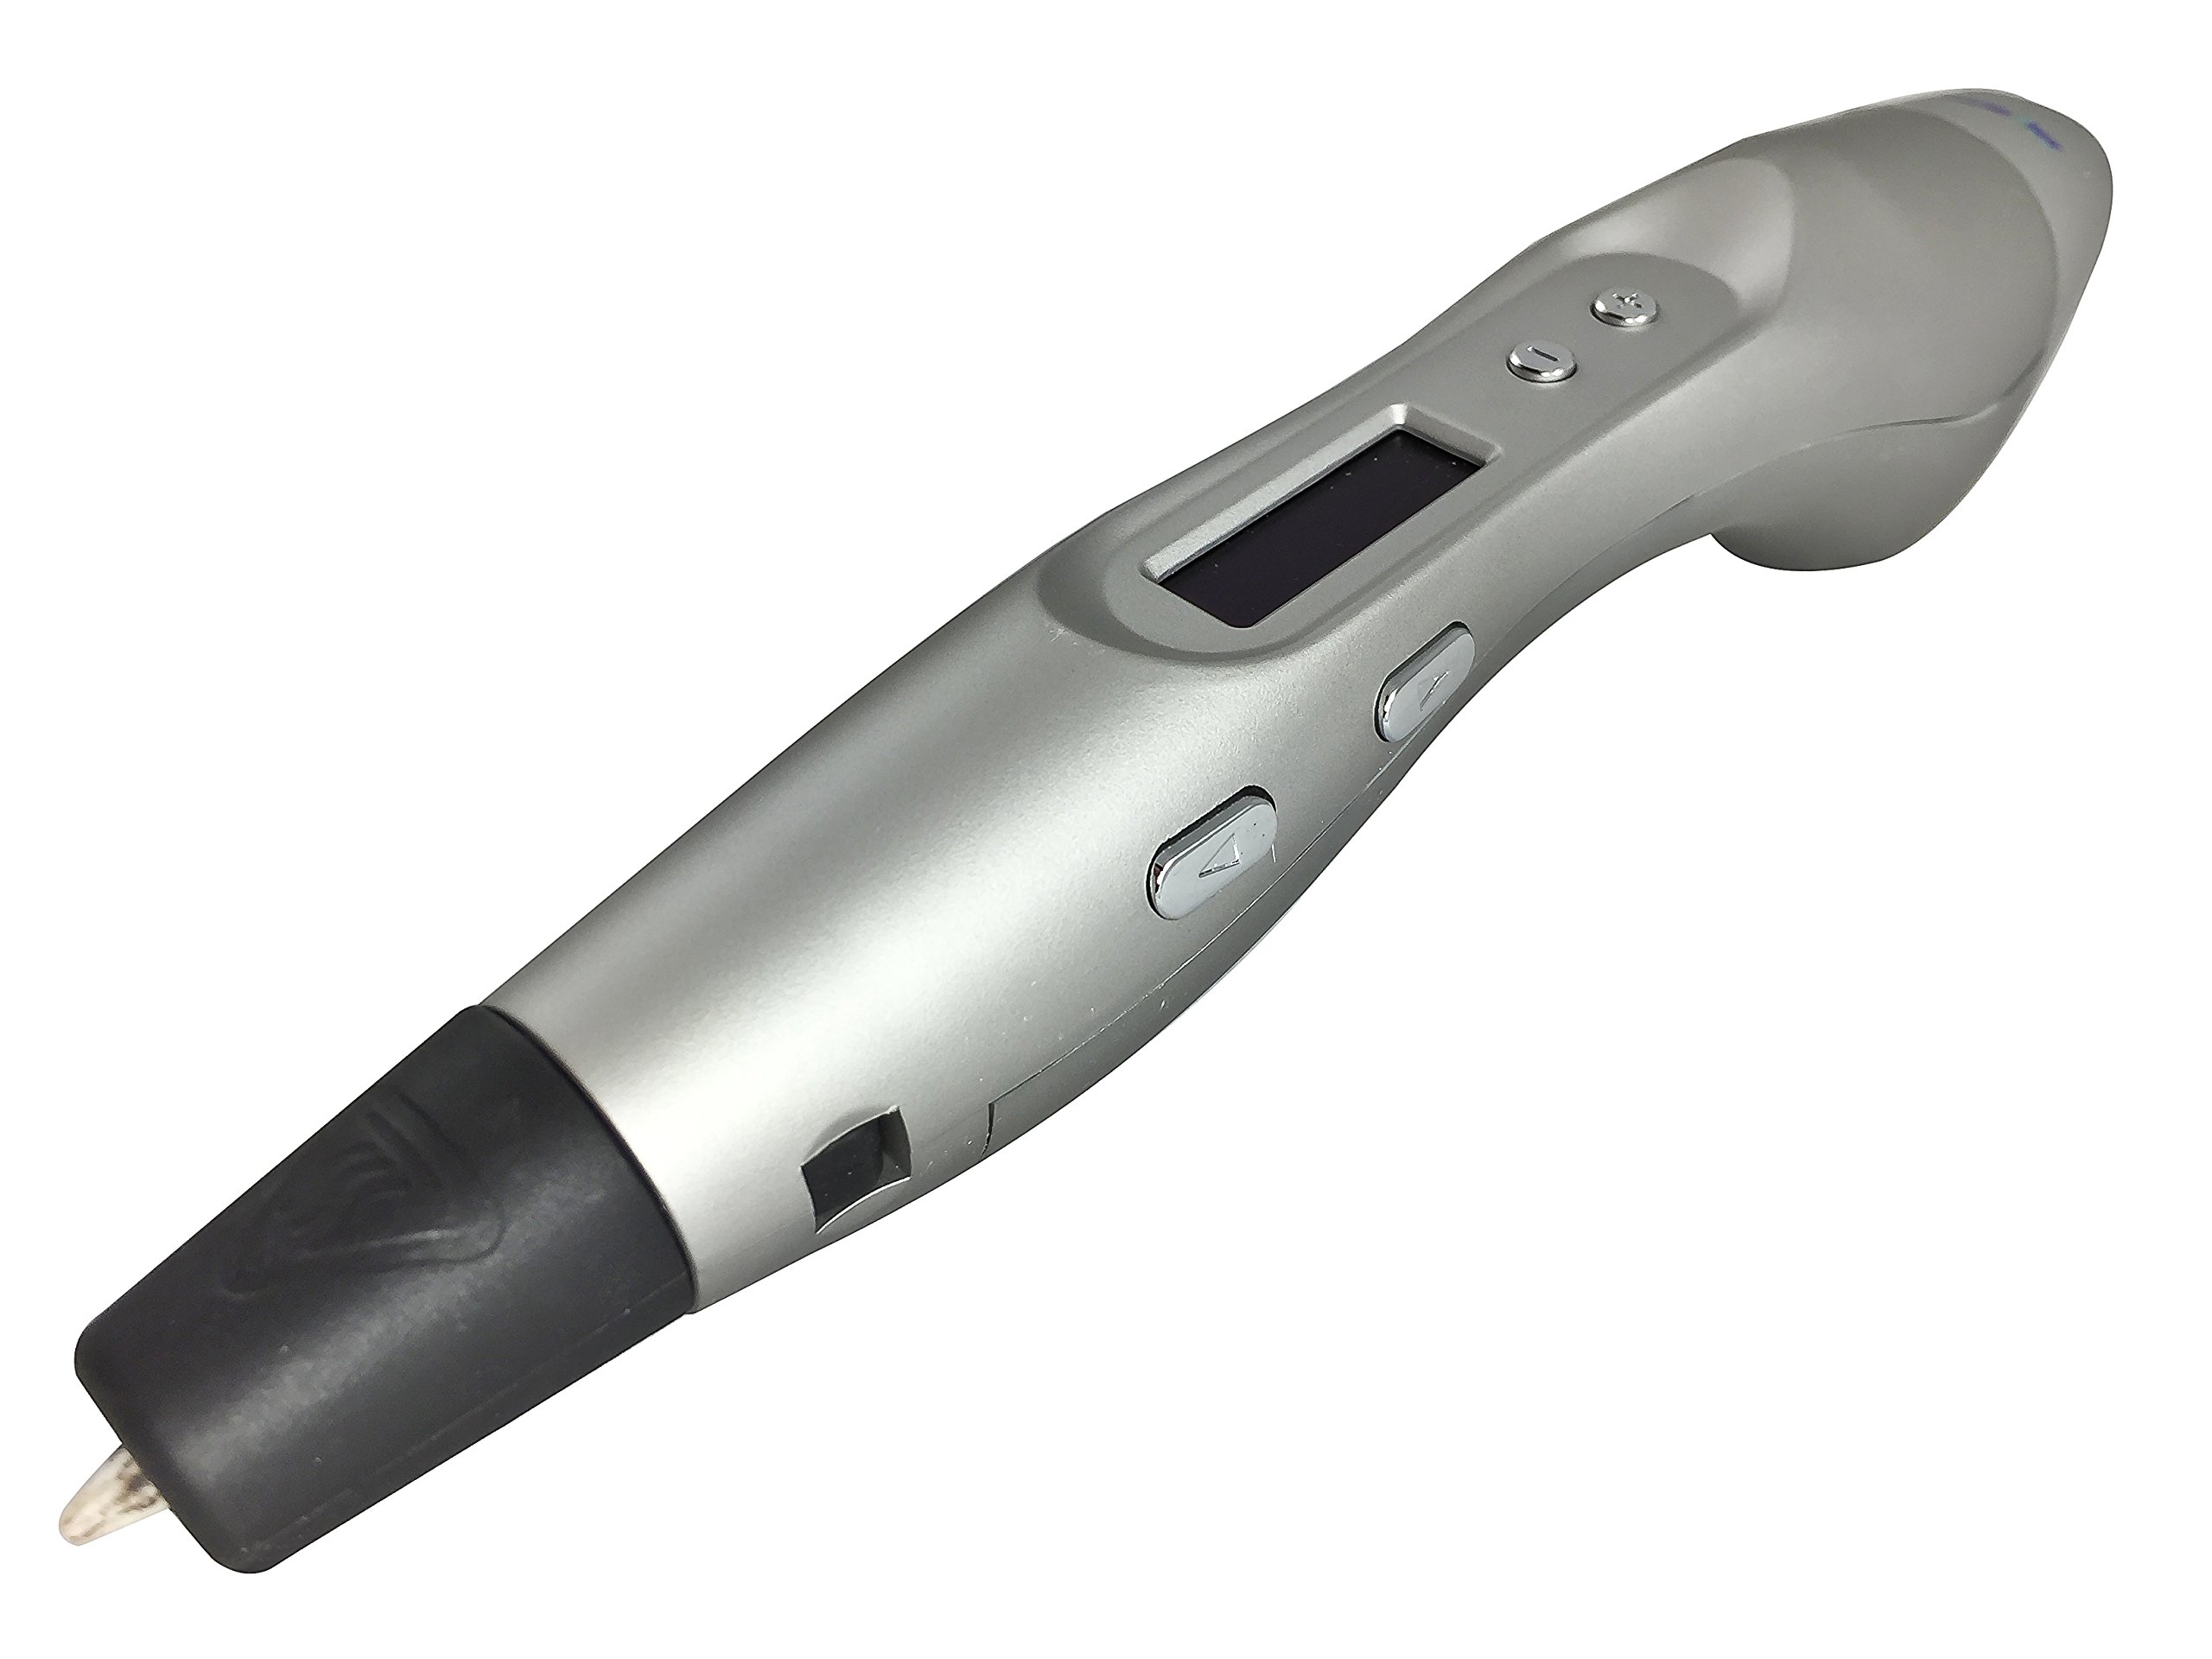
Using the Controls
Understanding how to use the controls of your 3D printing pen is essential for effectively creating your desired 3D objects. While the specific controls may vary depending on your pen model, there are some common features and functions that you should be familiar with. Here’s a general guide on using the controls of a 3D printing pen:
- Temperature Control: Most 3D printing pens allow you to adjust the temperature settings. This feature is crucial for different types of filaments, as each filament requires a specific temperature range for optimal performance. Refer to your pen’s manual for the recommended temperature settings for your filament.
- Speed Control: The speed control feature determines how quickly the filament is extruded from the pen. Adjusting the speed allows you to control the flow of the filament and the thickness or intricacy of your creations. Experiment with different speeds to achieve the desired results.
- Extrusion Button/Trigger: The extrusion button or trigger is what you press or pull to release the filament from the pen’s nozzle. This is how you initiate the 3D printing process. Practice controlling the extrusion by applying varying amounts of pressure to achieve different outcomes.
- Standby and Power Button: Some pens may have a standby or power button to pause the printing process temporarily or to turn the pen on or off. Familiarize yourself with these buttons and their functions to efficiently use the pen.
- LED Indicator: Many 3D printing pens have LED indicators that show the pen’s status or provide feedback on the temperature or filament loading process. Pay attention to these indicators for optimal usage and troubleshooting.
It’s important to note that mastering the controls of your 3D printing pen may require some practice and experimentation. Start by creating simple shapes and gradually progress to more intricate designs as you become more comfortable with the controls.
Now that you have a good understanding of the controls, it’s time to put your skills to the test by practicing some basic techniques. In the next section, we’ll explore these techniques and provide tips for honing your 3D printing skills.
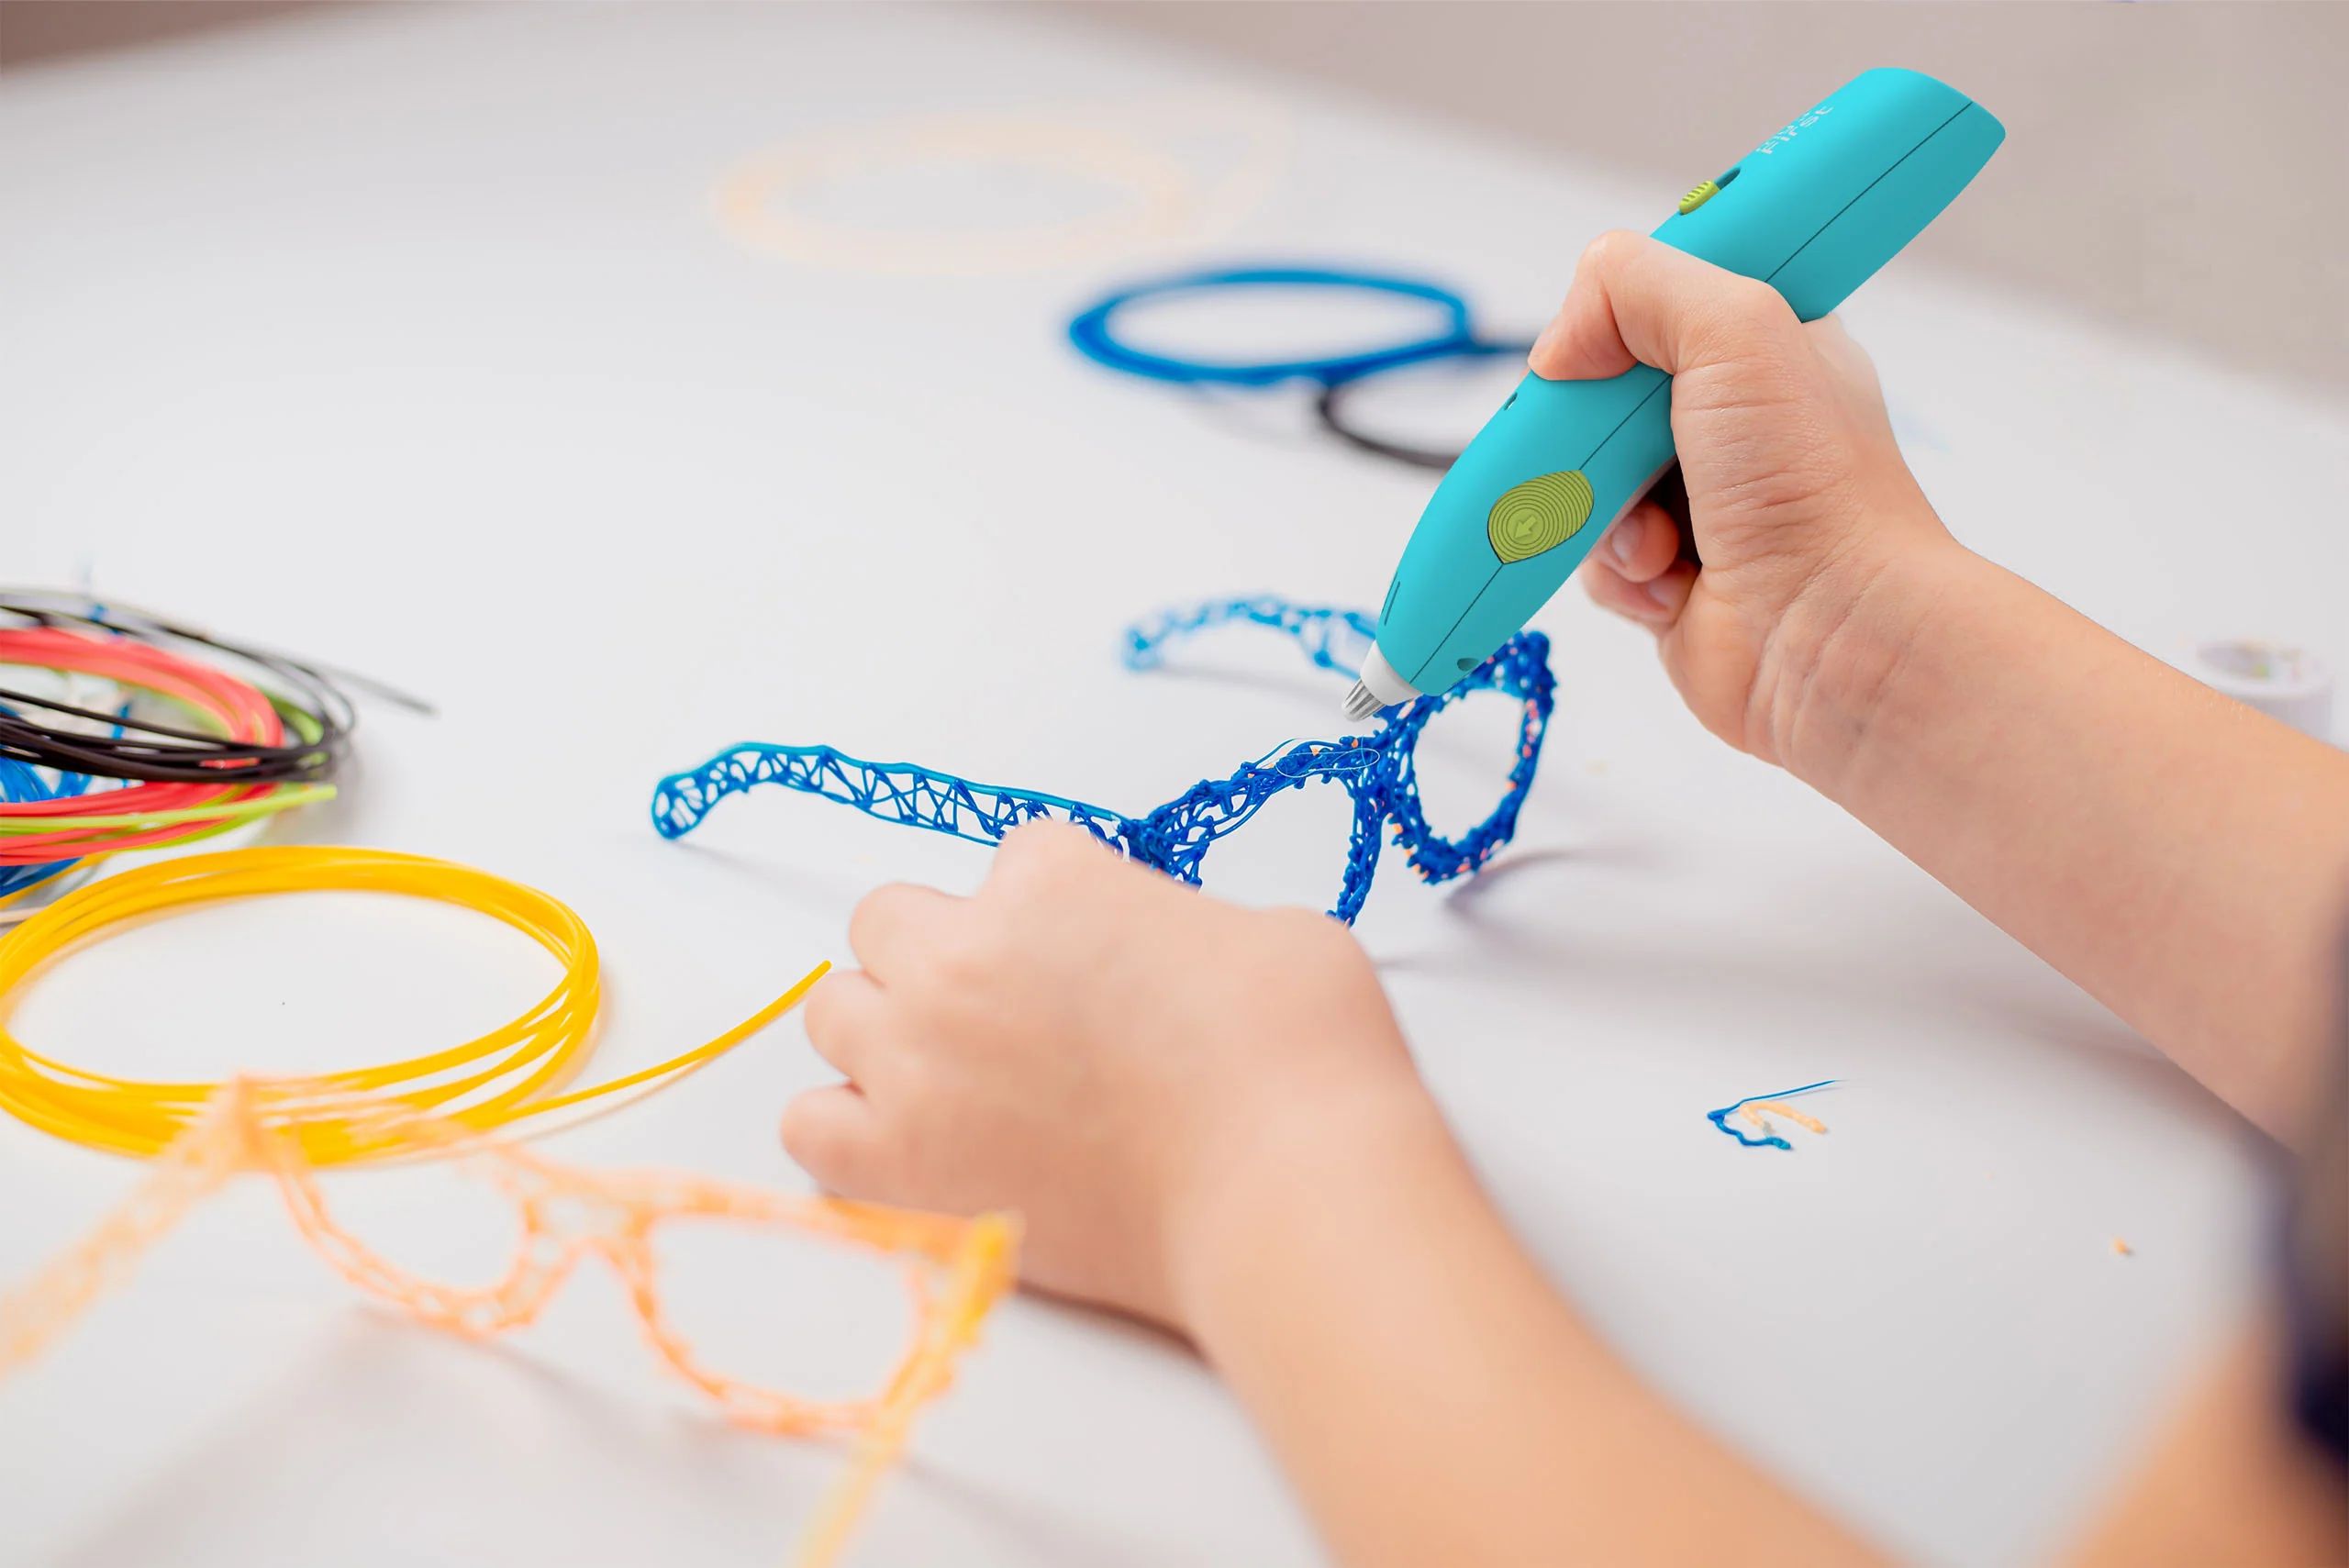
Practicing Basic Techniques
As with any new skill, practicing basic techniques is essential to develop your proficiency with a 3D printing pen. Taking the time to practice will not only improve your control and precision but also expand your creative horizons. Here are some basic techniques to get you started:
- Lines and Doodles: Begin by practicing drawing straight lines and simple doodles on a flat surface. This will help you become familiar with the flow of filament and develop control over the pen’s movements.
- Layering: Experiment with layering techniques by drawing multiple lines on top of each other. Gradually increase the speed and adjust the pressure to achieve smooth and consistent layers.
- Shading and Gradations: Explore different shading techniques by adjusting the pressure and filament flow. Gradually increase or decrease the pressure to create shading and gradations in your designs.
- Freehand Drawing: Challenge yourself by drawing freehand objects or replicating simple designs. This will help enhance your creativity and improve your hand-eye coordination.
- 3D Shapes: Move beyond flat drawings and practice creating basic 3D shapes such as cubes, spheres, or pyramids. Experiment with different techniques to achieve depth and dimension in your designs.
- Practicing Control: Dedicate time to refining your control and steadiness of hand movements. Start with slow, deliberate strokes and gradually increase speed as you gain confidence.
- Experimenting with Speed and Temperature: Explore the effects of different speeds and temperature settings on your designs. Adjusting these variables can result in different textures, finishes, and levels of detail.
Remember, practice is key to improving your skills with a 3D printing pen. Don’t be discouraged if your initial attempts don’t meet your expectations. With time, patience, and persistence, you will hone your techniques and unleash your creativity.
In the next section, we’ll dive into the exciting process of creating 3D objects using your 3D printing pen. Stay tuned!
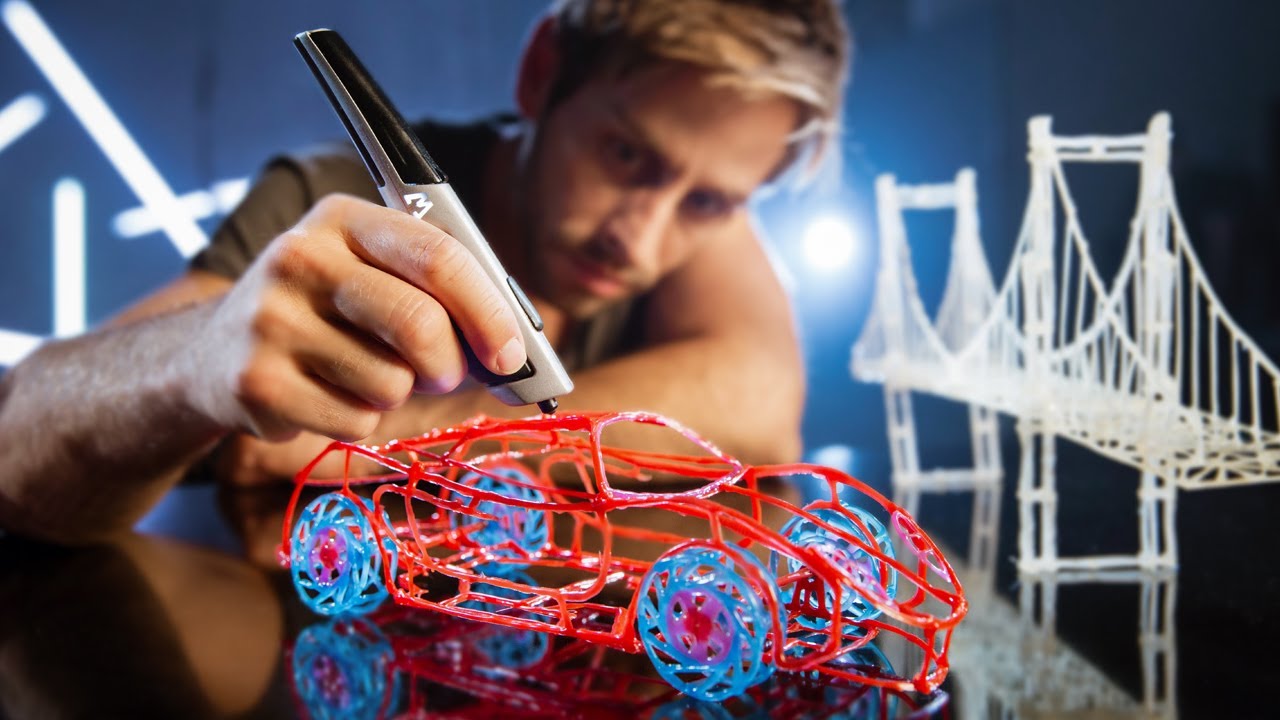
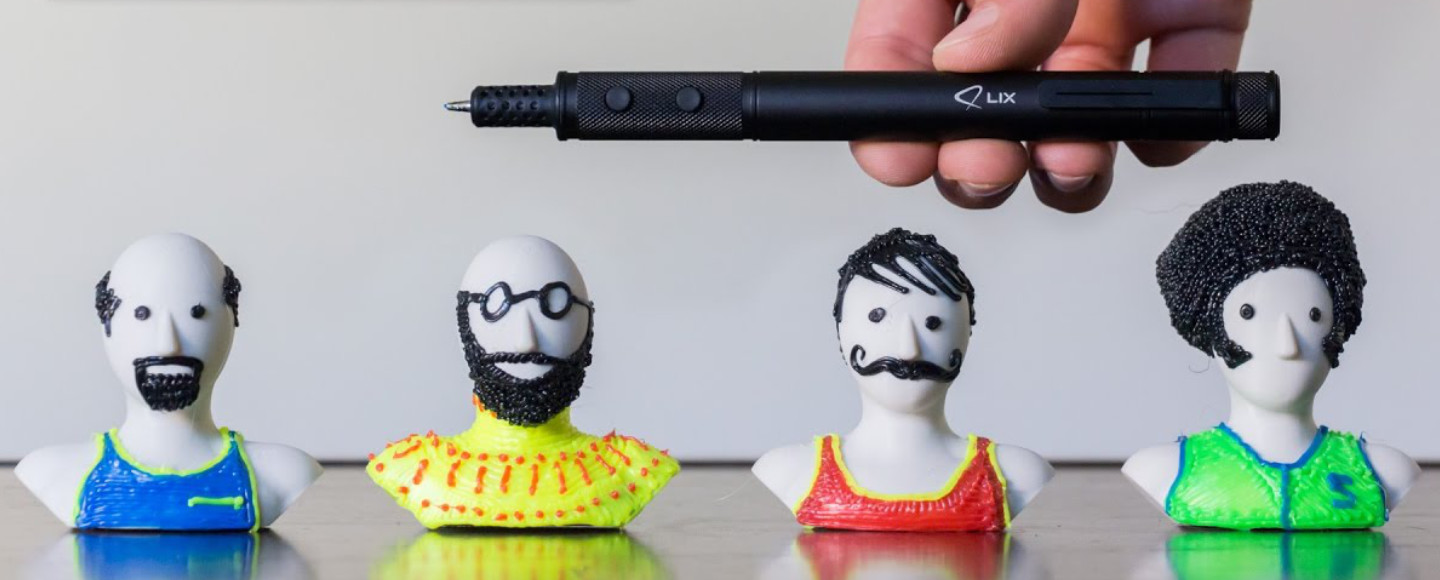
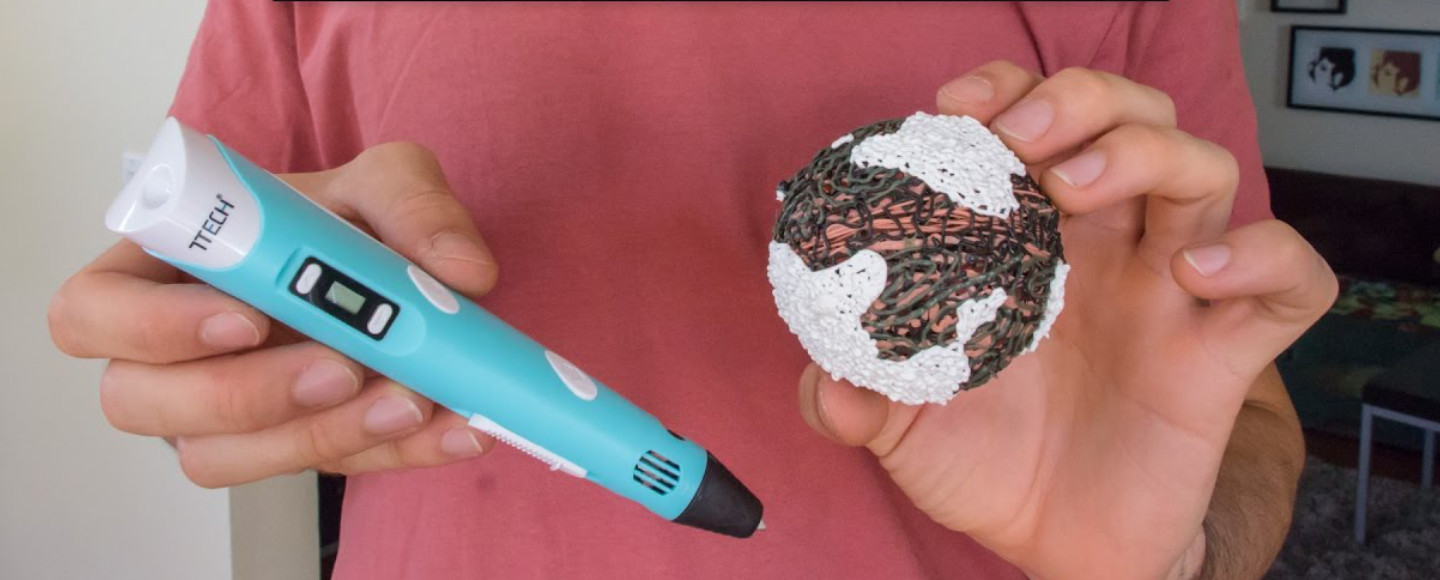
Creating 3D Objects
Now that you have practiced the basic techniques, it’s time to take your skills to the next level and start creating 3D objects. With a 3D printing pen, you have the freedom to bring your imagination to life by building three-dimensional structures. Here are some tips to help you create impressive 3D objects:
- Plan Your Design: Before you begin, have a clear idea of what you want to create. Sketch out your design on paper or visualize it in your mind. This will guide your movements and ensure a more controlled and cohesive end result.
- Start with a Base or Template: If you’re creating a complex object, it can be helpful to start with a base or template. This provides a structure to build upon and helps maintain the overall shape and proportions of your design.
- Build in Layers: Layering is a fundamental aspect of 3D printing. Start with a solid base layer and gradually build up by adding more layers on top. This will give your object strength and stability.
- Support Structures: For objects with overhangs or complex shapes, consider adding temporary support structures made of the same filament material. These structures can be removed once your object is complete.
- Experiment with Texture: Don’t be afraid to experiment with different textures and techniques. Vary the pressure, speed, and direction of your strokes to create unique textures and patterns in your designs.
- Practice Patience: Creating 3D objects takes time and patience. Work at a steady pace, allowing the filament to cool and solidify between movements to maintain the shape and integrity of your design.
- Combine Colors: If your 3D printing pen allows for different filament colors, seize the opportunity to make your designs more vibrant and eye-catching. Experiment with color combinations to add depth and visual interest to your objects.
- Seek Inspiration: If you’re feeling stuck or in need of inspiration, browse through online galleries or watch videos of other artists and creators using 3D printing pens. This can spark new ideas and techniques to incorporate into your own work.
Remember, creating 3D objects with a 3D printing pen is a form of artistic expression. Embrace the process, enjoy the journey, and let your creativity take flight. With practice and experimentation, you’ll be amazed at the incredible objects you can bring into existence.
In the next section, we’ll address common troubleshooting tips that can help navigate any challenges you might encounter during your 3D printing journey.
Troubleshooting Tips
While using a 3D printing pen can be an exciting and rewarding experience, you might encounter some challenges along the way. Here are some common troubleshooting tips to help you overcome any issues that may arise:
- Filament Jam: If you experience a filament jam, the filament may not be feeding properly or there could be a clog in the nozzle. To resolve this, ensure that the filament is loaded correctly and try gently pushing it further into the pen. Cleaning the nozzle with a needle or filament cleaning tool can also help clear any obstructions.
- Poor Filament Flow: If the filament flow is inconsistent or stops altogether, check the temperature settings. Adjust the temperature to the appropriate range for the filament you are using. If the problem persists, the filament may be tangled or partially melted inside the pen. In this case, remove the filament and try again, ensuring that it is smooth and free from any obstructions.
- Burnt Filament: If you notice a burnt smell or discoloration in the filament, it may be overheating. Check that the temperature setting is appropriate for the filament type. If necessary, reduce the temperature to prevent overheating and potential damage to the filament or pen.
- Excessive Stringing or Dripping: Excessive stringing or filament dripping between movements can affect the quality of your print. Adjust the speed and retraction settings to minimize these issues. Additionally, ensure that the pen is not clogged and the filament is properly loaded.
- Uneven Extrusion: If you notice uneven extrusion or gaps in your print, it may be due to inconsistent filament flow or inadequate pressure on the extrusion button. Ensure that the filament is feeding smoothly and consider adjusting the speed or pressure to achieve a more consistent flow.
- Pen Maintenance: Regularly clean the nozzle of your 3D printing pen to prevent clogs. Use a needle or filament cleaning tool to remove any debris or residual filament that may have accumulated. Additionally, follow the manufacturer’s recommendations for general maintenance and upkeep of your pen.
- Refer to the User Manual: If you encounter any specific issues or difficulties, always refer to the user manual provided by the manufacturer. The manual may contain model-specific troubleshooting tips and solutions that can help you resolve the problem.
Remember, troubleshooting is often a part of the learning process. By staying patient, persistent, and following these tips, you’ll be able to overcome challenges and continue enjoying the creative possibilities of your 3D printing pen.
In the final section, we’ll provide some guidance on maintenance and cleaning to ensure the longevity and optimal performance of your 3D printing pen.
Maintenance and Cleaning
Maintaining and cleaning your 3D printing pen is essential to ensure its longevity and optimal performance. Regular maintenance and care will help prevent clogs, extend the lifespan of your pen, and ensure consistent and high-quality prints. Here are some maintenance and cleaning tips:
- Clean the Nozzle: The nozzle of your 3D printing pen can gradually accumulate filament residue, resulting in clogs or poor extrusion. Use a needle or a filament cleaning tool to carefully clean the nozzle. Ensure the pen is unplugged and cooled down before attempting to clean the nozzle.
- Remove Filament Residue: Over time, small amounts of filament may get stuck inside the pen’s feeding mechanism or other parts. Periodically check and clean these areas to remove any leftover filament residue. Consult the user manual for guidance on disassembling and cleaning your specific pen model.
- Store Properly: When not in use, store your 3D printing pen in a safe and clean location. Keep it away from dust, moisture, and extreme temperatures. Utilize the pen’s provided storage case or keep it in a dry and sealed container to protect it from potential damage or debris.
- Replace Consumables: Filament and other consumables, such as nozzles or feeding tubes, may need to be replaced over time. Refer to the manufacturer’s recommendations for the lifespan of these components and ensure timely replacements to maintain optimal performance.
- Keep Firmware and Software Up to Date: If your 3D printing pen is equipped with firmware or software, periodically check for updates and install them as needed. Firmware updates can improve functionality, fix bugs, and enhance compatibility with different filament types.
- Follow the Manufacturer’s Guidelines: Always refer to the manufacturer’s guidelines and instructions for specific maintenance procedures and recommendations. Different pen models may have unique requirements, so it’s important to follow the provided instructions for your particular pen.
By following these maintenance and cleaning practices, you can ensure that your 3D printing pen remains in good condition, delivers consistent performance, and continues to inspire your creative endeavors for a long time to come.
Now that you have a solid understanding of how to properly maintain and care for your pen, you’re fully equipped to unleash your creativity and explore the endless possibilities of 3D printing.
Conclusion
Congratulations! You have now learned the essential aspects of using a 3D printing pen. From safety precautions to troubleshooting tips, you’re well-equipped to embark on your 3D printing journey with confidence. These versatile tools allow you to transform your ideas into tangible objects, making the creative process more hands-on and accessible.
Remember to prioritize safety when using a 3D printing pen, following the guidelines provided by the manufacturer. Take your time to familiarize yourself with the controls and experiment with different techniques to unleash your creativity. Whether you’re a hobbyist, an artist, or a DIY enthusiast, the possibilities for creating unique and personalized 3D objects are endless.
Don’t be discouraged by initial challenges or mistakes—practicing and refining your skills will lead to improved results. Explore various filament types, colors, and textures to broaden your creative horizons. Share your creations with others, seek inspiration from fellow creators, and continue to expand your knowledge and skills in the exciting world of 3D printing.
Remember to properly maintain and clean your 3D printing pen to ensure its longevity and optimal performance. Regular maintenance, such as cleaning the nozzle and replacing consumables, will help you achieve consistent and high-quality prints.
Now that you’re equipped with the knowledge and understanding of using a 3D printing pen, it’s time to unleash your imagination, push the boundaries of creativity, and bring your ideas to life in the mesmerizing world of 3D printing!