Introduction
Welcome to the world of QLED TVs! If you’ve recently purchased or are considering buying a QLED TV, you’re in for a visual treat. QLED (Quantum Dot Light Emitting Diode) technology offers stunning picture quality and vibrant colors, taking your TV viewing experience to a whole new level.
Turning on your QLED TV for the first time can be an exciting moment. In this guide, we’ll walk you through the step-by-step process of turning on your QLED TV, setting it up, and getting ready for a cinematic experience right in your living room.
Before we dive into the details, make sure you have all the necessary components ready. You’ll need the power cord, the TV remote control, and a stable internet connection to take full advantage of the features and functionalities of your QLED TV.
Setting up your QLED TV for the first time involves a series of configurations and options to personalize your viewing experience. From choosing your preferred language and country settings to adjusting picture and sound quality, we’ll cover it all.
So, let’s get started and discover how to turn on and fully optimize your QLED TV to enjoy stunning visuals, immersive sound, and a user-friendly interface.
Step 1: Connecting the power cord
The first step to turn on your QLED TV is to connect the power cord. Start by locating the power input port on the back of your TV. It is usually labeled as “Power” or has a lightning bolt symbol above it.
Take the power cord that came with your QLED TV and plug one end into the power input port on the back of the TV. Make sure it is securely connected.
Next, find a power outlet near your TV setup and plug in the other end of the power cord. Ensure that the power outlet is easily accessible and has a reliable power source.
Once the power cord is connected to both the TV and the power outlet, you are ready to proceed to the next step of turning on your QLED TV.
It is essential to connect the power cord correctly to ensure that your TV receives a stable power supply. This ensures optimal performance and prevents any potential issues.
Make sure that the power cord is not pinched or damaged in any way. Check for any loose connections and ensure that the power cord is not tangled with other cables.
If you’re using a surge protector or power strip, ensure that it is of high quality and can handle the power requirements of your QLED TV. It is recommended to connect your TV directly to a power outlet for the best performance.
With the power cord securely connected, you’re now ready to move on to the next step and turn on your QLED TV using the remote control.
Step 2: Turning on the QLED TV using the remote control
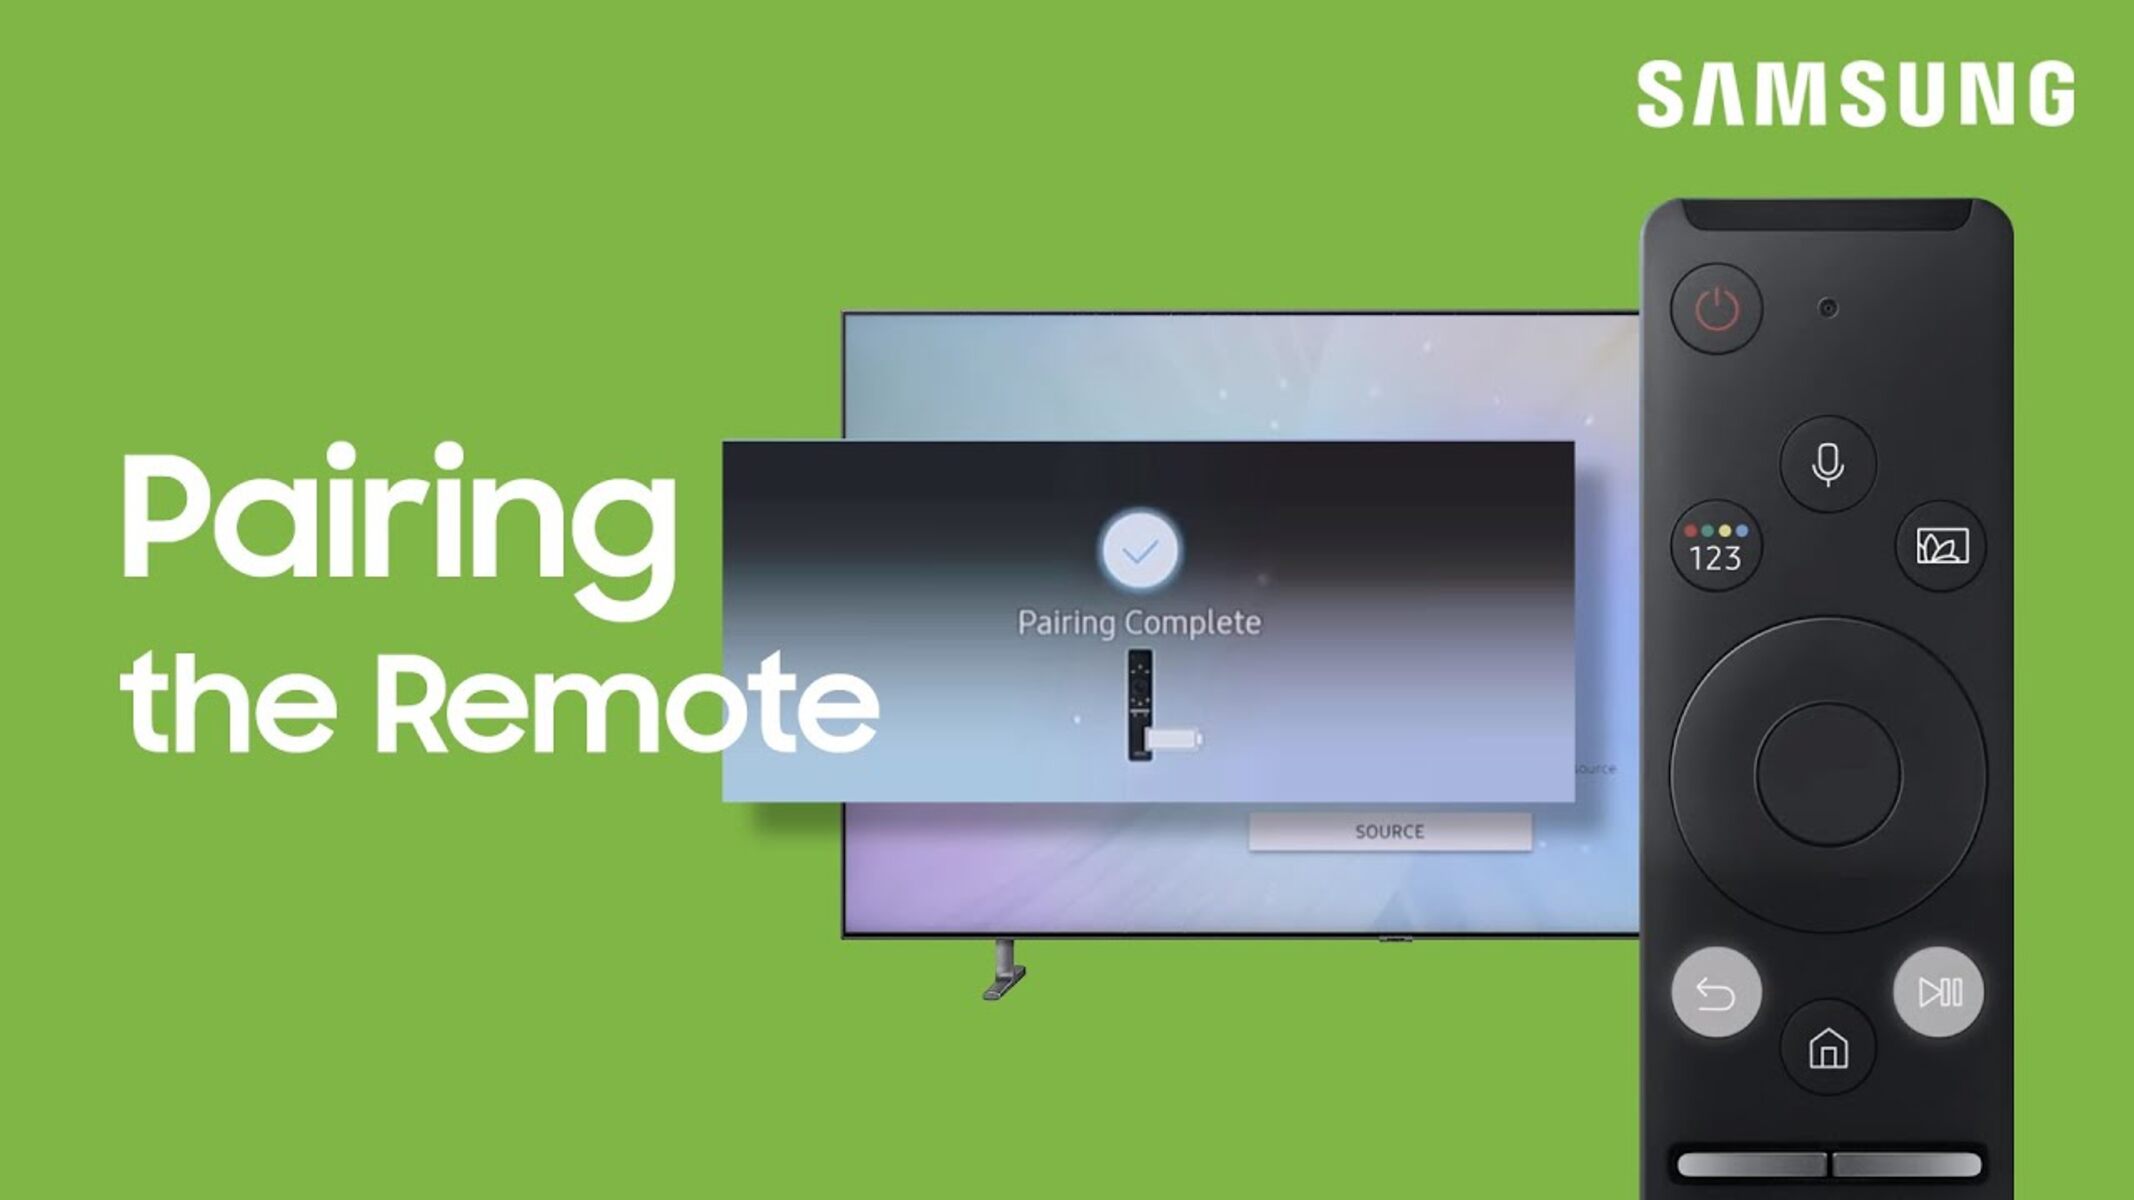
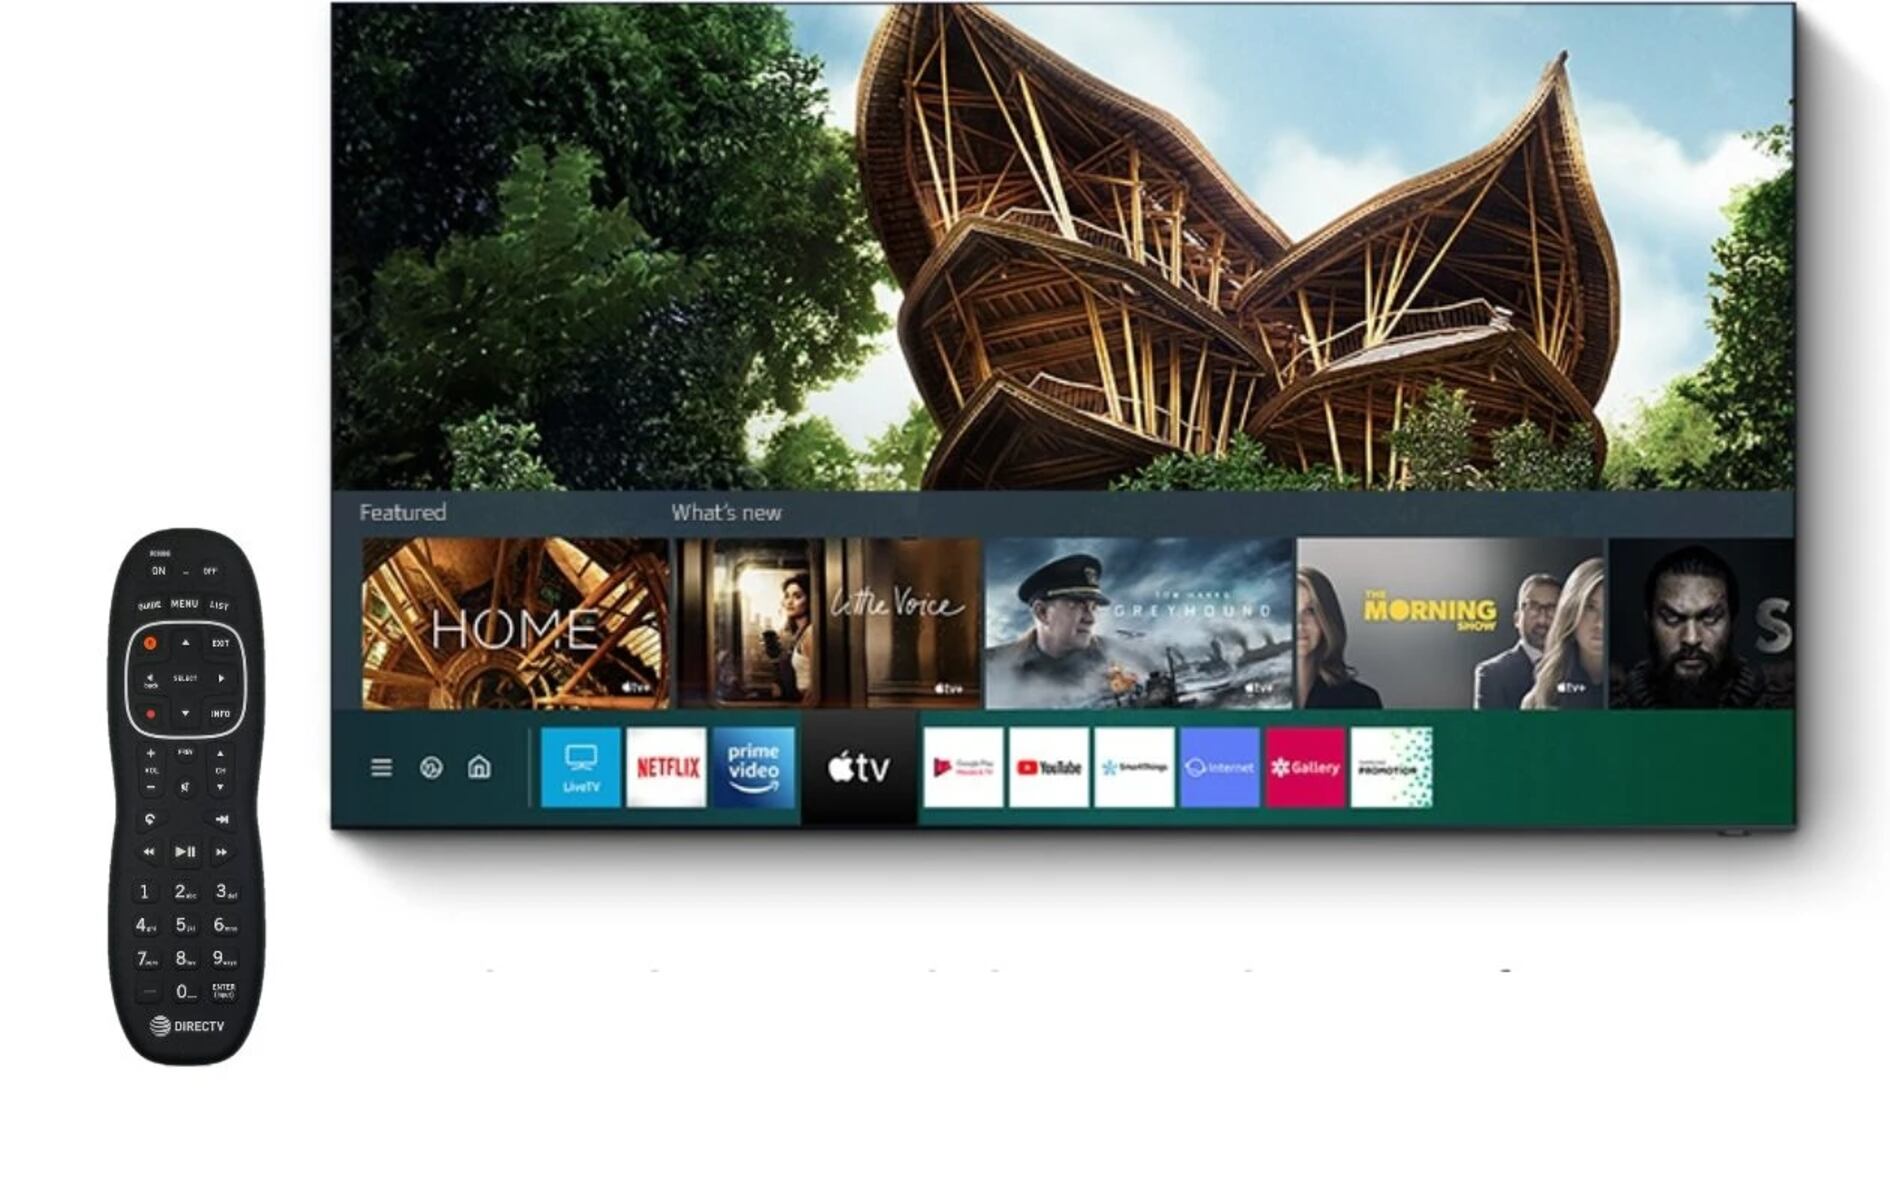
Now that you have connected the power cord, it’s time to turn on your QLED TV. Grab the remote control that came with your TV and let’s get started!
Locate the power button on the remote control. It is typically an icon that looks like a circle with a line through it or has the word “Power” written on it.
Press and hold the power button for a few seconds until the TV screen lights up. You may see the TV brand logo or a loading screen. This indicates that your QLED TV is powering on.
Once the TV screen is illuminated, release the power button on the remote control. In a few moments, you will be greeted with the initial setup screen on your QLED TV.
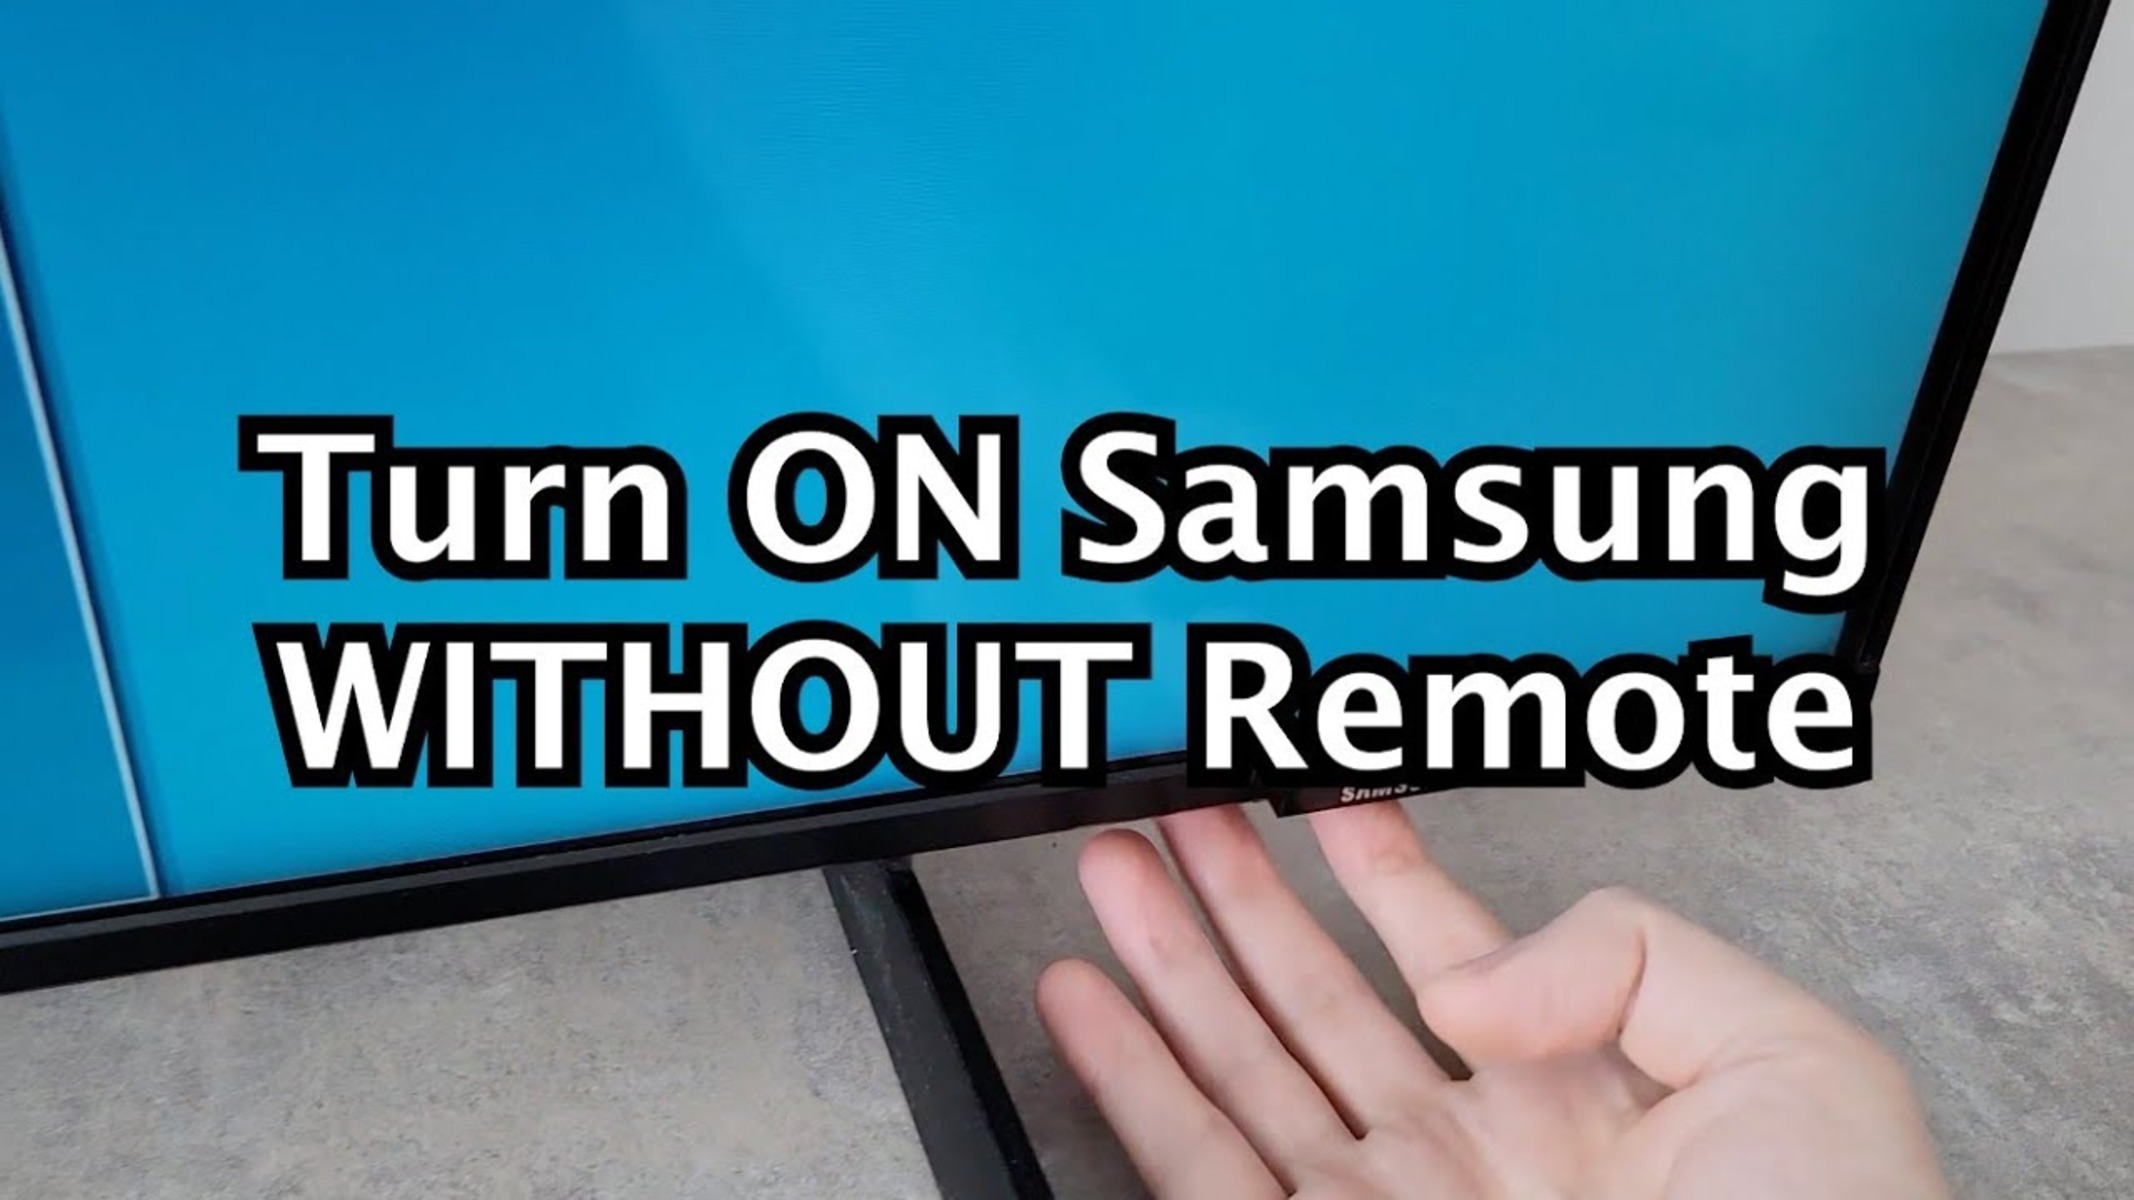
If pressing the power button on the remote control does not turn on the TV, make sure the remote control has fresh batteries. Replace them if needed and try again. It is also important to point the remote control directly at the TV and ensure there are no obstructions between the remote and the TV.
Upon powering on, your QLED TV may prompt you to select a language for the on-screen interface. Use the arrow keys on the remote control to navigate through the options and press the confirm or enter button to make your selection.
Now that you have successfully powered on your QLED TV, let’s move on to the next step and set up the initial language and country preferences.
Step 3: Setting up the initial language and country preferences
After turning on your QLED TV, the next step is to set up the initial language and country preferences. This will ensure that your TV displays content in the language of your choice and adapts to the specific region or country you are in.
On the initial setup screen, you will be prompted to select your preferred language. Use the arrow keys on the remote control to navigate through the available options. Once you have highlighted the desired language, press the confirm or enter button to select it.
After selecting the language, the next step is to set your country or region. Similar to the language selection, use the arrow keys on the remote control to navigate through the list of available countries or regions. Once you have highlighted the correct option, press the confirm or enter button to select it.
These initial language and country preferences help customize your QLED TV’s interface, enabling you to understand and navigate through menus, options, and on-screen content more easily.
If you need to change the language or country settings at any point in the future, you can access the settings menu by pressing the “Home” or “Menu” button on your remote control. From there, navigate to the “Settings” section and locate the language or region options to make the desired changes.
By setting up the initial language and country preferences, you are now ready to proceed to the next step and configure the picture and sound settings according to your preferences.
Step 4: Configuring the picture and sound settings
Once you have set up the initial language and country preferences, it’s time to configure the picture and sound settings of your QLED TV. These settings allow you to personalize your viewing and listening experience to suit your preferences.
To access the picture and sound settings, press the “Home” or “Menu” button on your remote control. This will bring up the main menu on your TV screen. Navigate to the “Settings” section and select “Picture” or “Sound.”
Within the picture settings menu, you can adjust options such as brightness, contrast, color temperature, sharpness, and backlight. These settings allow you to optimize the picture quality according to the lighting conditions in your viewing environment and your personal preferences. Experiment with different settings to find the perfect balance for your viewing experience.
In the sound settings menu, you can adjust options such as volume, bass, treble, and surround sound. Take the time to fine-tune these settings to enhance the audio quality and create a more immersive sound experience while watching your favorite movies or TV shows.
Some QLED TVs also offer additional picture and sound enhancement features, such as motion smoothing, noise reduction, and equalizer settings. These features can further enhance your viewing and audio experience, so explore the options available and adjust them to your liking.
Remember to save your changes after configuring the picture and sound settings. Your QLED TV will apply these settings whenever you watch TV or use any connected devices.
It’s worth noting that different content types, such as movies, sports, and gaming, may require different picture and sound settings. Some QLED TVs offer preset modes specifically designed for different content types, so take advantage of these modes for the best viewing experience in each scenario.
With the picture and sound settings configured to your liking, you’re one step closer to enjoying an immersive entertainment experience on your QLED TV. The next step is to connect your TV to a Wi-Fi network to access a world of online content.
Step 5: Connecting to a Wi-Fi network
In today’s digital age, a Wi-Fi connection is essential for accessing online content and streaming services on your QLED TV. Connecting your TV to a Wi-Fi network allows you to enjoy a vast array of entertainment options and take full advantage of the smart features of your QLED TV.
To connect your QLED TV to a Wi-Fi network, navigate to the “Settings” section by pressing the “Home” or “Menu” button on your remote control. From there, locate the “Network” or “Wireless” settings.
Within the network settings menu, you will see a list of available Wi-Fi networks in your area. Use the arrow keys on your remote control to highlight your desired network and press the confirm or enter button to select it.
If your Wi-Fi network is password-protected, you will be prompted to enter the password. Use the remote control to navigate to the password field and enter the password using the on-screen keyboard. Be cautious while entering the password to ensure accuracy. Press confirm or enter to connect to the Wi-Fi network.
Once connected, your QLED TV will display a confirmation message indicating that it is now connected to the Wi-Fi network. You can now access a range of online services, including streaming platforms, online apps, and web browsing, directly on your QLED TV.
It is recommended to place your QLED TV within range of your Wi-Fi router for optimal signal strength and stability. If you are experiencing connectivity issues, consider moving your router closer to the TV or using a Wi-Fi extender to improve signal coverage.
Keep in mind that some QLED TVs also offer the option to connect to the internet using an Ethernet cable. If you have an available Ethernet port on your TV and a nearby router, you can choose to use a wired connection for a more stable and reliable internet connection.
With your QLED TV successfully connected to a Wi-Fi network, you are now ready for the next step, which is updating the software to ensure you have the latest features and enhancements.
Step 6: Updating the software
Keeping your QLED TV’s software up to date is crucial for ensuring optimal performance, security, and access to the latest features and enhancements. Manufacturers regularly release software updates to address bugs, improve stability, and introduce new functionalities.
To update the software on your QLED TV, start by accessing the “Settings” menu using the “Home” or “Menu” button on your remote control. Navigate to the “Support” or “System” section, where you will find the “Software Update” or “Firmware Update” option.
Select the “Software Update” option, and your QLED TV will check for any available updates. If there is a software update available, follow the on-screen prompts to initiate the update process.
It is recommended to keep your QLED TV connected to the internet during the software update process to ensure a smooth and uninterrupted update. Depending on the size of the update, it may take several minutes to complete. Do not turn off or unplug your TV during the update.
Once the software update is finished, your QLED TV will restart, and you will be notified that the update was successful. You can verify the installed firmware version in the “About” or “System” section of the settings menu.
It’s important to note that software updates may vary depending on the model and brand of your QLED TV. Some TVs may have automatic update settings, while others may require manual initiation of updates. Consult your TV’s user manual or manufacturer’s website for specific instructions related to your model.
By regularly updating the software on your QLED TV, you can ensure that you have access to the latest features and improvements, as well as a more secure and stable viewing experience.
Now that you have updated the software, the next step is to log in to your Samsung account (if applicable) to unlock additional features and personalized content.
Step 7: Logging in to your Samsung account
If you have a Samsung account, logging in to it on your QLED TV can provide you with access to a range of personalized features and content. Your Samsung account allows you to sync settings, preferences, and even apps across multiple devices, making your TV experience seamless and convenient.
To log in to your Samsung account on your QLED TV, navigate to the “Settings” menu using the “Home” or “Menu” button on your remote control. Look for the “Account” or “Samsung Account” section.
Within the account settings, you will find the option to log in to your Samsung account. Select this option to proceed.
If you already have a Samsung account, enter your email address or username and password using the on-screen keyboard. Take care while entering the information to ensure accuracy.
If you don’t have a Samsung account yet, you can create one directly from your QLED TV by selecting the “Create Account” or “Sign Up” option. Follow the on-screen instructions to set up your account.
After entering your login credentials or creating a new account, your QLED TV will verify the information and establish a connection to your Samsung account. Once logged in, you can benefit from various features, such as accessing exclusive apps, syncing settings between devices, and personalized recommendations based on your viewing habits.
Make sure to keep your Samsung account credentials secure and up to date. It’s a good practice to periodically update your password and enable two-factor authentication for added security.
If you encounter any issues while logging in to your Samsung account, double-check your internet connection and ensure that you are entering the correct login credentials. If the problem persists, you can seek assistance from Samsung’s customer support.
With your Samsung account logged in on your QLED TV, you are now ready to enjoy the personalized features and content that it offers. The final step is to sit back, relax, and enjoy your QLED TV to the fullest!
Step 8: Enjoying your QLED TV
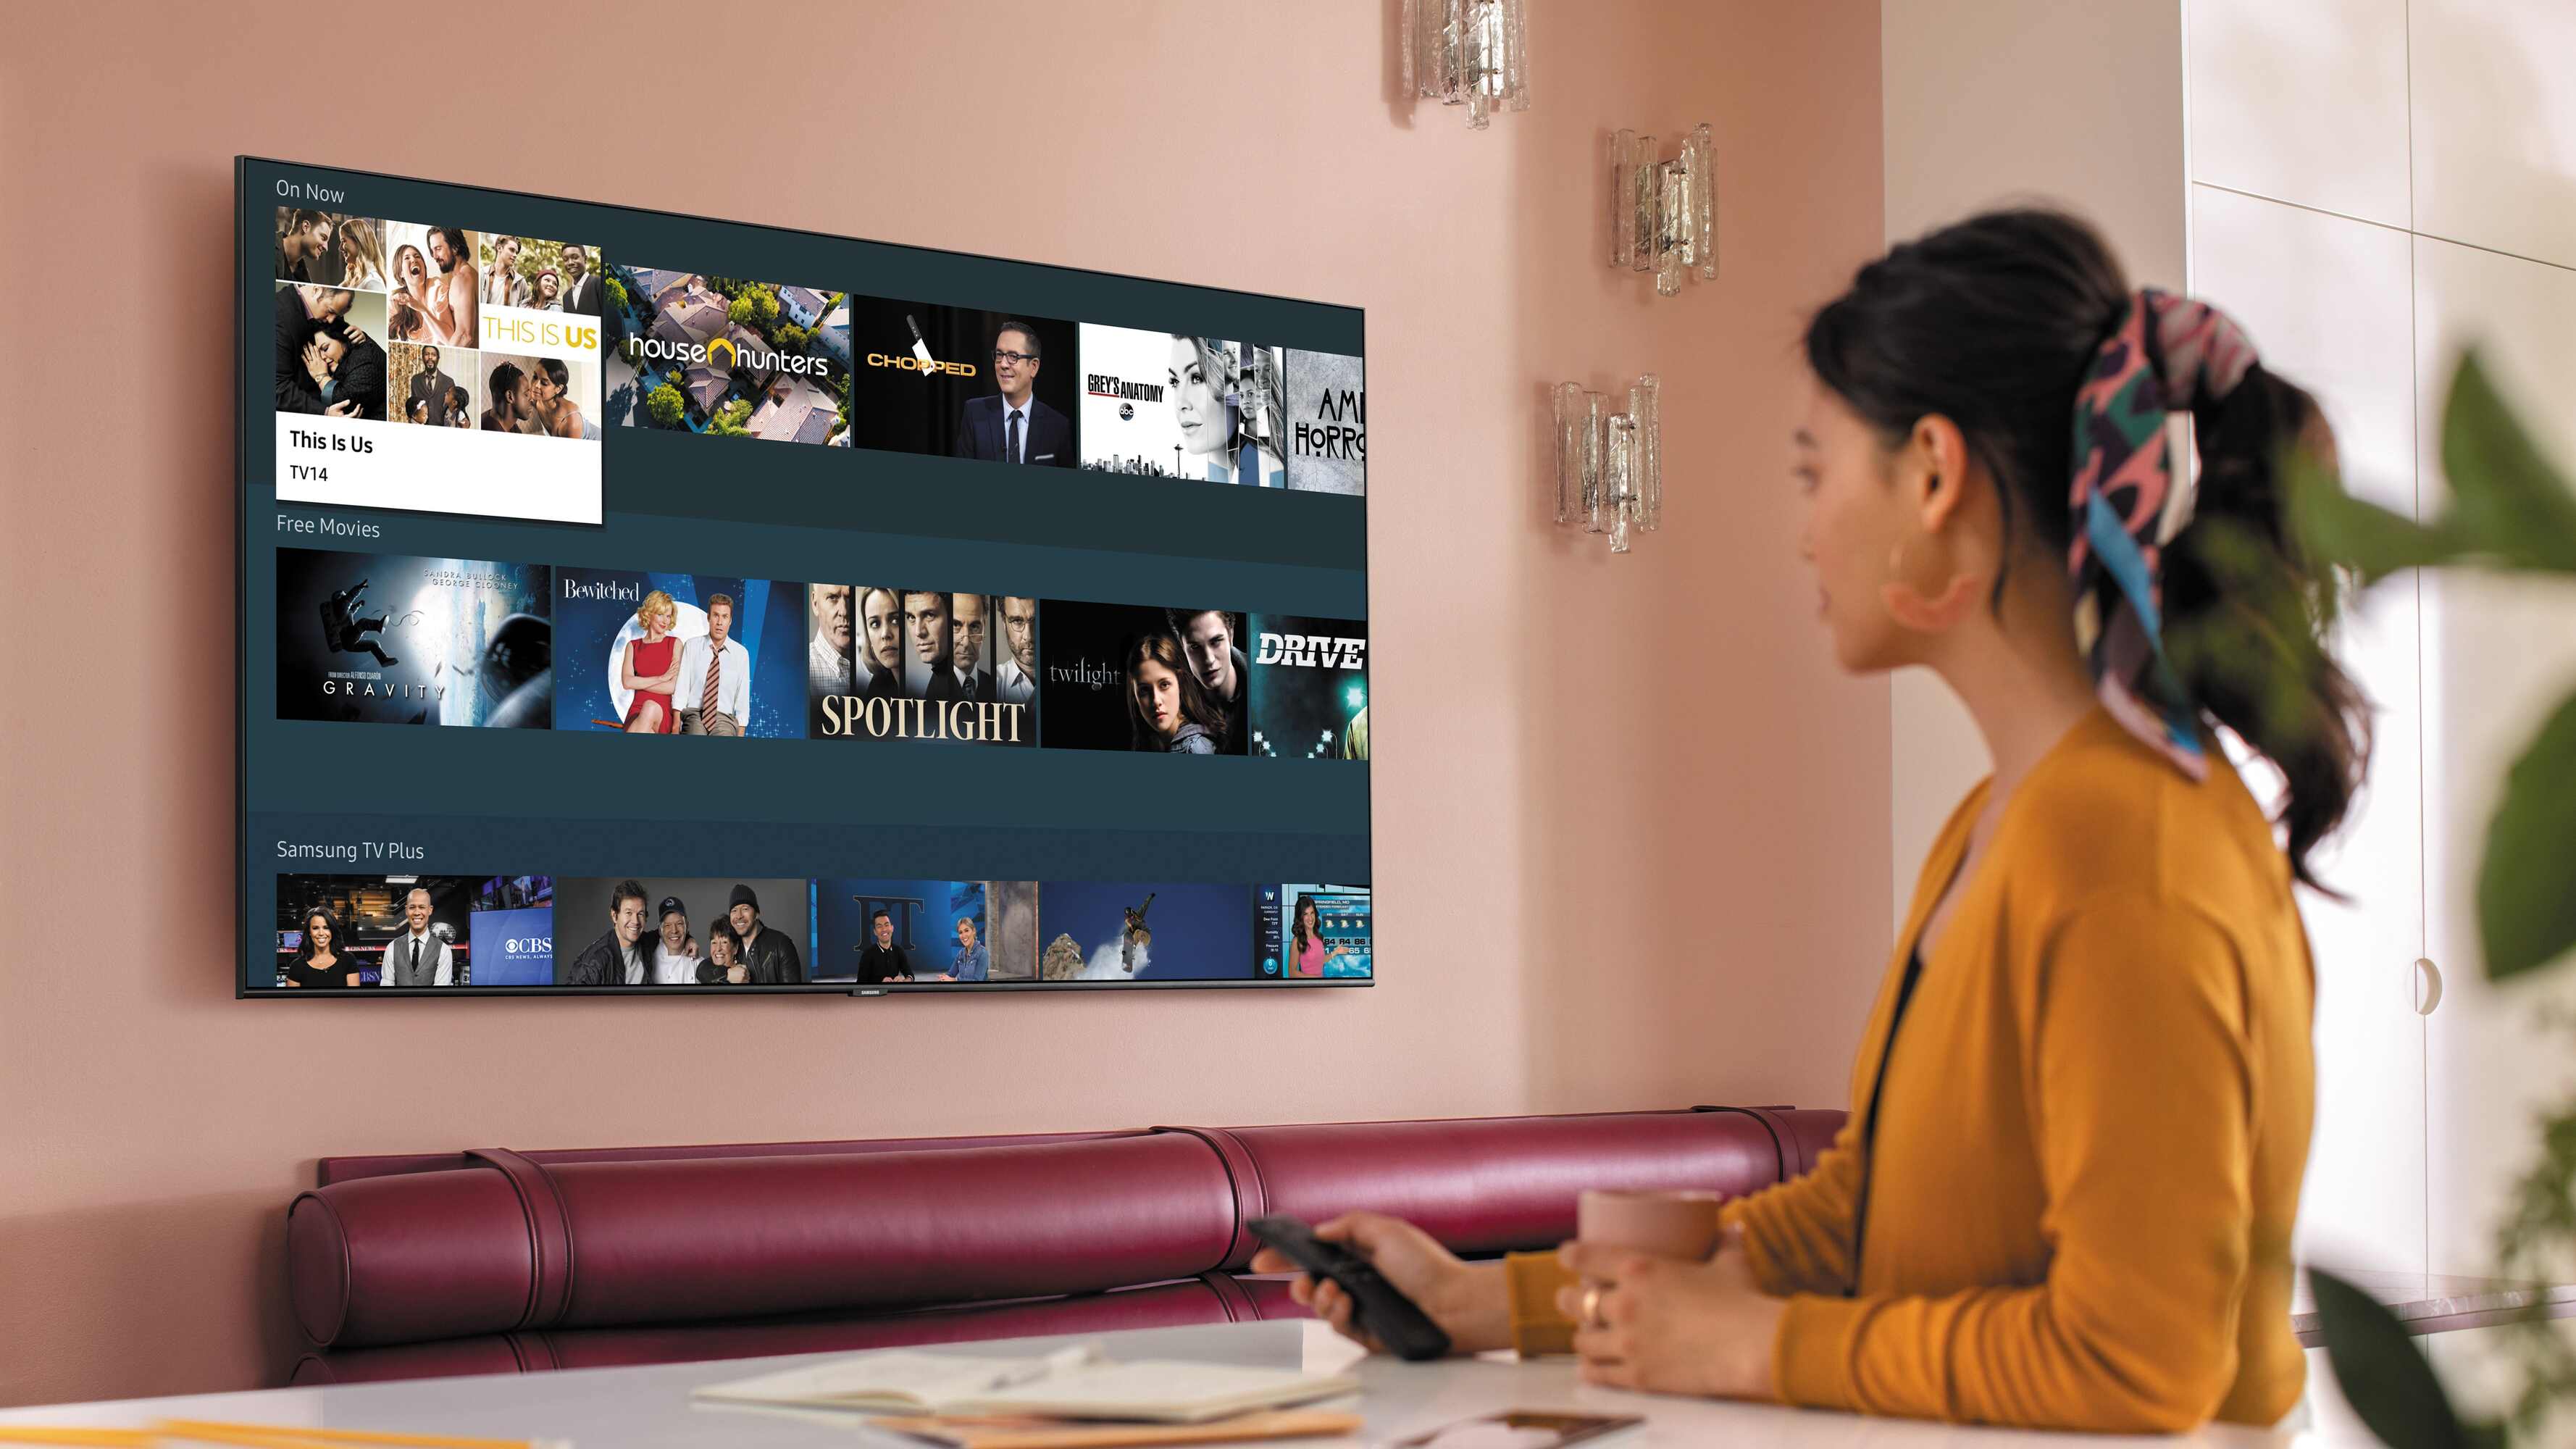
Congratulations! You have successfully set up and configured your QLED TV. Now it’s time to sit back, relax, and enjoy the stunning visuals and immersive audio that your QLED TV has to offer.
With your QLED TV connected to a Wi-Fi network, you have access to a wide range of entertainment options. Explore the pre-installed apps and discover a world of streaming services, including popular platforms like Netflix, Hulu, and Amazon Prime Video.
Take advantage of the smart features of your QLED TV to browse the internet, check social media, and even play games directly on the big screen. With the increased popularity of smart home devices, you can also connect and control compatible devices through your TV, creating a connected and convenient home entertainment experience.
Don’t forget to explore the variety of picture and sound settings available on your QLED TV. Customize these settings to suit your preferences and optimize your viewing experience for different types of content, whether it’s movies, sports, or gaming.
Keep an eye out for software updates for your QLED TV. Regularly updating the software ensures that you have access to the latest features, improvements, and security patches.
Lastly, don’t hesitate to explore the user manual or the manufacturer’s website for additional tips, tricks, and troubleshooting guidelines specific to your QLED TV model.
Now that your QLED TV is set up and ready to go, it’s time to grab some popcorn, sit back, and immerse yourself in a captivating entertainment experience right from the comfort of your own home.